-
Prep Time30 minutes
-
Cook Time15 minutes plus canning time
-
Serv SizeYield: 6 pint jars
Delicious crisp pickled asparagus recipe and step-by-step canning instructions.
Ingredients
Directions
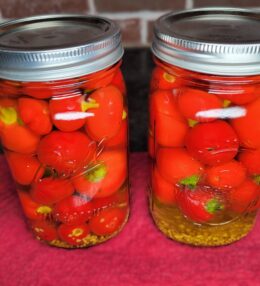
Garlic & Dill Pickled Asparagus is a crisp, tangy, flavor‑packed treat that captures the very best of spring produce. Each spear soaks up the bold punch of garlic, the fresh earthiness of dill, and a perfectly balanced brine, creating a snack that’s as irresistible straight from the jar as it is on charcuterie boards, sandwiches, or Bloody Mary's. With simple canning instructions and ingredient list, this recipe delivers jars of bright, crunchy asparagus you can enjoy all year long.
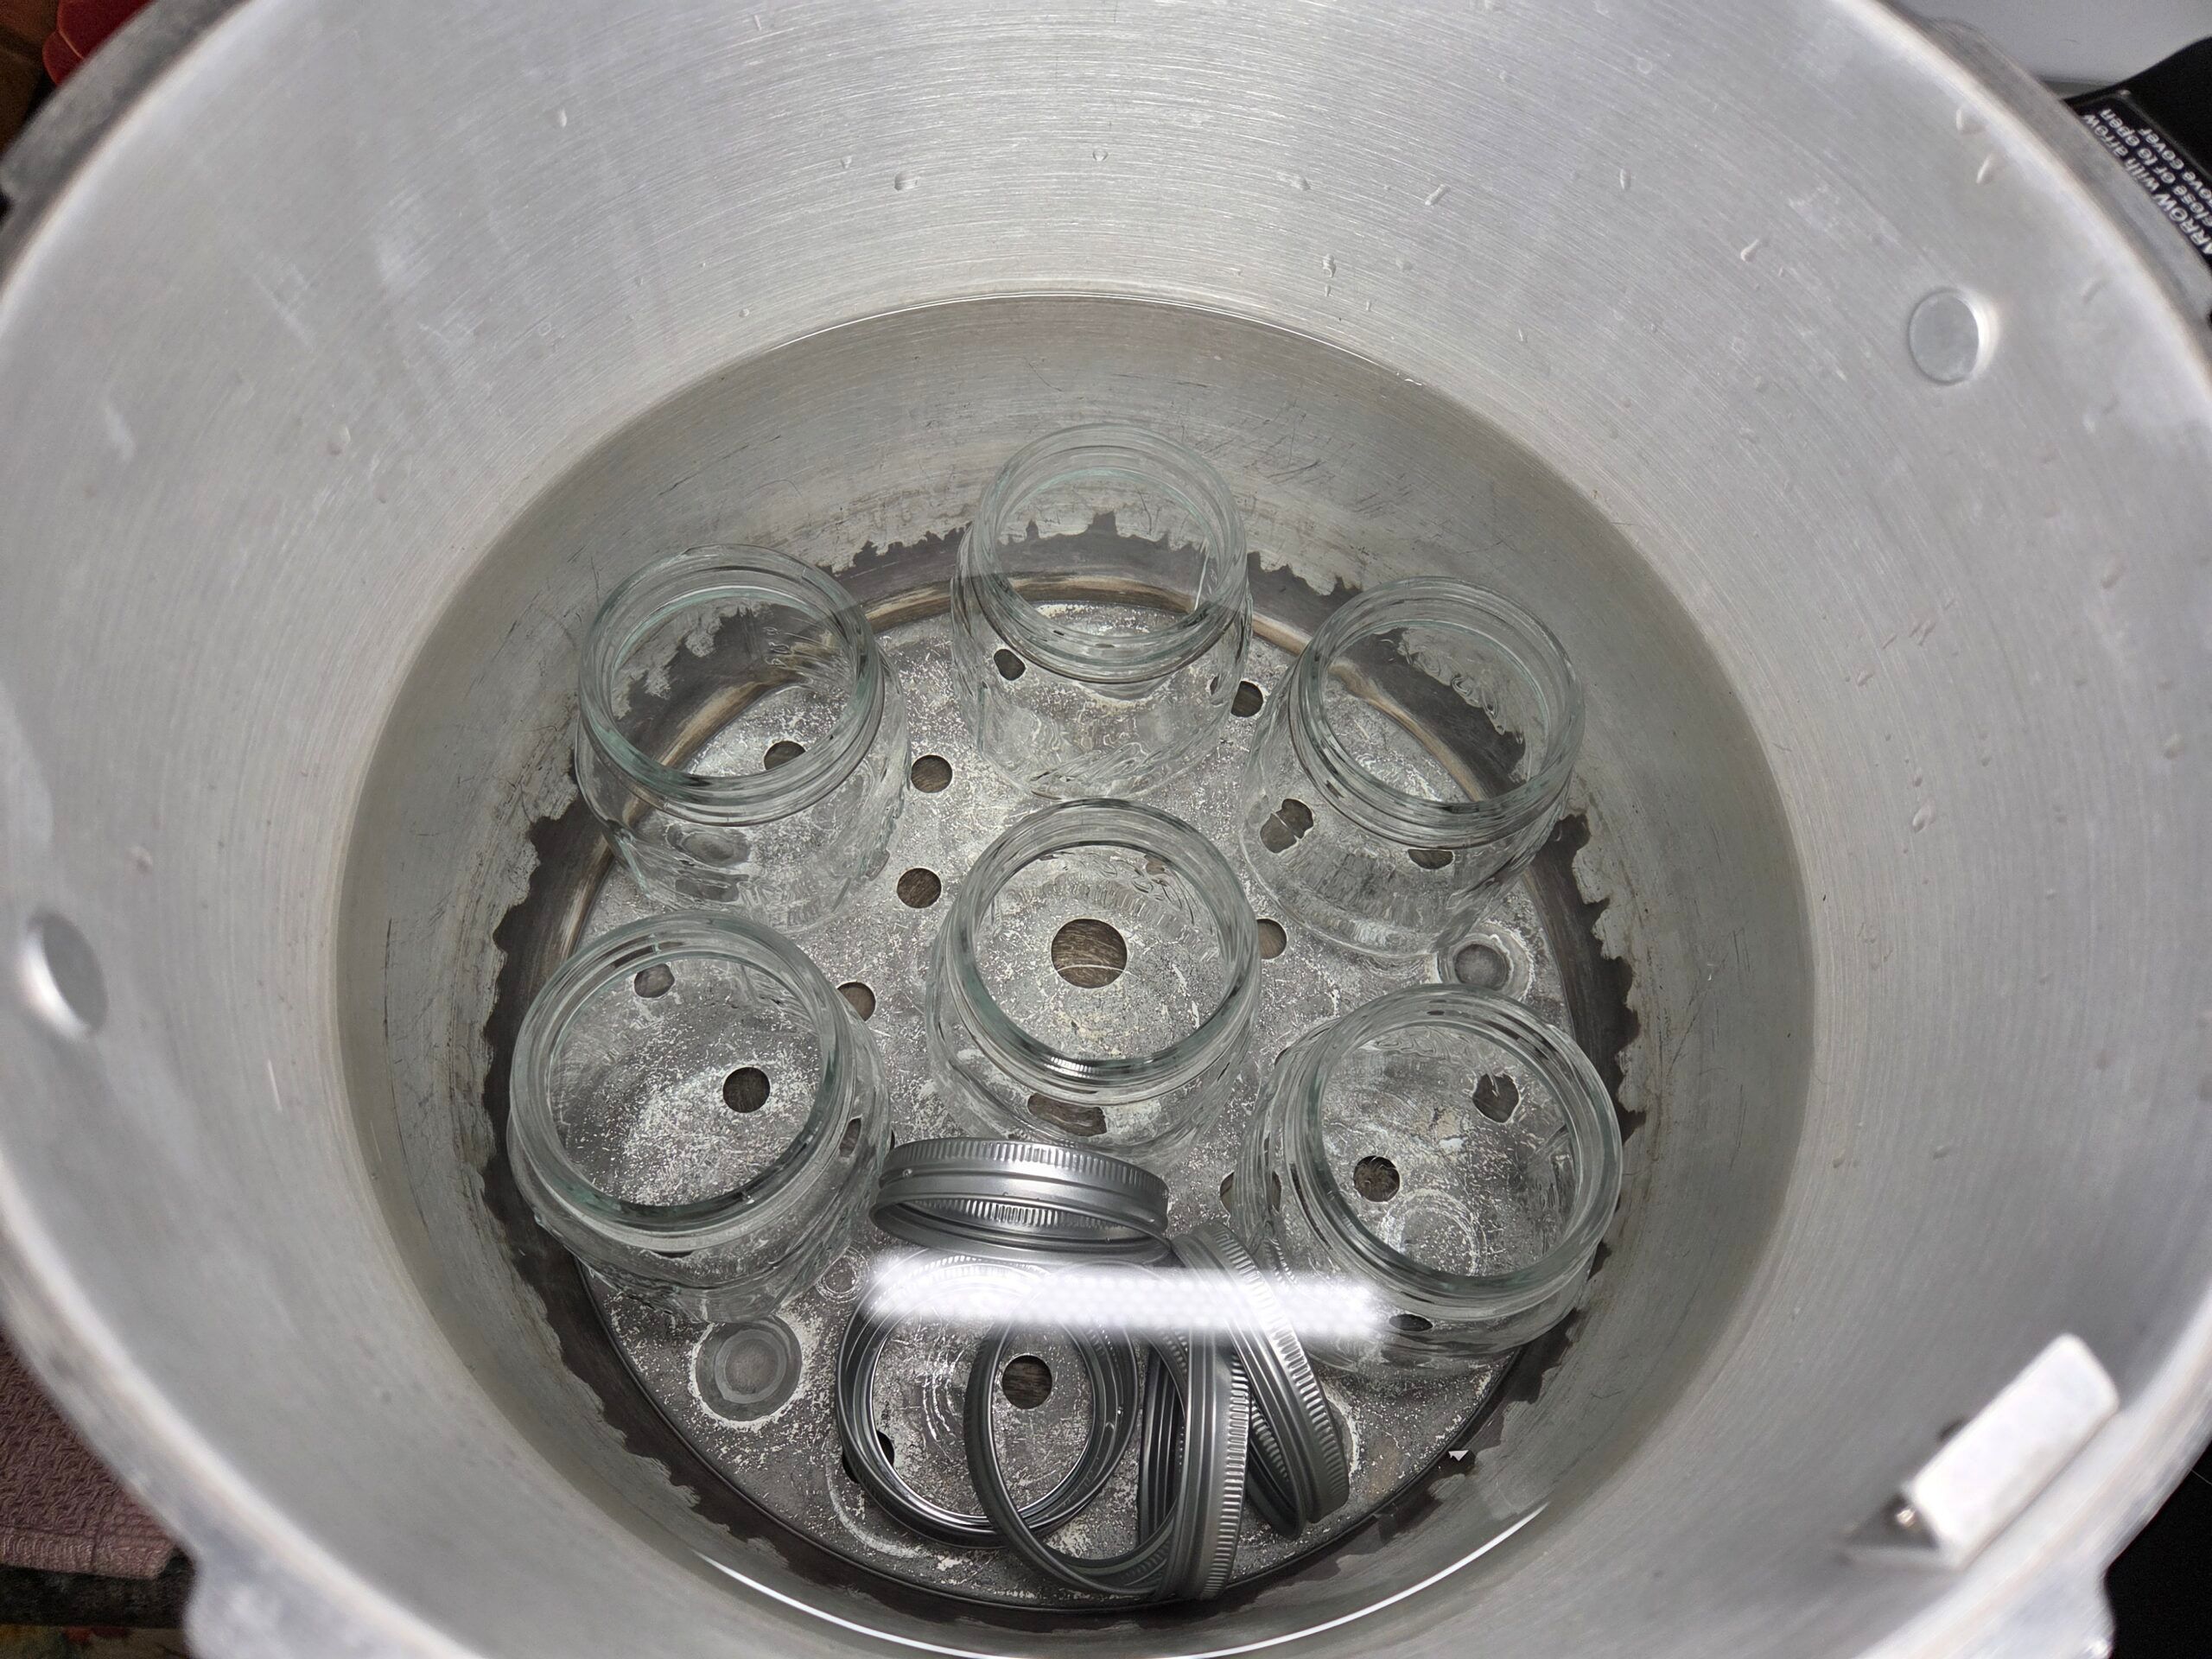
Wash the jars, lids, and bands in warm, soapy water and rinse well. Place the jars right side up in a boiling‑water canner fitted with a rack. Do not boil lids. Add warm water until it covers the jars by about 1 inch. Bring the water to a boil and boil the jars for 10 minutes if you are below 1,000 feet elevation; add 1 minute of boiling time for every additional 1,000 feet. Reduce the heat and keep the jars hot until you’re ready to fill them.
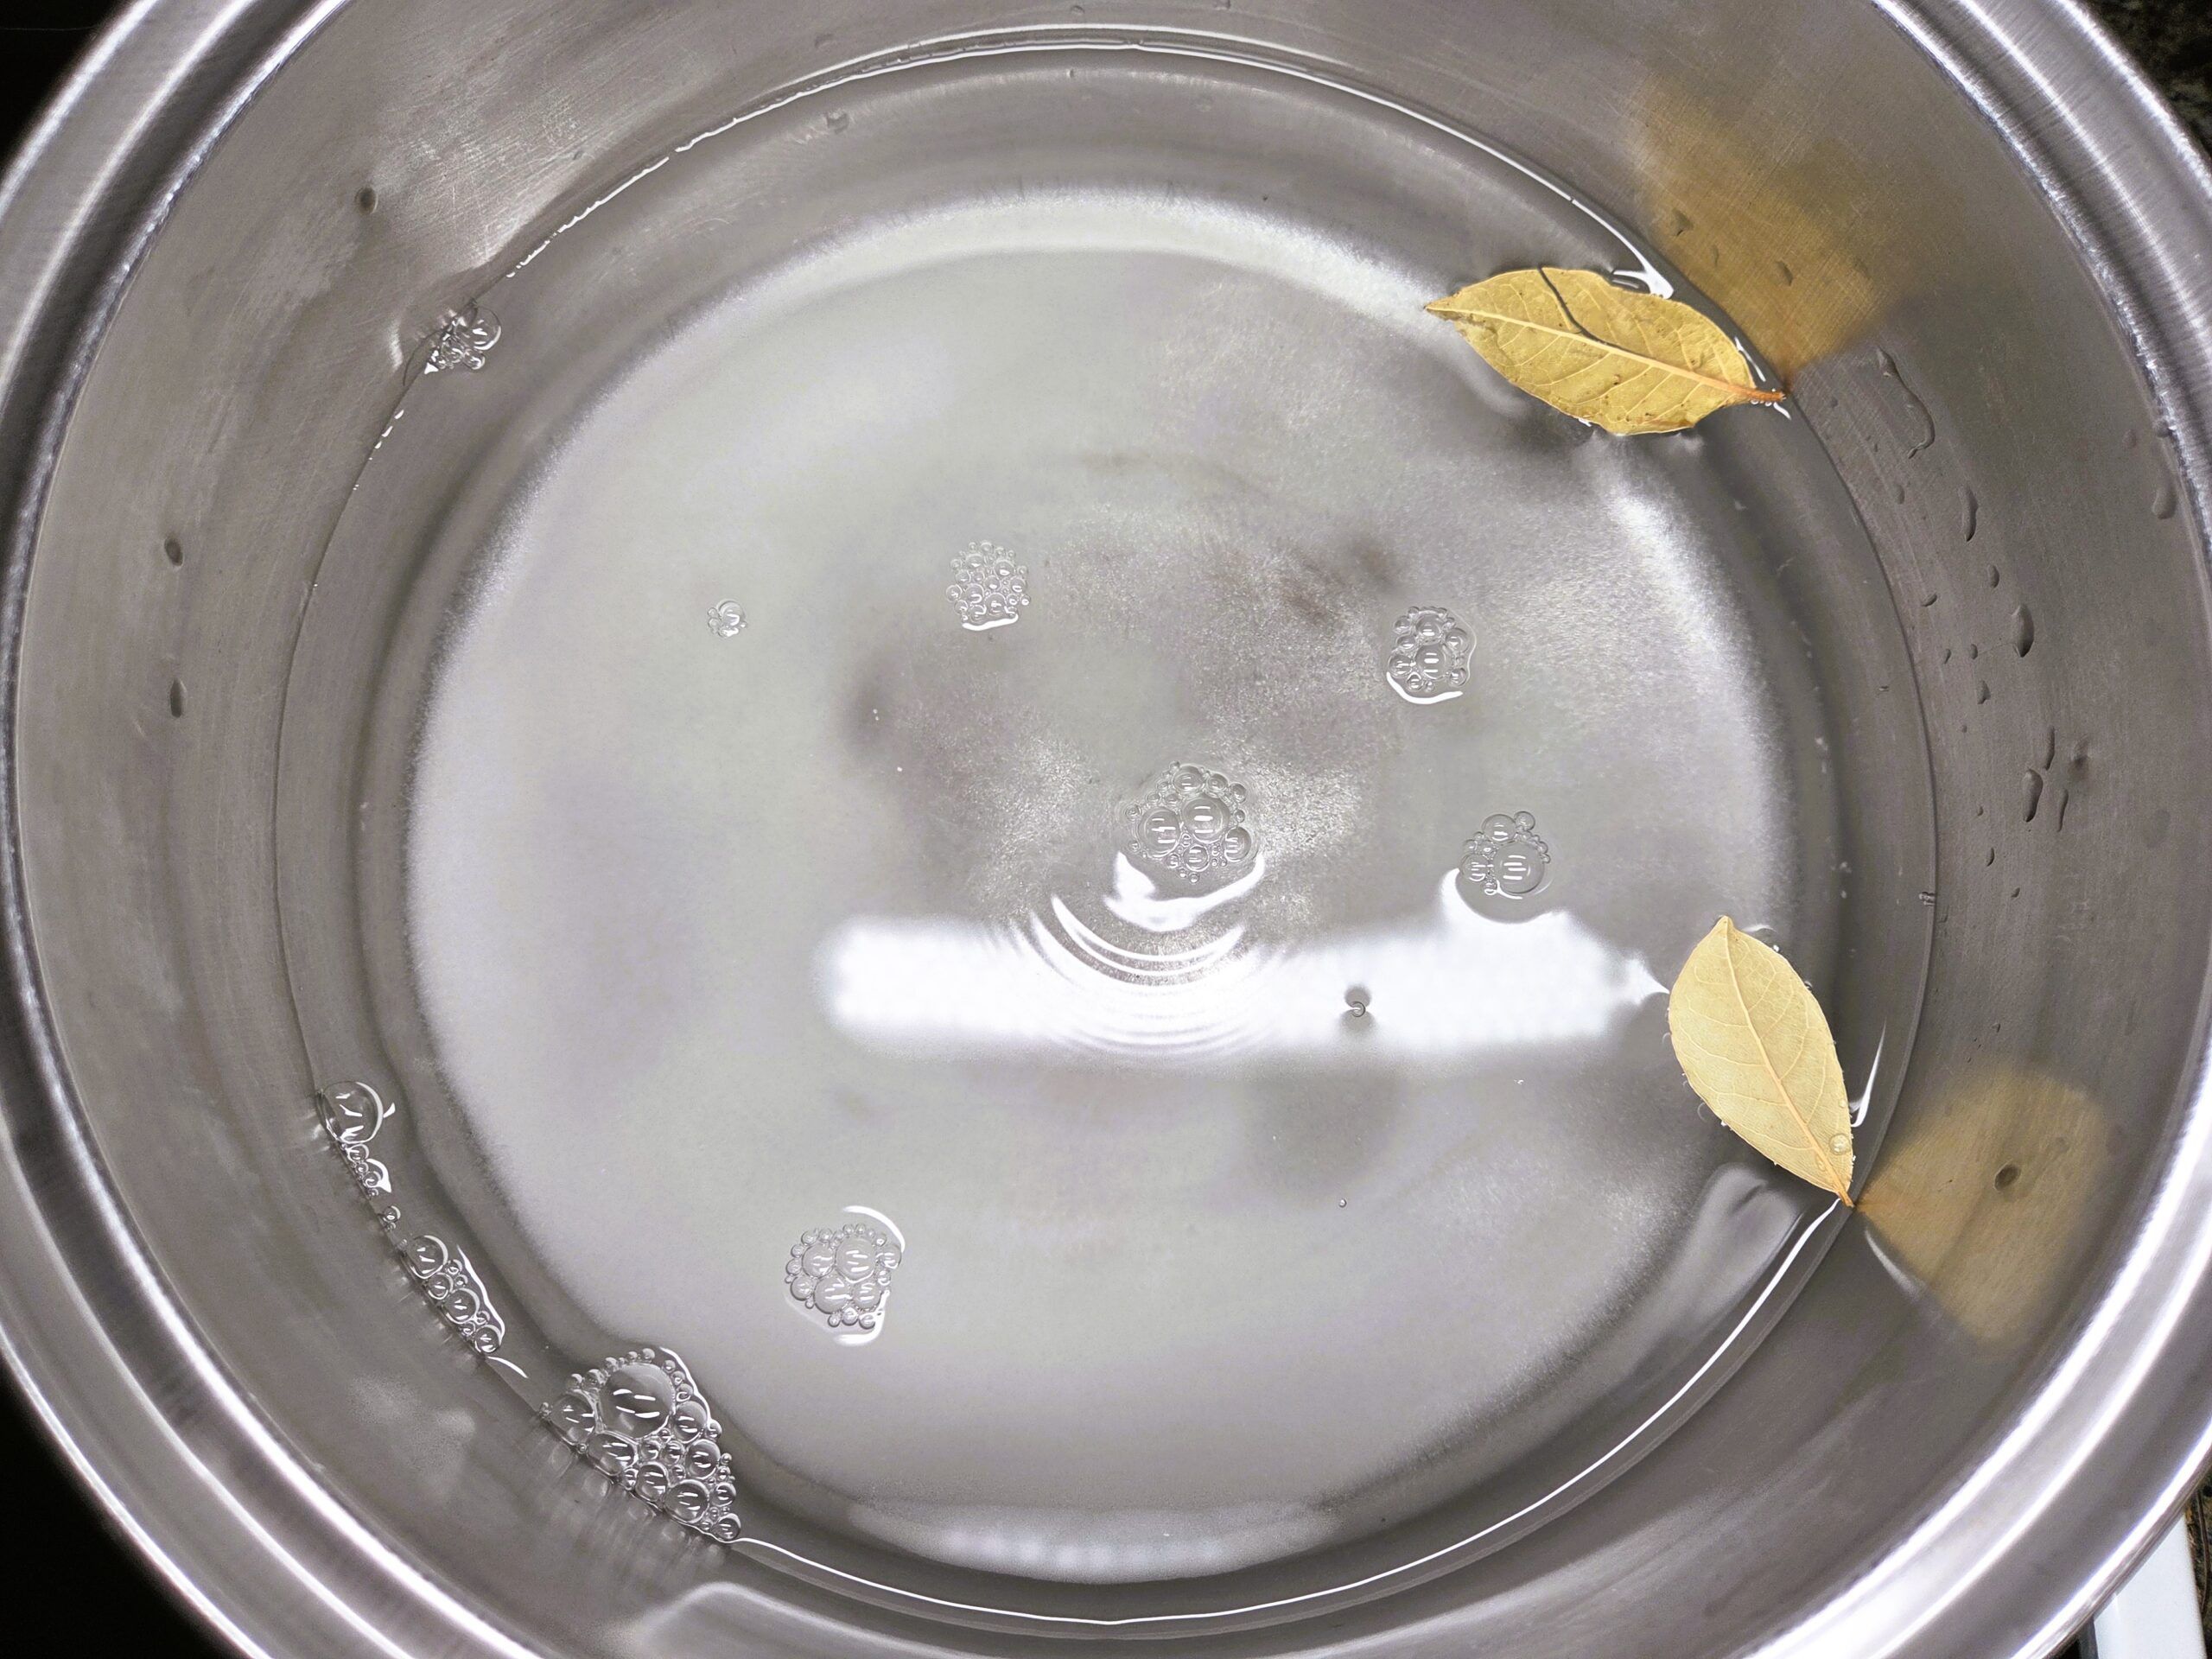
In a large non‑reactive stainless-steel pot, combine 5 cups of 5% white vinegar, 1 quart of water, 1/2 cup of canning salt, and 1/2 cup of granulated sugar. Add 2 bay leaves, bring the mixture to a boil, then reduce to a simmer and keep it hot until you’re ready to begin canning.
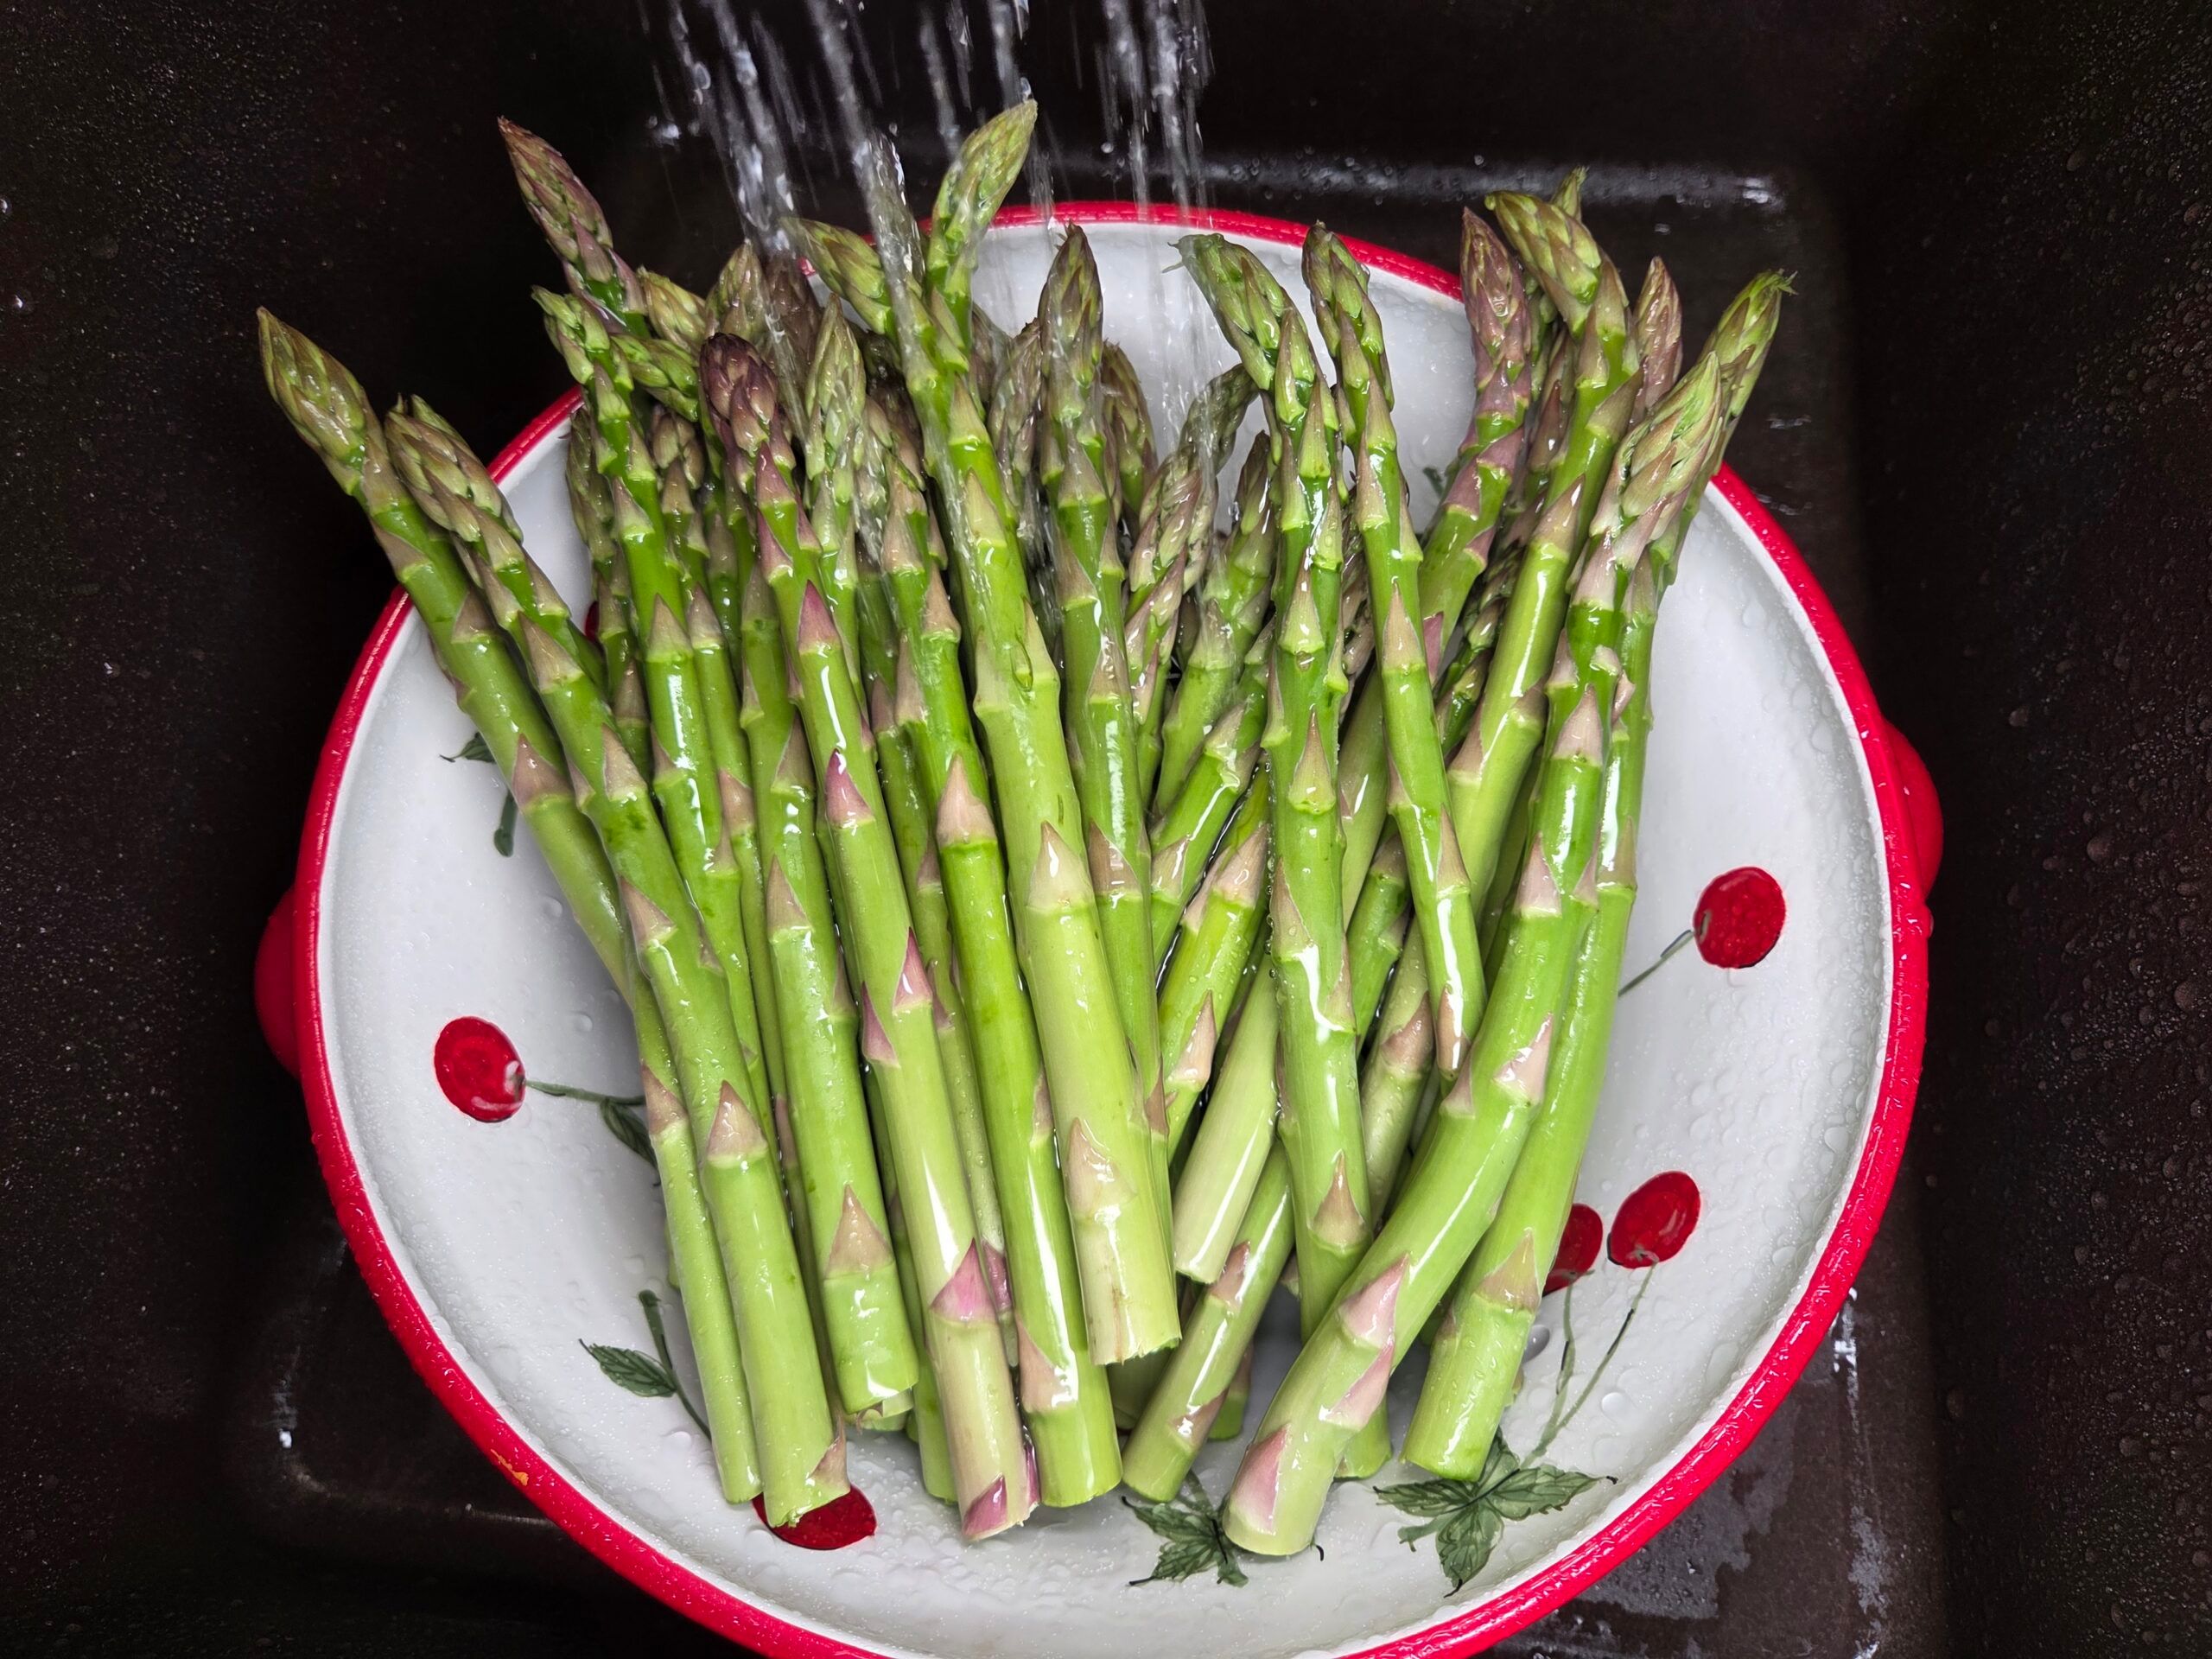
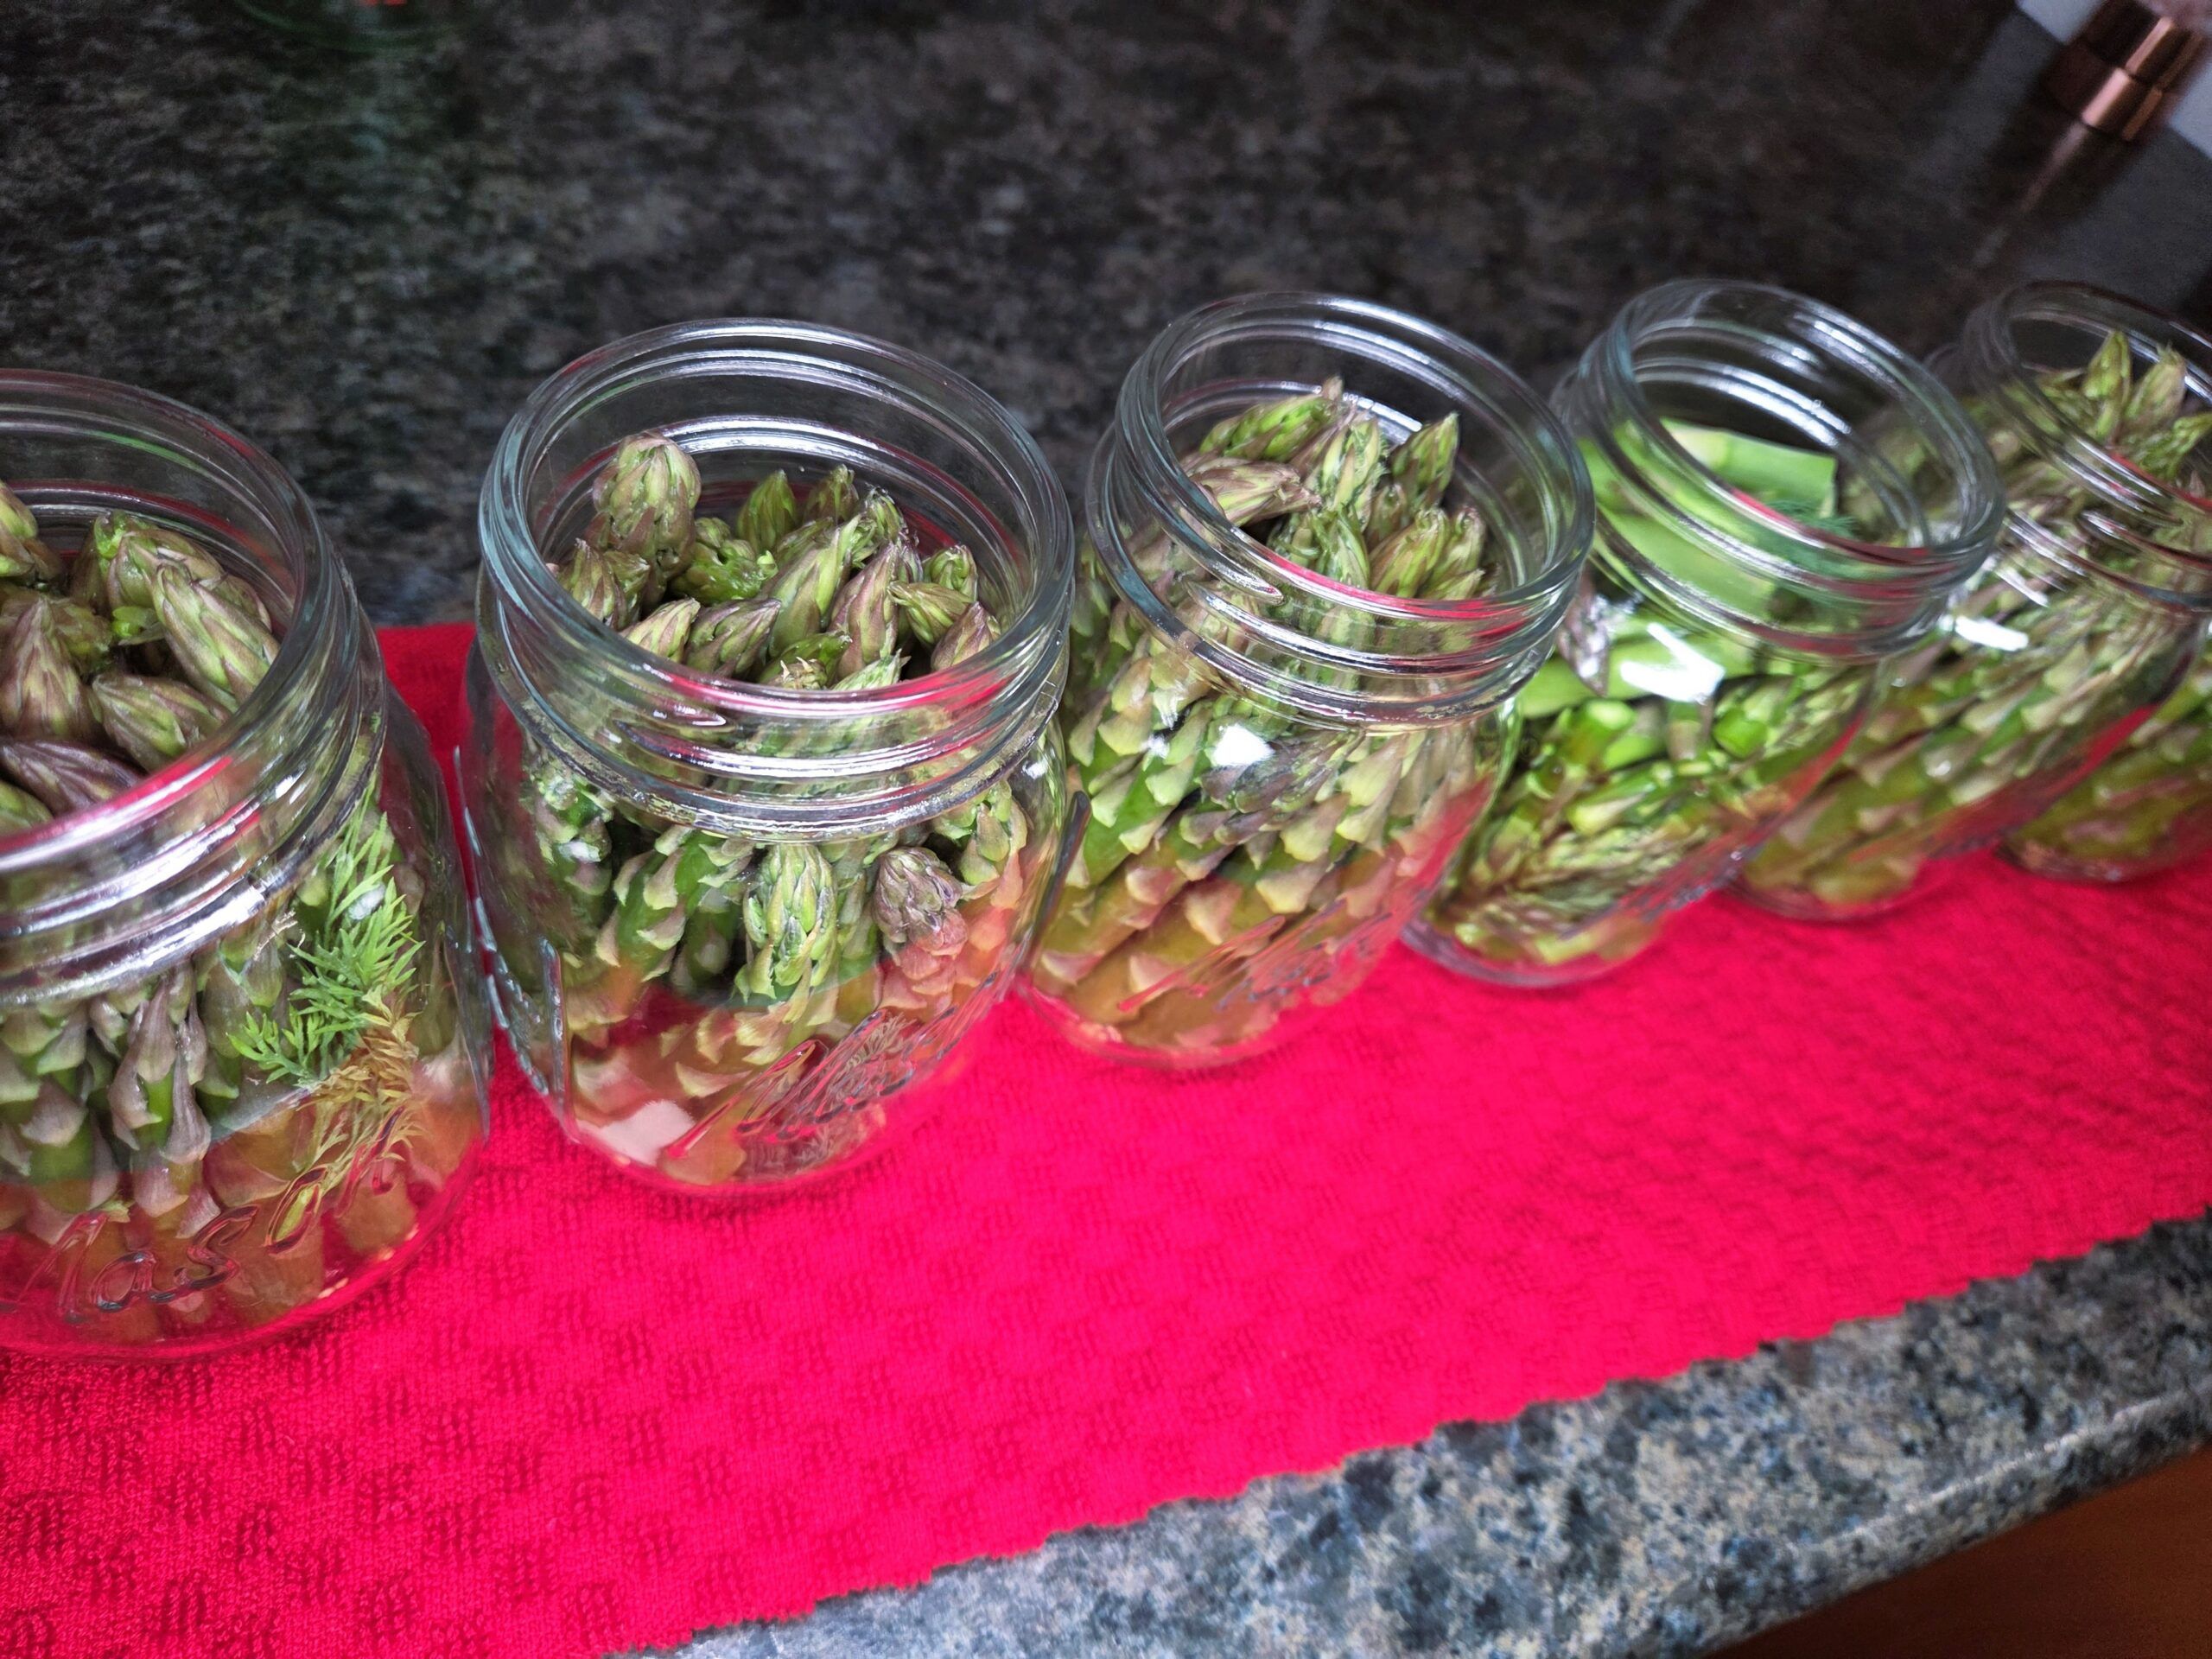
Choose medium asparagus spears when canning. Rinse the asparagus thoroughly under cool water, removing any spears that are damaged, discolored, or soft.
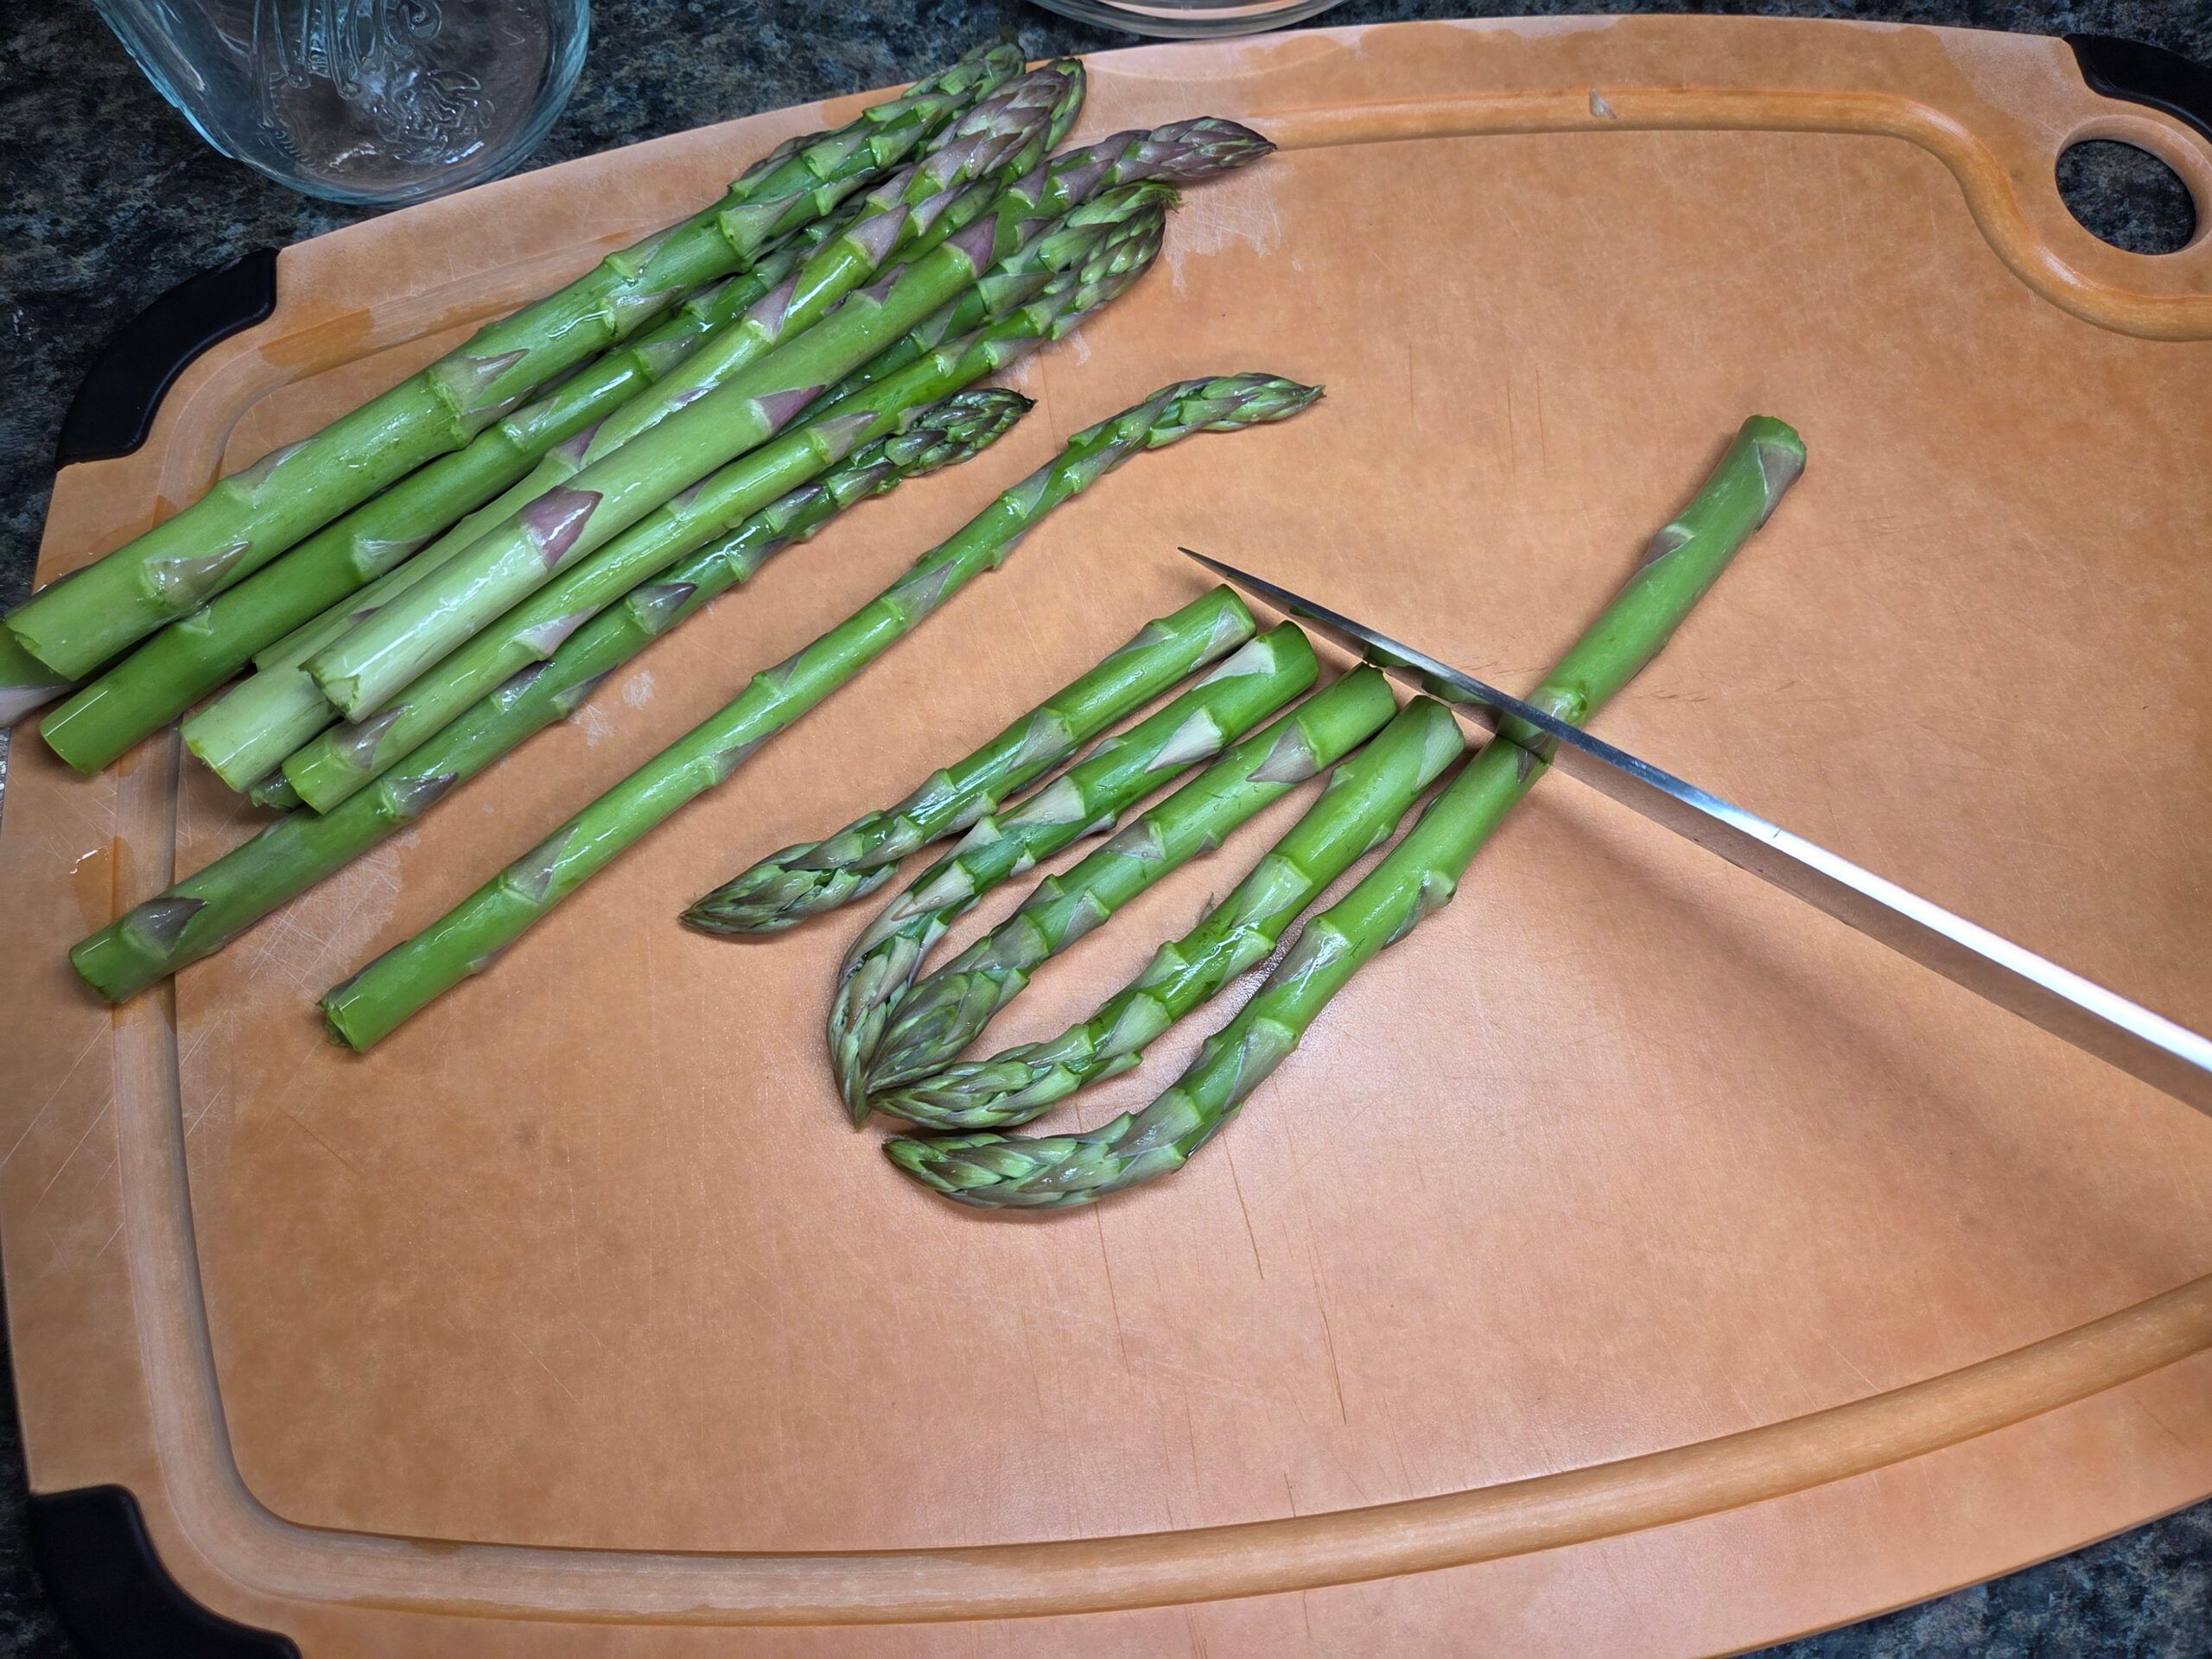
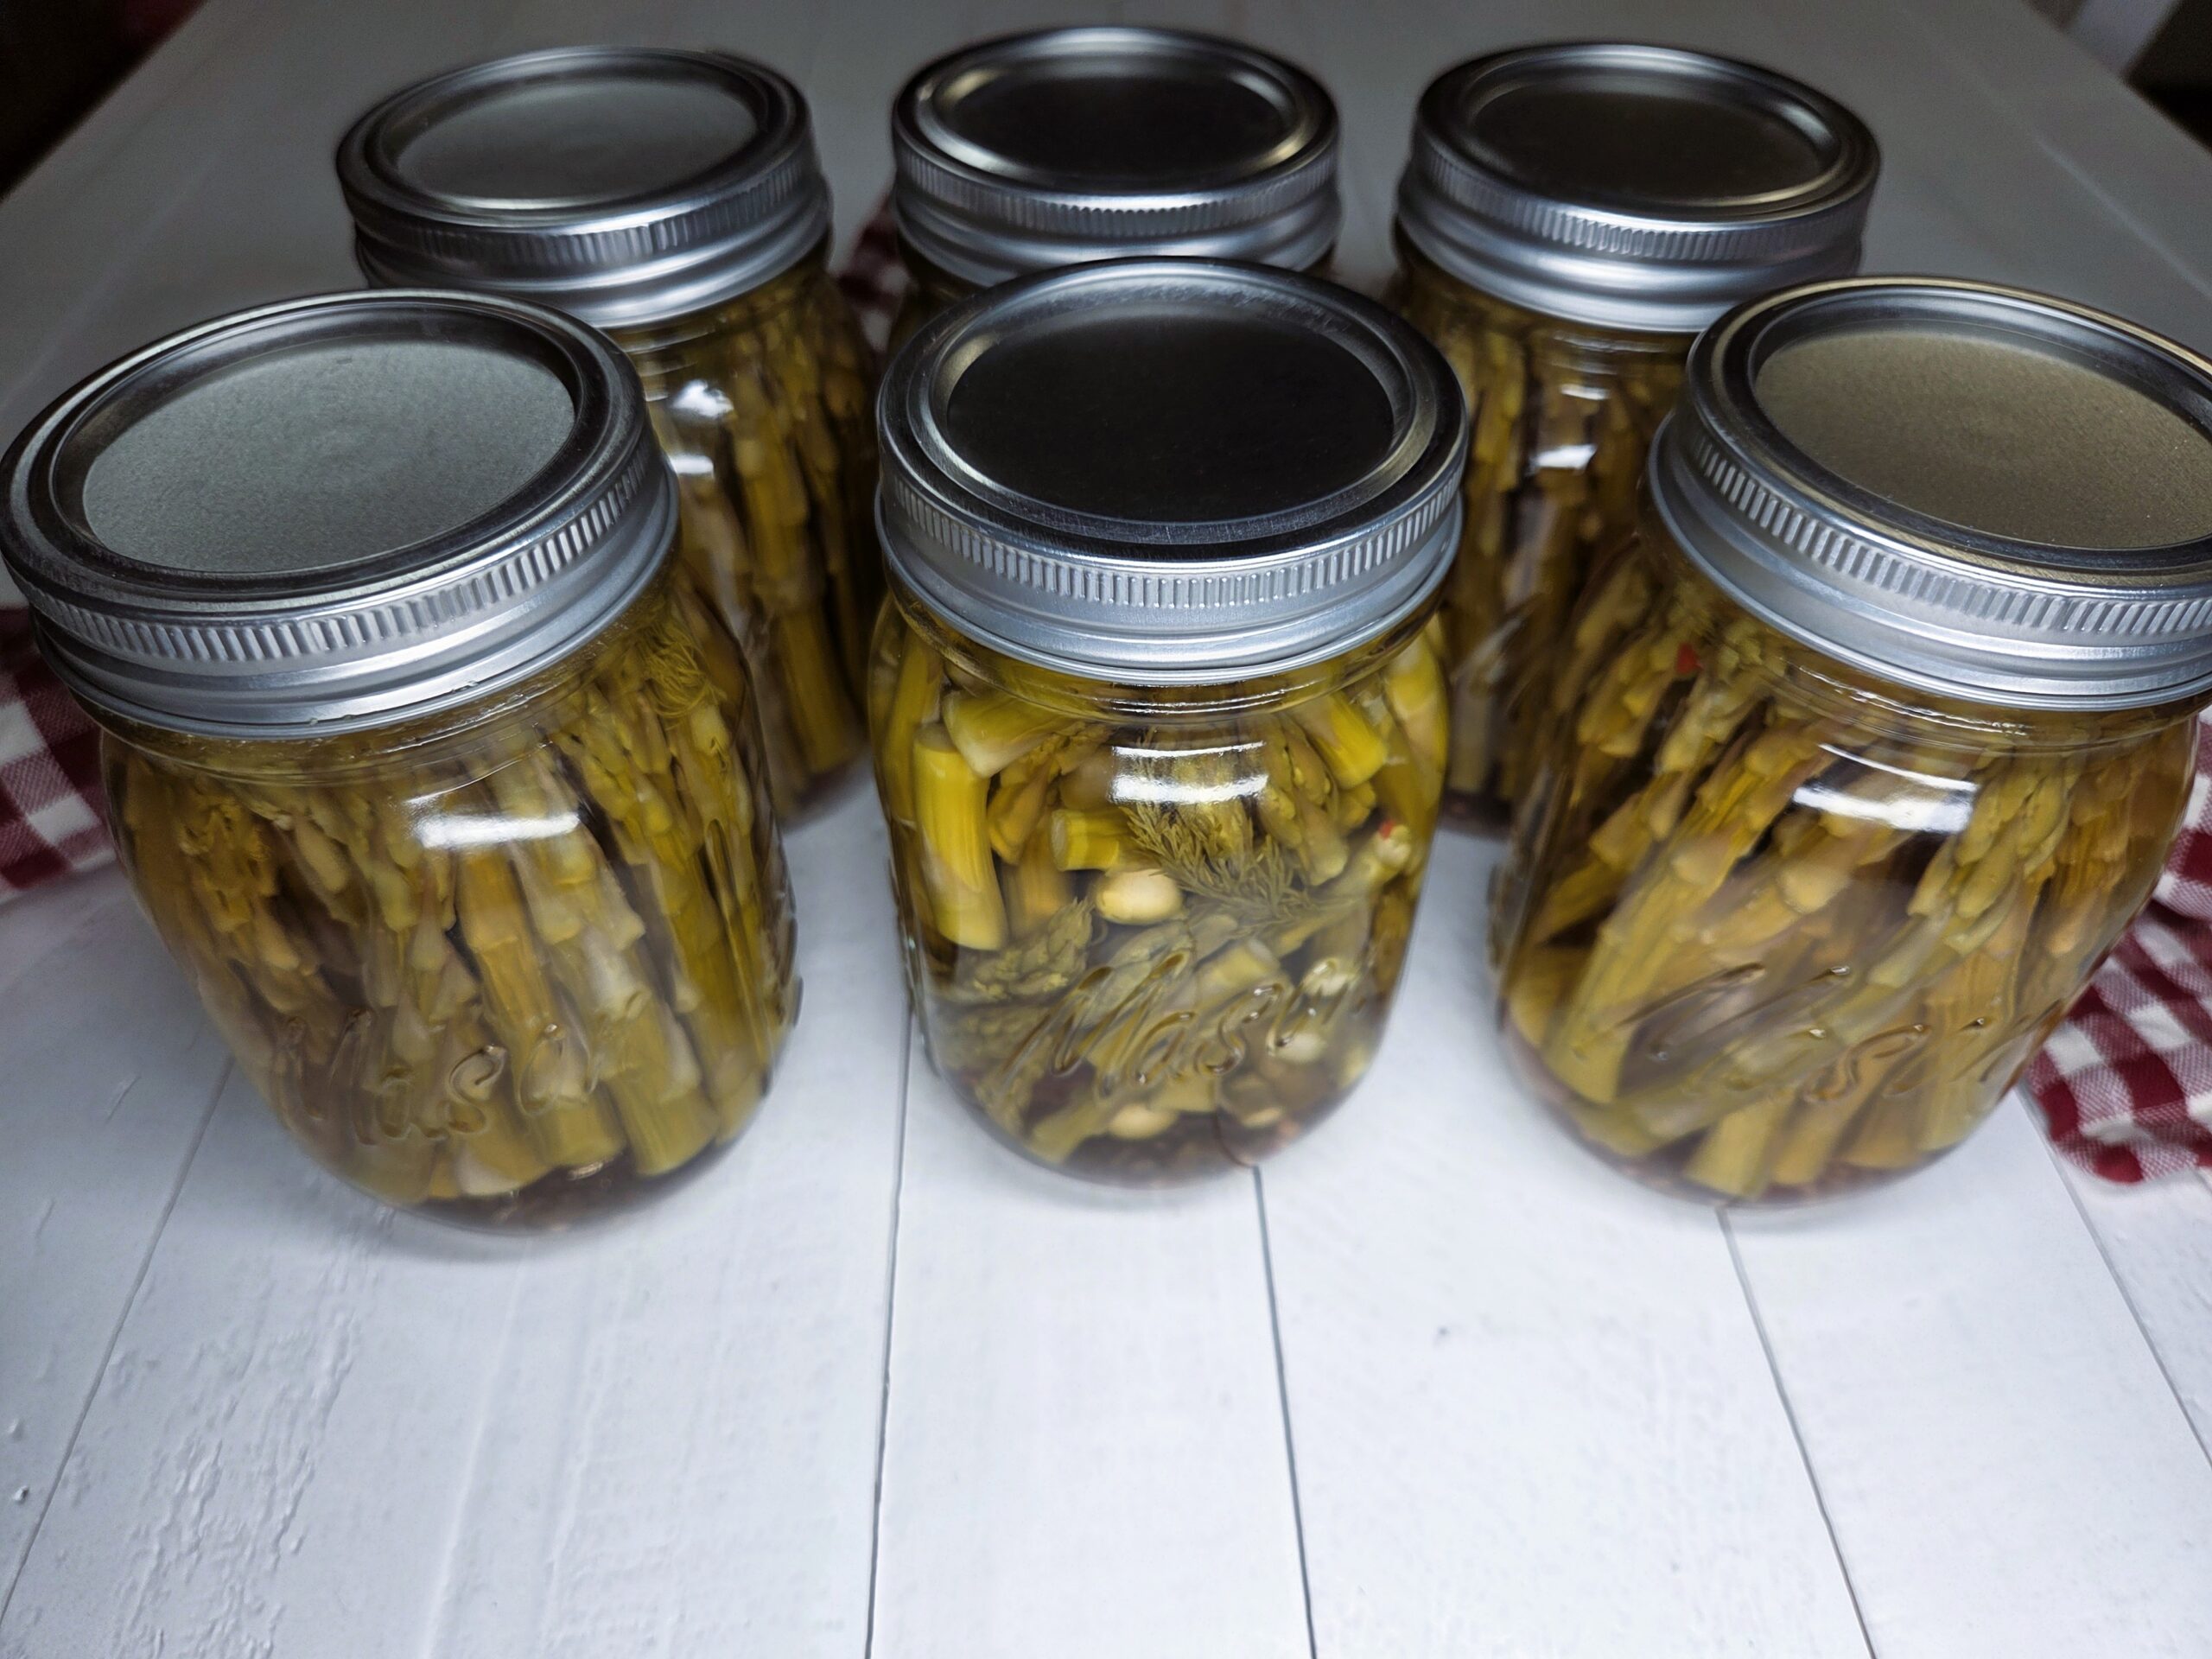
Trim the asparagus spears so they will fit into pint jars, keeping the 1/2‑inch headspace in mind. Some of my jars contain full spears trimmed to about 4¼ inches, while others I used asparagus cut into 1¼‑inch pieces, which makes them especially easy to drain and toss into salads. Also, keep in mind that the asparagus will shrink during the canning process. Each jar should be packed firmly and should hold 23-26 trimmed asparagus spears.
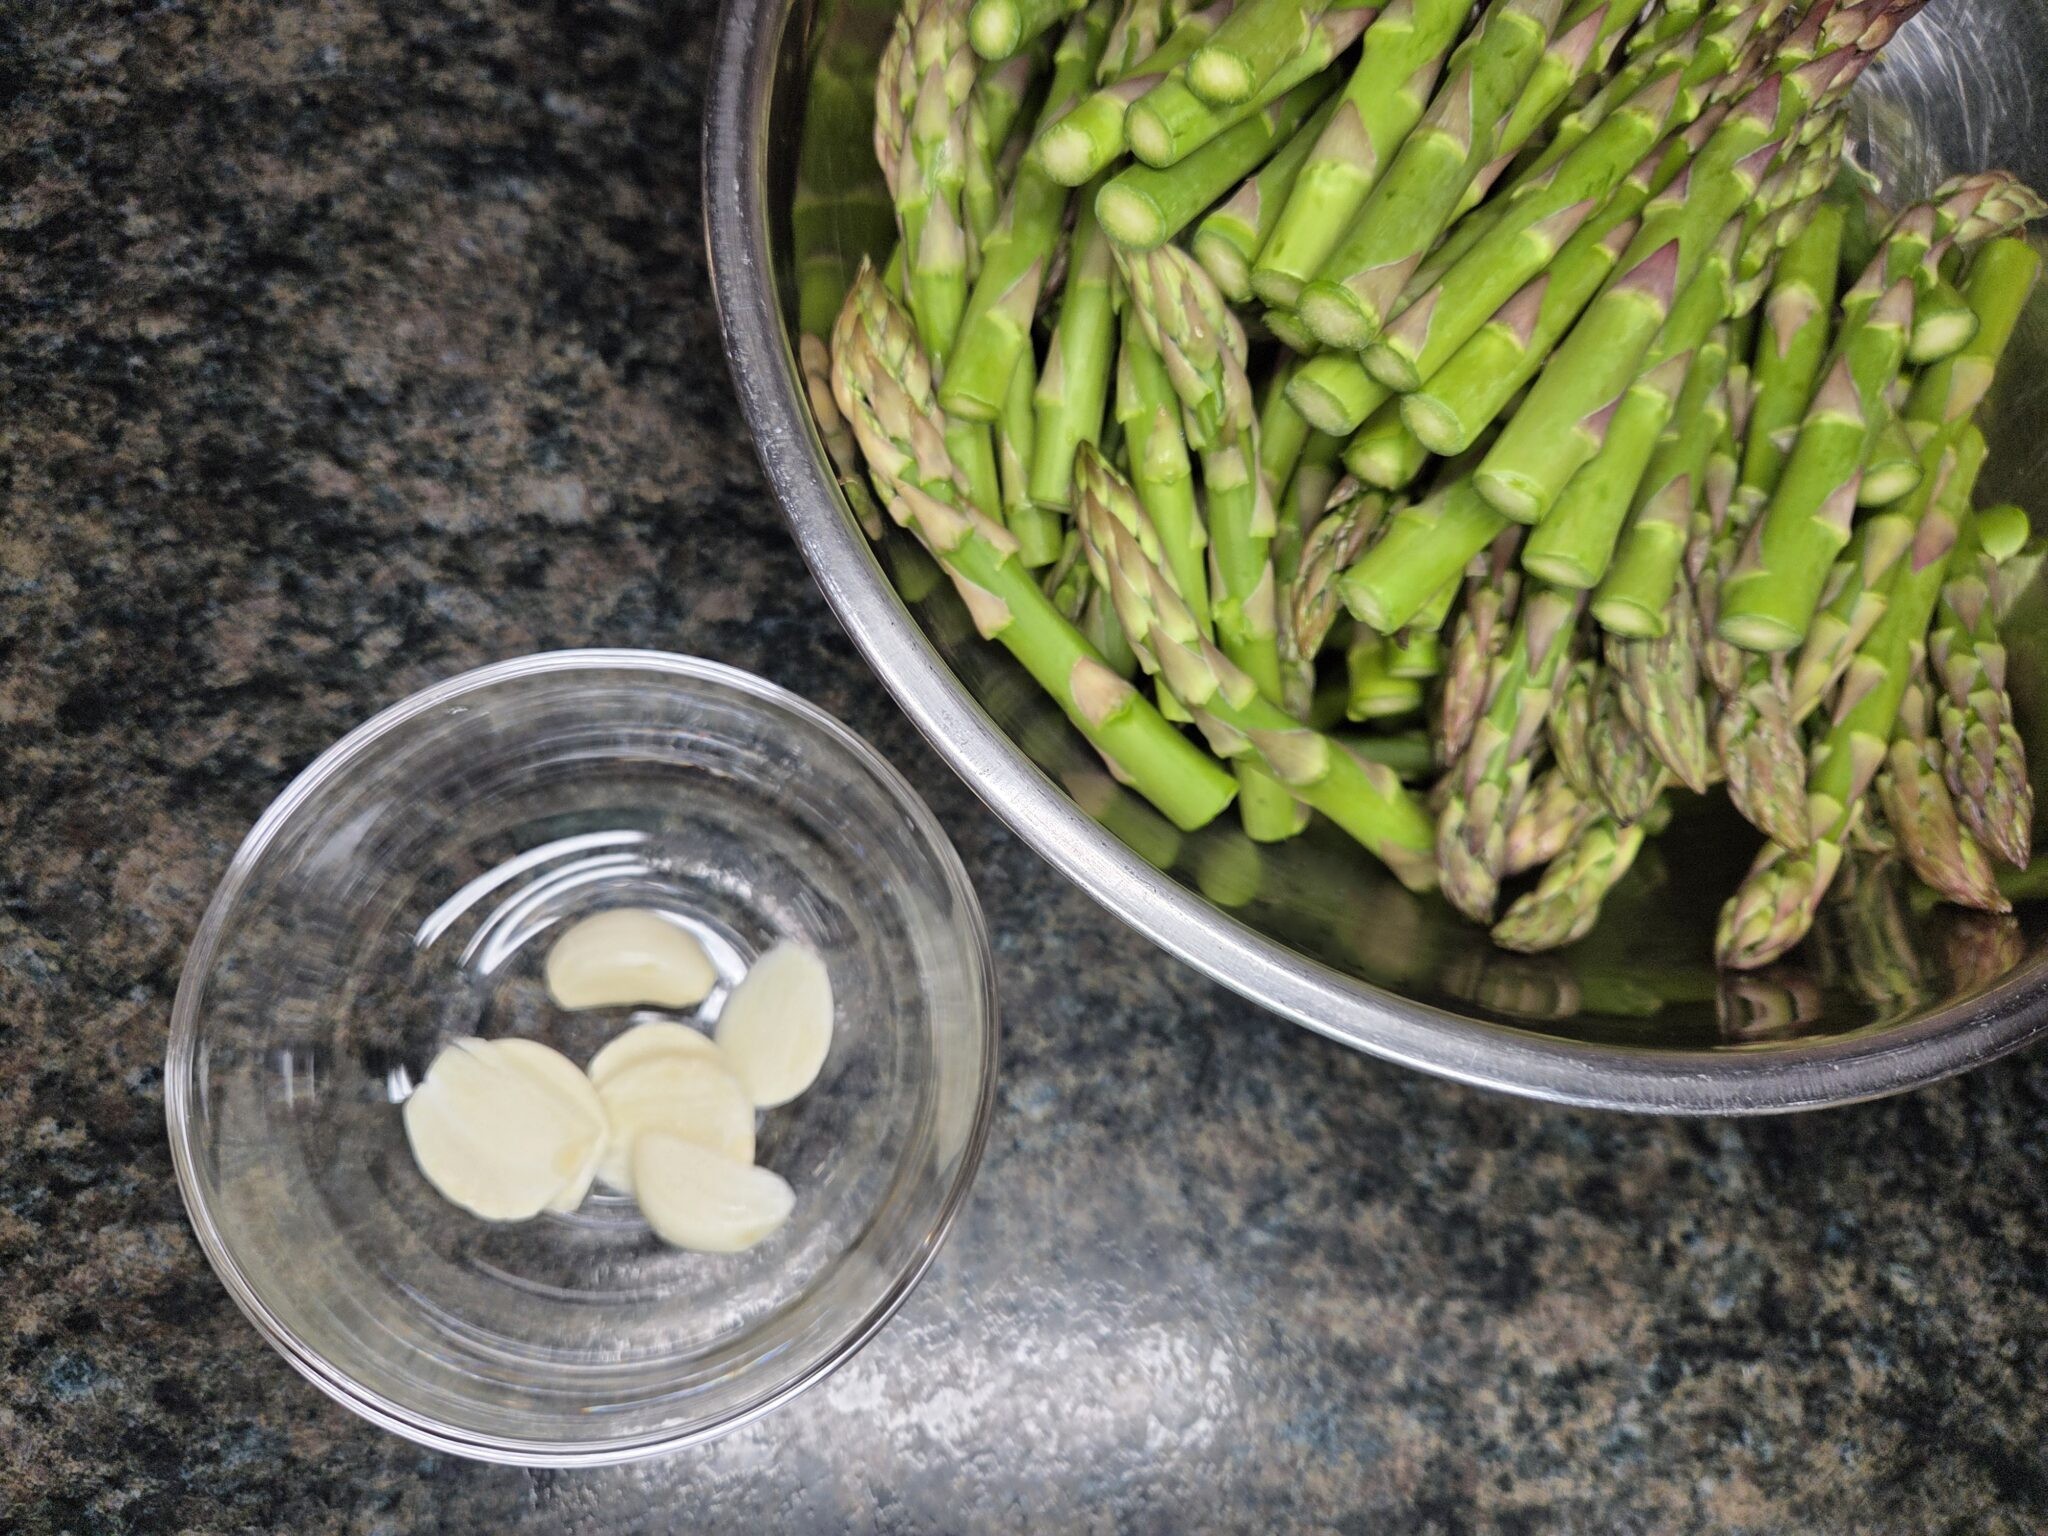
Peel and rinse the garlic cloves, then thinly slice them.
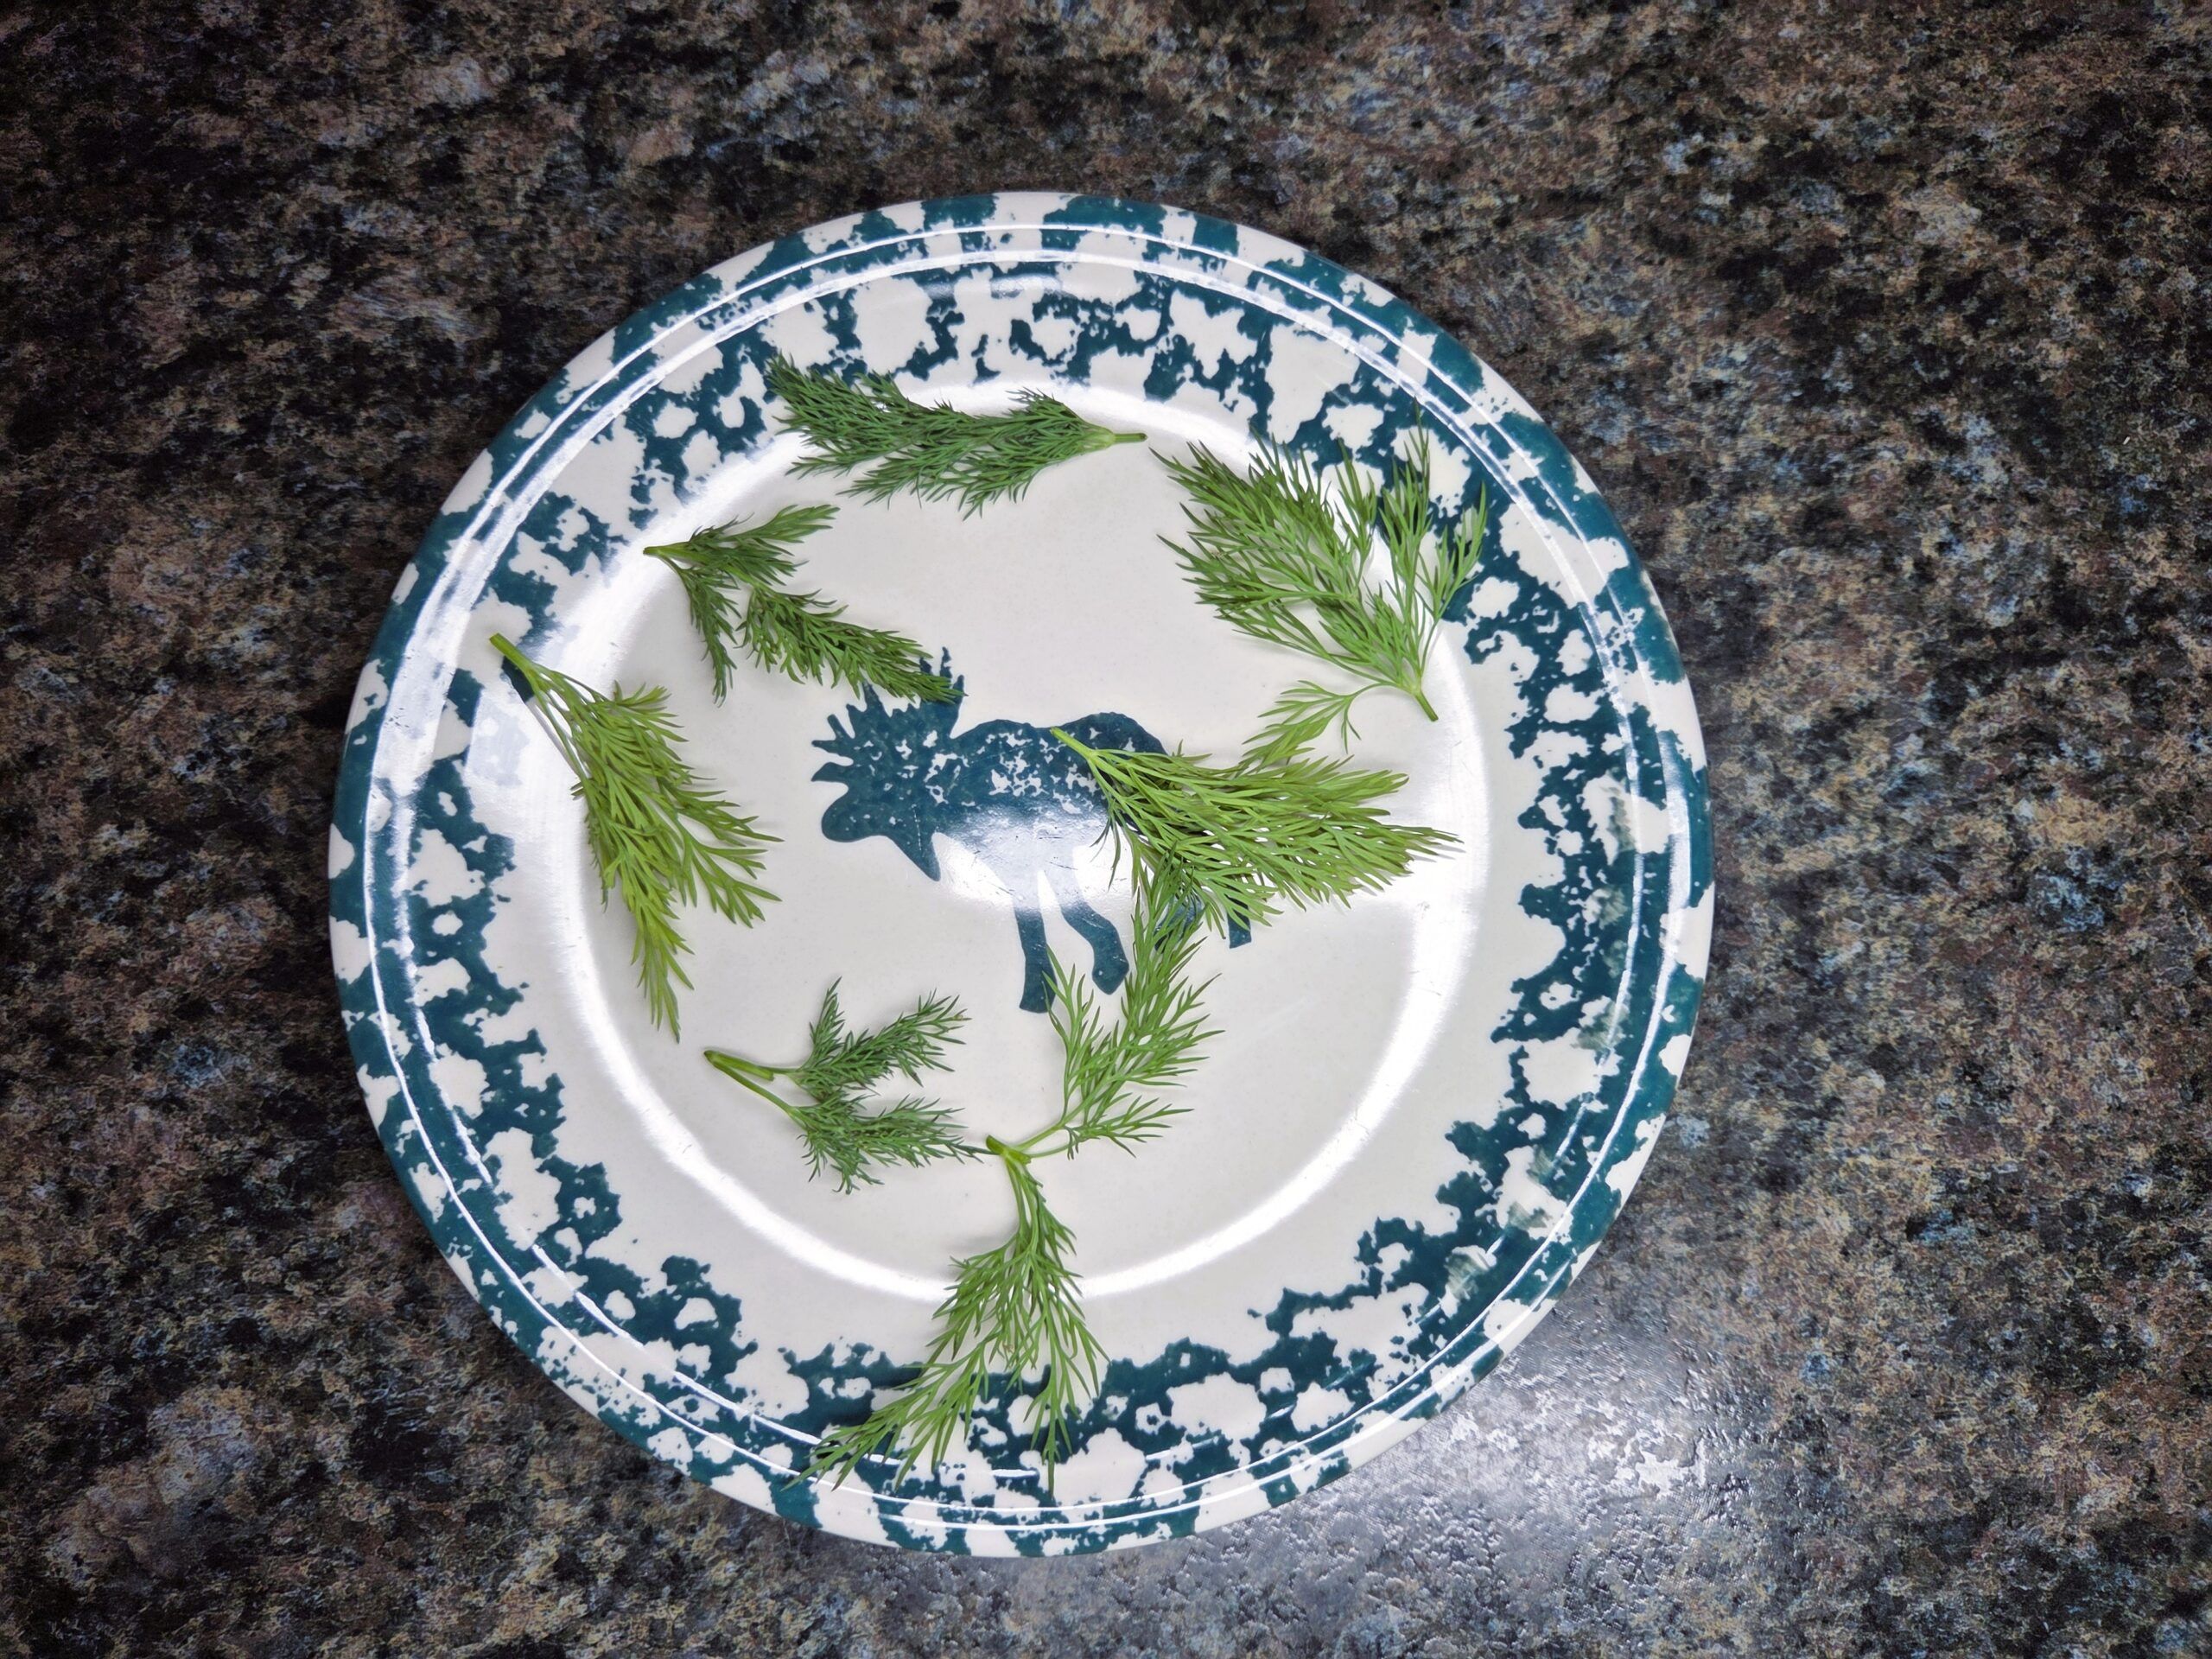
Separate the dill into sprigs sized for your jars so everything is ready the moment you remove the jars from the hot water. Have all your ingredients prepped and work steadily to keep the jars hot.
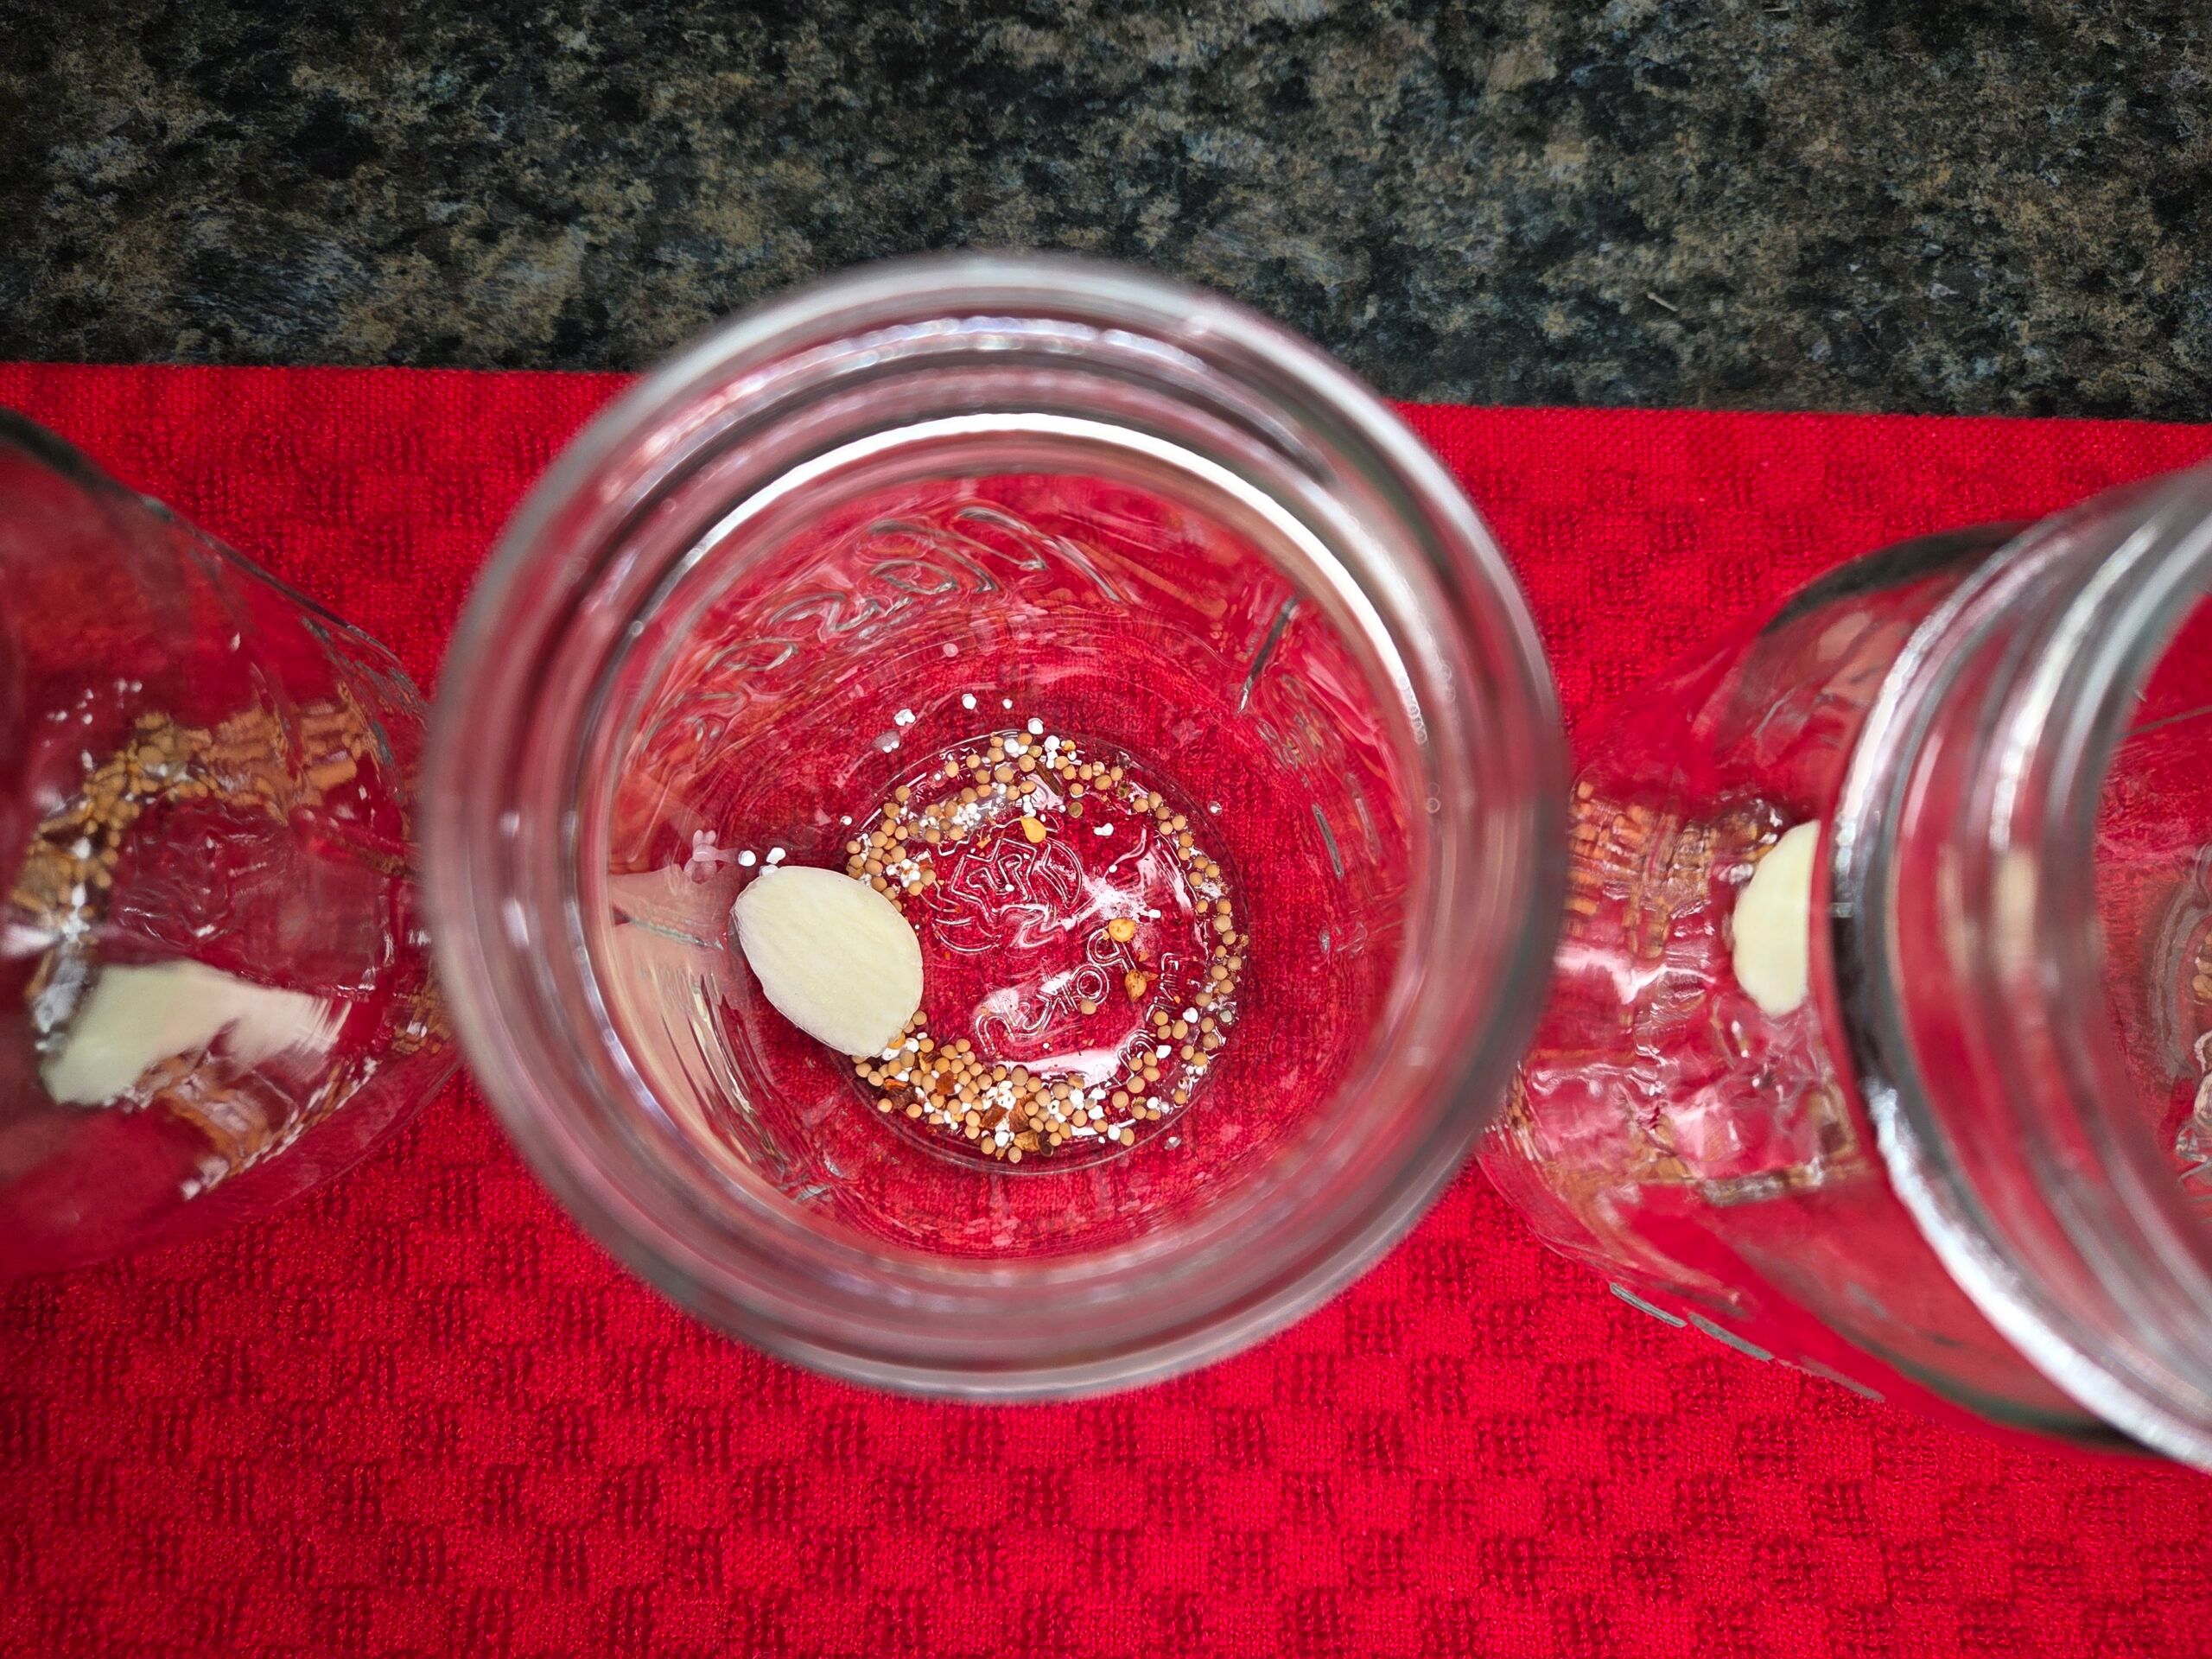
Working quickly, remove the jars from the canner and set them on a towel. If it is easiest for you to pack one at a time or an assembly line, do what is comfortable for you. Add 1/8 teaspoon of pickle crisp to the bottoms of each jar, 1/8 teaspoon of mustard seed,1 slice of garlic clove, and 1/16 teaspoon red pepper flakes if using.
Pack the jars tightly with asparagus. When each jar is about three‑quarters full, add your dill sprigs, positioning them along the inside of the glass so they’re visible for a nice presentation.
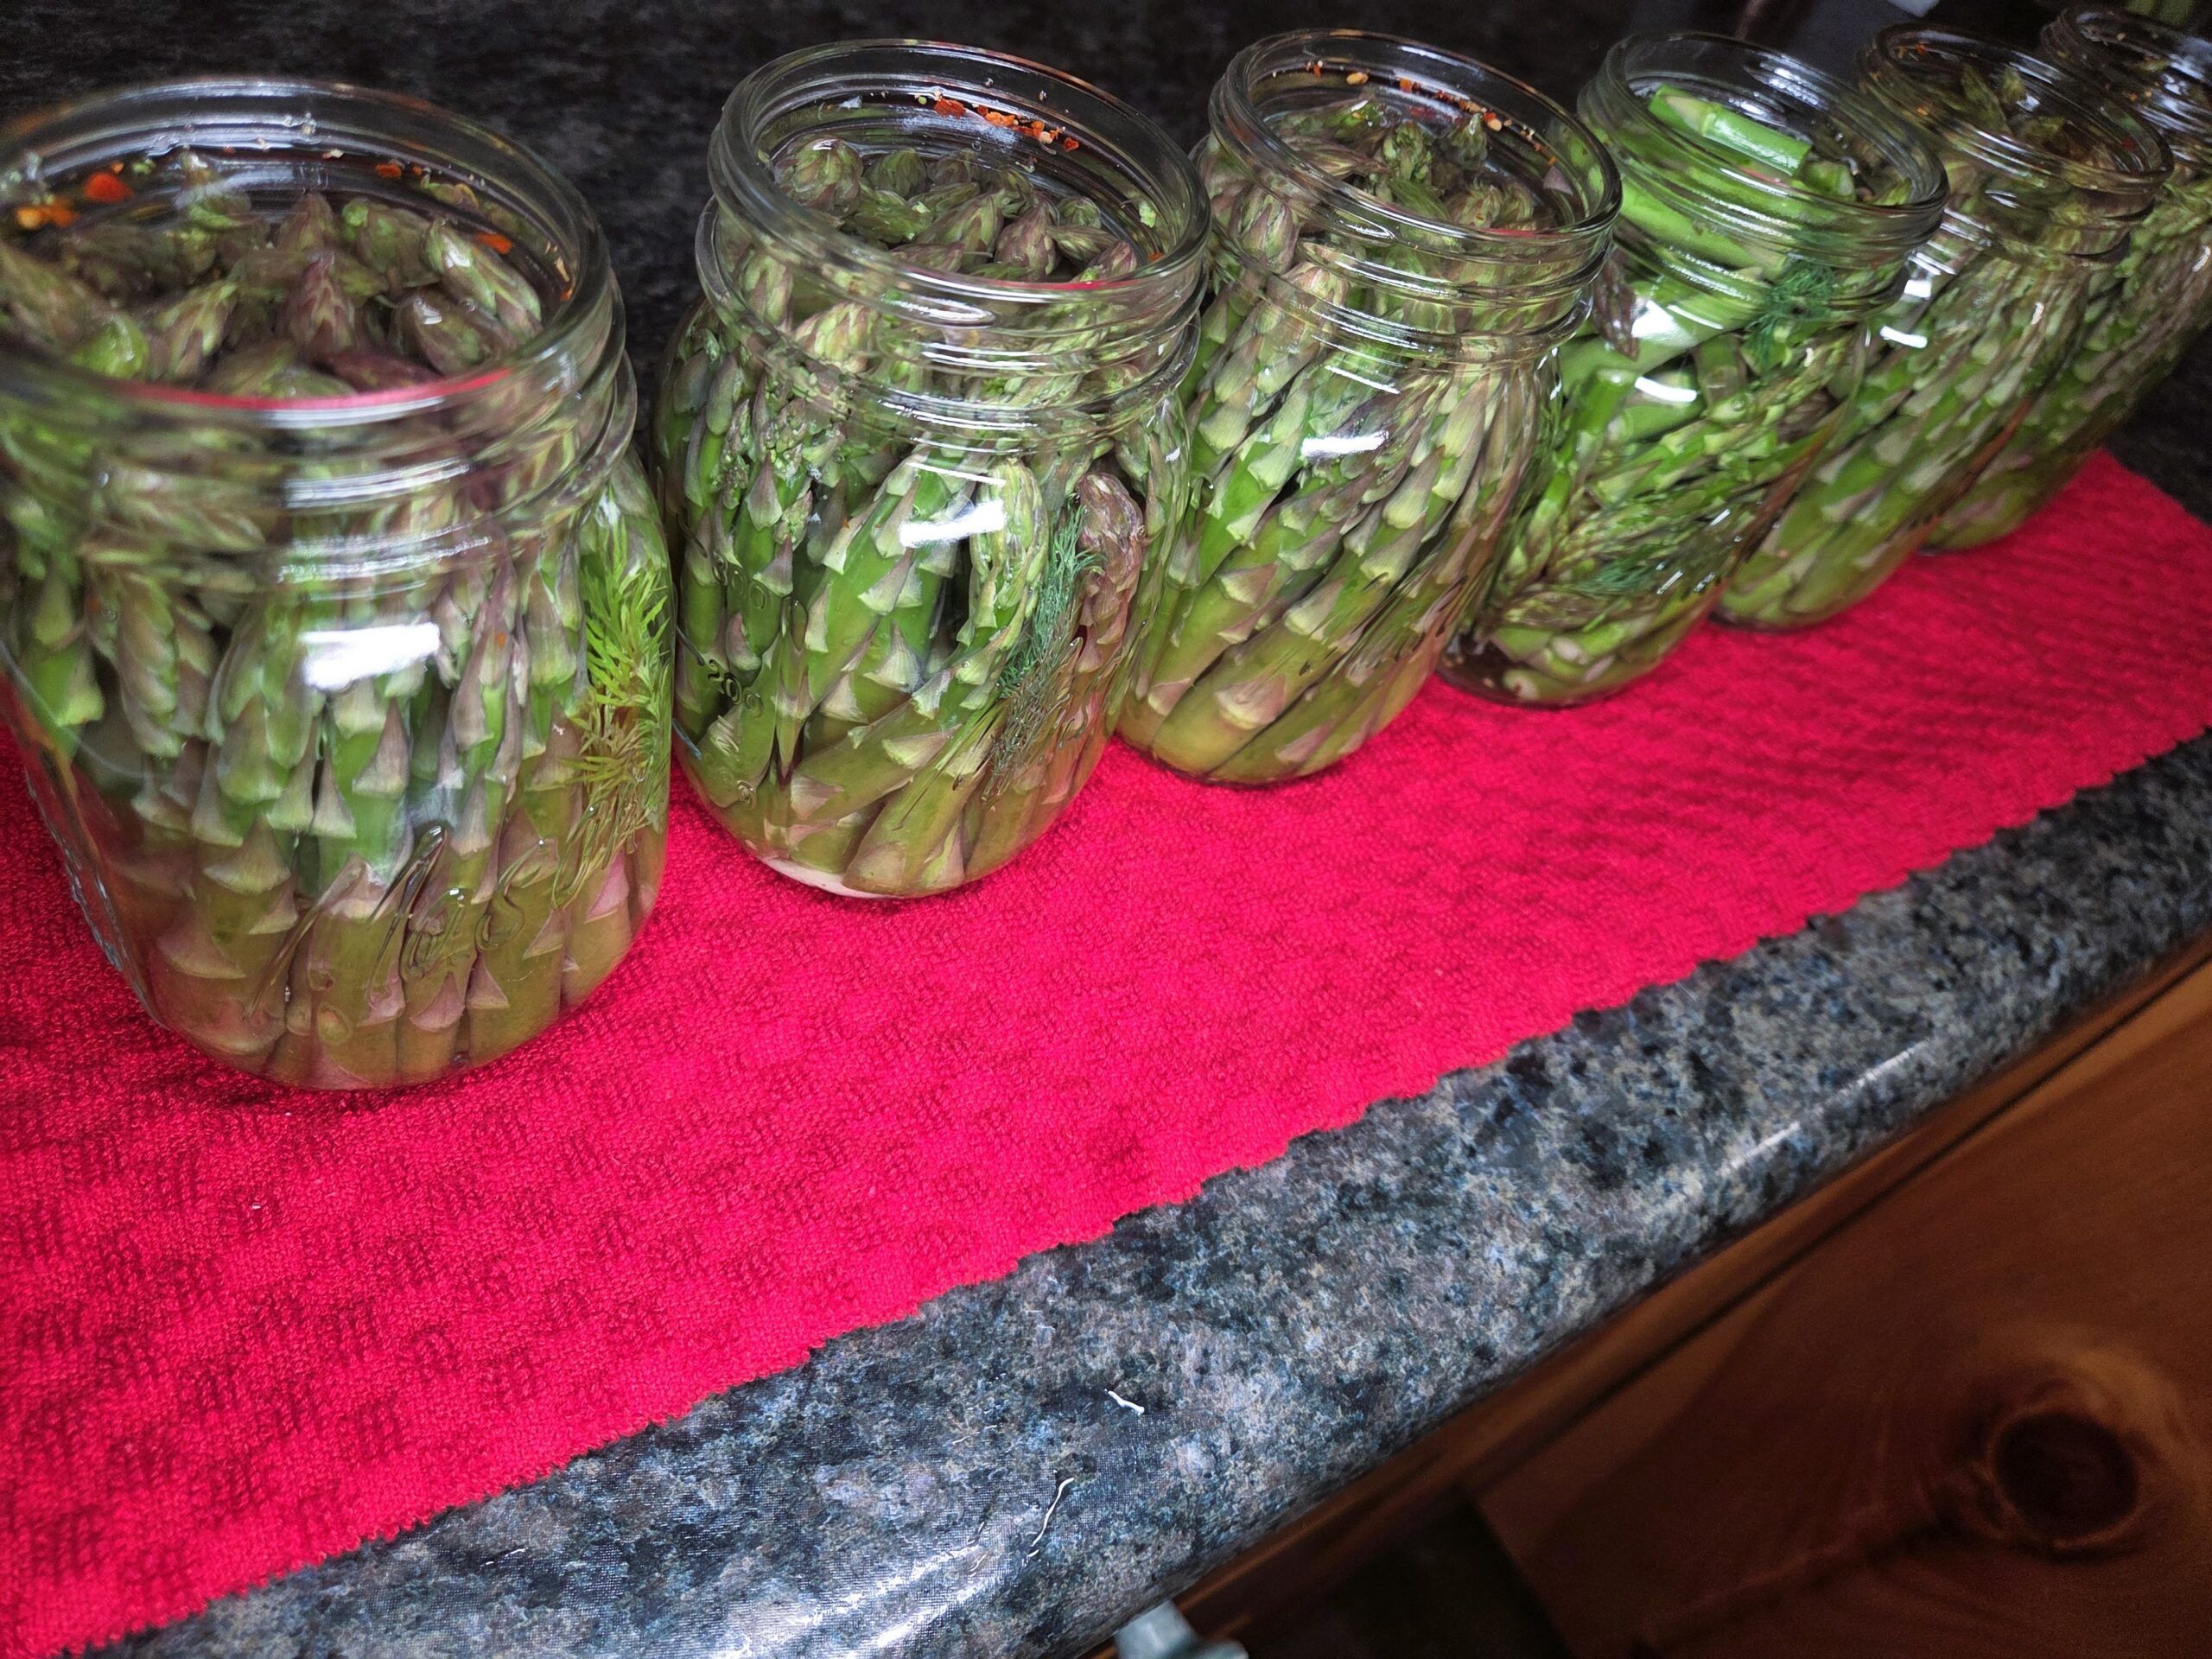
Remove the bay leaves from the pickling brine and fill the jars with the pickling solution, leaving 1/2-inch headspace.
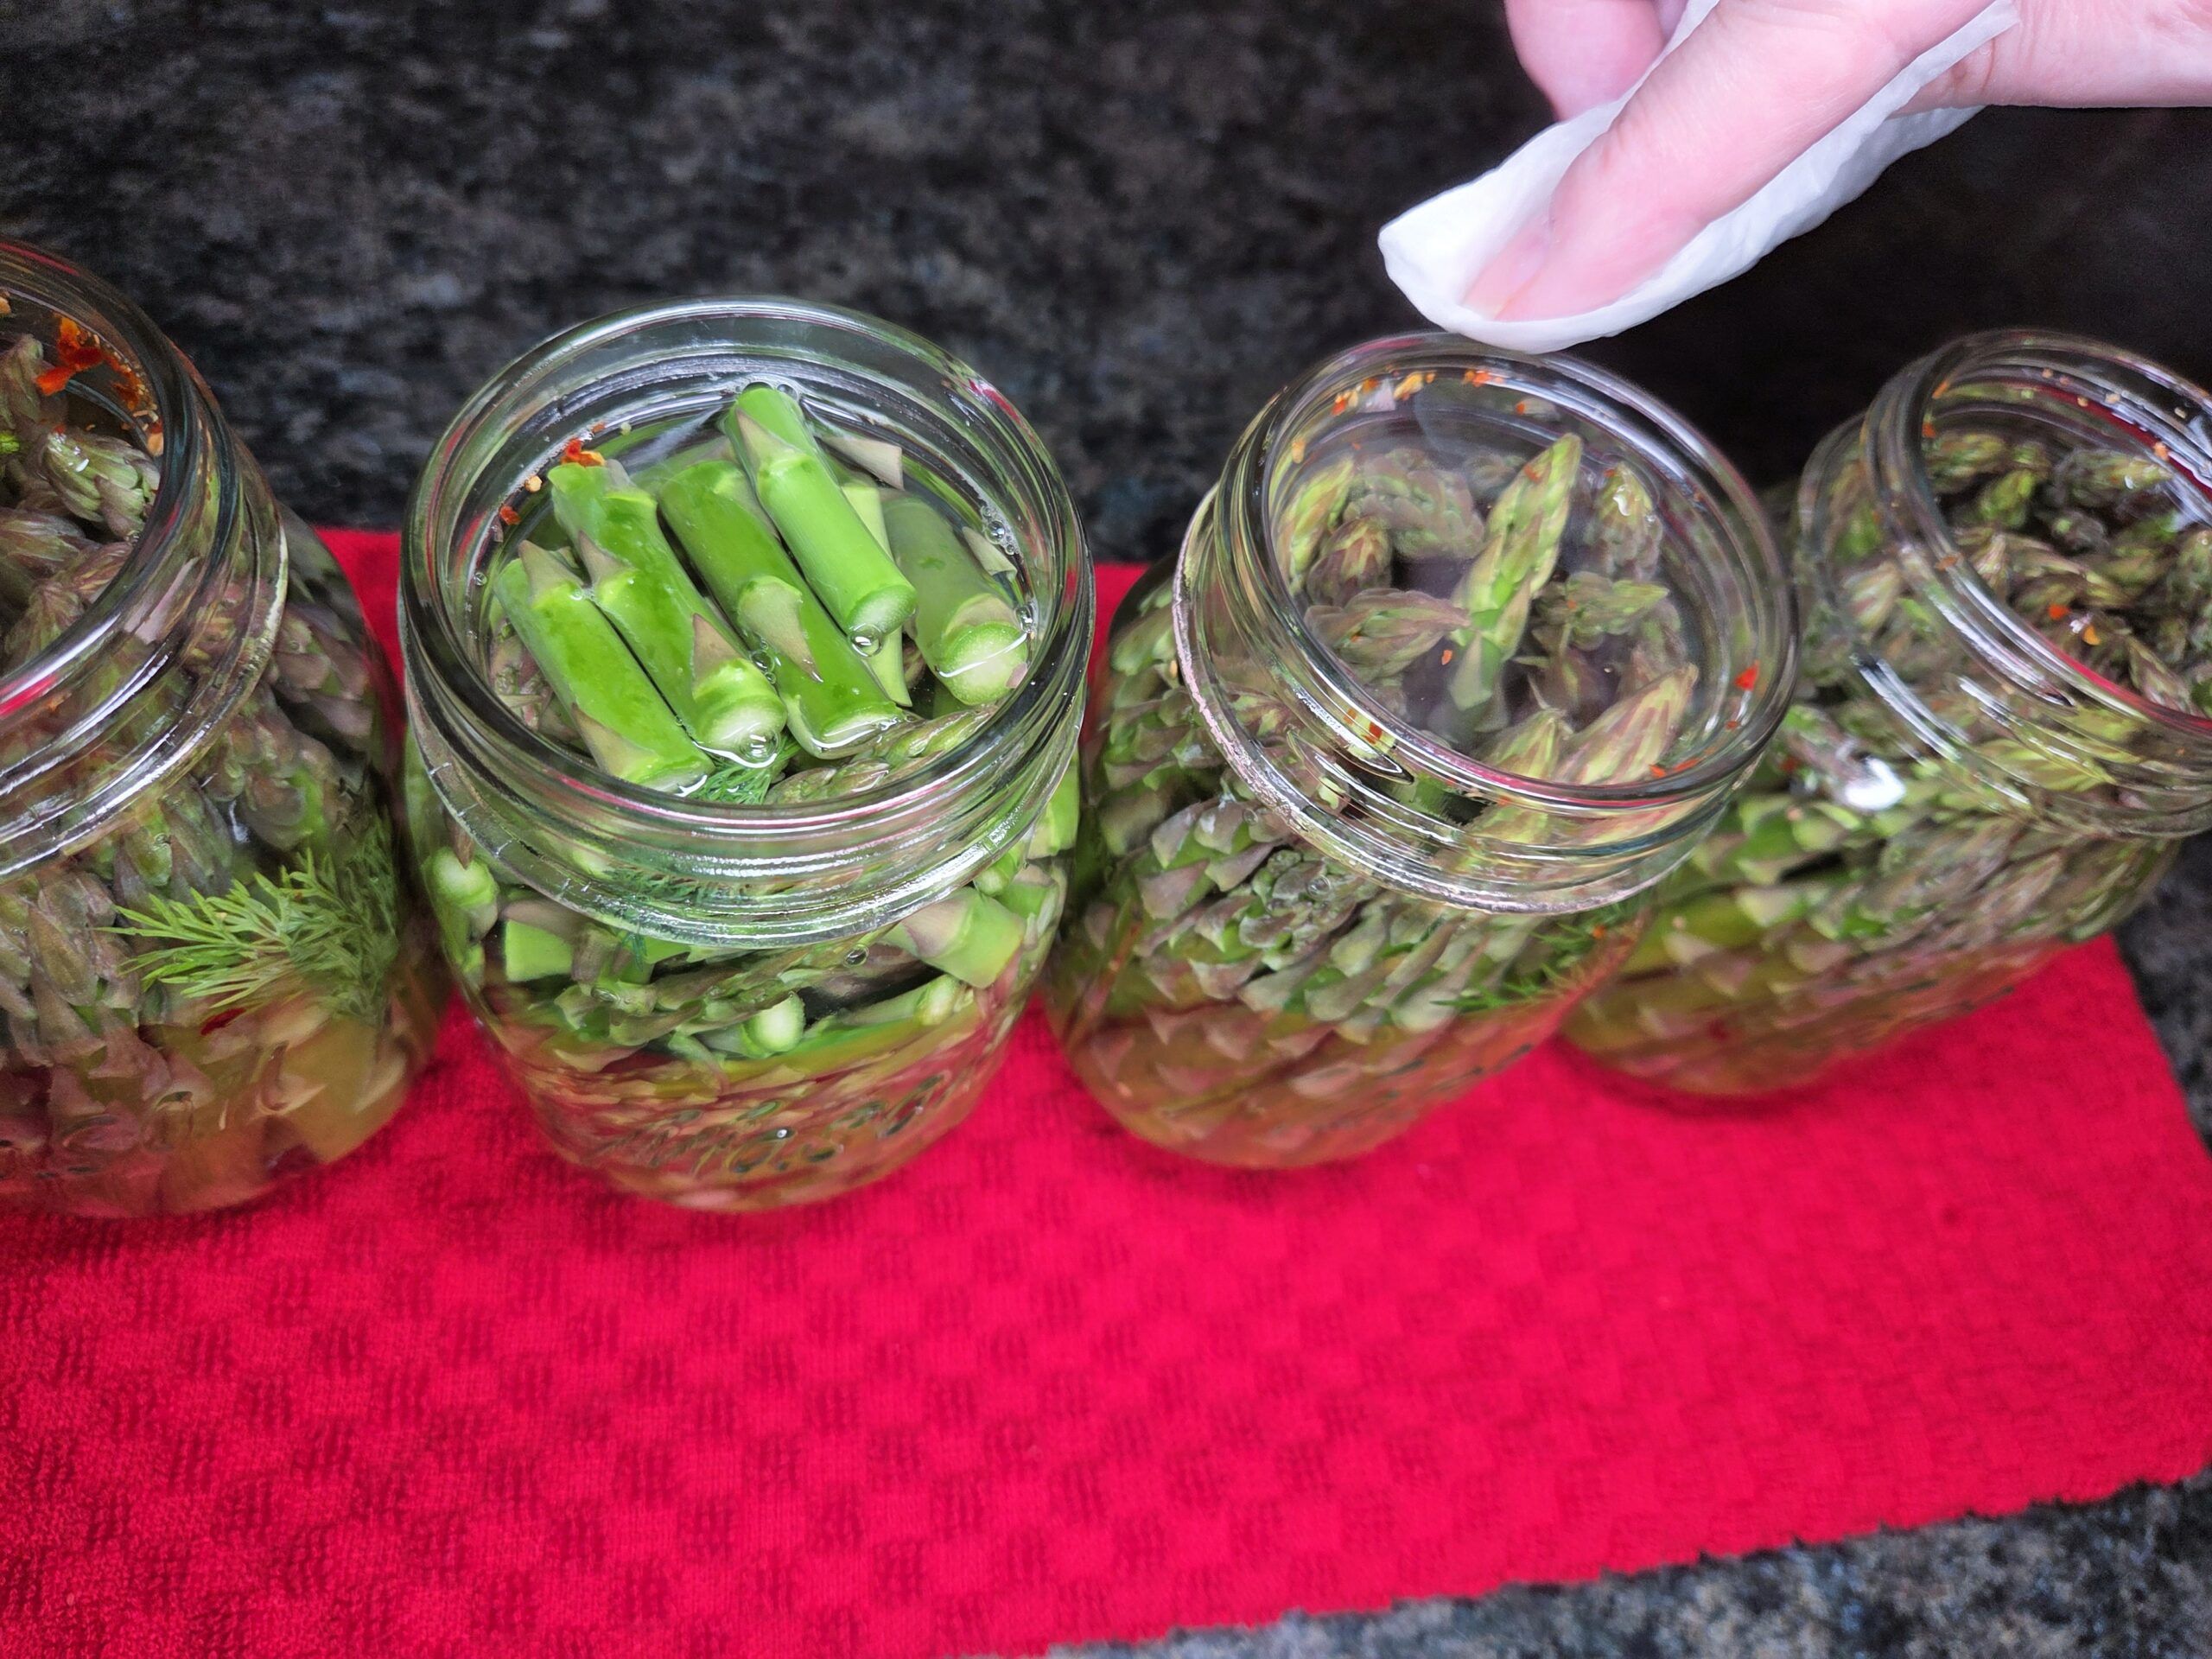
Wipe the jar rims with a clean, damp cloth to remove any residue that could prevent a proper seal.
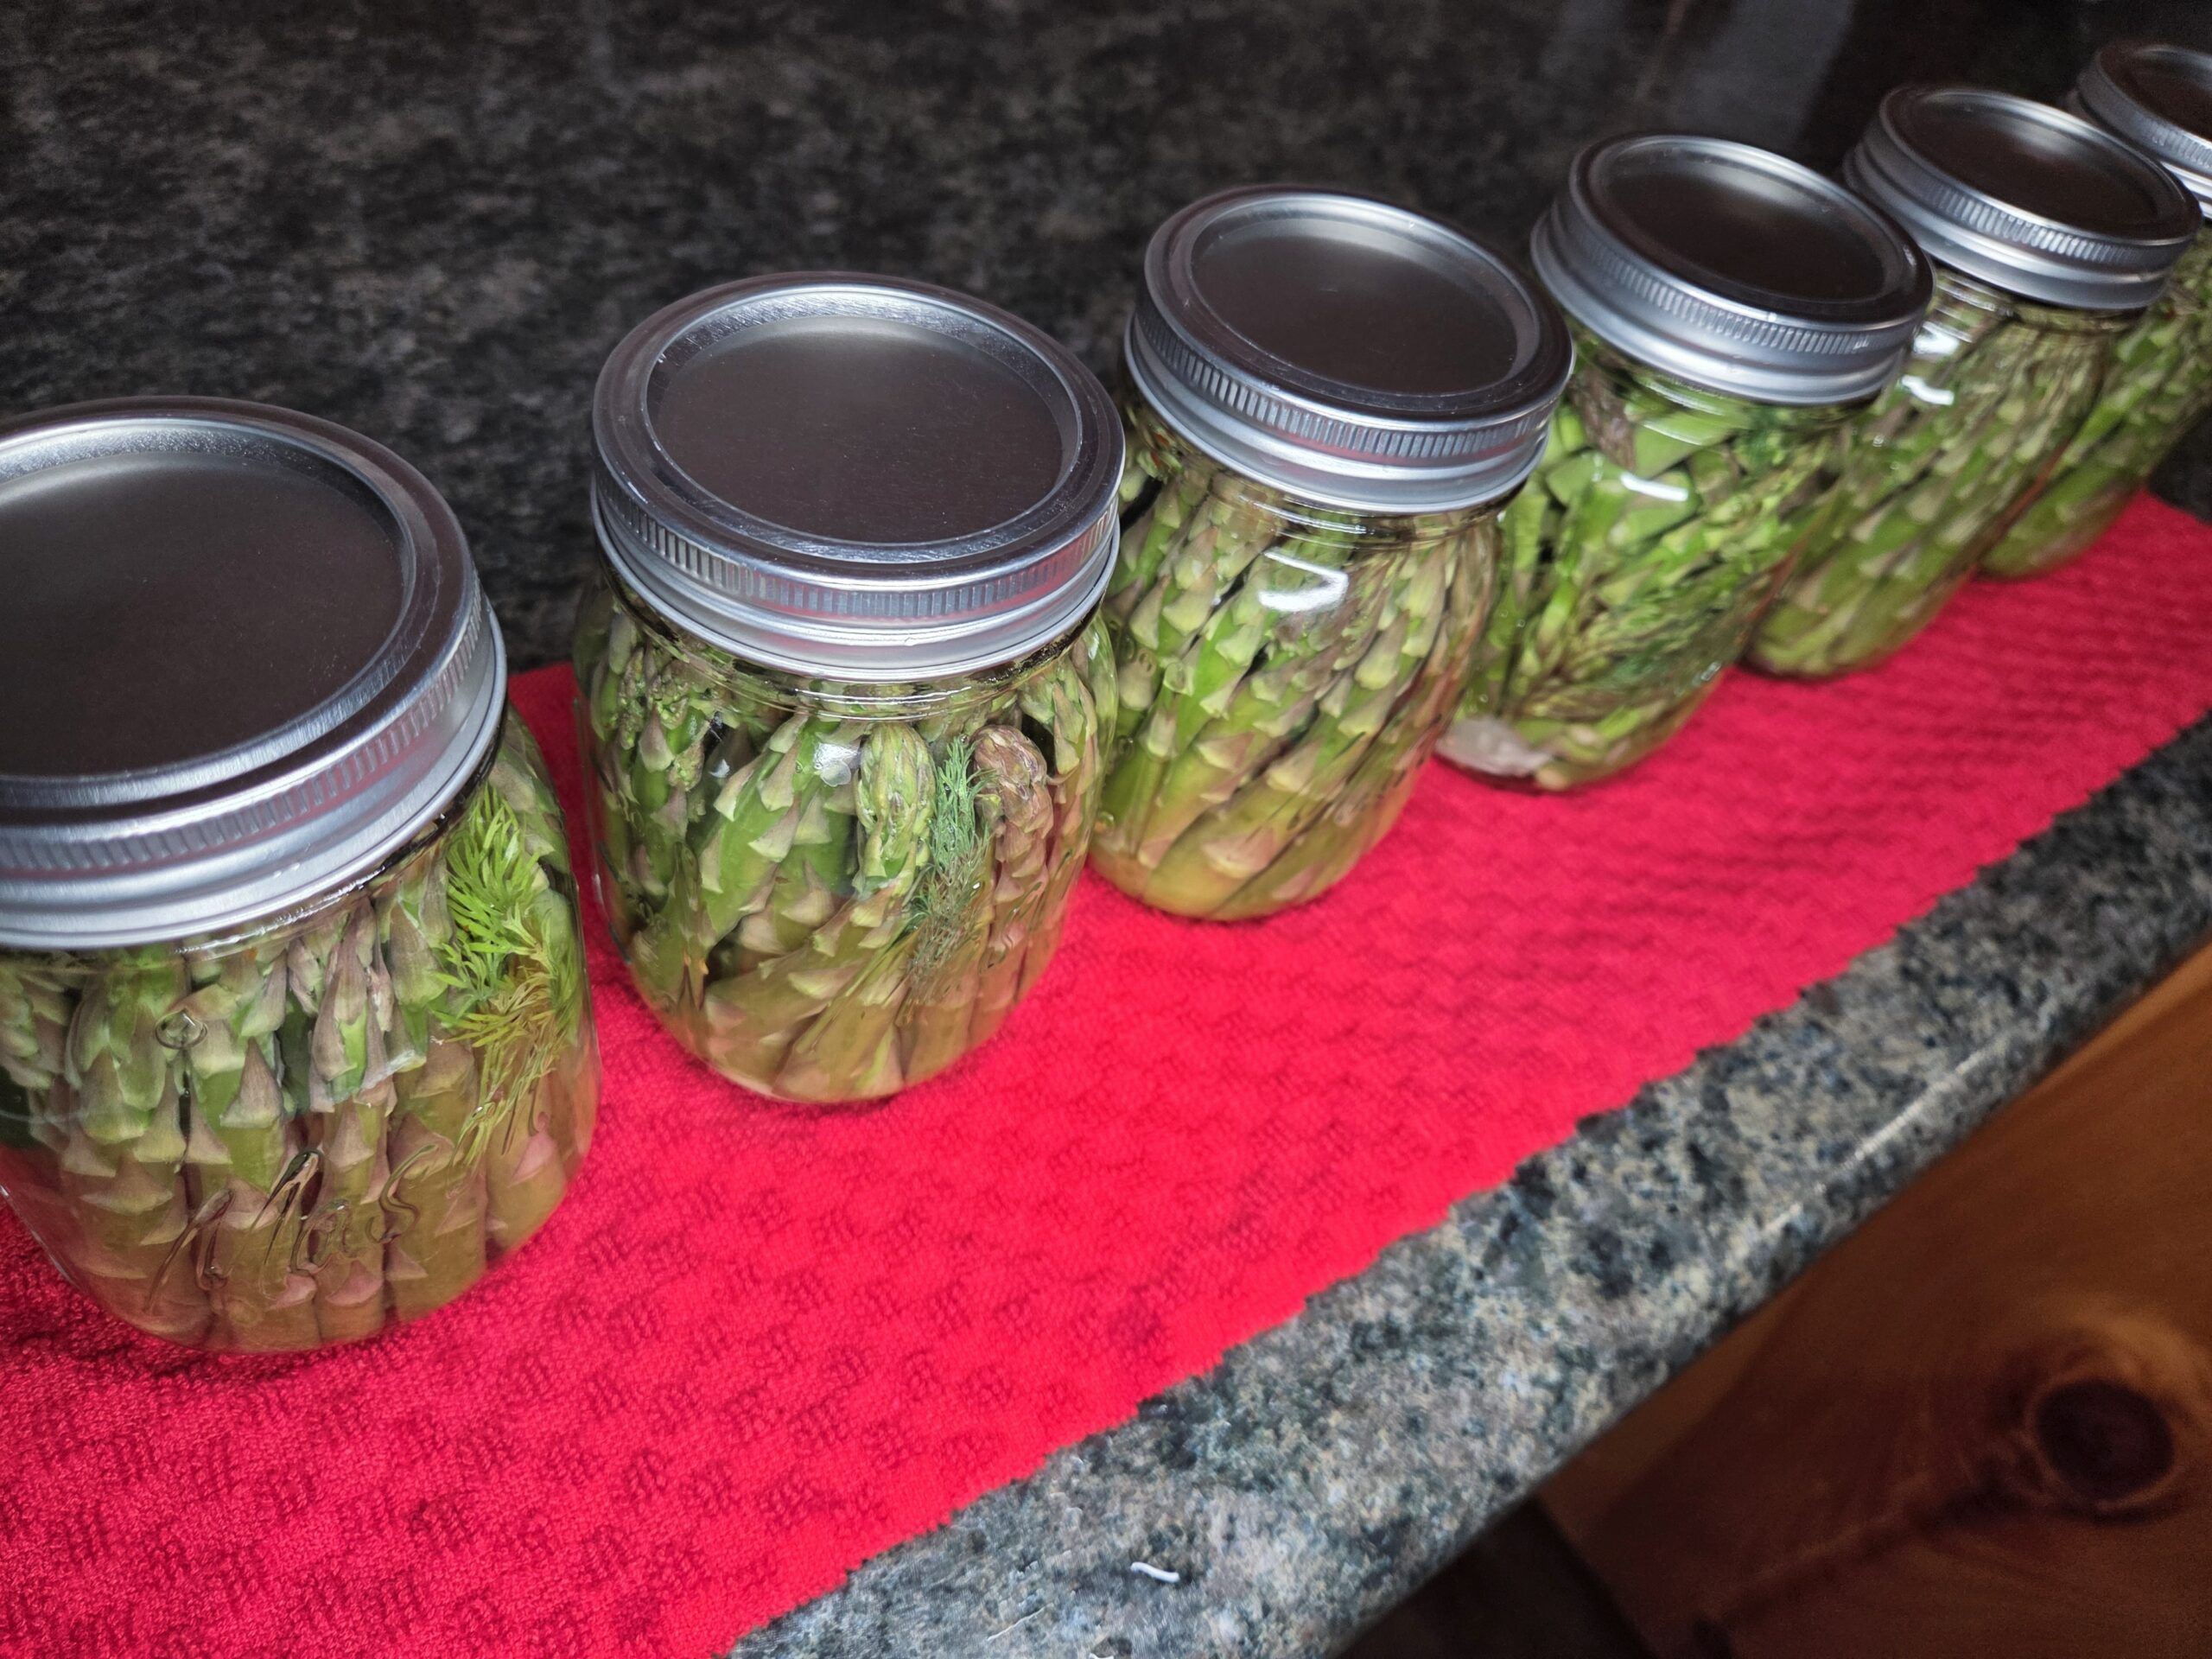
Place the lids on the jars, add the bands, and tighten them to fingertip tightness.
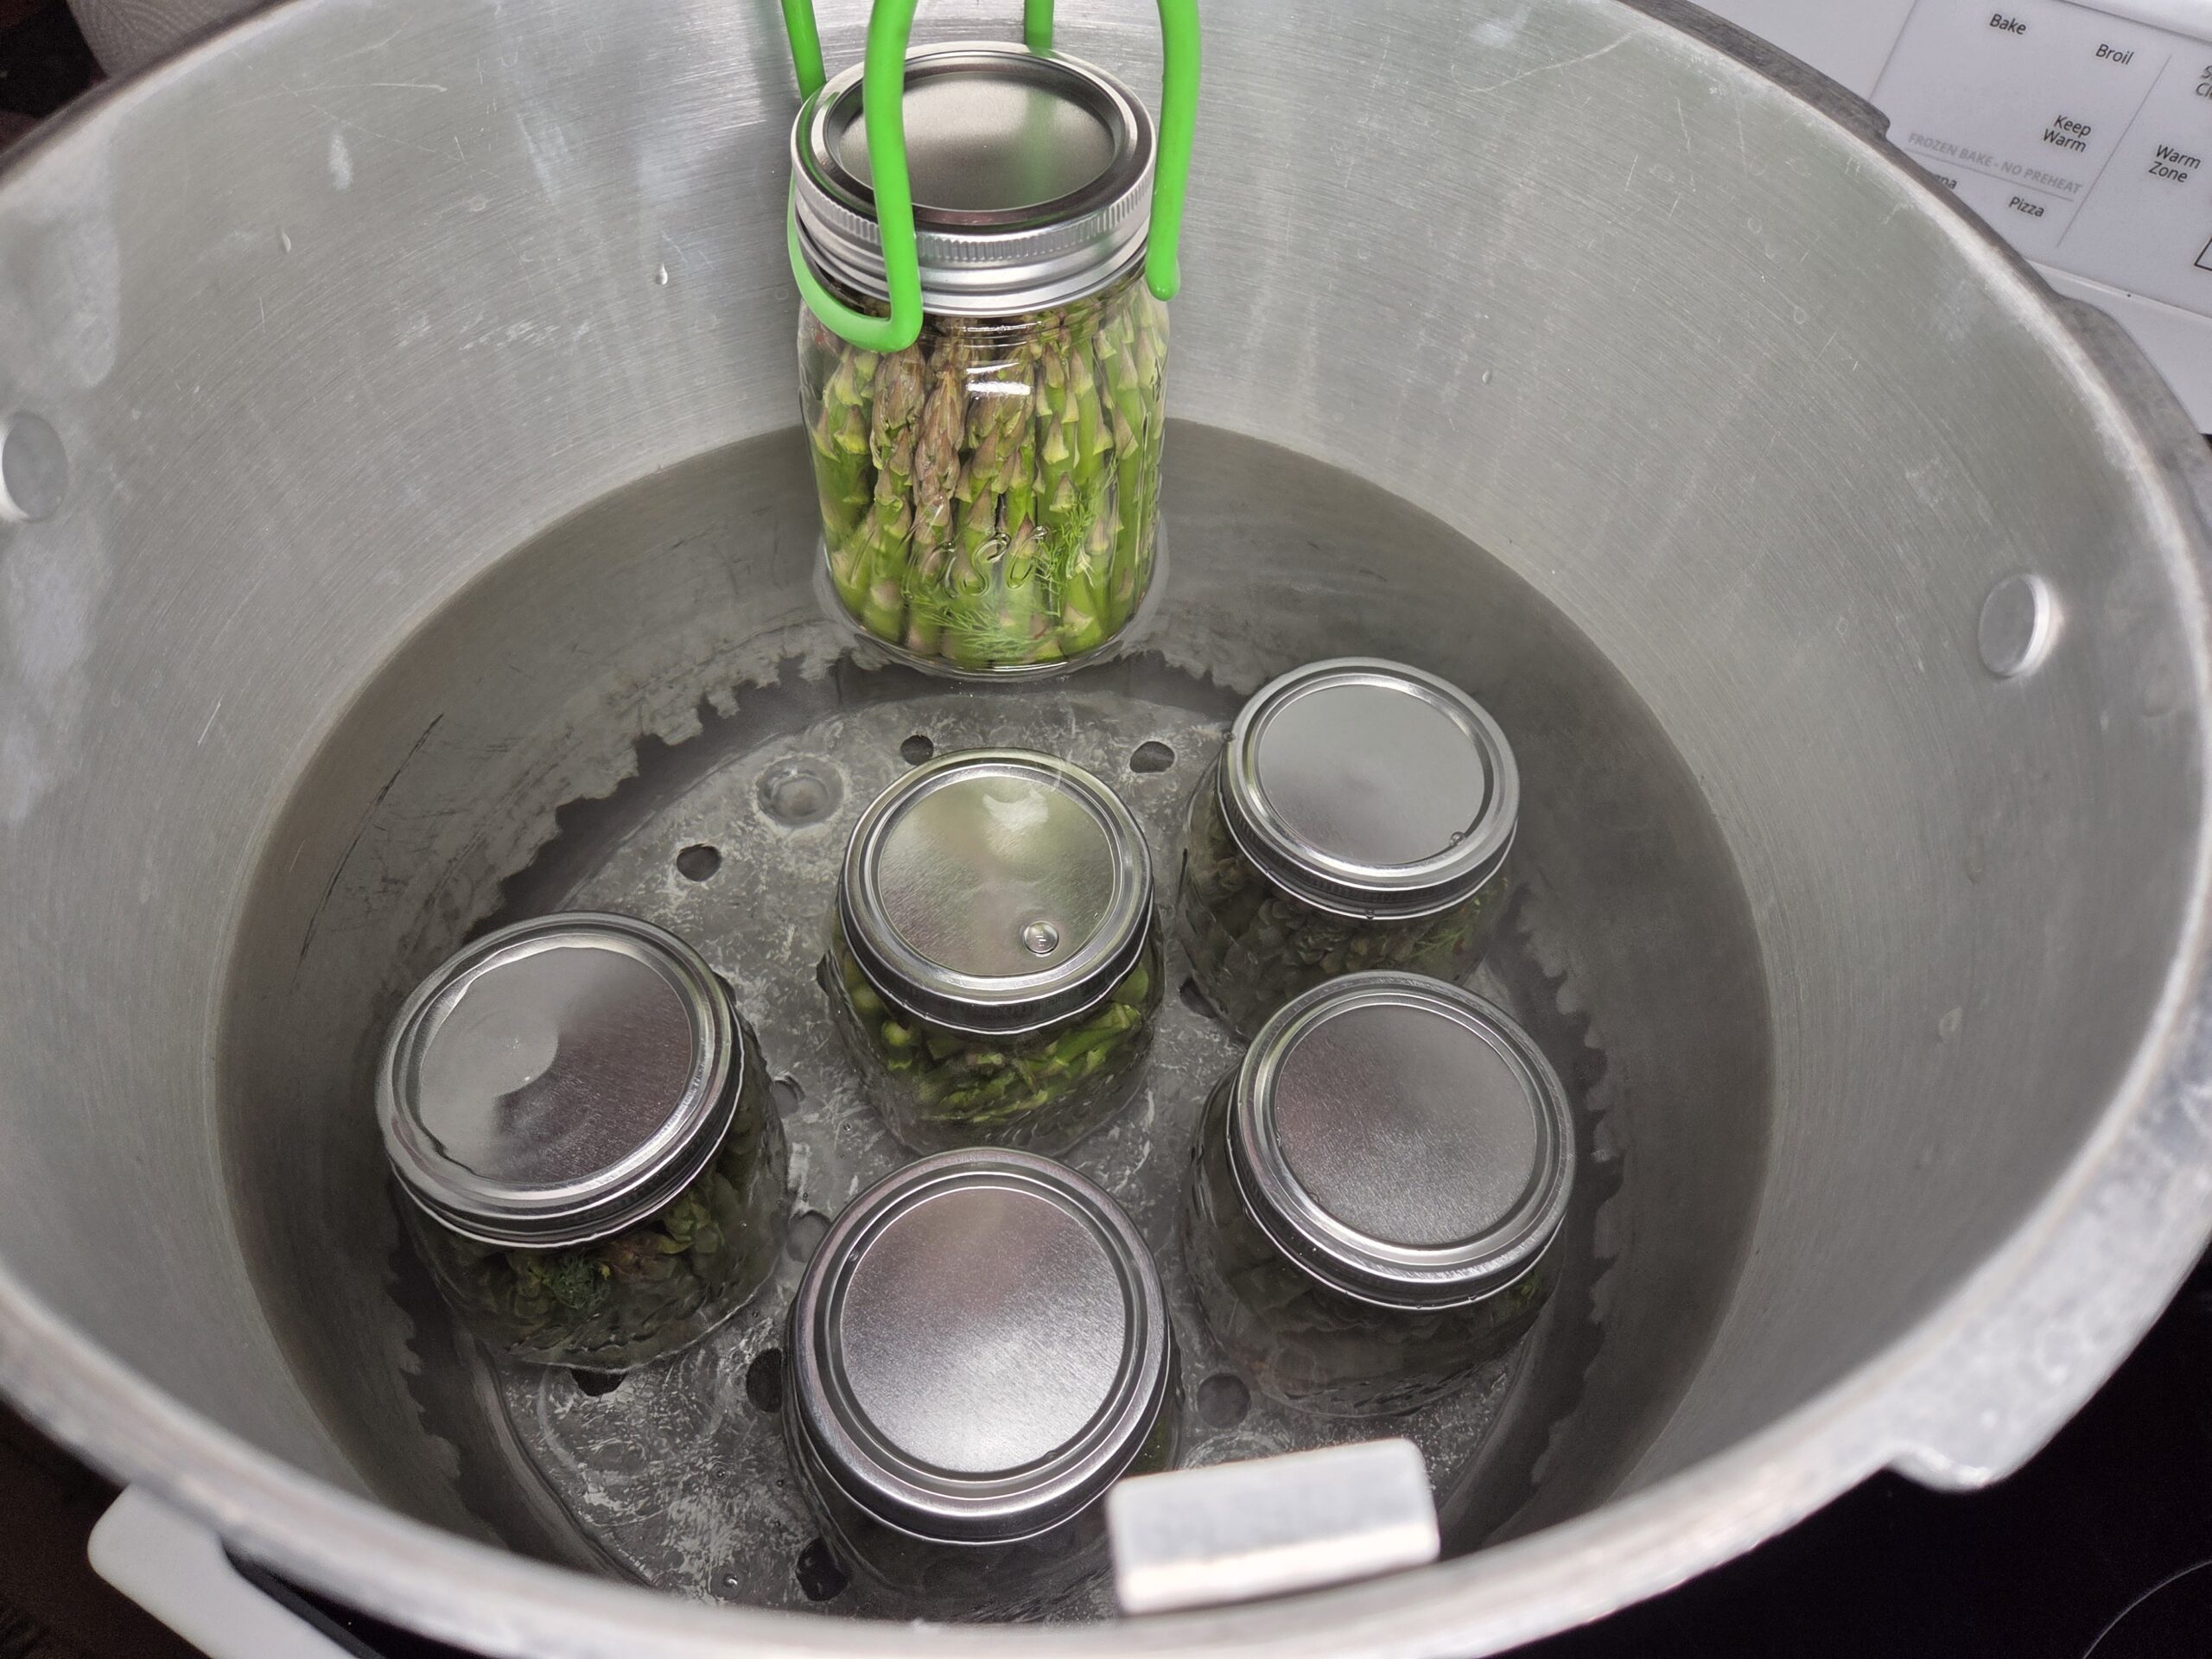
Carefully lower the jars into the boiling water, keeping them upright. When using a jar lifter, make sure it is securely positioned below the neck of the jar (below the screw band of the lid). Tilting the jar could cause food to spill into the lid's sealing area. Make sure the water covers the jars by 1–2 inches. Place the lid on the canner. Begin timing once the water returns to a full boil. Process pints for 10 minutes at elevations from sea level to 1,000 feet. For 1,001–6,000 feet, process for 15 minutes; for 6,000 feet and above, process for 20 minutes. When the processing time is complete, turn off the heat, move the canner off the burner if possible, and carefully remove the lid. Let the jars rest in the hot water for 5 minutes before lifting them out. Place the jars upright on a towel‑lined countertop and leave them undisturbed for 12 to 24 hours. Jars may take several hours to seal, though many seal within the first 30 minutes or even during processing. After 12 hours, check the seals and clean the jars. Label with contents and date—store sealed jars for up to one year. Refrigerate any jars that did not seal.
Enjoy!
Conclusion
Kitchen Tools :Need some tools or ingredients to make this recipe? Use my Amazon Affiliate links to shop. I will make a small commission and it doesn't cost you any extra. Thank you for visiting.
Morton All Natural Canning & Pickling Salt McCormick Culinary Whole Yellow Mustard Seed Simply Organic Whole Bay Leaf Simply Organic Crushed Red Pepper Ball Pickle Crisp Granules Presto 23-Quart Induction Compatible Pressure Canner XL Composite Wood Cutting Board with Juice Groove, Non-Slip Feet Paksh Mason Jars with Lids, 16 Oz Regular Mouth Glass Canning Jars The All New Ball Book Of Canning And Preserving

Leave a Review