-
Prep Time30 minutes
-
Cook Time45-60 minutes plus canning times
-
Serv SizeYields 7 half pint jars
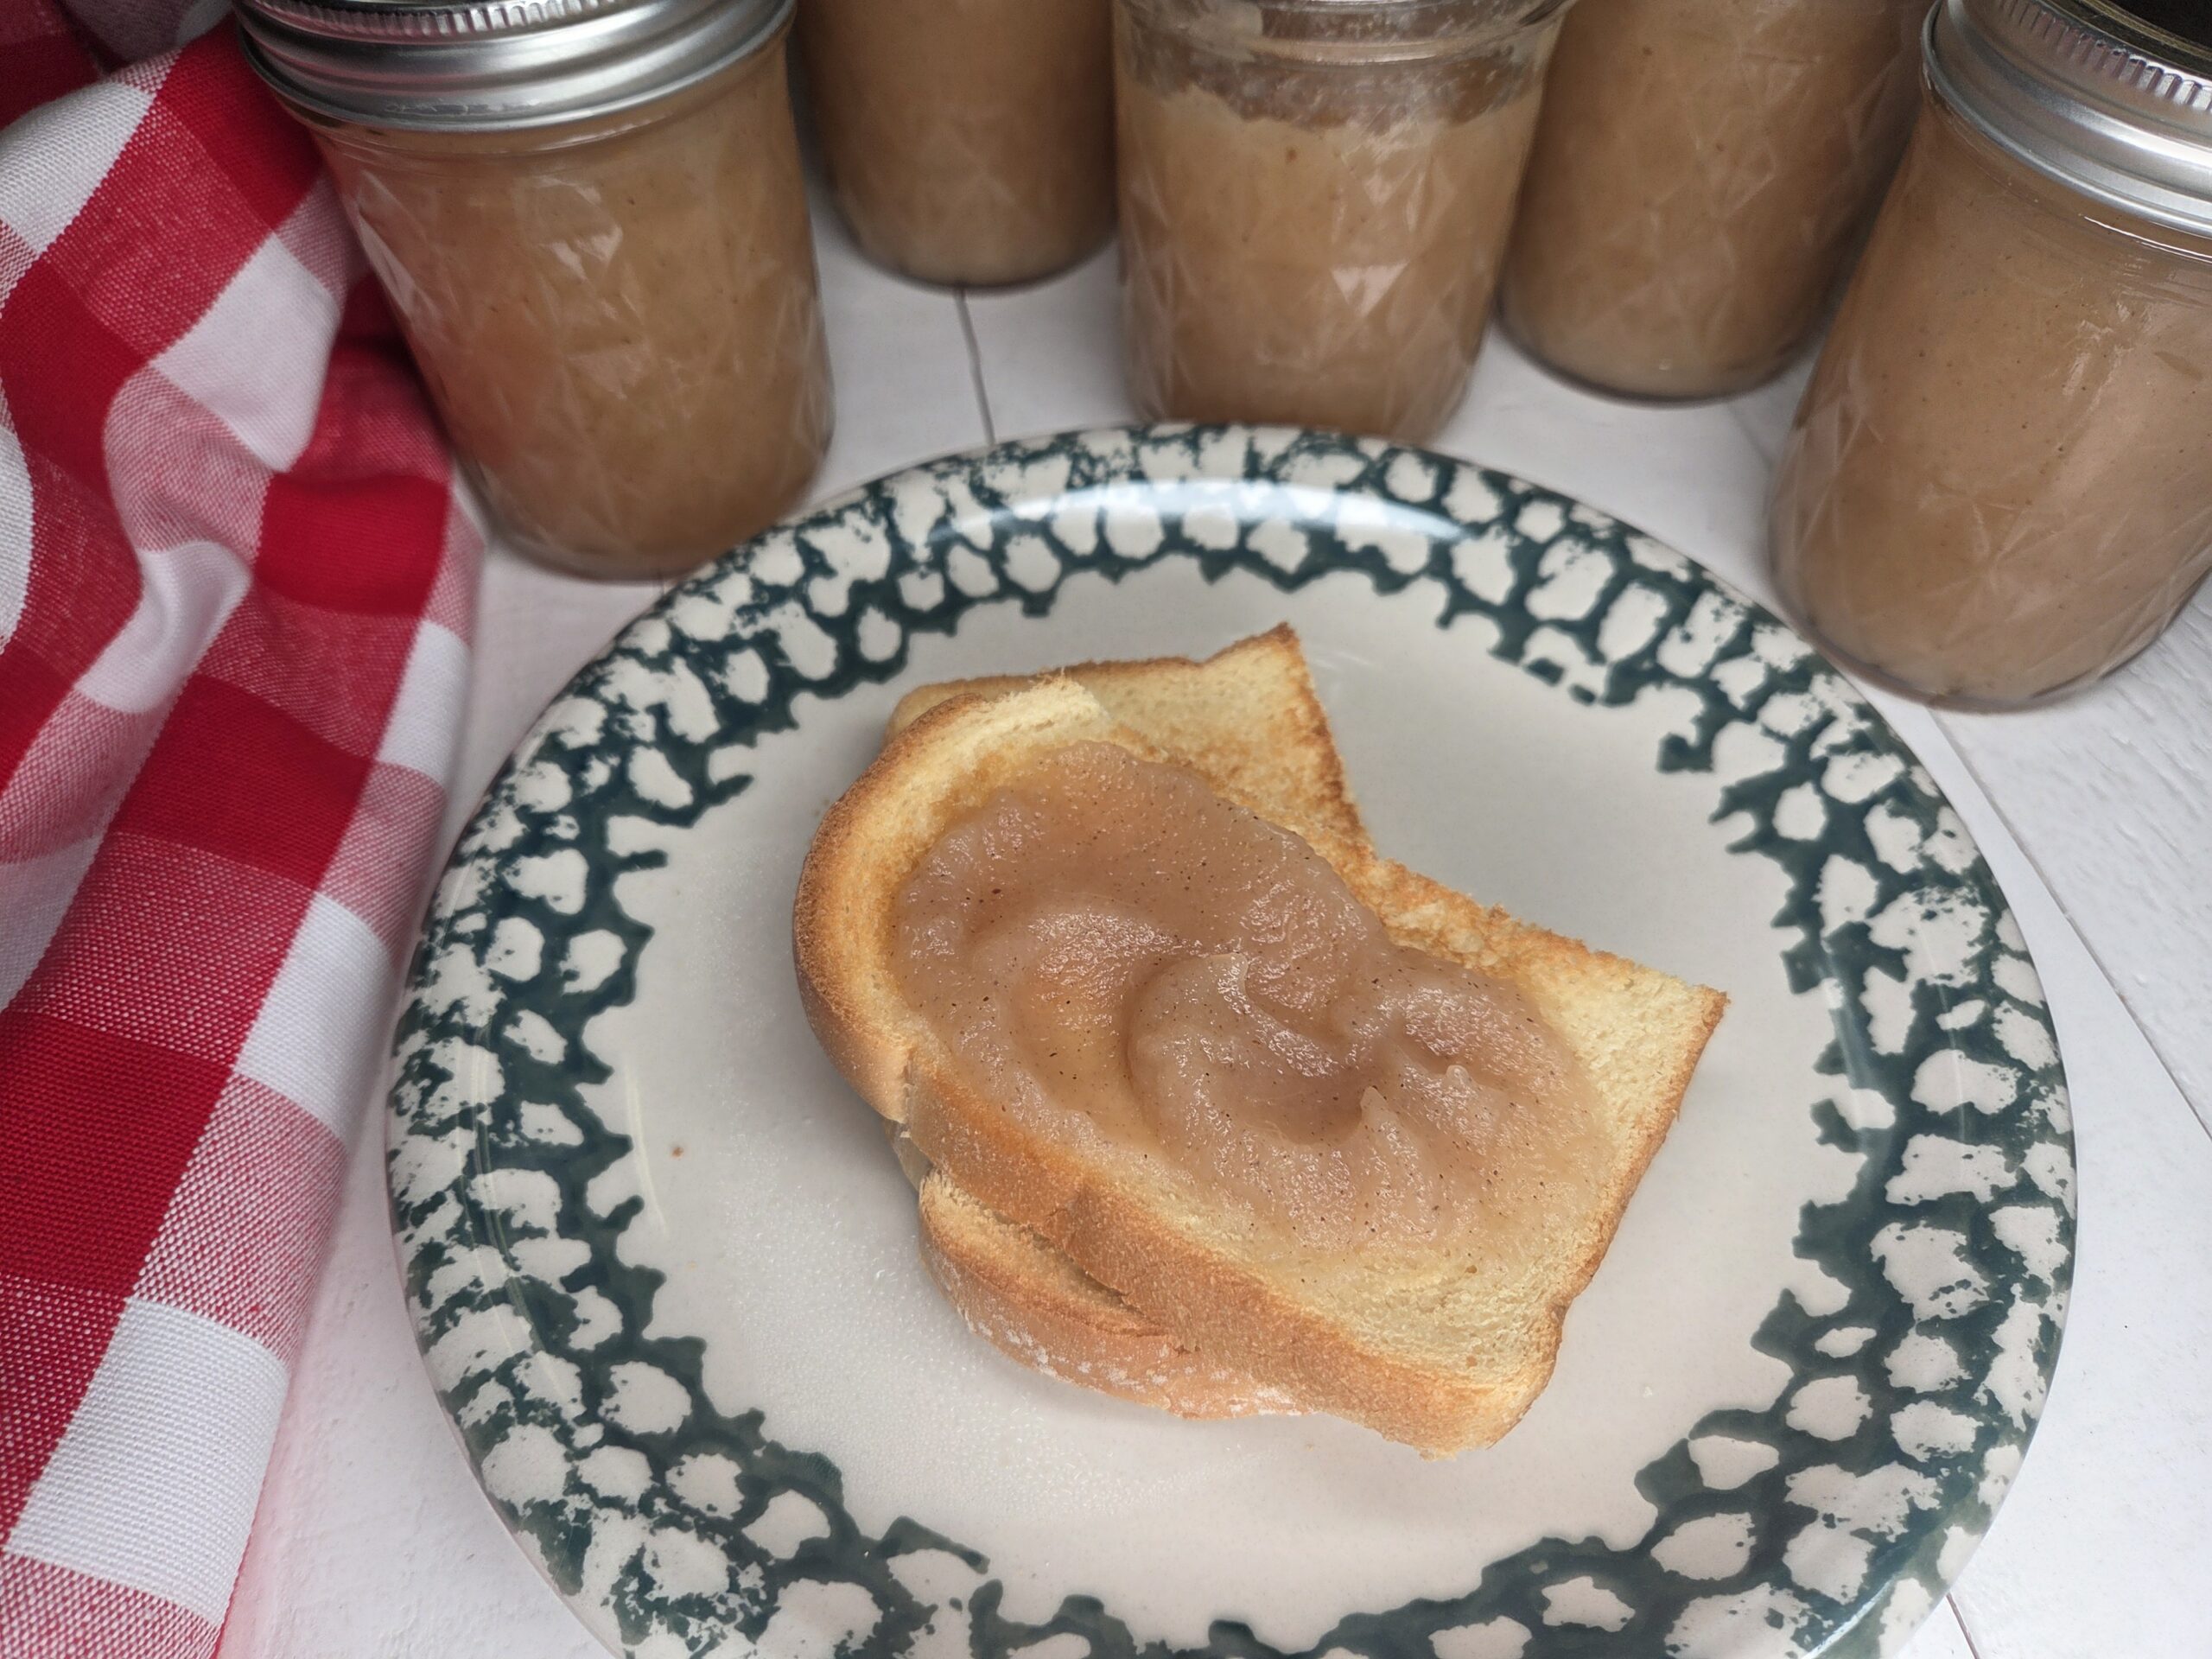
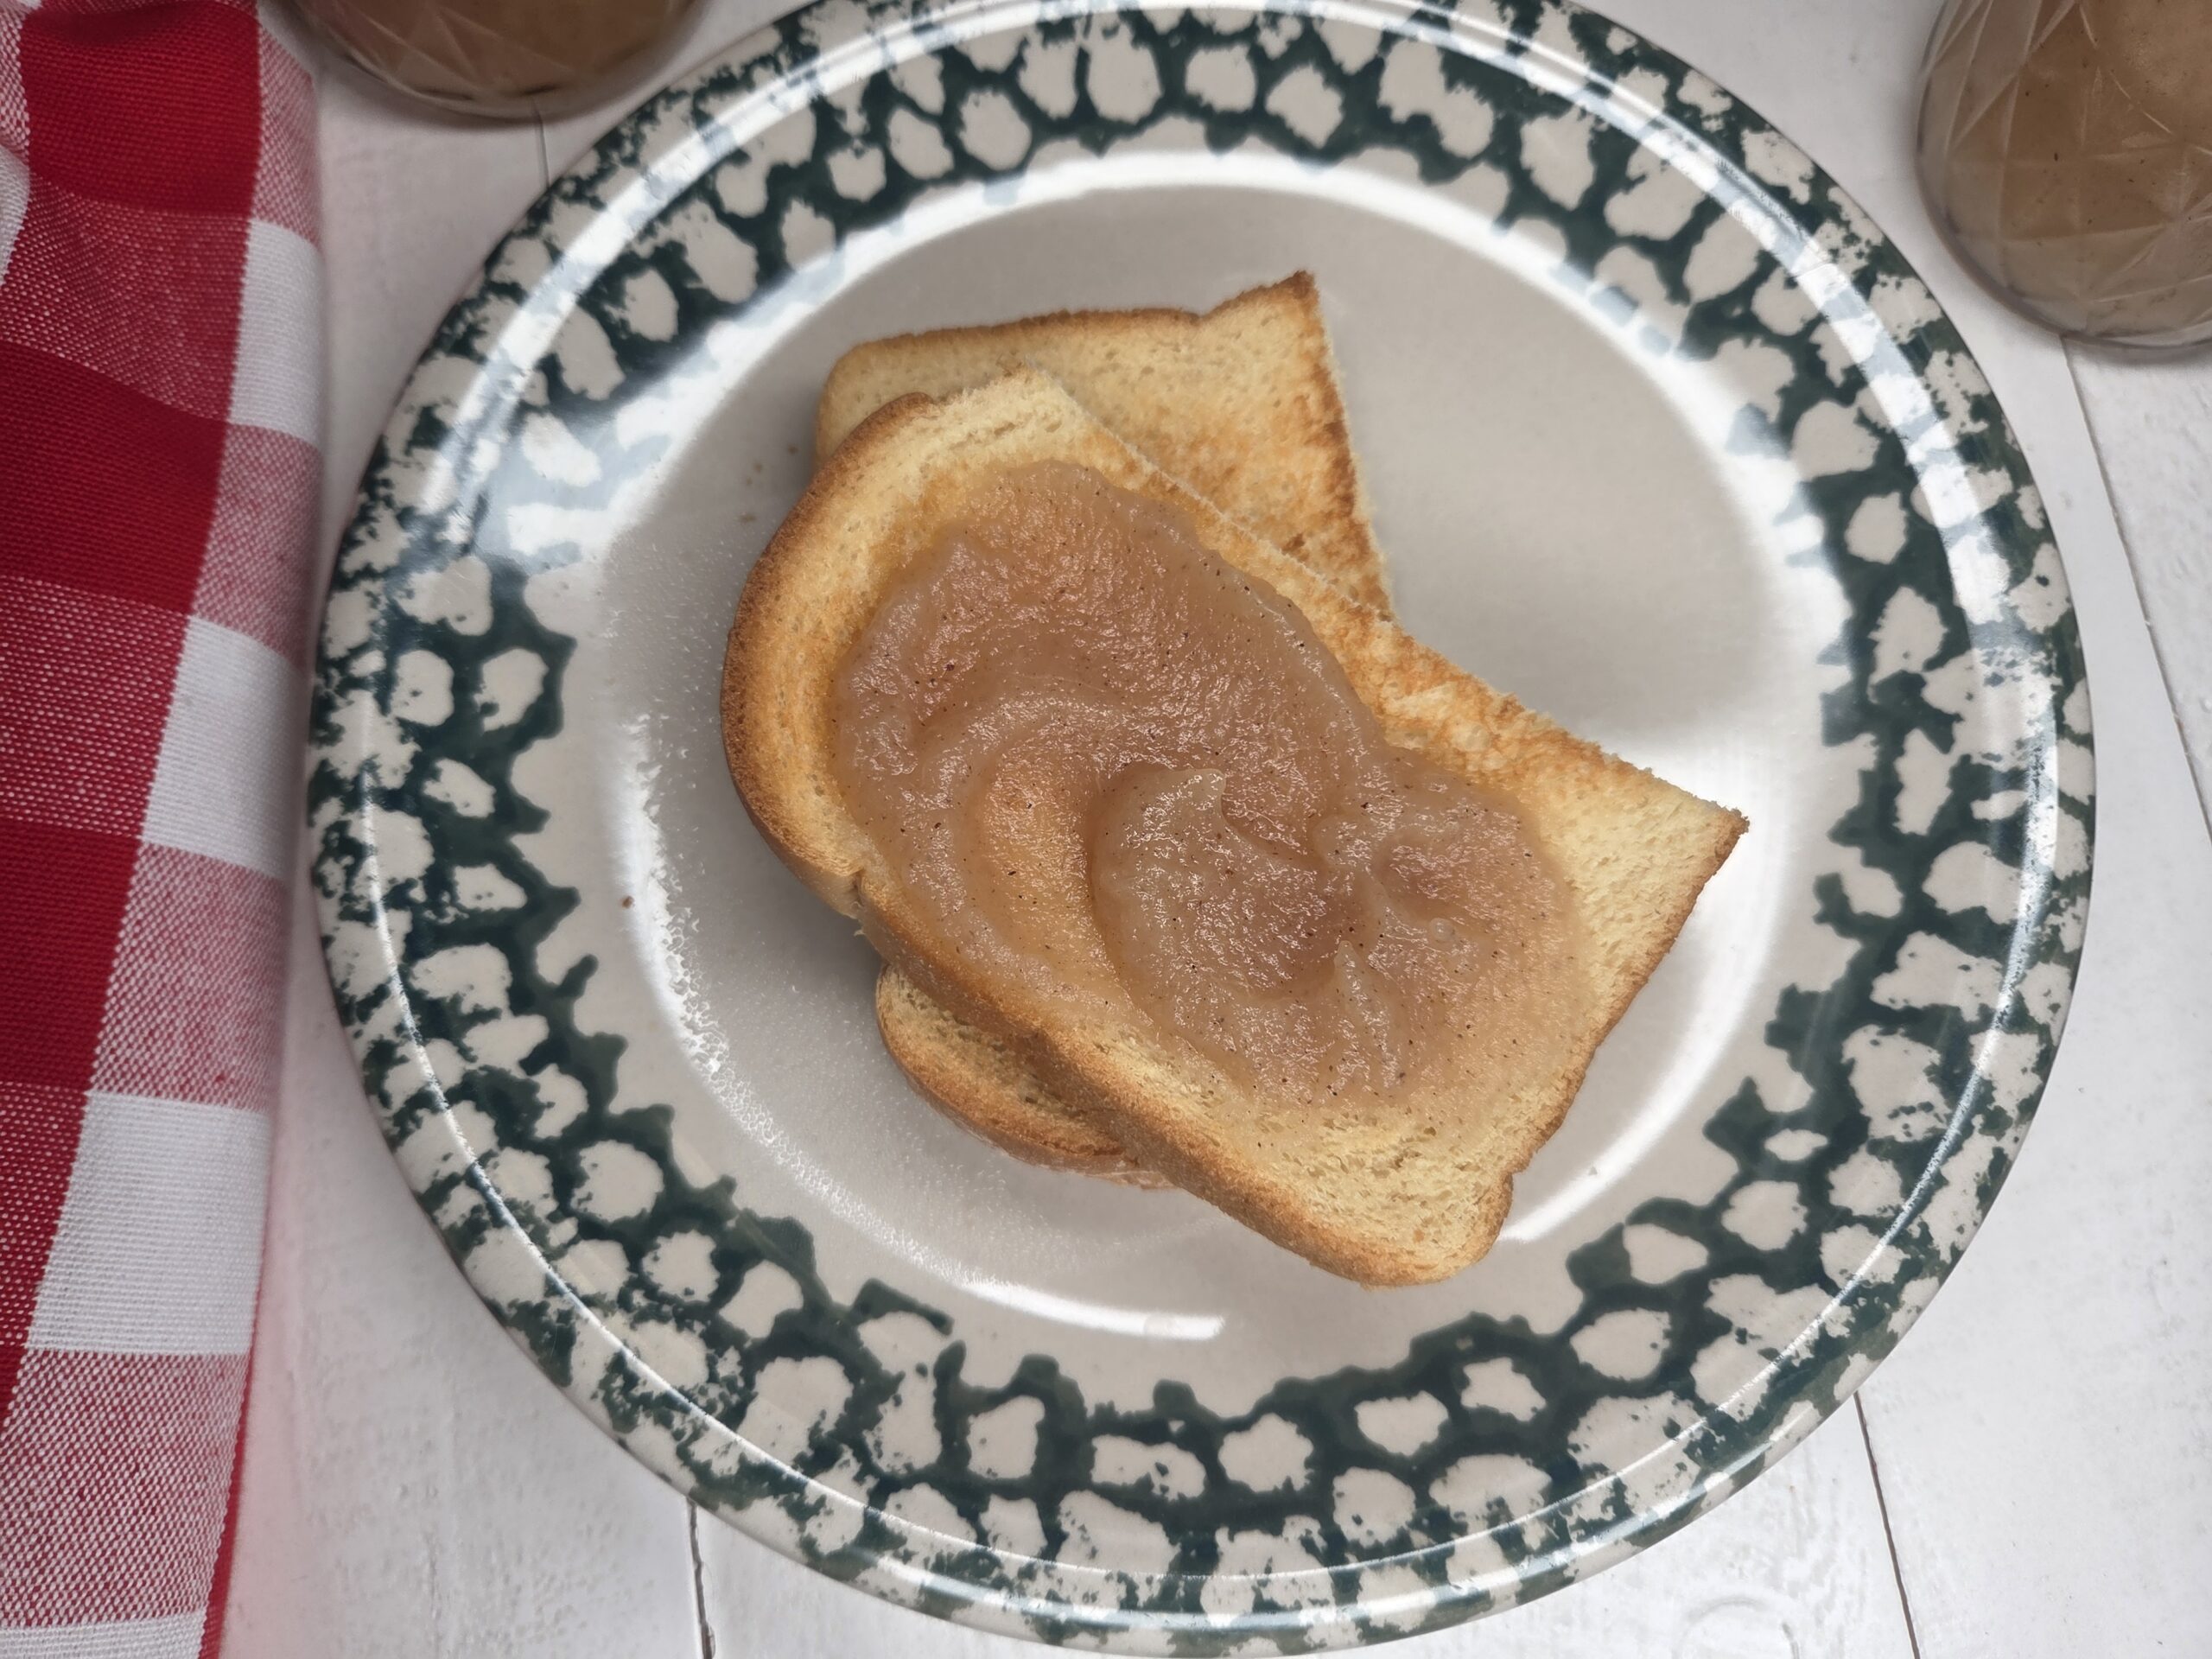
Velvety smooth, gently spiced with cinnamon and nutmeg, and bursting with orchard-fresh flavor—this pear butter is pure autumn comfort in a jar.
Ingredients
Directions
Sweet, silky, and spiced just right—this homemade orchard-fresh pear butter is autumn in a jar. With ripe pears simmered down to a velvety spread, it’s the kind of recipe that fills your kitchen with the comforting scent of cinnamon and nutmeg. Slather it on toast, swirl it into oatmeal, or gift it to someone who needs a little homemade love. Simple ingredients, slow cooking, and big flavor—this pear butter is pure spoon-worthy bliss. This recipe yields 7 half-pint jars and includes full, step-by-step canning instructions for all altitudes.
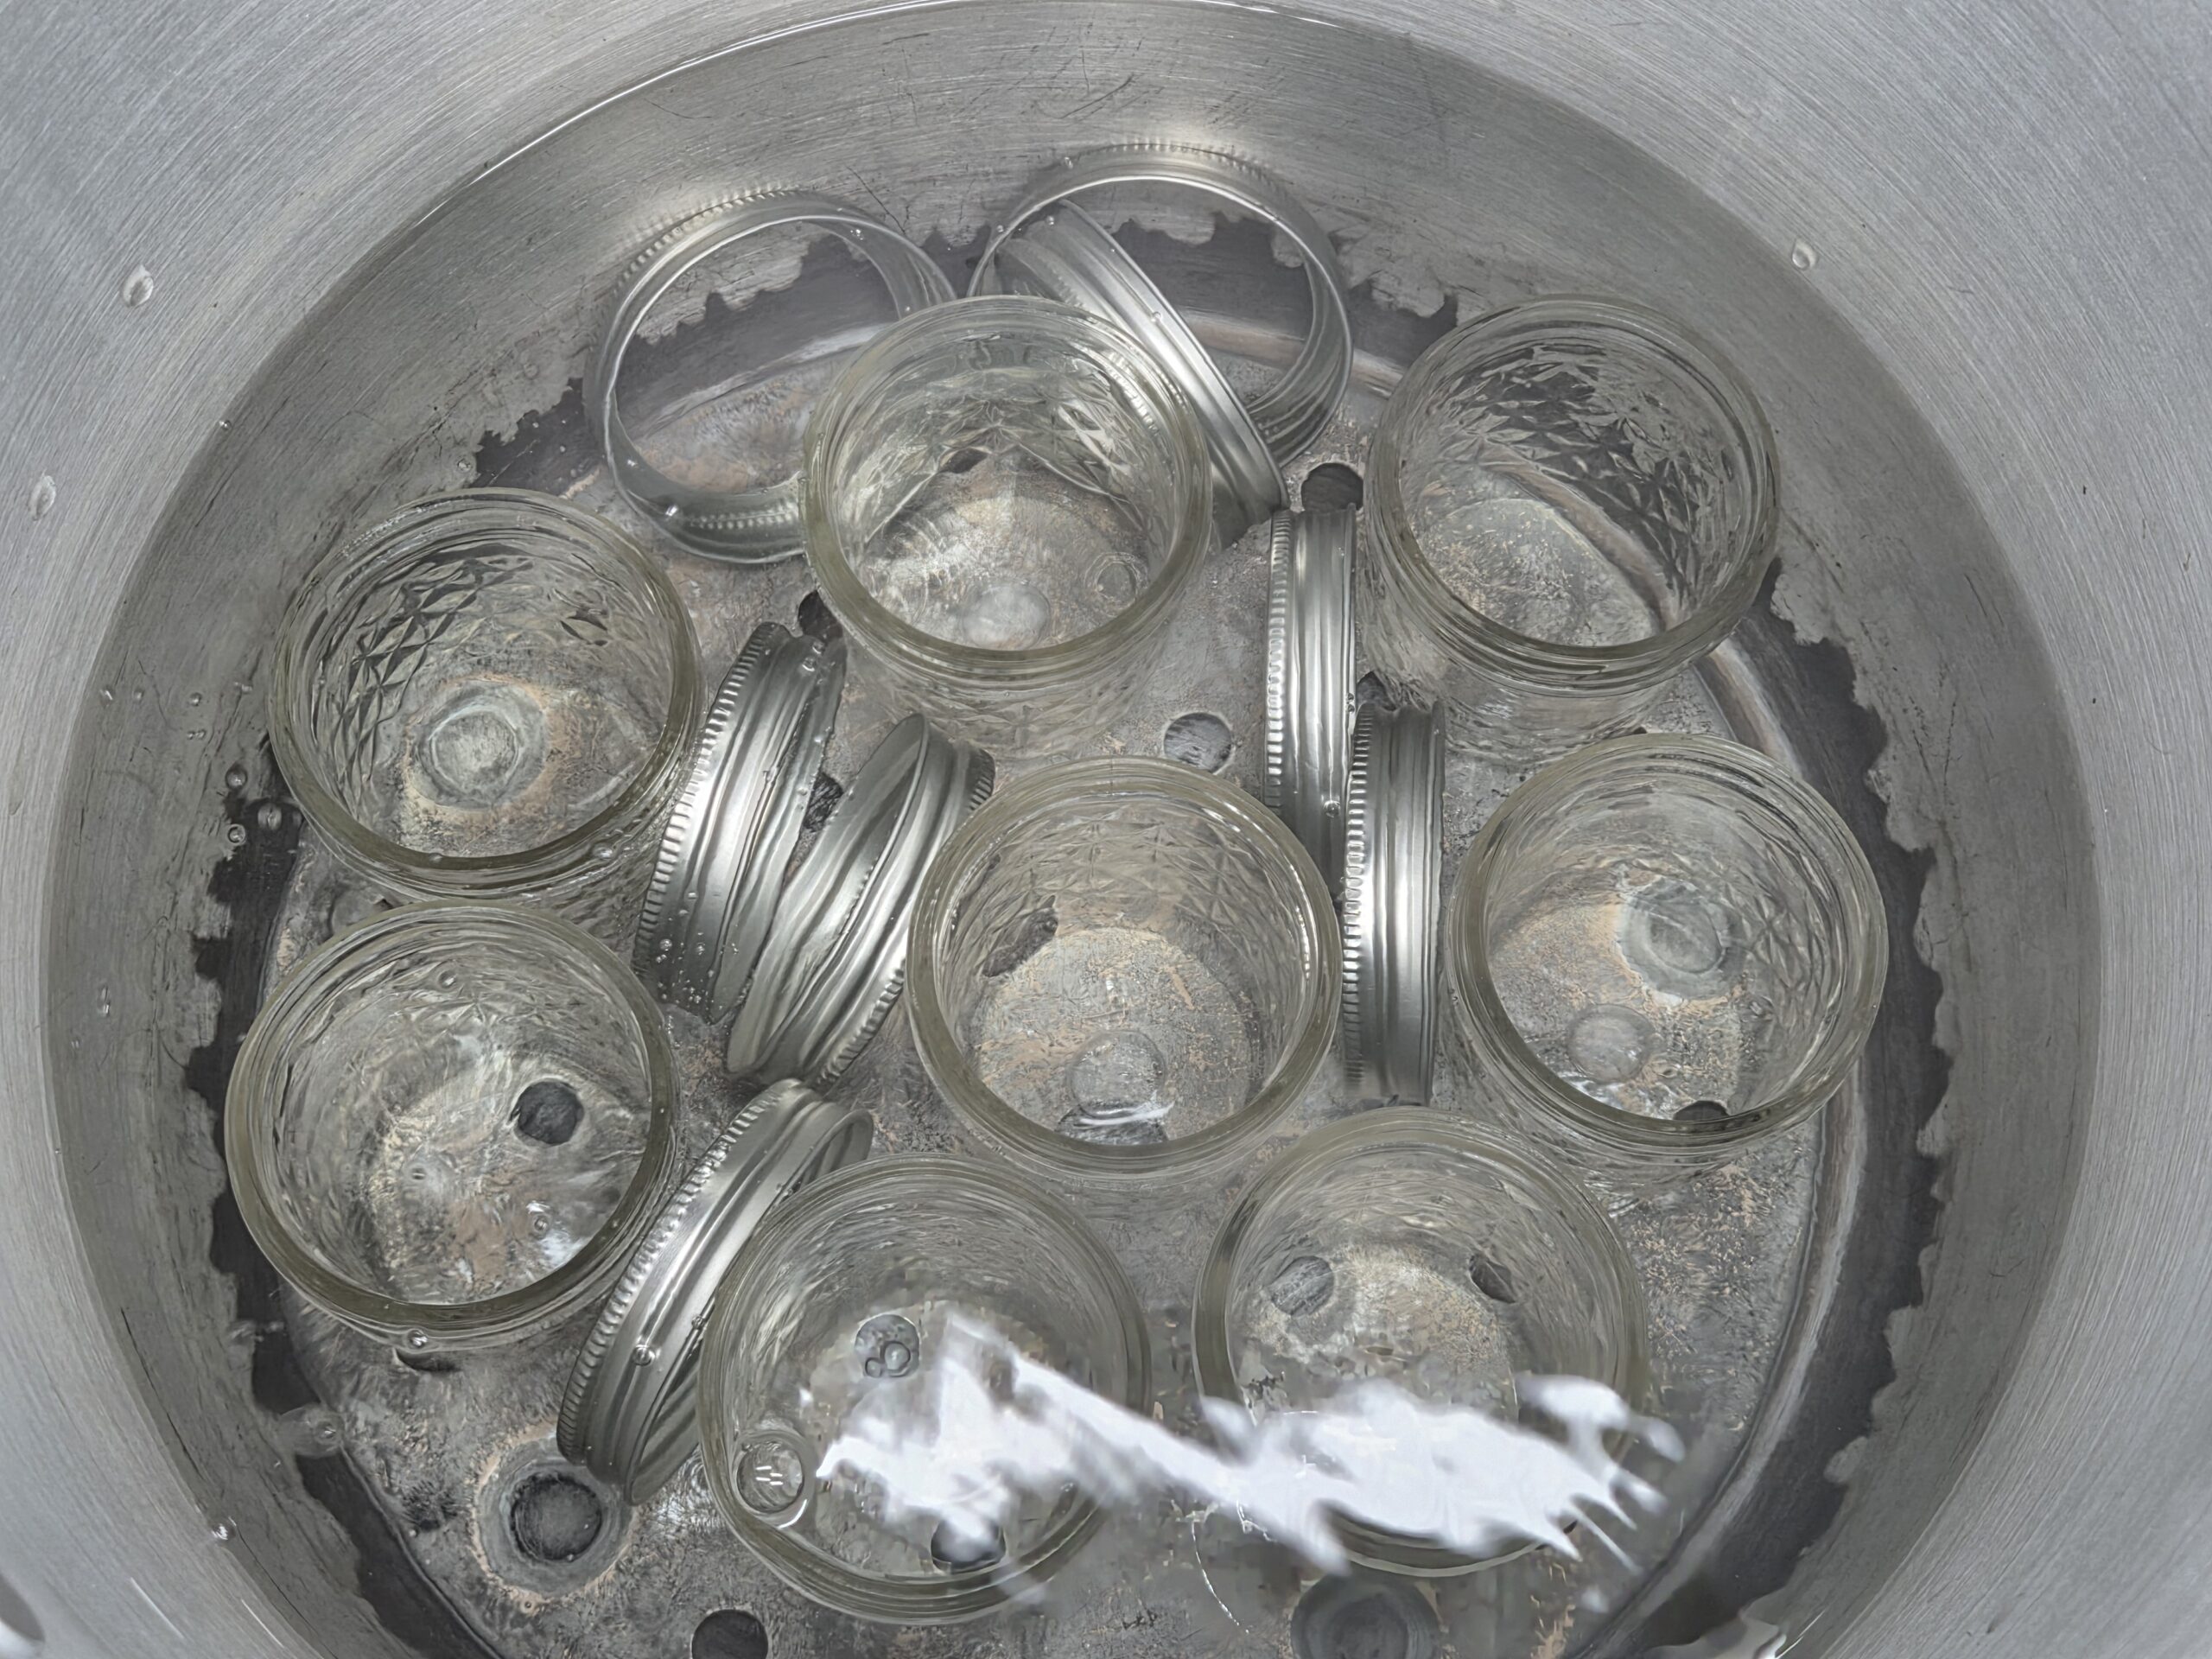
Wash jars, rims, and lids in warm, soapy water. Fill the canner with enough water to cover the jars while they are standing up. Boil jars and rims for at least 10 minutes before filling them with butter. Do not boil lids, as this can compromise their sealing ability.
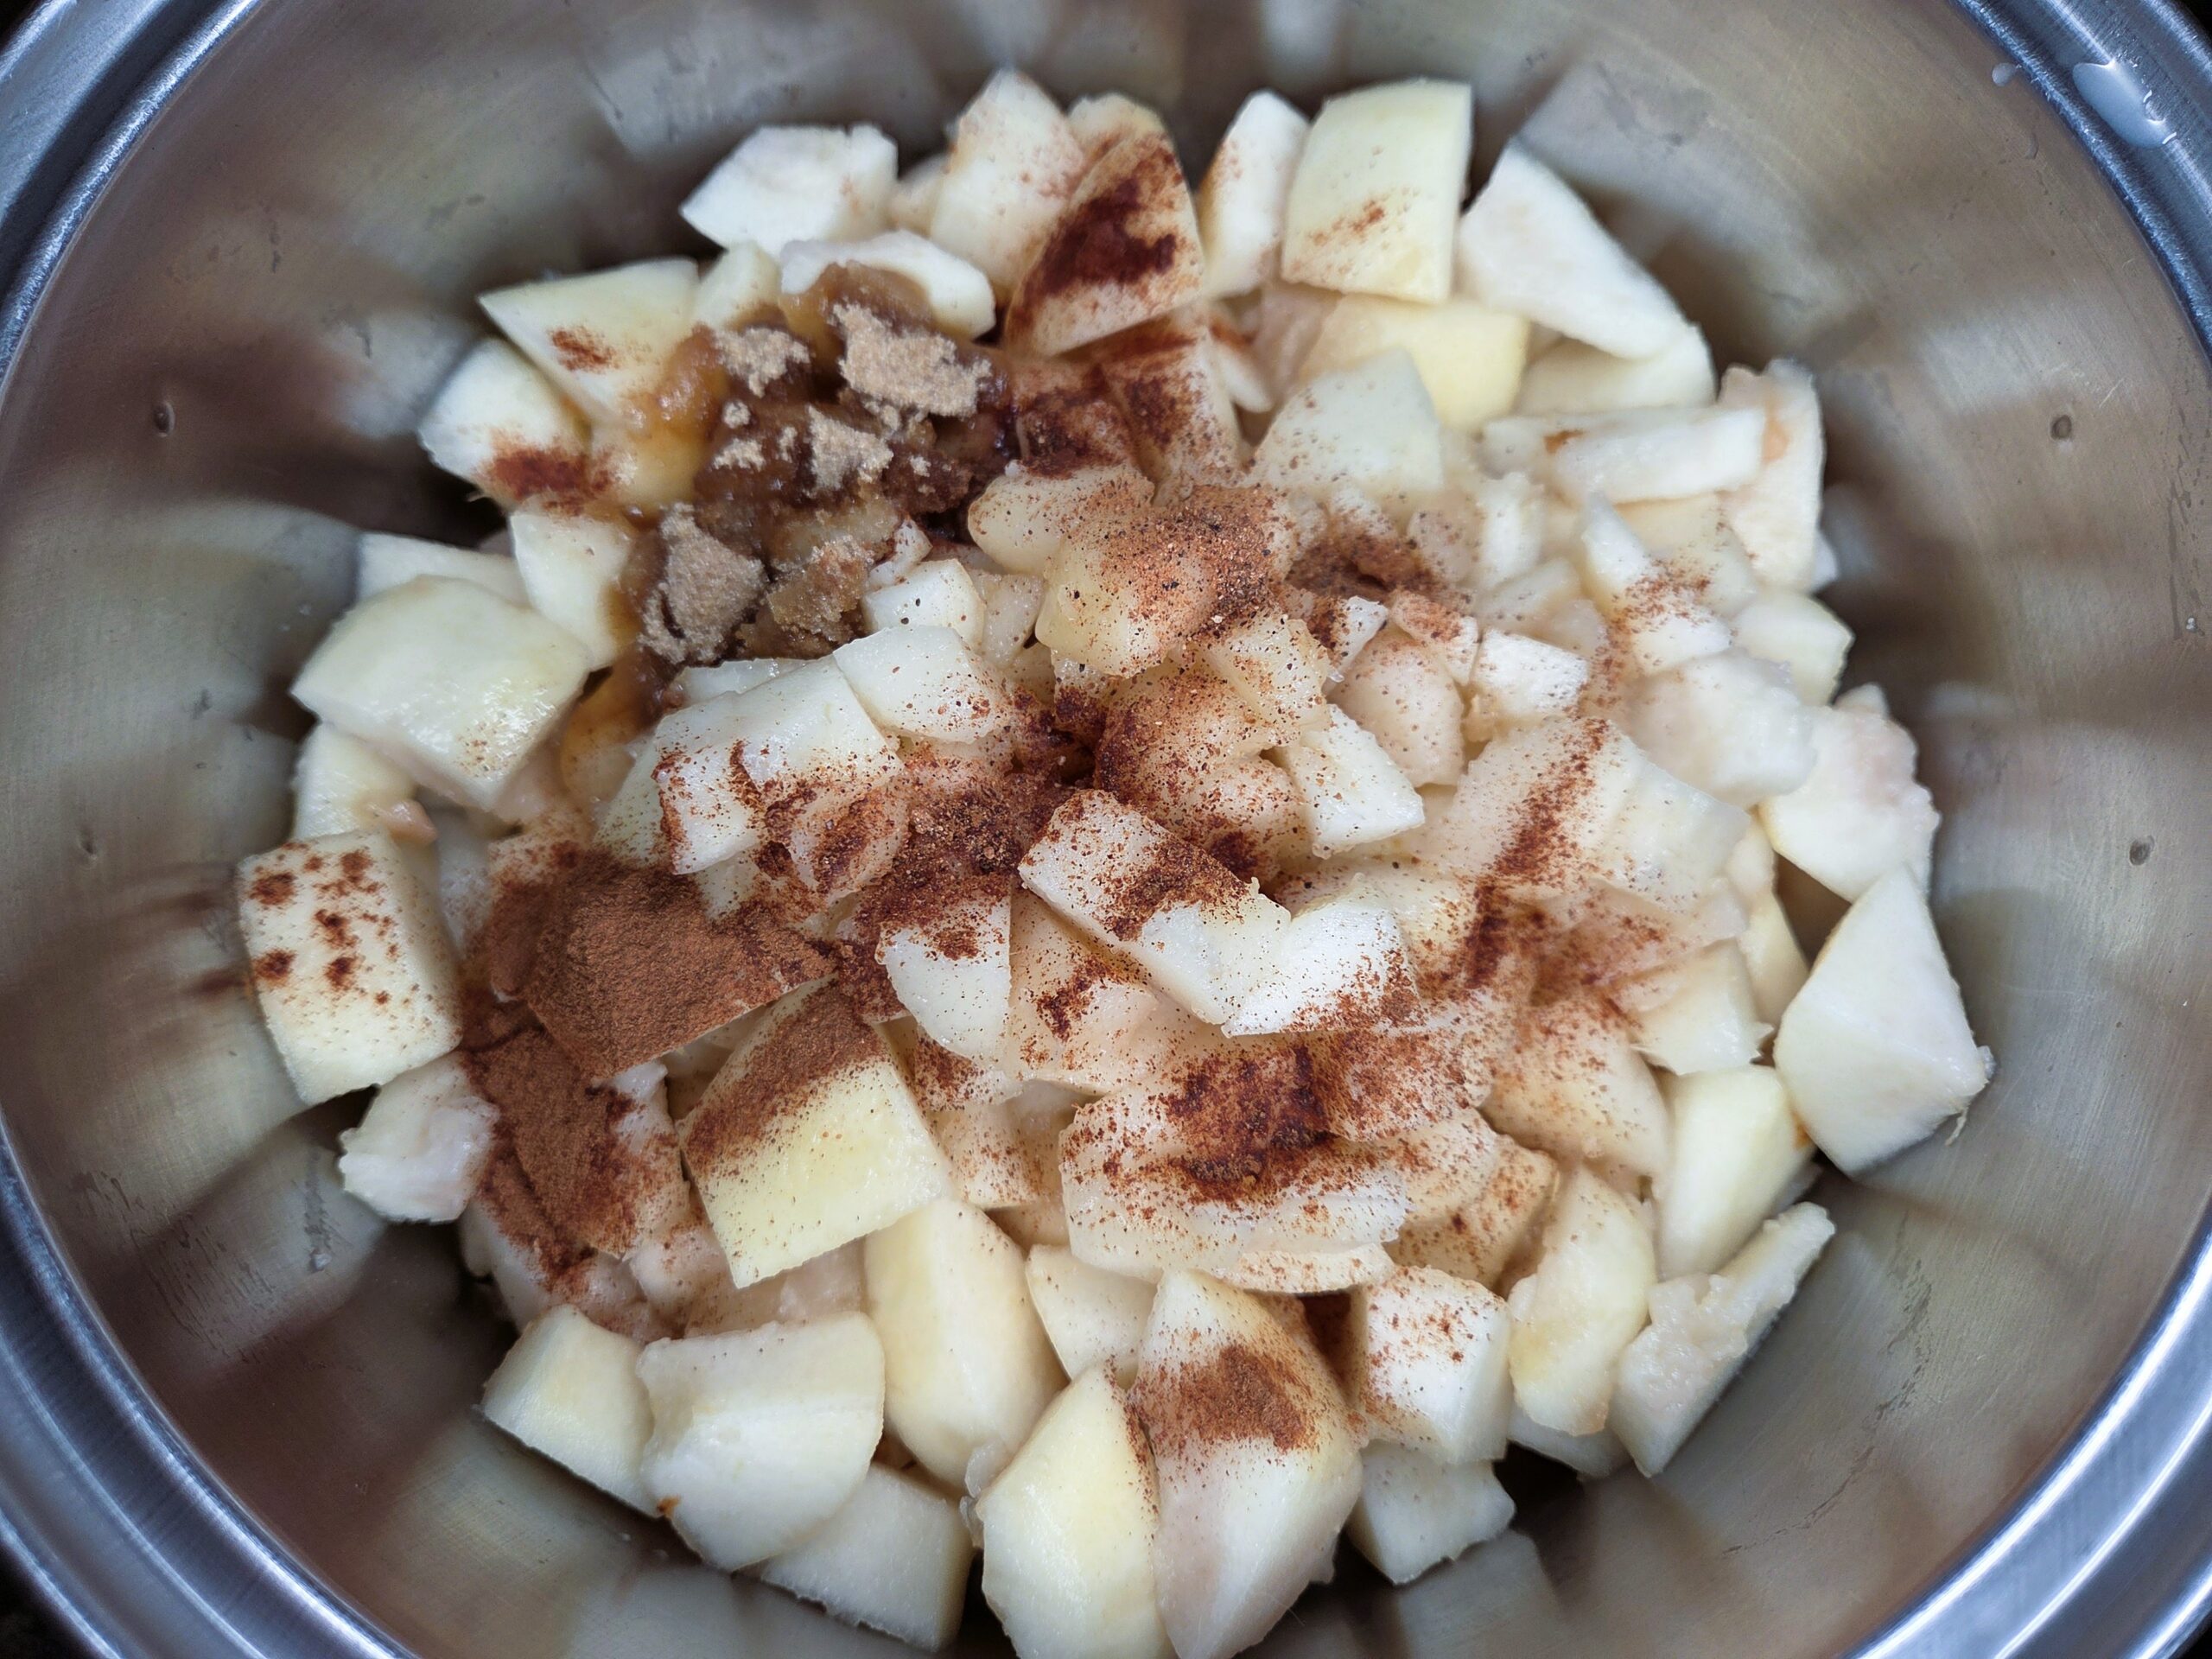
Start by rinsing your pears under cool water to remove any surface residue. Using a vegetable peeler or paring knife, gently peel each pear, removing the skin and any fibrous parts. Slice the pears in half lengthwise and use a spoon or melon baller to scoop out the core. Chop into evenly sized chunks—this helps them cook down uniformly. As you work, transfer the chopped pears into a large stainless-steel pot to prevent any reaction with the fruit’s acidity. Once all the pears are chopped and in the pot, add 1/2 teaspoon ground cinnamon, 1/8 teaspoon ground nutmeg, and 1/2 cup brown sugar. Heat the pot over medium heat, stirring often to prevent the bottom from scorching.
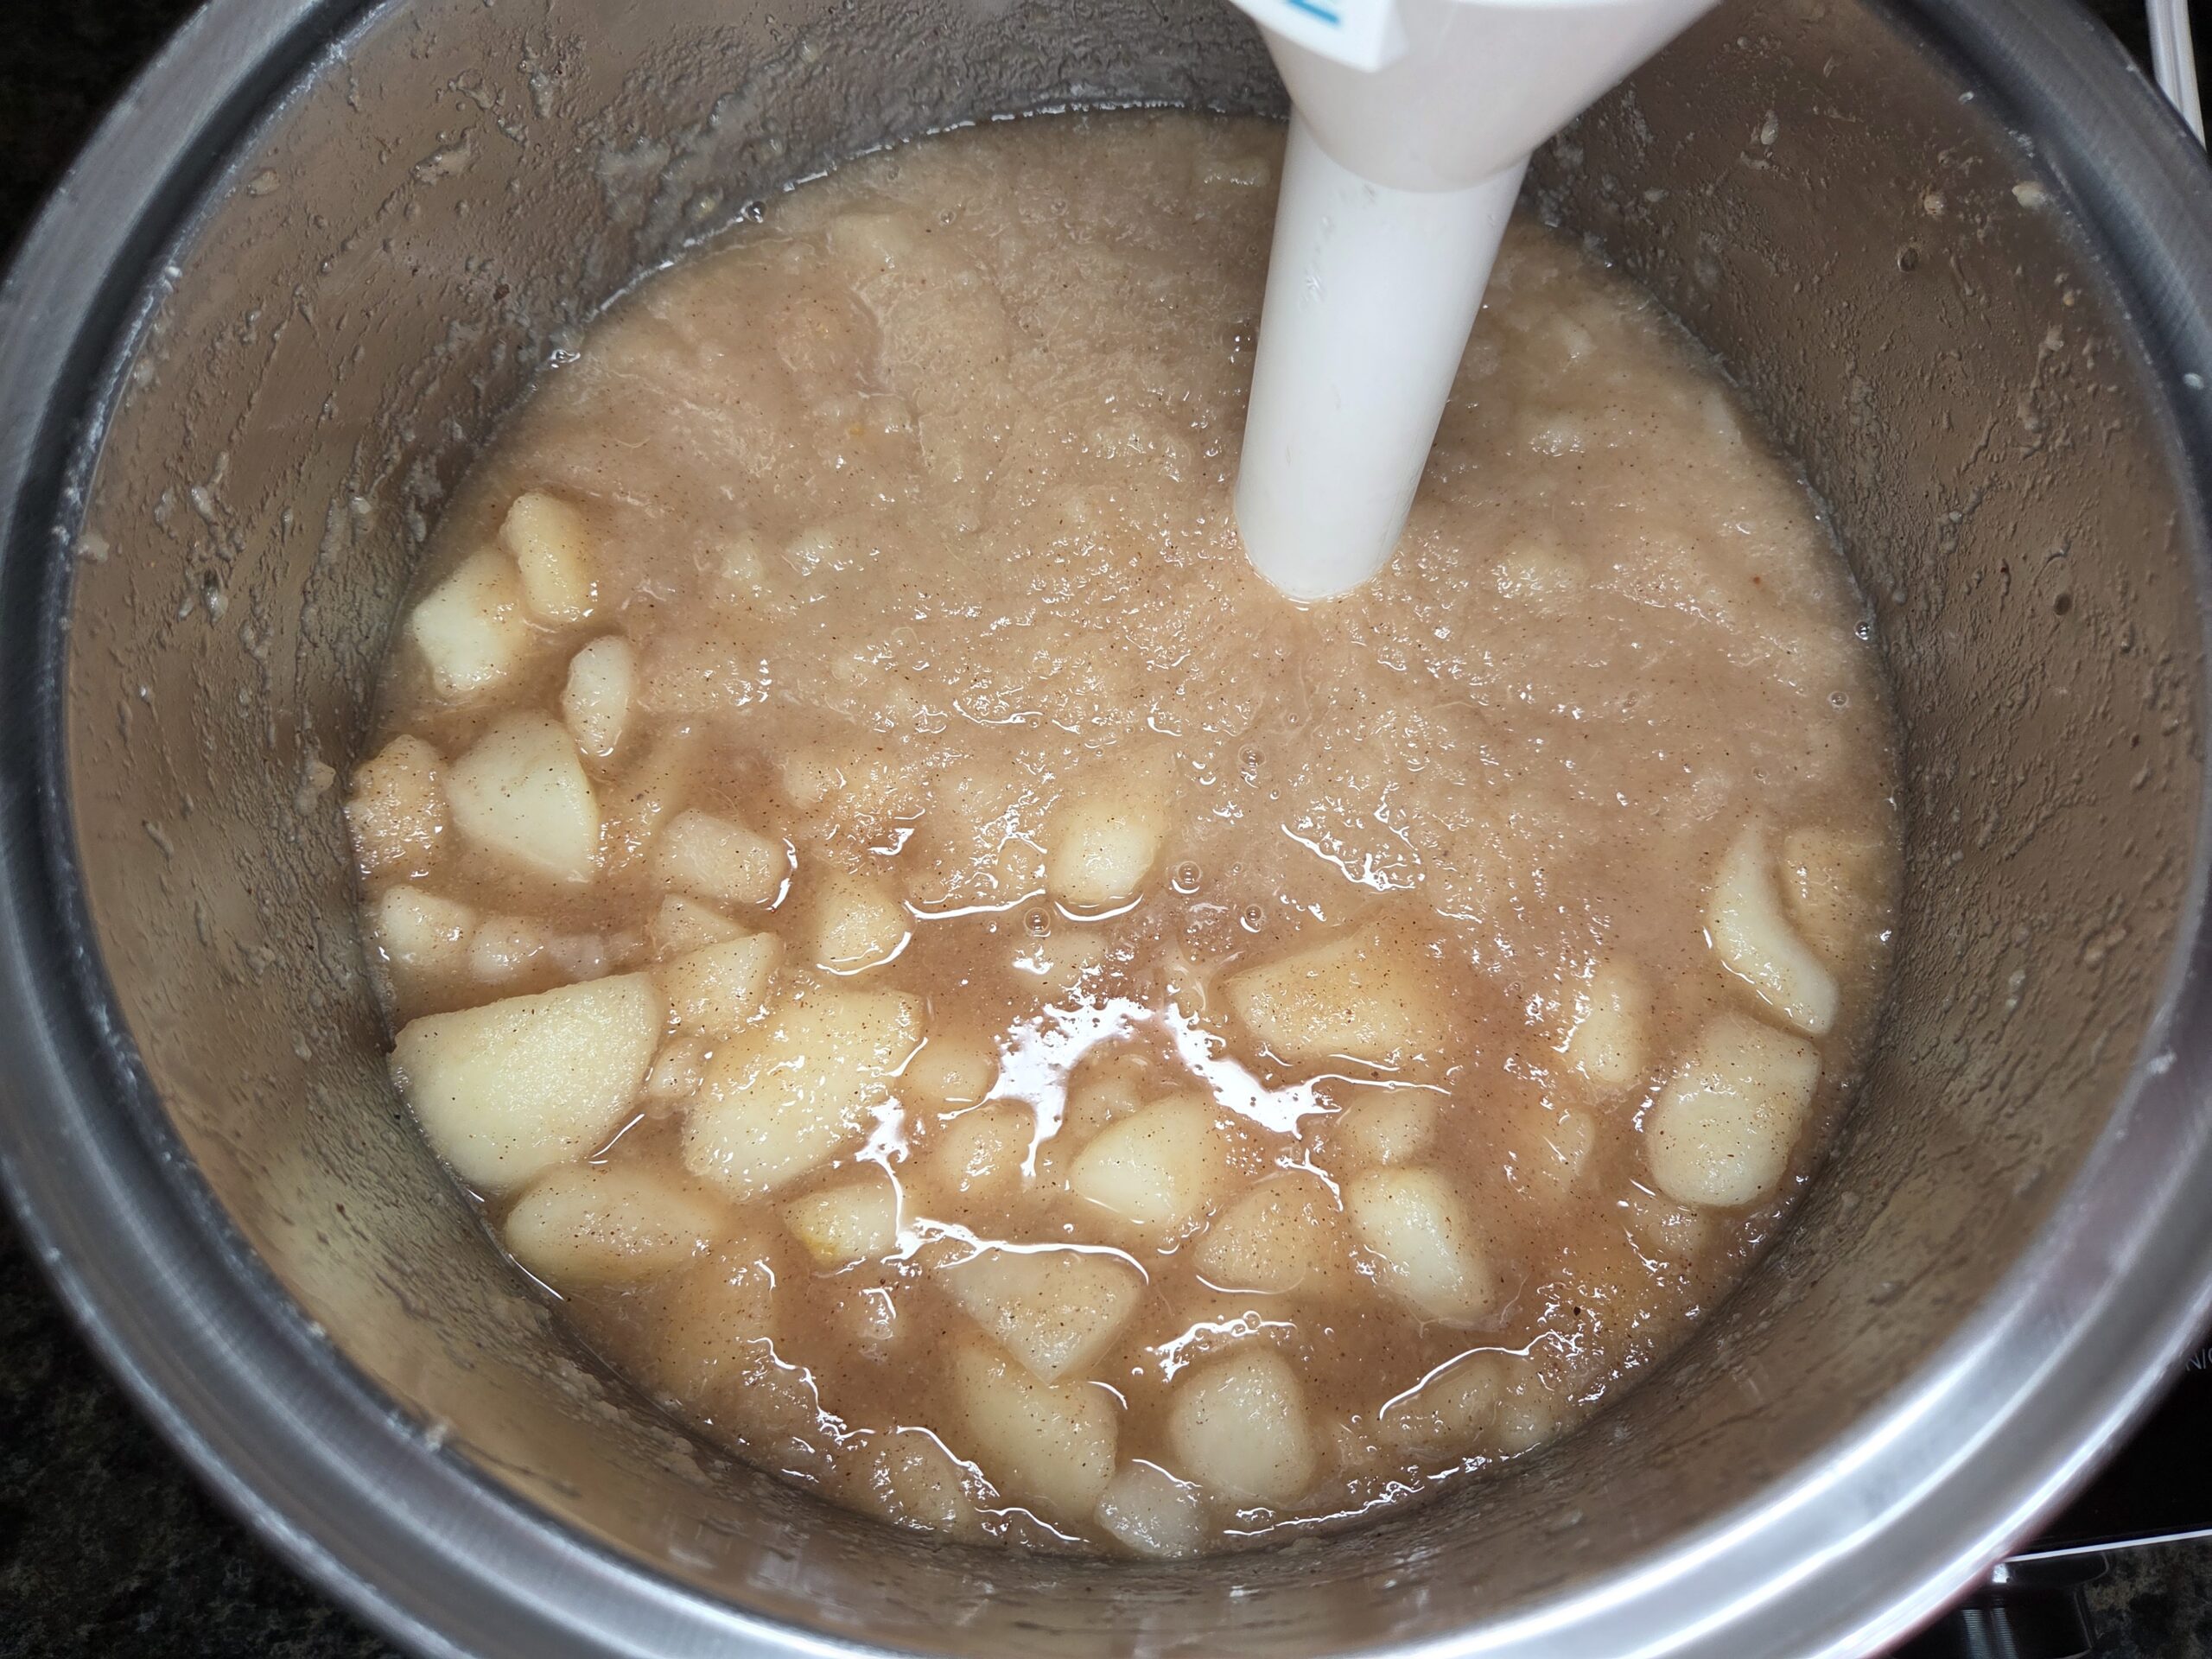
Blend the pear butter with an immersion blender to achieve your desired texture, whether you like it silky smooth or with a bit of rustic charm. If you don’t have an immersion blender, a food processor works great too—just let the mixture cool slightly, blend in batches, and reheat it on the stove before canning. For a chunkier texture, a potato masher works perfectly.

Add 1/3 cup of bottled lemon juice to the pear butter. Adding lemon juice guarantees a safe pH level for water bath canning. Bottled lemon juice is preferred because of its consistent and standardized acidity, which is essential for food safety. With the lemon juice stirred in, return the pear mixture to the stove over medium-low heat. Let it simmer gently, uncovered, stirring frequently to prevent sticking or scorching. As the liquid evaporates, the pear butter will begin to thicken and deepen in color. You’re looking for a rich, spreadable consistency—something that slowly mounds on a spoon and doesn’t run.
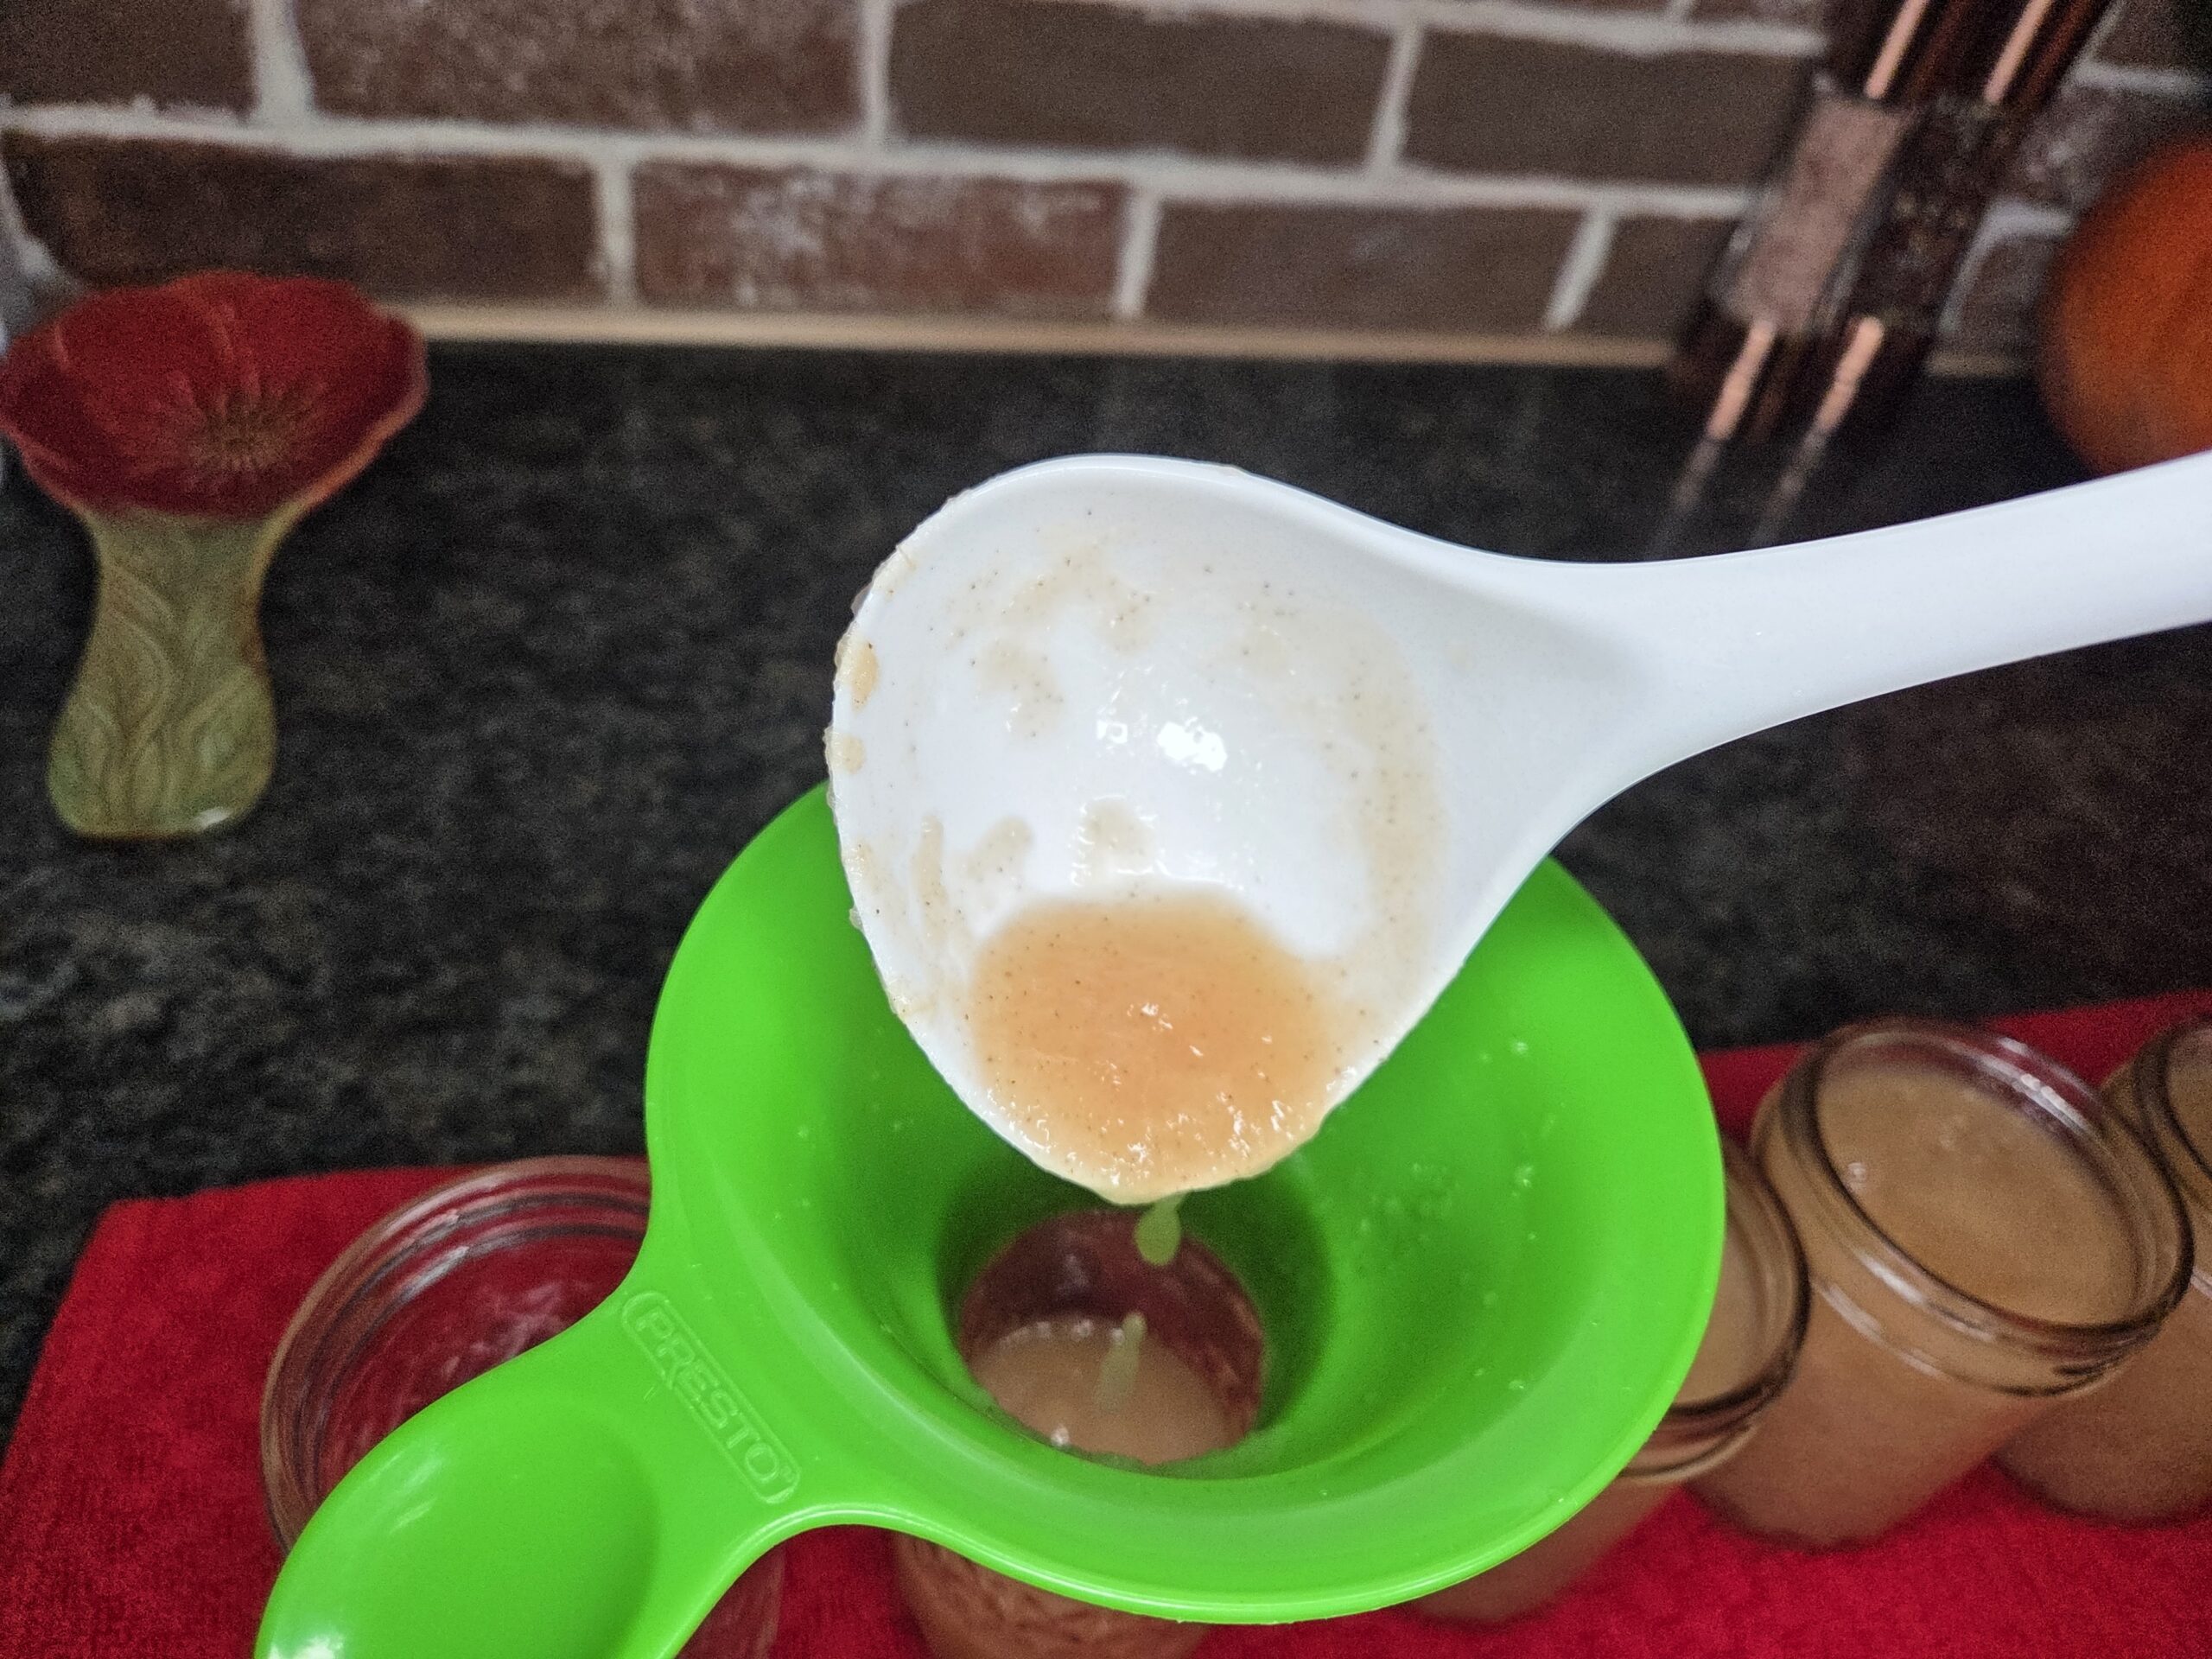
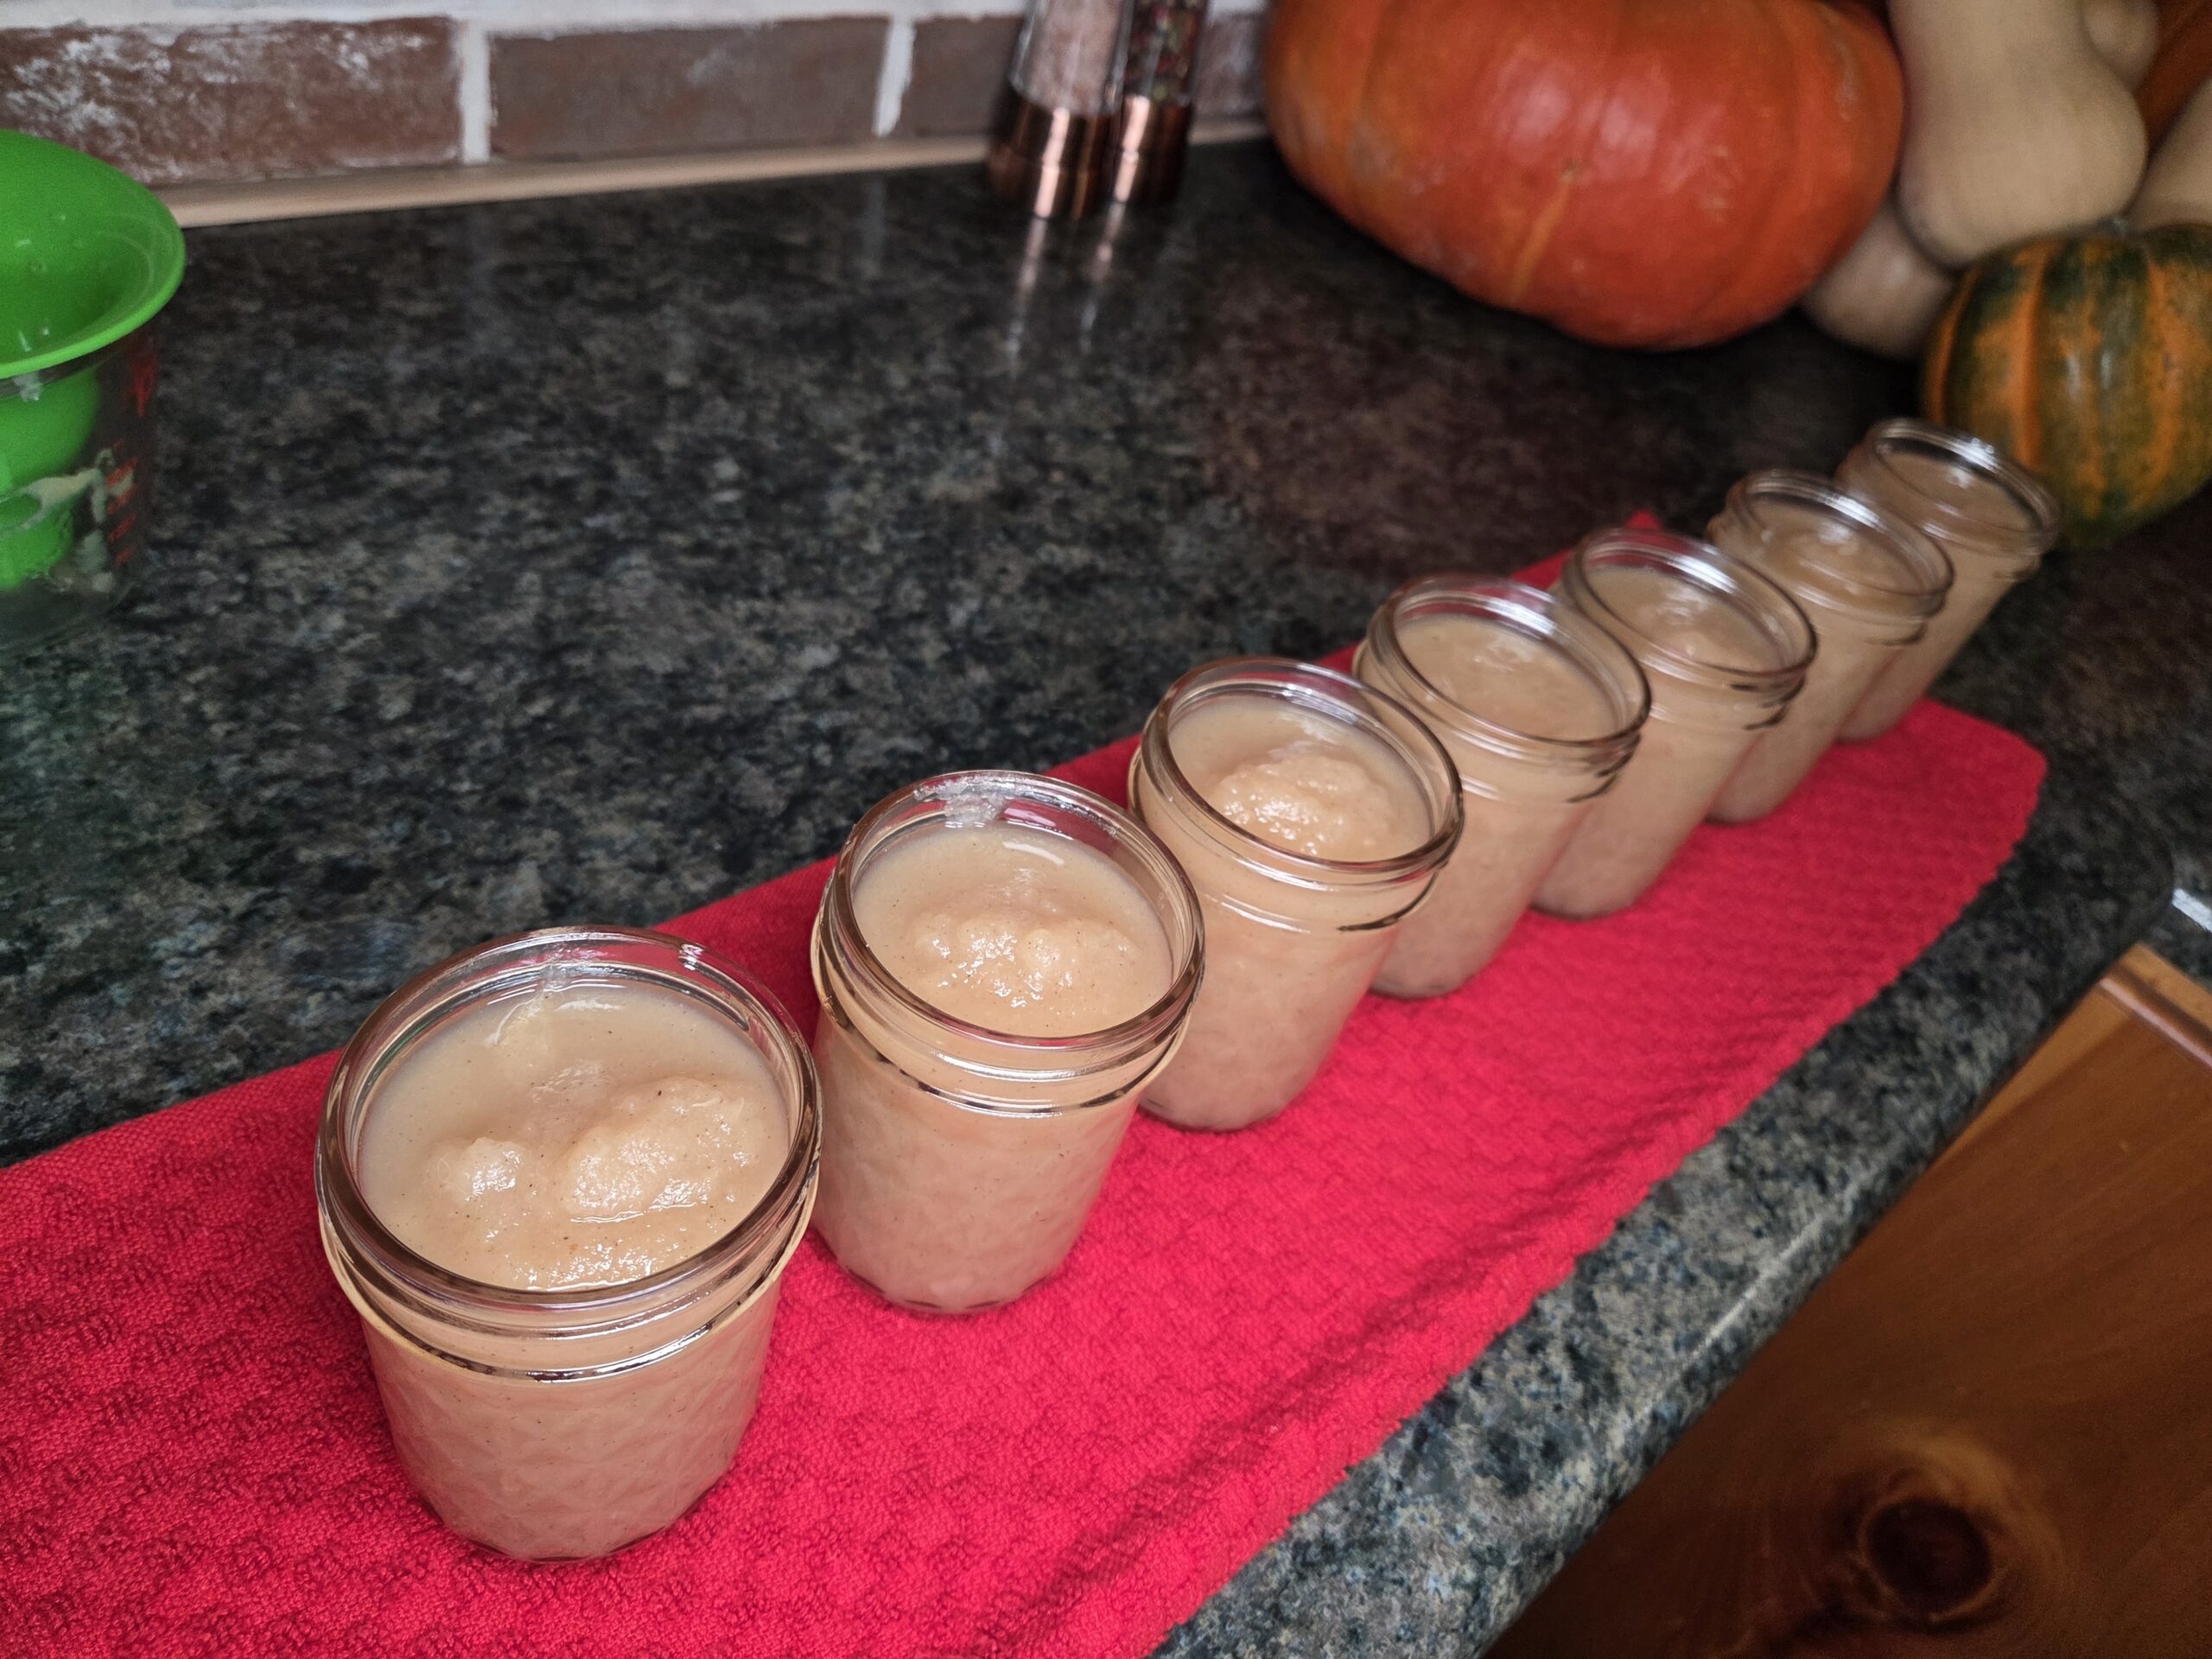
Pour the hot pear butter into hot jars, leaving 1/4-inch headspace.
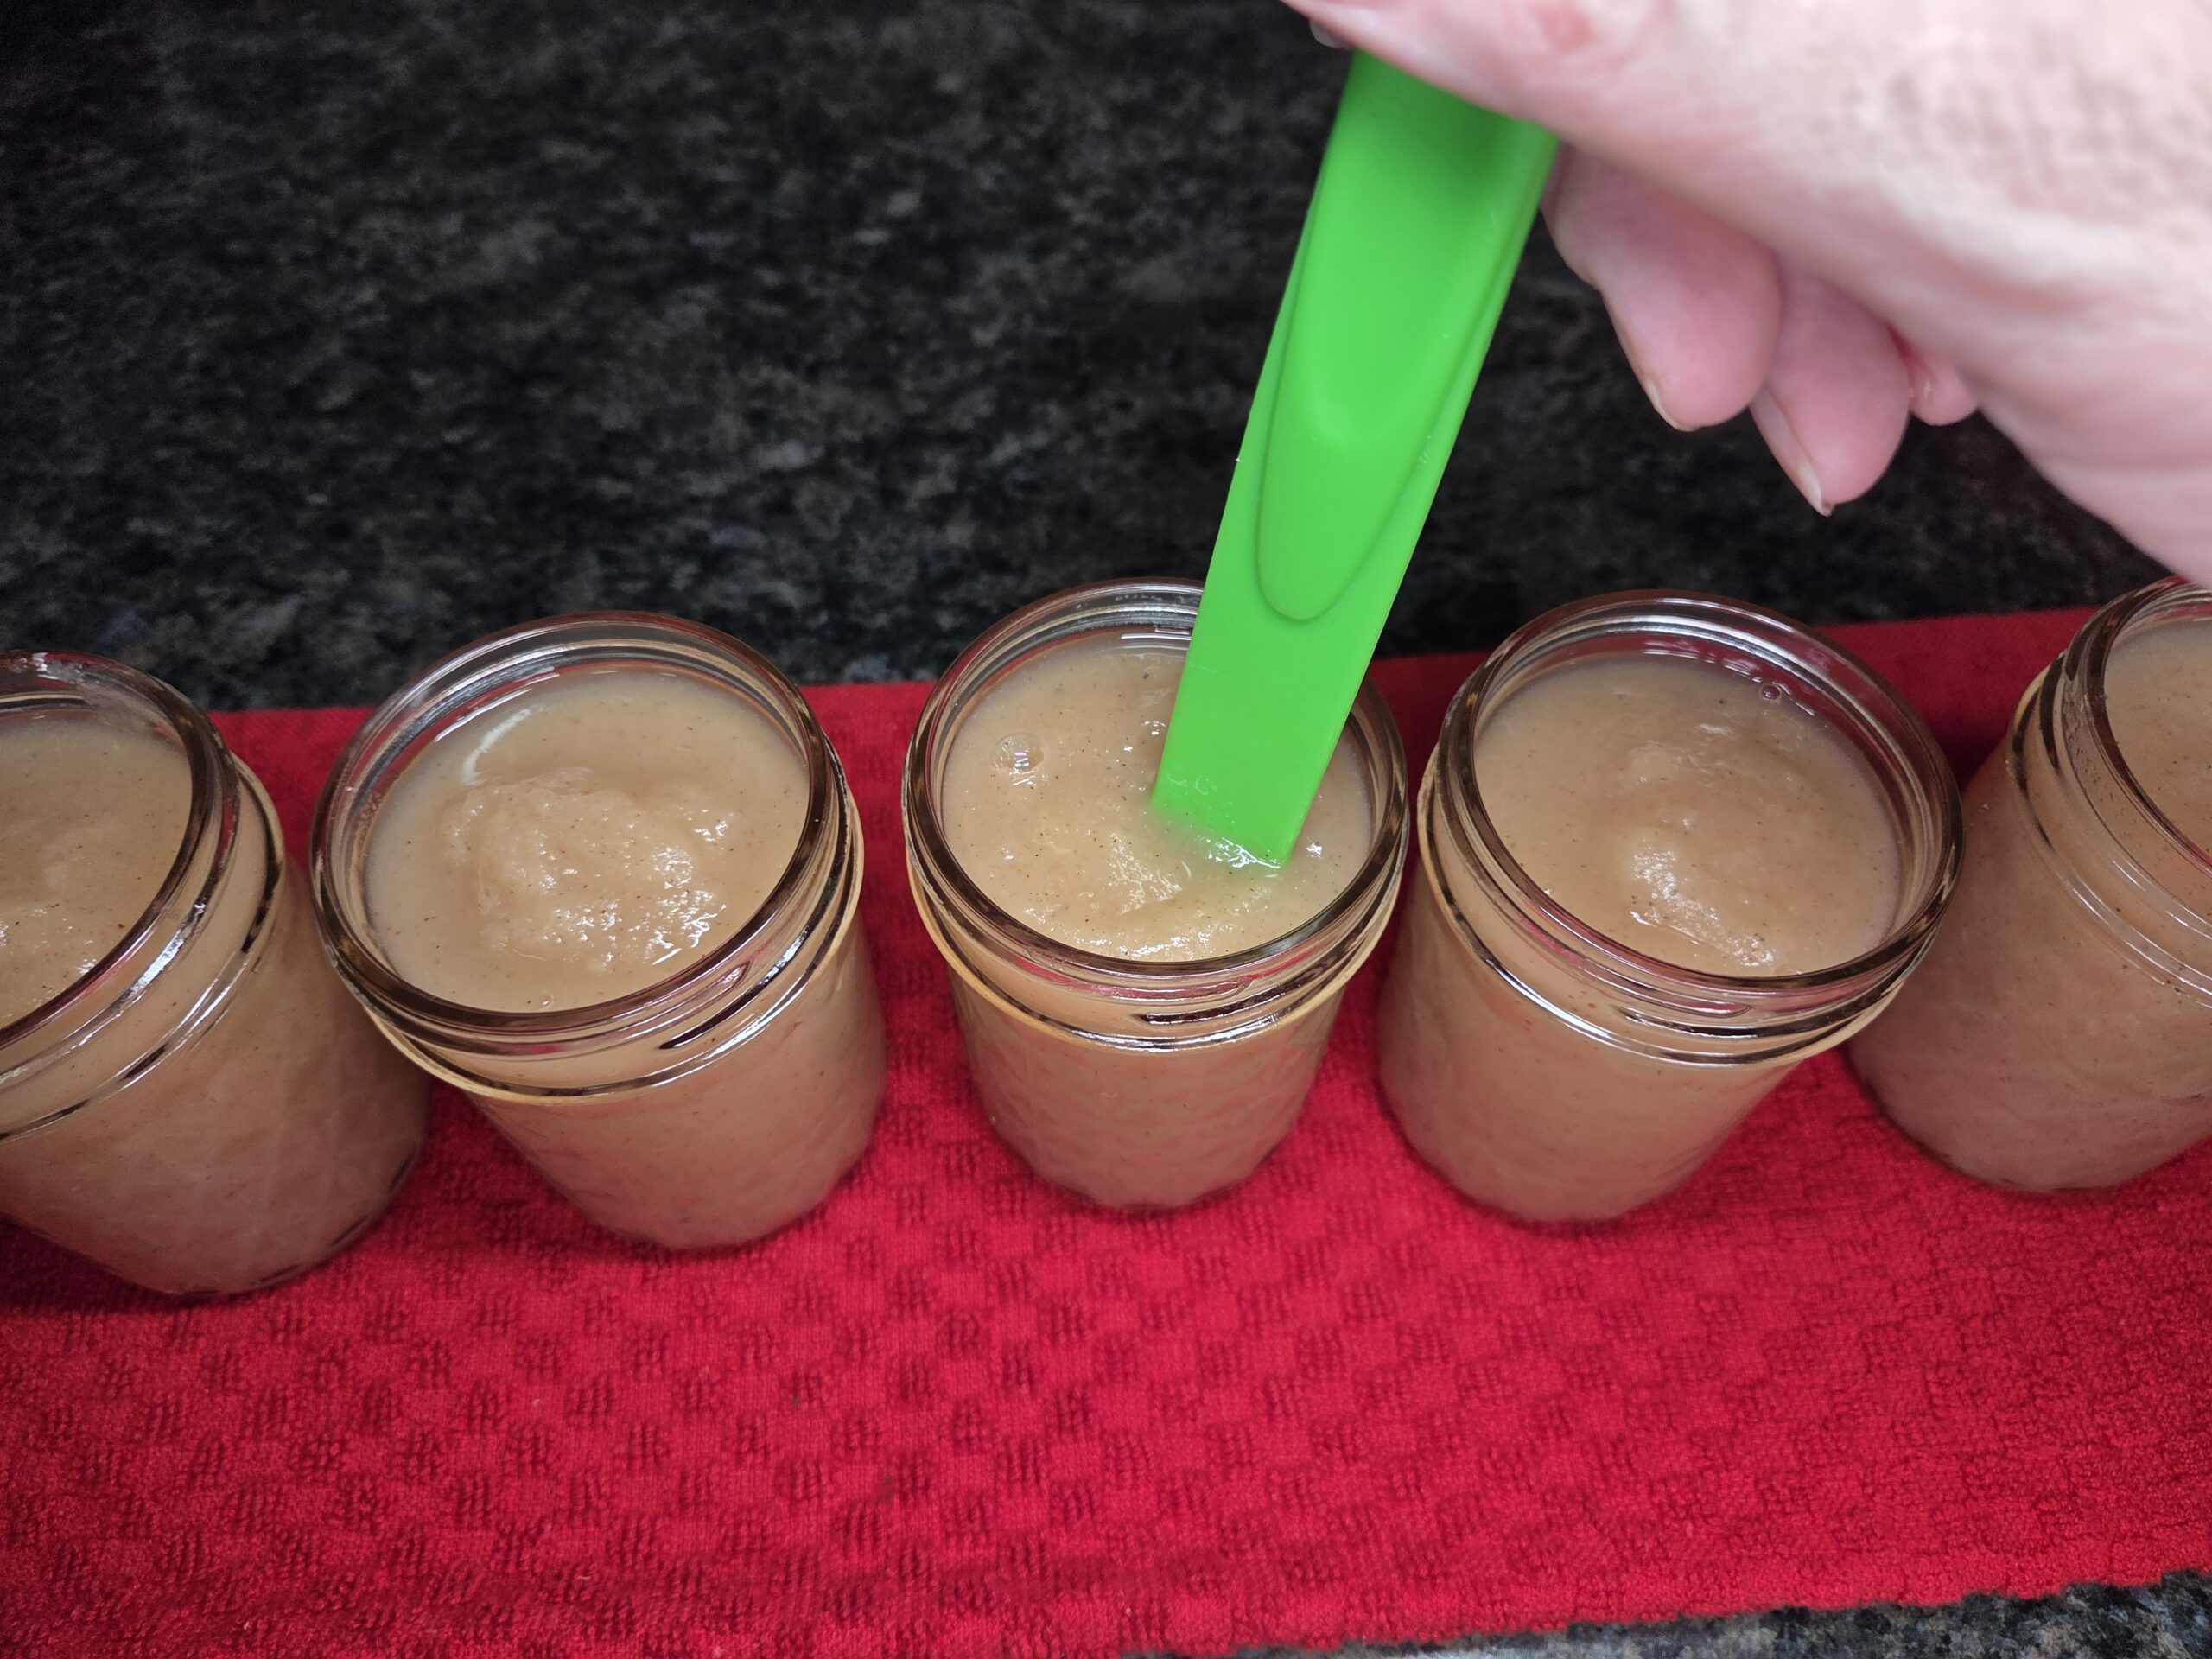
Use a bubble tool to eliminate any air bubbles or pockets.
Wipe the rims of the jars, then place the lids and bands on, tightening them with your fingertips.
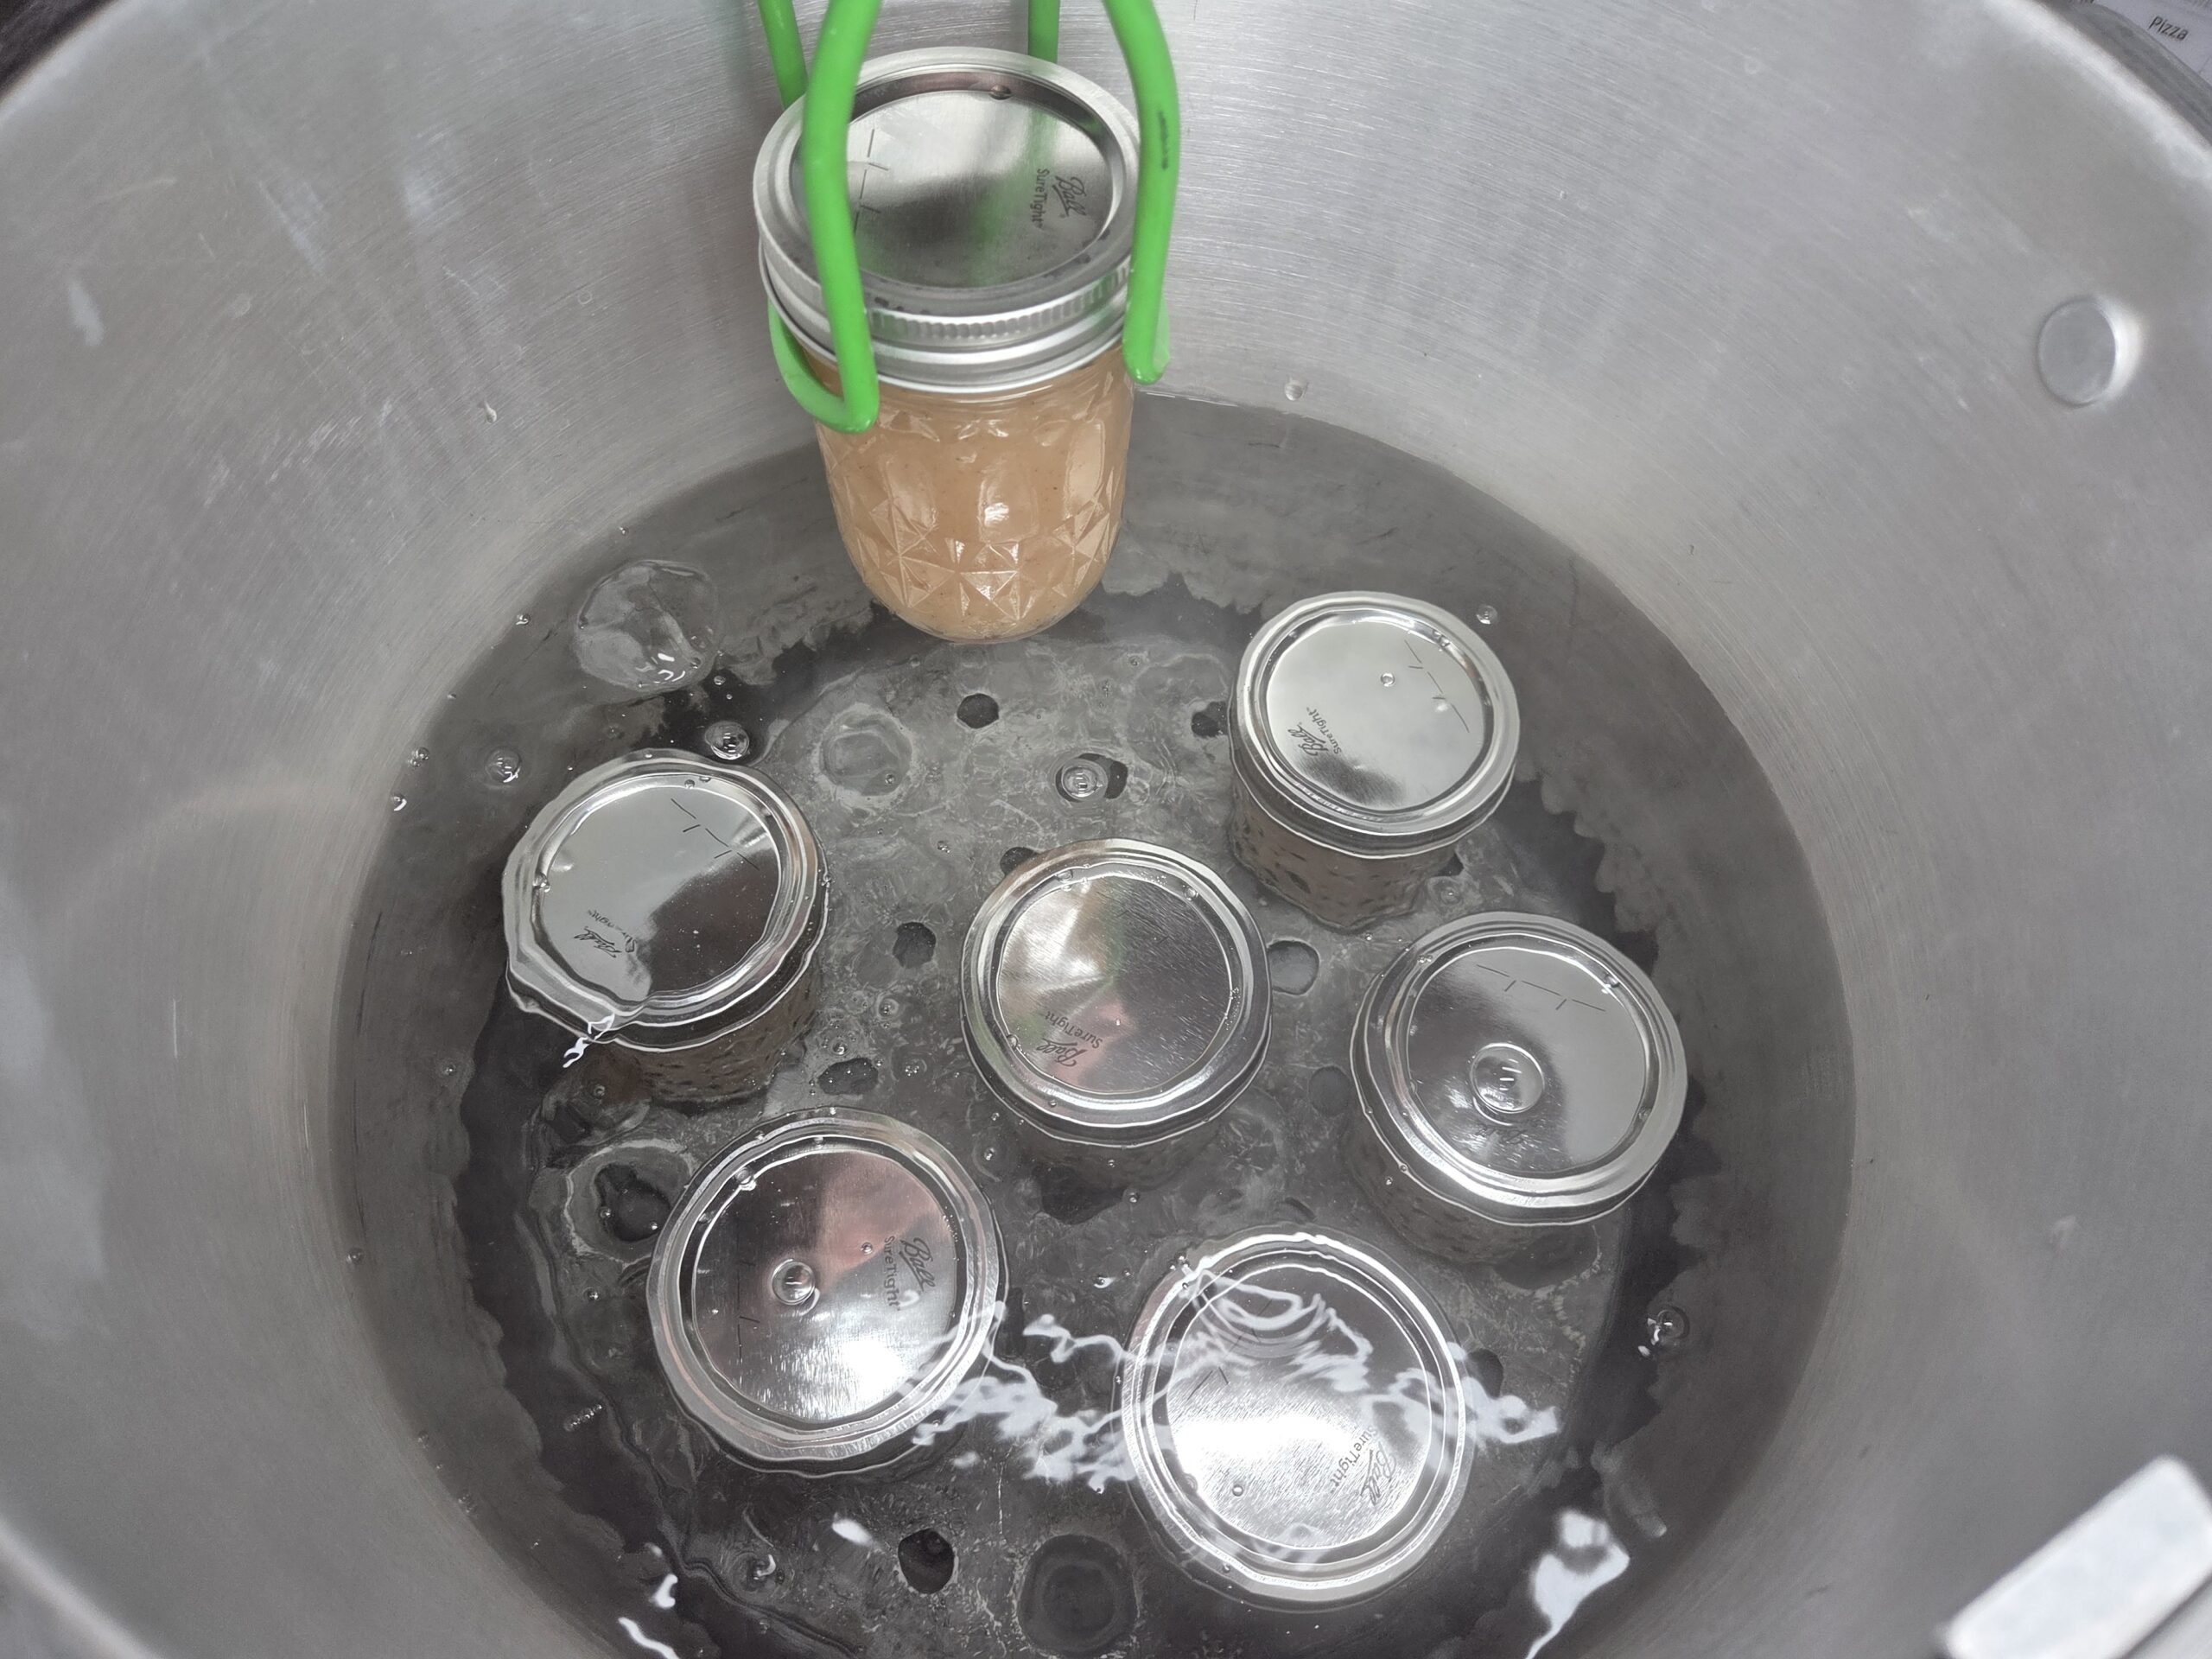
Carefully lower the jars into the boiling water bath canner, ensuring they are spaced slightly apart from each other and the canner walls. The water should cover the tops of the jars by 1-2 inches. Place the lid on the canner, and remember not to start timing until the water is fully boiling and up to temperature. For pints and half-pint jars, process for 5 minutes at elevations of 0-1,000 feet, 10 minutes at elevations of 1,001-6,000 feet, and 15 minutes above 6,000 feet. For quart jars increase your canning time by 5 minutes. When the time is up, turn off the heat and, if possible, remove the canner from the heat source. Take off the lid and let the jars sit undisturbed in the water for 5 minutes.
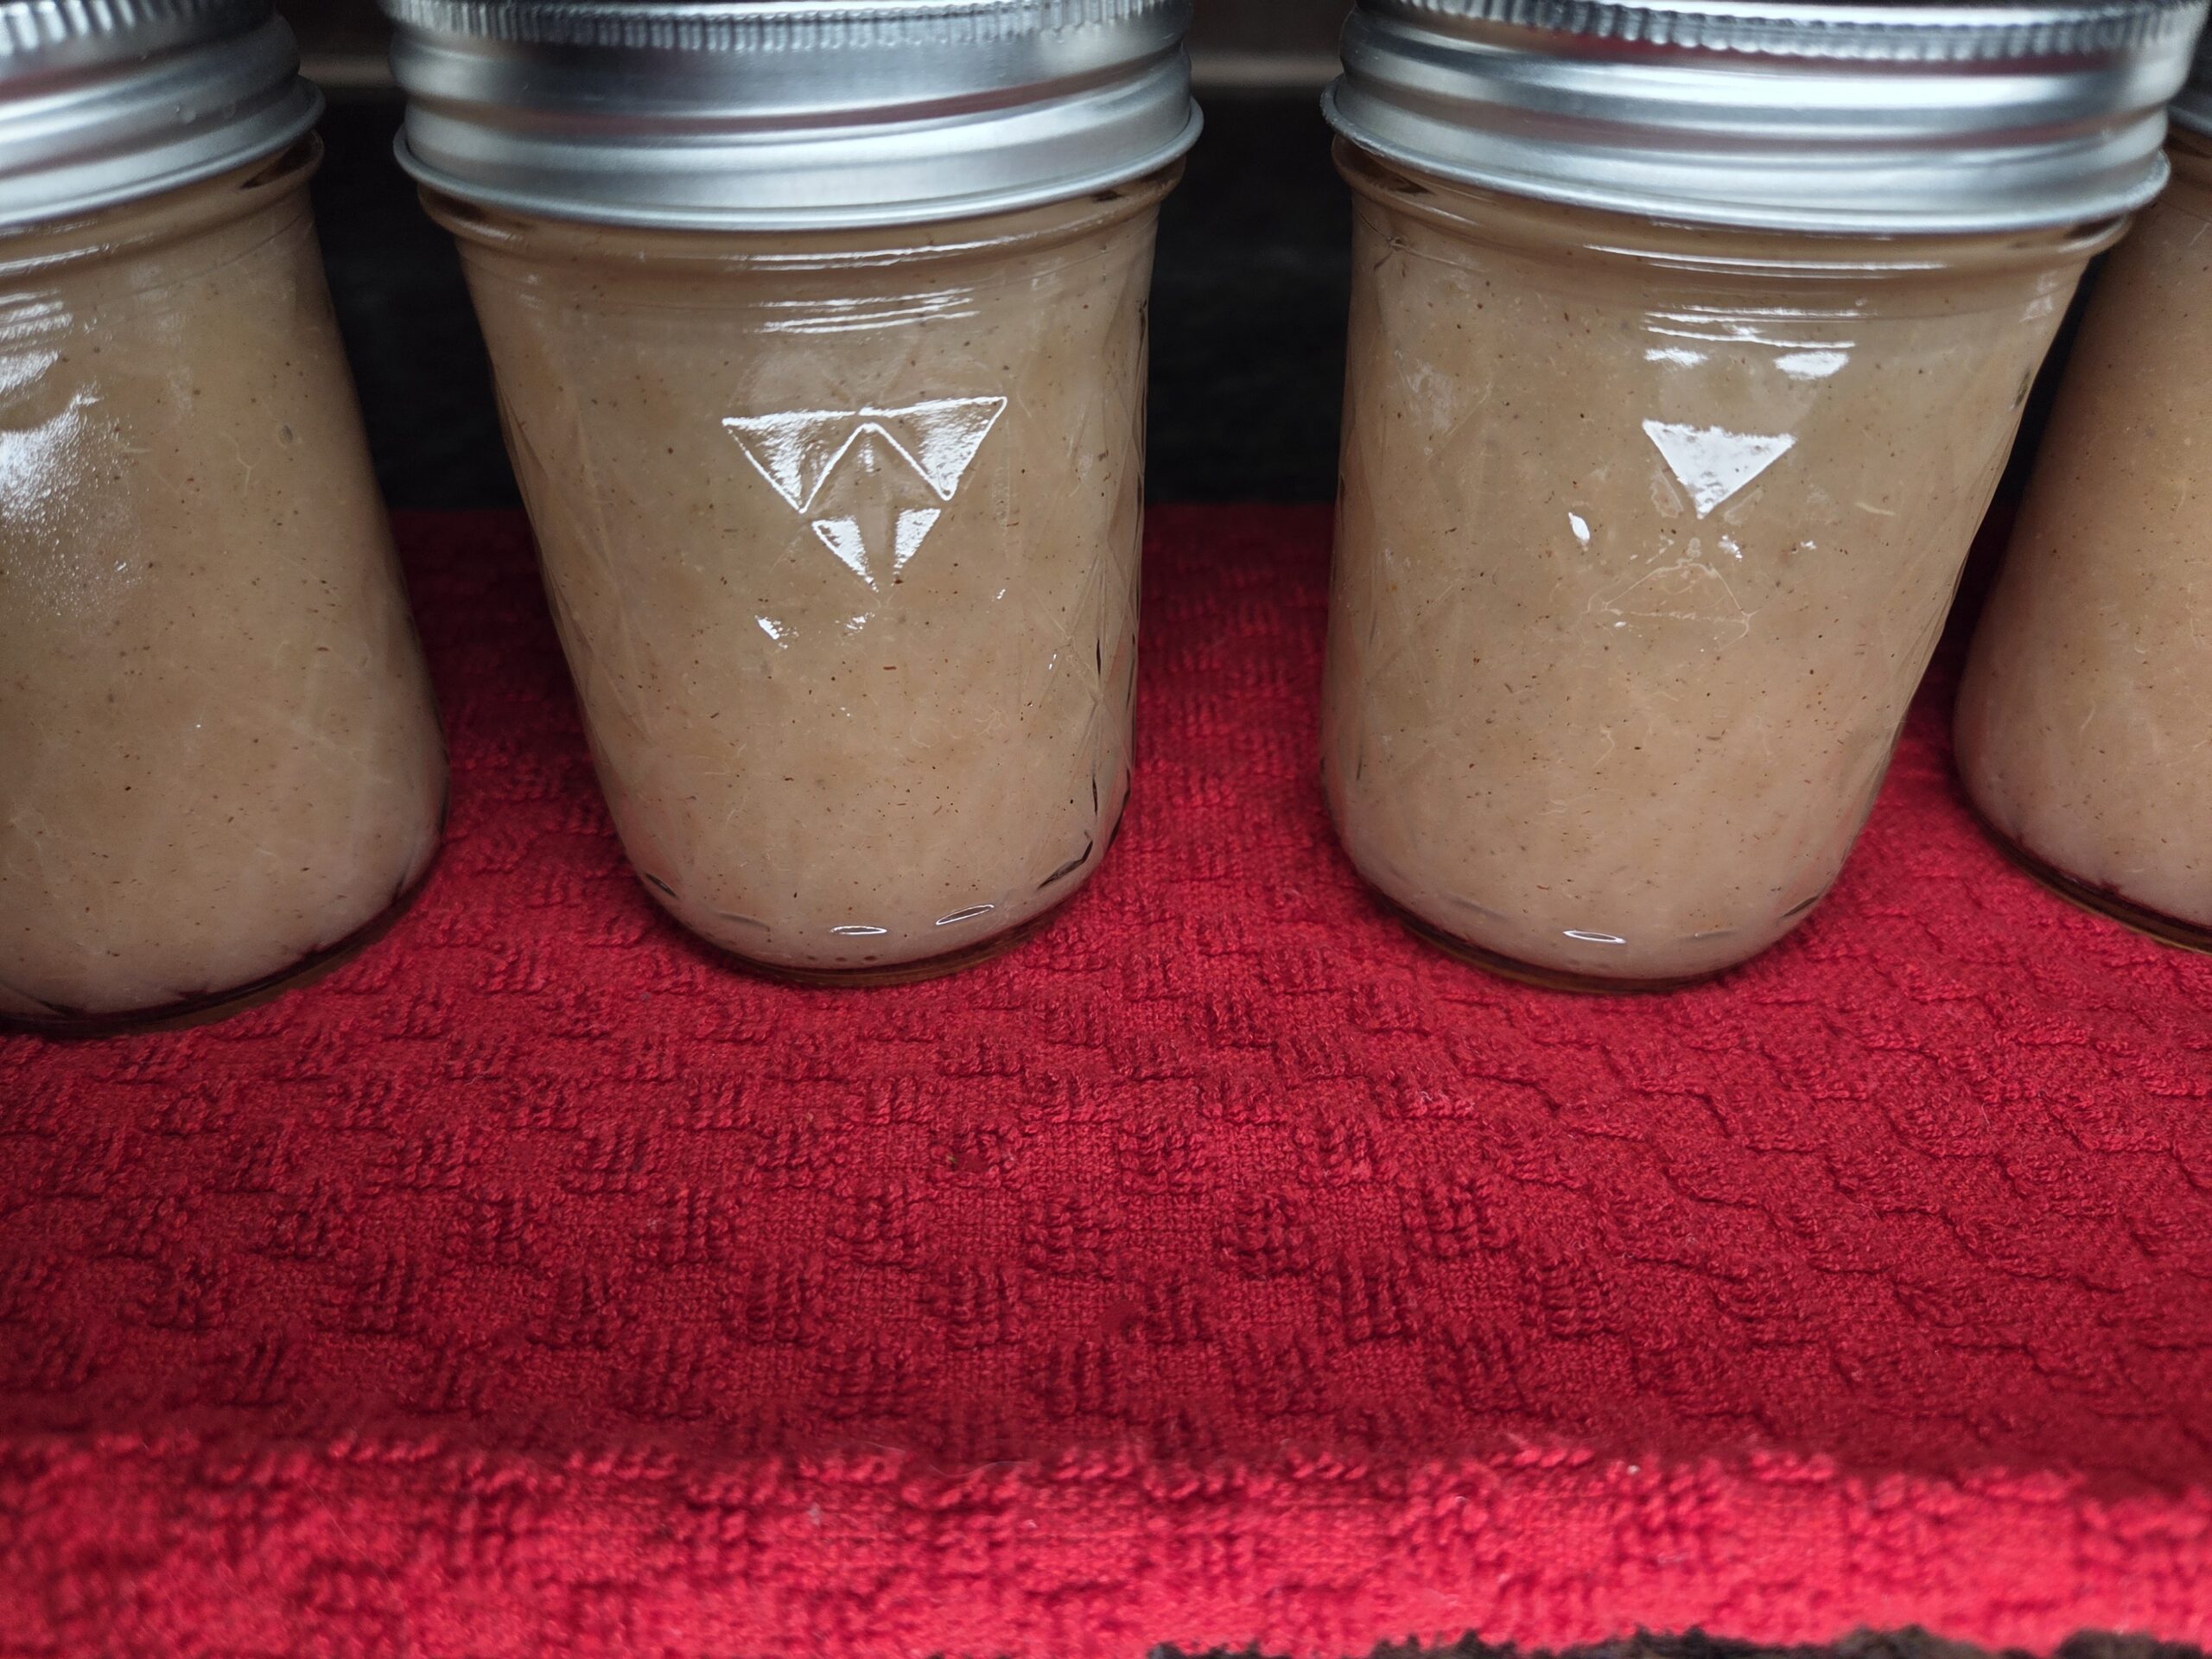
After 5 minutes, carefully remove jars from the water bath and place on a kitchen towel-lined countertop. Some jars can take hours to seal; however, most will seal within 30 minutes from being removed from the canner, and some may even seal during the water bath canning process. Leave the jars undisturbed for at least 12 hours. Ensure that all jars are sealed by inspecting the tops, as they should be sucked in. If any jars don't seal, refrigerate them. Wipe the jars with a damp towel. Write the contents and date on the sealed jars and store in a cool, dry place for up to a year.
Enjoy!
Conclusion
Kitchen Tools :Need some tools or ingredients to make this recipe? Use my Amazon Affiliate links to shop. I will make a small commission and it doesn't cost you any extra. Thank you for visiting.
Simply Organic Ceylon Ground Cinnamon Simply Organic Pure Ground Nutmeg Cuisinart Smart Stick Two-Speed Hand Blender, Powerful Immersion Blender Presto 23-Quart Induction Compatible Pressure Canner
Leave a Review