-
Prep Time1 hour plus canning time.
-
Cook Time45 mins
-
Serv SizeYields 7 half pint jars
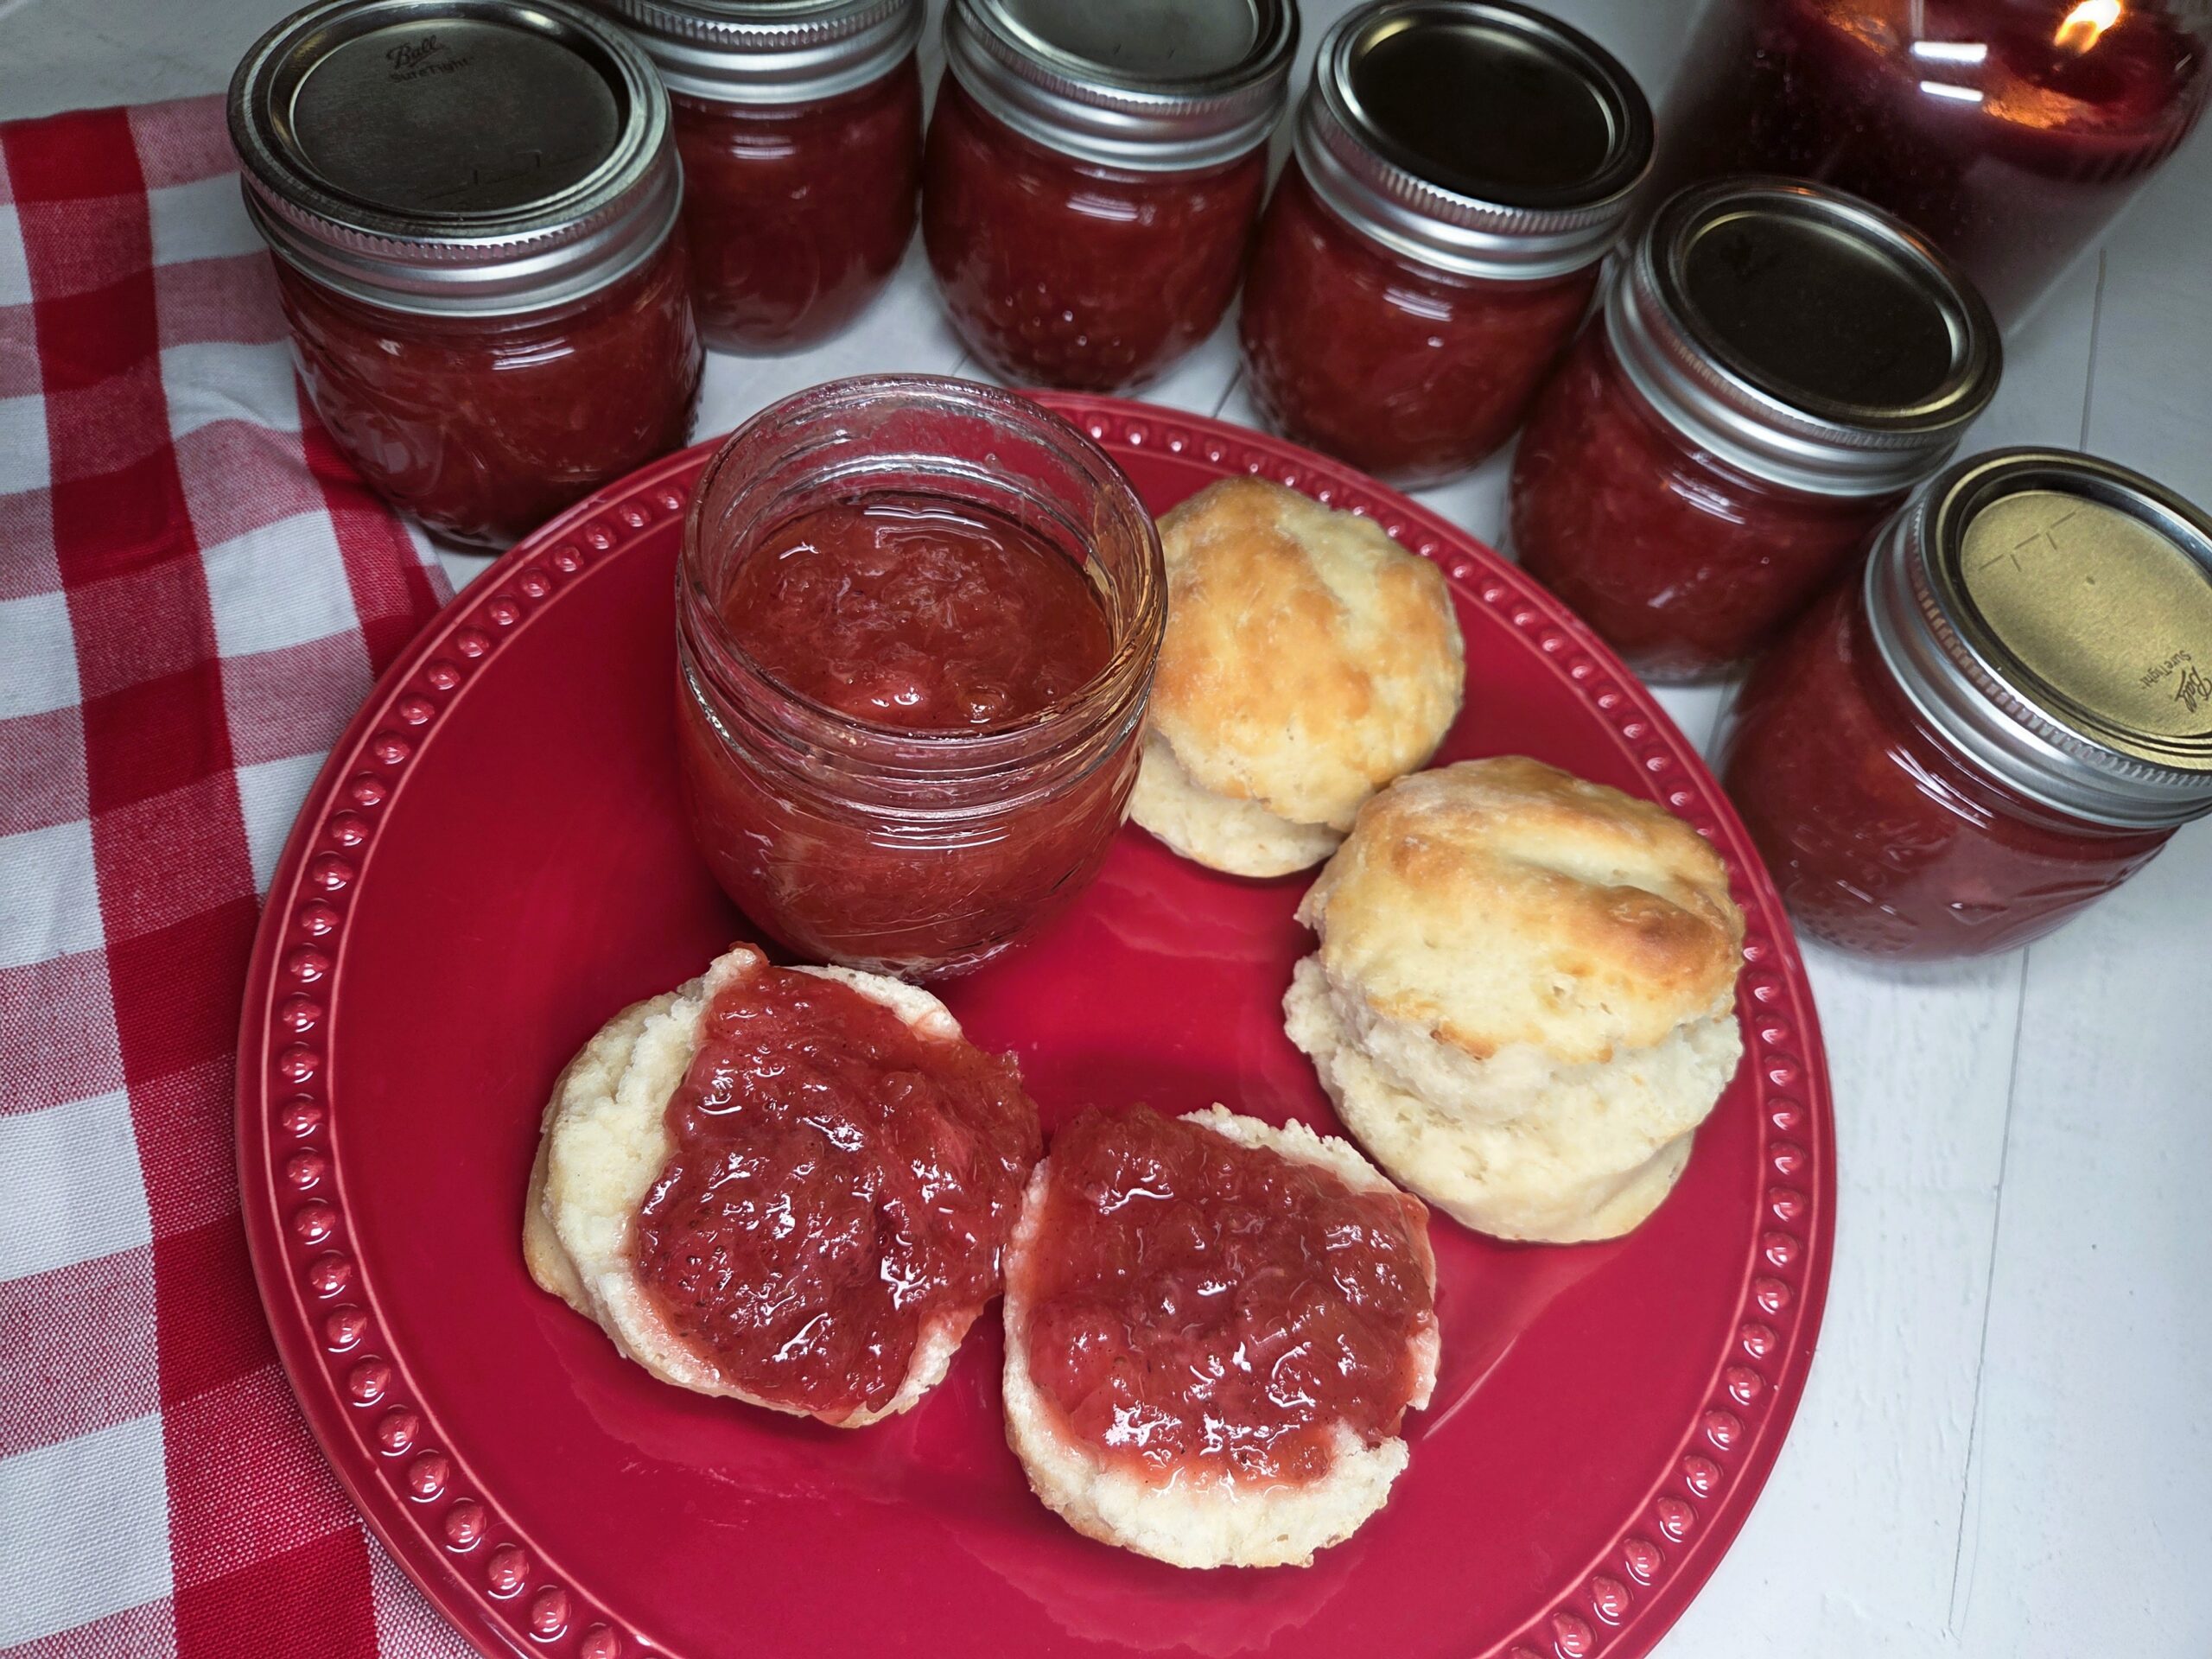
Delicious, sweet, and tangy strawberry rhubarb jam! Step-by-step recipe and canning instructions, complete with photos.
Ingredients
Directions
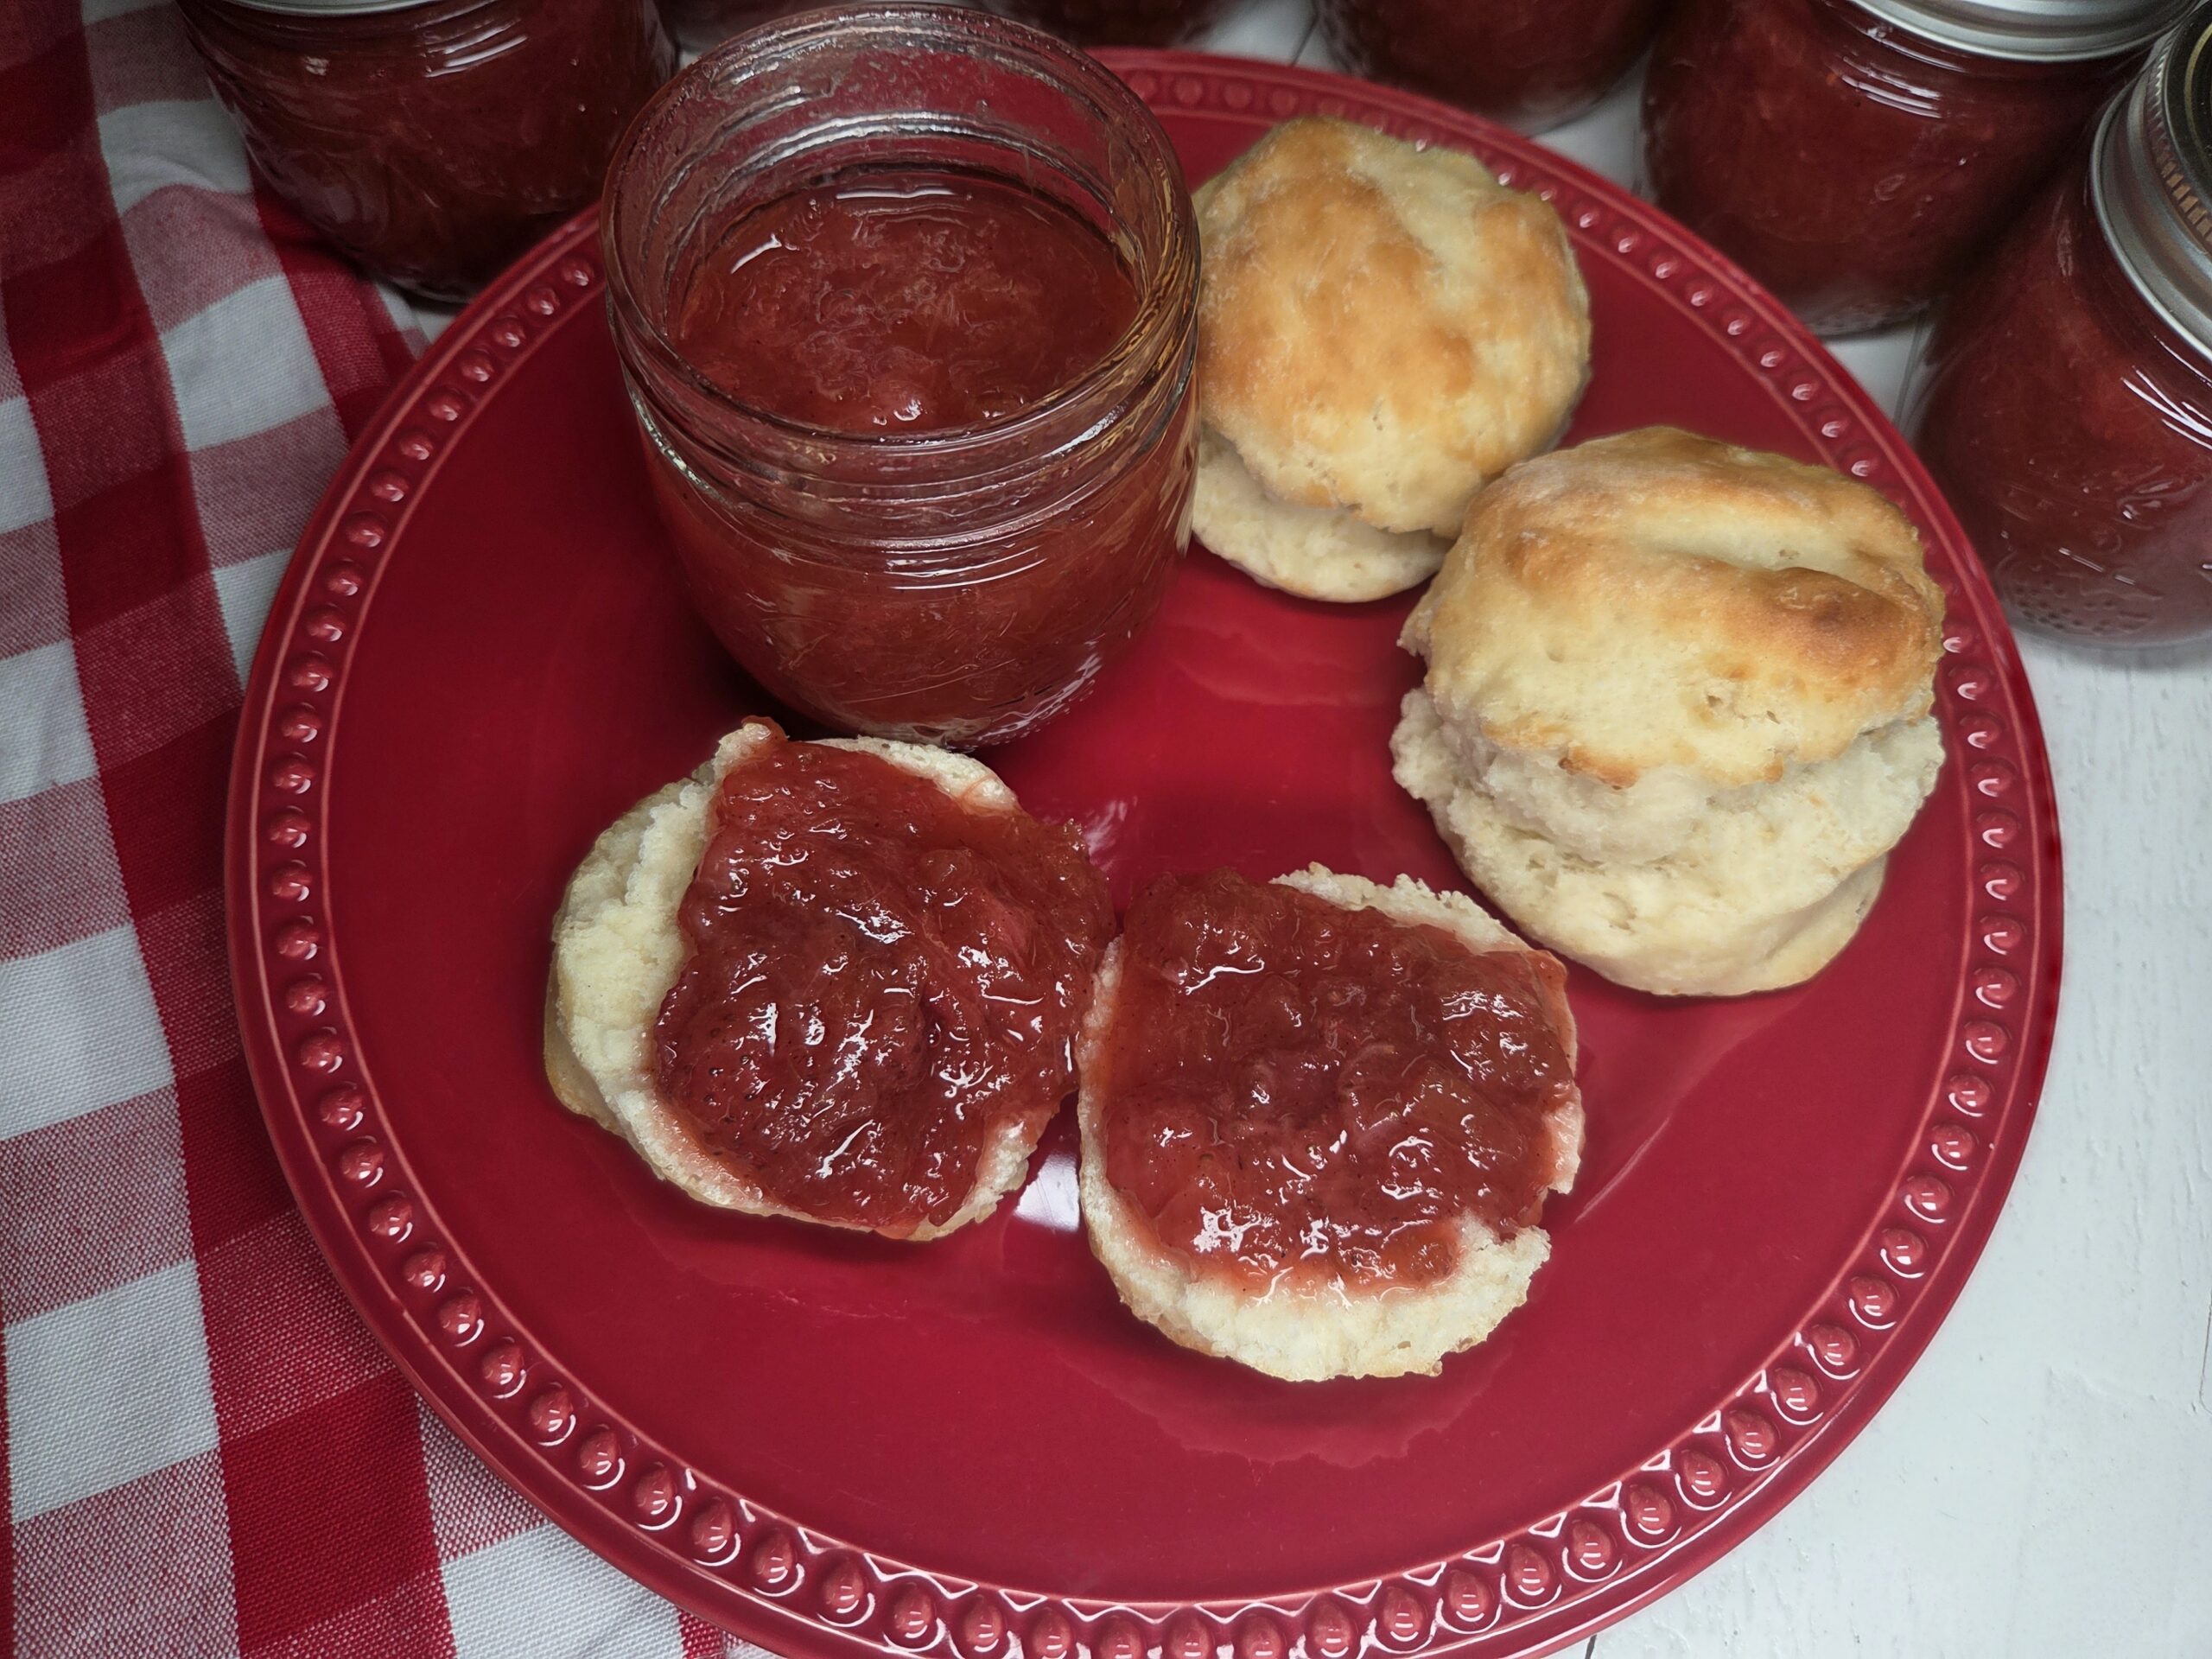
This strawberry rhubarb jam is the perfect balance of bright, tangy rhubarb and sweet, sun‑kissed strawberries, simmered together until they become a glossy, spoonable treat. It has that classic homemade flavor — fresh, vibrant, and just a little nostalgic — the kind of jam that tastes like early summer in a jar. Spread it on warm toast, swirl it into yogurt, or tuck it into pastries; no matter how you use it, it brings a burst of simple, joyful sweetness to anything it touches. And if you’d rather not, can it. This jam keeps beautifully in the refrigerator for 2-3 weeks of use or can be frozen for longer storage without losing its flavor or texture.

Wash the jars, lids, and bands in warm, soapy water and rinse well. Place the jars right side up in a boiling‑water canner fitted with a rack. Do not boil lids. Add warm water until it covers the jars by about 1 inch. Bring the water to a boil and boil the jars for 10 minutes if you are below 1,000 feet elevation; add 1 minute of boiling time for every additional 1,000 feet. Reduce the heat and keep the jars hot until you’re ready to fill them. Remove and drain one hot jar at a time, leaving the remaining jars in the canner so the water can be used for processing.
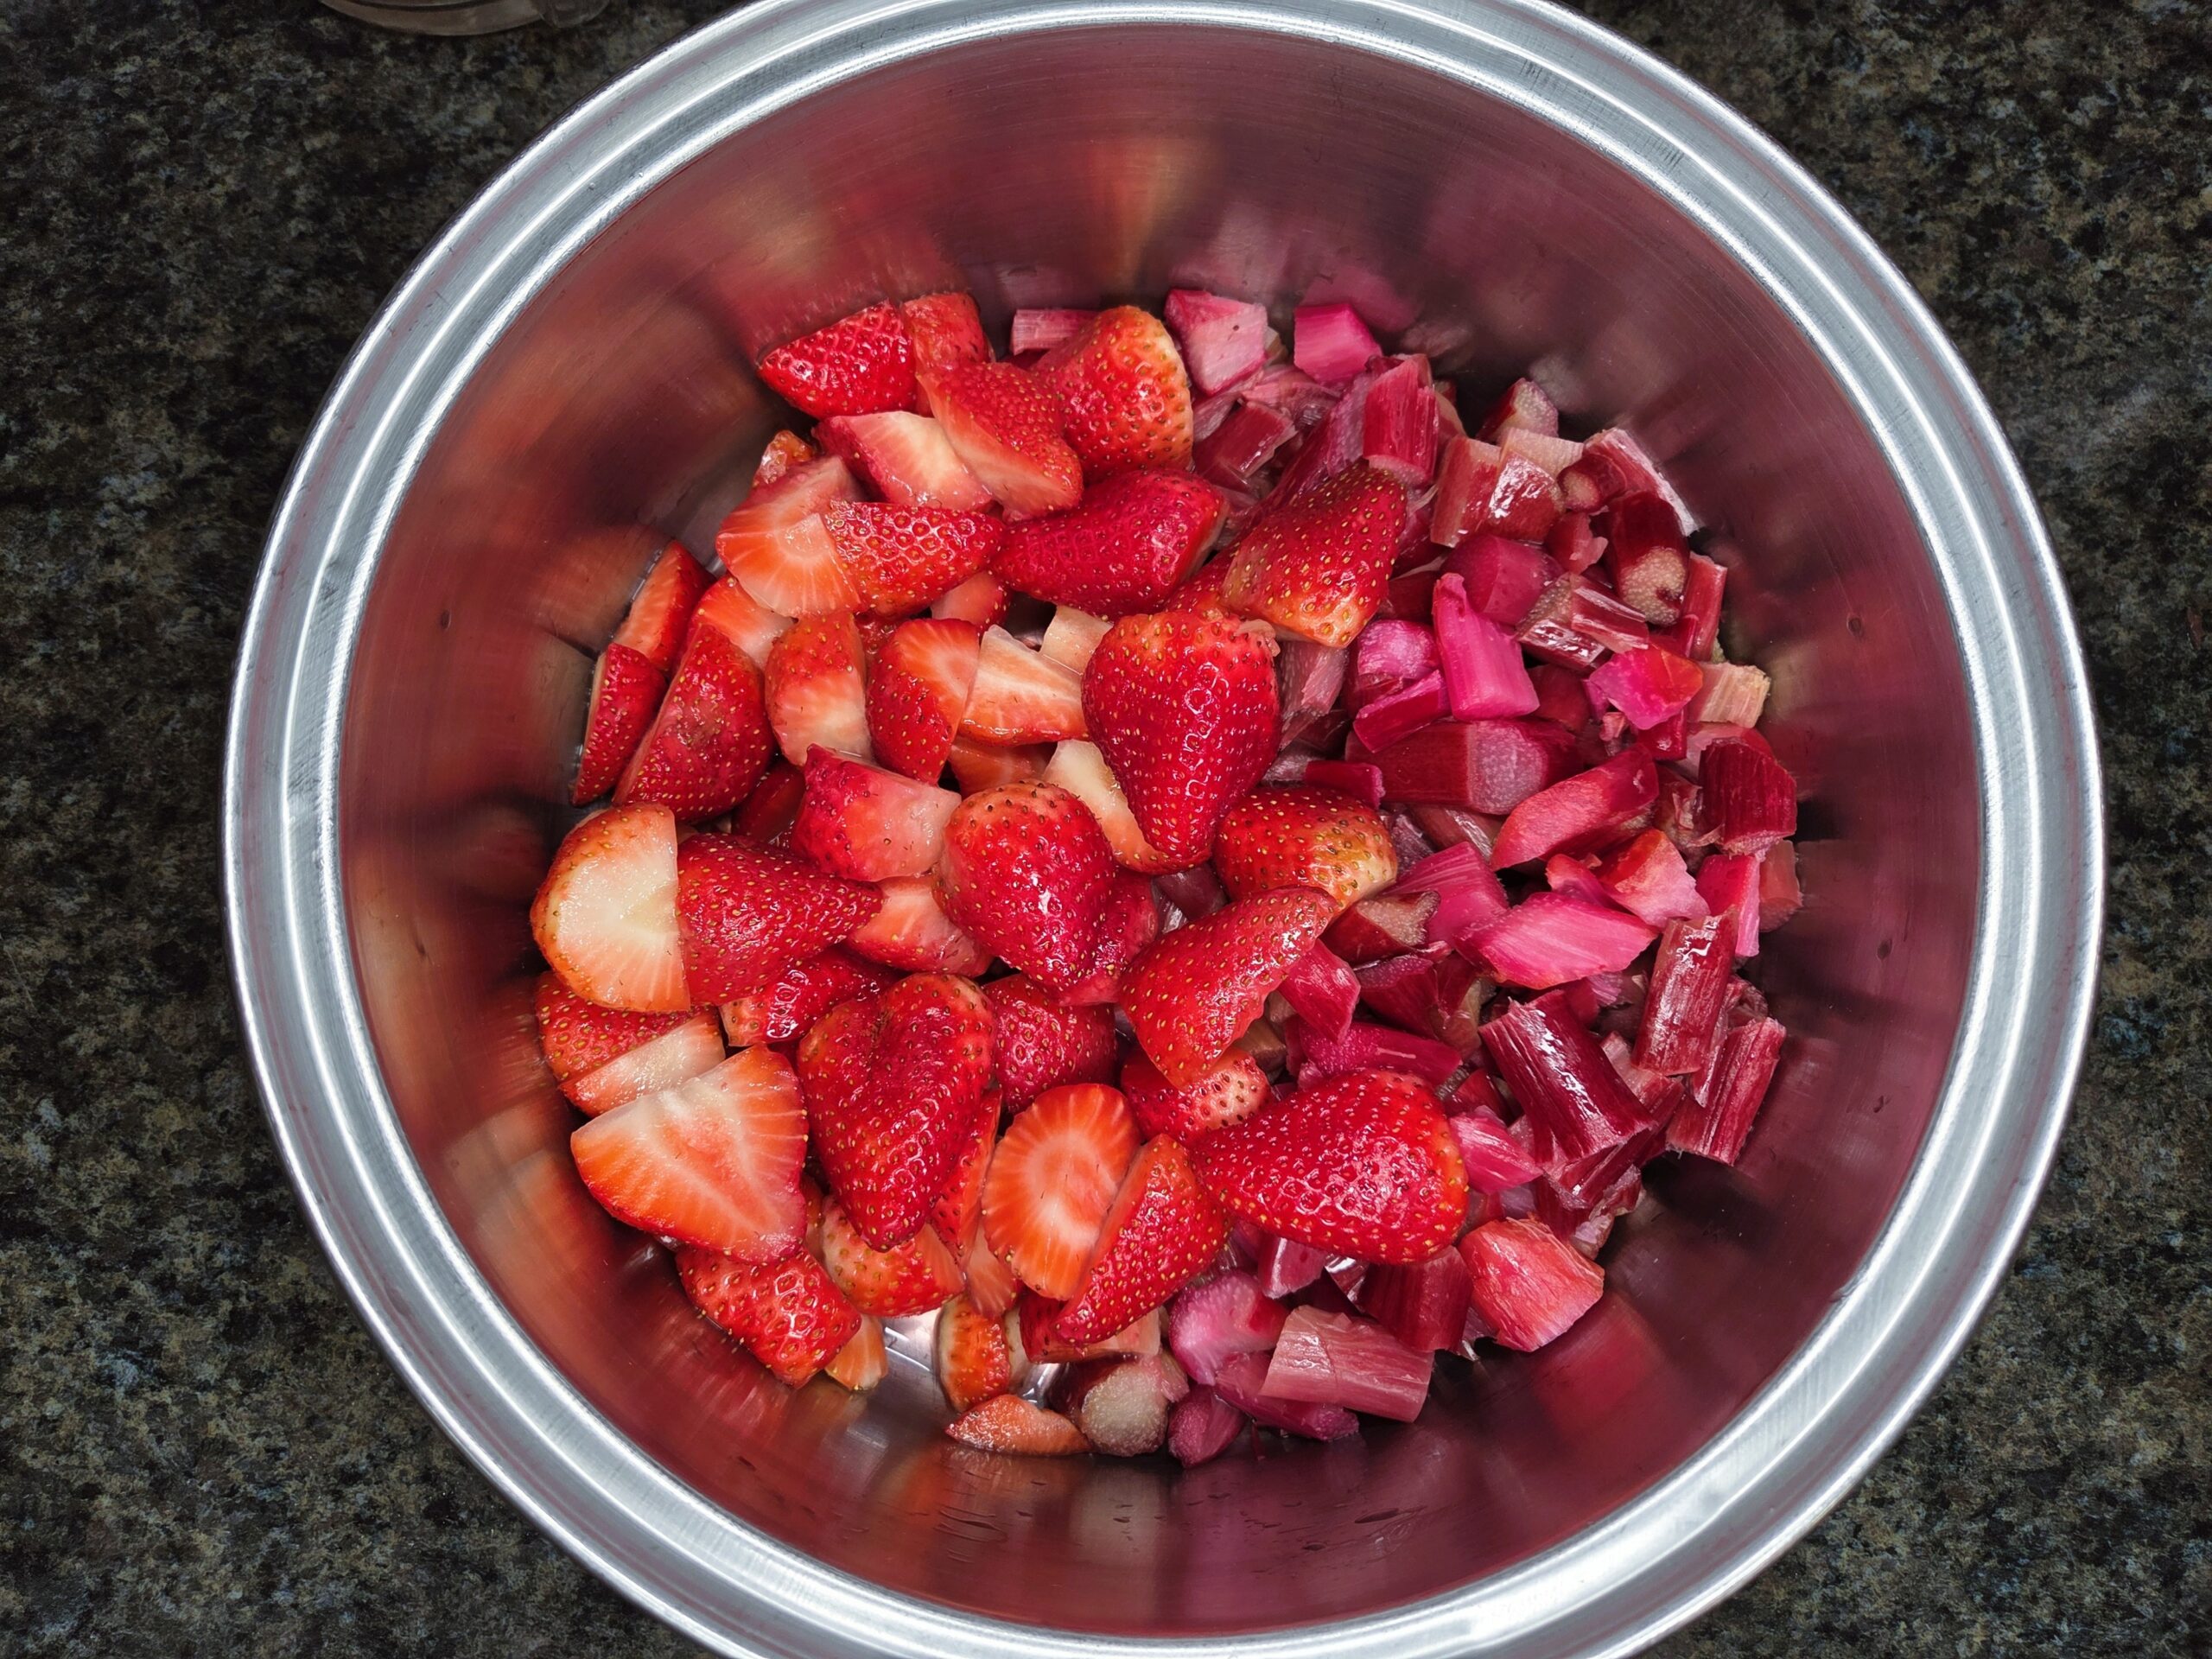
Prepare your ingredients: Rinse, trim, and dice the rhubarb into 1‑inch pieces. Rinse and stem the strawberries, then cut them in half. If you prefer a smoother jam with fewer chunks, cut the strawberries into smaller pieces. Place 5 cups of each into a stainless‑steel, non‑reactive 5‑quart pot over medium heat.
Add in 3 tablespoons of pectin powder, 5 tablespoons of bottled lemon juice, 1 teaspoon of vanilla extract, 1/2 teaspoon of ground nutmeg, and 1/2 teaspoon of ground cinnamon. Bottled lemon juice is recommended because it has a consistent acidity level, which is important for safe water‑bath canning.
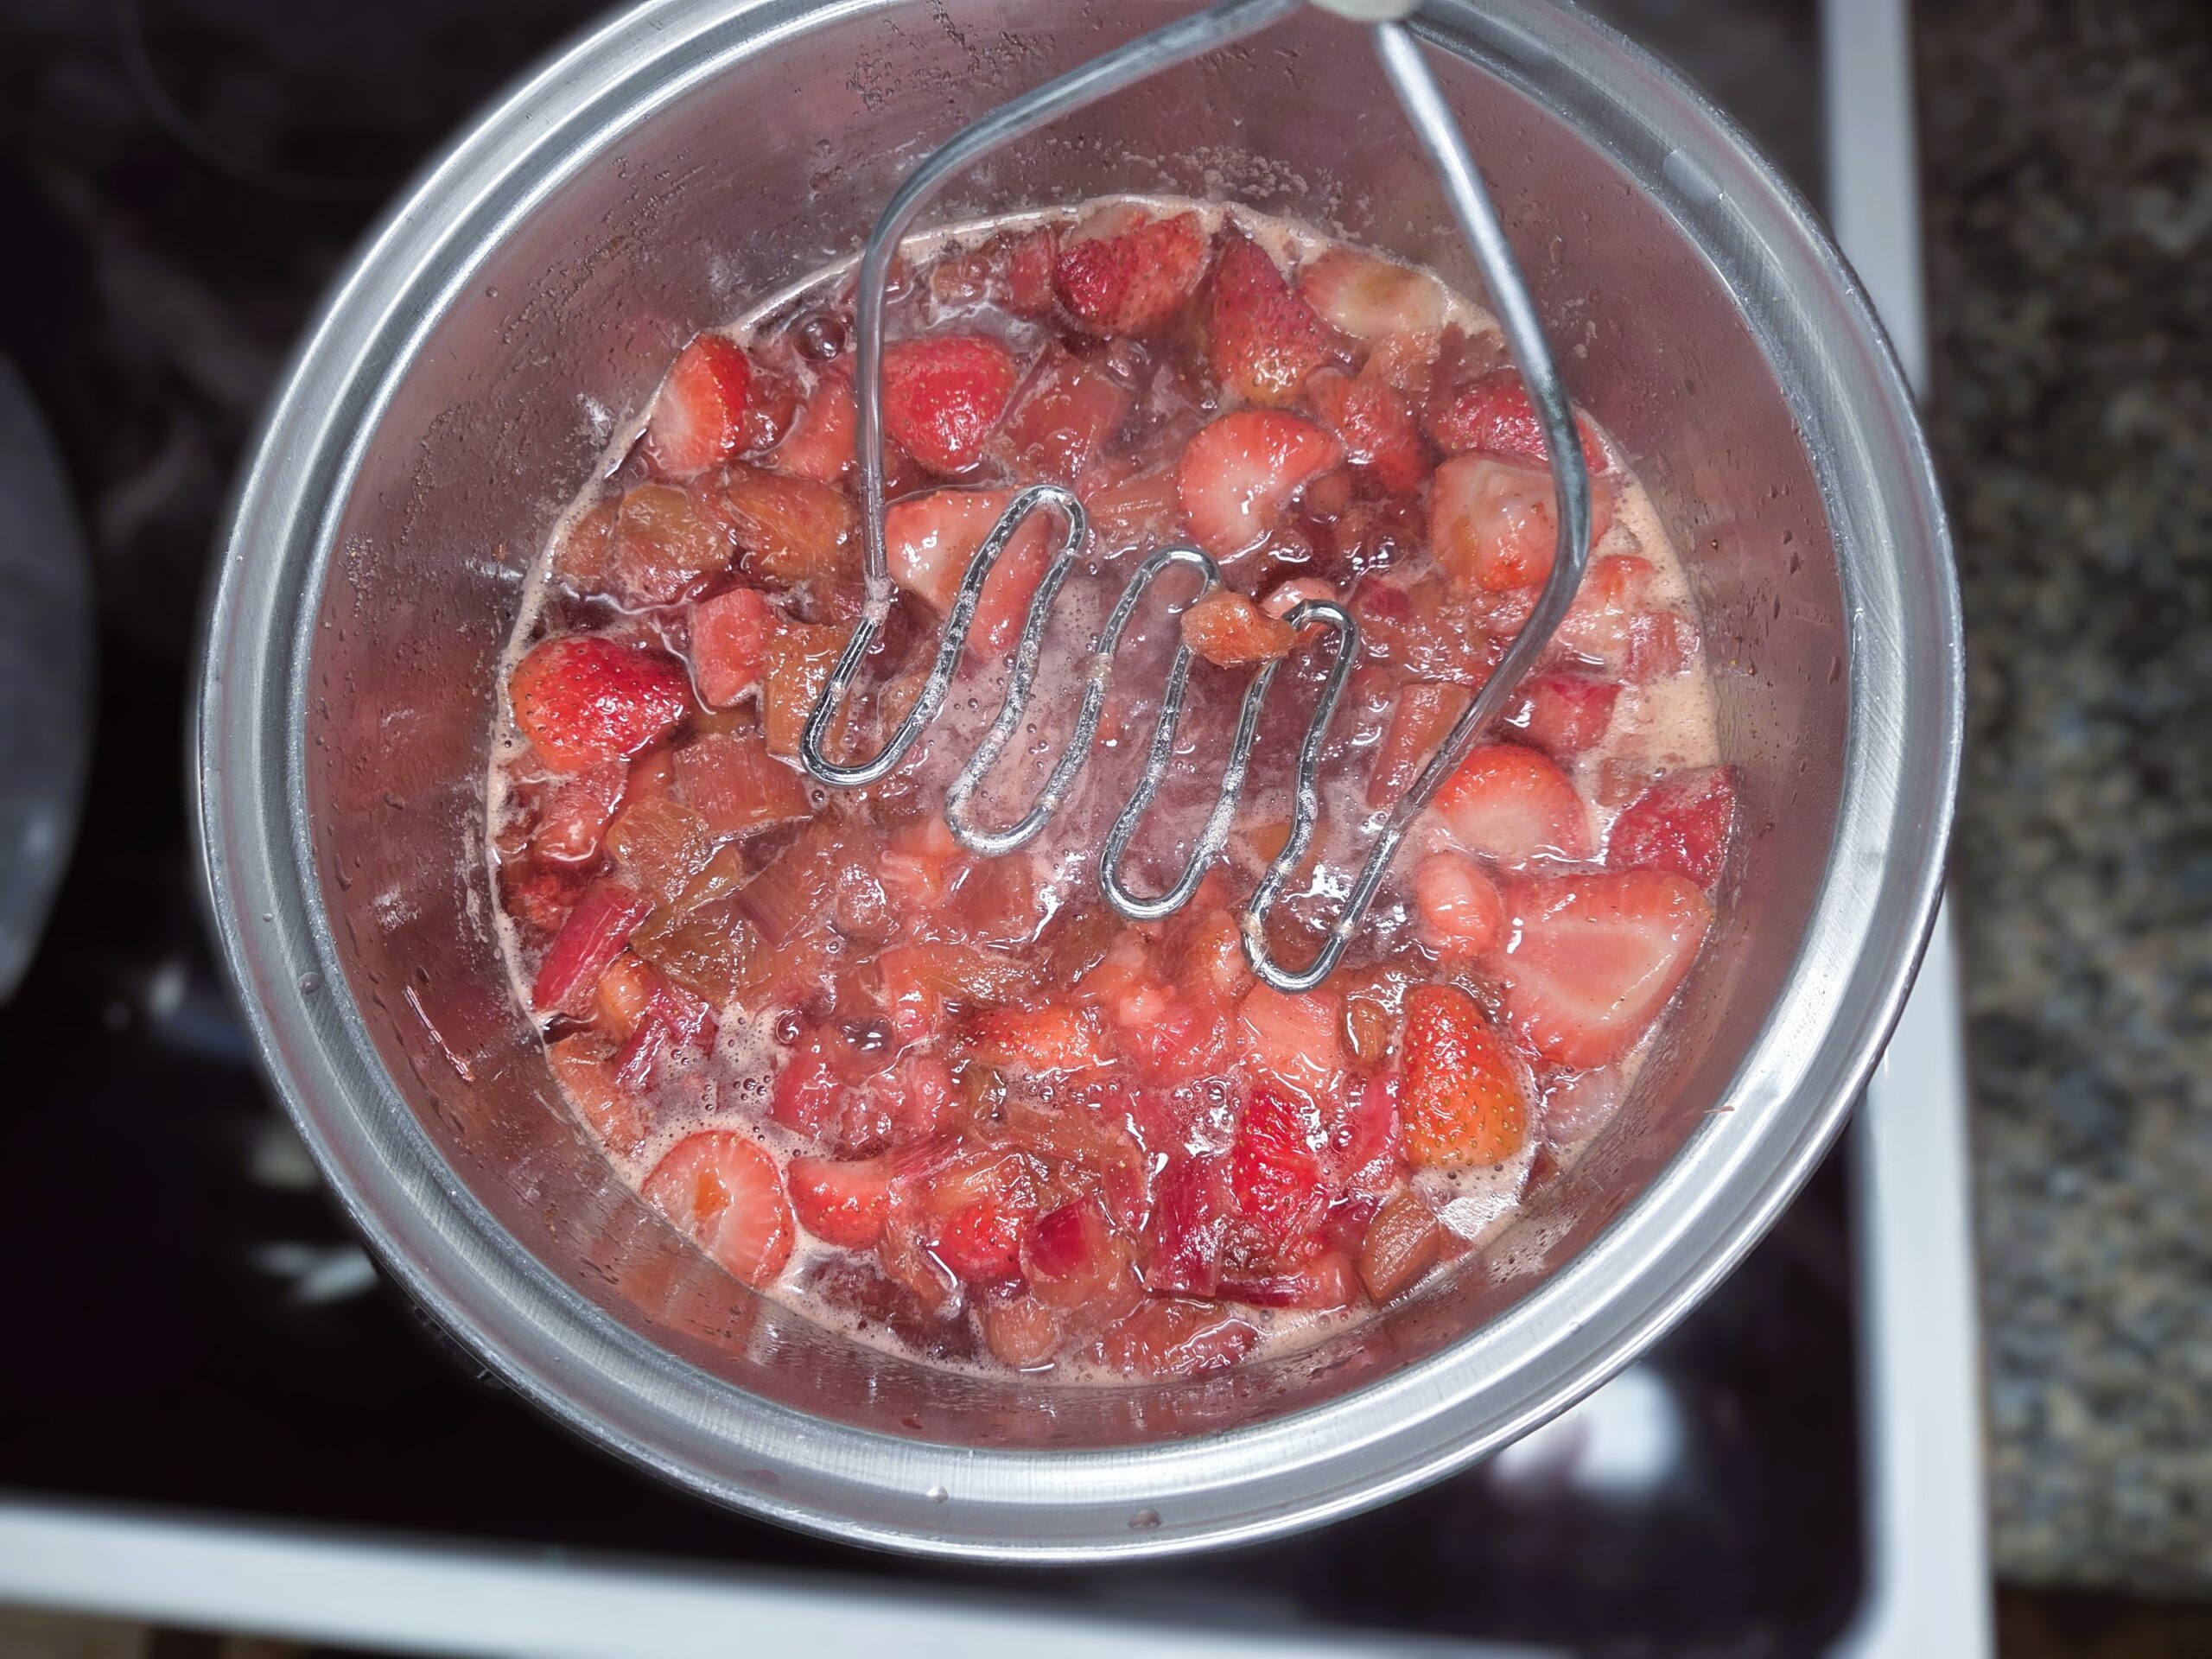
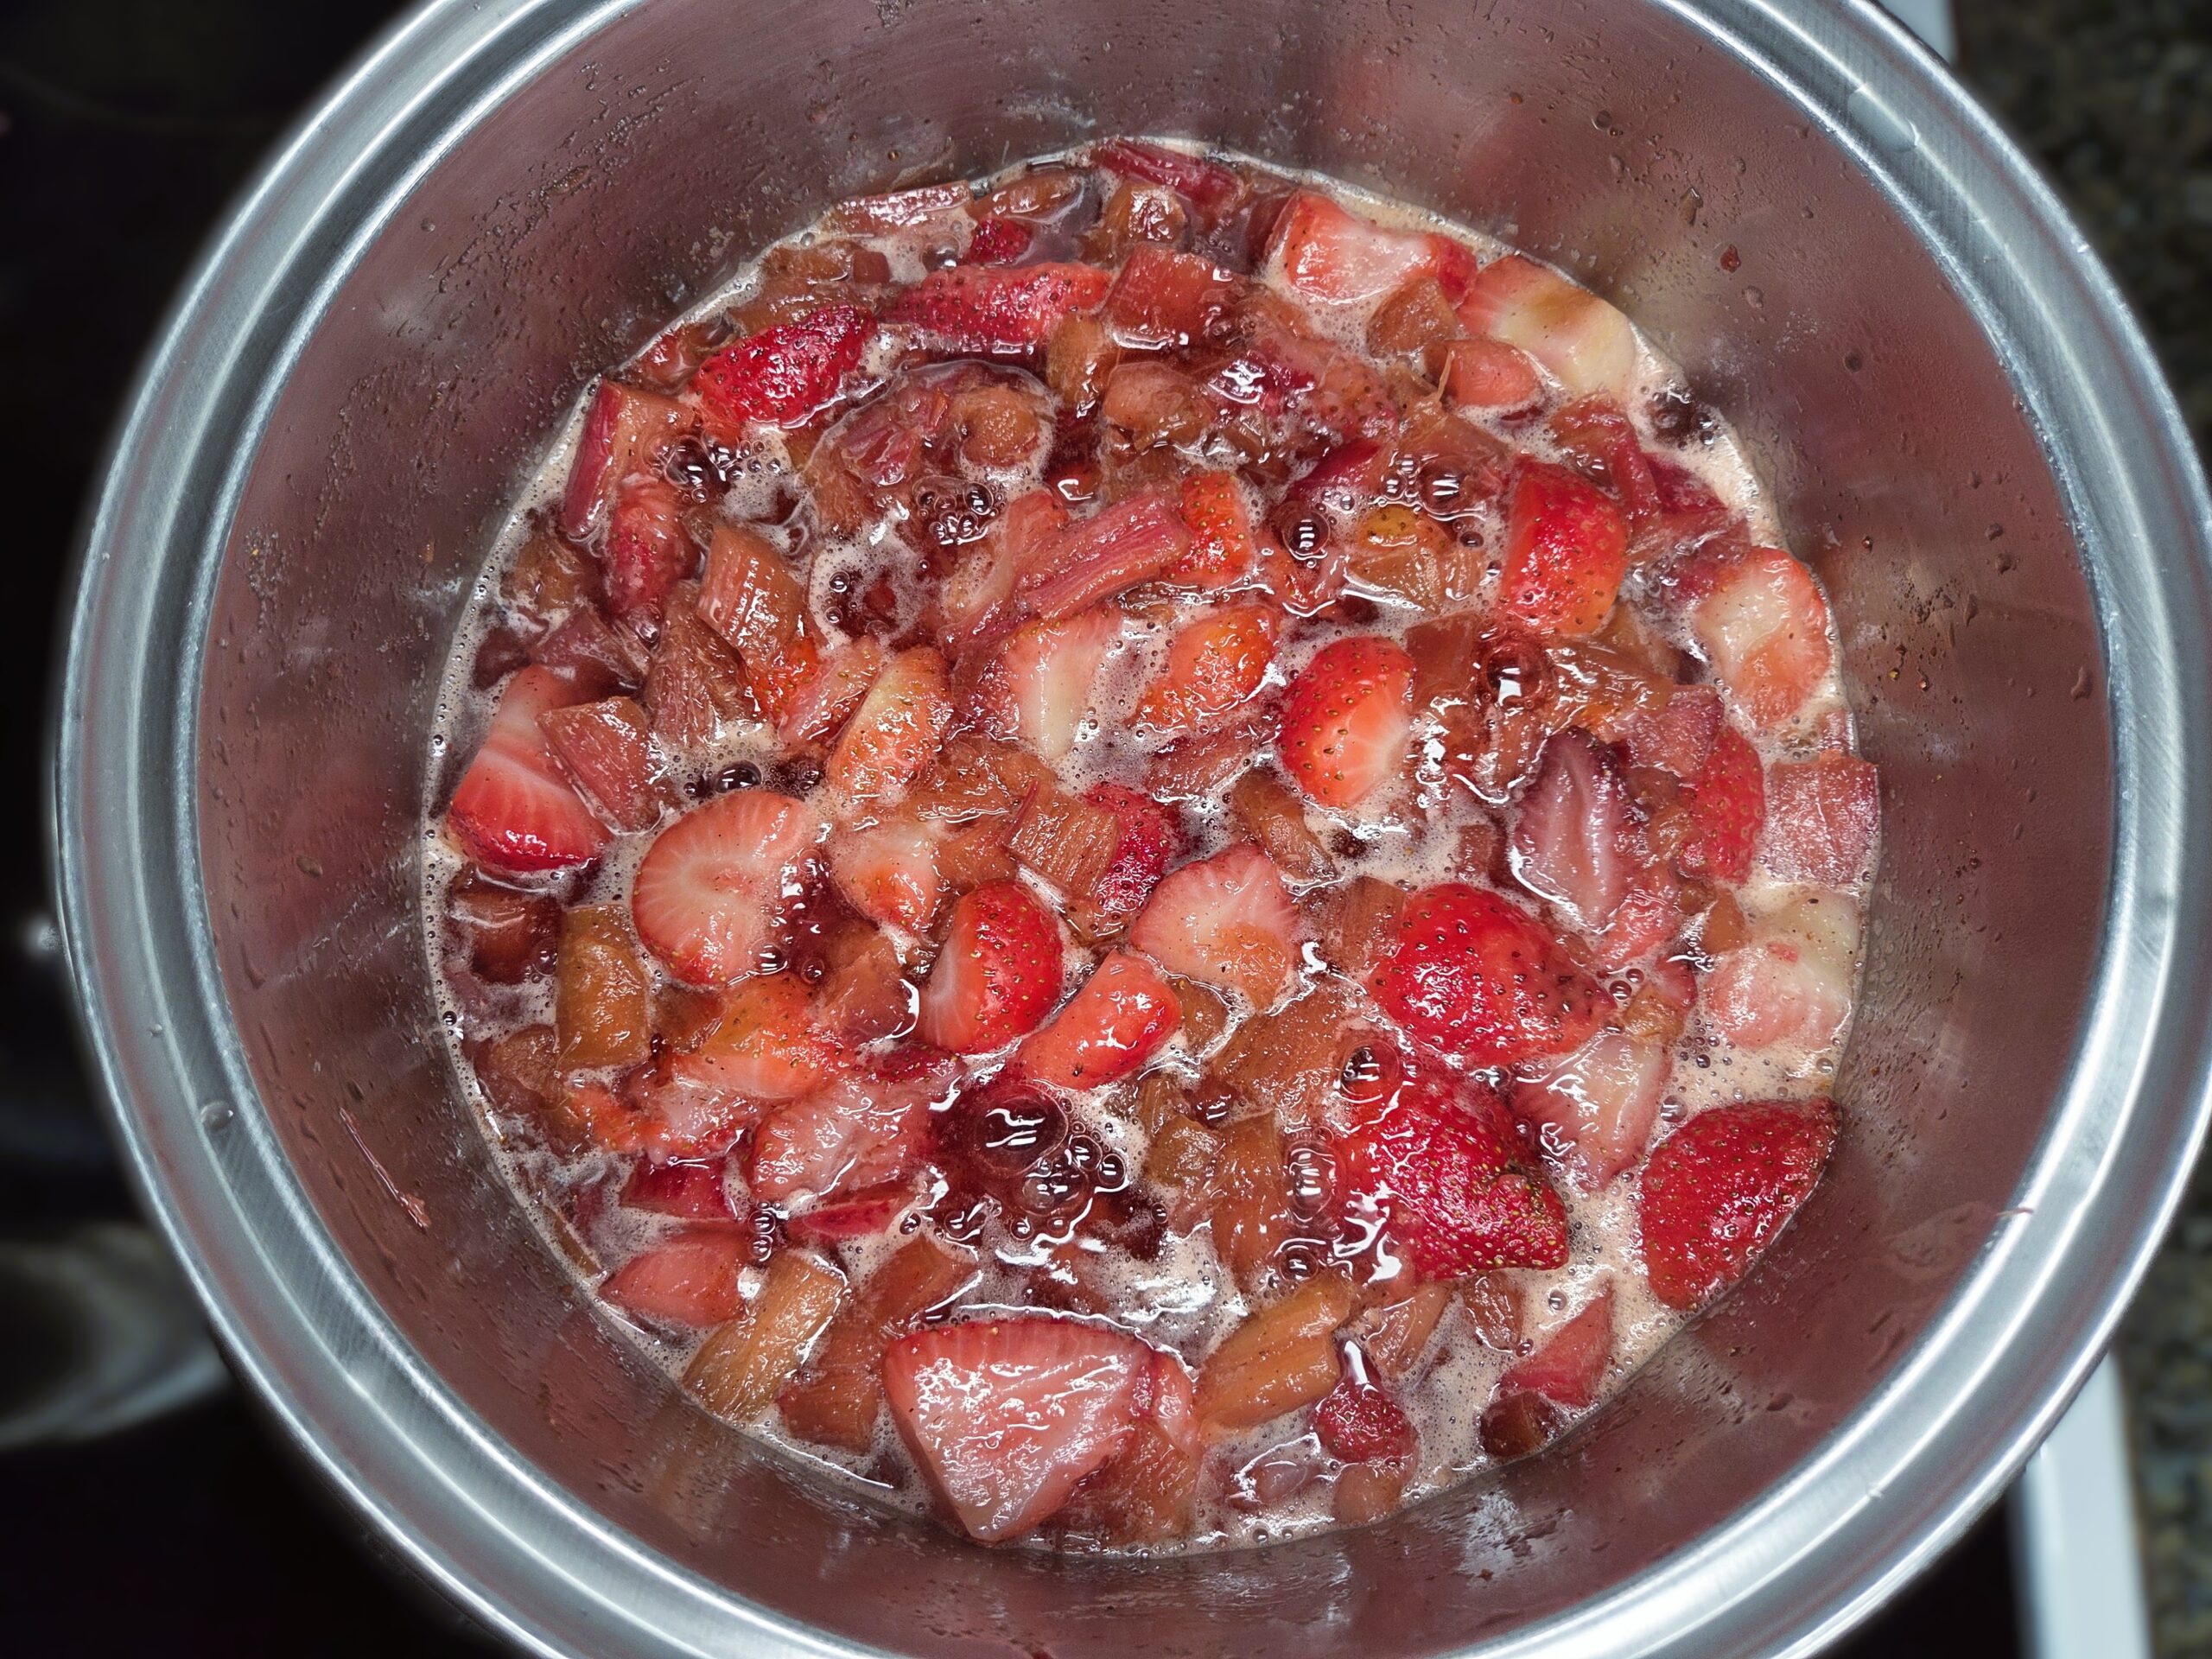
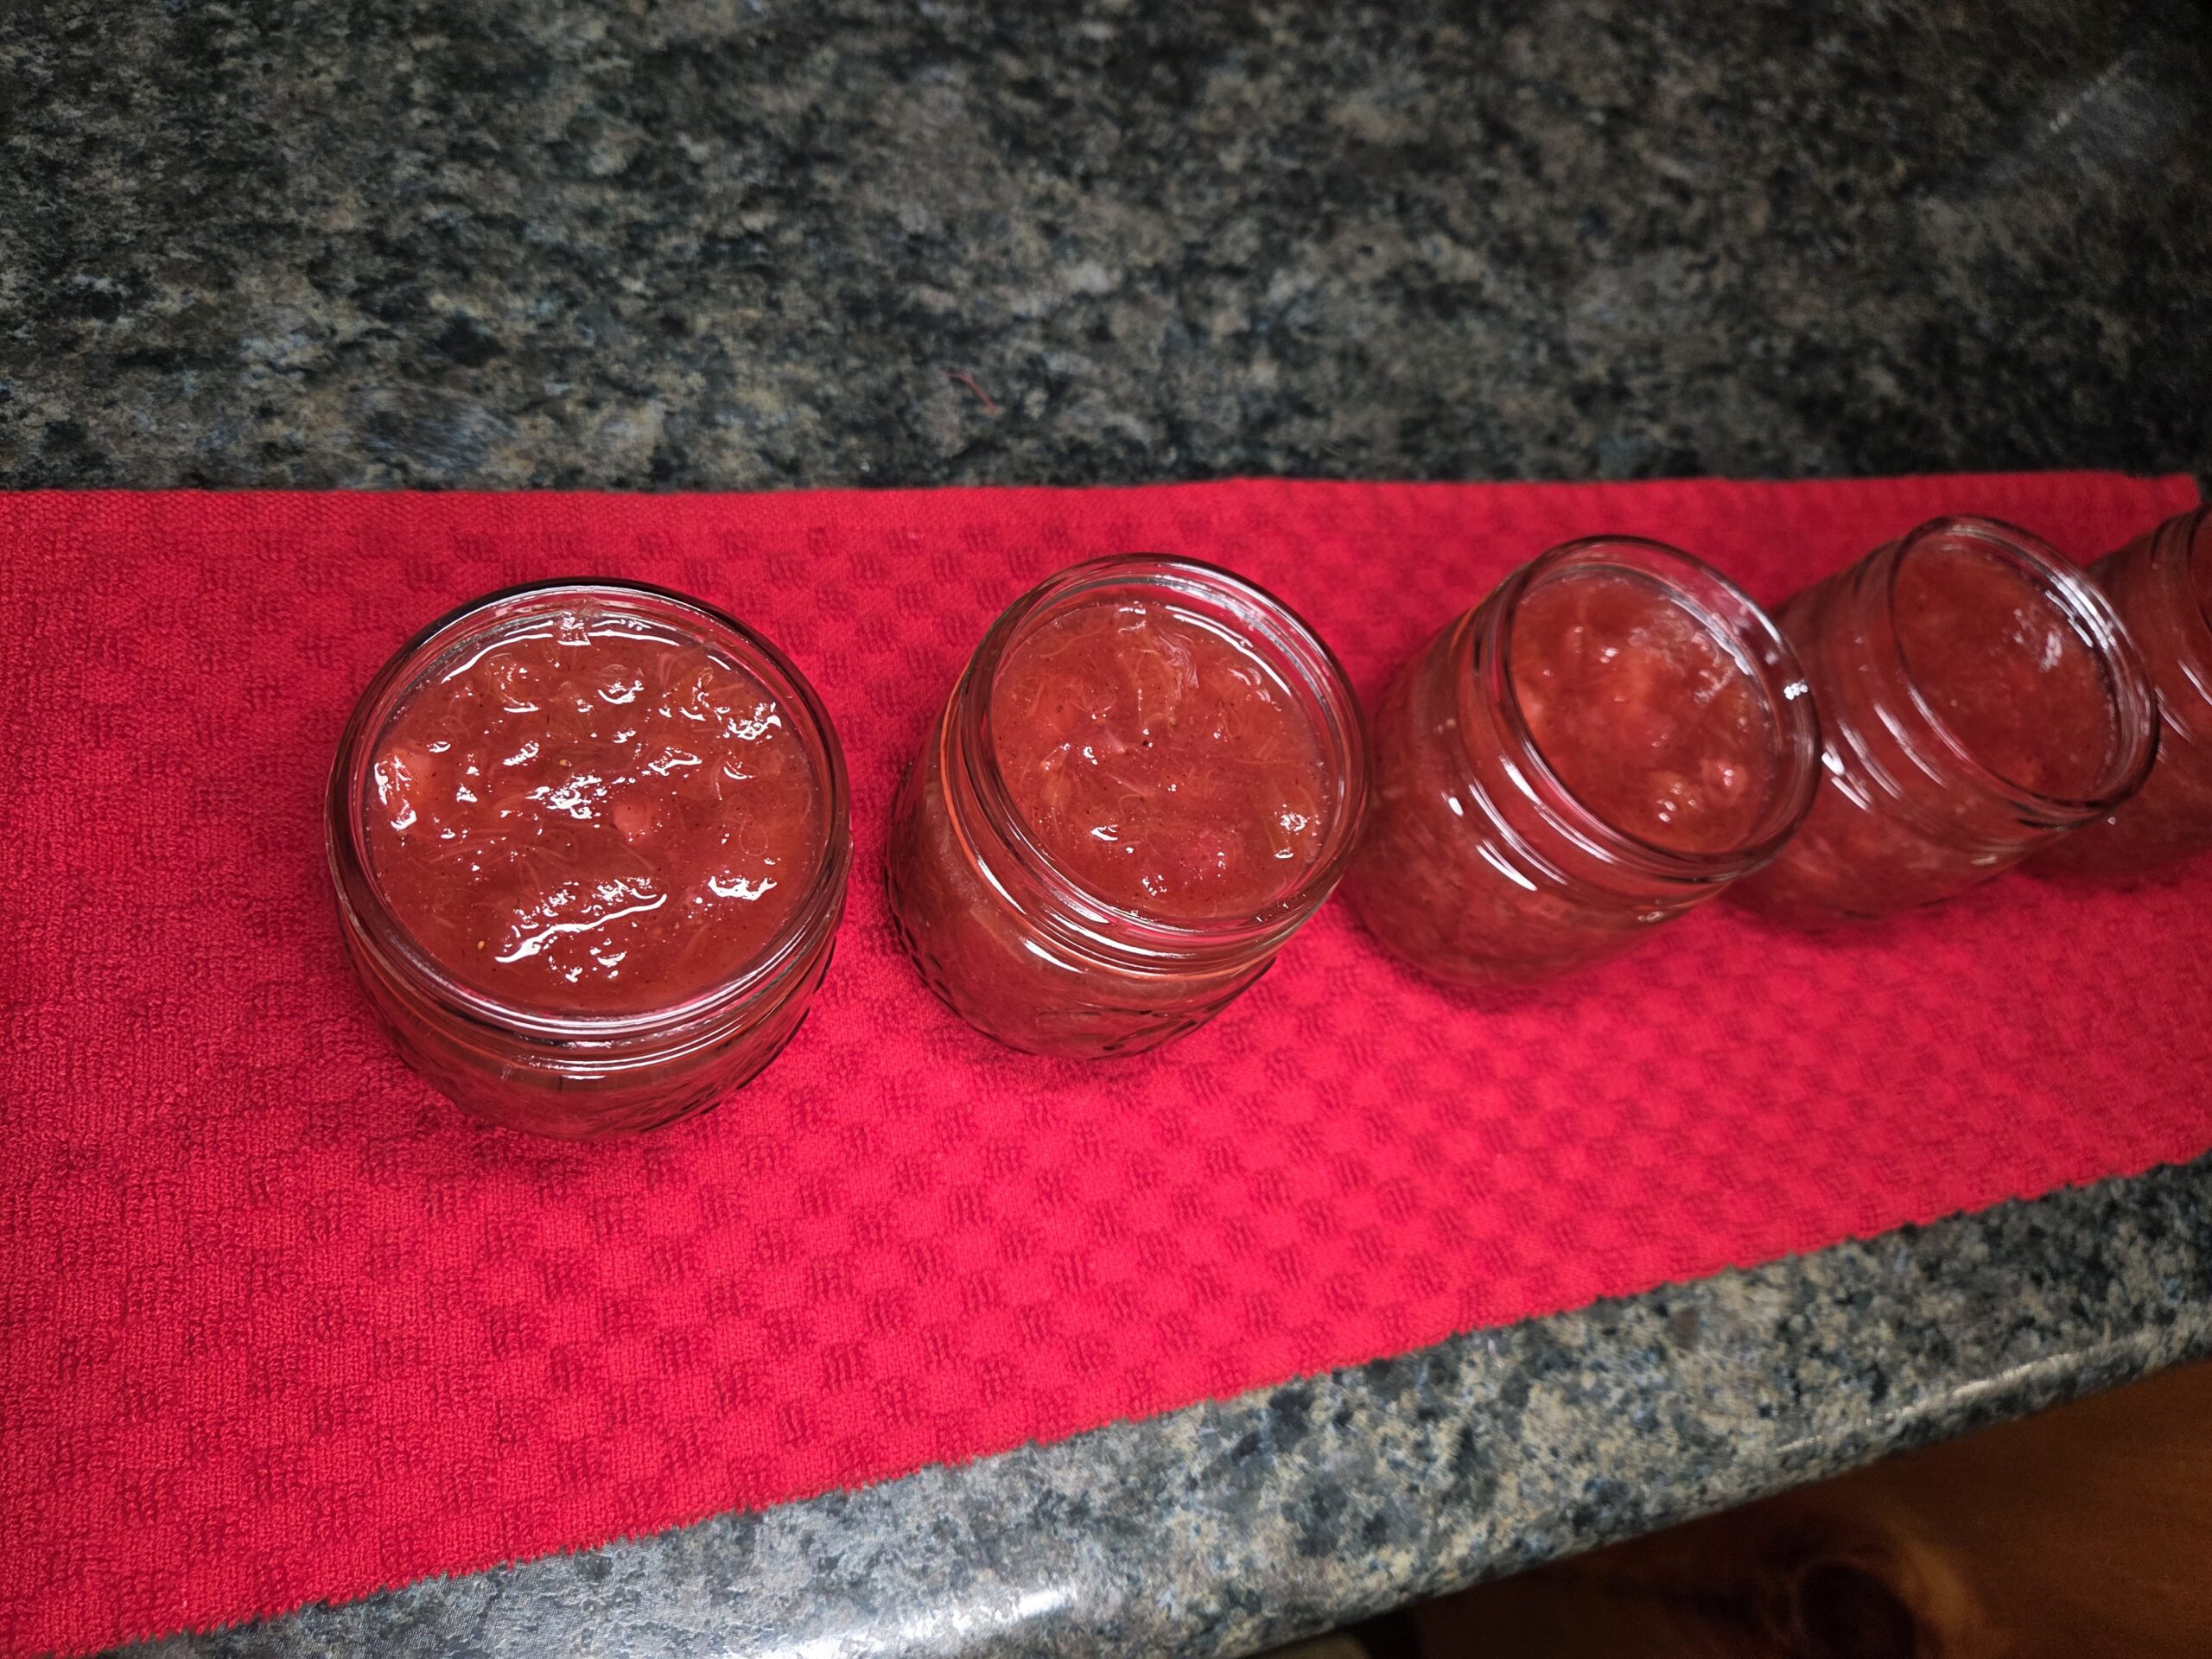
Bring the mixture to a boil, mashing the fruit with a potato masher as it cooks. If you want chunkier jam like in the photos, don’t mash it too much.
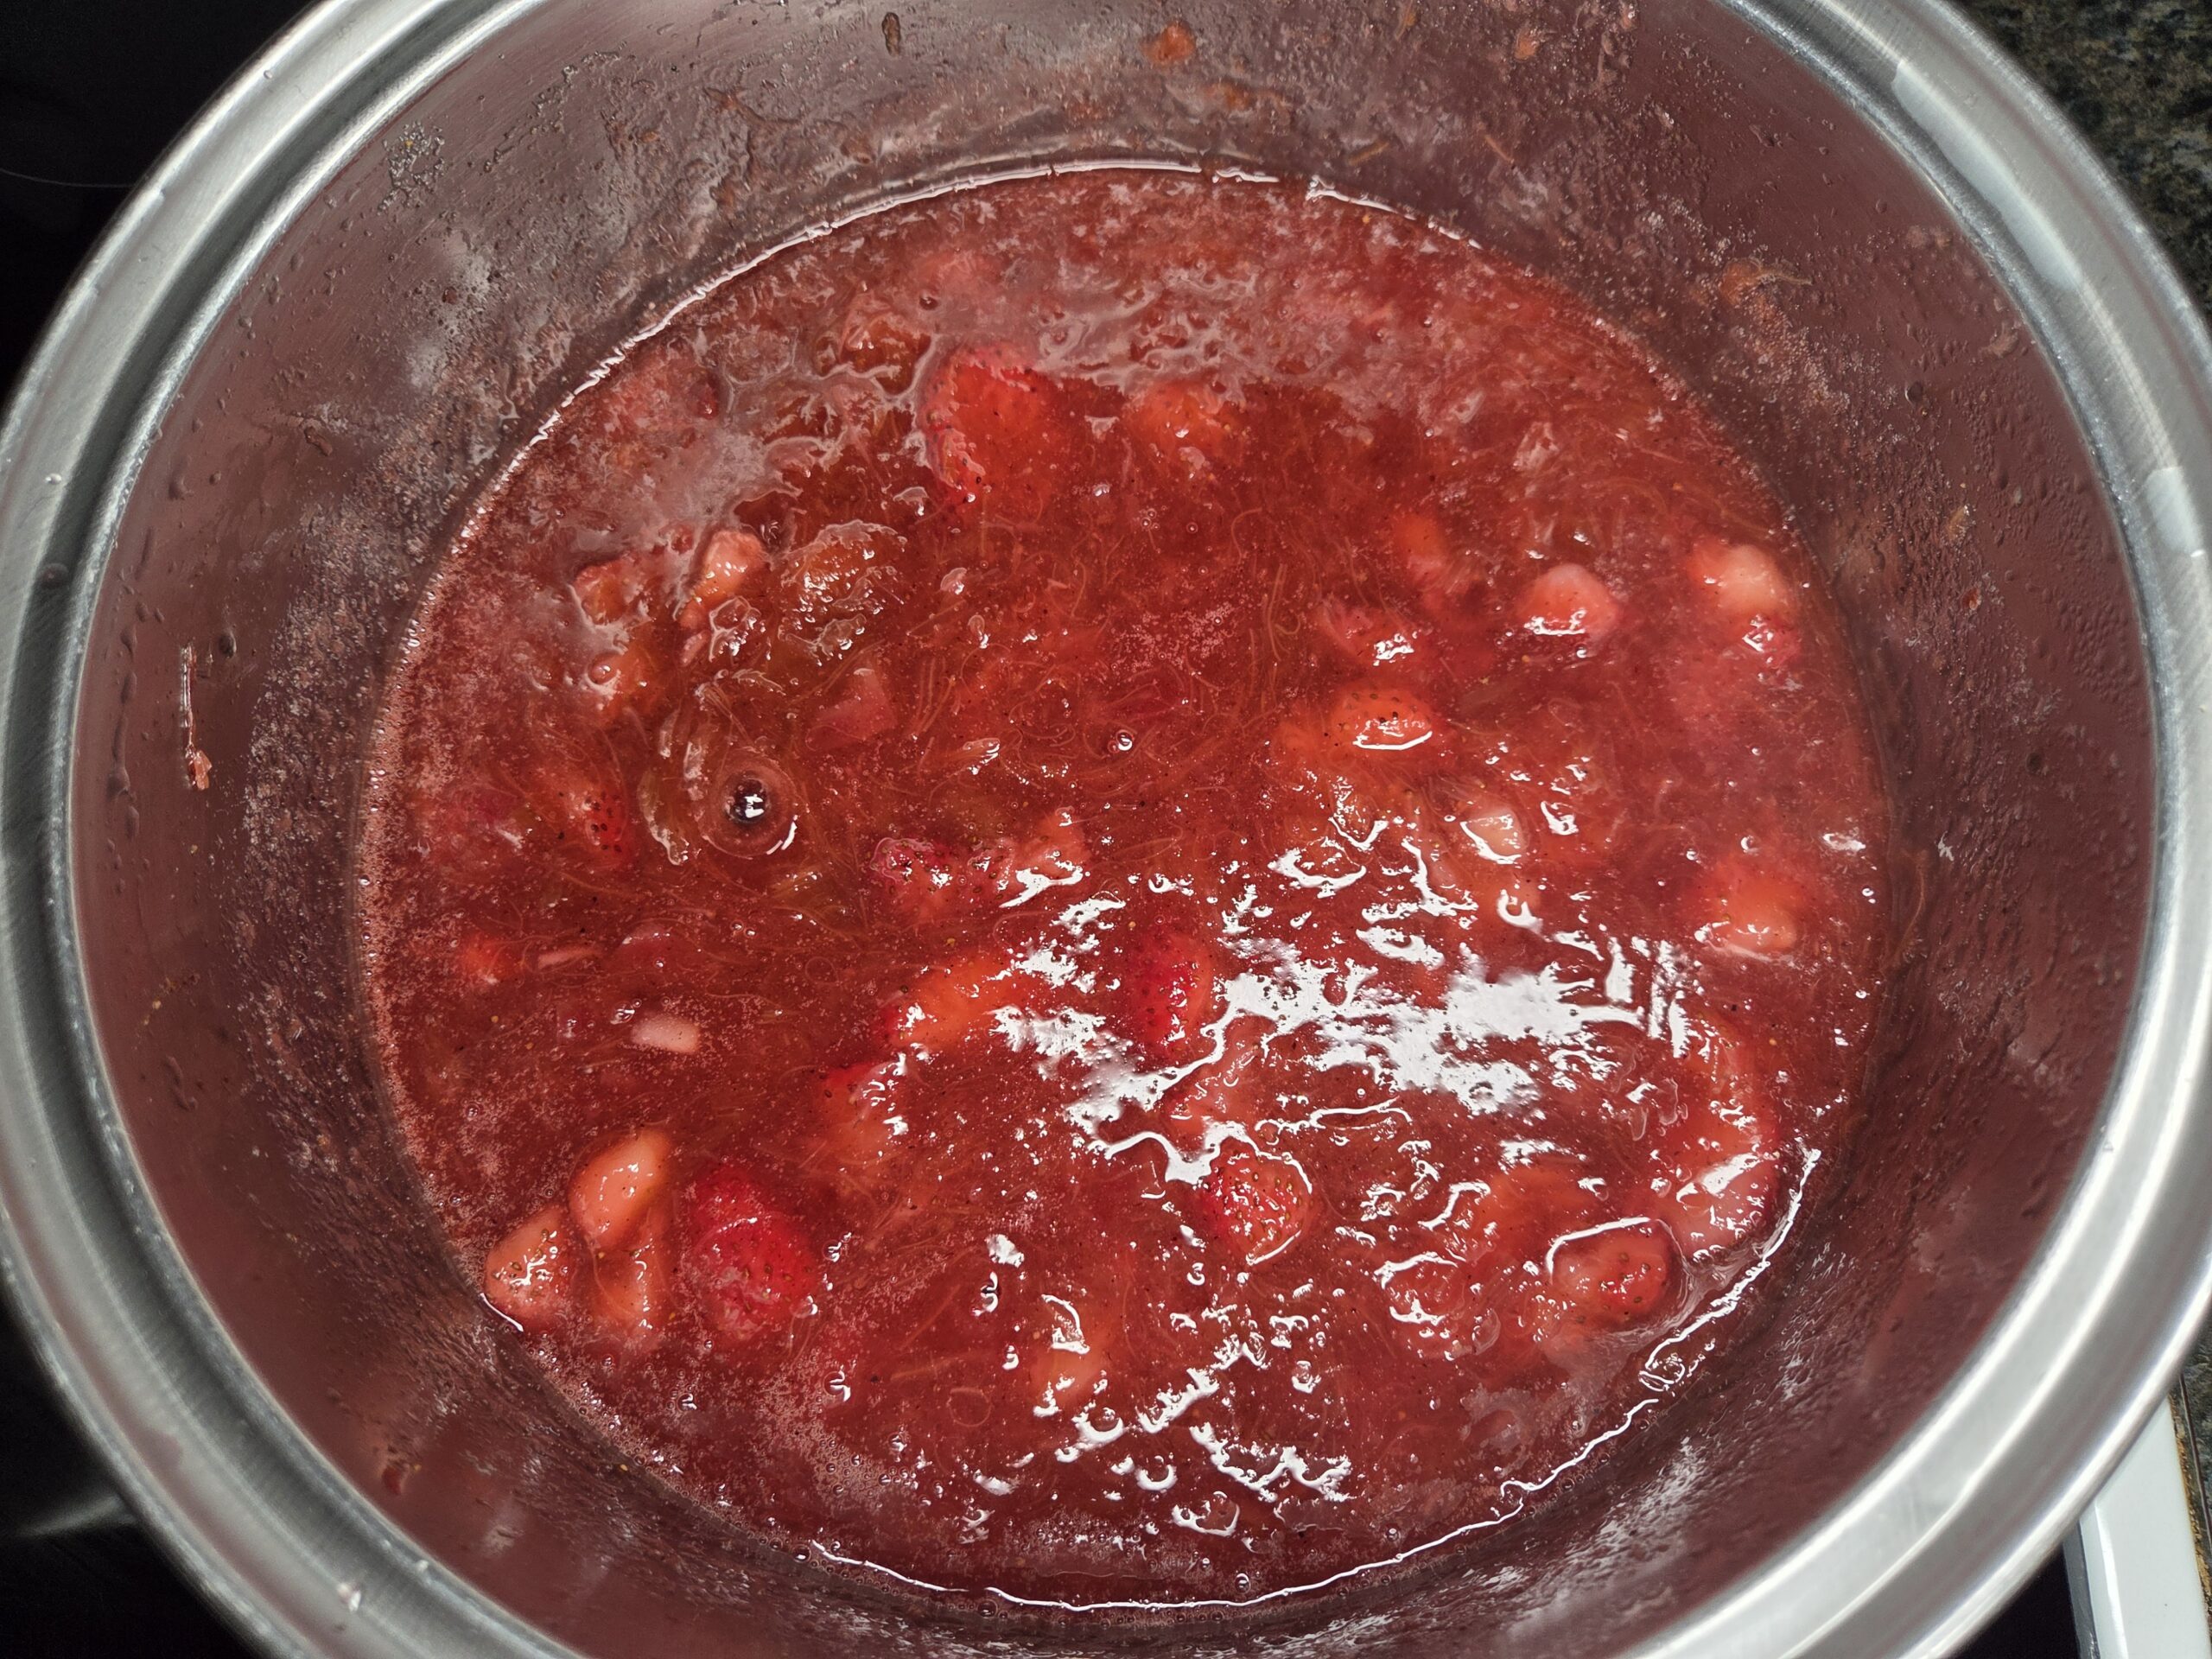
Once the jam is boiling hard and cannot be stirred down, add in 3 cups of granulated sugar and bring the jam back to a rolling boil that can't be stirred down. Boil hard for 1 minute, stirring constantly.
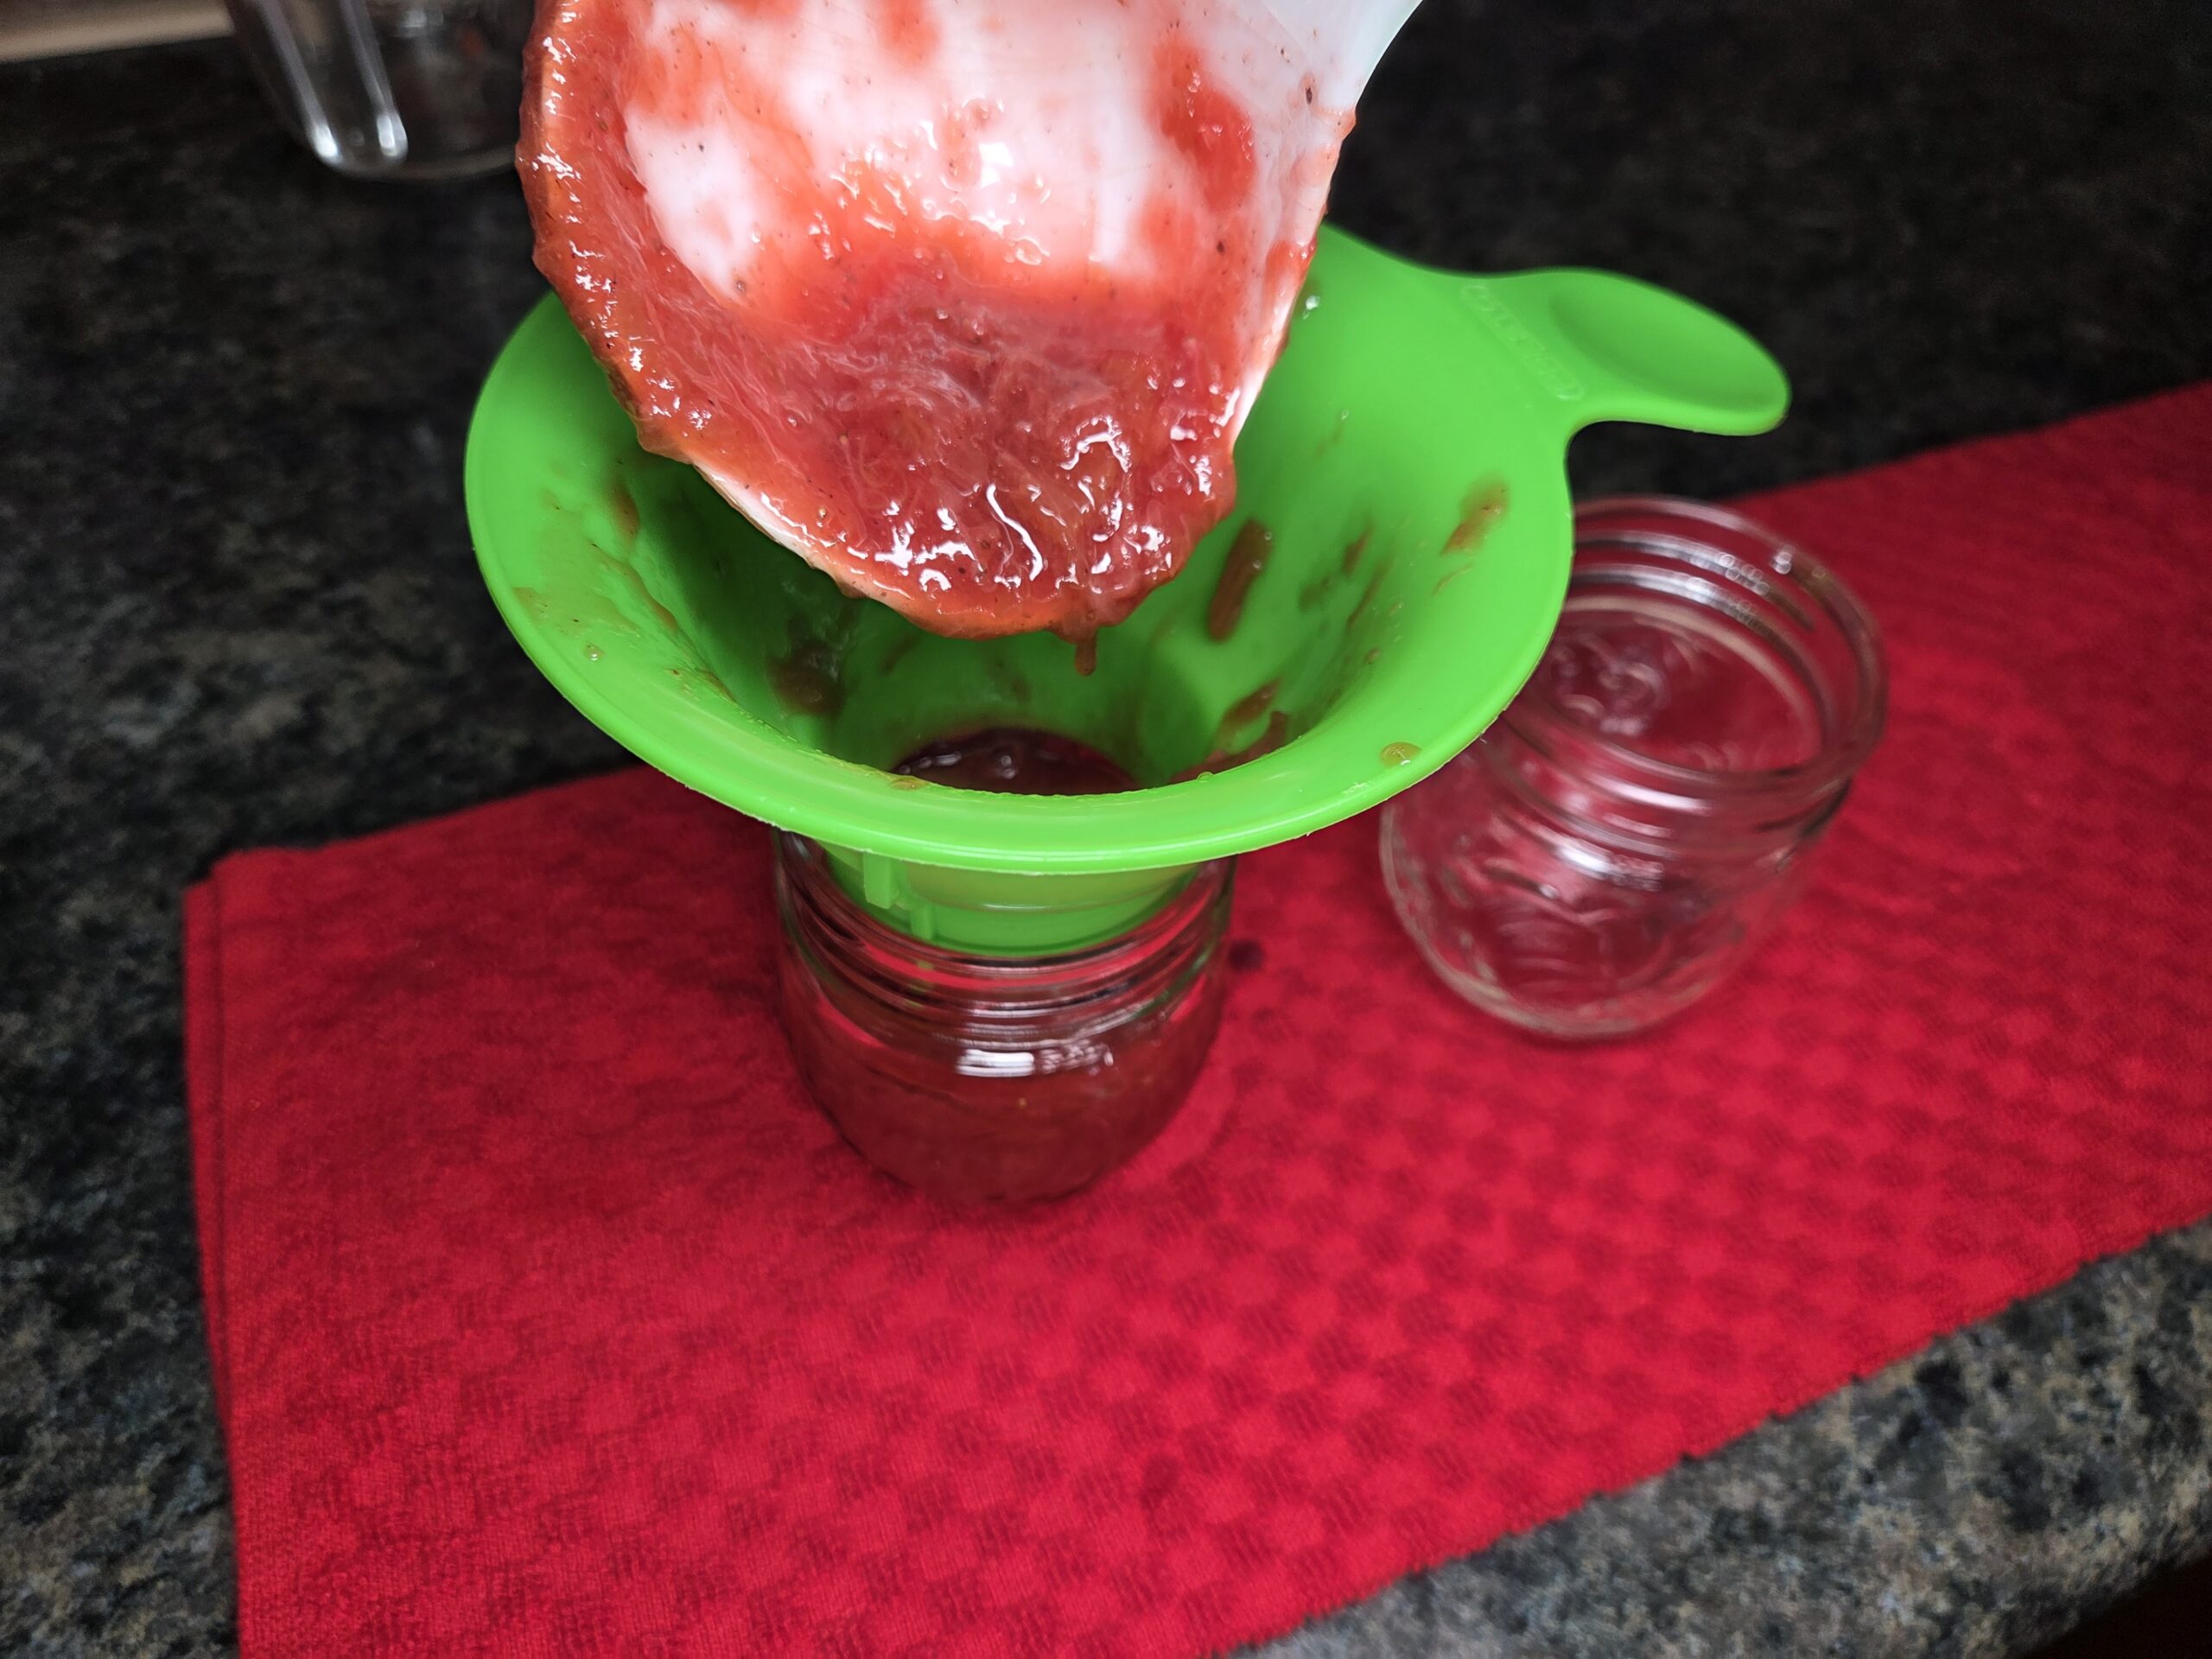
When your jam has finished cooking, it’s time to get those jars ready for the canner. Working with hot jars and hot jam, ladle the mixture in while leaving a neat ¼‑inch of headspace at the top.
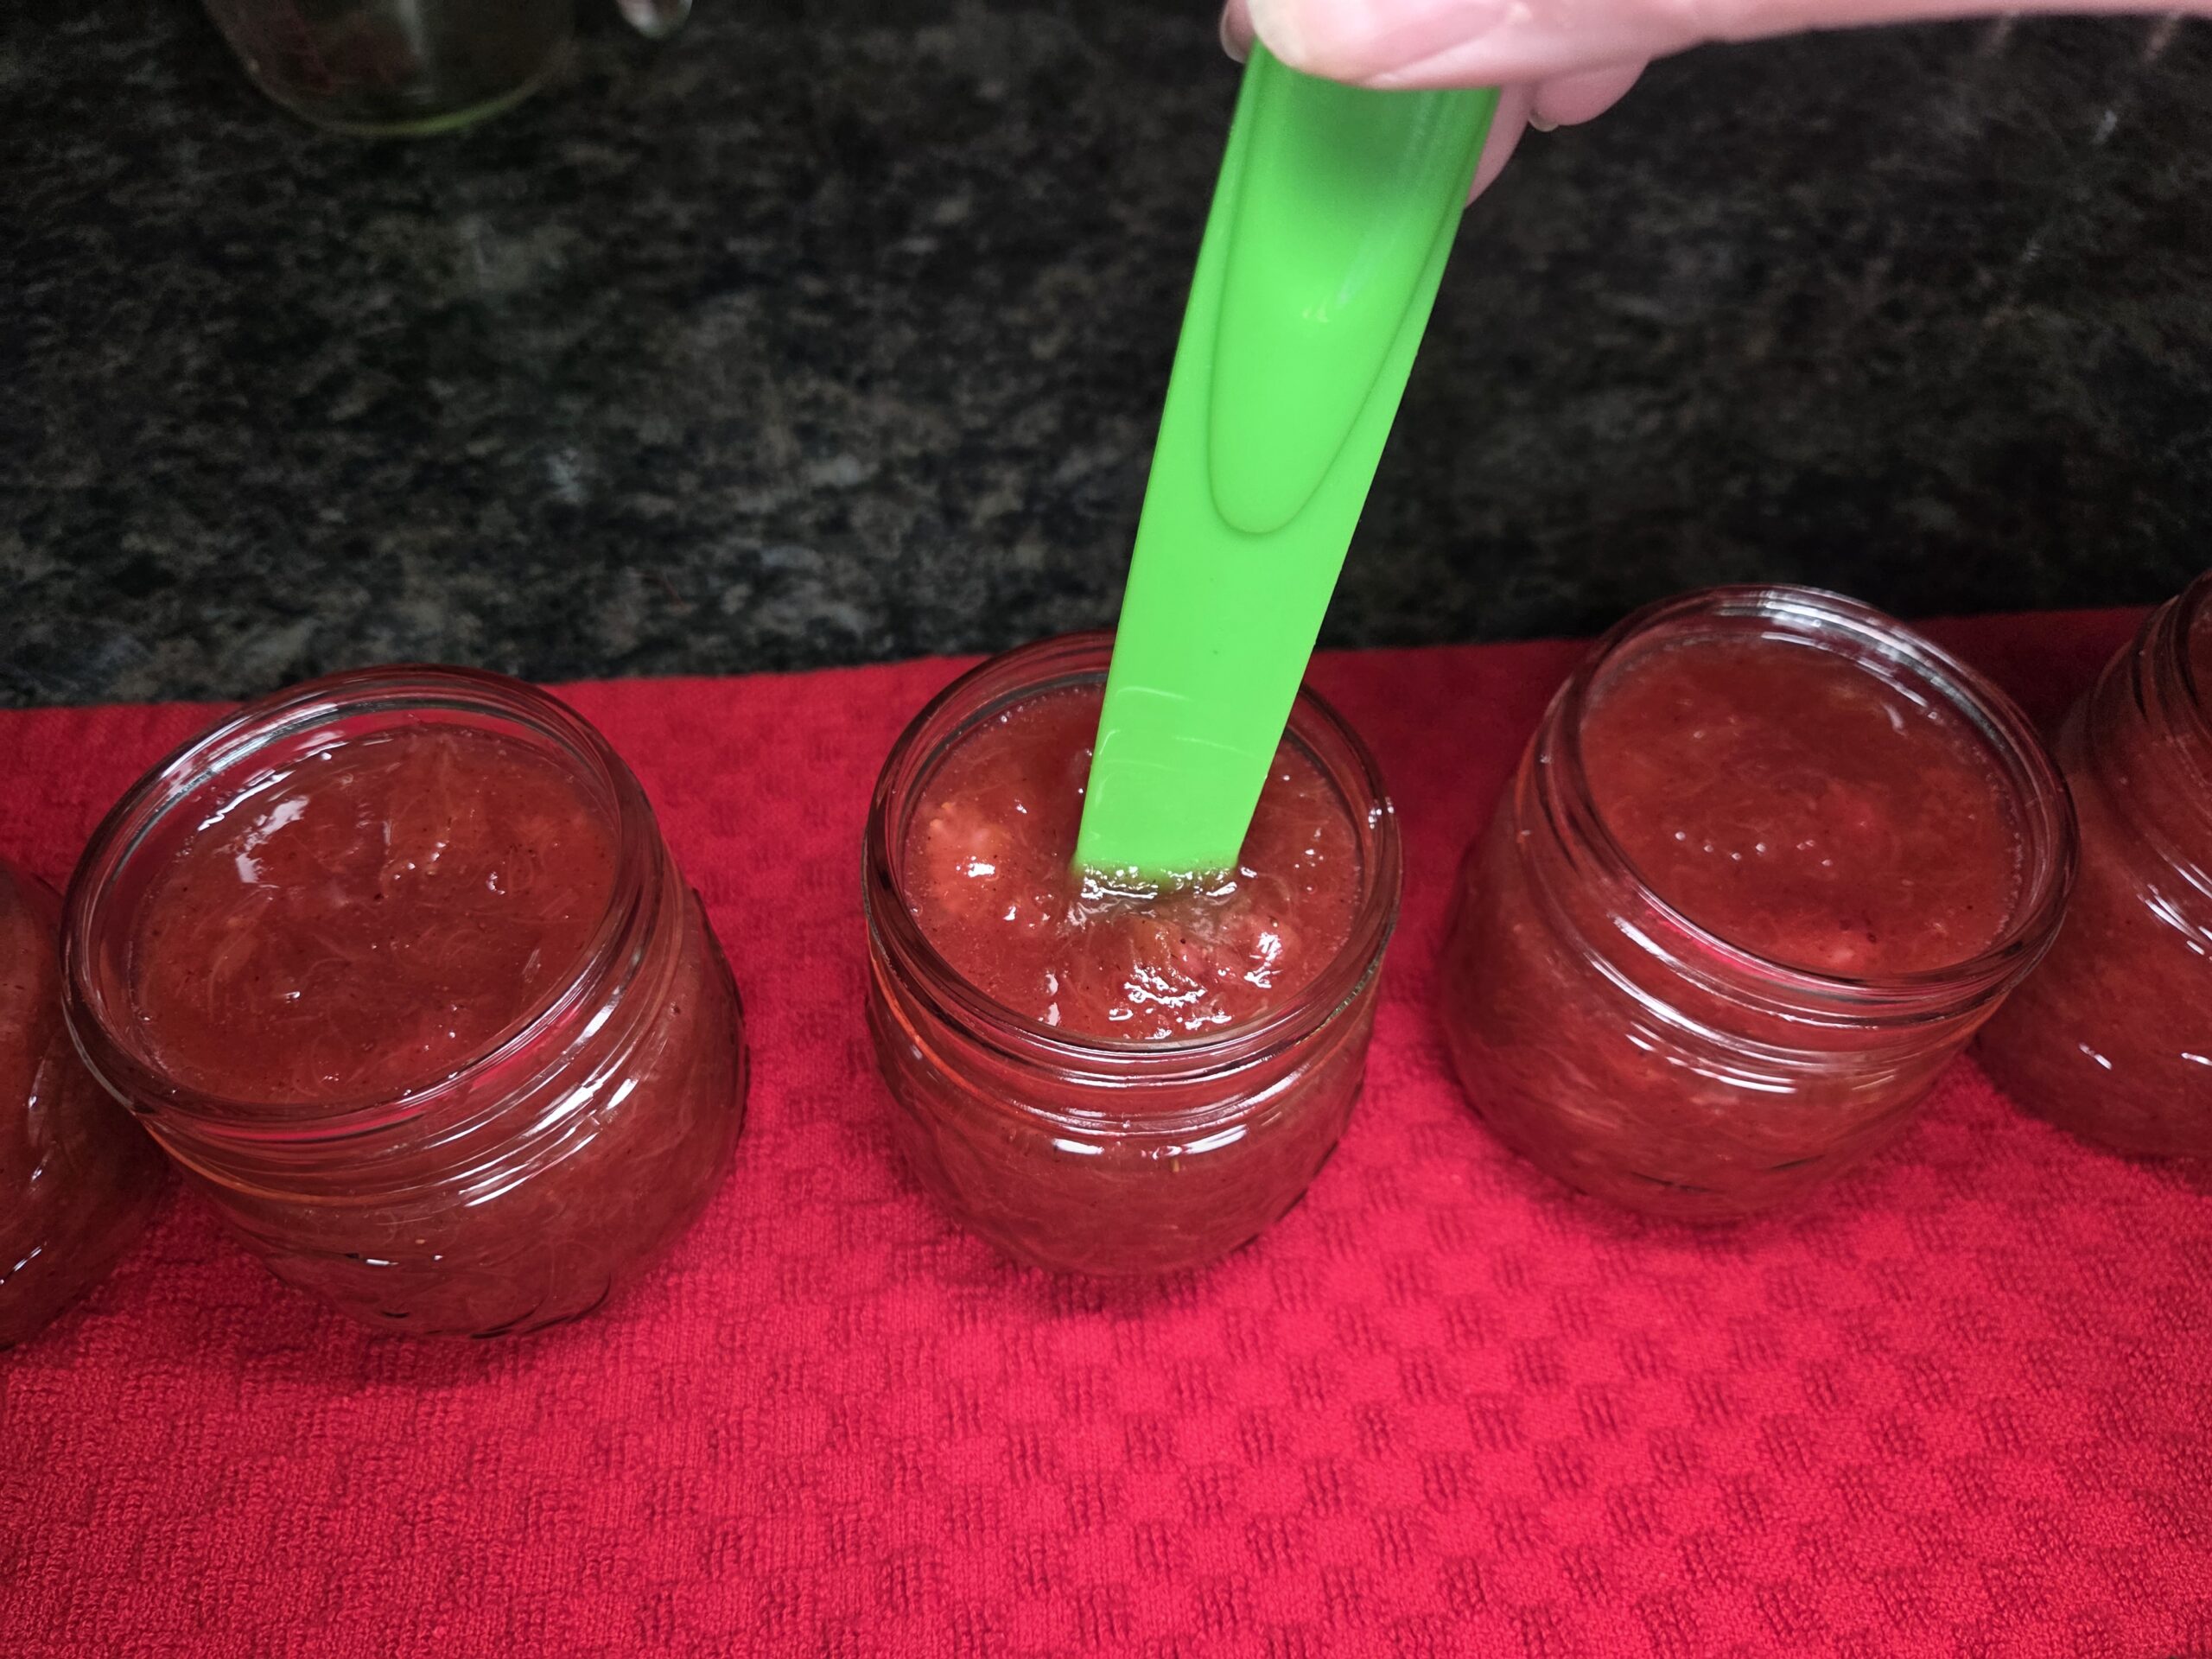
A quick sweep with a non-reactive bubble removal tool helps release any trapped air bubbles or pockets.
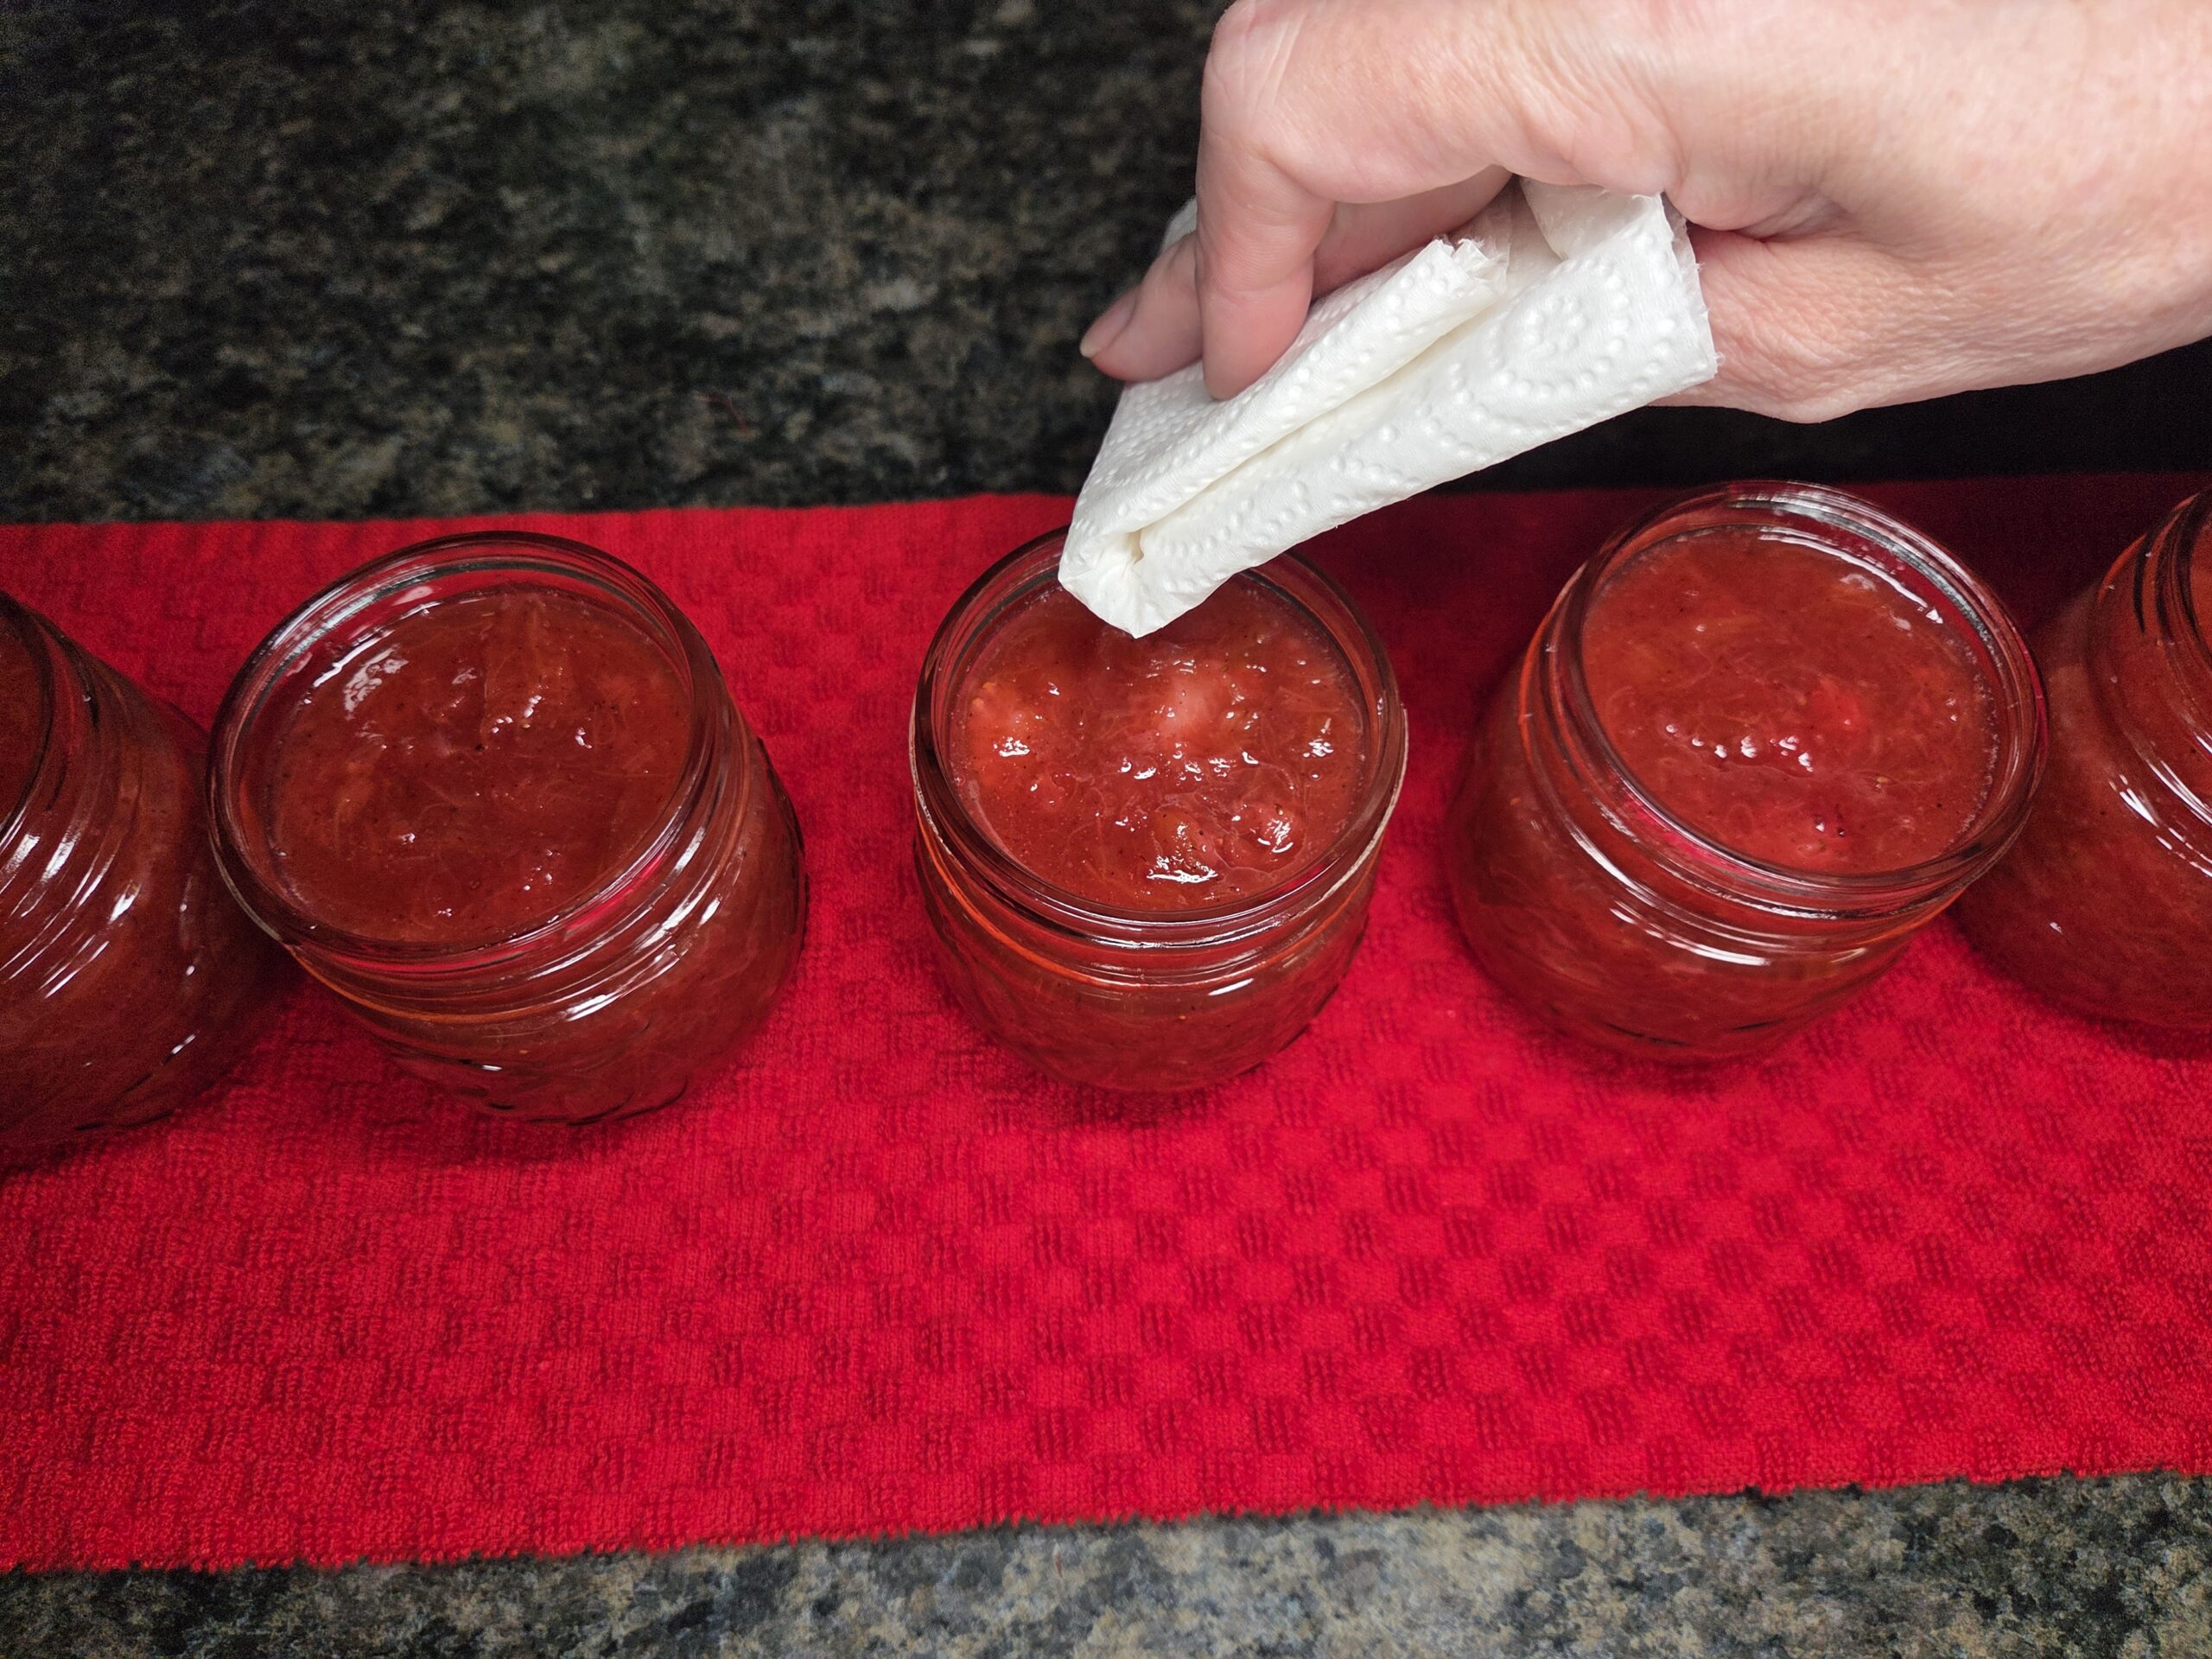
Wipe the rim of the jars with a clean paper towel or cloth, removing anything that might prevent the jars from sealing.
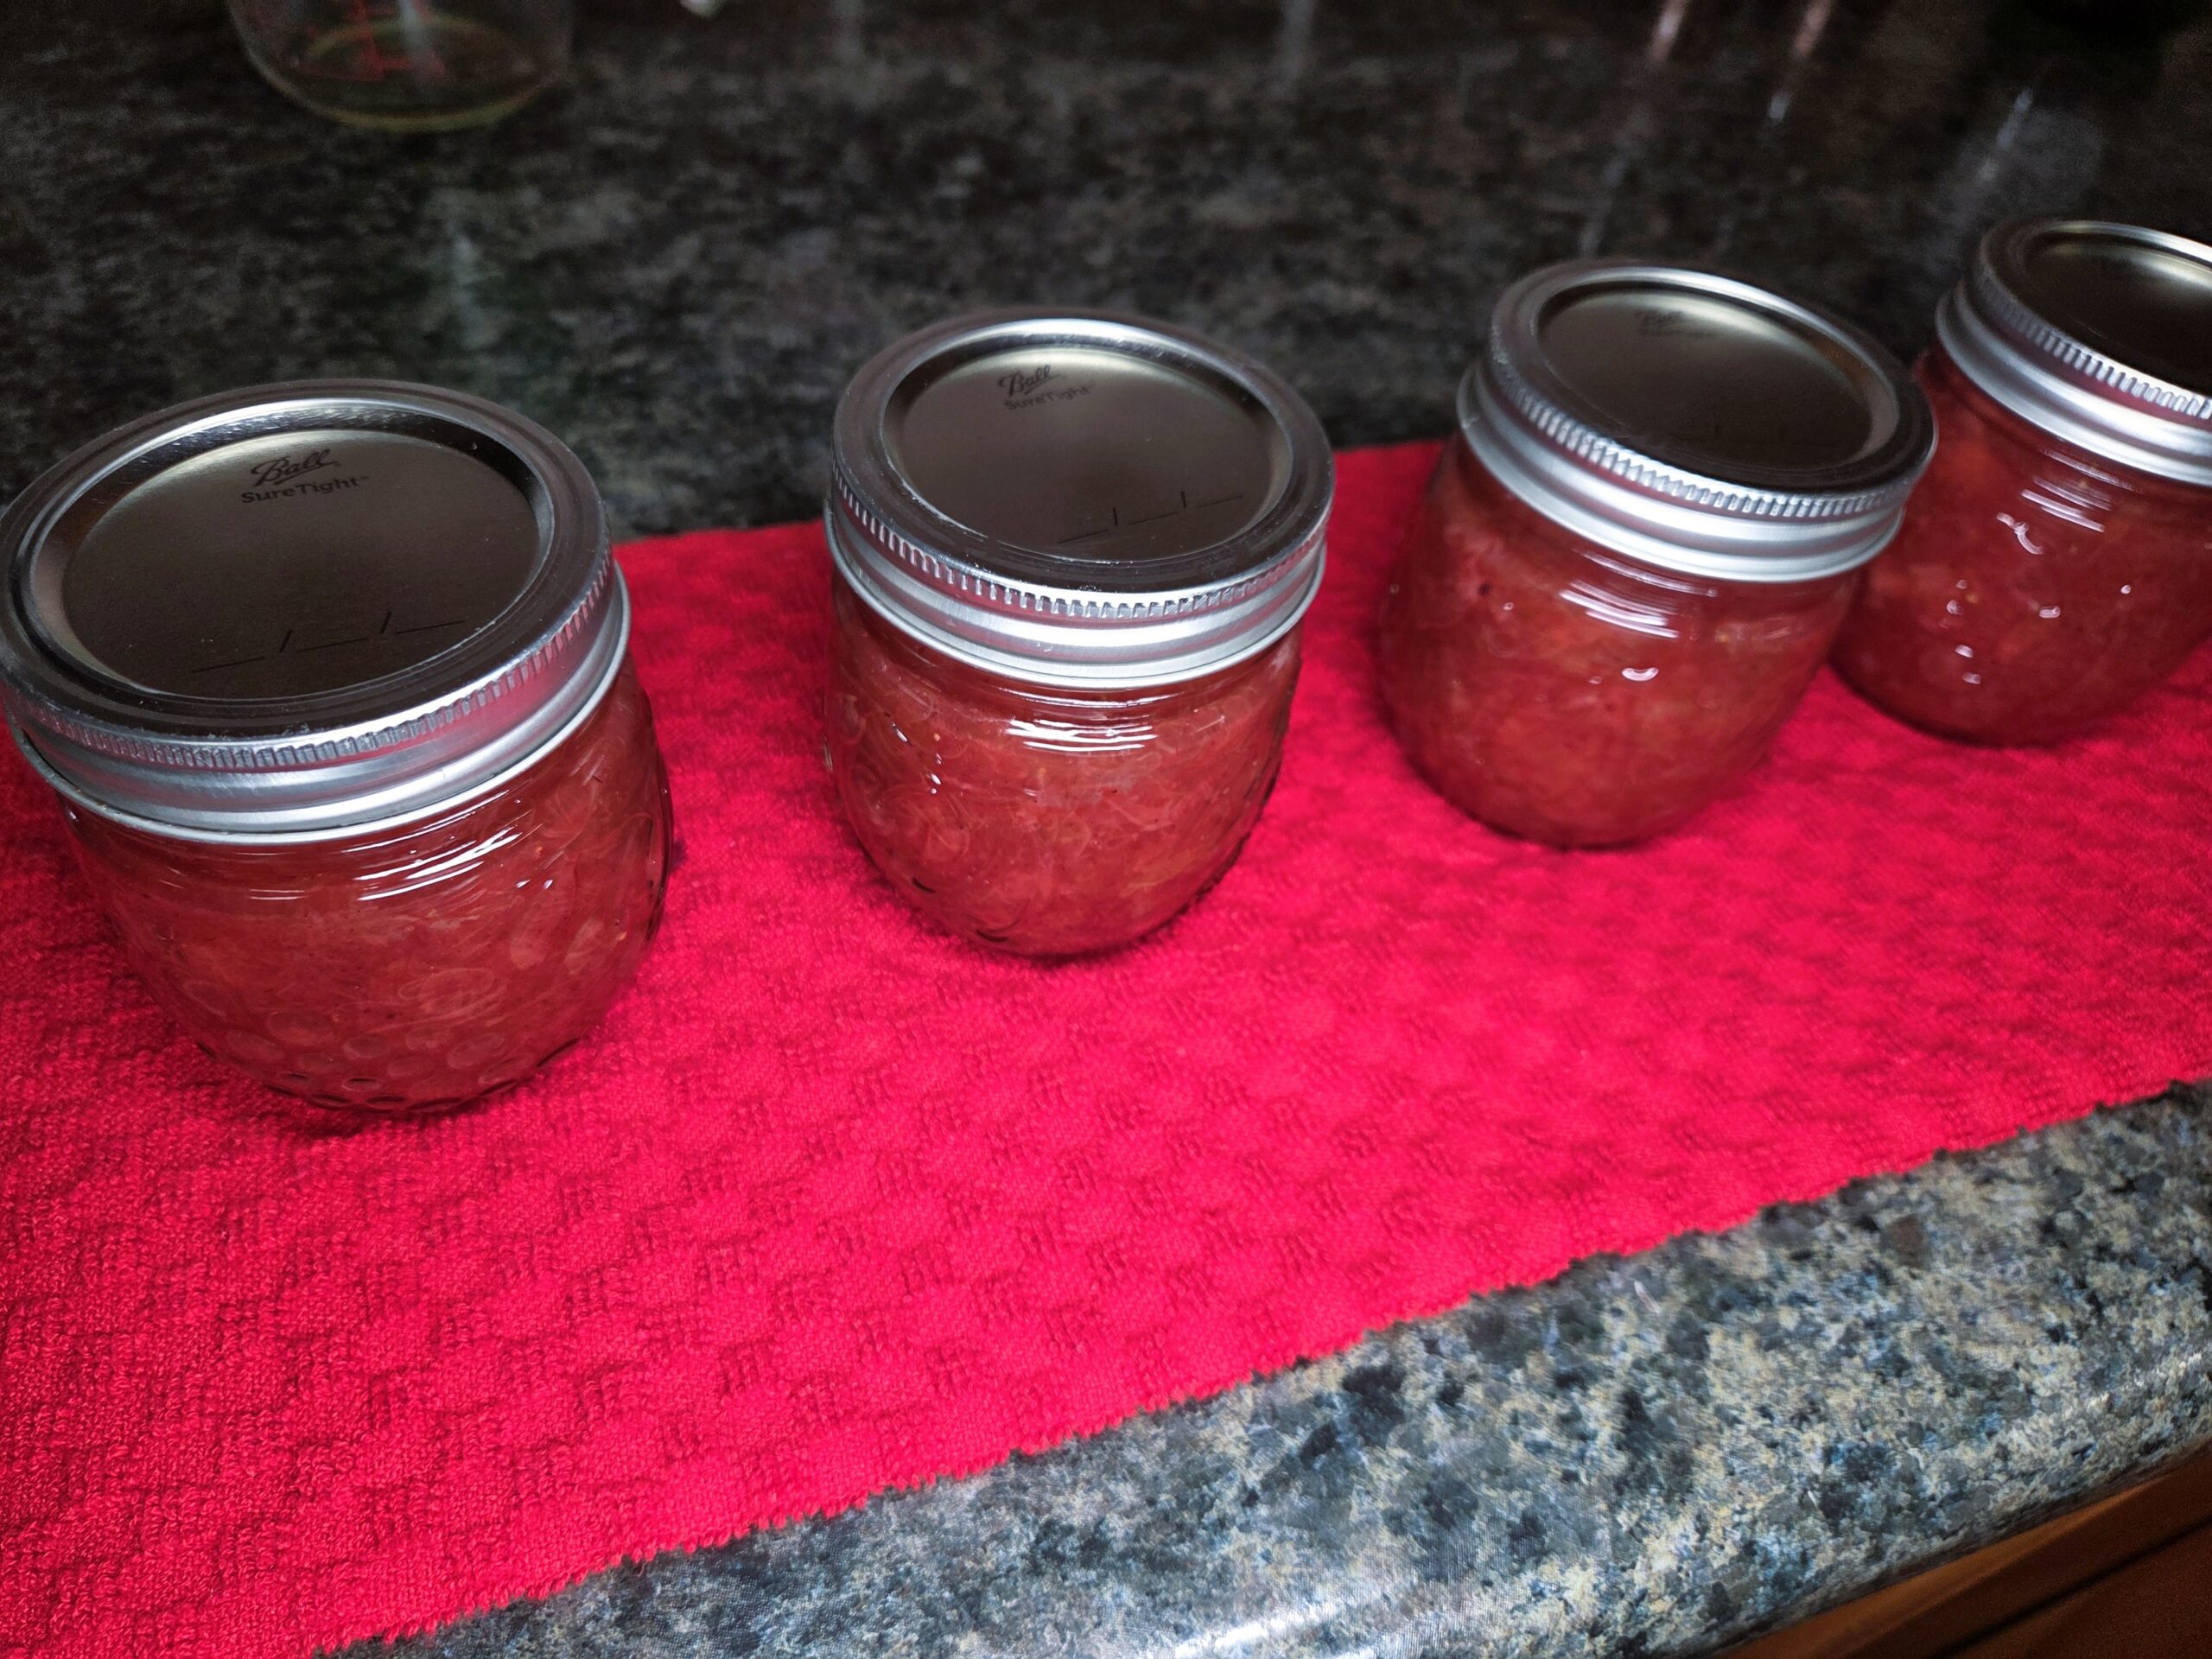
Place lids and bands on jars and finger tighten. When placing jars into the water bath canner, avoid tilting them, as this can disrupt their seal before the canning process even starts, potentially causing spillage on the jar rims.

Carefully lower jars into the boiling water bath canner spacing them slightly from one another and from the canner walls. Water should be covering the tops of the jars by 1-2 inches. Place the lid on the canner. This is important, don't start counting your canning time until water is fully boiling and up to temperature. The following information is good for pints and half pint jars. For elevation of 0-1,000 feet your processing time is 5 minutes. For elevations of 1,001-6,000 feet your processing time is 10 minutes. For elevations 6,000 feet and above your processing time is 15 minutes. Once your time is up, turn off the heat and remove the canner from the heat source if possible. Remove lid and allow the jars to sit undisturbed in the water for 5 minutes. After 5 minutes, carefully remove jars from the water bath and place on a kitchen towel lined countertop. Some jars can take hours to seal however most will seal within 30 minutes from being removed from the canner and some may even seal during the water bath canning process. Leave the jars undisturbed for at least 12 hours. Make sure that all the jars sealed by inspecting the tops as they should be sucked in. If any jars don't seal, refrigerate them. Write the contents and date on the sealed jars and store in a cool dry place for up to 18 months.
Enjoy!
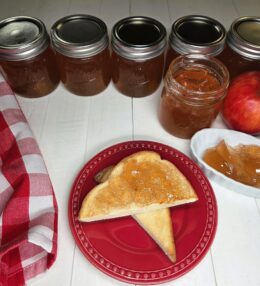
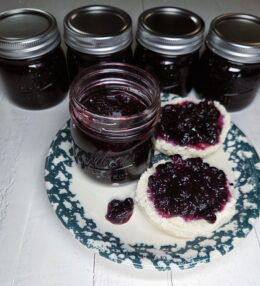
Check out our other recipes, like our Buttermilk Biscuits featured in this canning tutorial. We also offer an ever-growing variety of canning recipes, from Dill Pickles and Bread-and-Butter Pickles to Huckleberry Jam, Blueberry Jam, Blackberry Jam, Fresh Peach Jam, Apple Butter, Pear Butter, Pickled Jalapeños, Pickled Tangerine Peppers, Pickled Banana Peppers, Cherry Peppers, jellies, salsas, and more!
Conclusion
Kitchen Tools :Need some tools or ingredients to make this recipe? Use my Amazon Affiliate links to shop. I will make a small commission and it doesn't cost you any extra. Thank you for visiting.
Simply Organic Pure Madagascar Vanilla Extract Simply Organic Pure Ground Nutmeg Simply Organic Ground Cinnamon ReaLemon, 100% Lemon Juice Ball's fruit classic Pectin-powder Presto 23-Quart Induction Compatible Pressure Canner Urban Villa Kitchen Towels 100% Cotton Dish Towels for Kitchen McCall’s Candles, Fresh Strawberries Scented Candle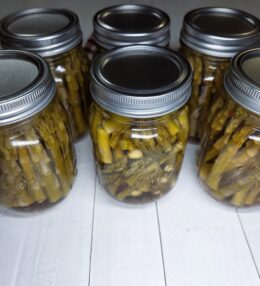

Recipe Reviews