

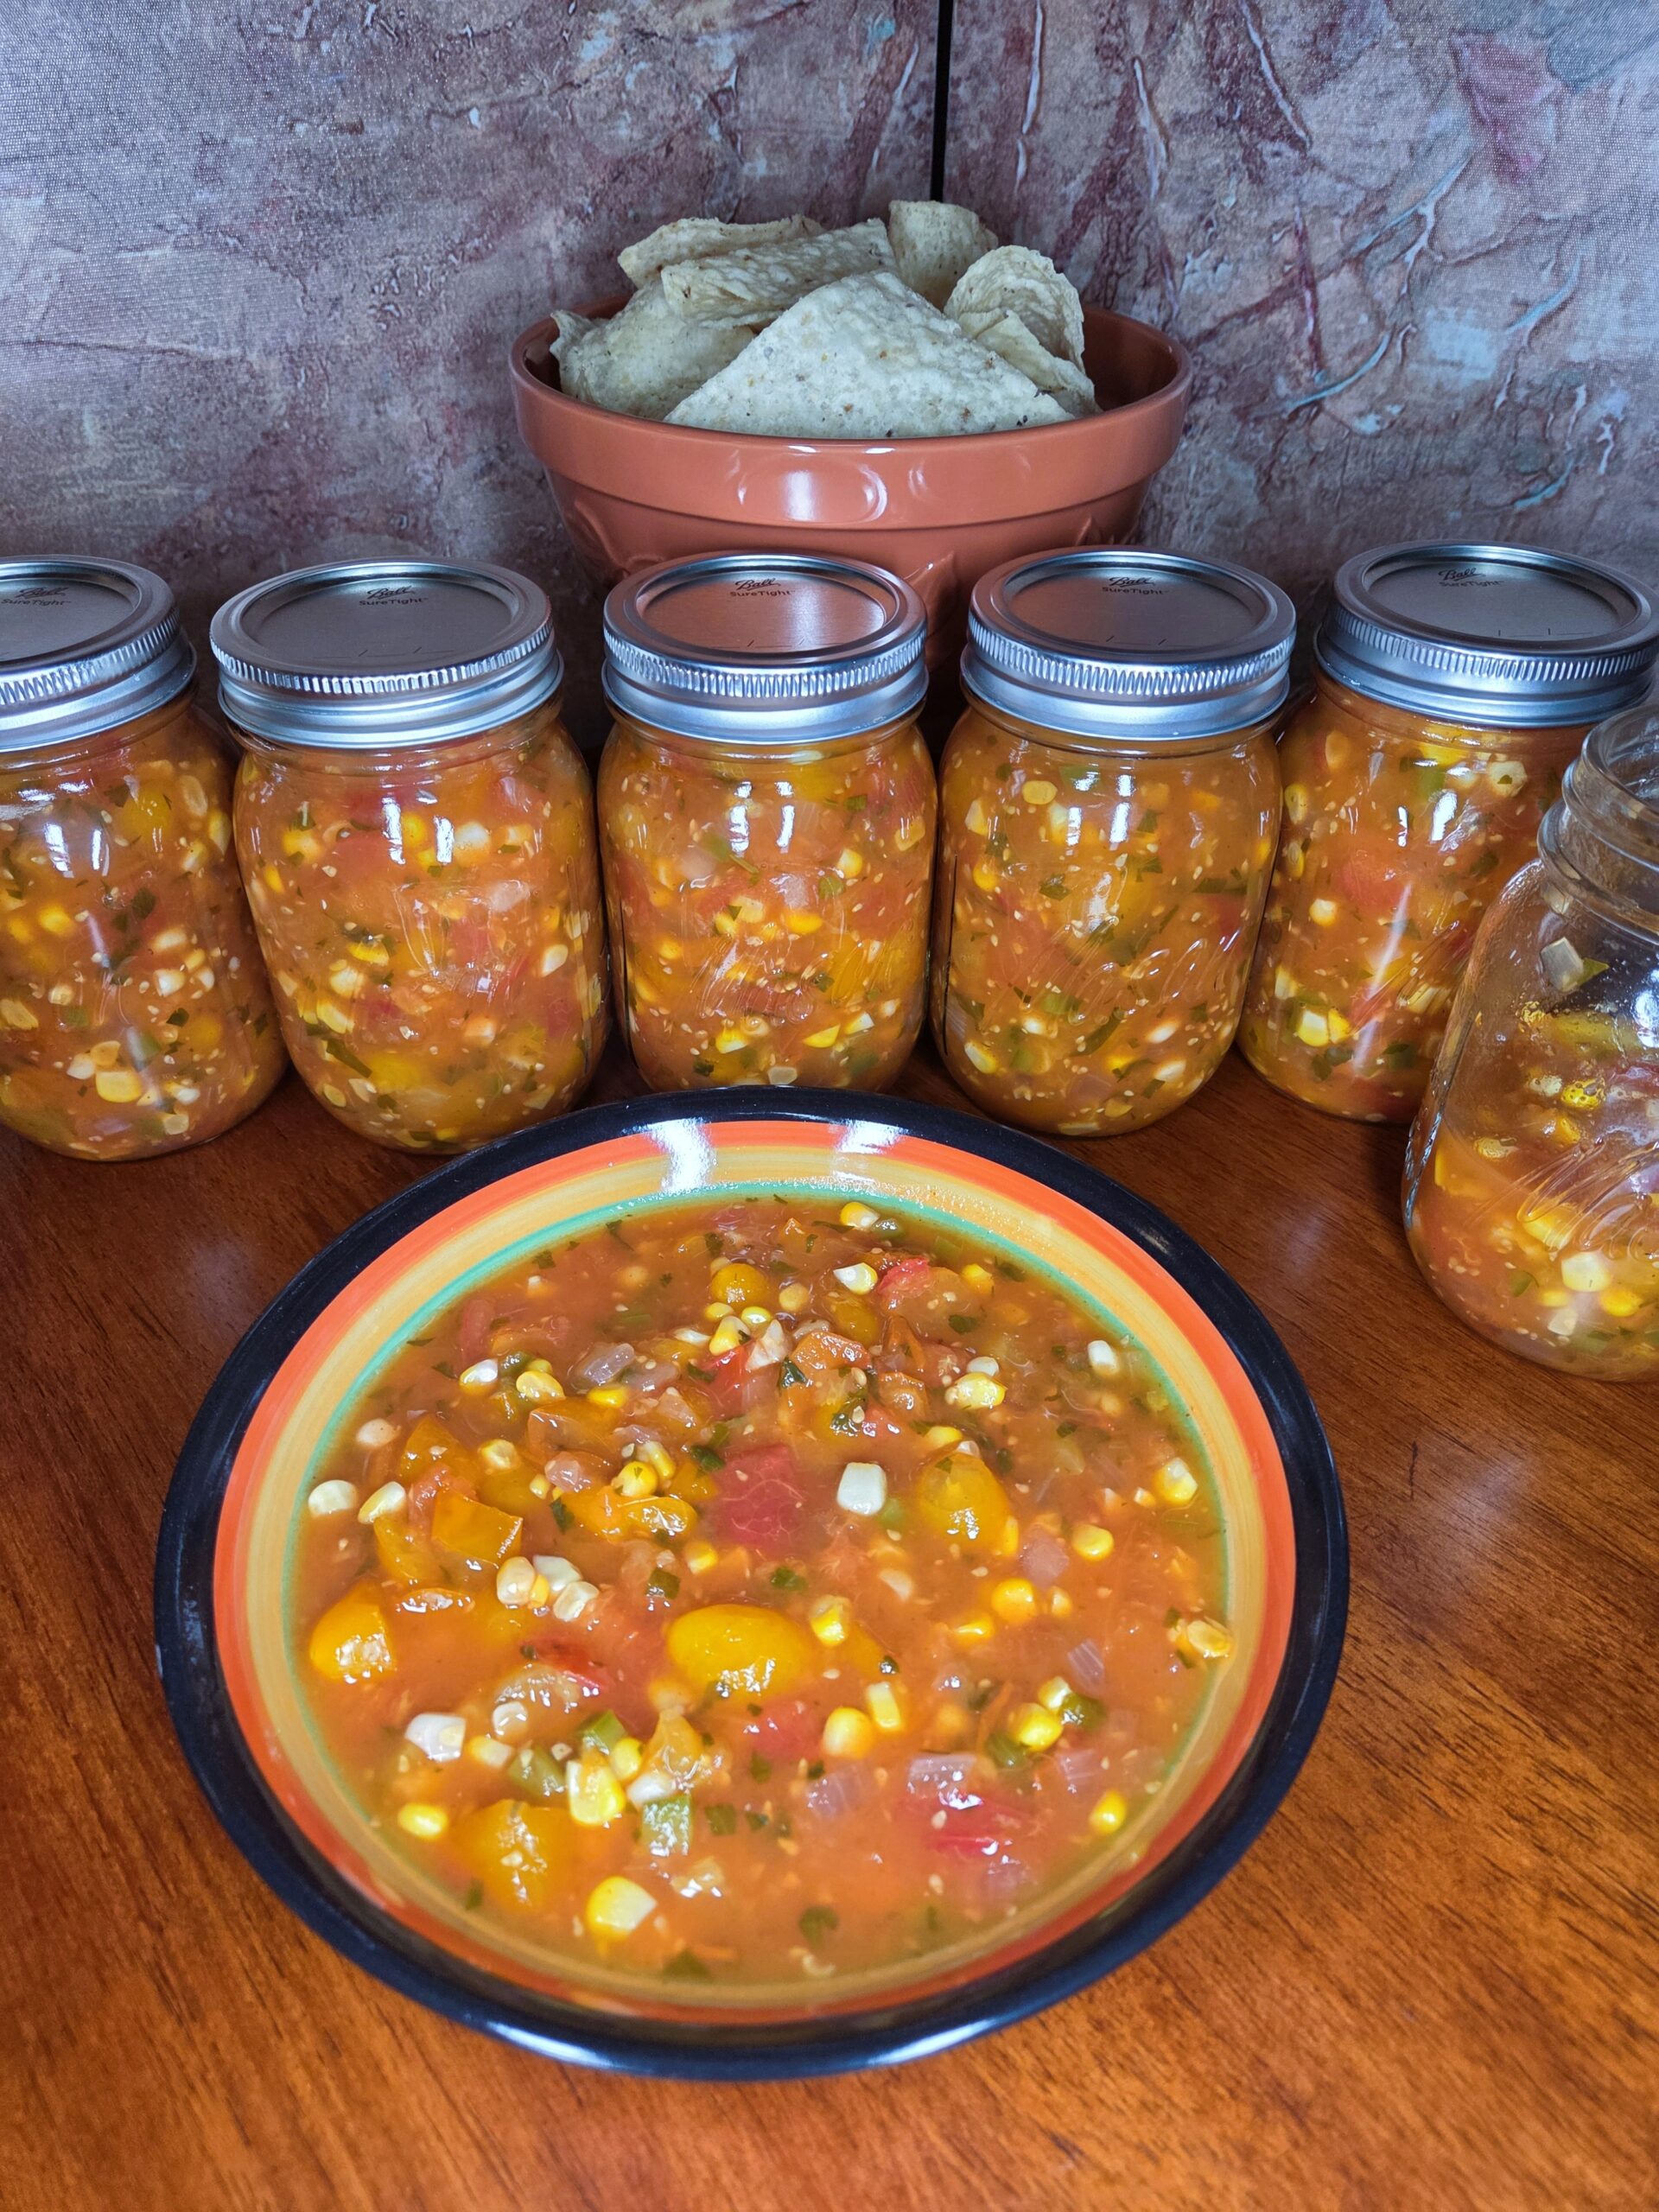
-
Prep Time30 minutes
-
Cook Time20 minutes plus canning time
-
Serv SizeYield: 6 pint jars
Delicious fresh salsa with cherry tomatoes, corn, jalapeños, and a kick of chipotle.
Ingredients
Directions
Chipotle Corn and Cherry Tomato Salsa is a fresh garden favorite—sweet corn, juicy cherry tomatoes, smoky chipotle, and jalapeños come together for vibrant flavor that’s perfect on tacos, with chips, or alongside Mexican dishes. Best of all, it’s a breeze to can, so you can enjoy it year‑round.
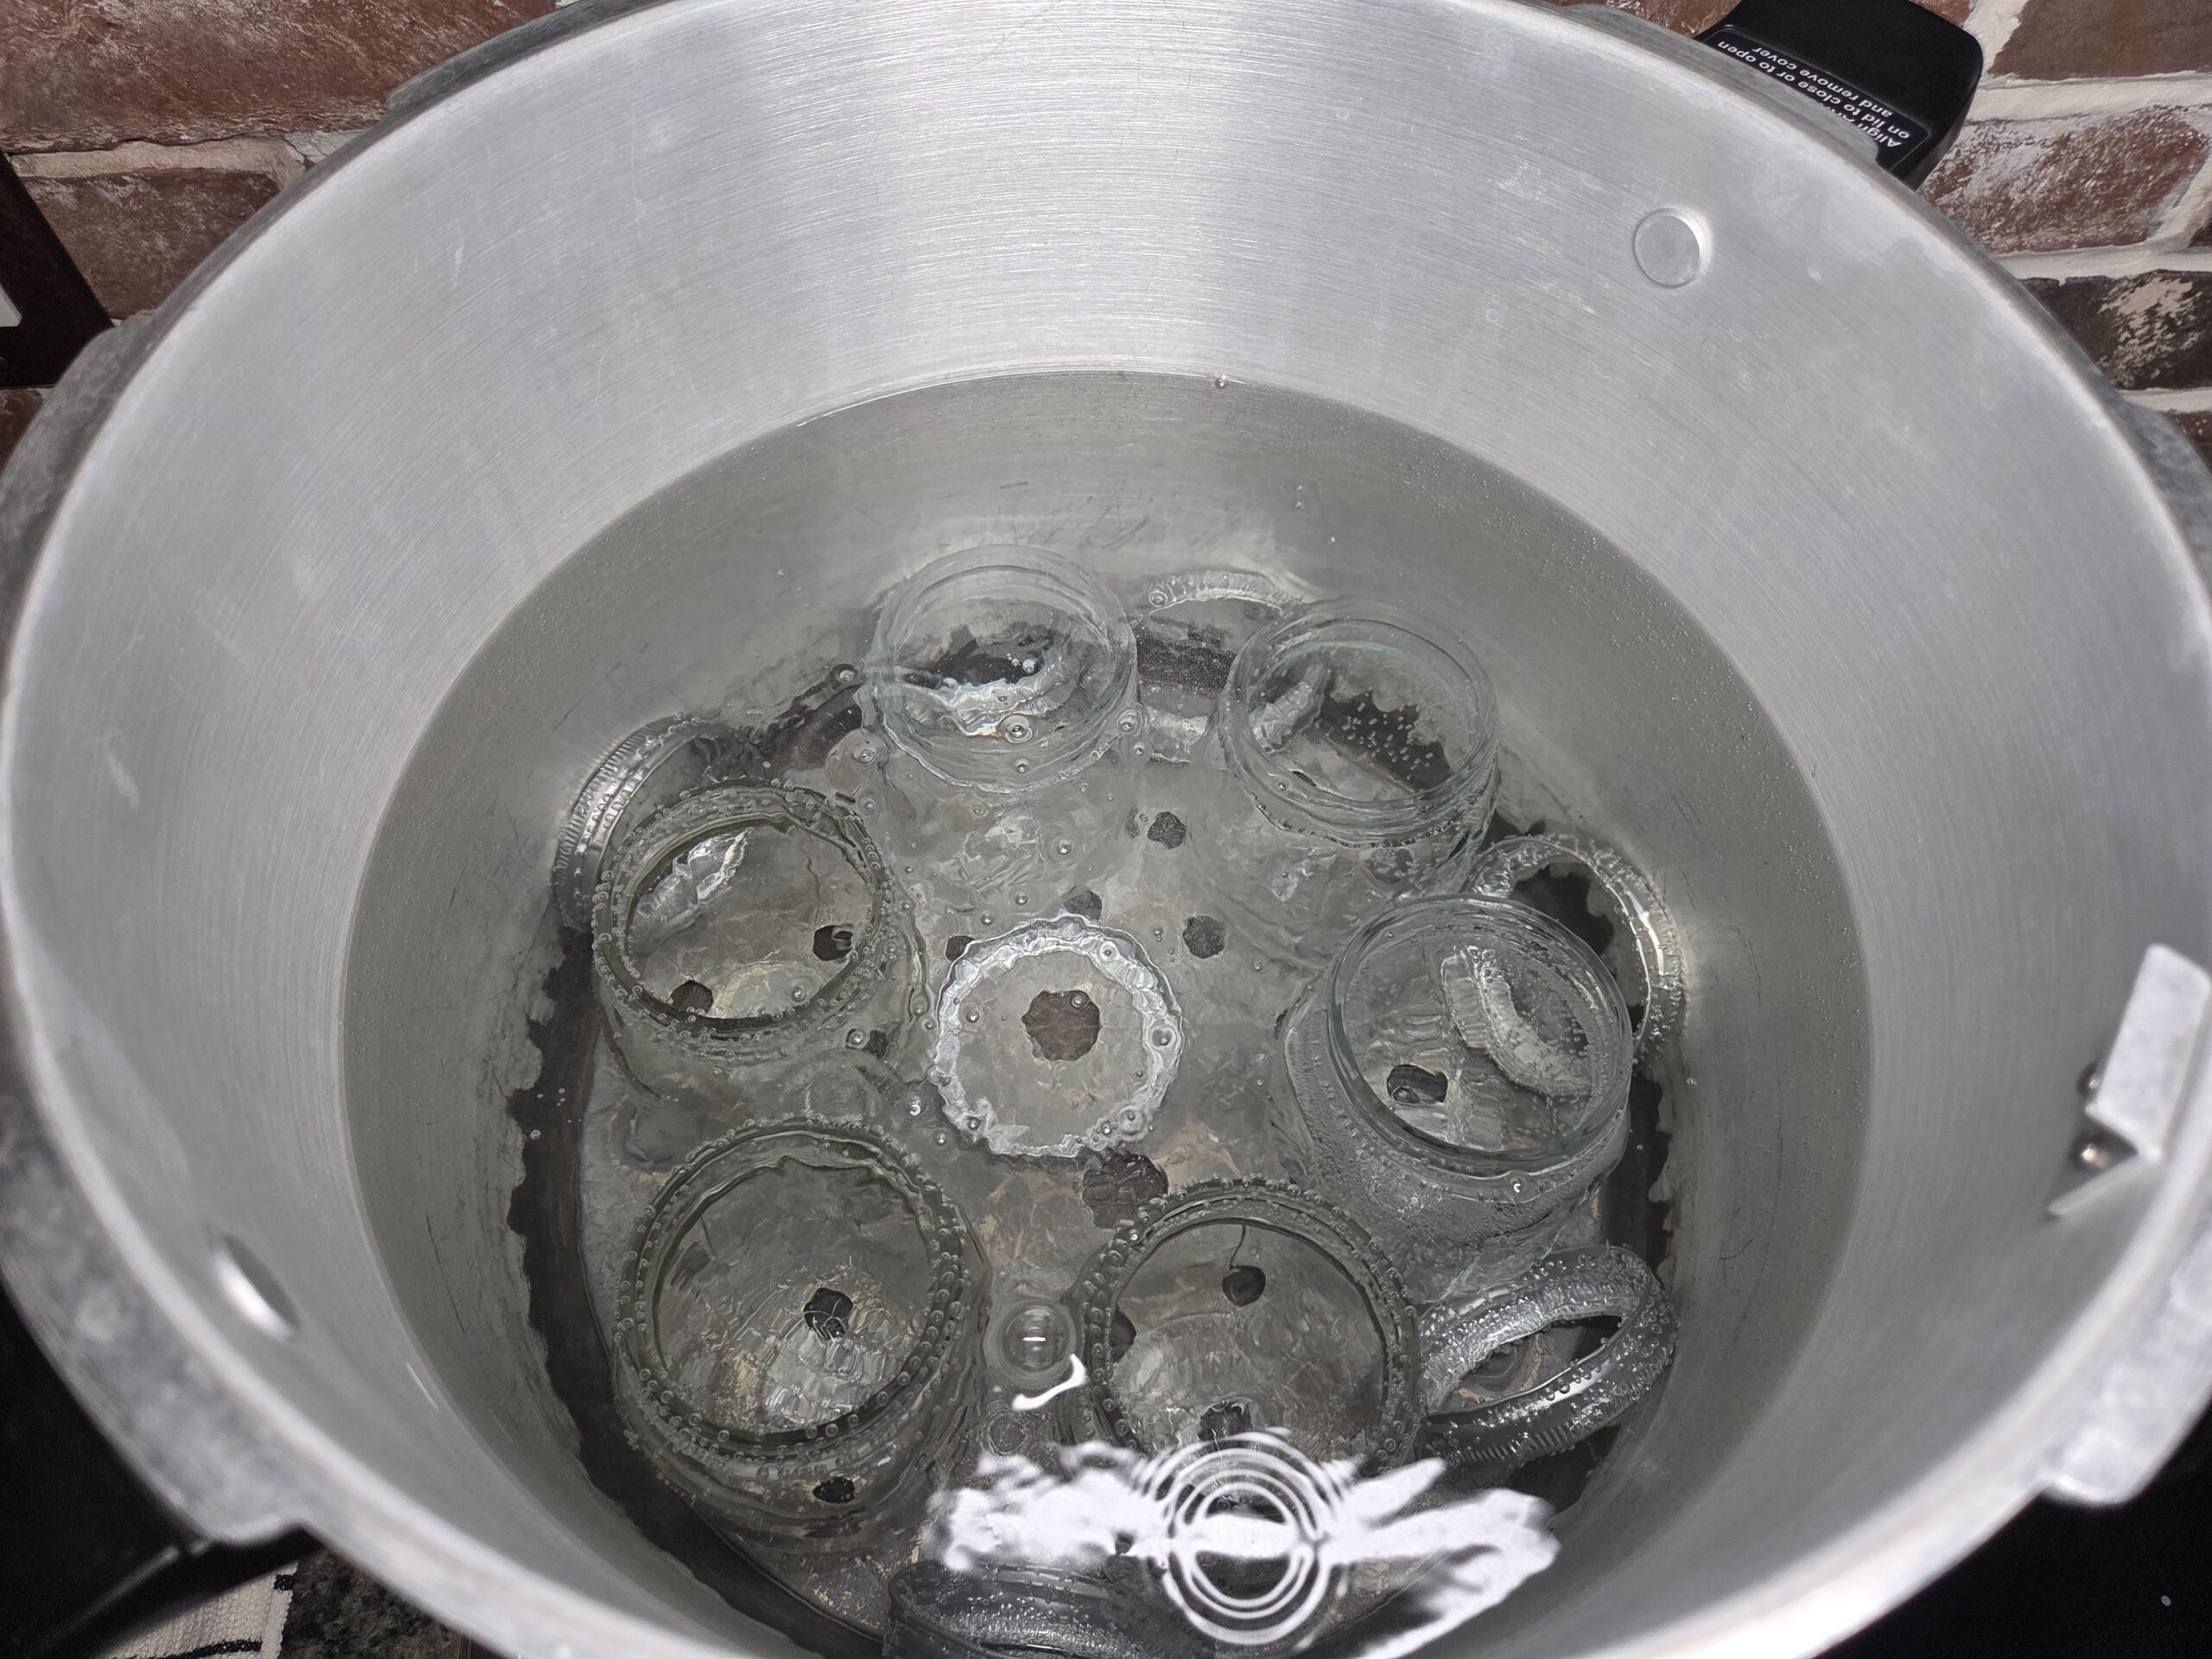
Wash the jars, lids, and bands in warm, soapy water and rinse well. Place the jars right side up in a boiling‑water canner fitted with a canning rack . Do not boil lids. Add warm water until it covers the jars by about 1 inch. Bring the water to a boil and boil the jars for 10 minutes if you are below 1,000 feet elevation; add 1 minute of boiling time for every additional 1,000 feet. Reduce the heat and keep the jars hot until you’re ready to fill them.
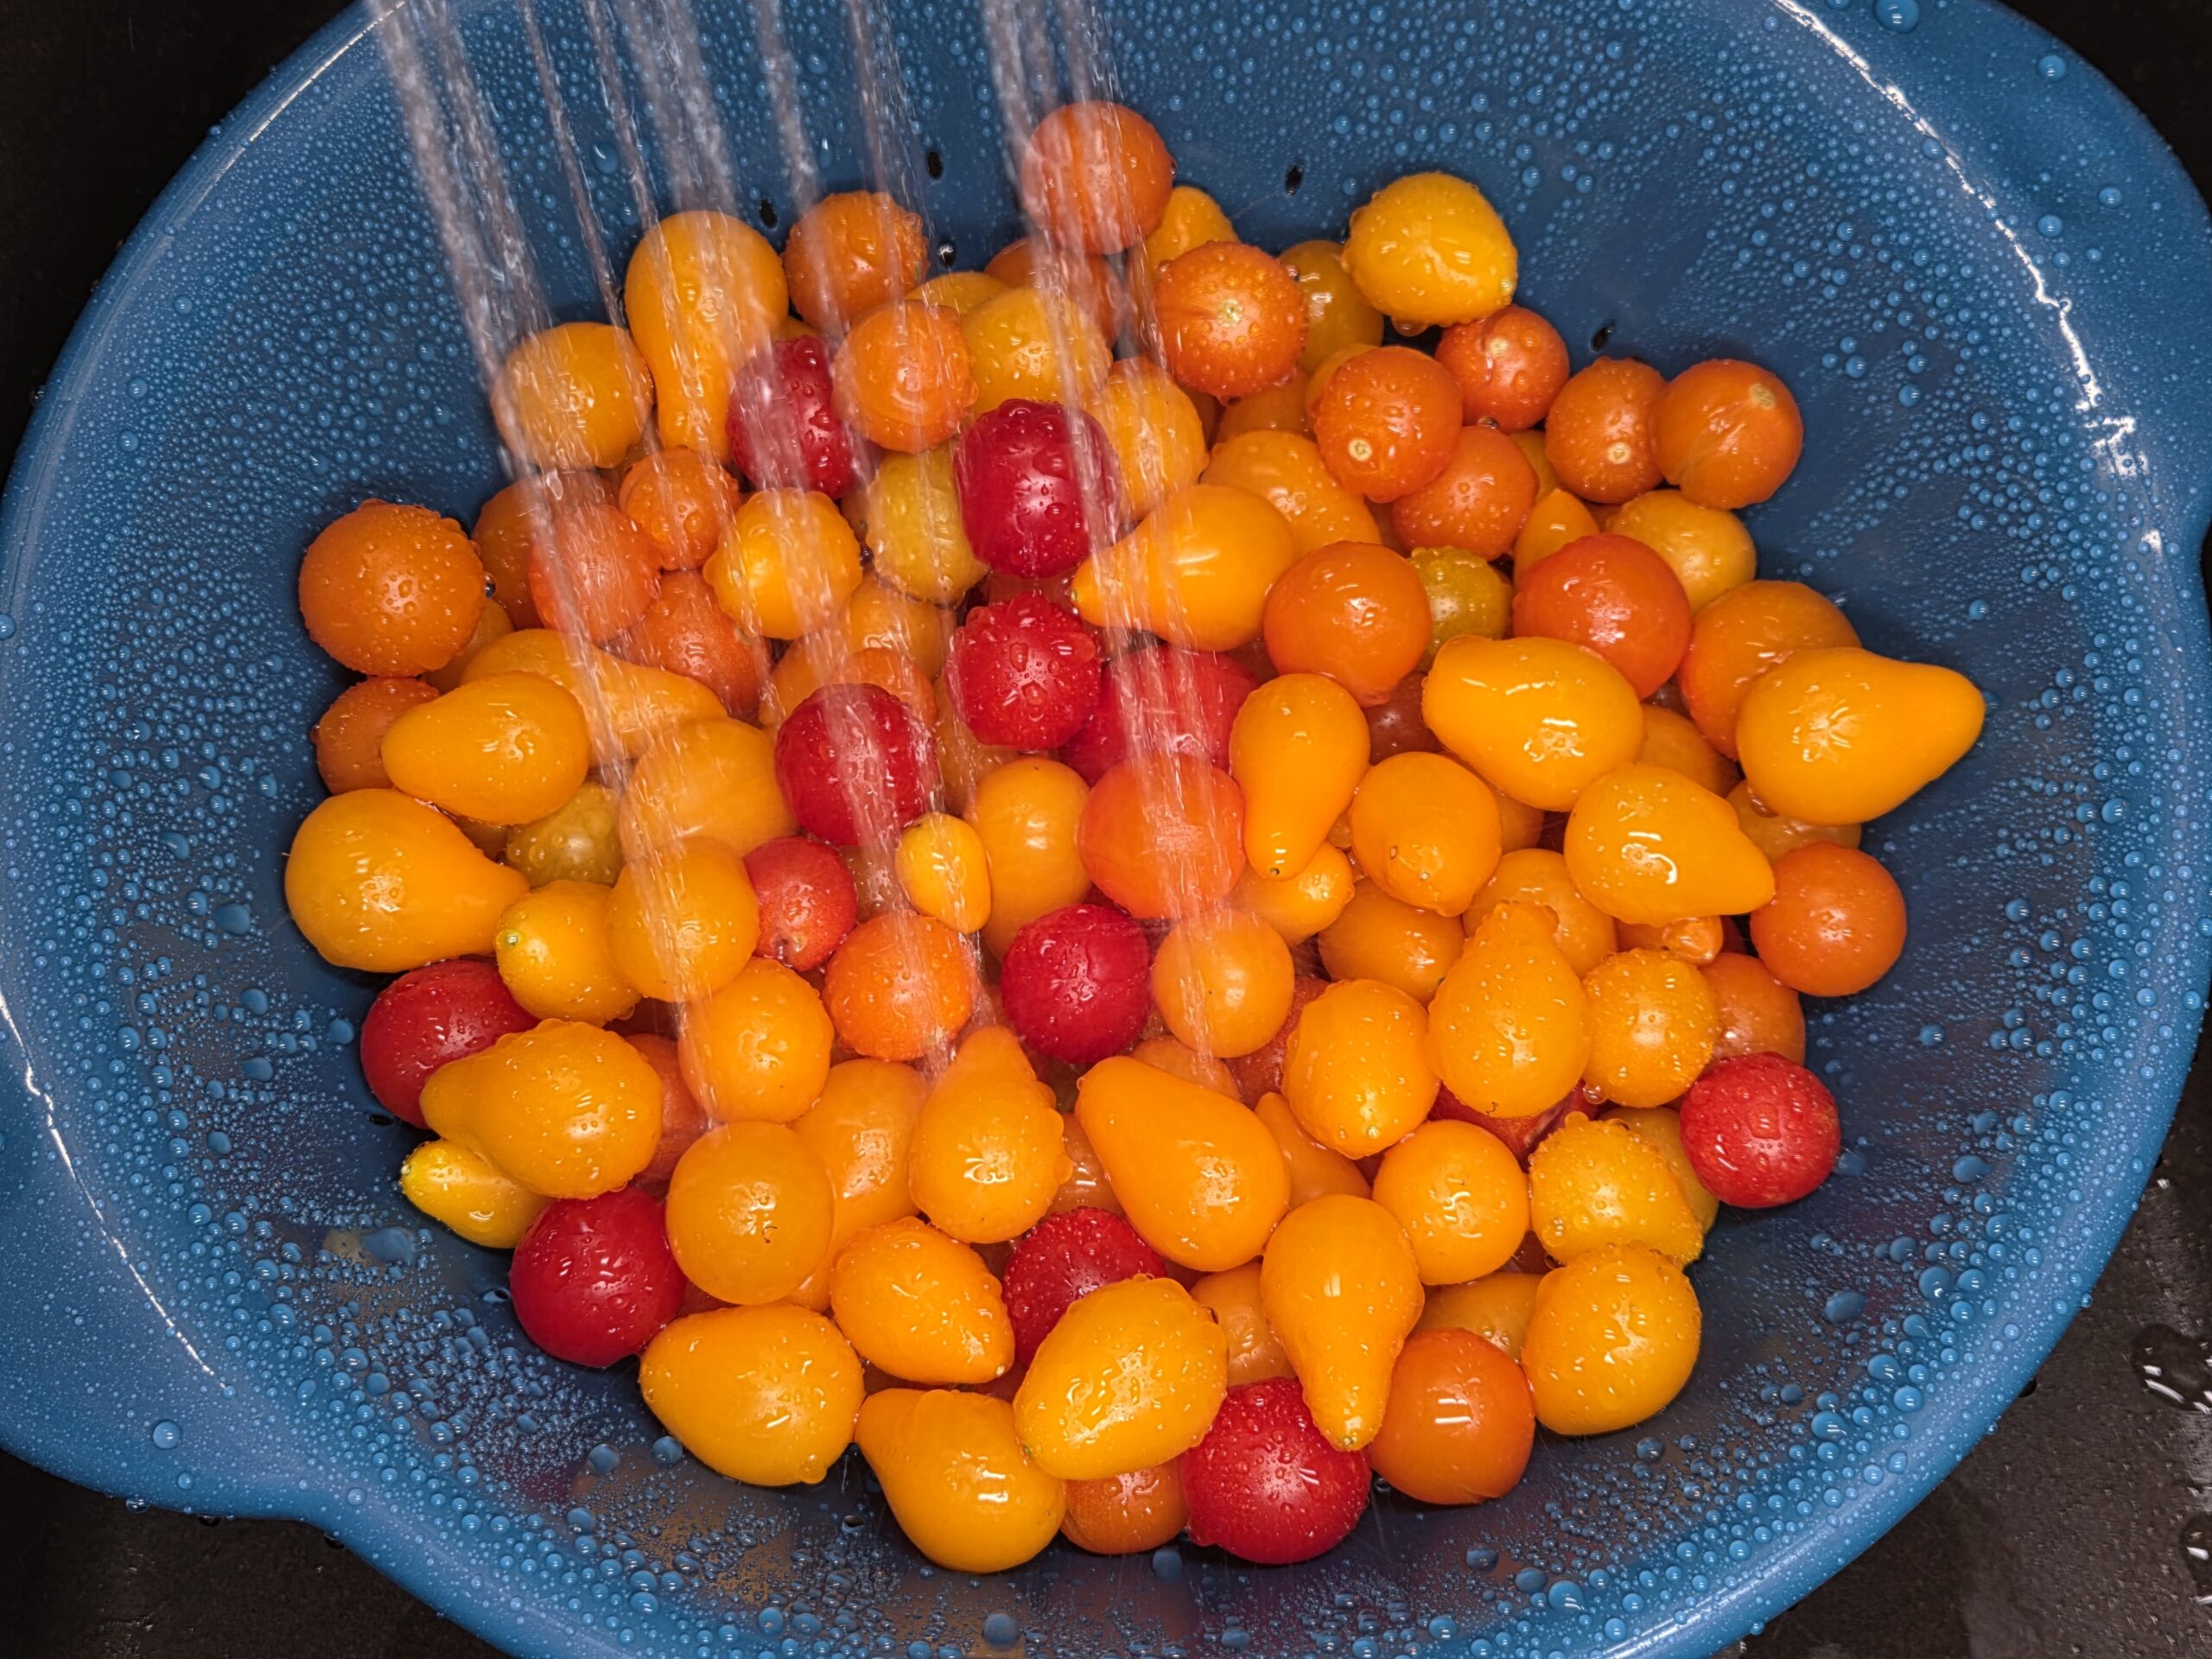
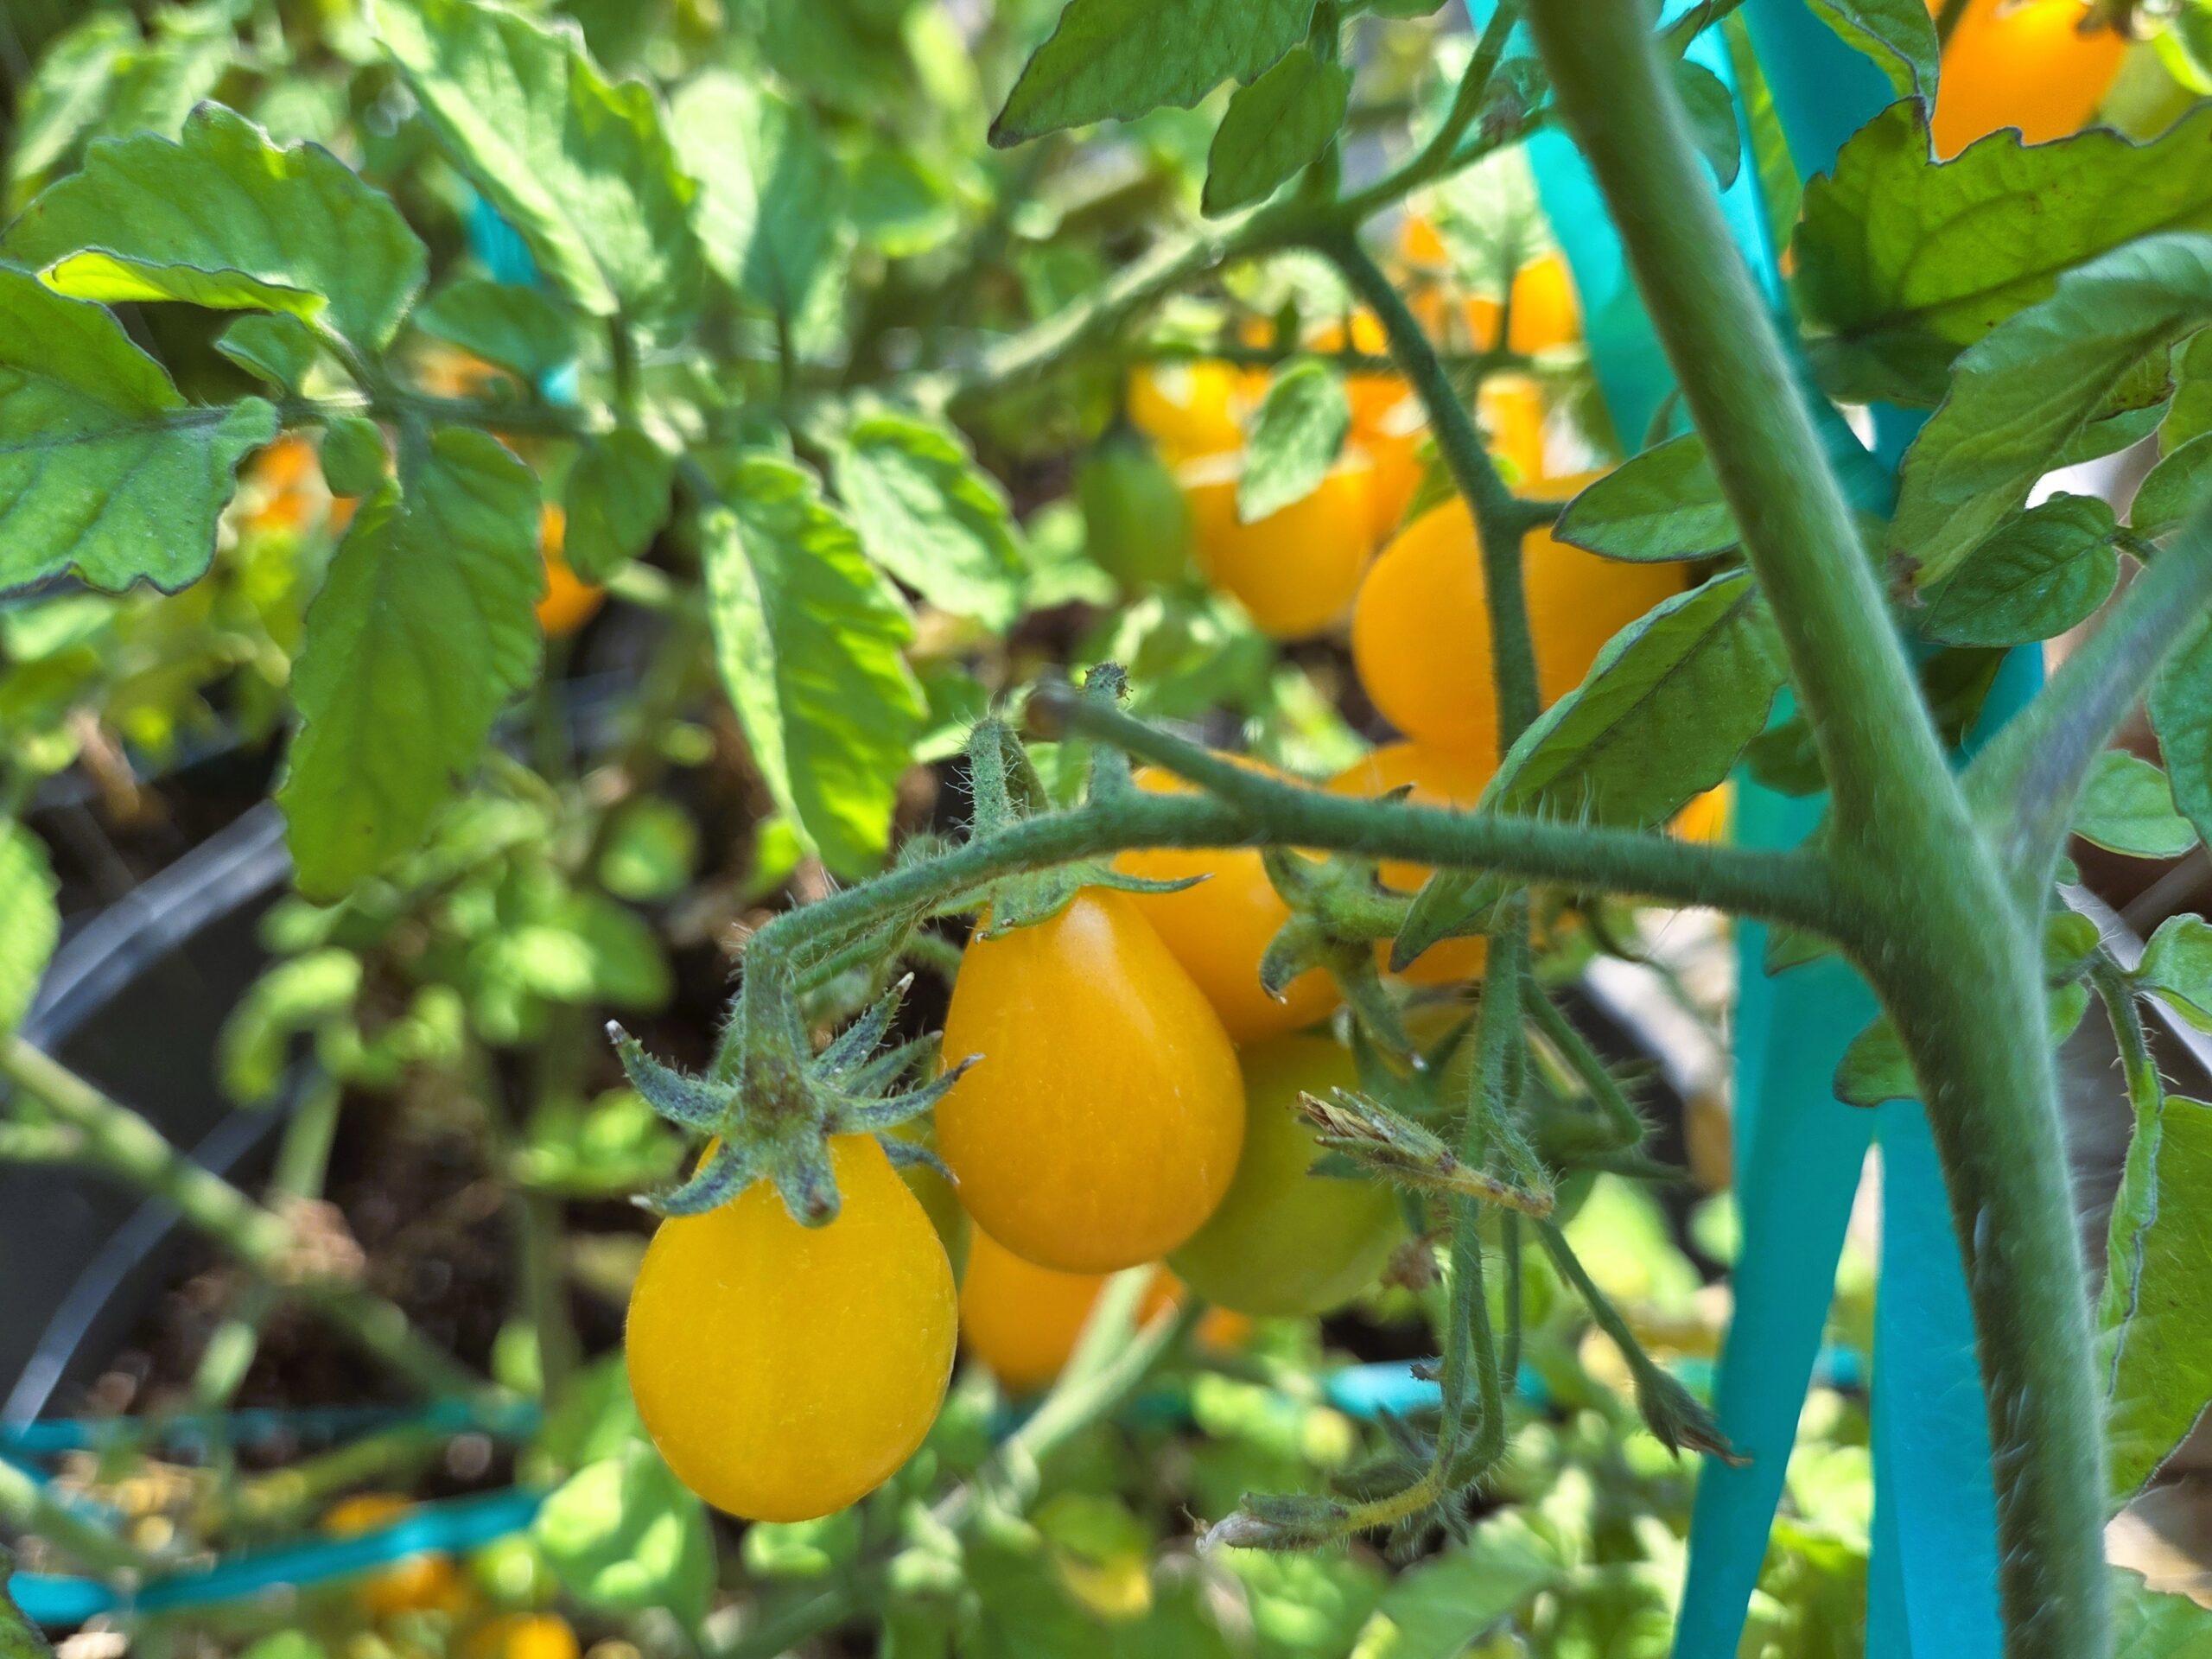
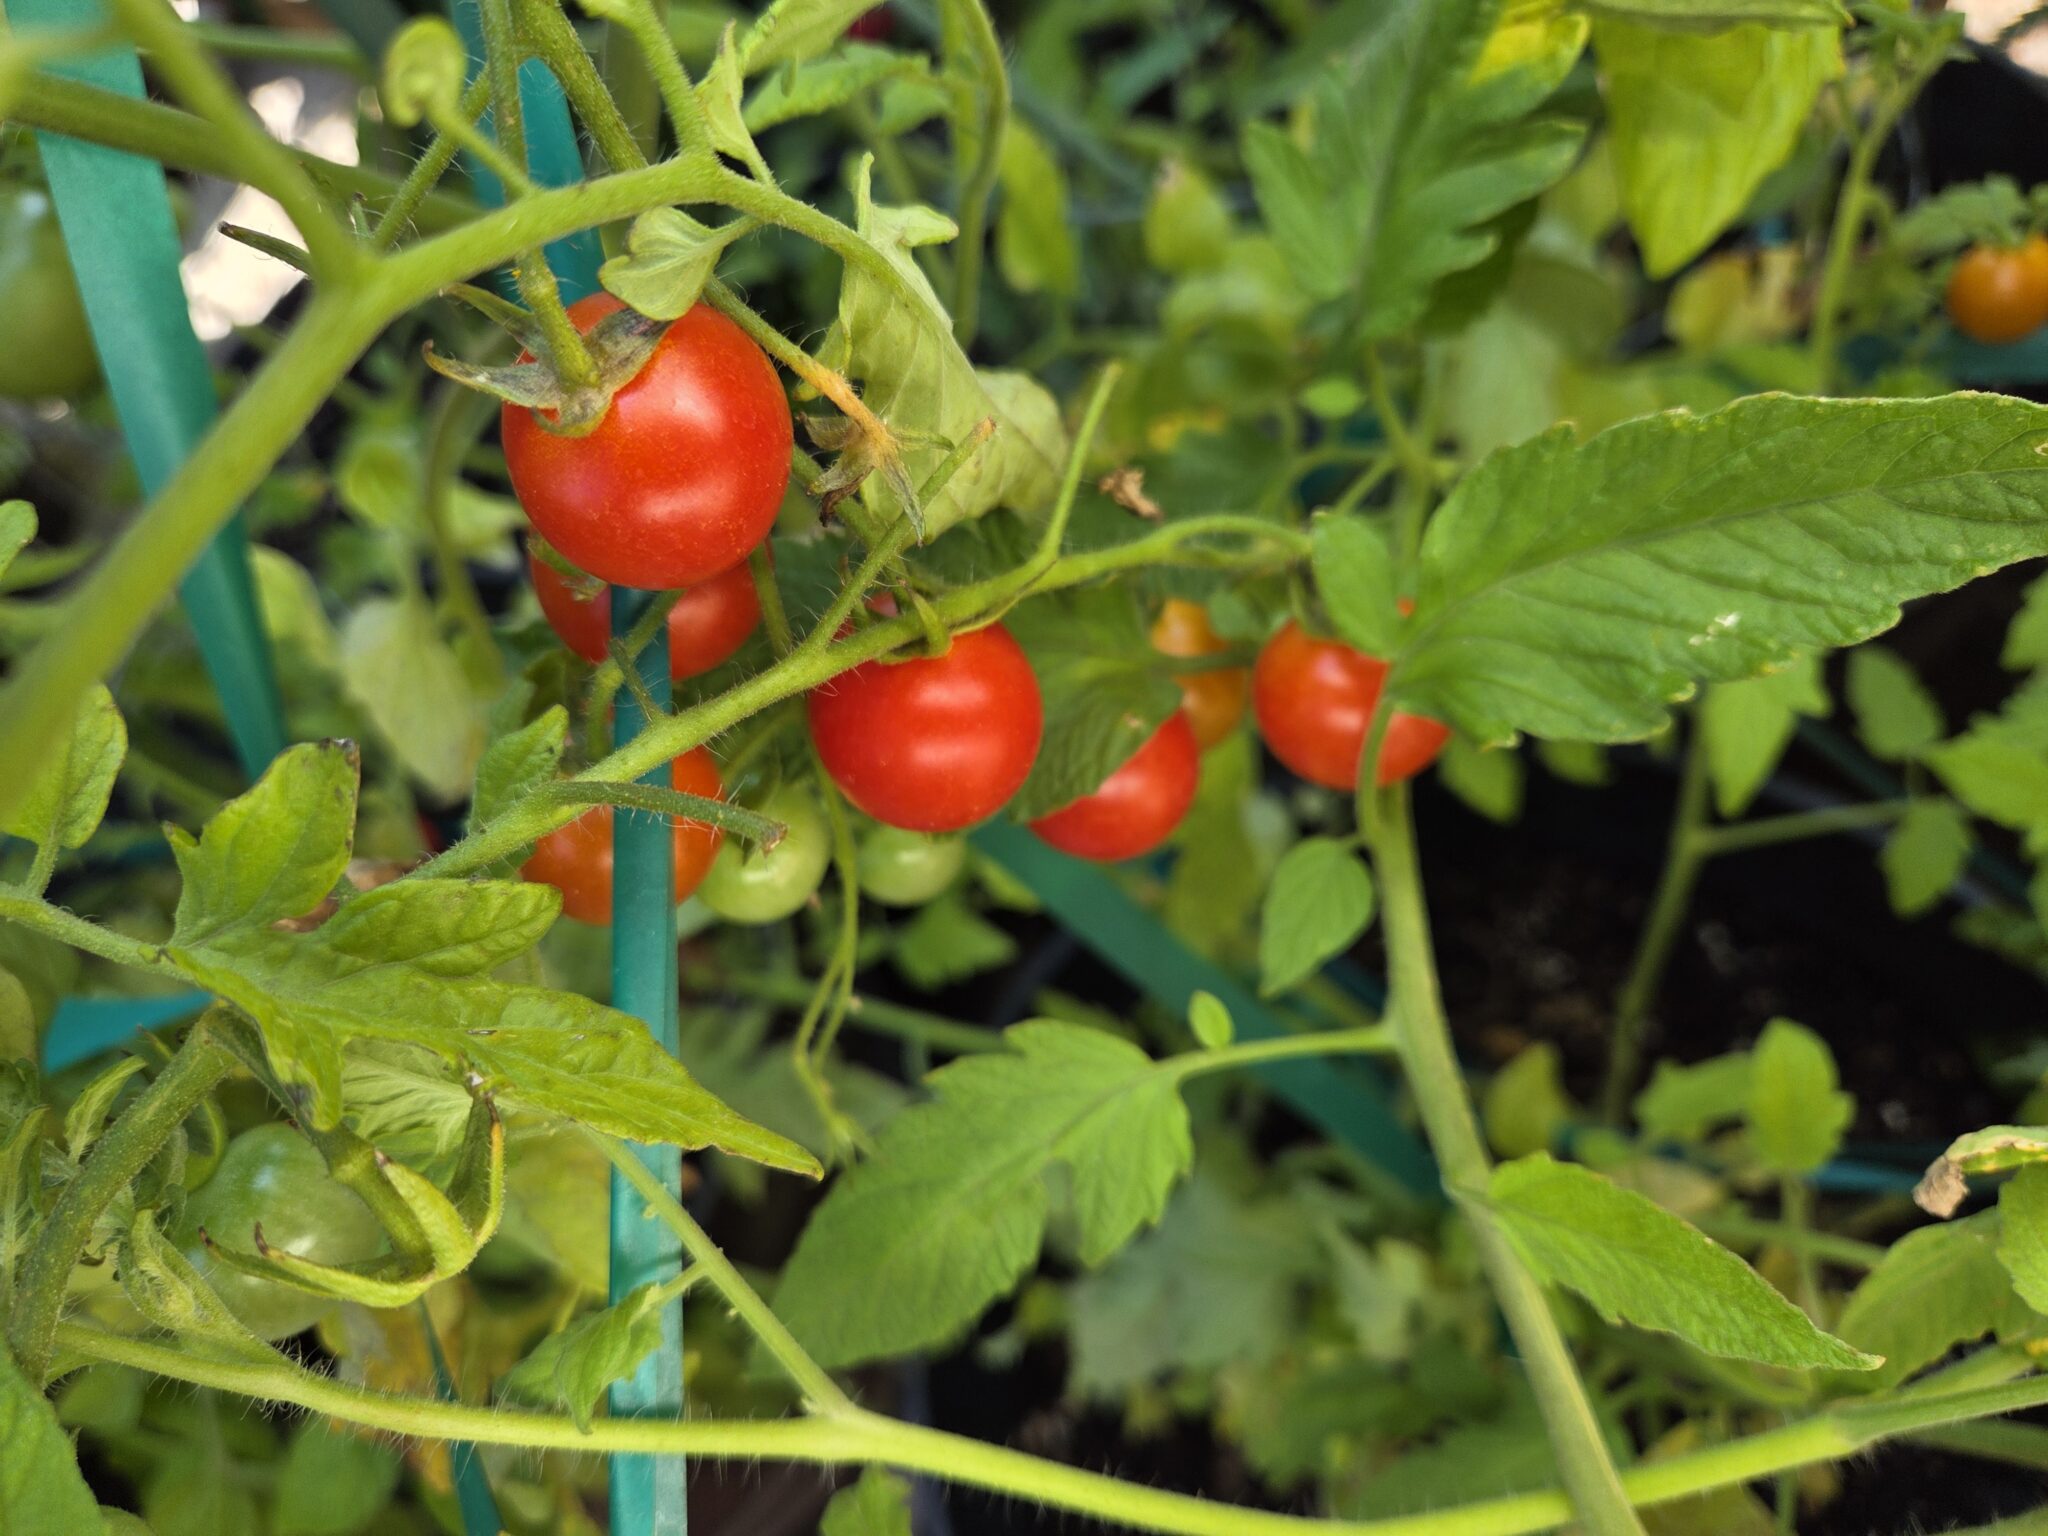
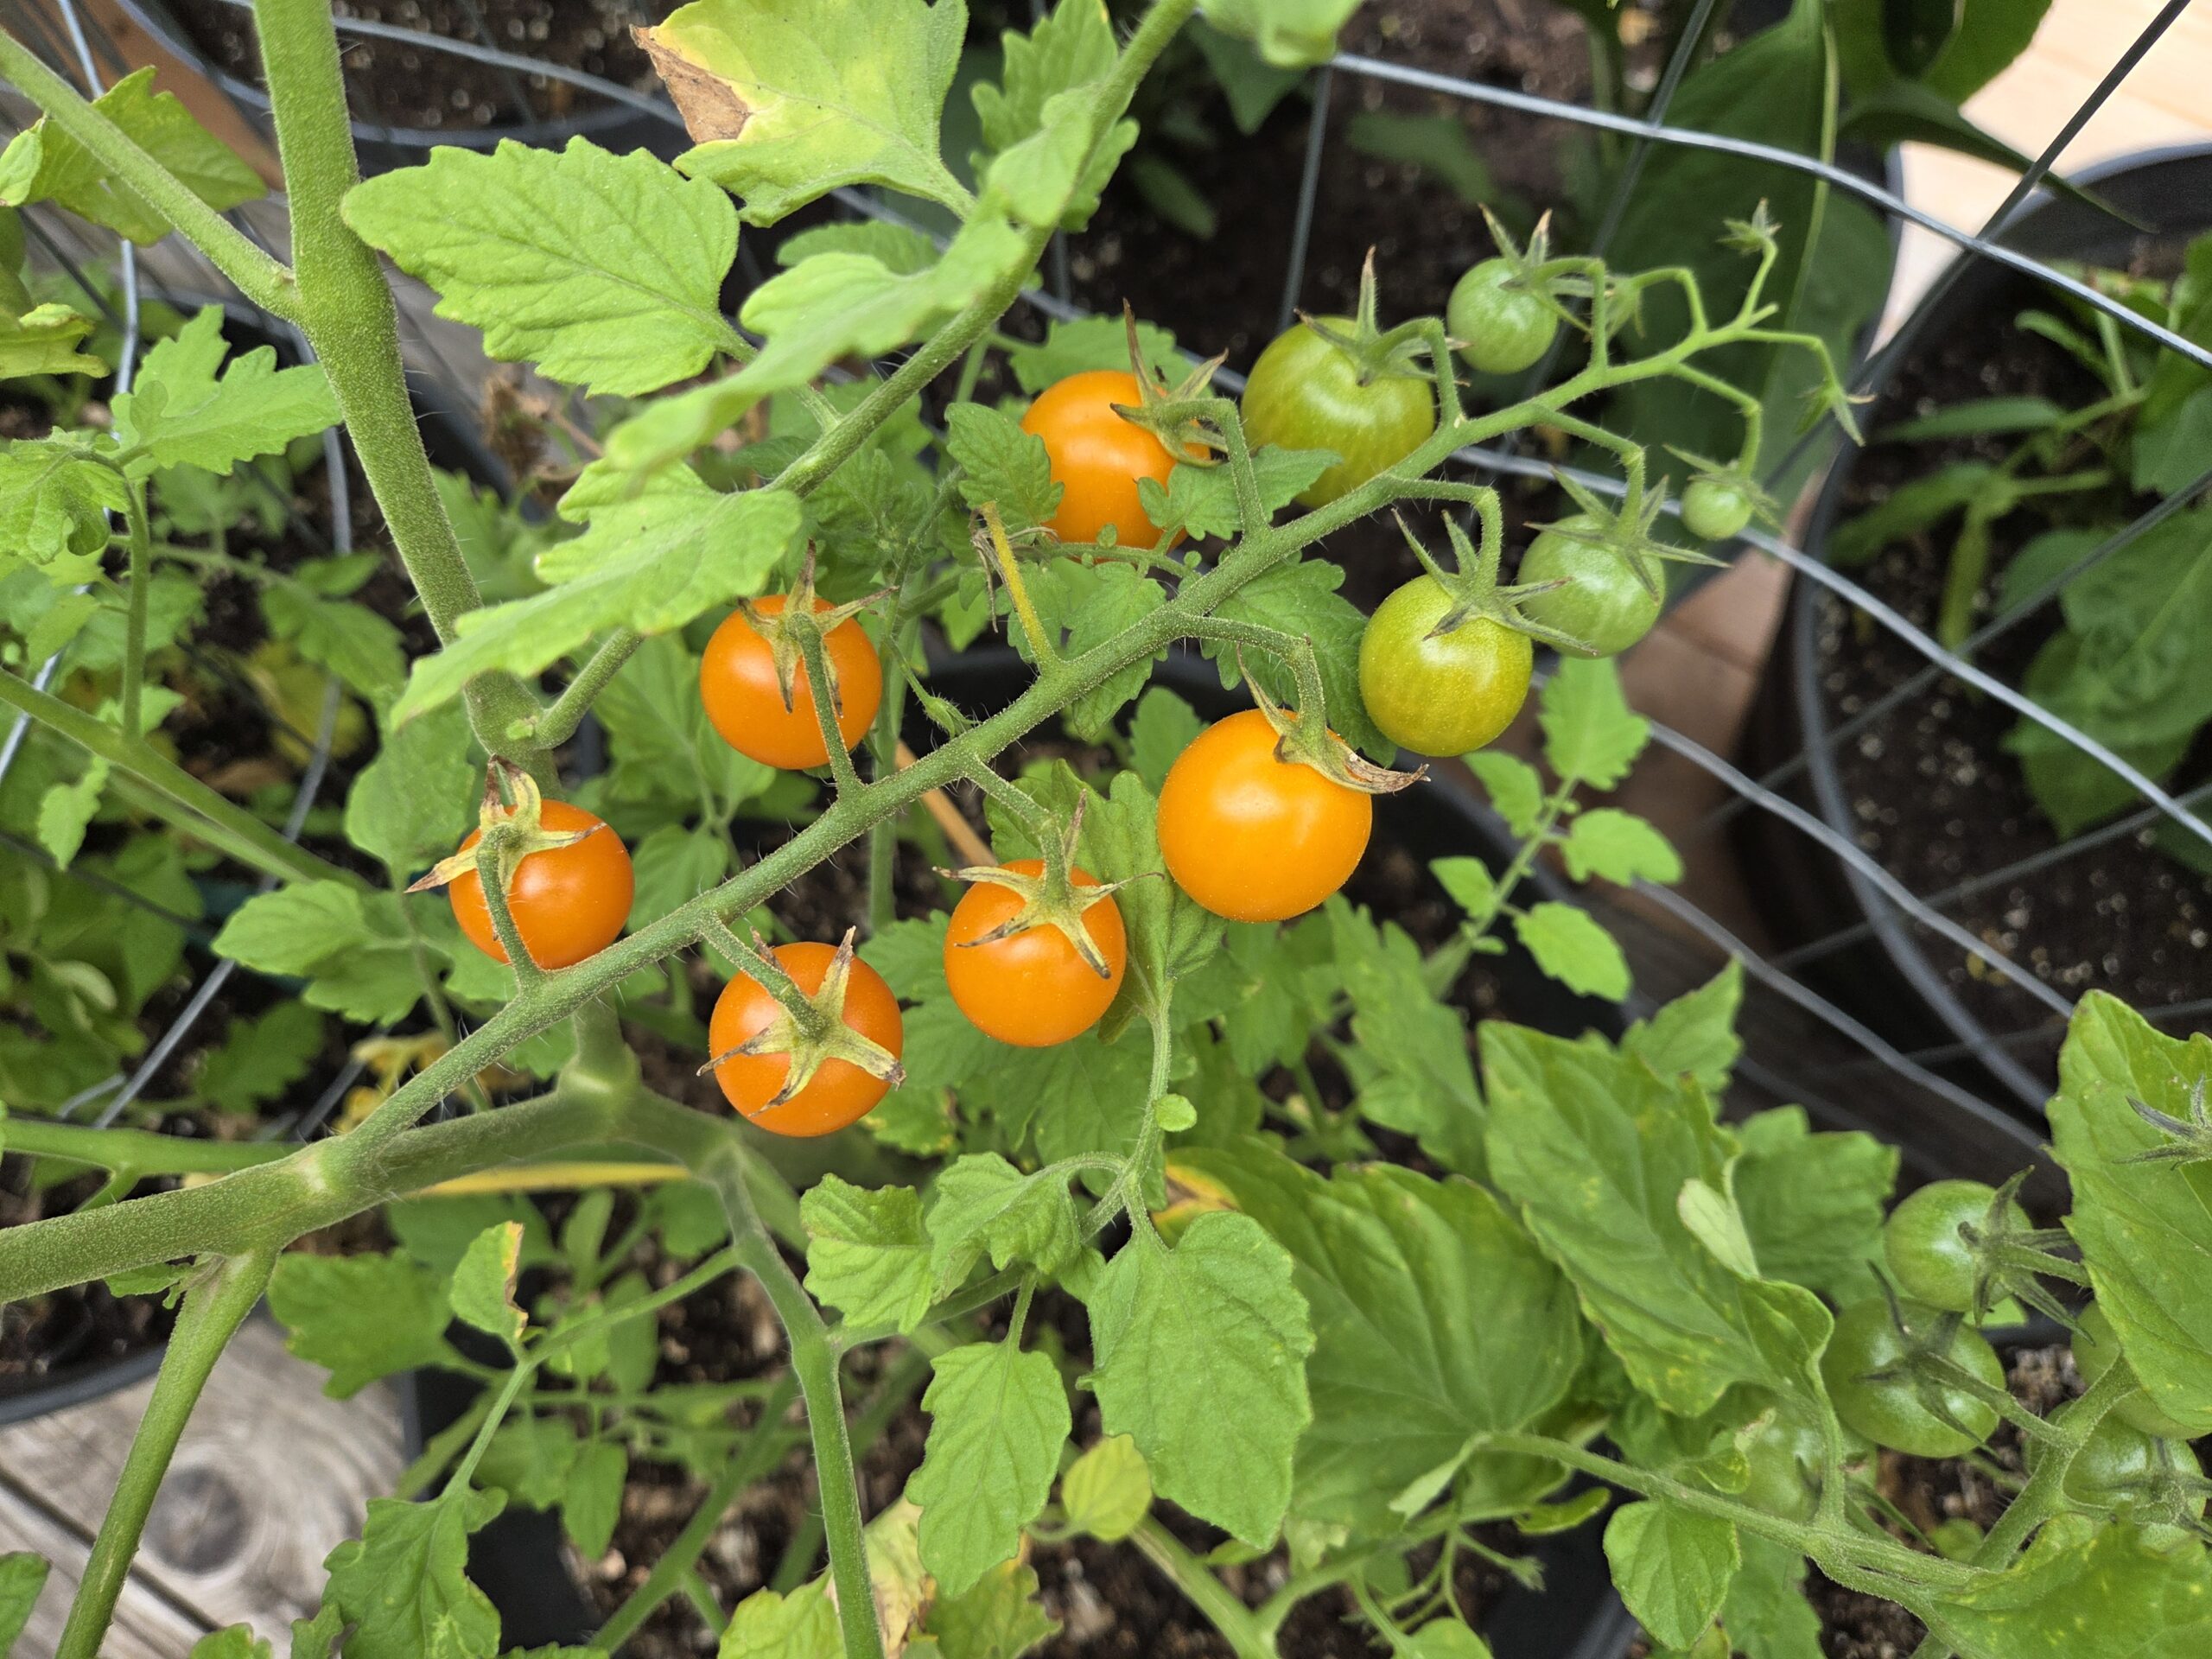
This salsa is one of my favorite ways to preserve garden cherry tomatoes. We have a ton of Yellow Pear heirloom cherry tomatoes, super sweet 100s, and Sungolds this year, but any cherry tomato variety will work for this recipe. First, wash the produce.
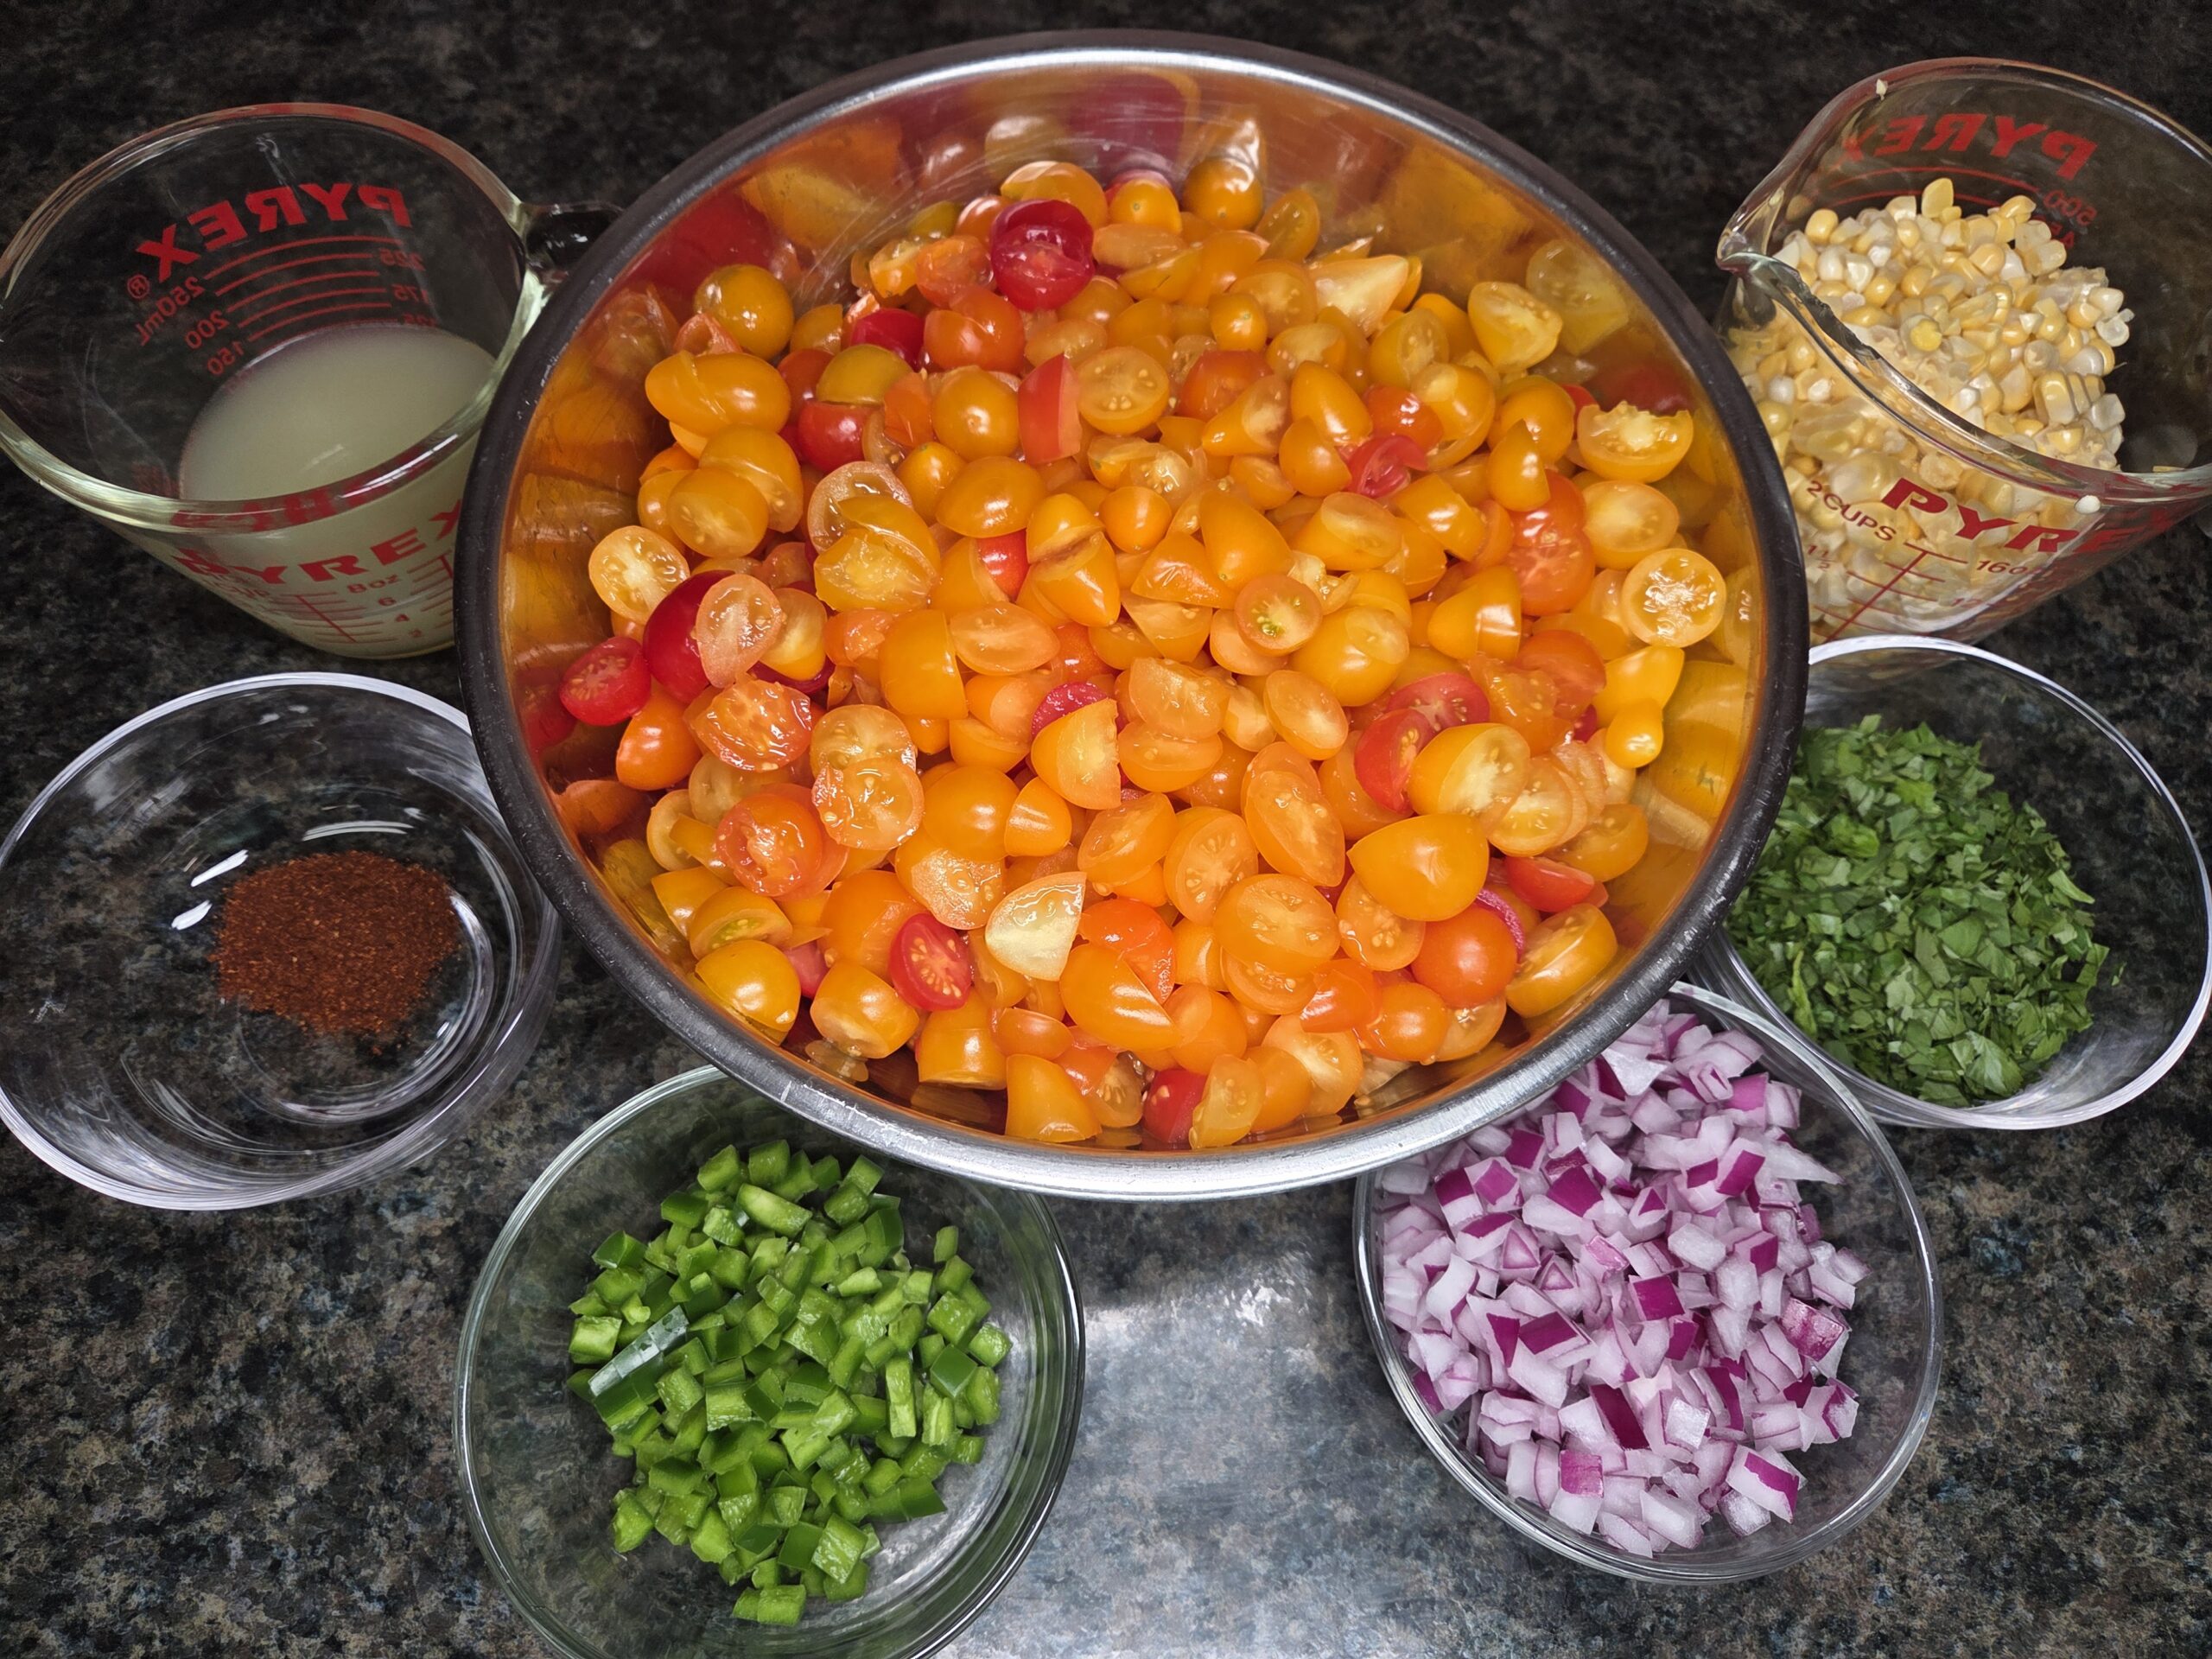
Roughly chop the cherry tomatoes and cilantro. Finely dice the red onion and stem, seed, and finely dice the jalapeño peppers. Carefully cut the kernels from the corn cobs — two cobs usually yield about 2 cups. Measure out the lime juice. Use bottled lime juice instead of fresh, since its consistent acidity ensures the salsa is safe for water‑bath canning. Fresh lime juice varies in pH depending on the type and age of the limes, which makes it unreliable for safe preservation. Measure out 1 teaspoon of chipotle powder. Canning salt is used in this recipe as a flavor enhancer, not a preservative, so you can adjust it to taste or leave it out entirely. Using only canning salt avoids additives like iodine or anti‑caking agents that could cloud the liquid or affect taste.
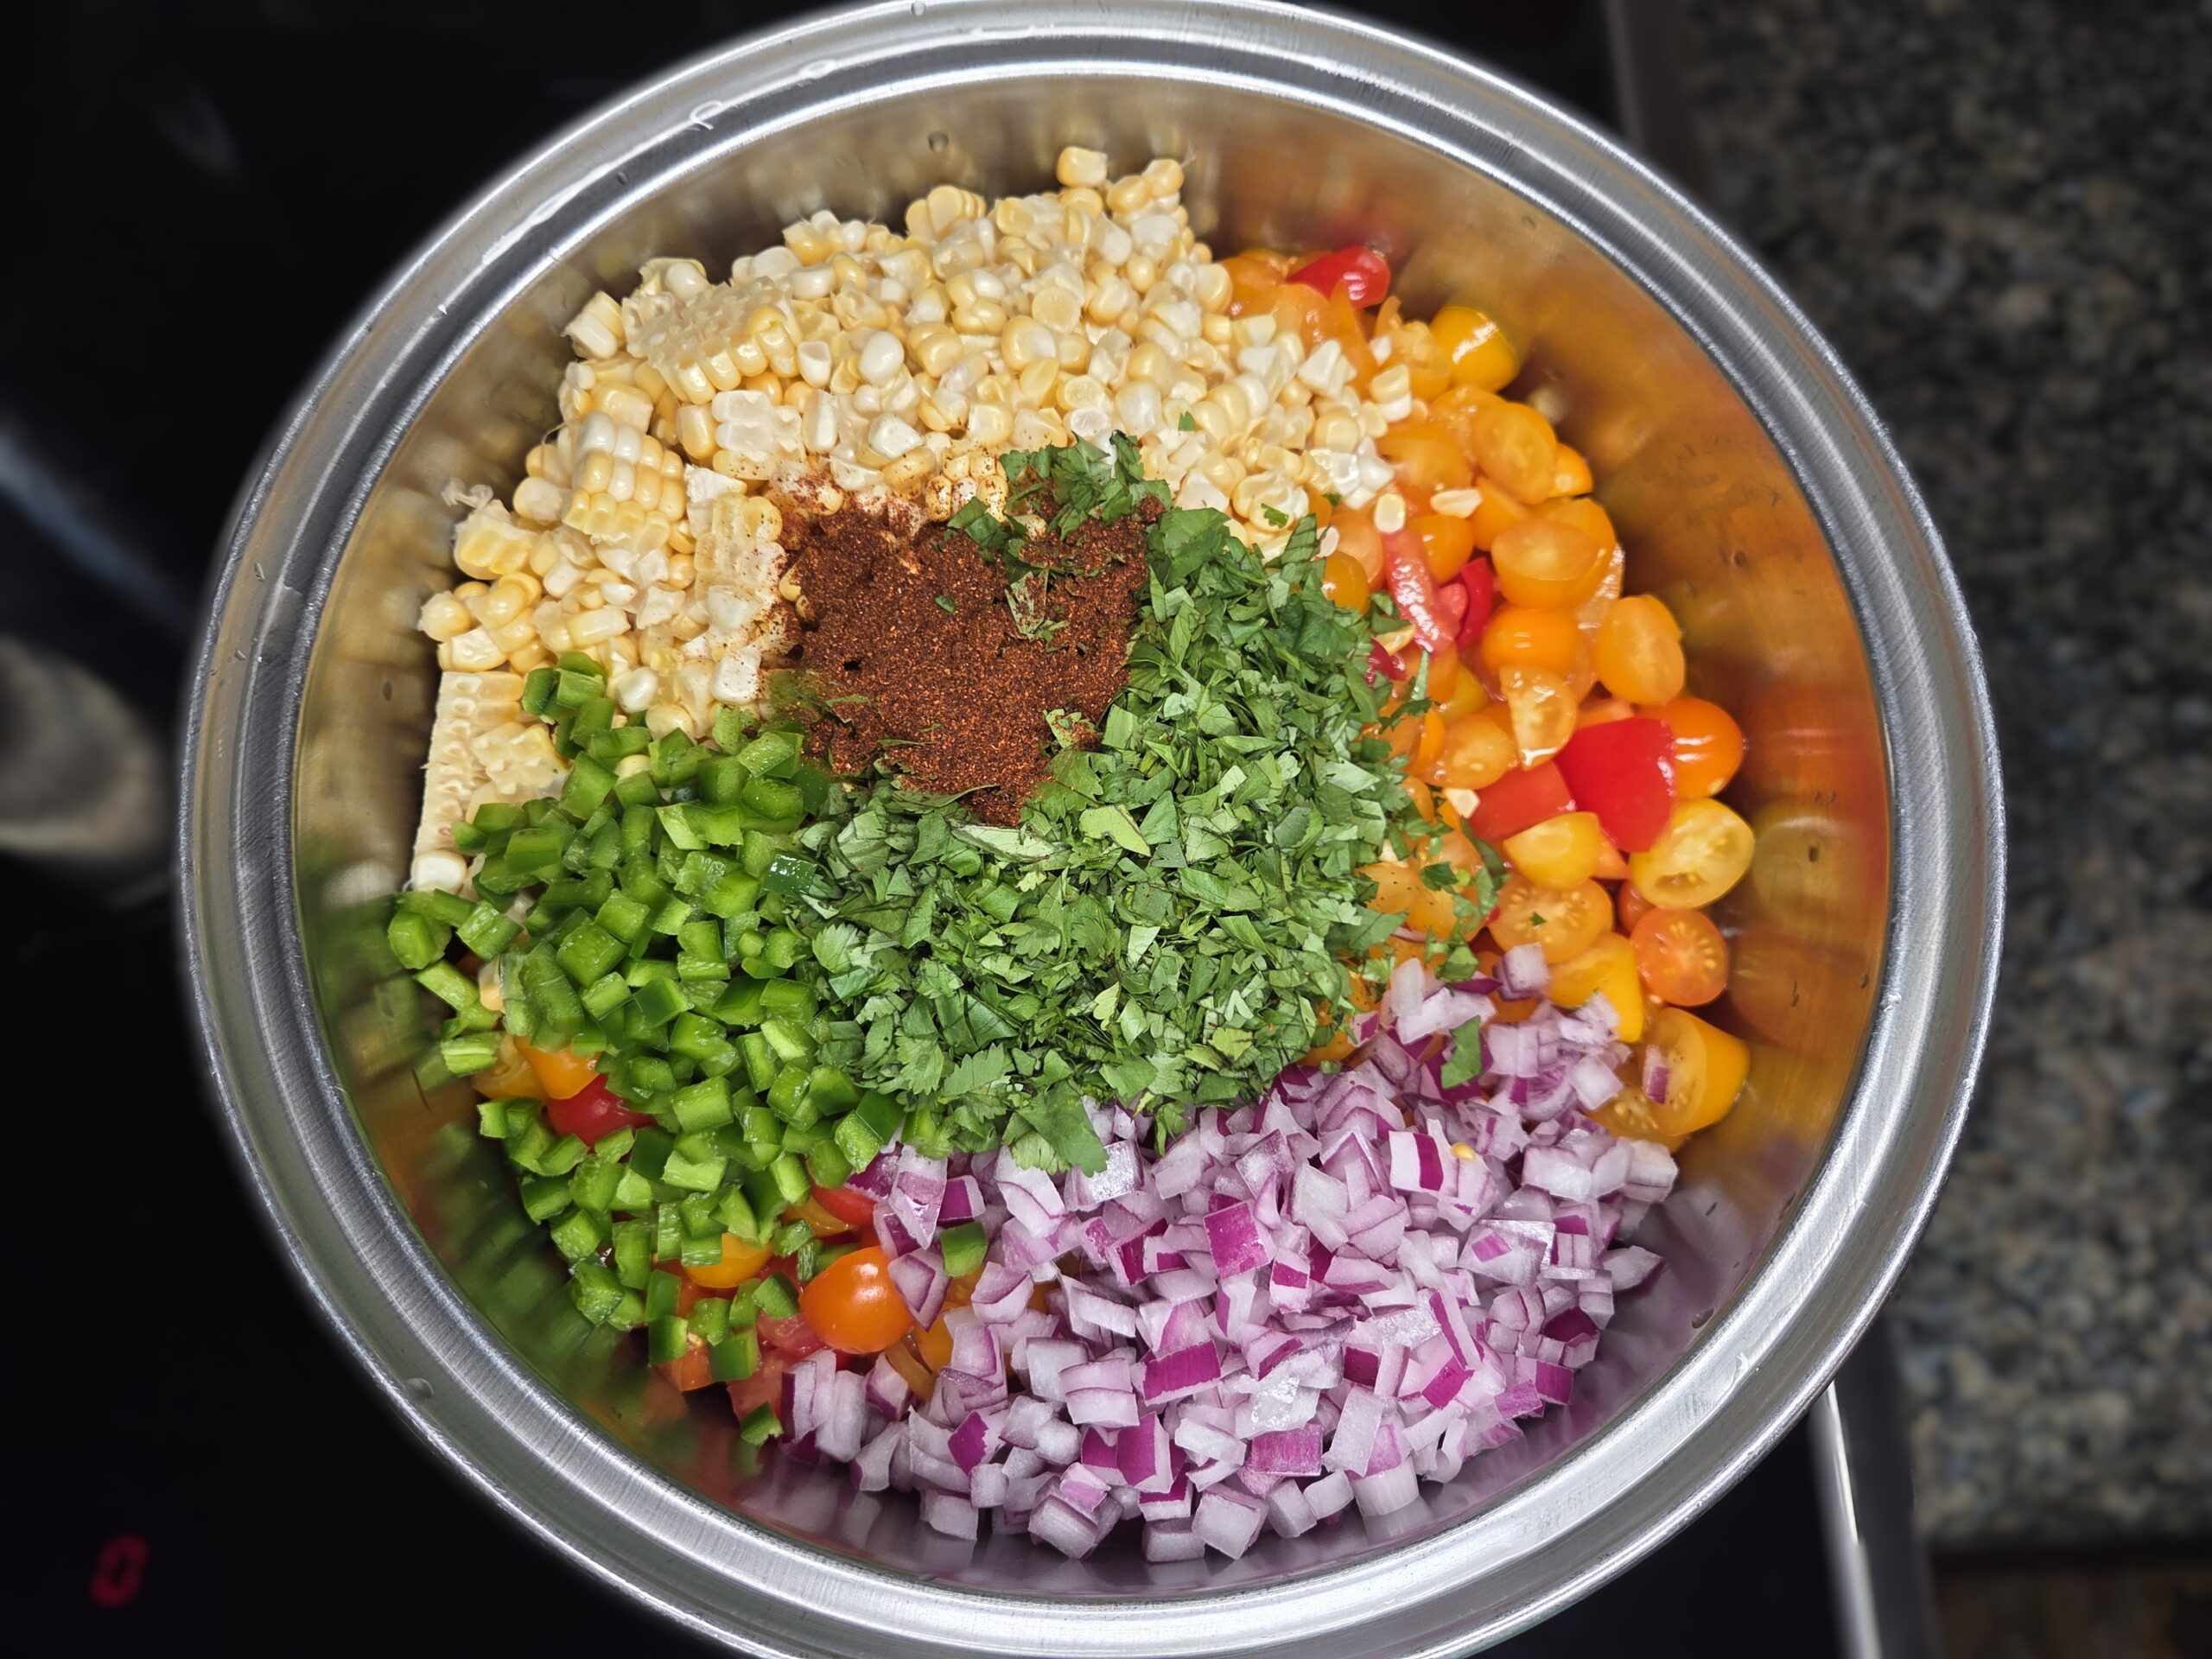
Add all of the prepared ingredients to a non‑reactive stainless steel or enameled pot.
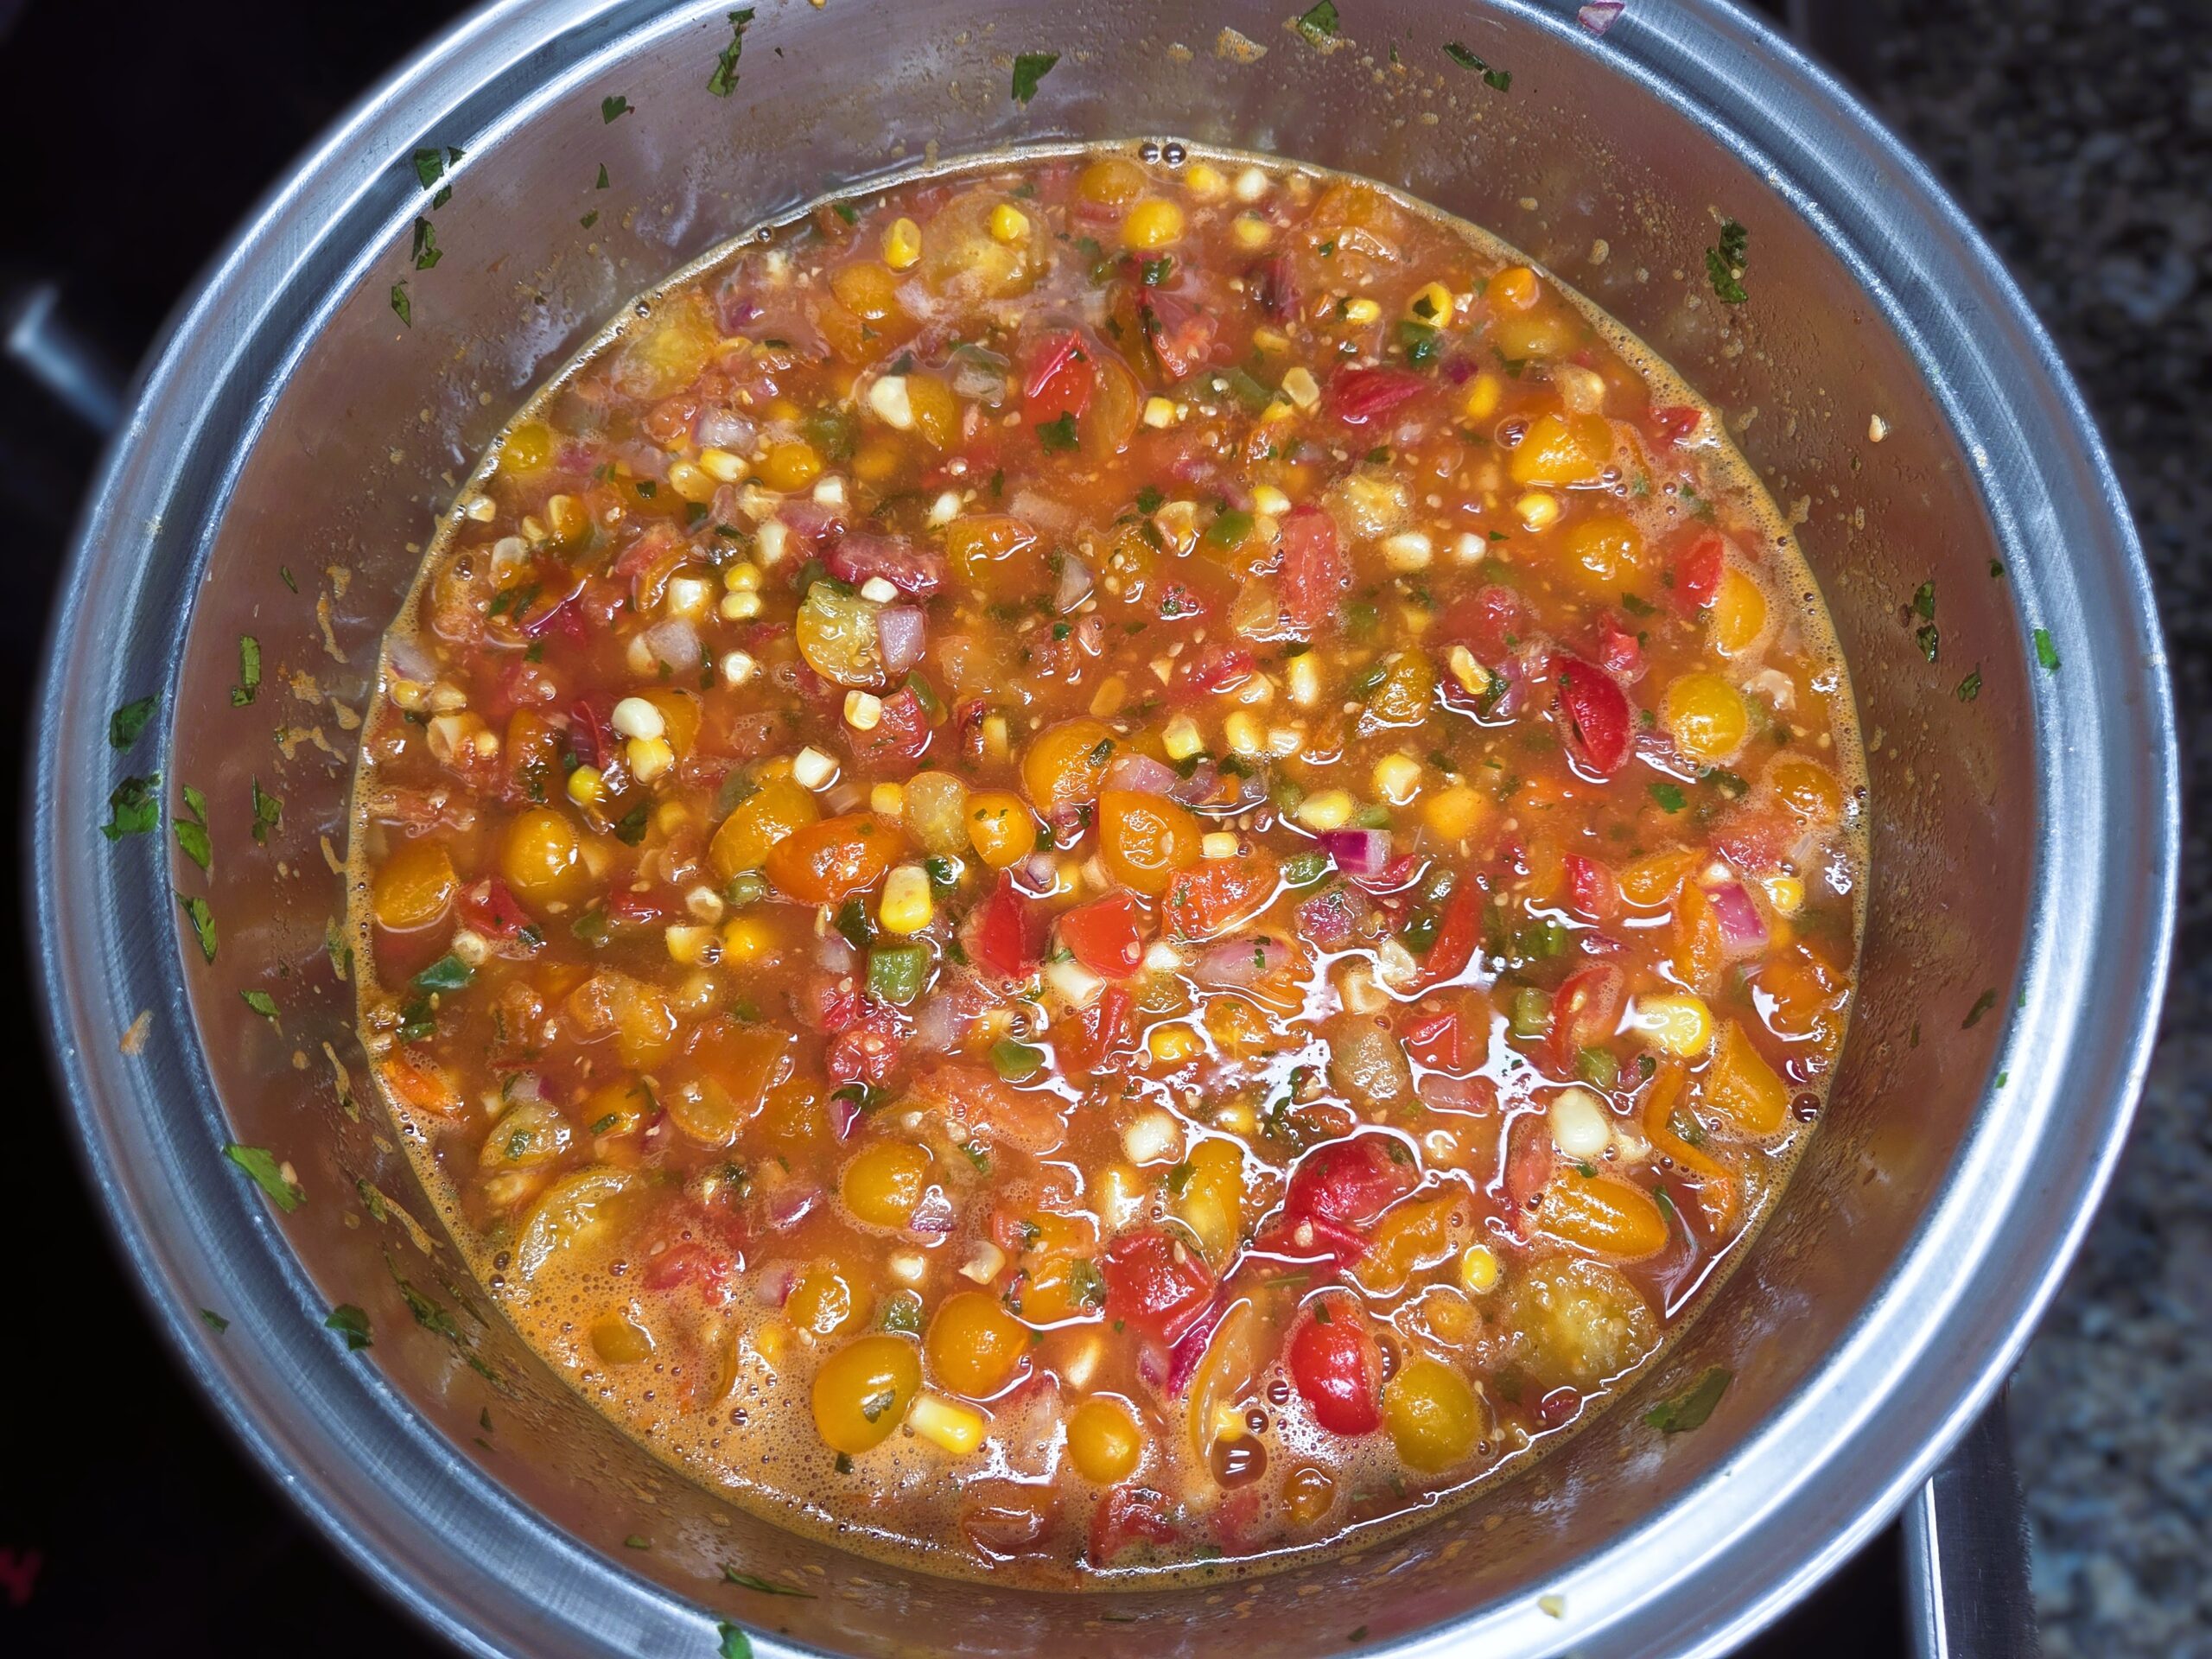
Bring the mixture to a boil, then reduce the heat and let it simmer gently for 15 minutes, stirring occasionally.
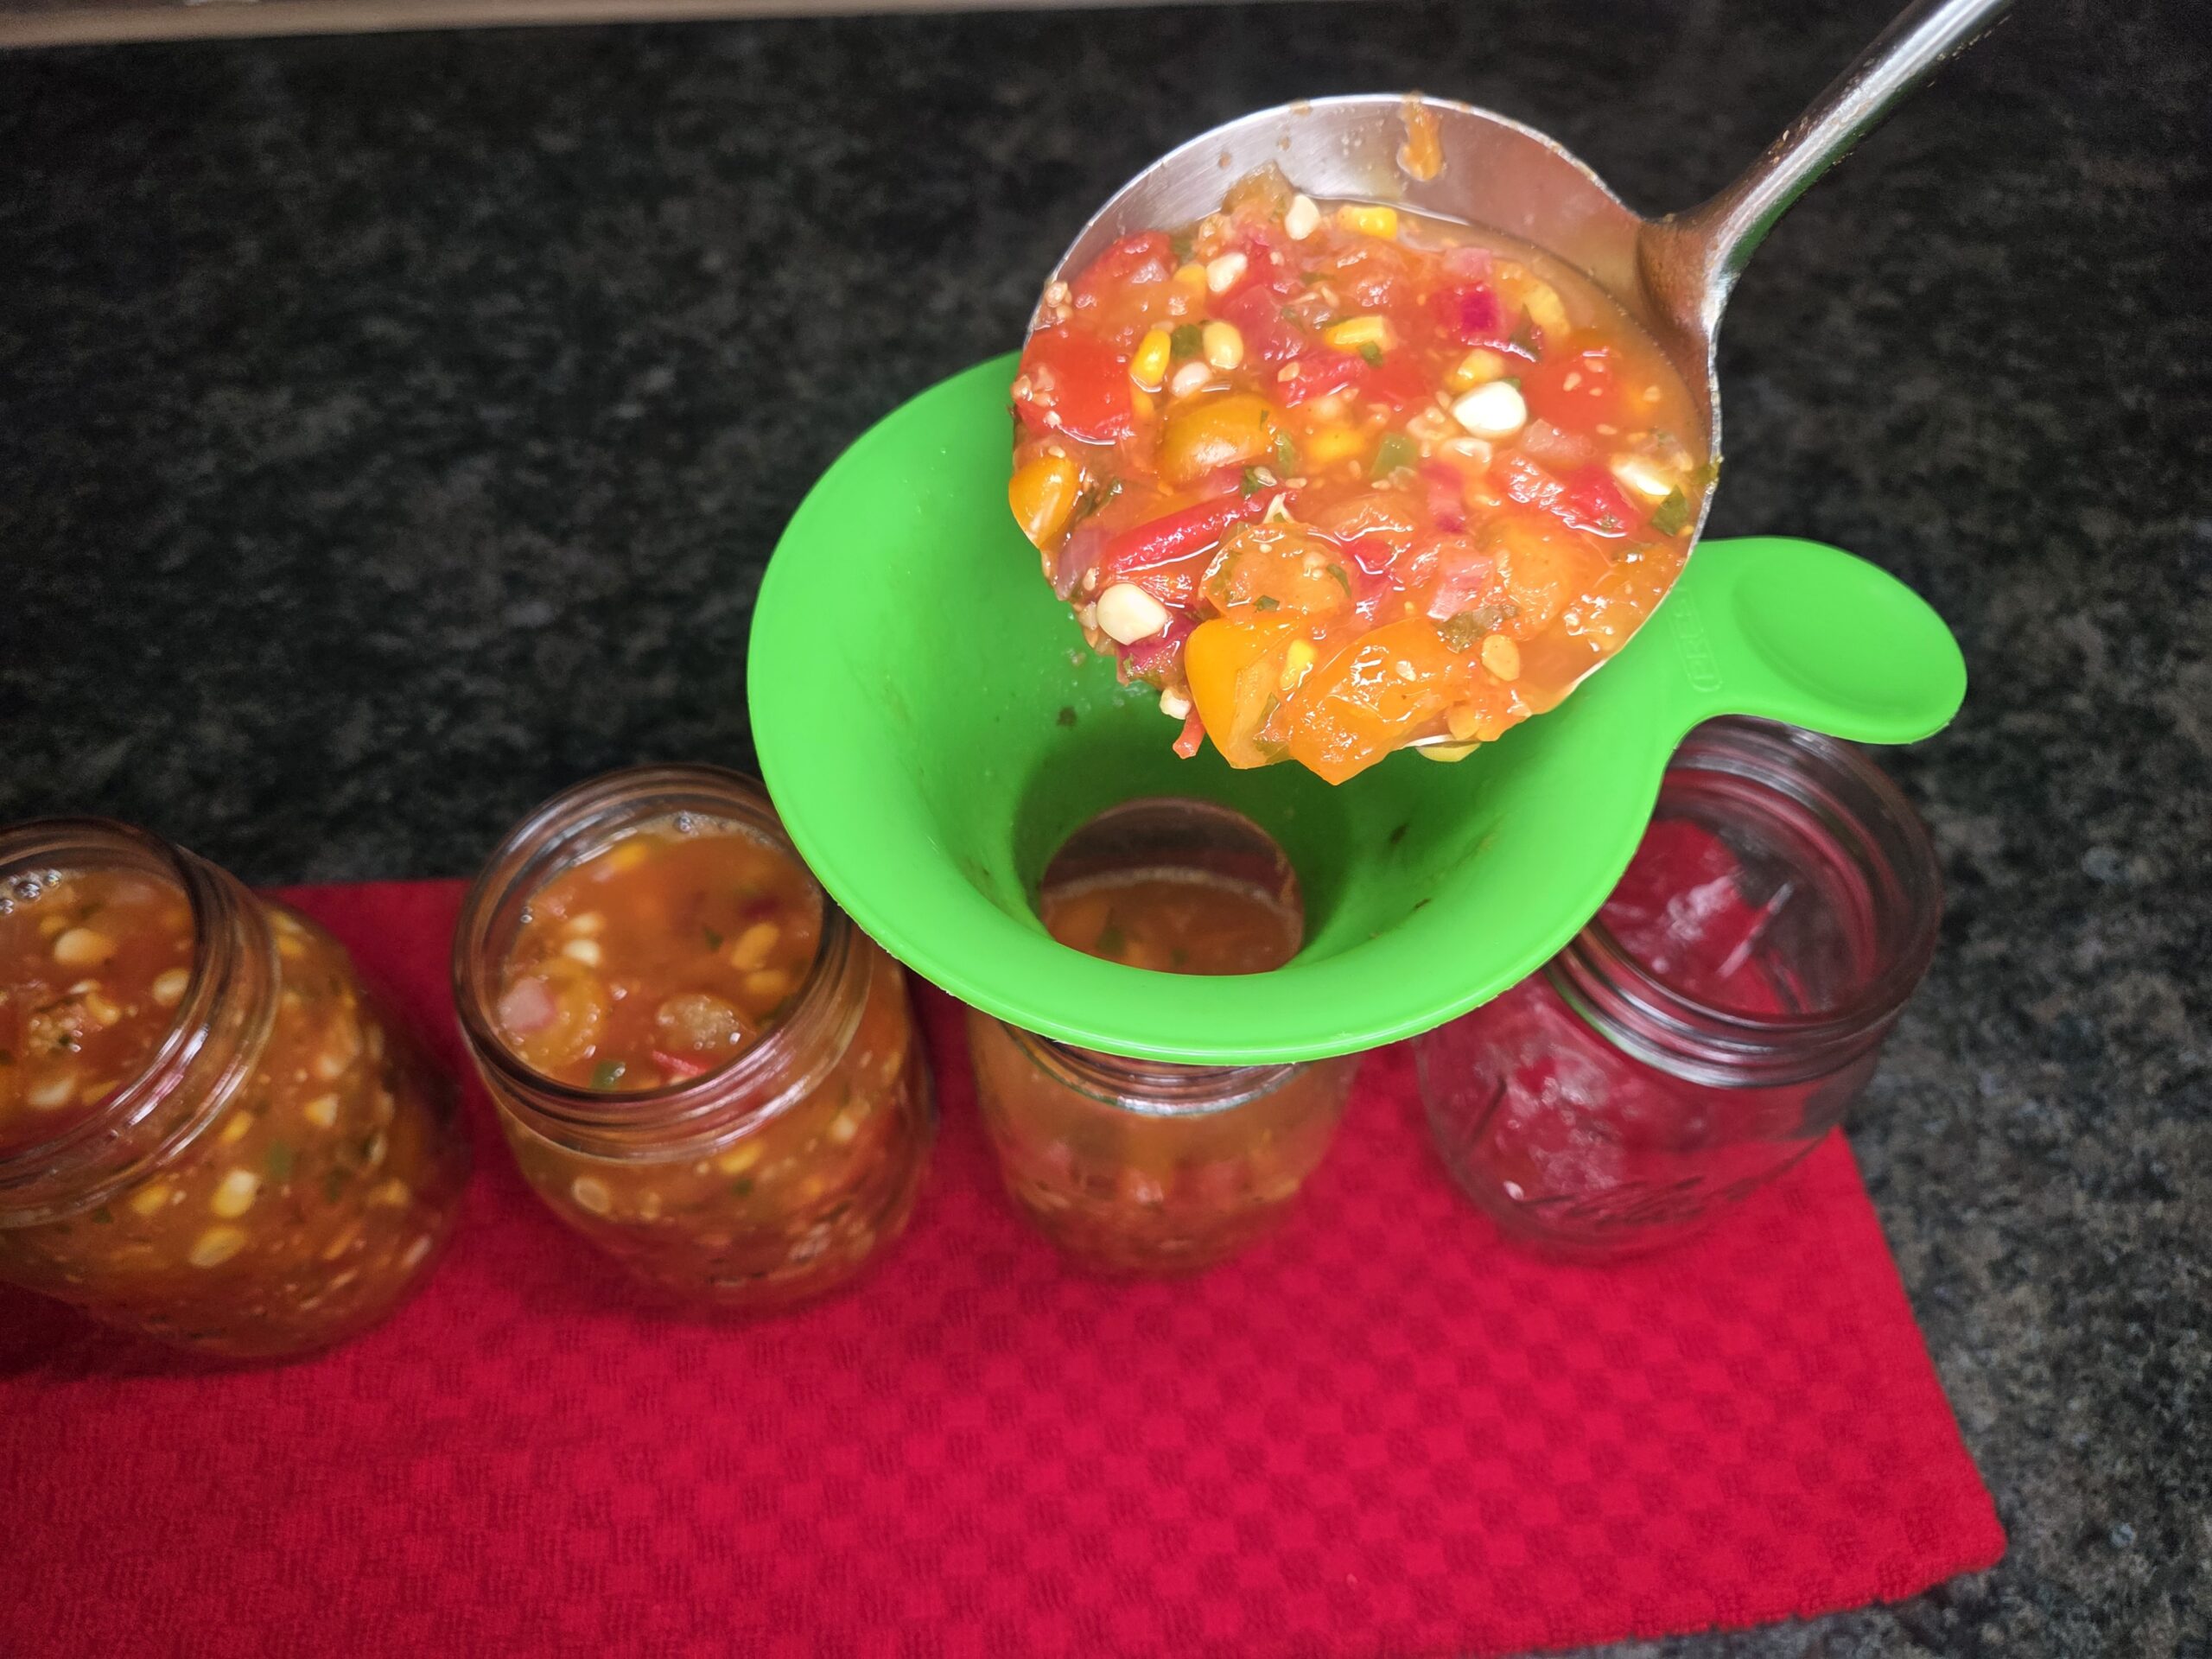
Ladle the hot salsa into hot jars, leaving ½‑inch of headspace—the space between the salsa and the underside of the lid. This gap allows the contents to expand during processing and ensures a proper vacuum seal as the jars cool.
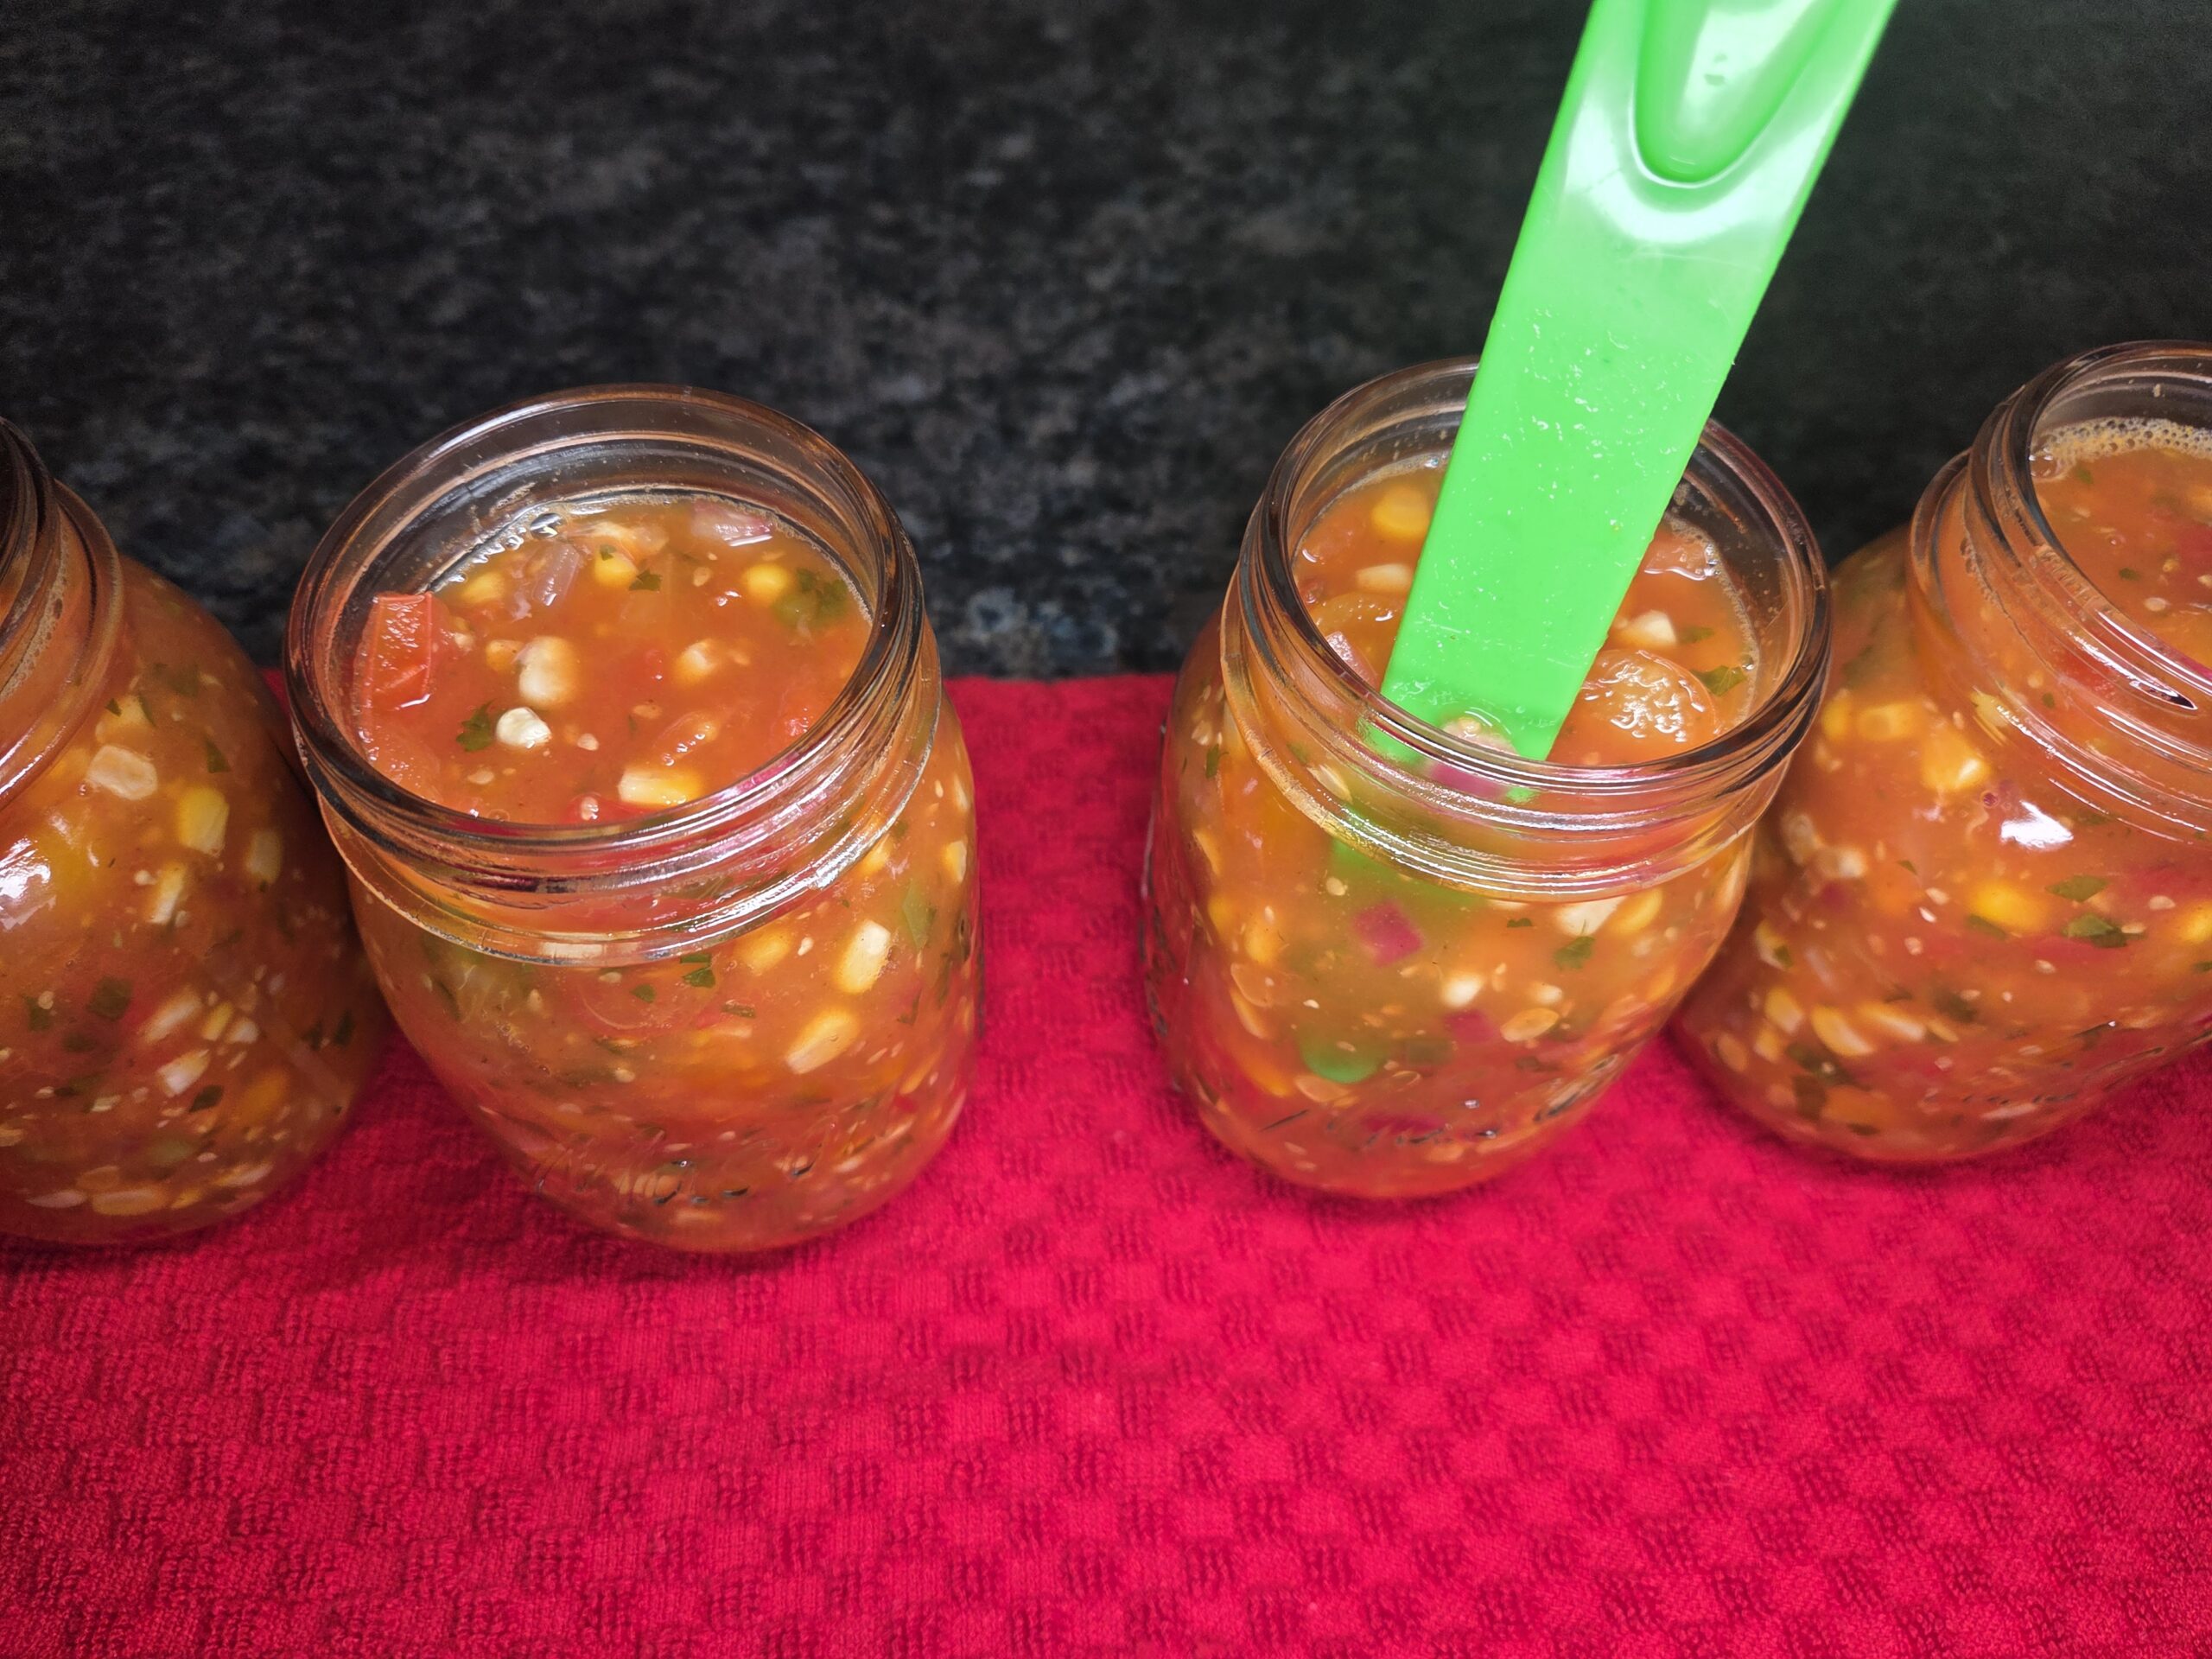
Remove any large air pockets by sliding a non‑reactive bubble tool around the vegetables inside the jar. This helps release trapped air and ensures proper headspace for a safe seal.
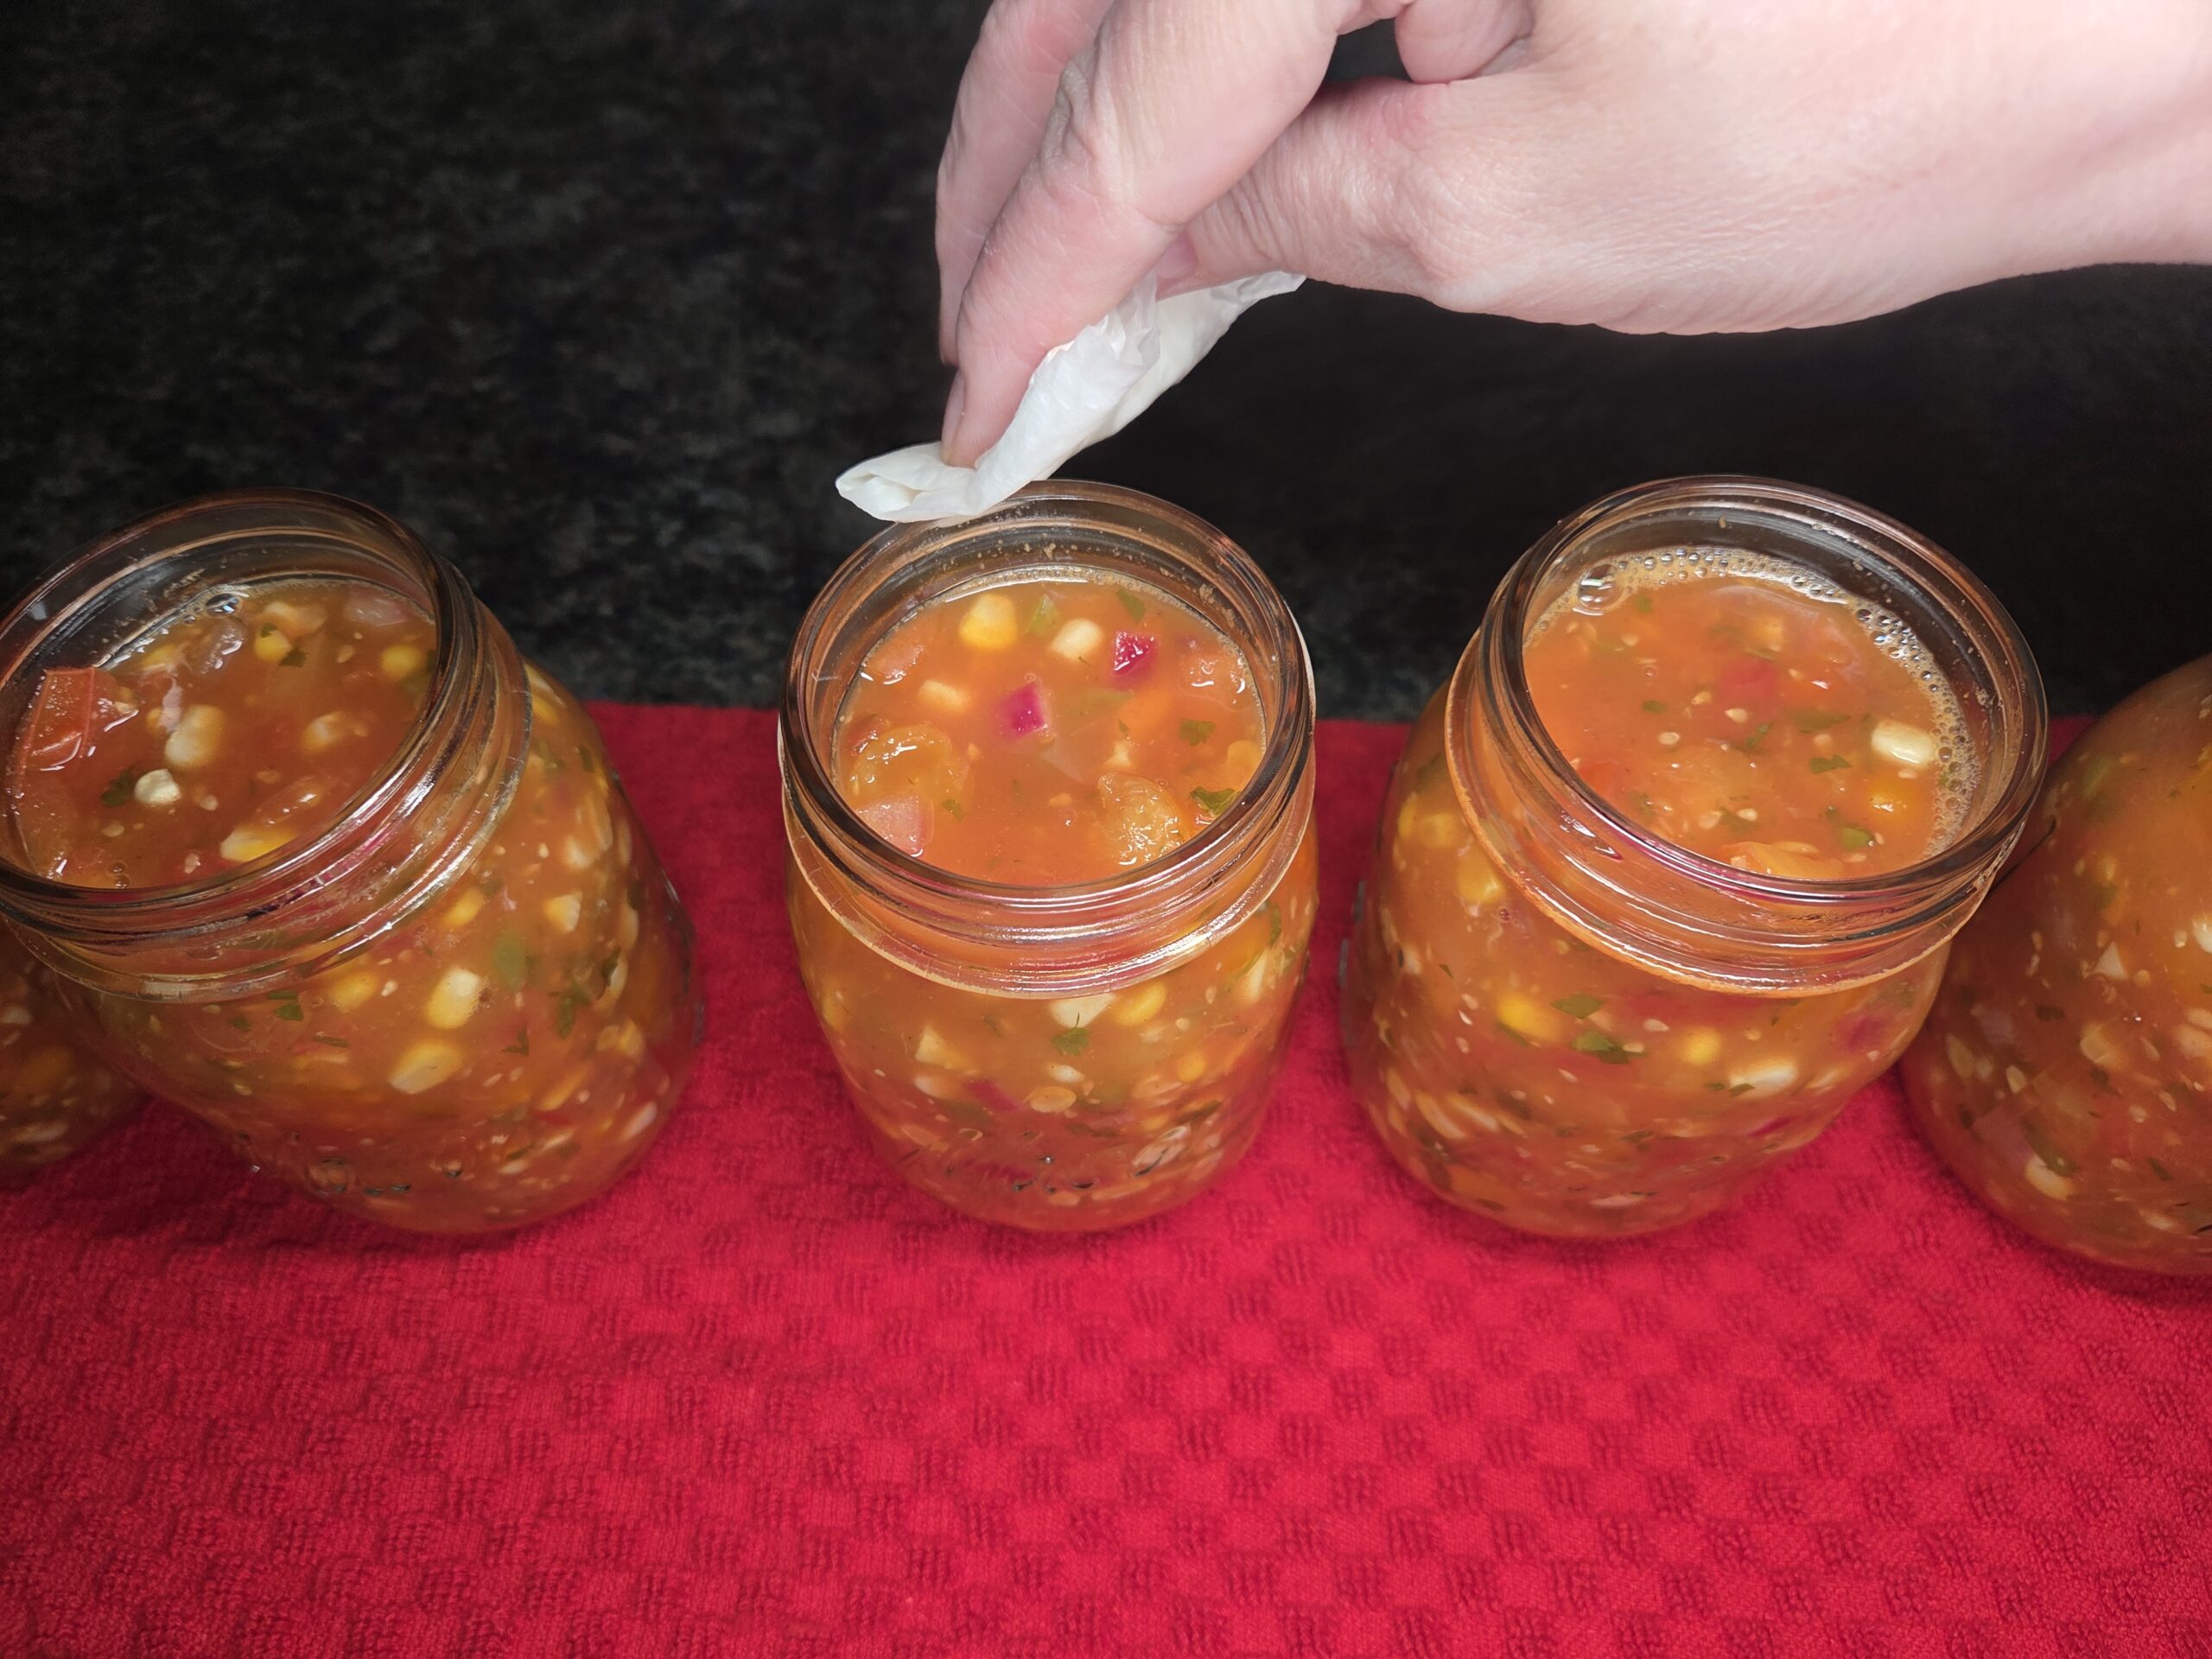
Wipe the rims of the jars with a clean, damp towel to remove any residue that could interfere with sealing.
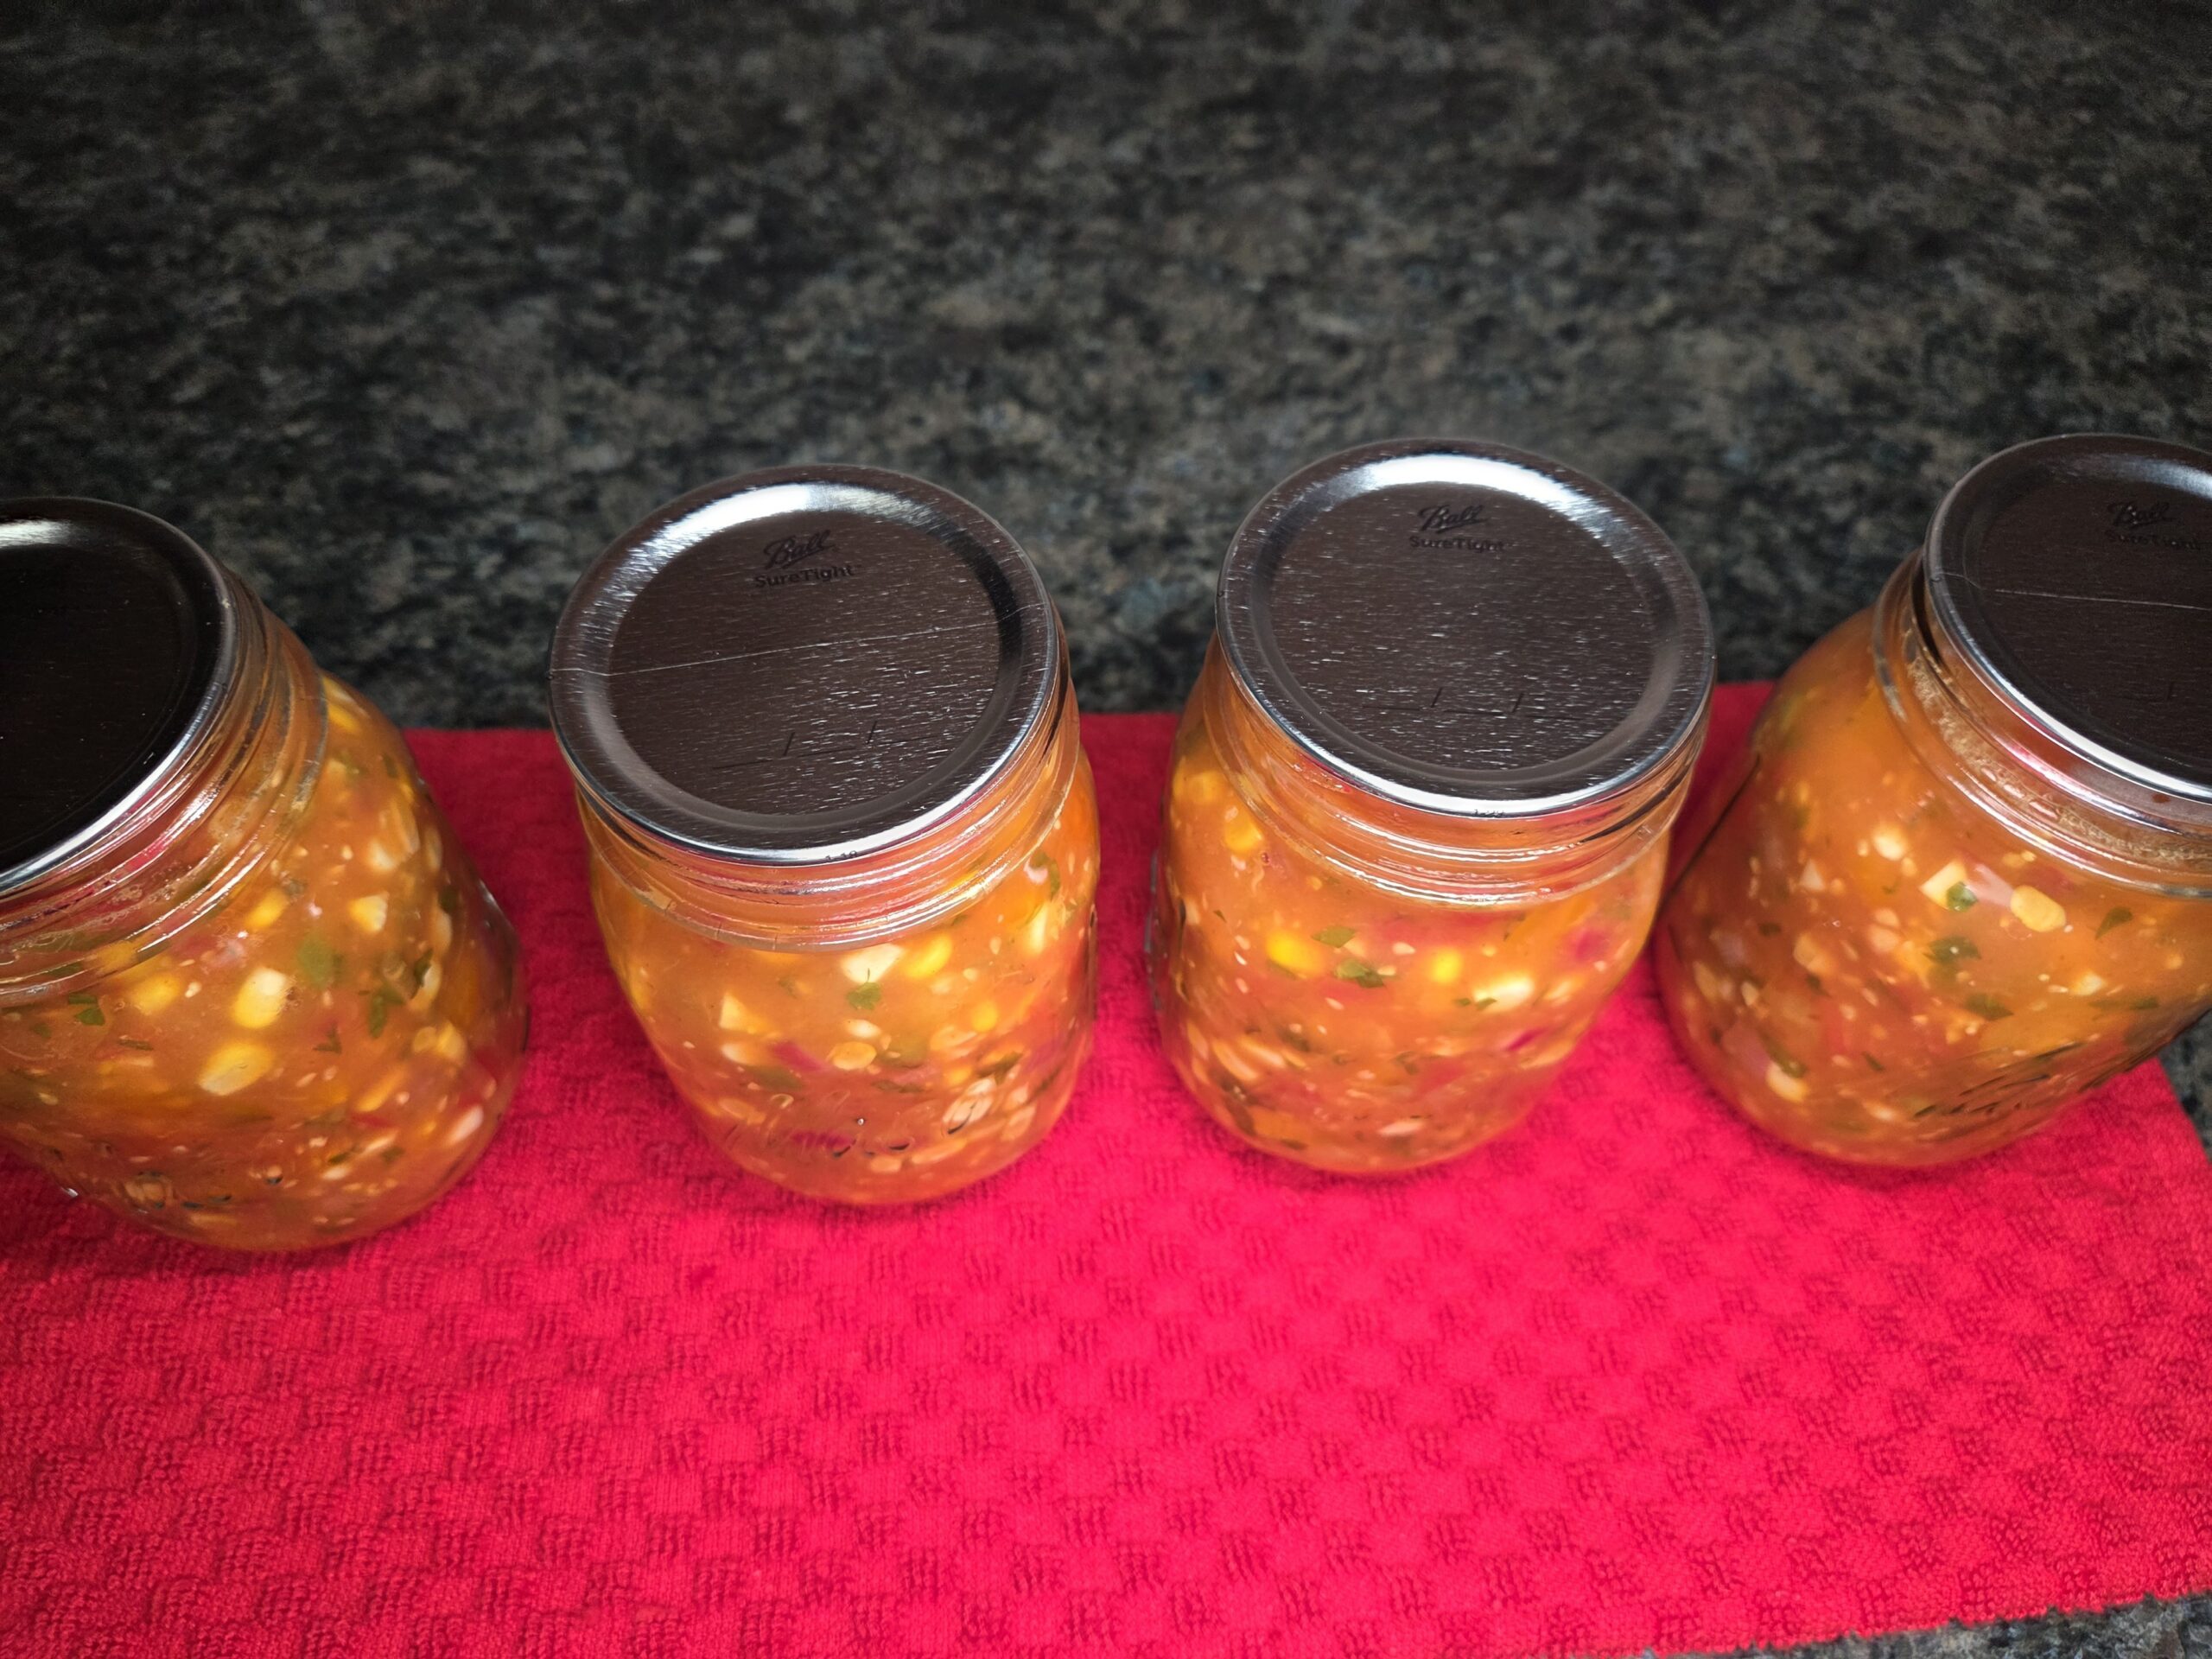
Center the lids on the jars, making sure each one sits evenly to ensure a proper seal.
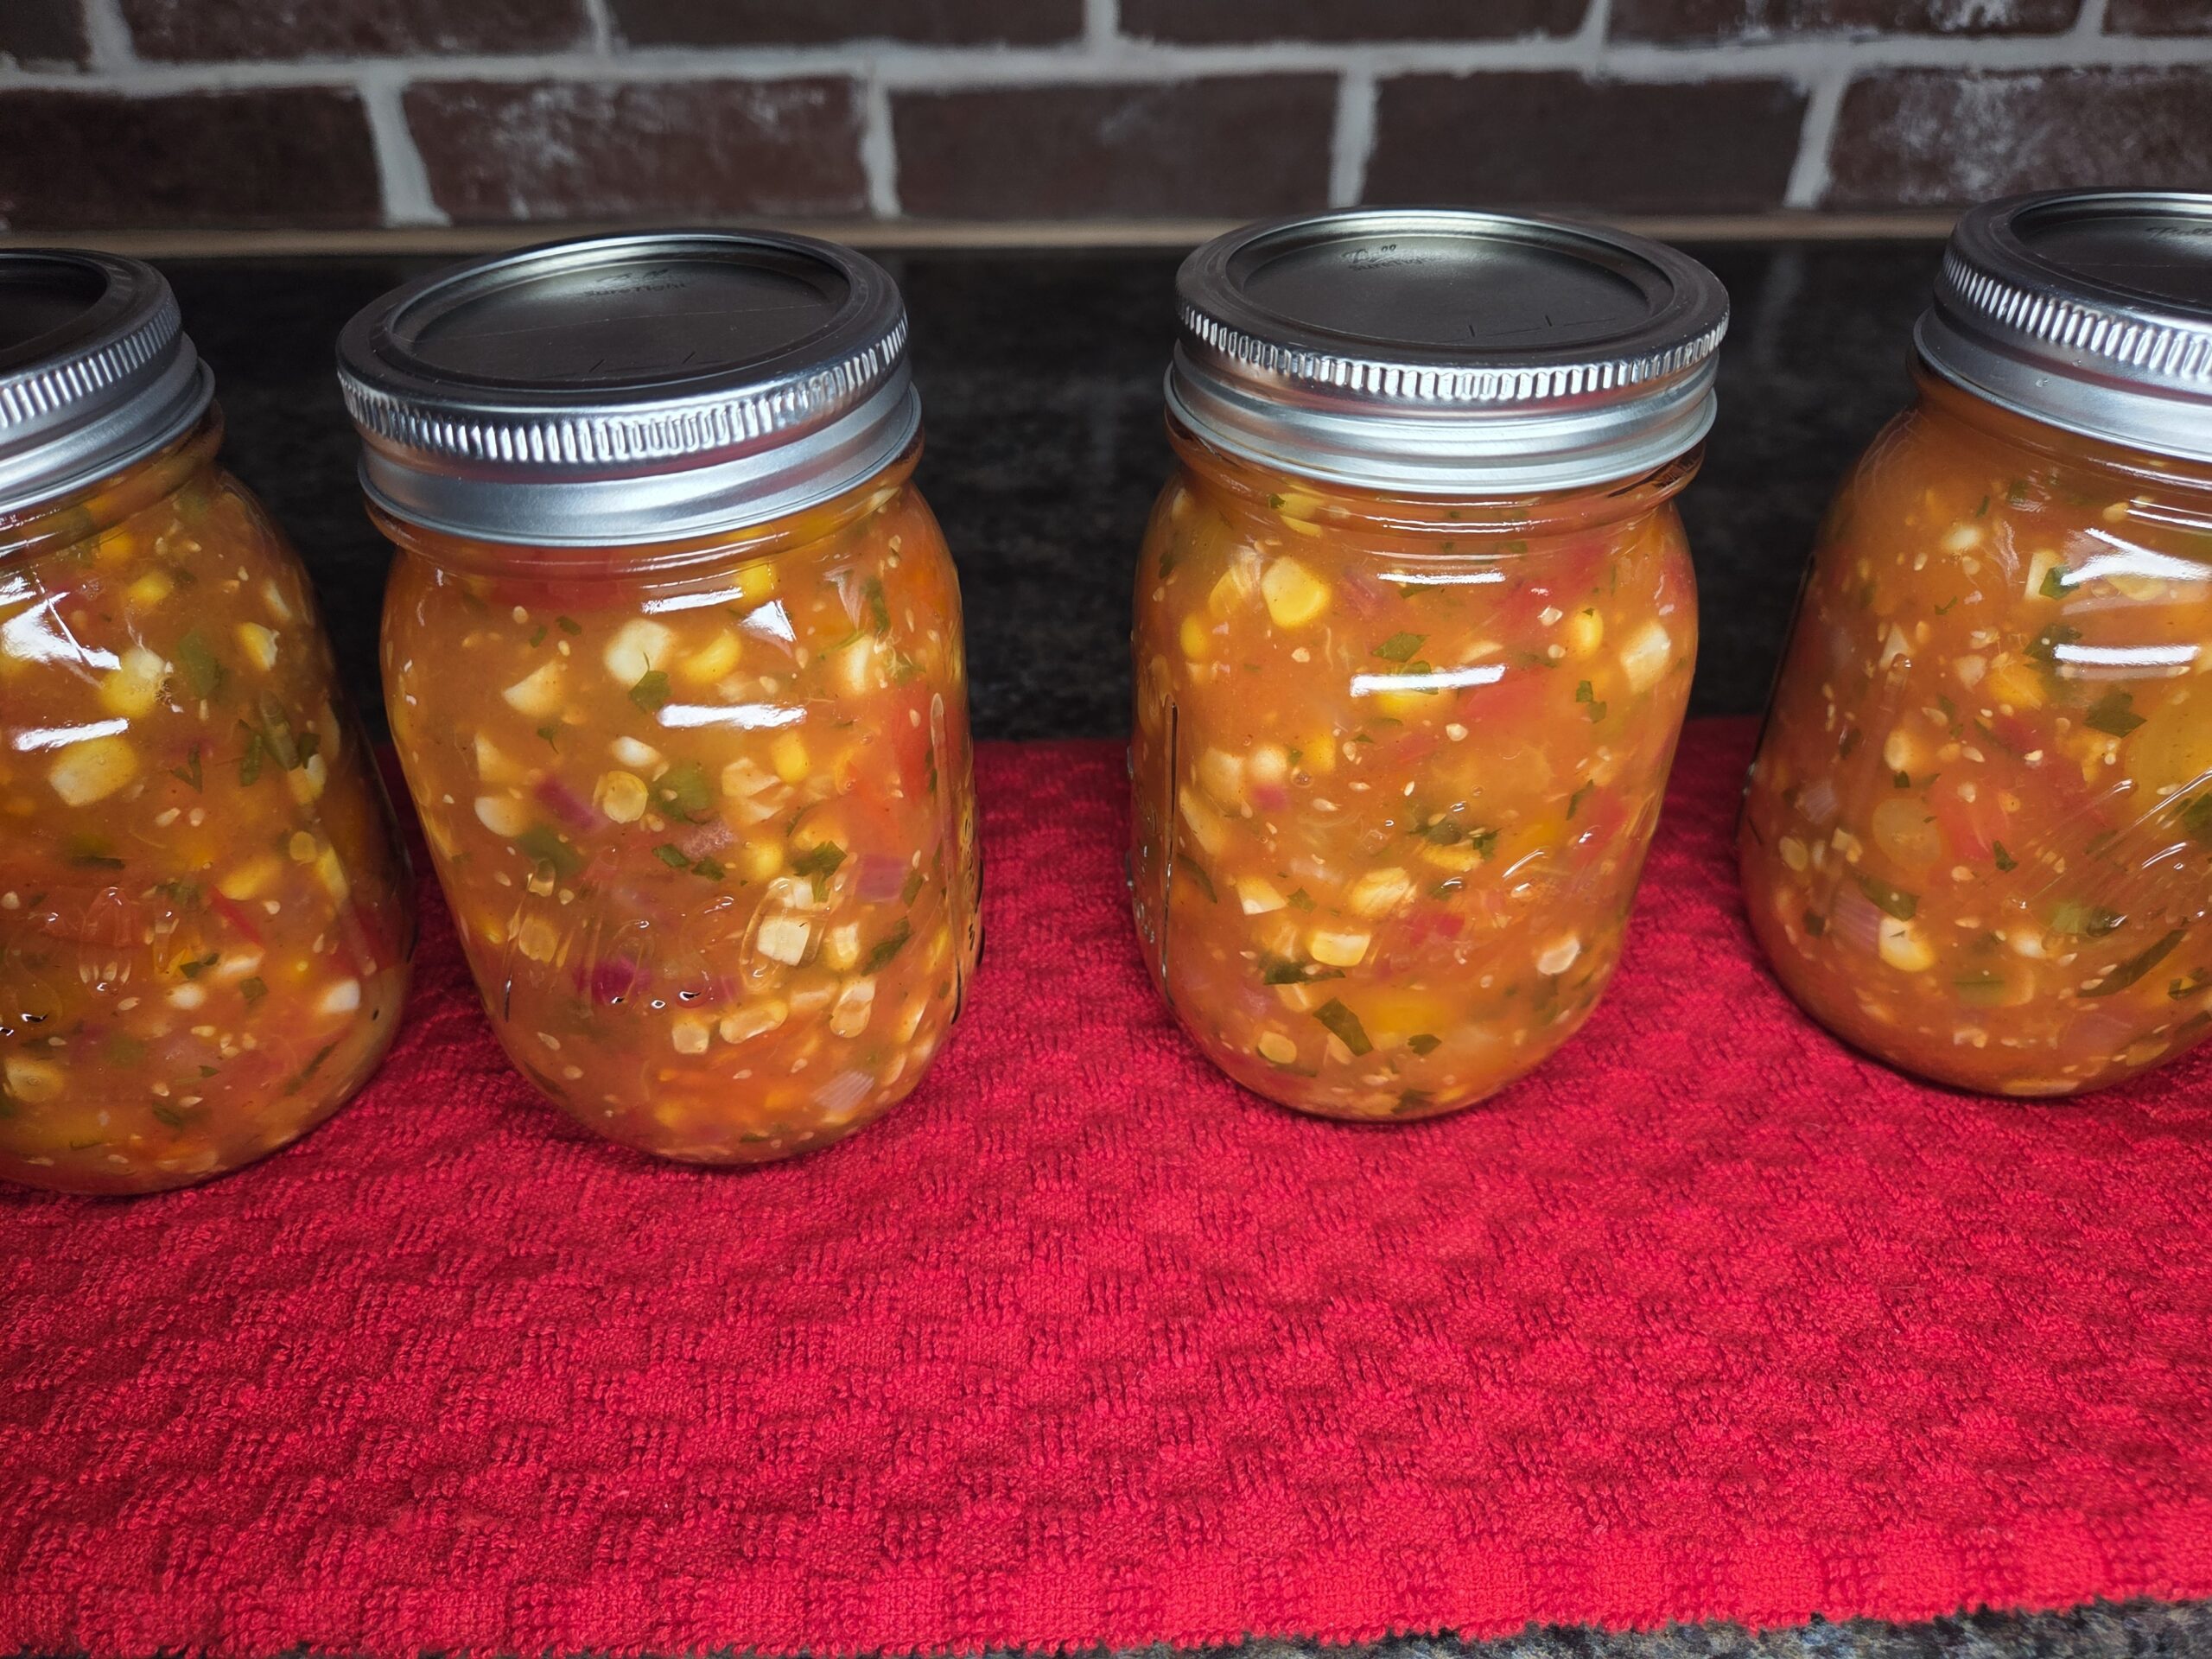
Place the bands on the jars, tightening them to fingertip tightness—snug but not overly tight.
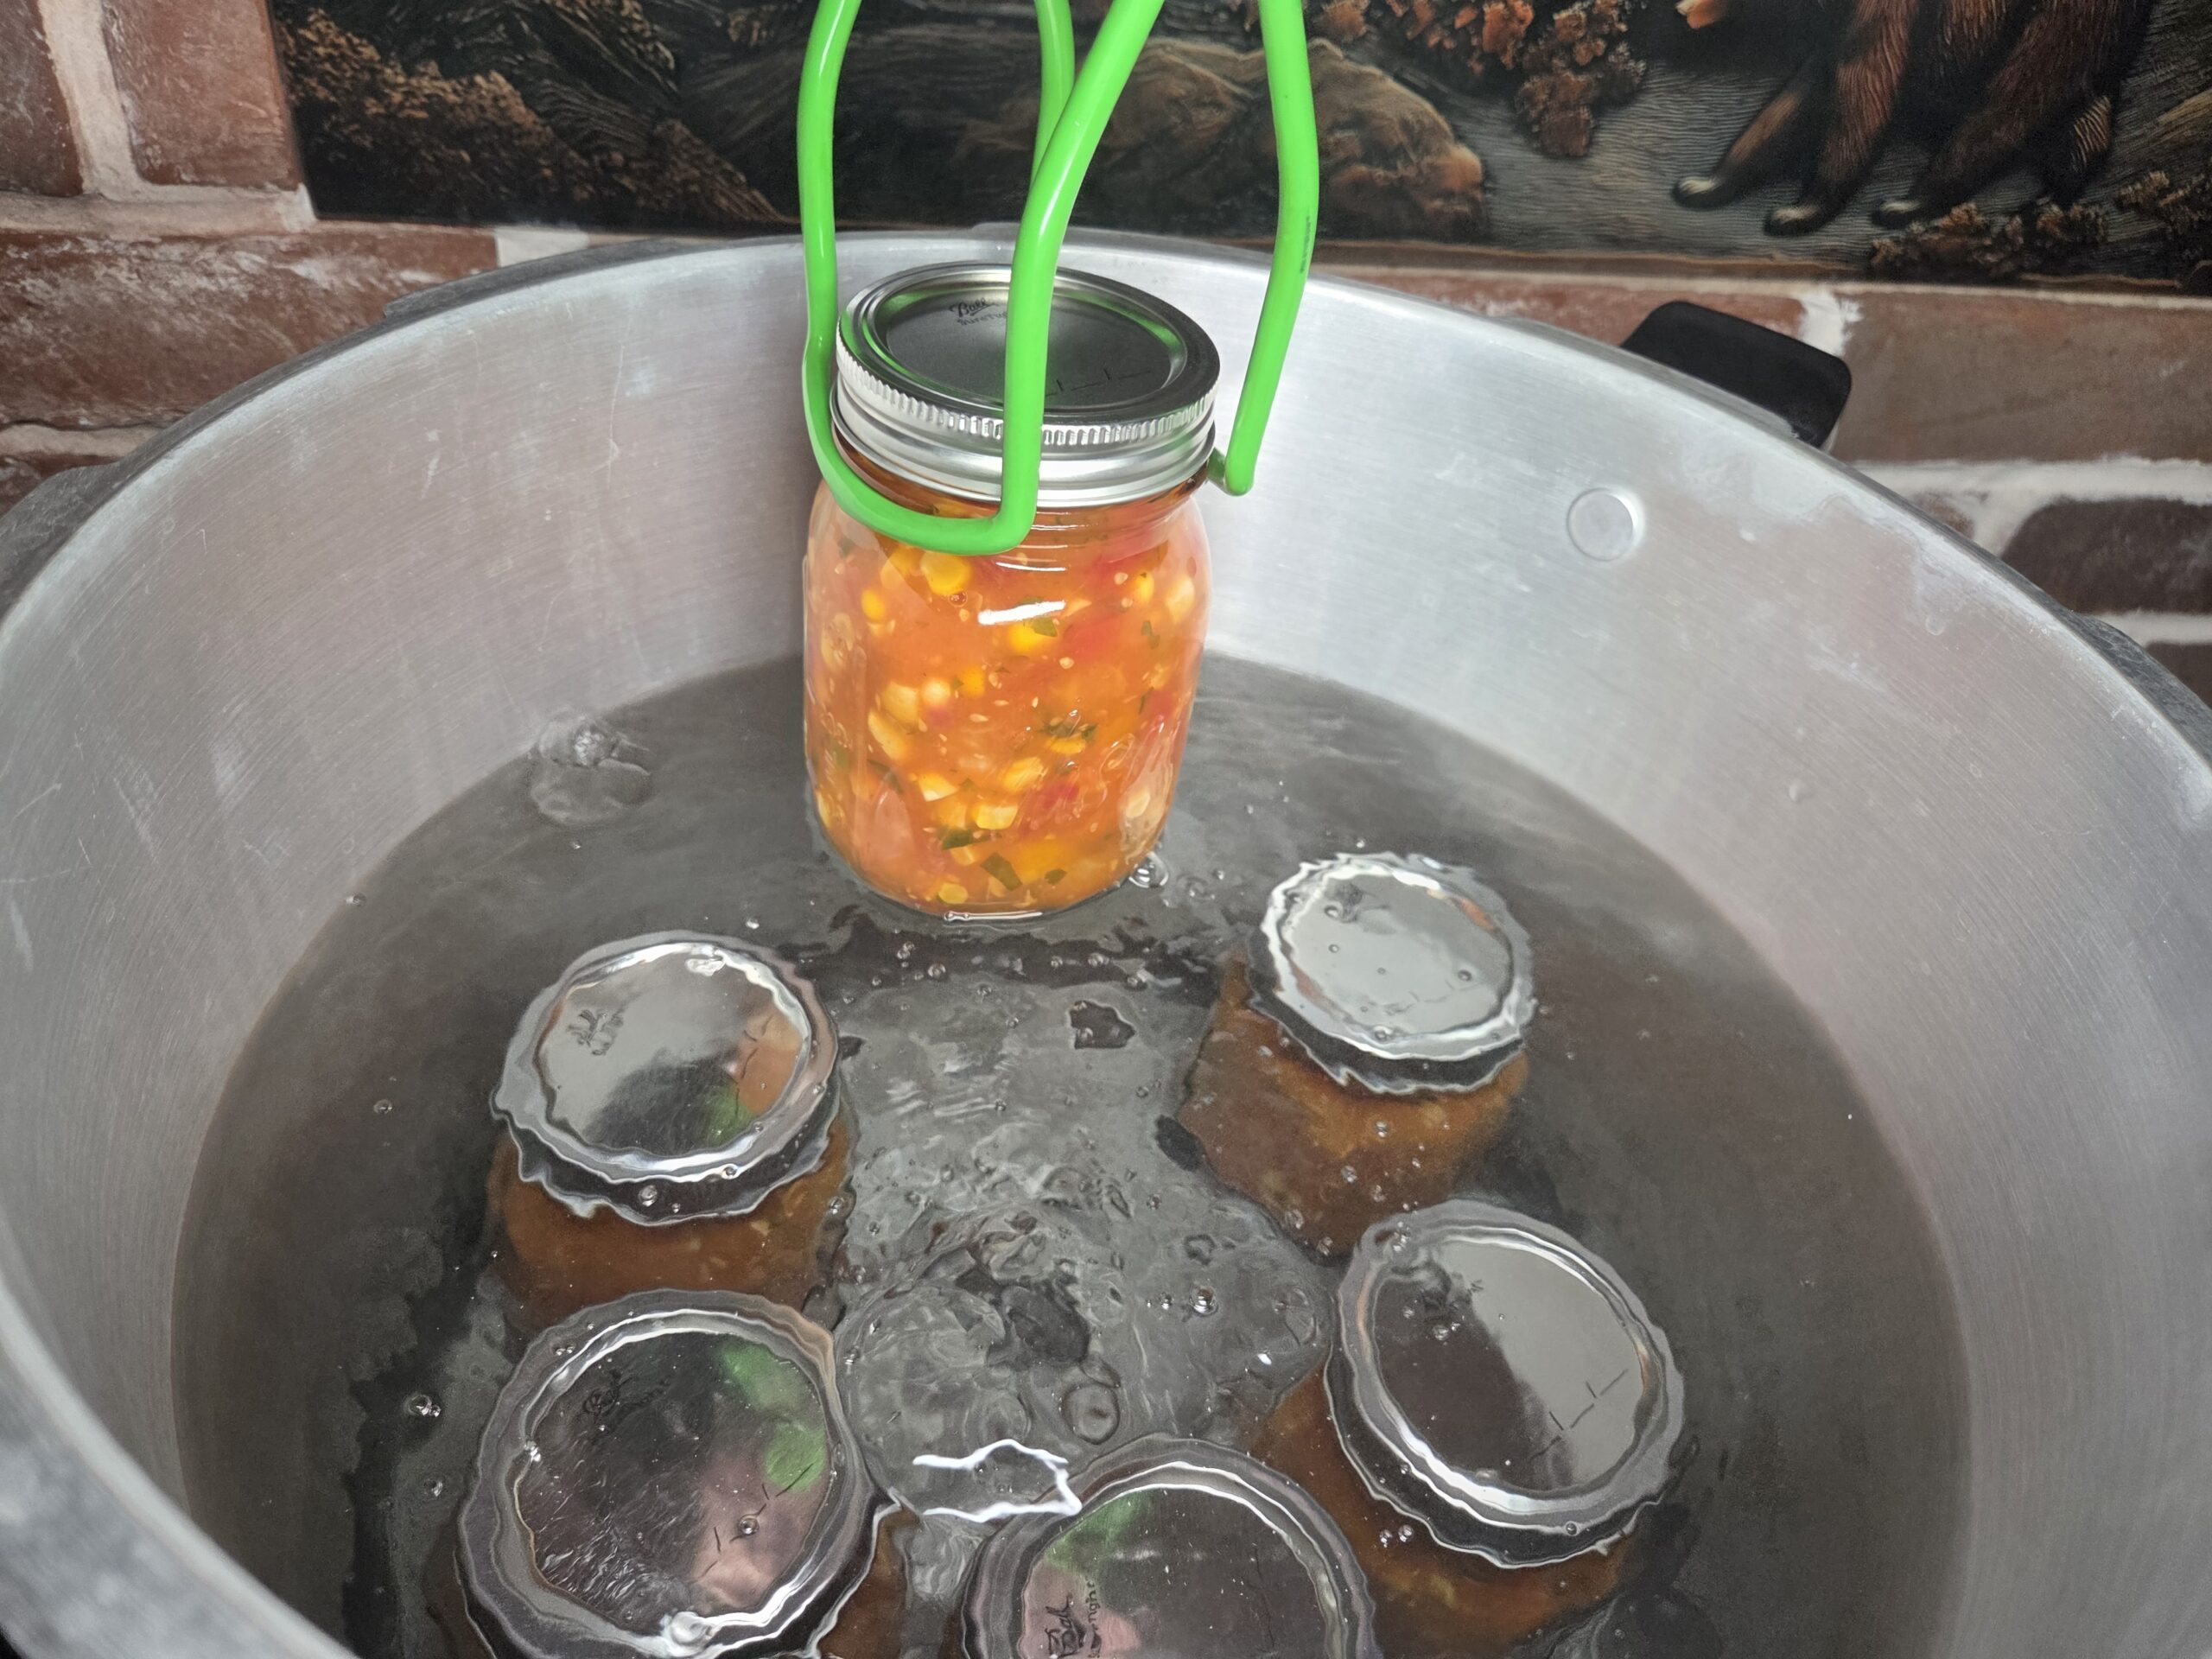
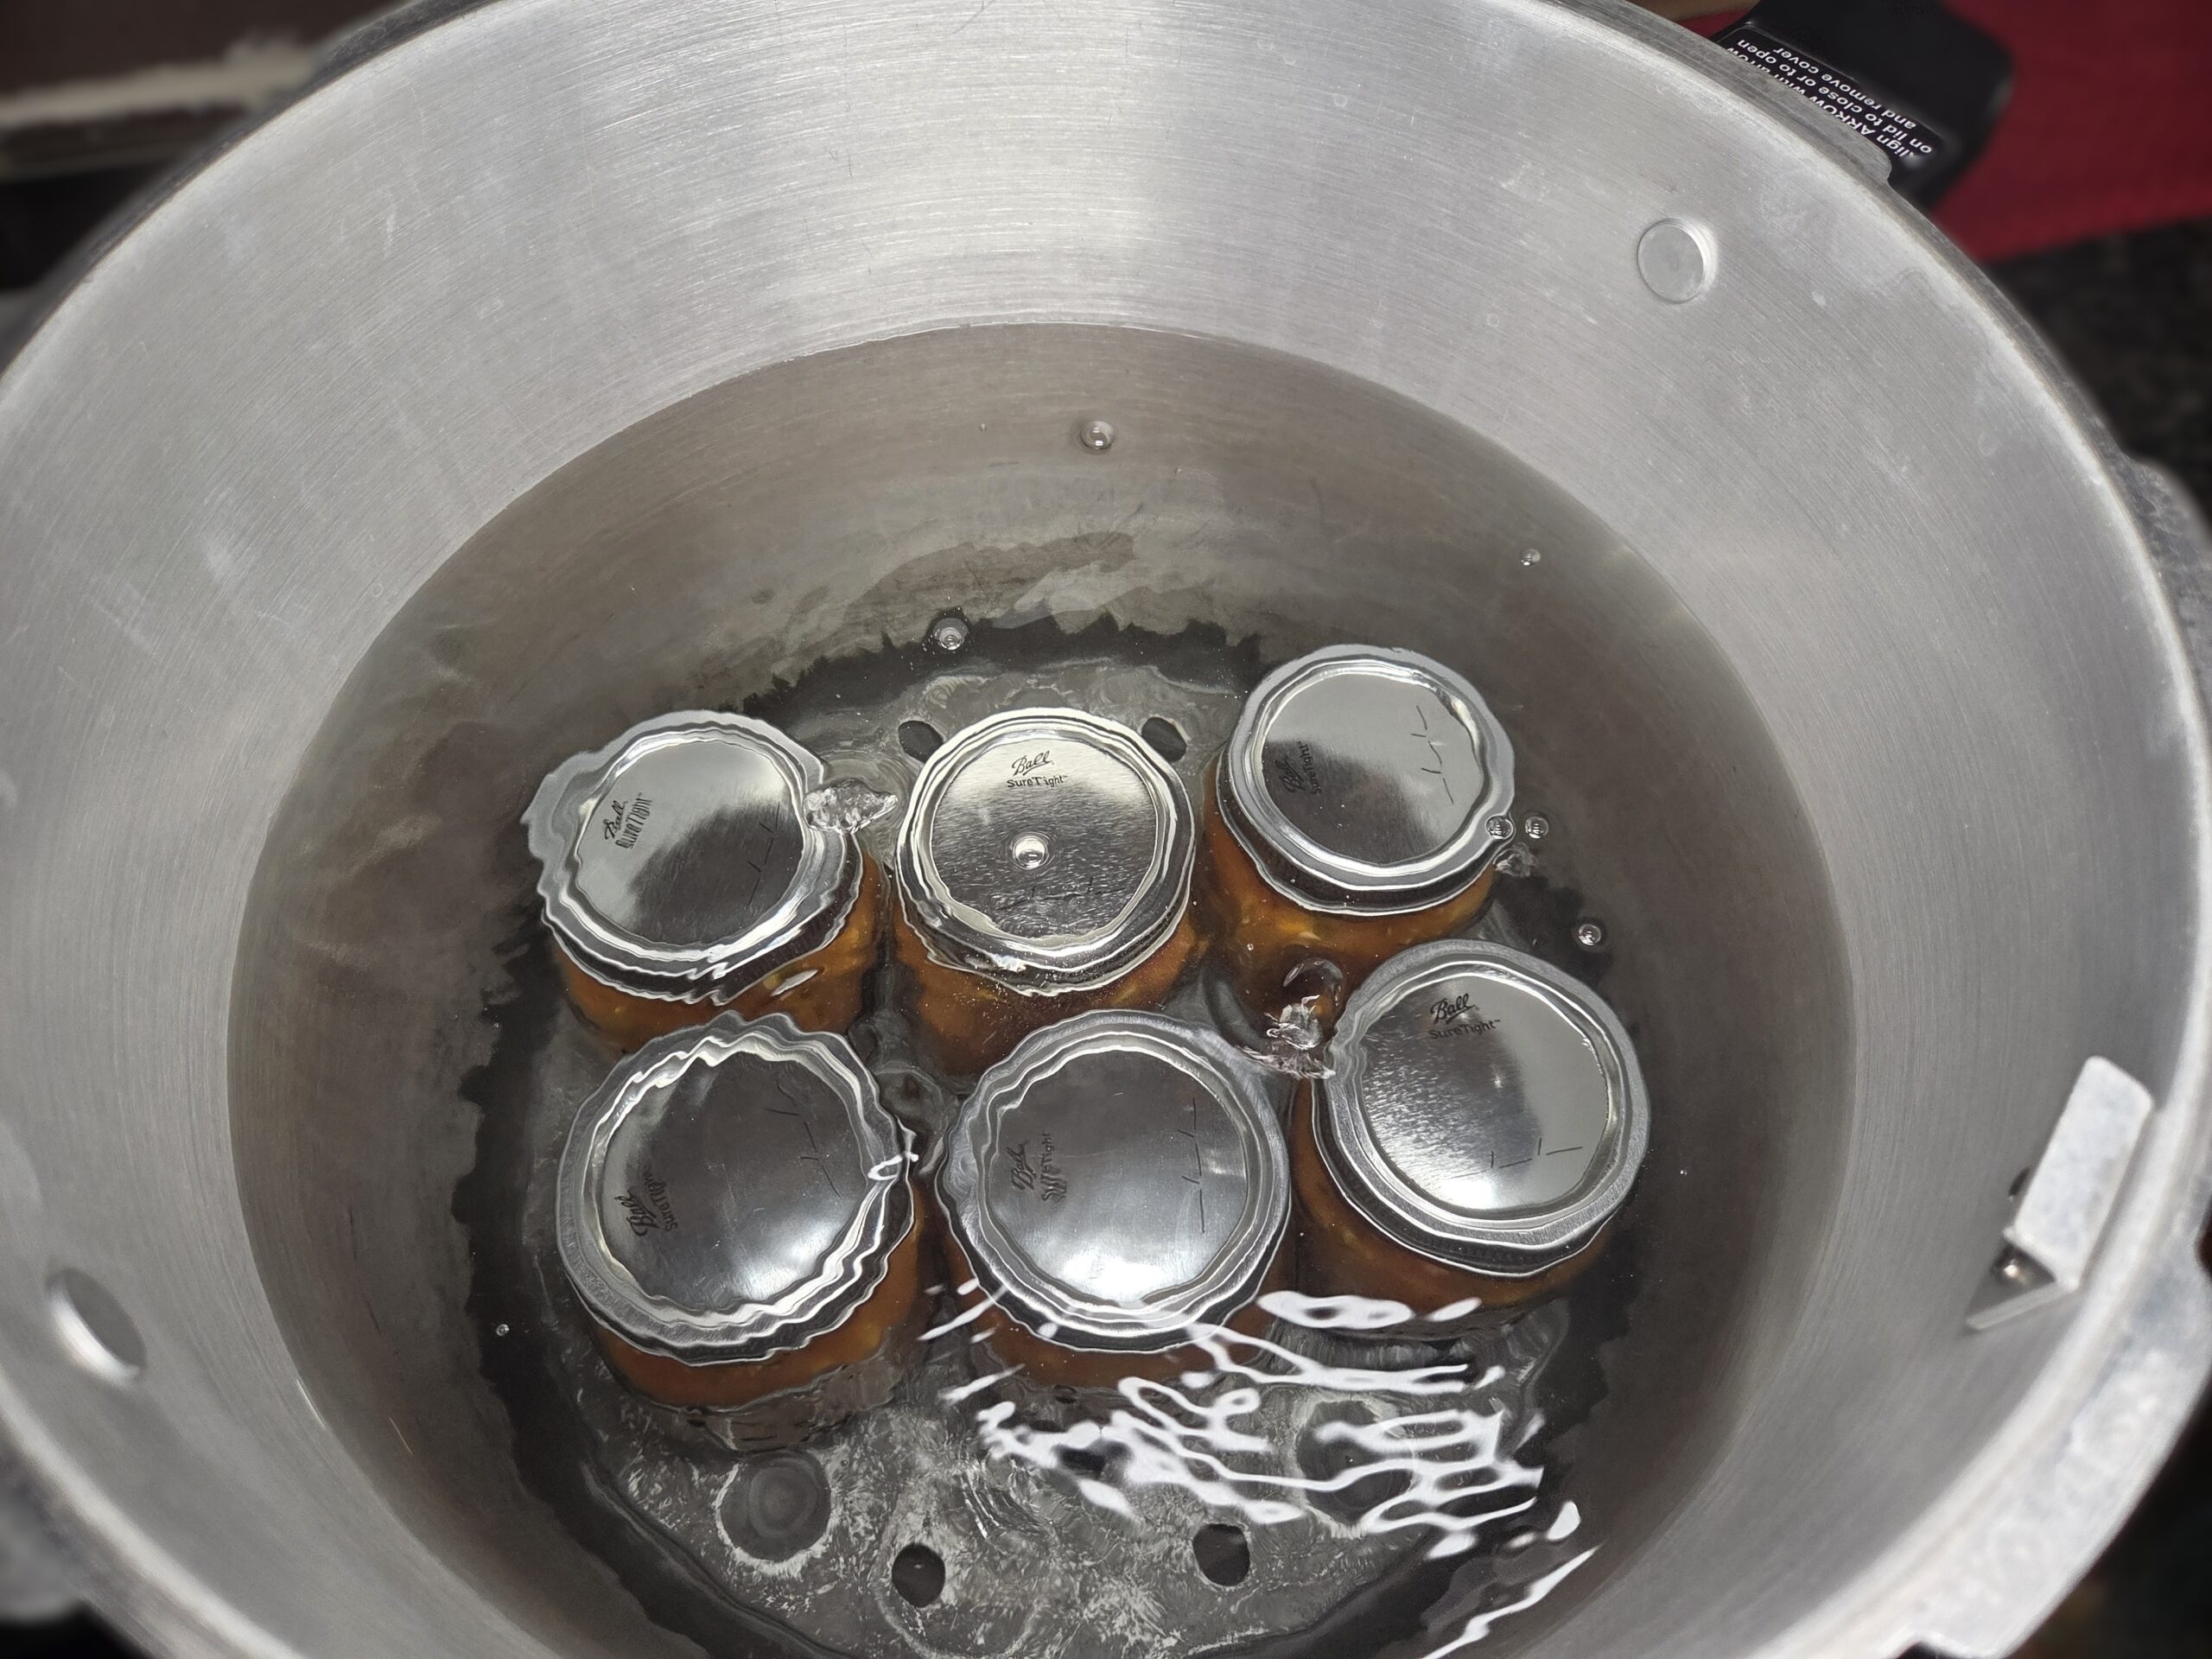
Carefully lower the jars into the boiling water, keeping them upright. When using a jar lifter, make sure it is securely positioned below the jar neck (below the screw band of the lid). Tilting the jar could cause food to spill into the lid's sealing area. Make sure the water covers the jars by 1–2 inches. Place the lid on the canner. Begin timing once the water returns to a full boil. Process 16-ounce pint jars for 15 minutes at elevations from sea level to 1,000 feet. For 1,001–3,000 feet, process for 20 minutes; for 3,001 to 6,000 feet, 25 minutes; for 6,001 to 8,000 feet, 30 minutes; and for 8,001 to 10,000 feet, 35 minutes.
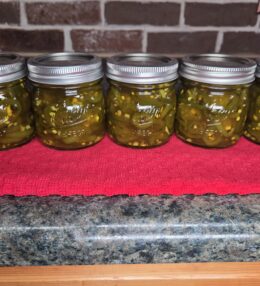
When the processing time is complete, turn off the heat, move the canner off the burner if possible, and carefully remove the lid. Let the jars rest in the hot water for 5 minutes before lifting them out. Place the jars upright on a towel‑lined countertop and leave them undisturbed for 12 to 24 hours. Jars may take several hours to seal, though many seal within the first 30 minutes or even during processing. After 12 hours, check the seals and clean the jars. Label with contents and date—store sealed jars for up to one year. Refrigerate any jars that did not seal.
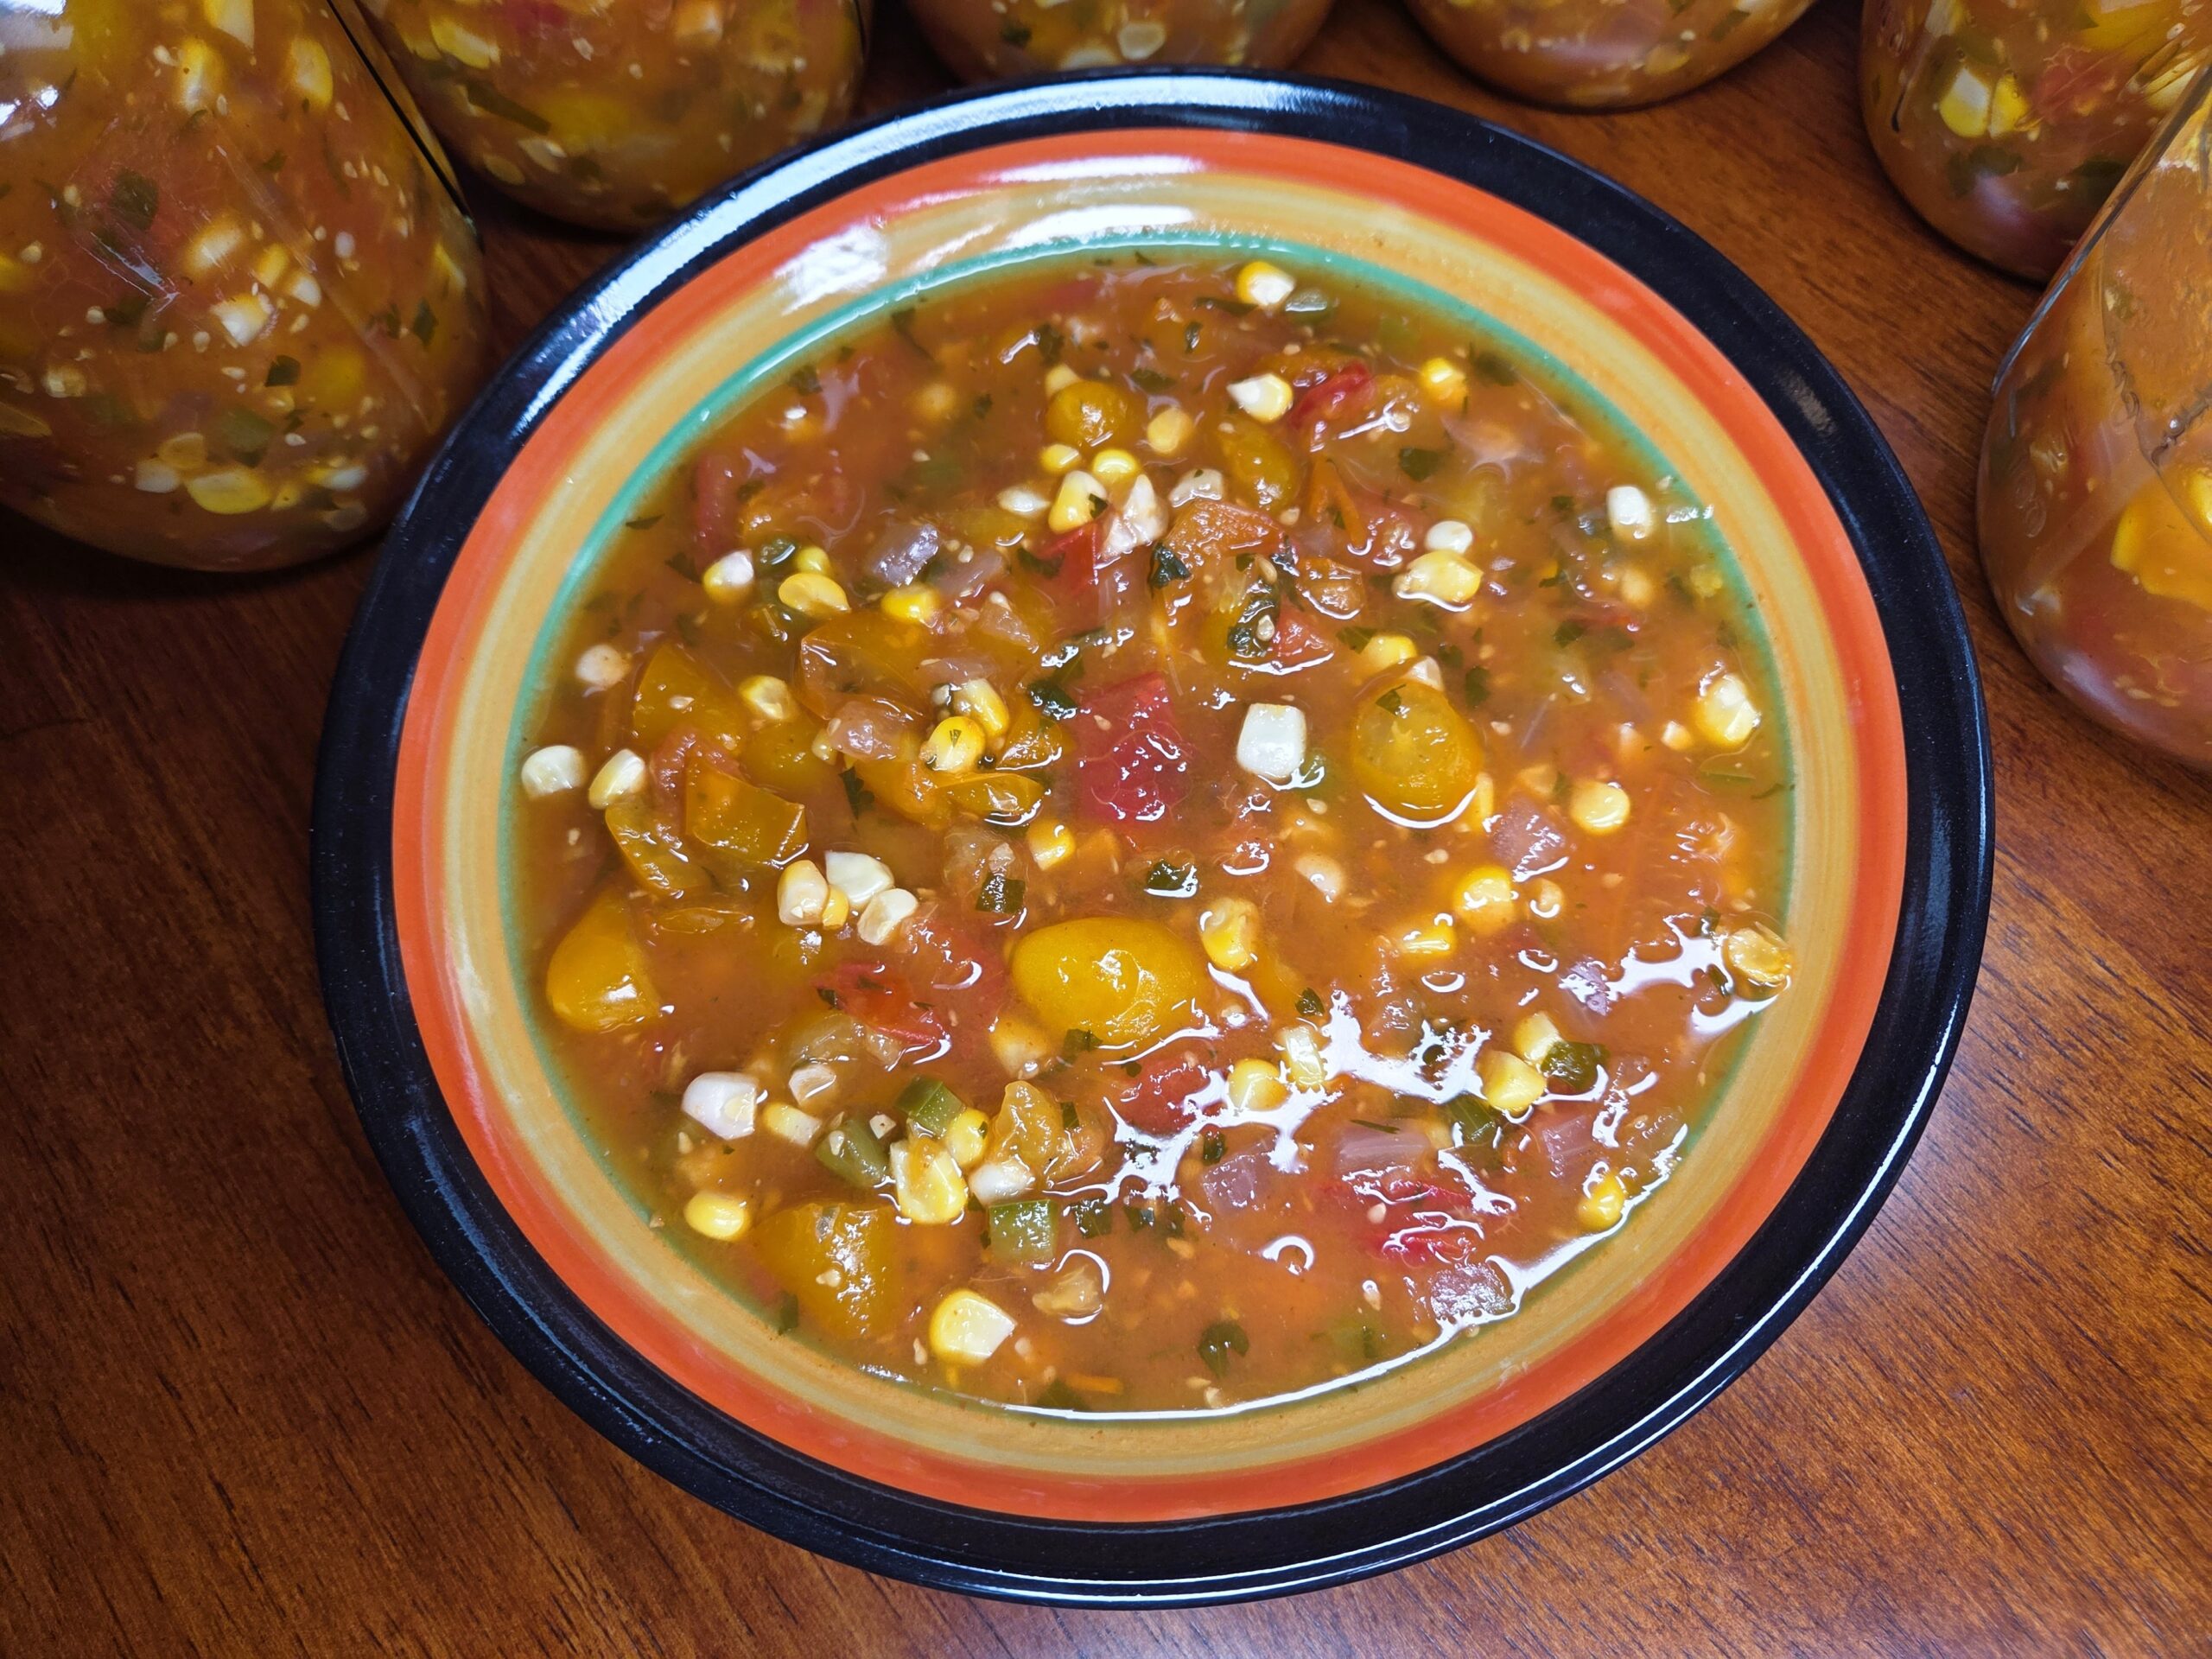
Enjoy!
For more delicious salsas and canning recipes, check out these next:
- Corn and Black Bean Salsa (no canning)
- Tomatillo Salsa Verde Recipe & Canning
- Mango Salsa Salad (no canning)
- Taqueria-Style Salsa (no canning)
- Peach Mango Jalapeno Salsa (no canning)
- Pico de Gallo (no canning)
- Cowboy Candy Refrigerator Recipe (Candied Jalapeño Peppers)
- Cowboy Candy (Candied Jalapeno Peppers) Recipe & Canning
Conclusion
Kitchen Tools :Need some tools or ingredients to make this recipe? Use my Amazon Affiliate links to shop. I will make a small commission and it doesn't cost you any extra. Thank you for visiting.
Yellow Pear Tomato Seeds for Planting Super Sweet 100 Tomato Seeds Burpee 'Sun Gold' Hybrid, Sweet Orange Cherry Tomatoes Tam Jalapeno Pepper Seeds Simply Organic, Chipotle Powder Morton Canning and Pickling Salt Presto 23-Quart Induction Compatible Pressure Canner Newness Soup Ladle, Heat Resistance, Stainless Steel Check out all of my kitchen essentials here in my Amazon store. Published on: August 17, 2026


Leave a Review