

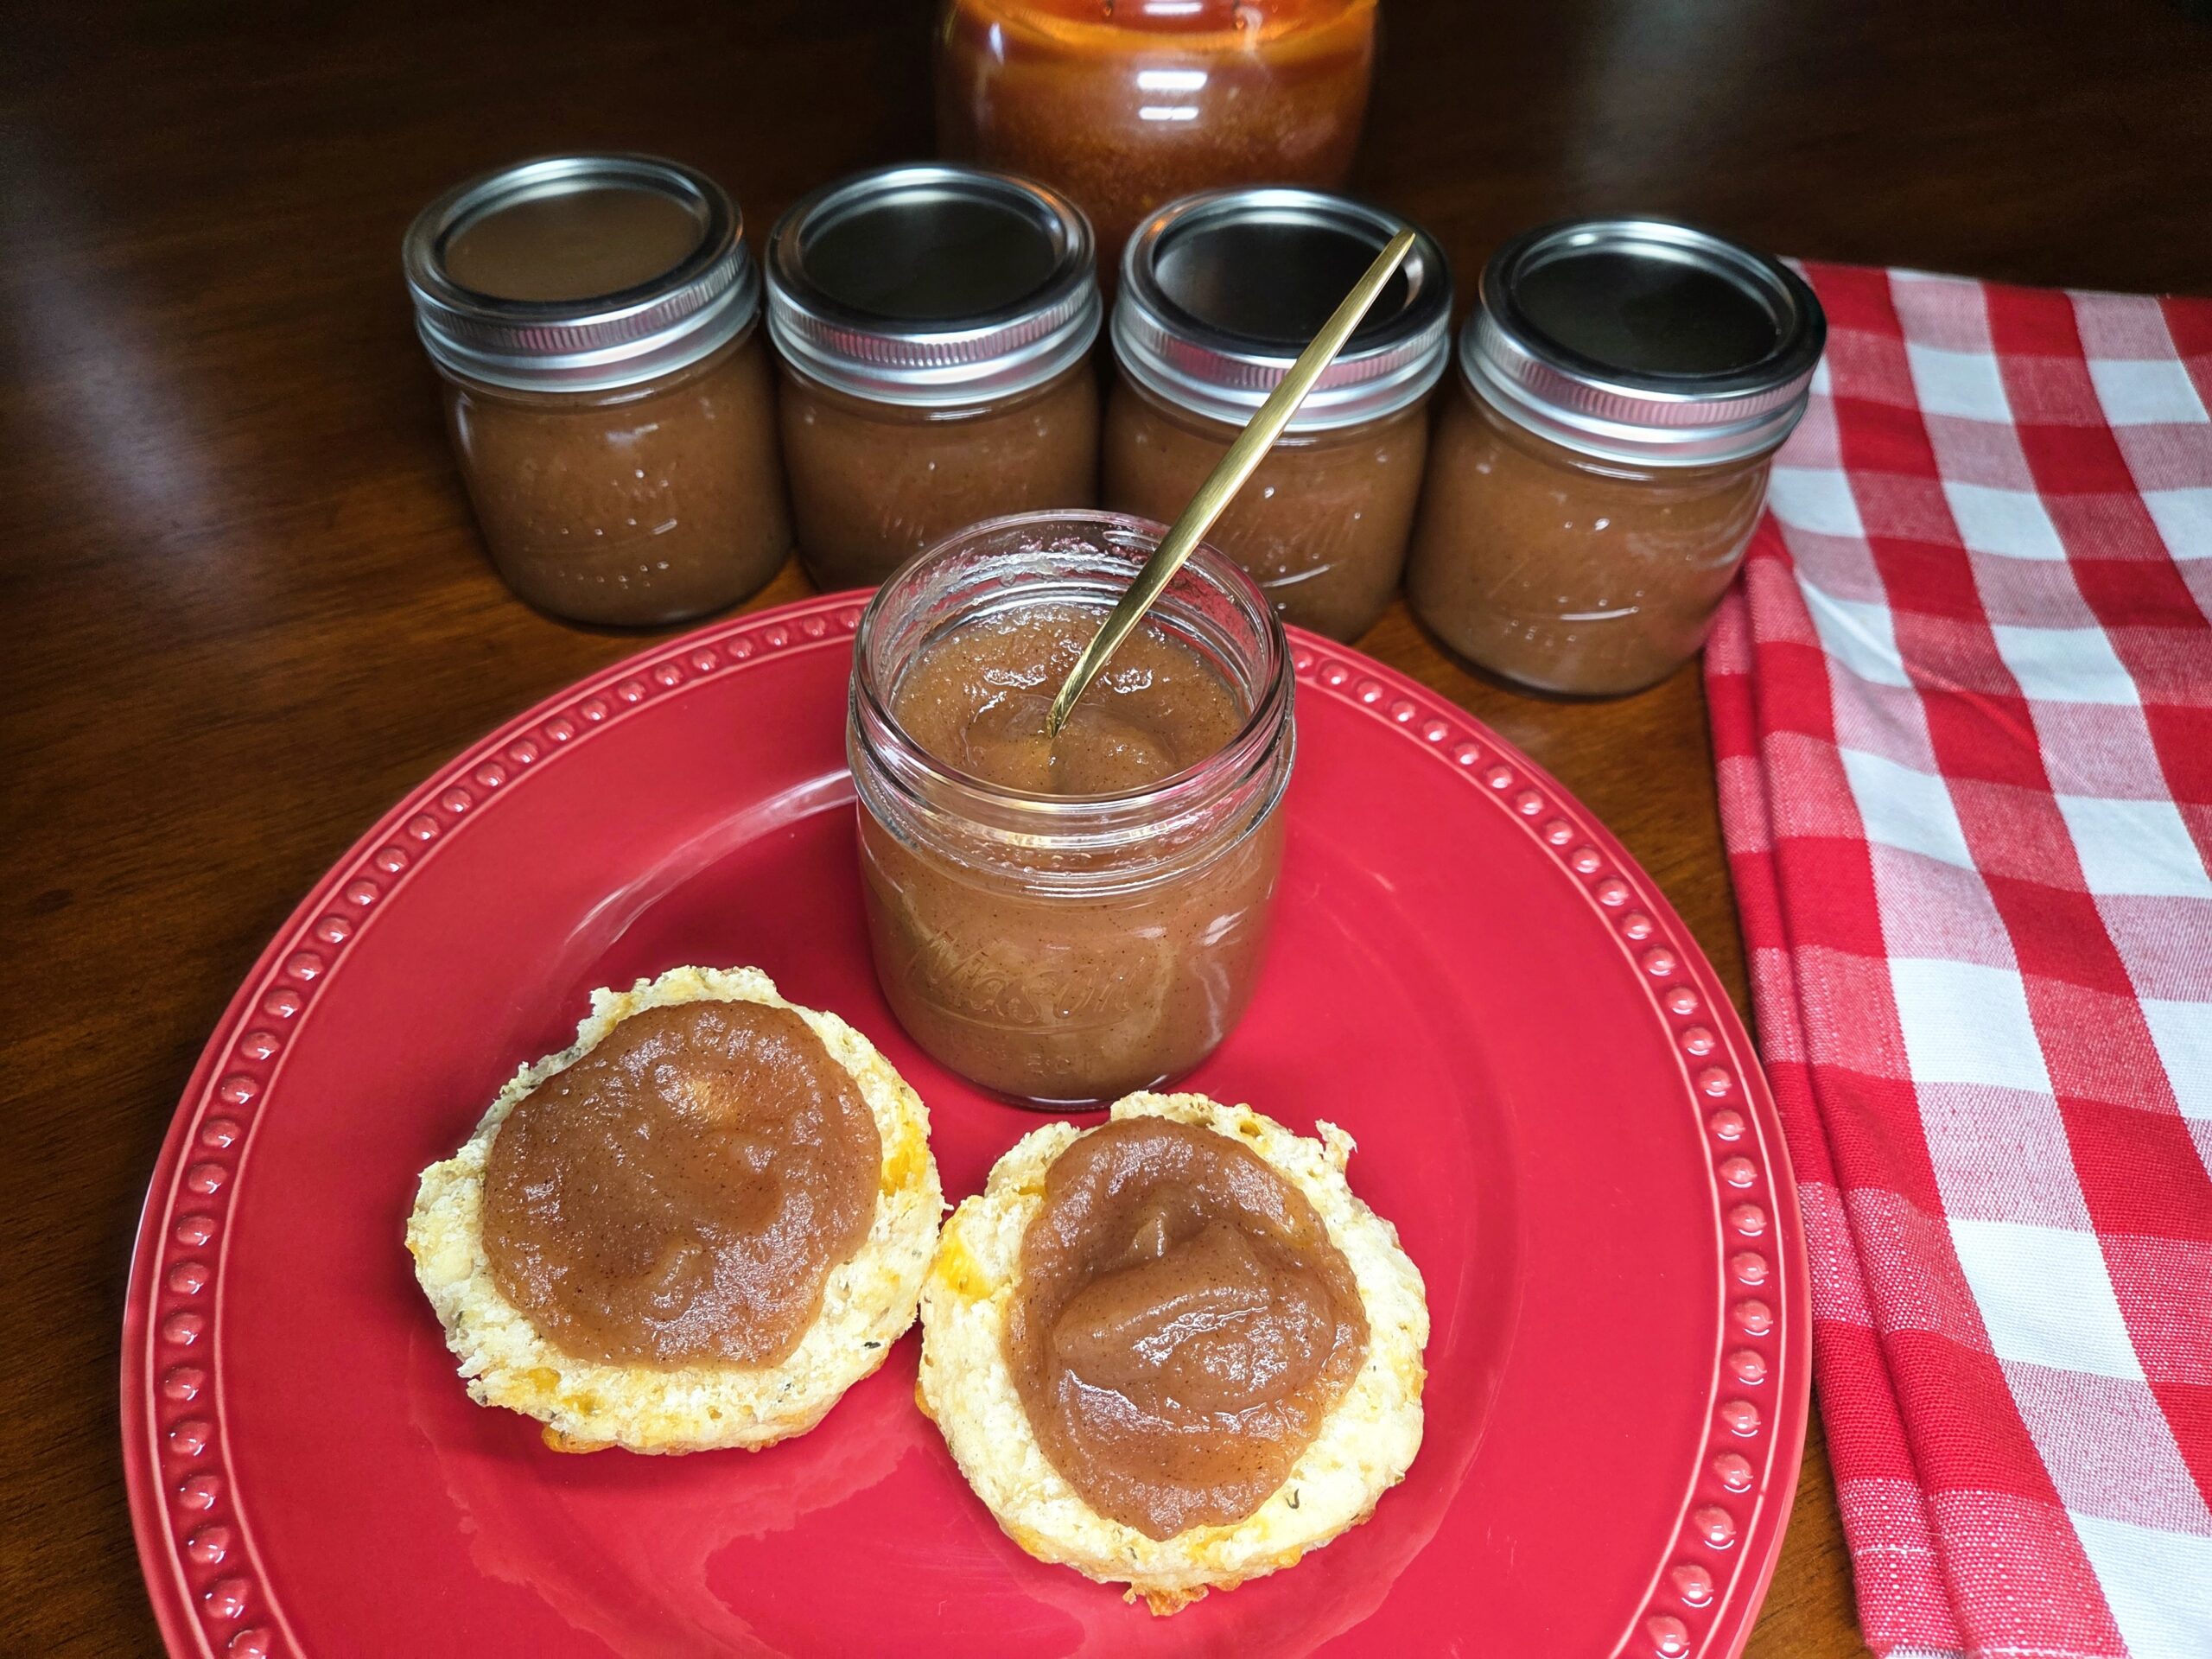
-
Prep Time20 minutes
-
Cook Time45 minutes plus canning time
-
Serv SizeYields 4-5 half pint jars
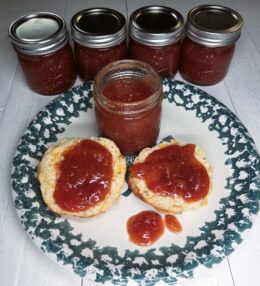
Delicious fall apple butter made with Golden Delicious apples, cinnamon, nutmeg, and brown sugar. It’s perfect on a warm biscuit and pairs beautifully with a hot cup of coffee or cider.
Ingredients
Directions
This apple butter captures the cozy essence of fall with the natural sweetness of apples, layered with cinnamon and a gentle hint of nutmeg. Slowly cooked until smooth and fragrant, it delivers a rich, spiced flavor that spreads beautifully on toast, biscuits, or fresh‑baked bread.
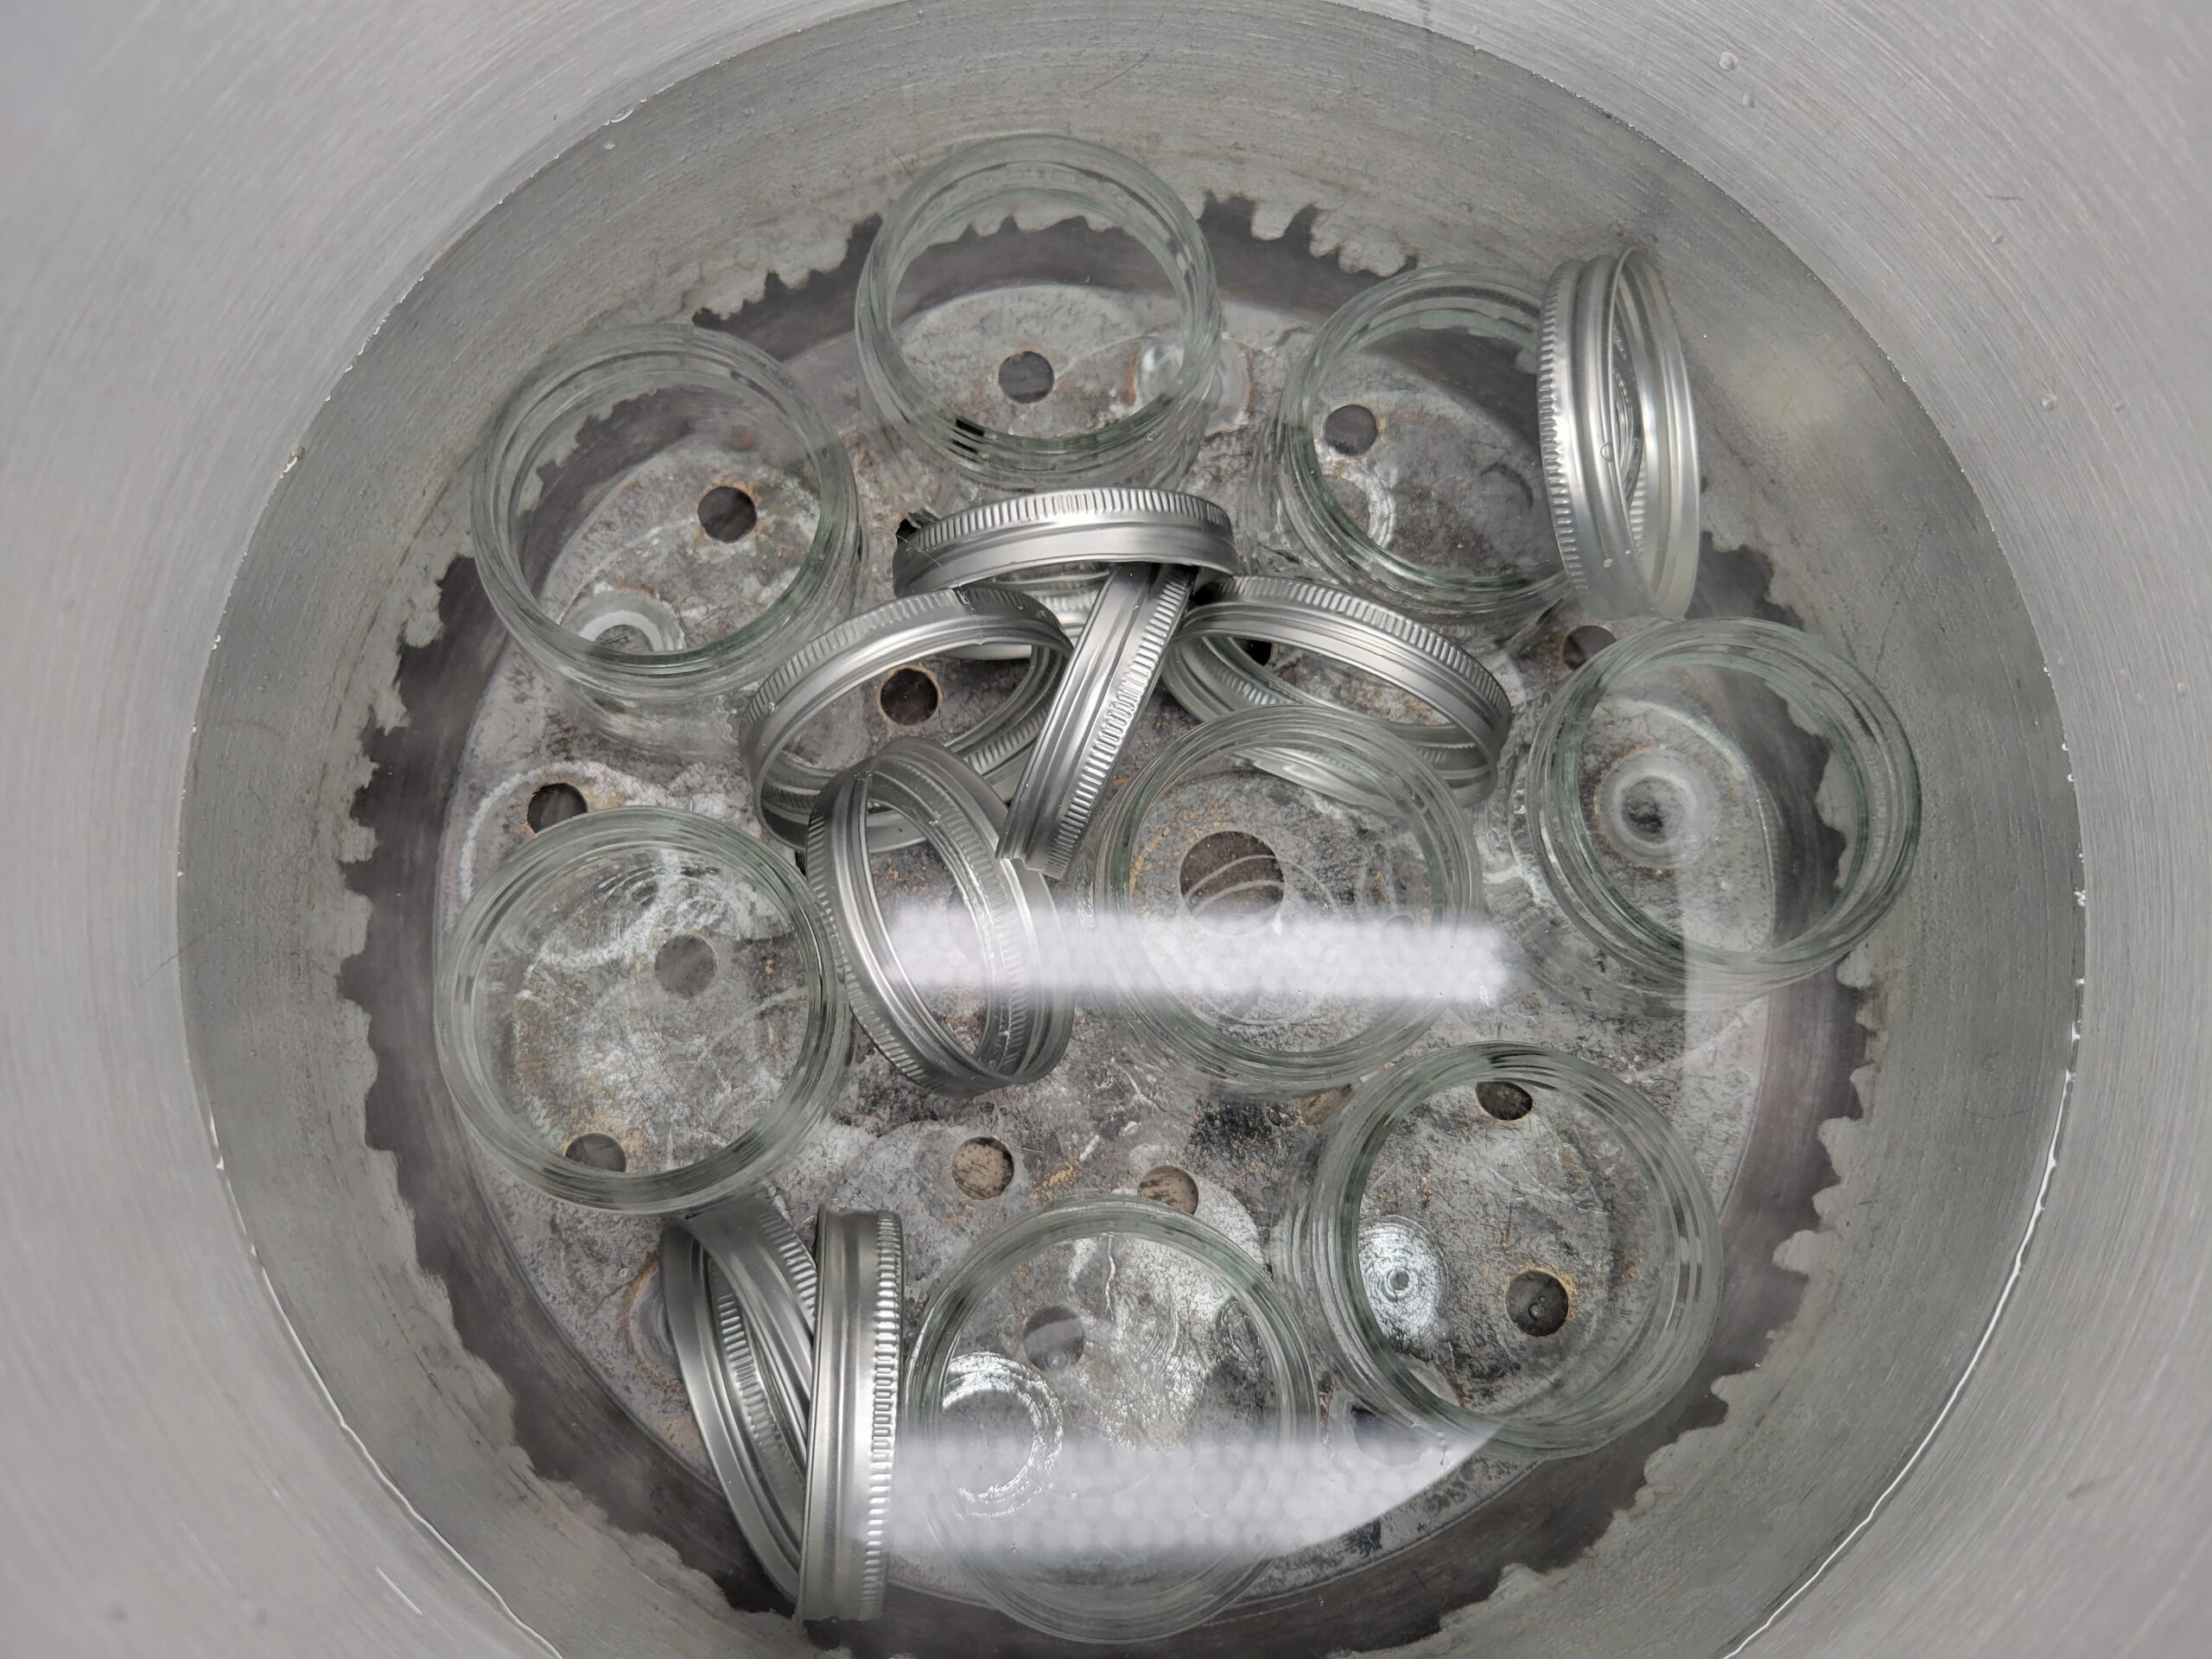
Wash the jars, lids, and bands in warm, soapy water and rinse well. Place the jars right side up in a boiling‑water canner fitted with a canning rack . Do not boil lids. Add warm water until it covers the jars by about 1 inch. Bring the water to a boil and boil the jars for 10 minutes if you are below 1,000 feet elevation; add 1 minute of boiling time for every additional 1,000 feet. Reduce the heat and keep the jars hot until you’re ready to fill them.
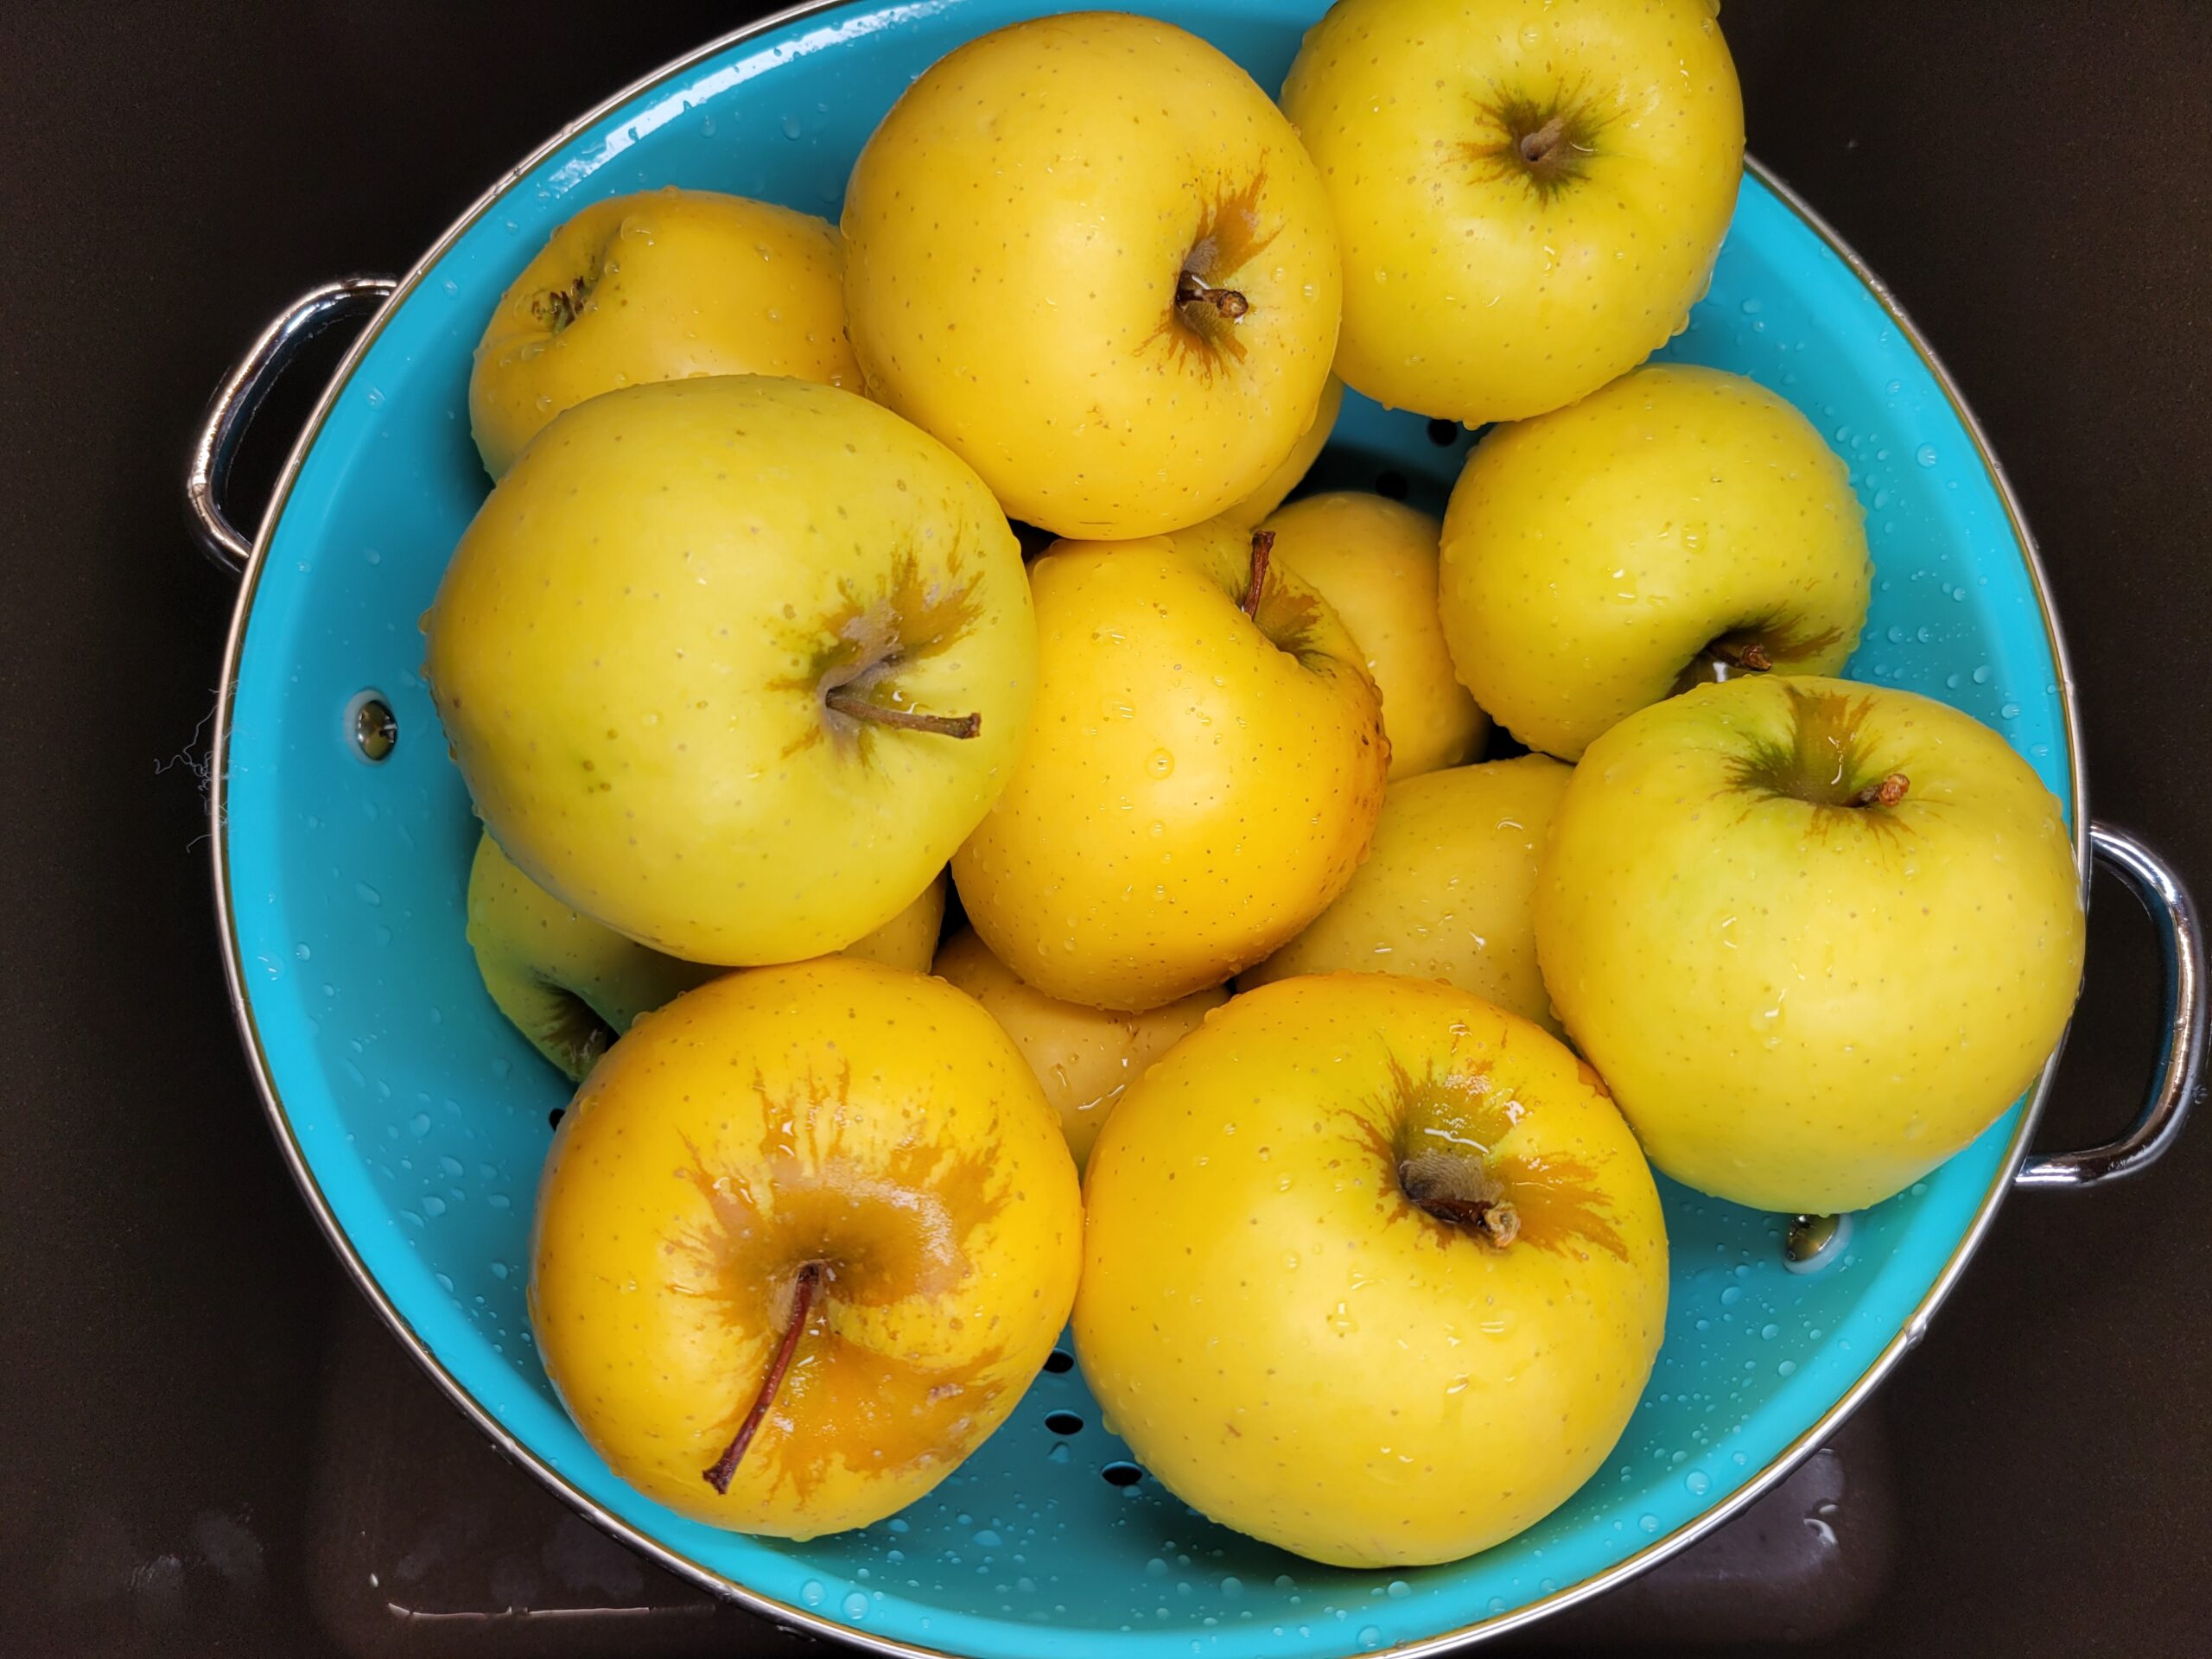
Wash 4 pounds of apples thoroughly under cool running water, removing any dirt or debris. Golden Delicious (pictured), Honeycrisp, Gala, or Fuji varieties work especially well for this recipe.
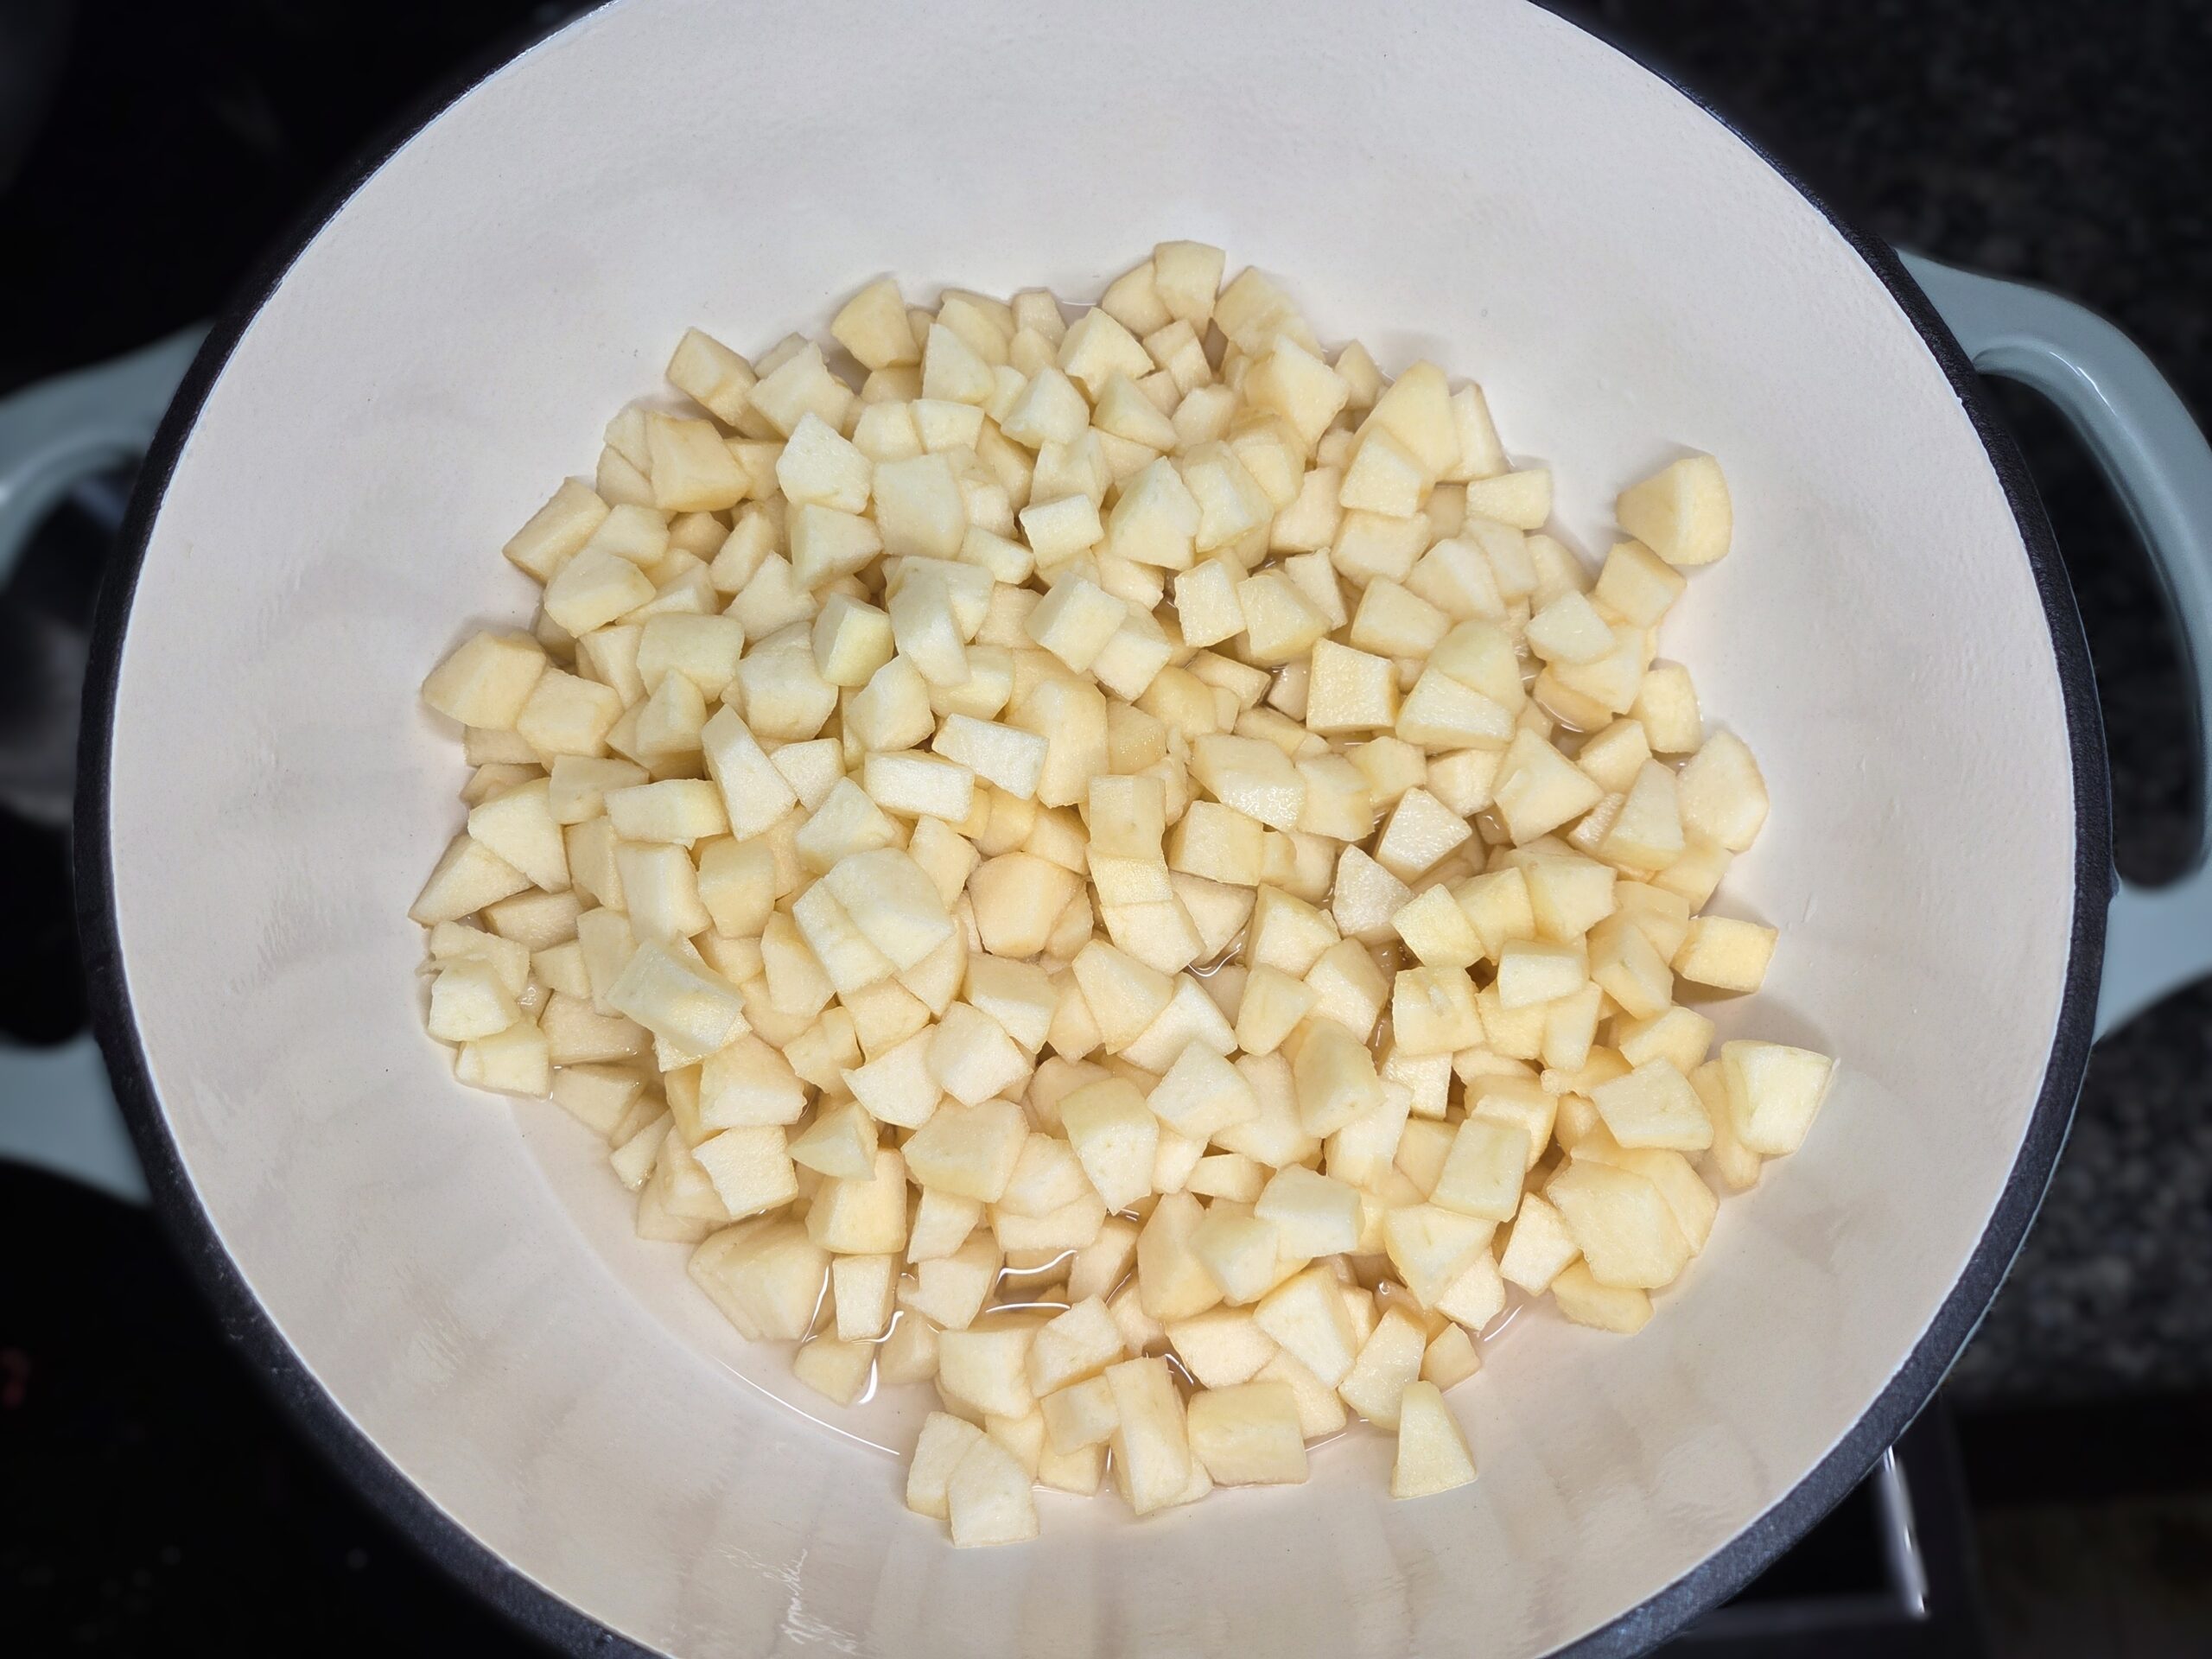
Peel and core the apples and cut them into chunks. Combine apples and 2 cups of water, apple juice, or apple cider in a large heavy‑bottom, non‑reactive stainless or enameled pot. Simmer the apples until soft.
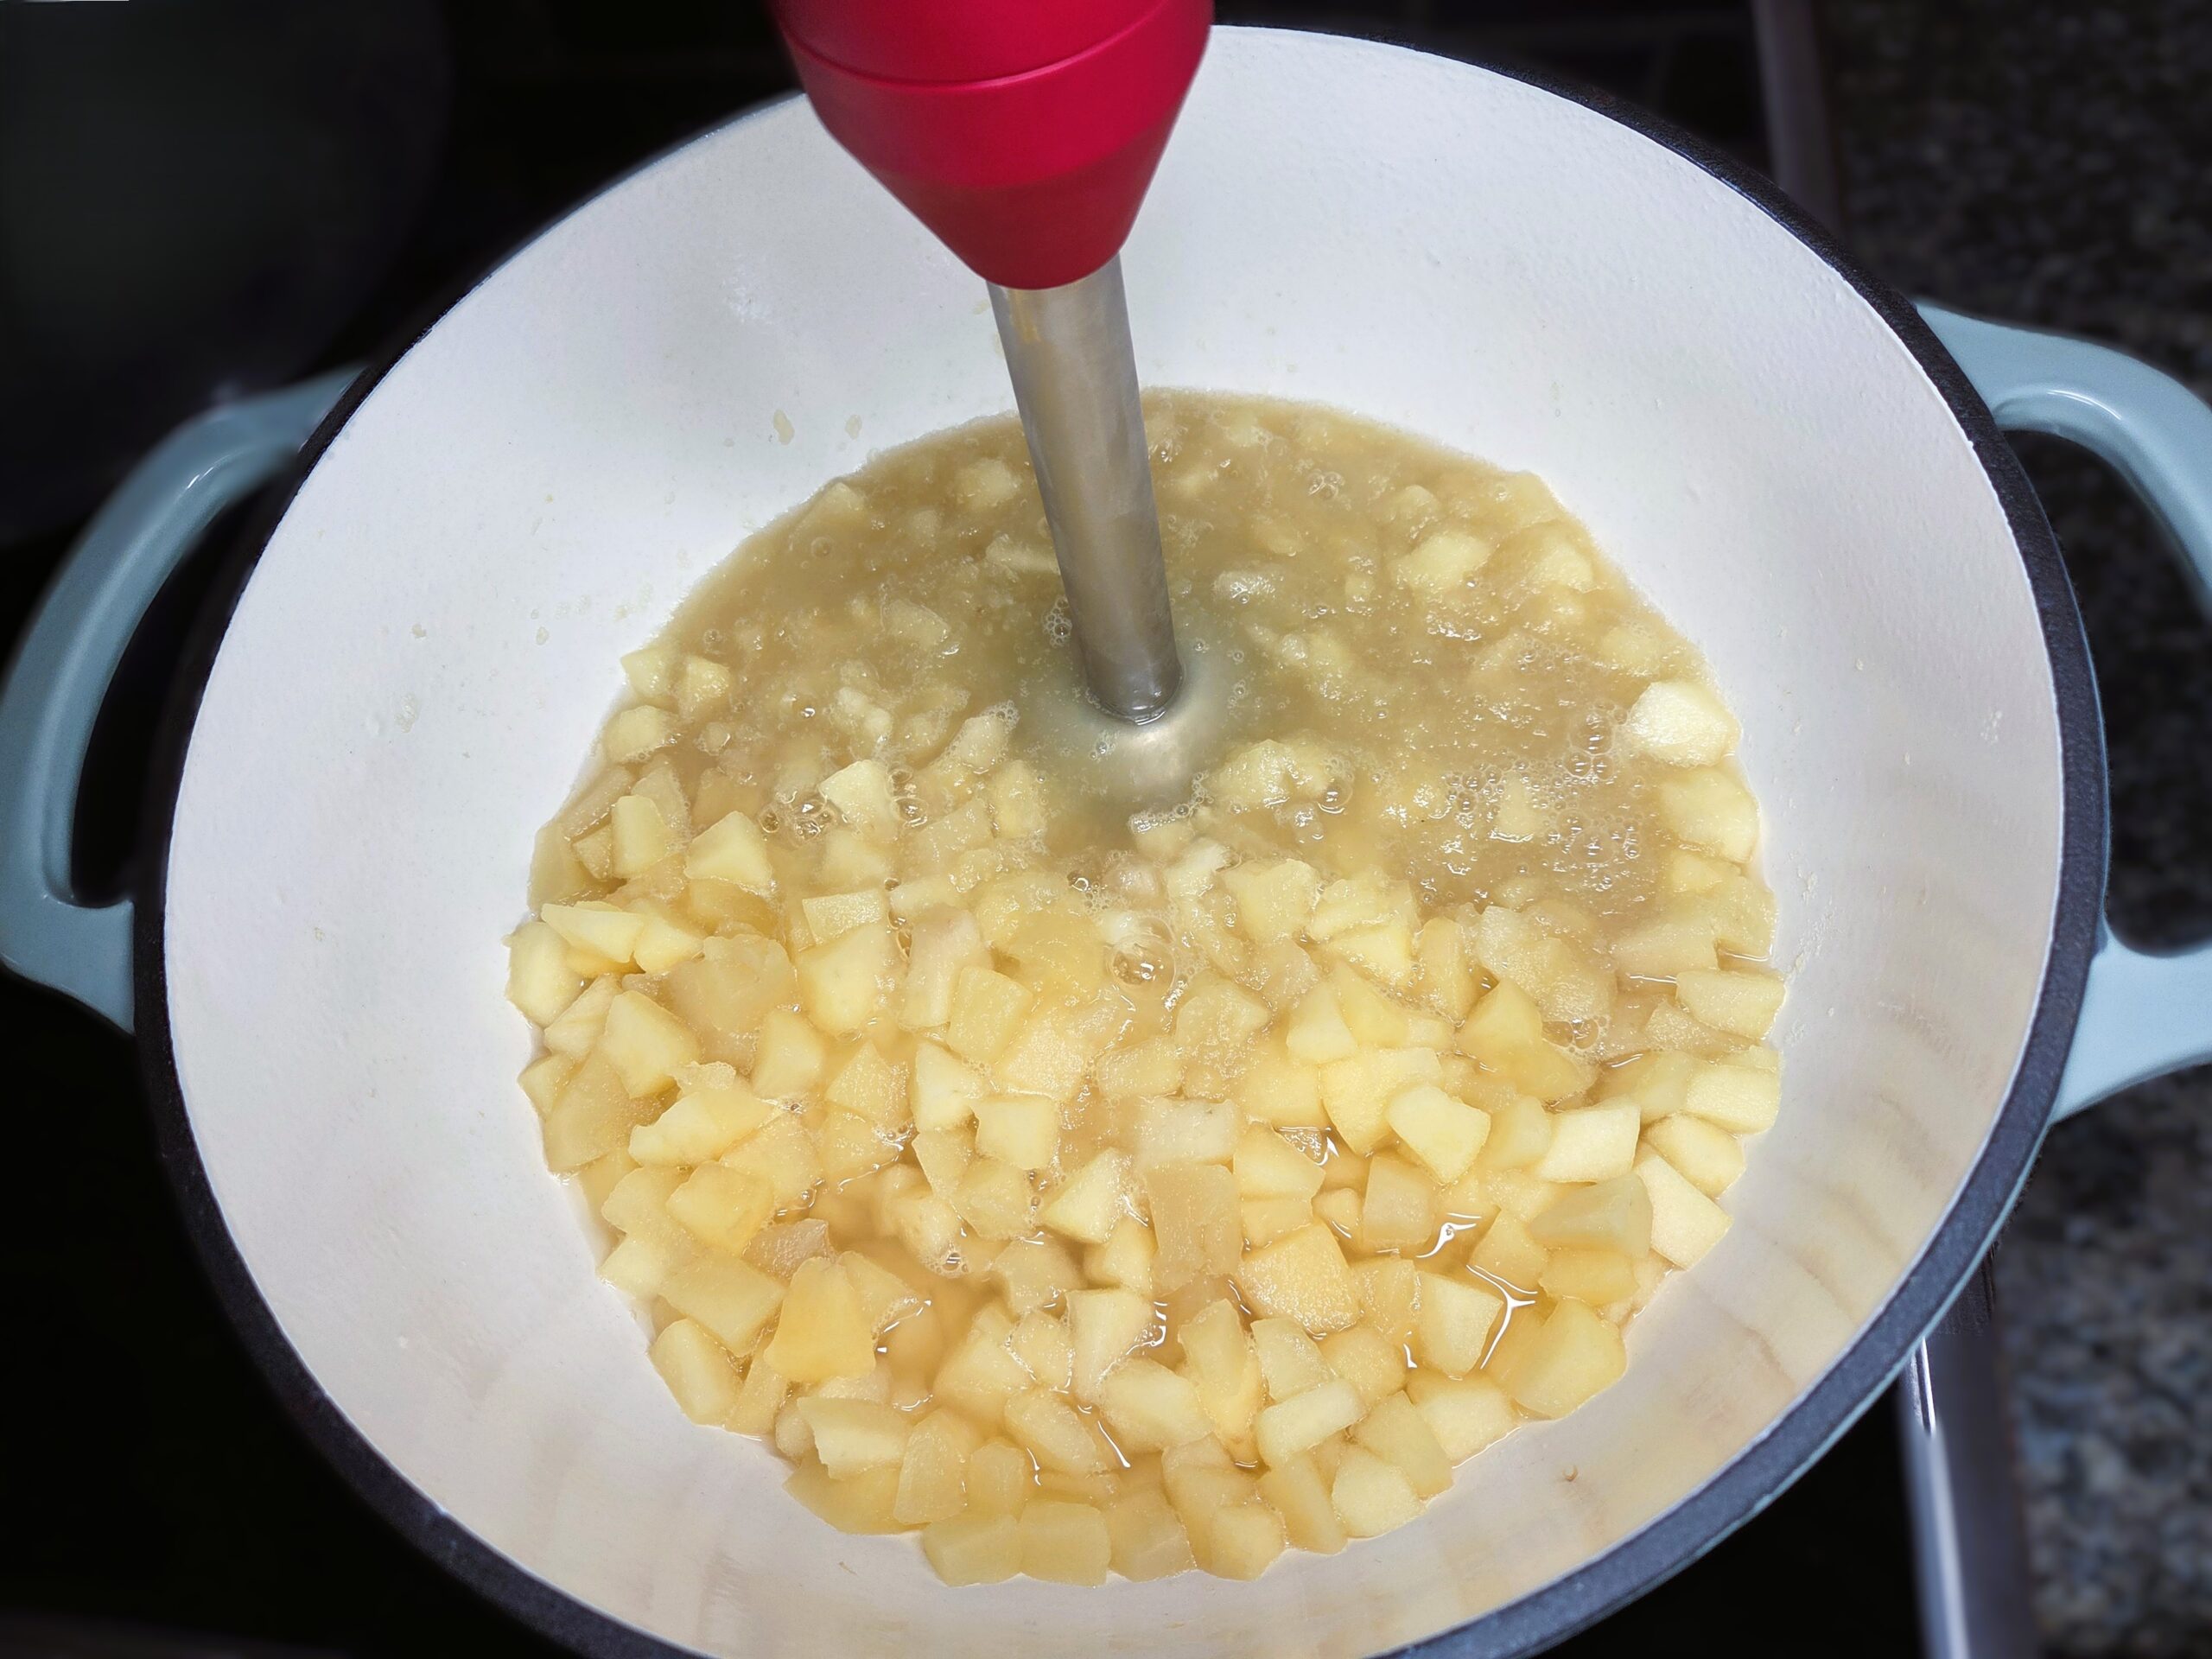
Purée the softened apples using an immersion blender until smooth.
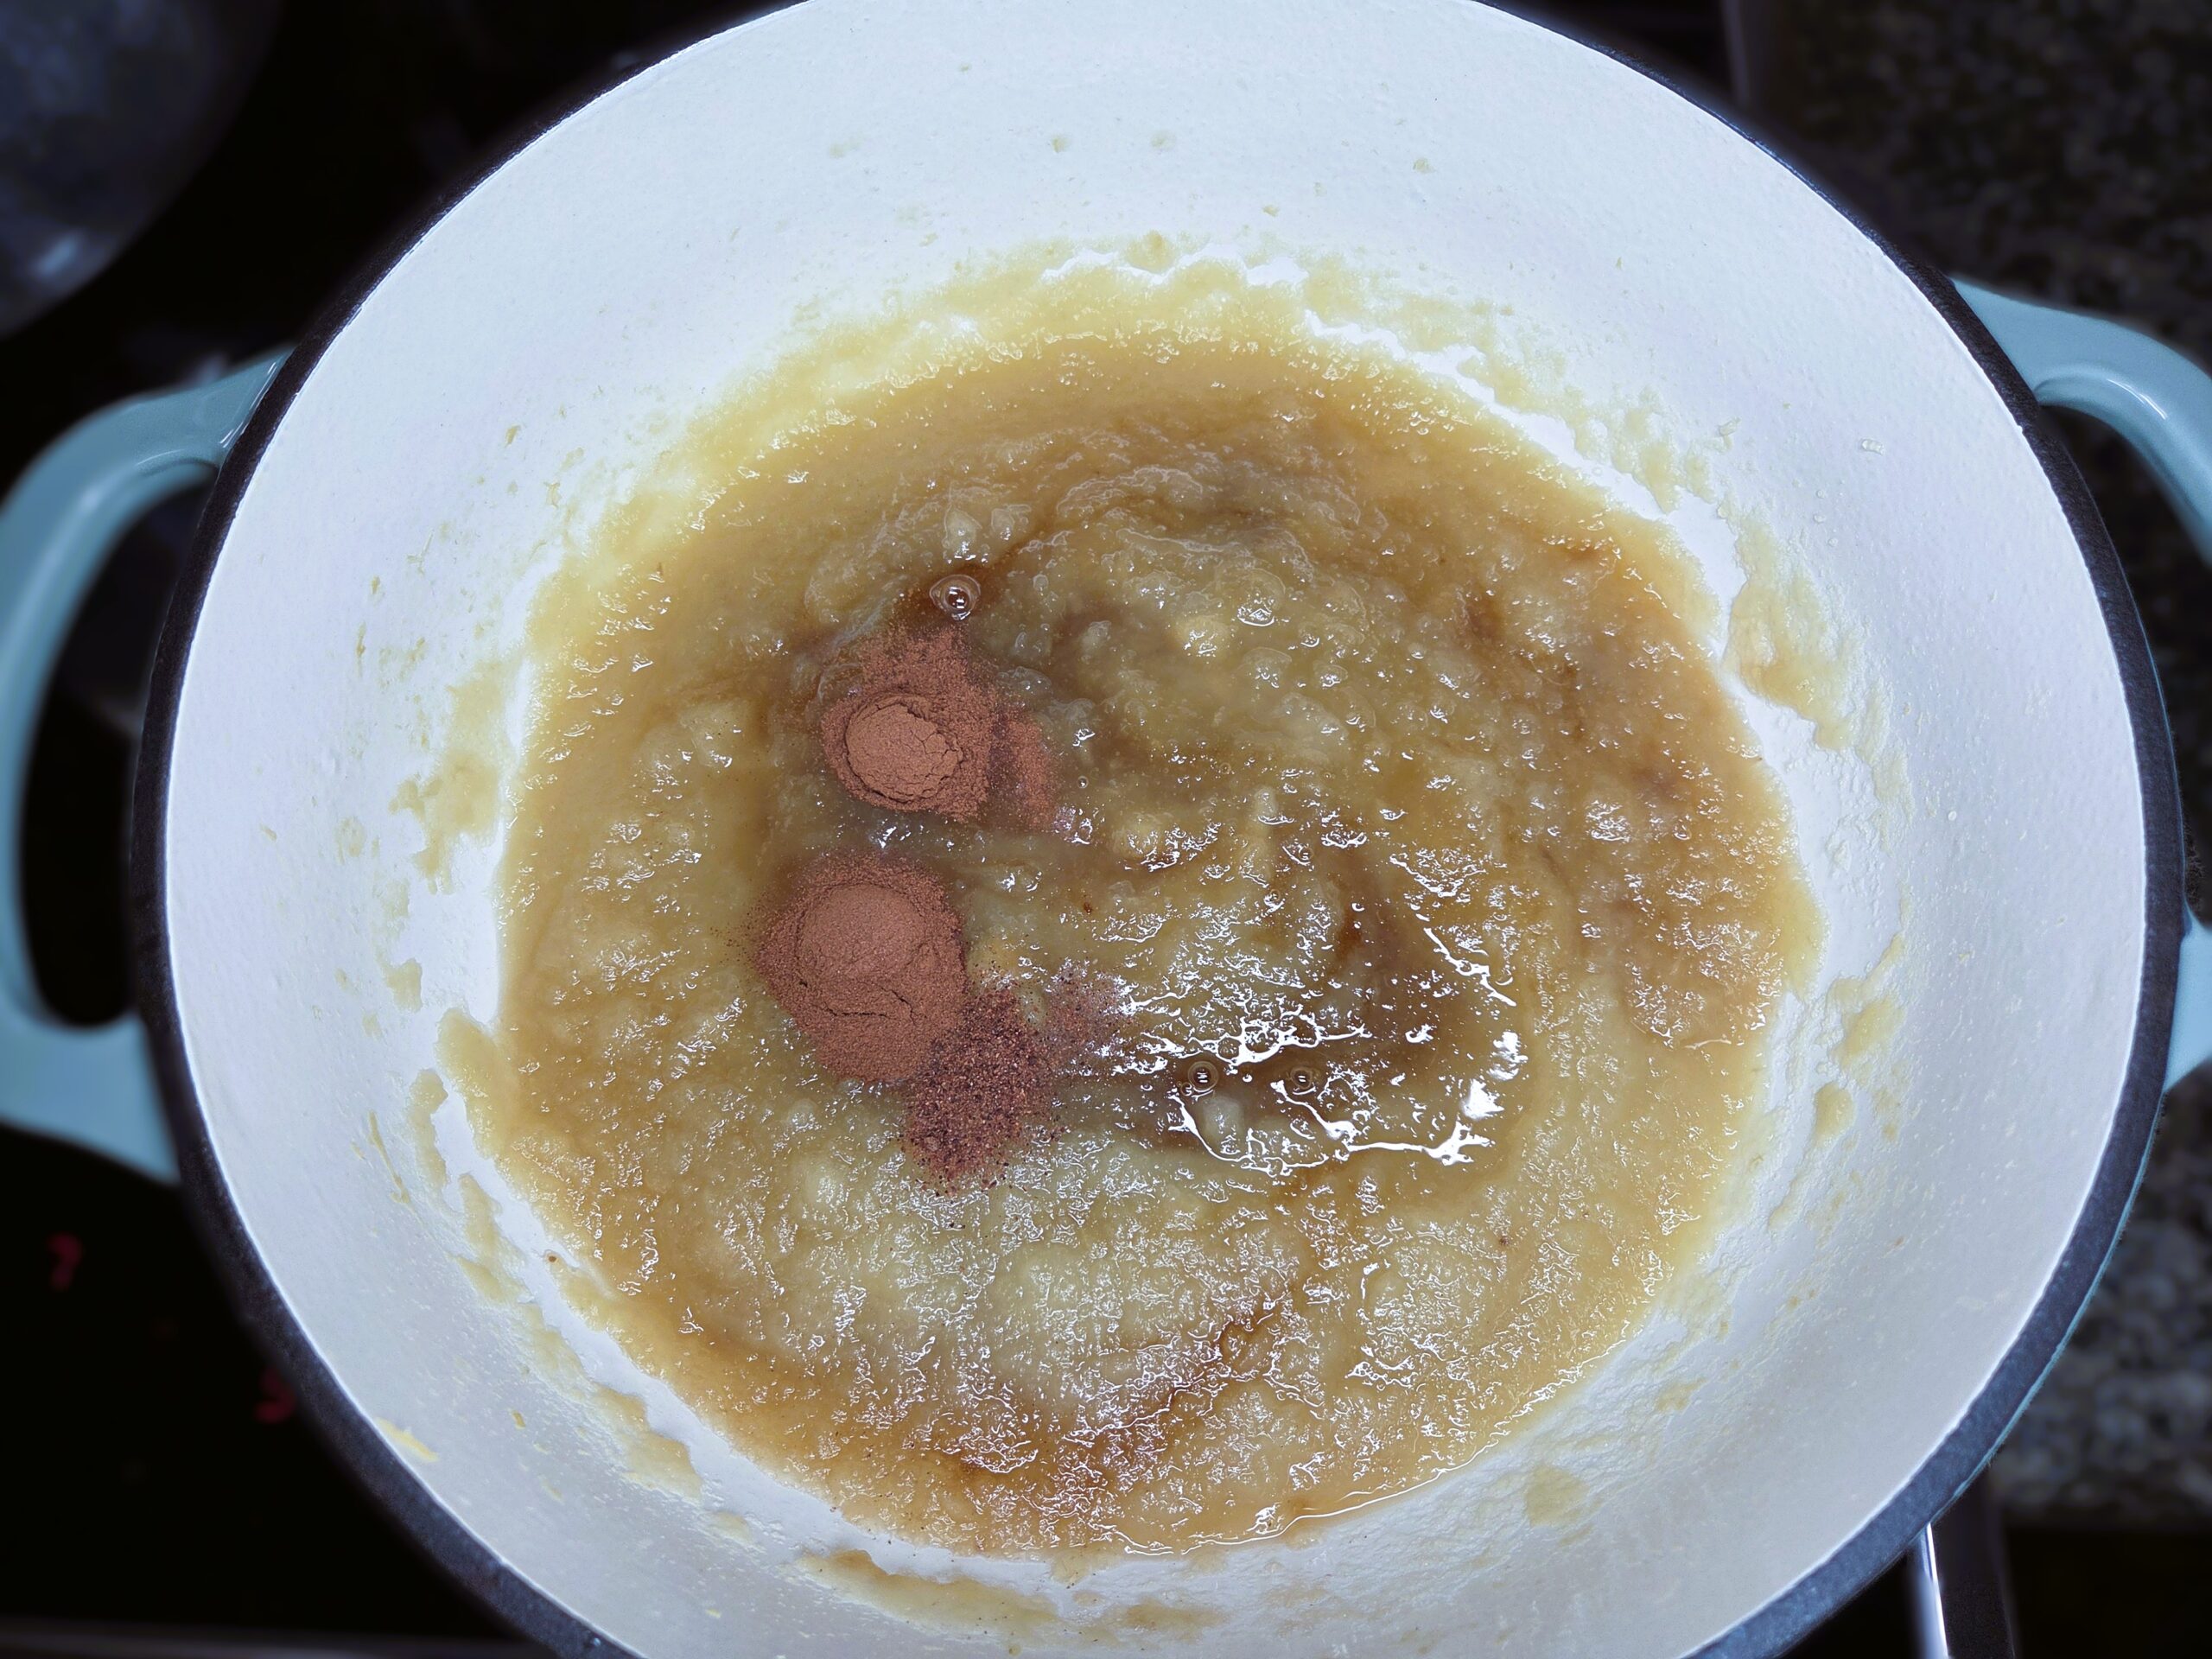
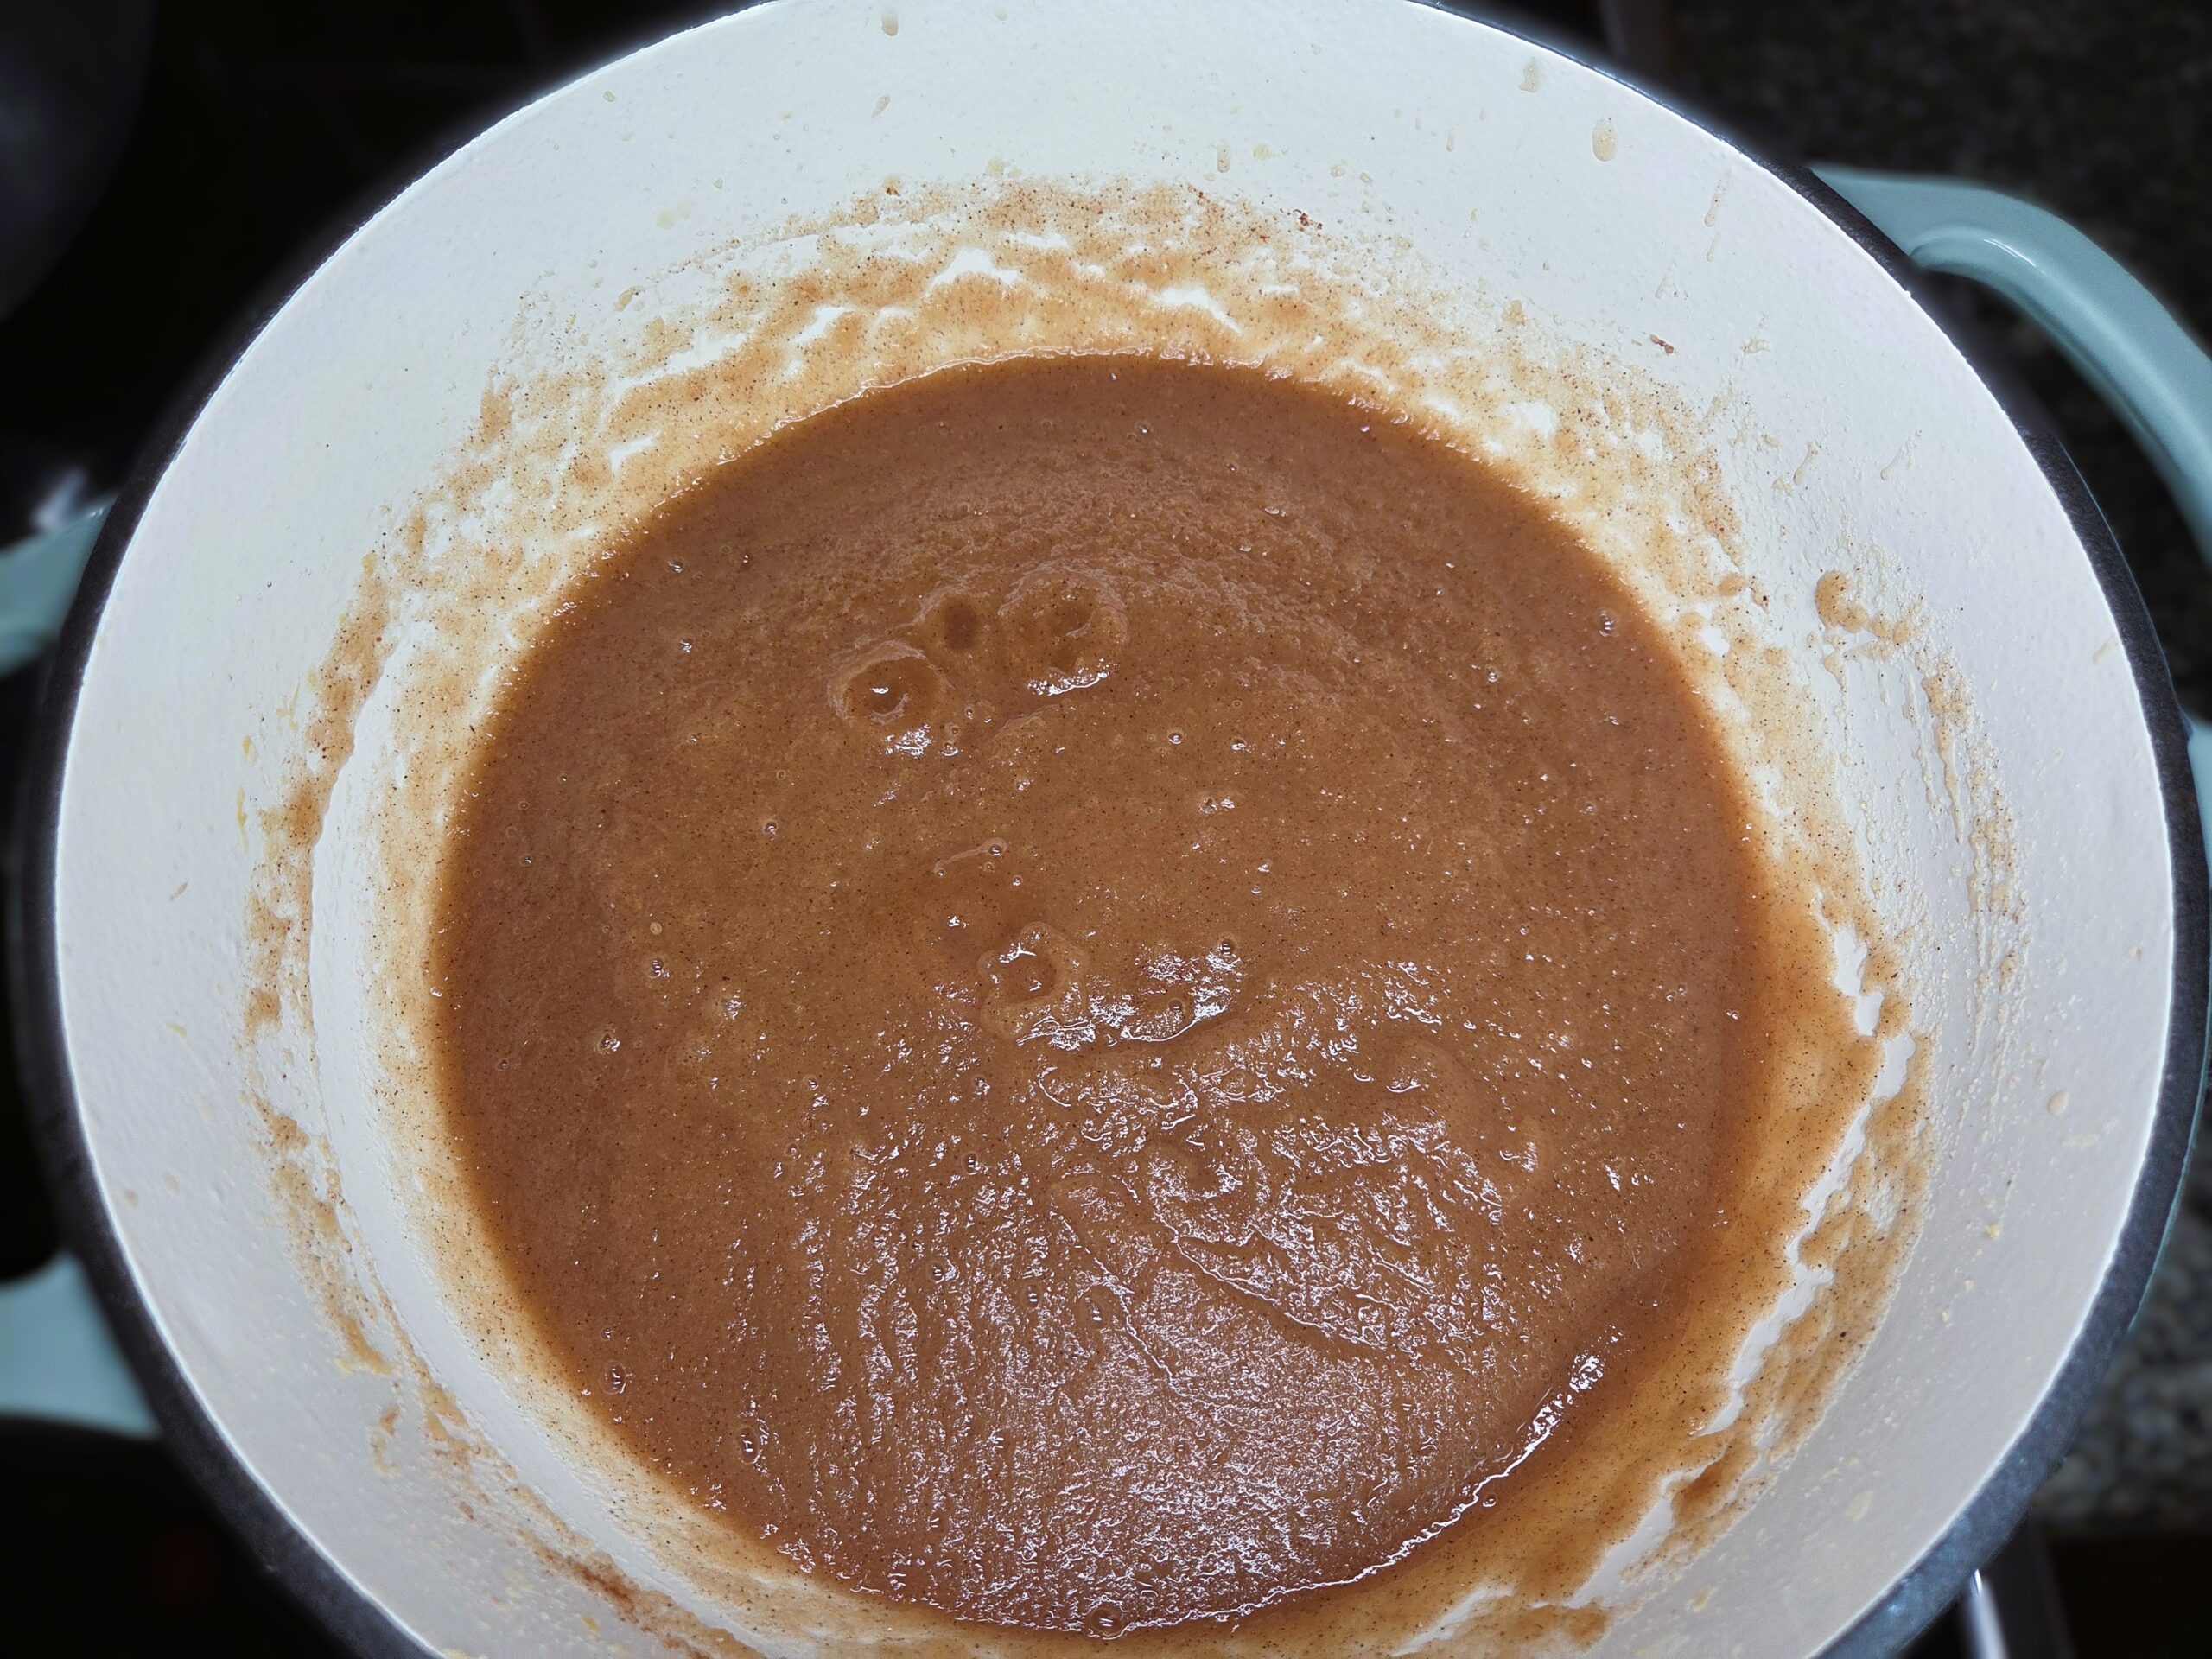
Add ½ cup light brown sugar and ½ cup white sugar to the puréed apples, then bring the mixture to a low boil. Stir in 2 teaspoons cinnamon, ⅛ teaspoon nutmeg, 1 teaspoon vanilla, and ¼ cup bottled lemon juice, blending well to combine the flavors. Use bottled lemon juice instead of fresh, since its consistent acidity ensures the apple butter is safe for water‑bath canning. Fresh lemon juice varies in pH depending on the type and age of the lemons, making it unreliable for safe preservation.
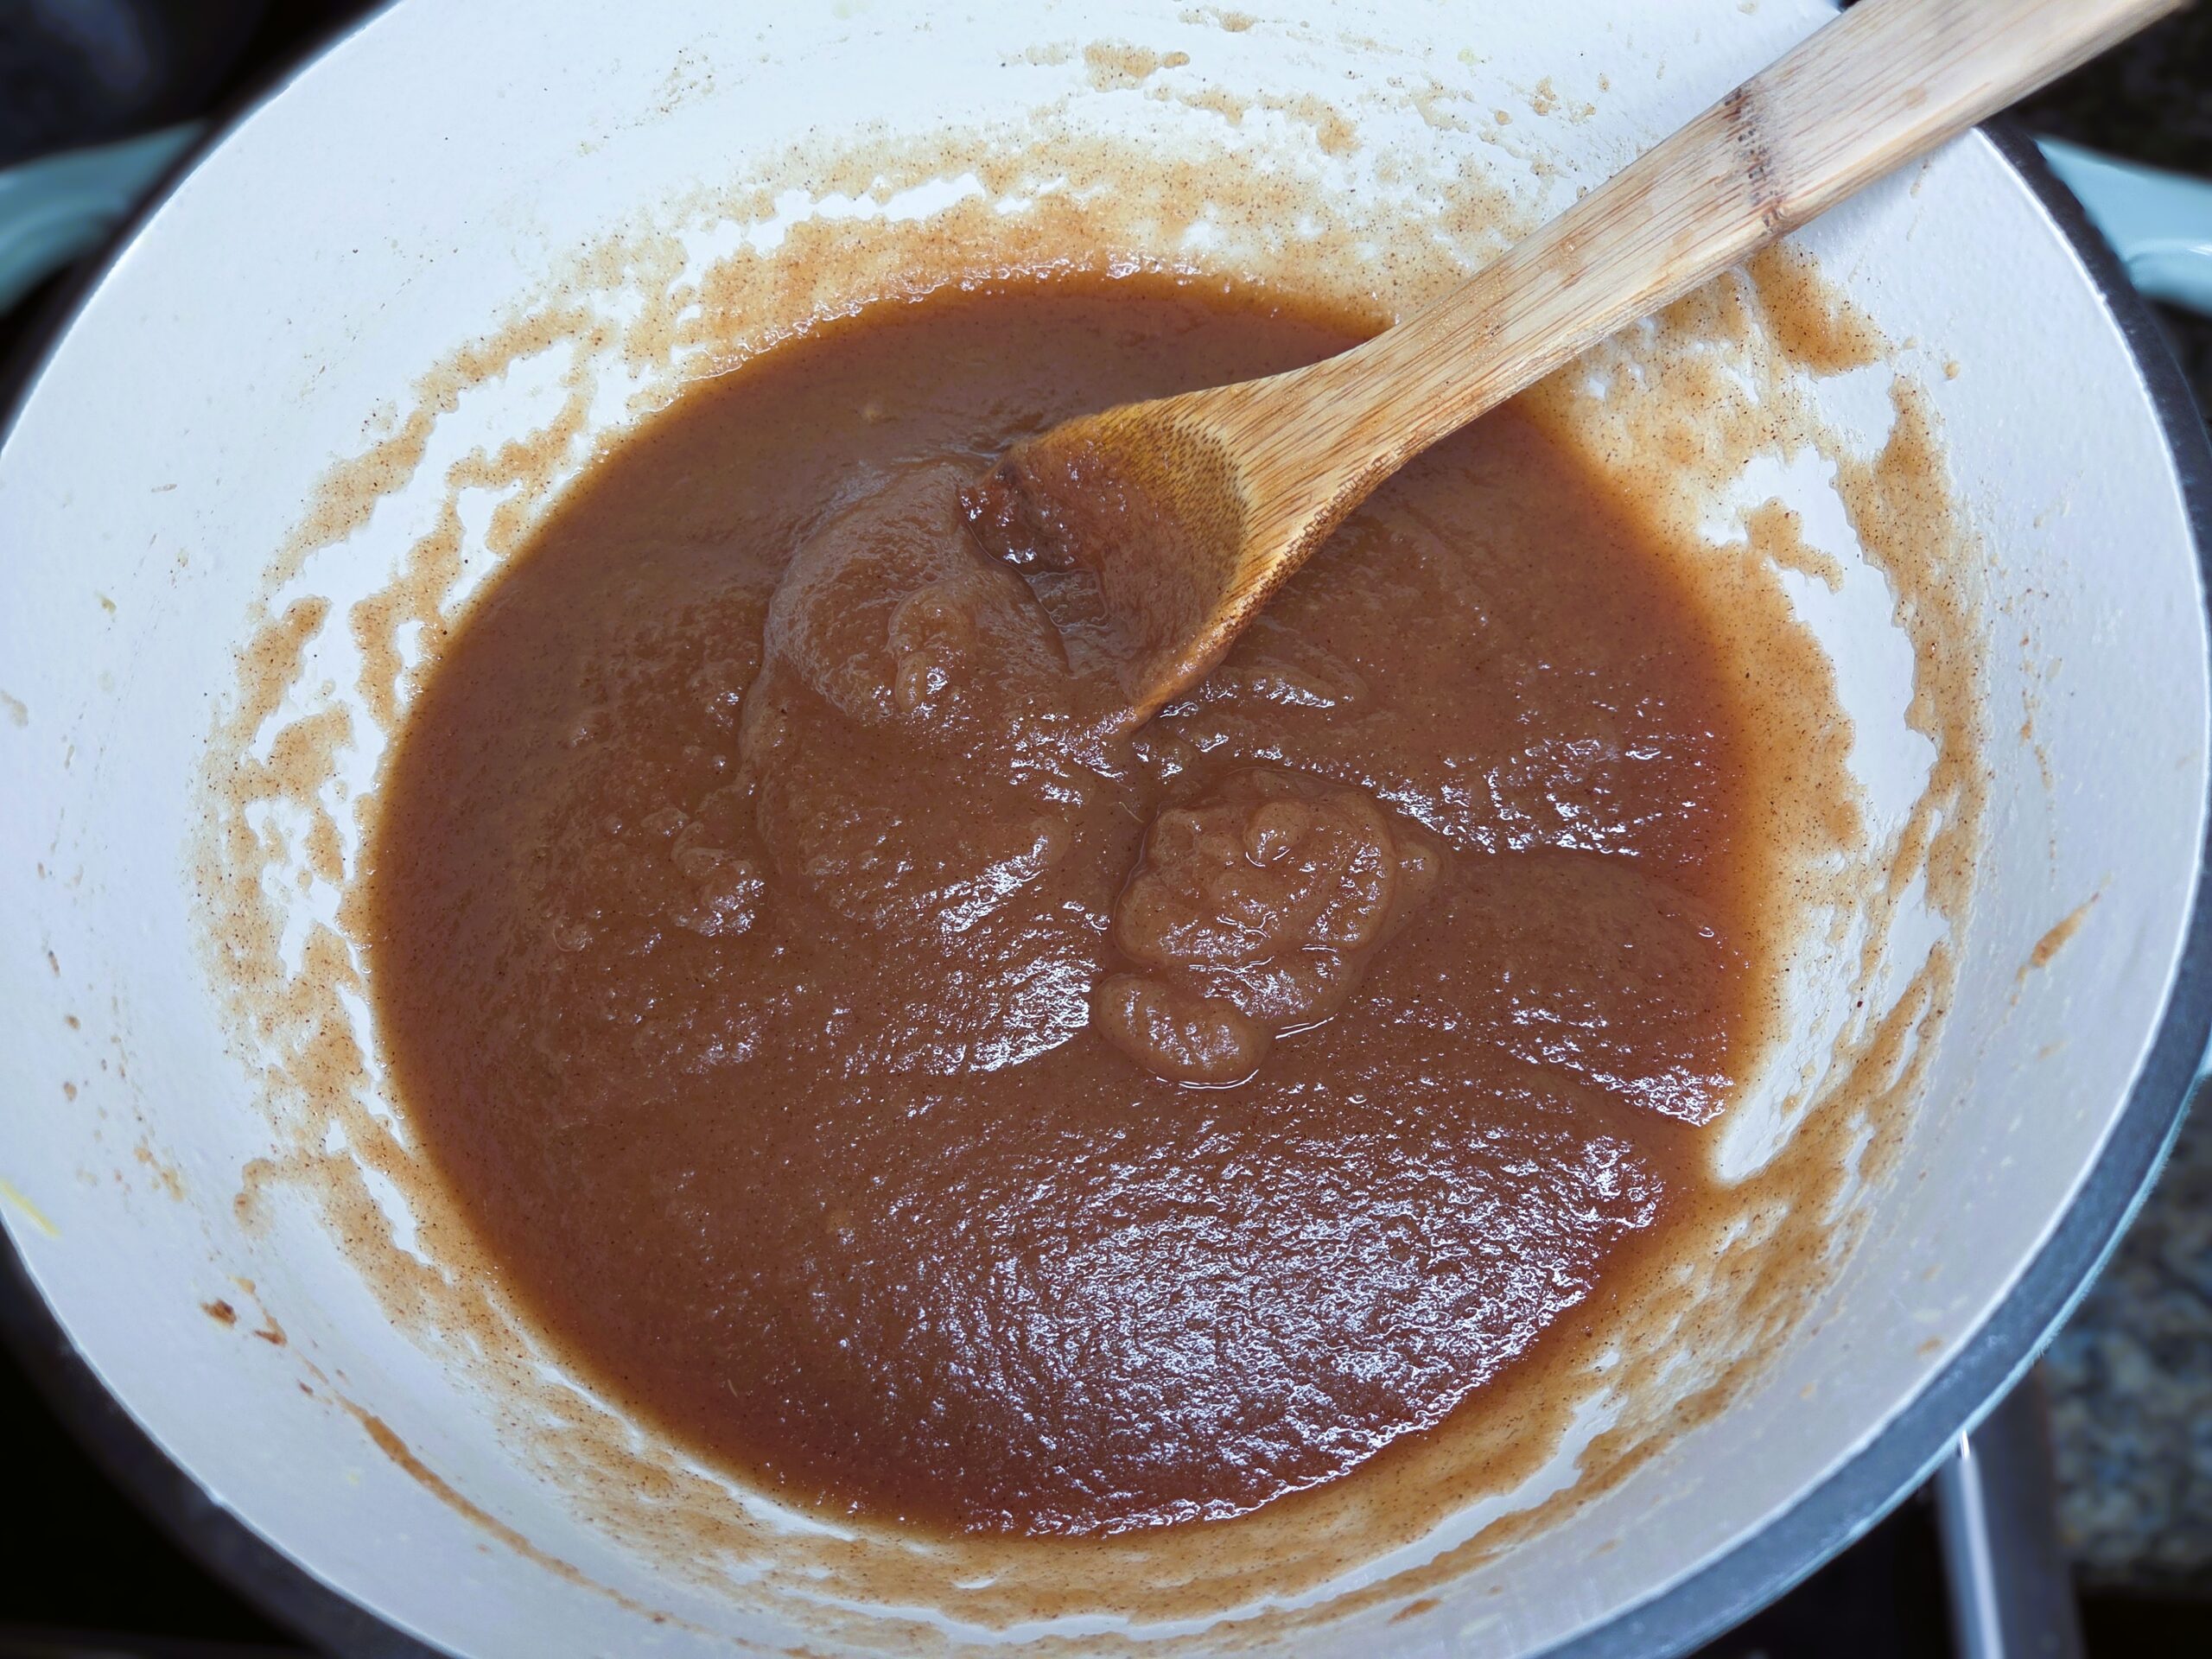
Cook the apple butter until it is thick enough to mound on a spoon.
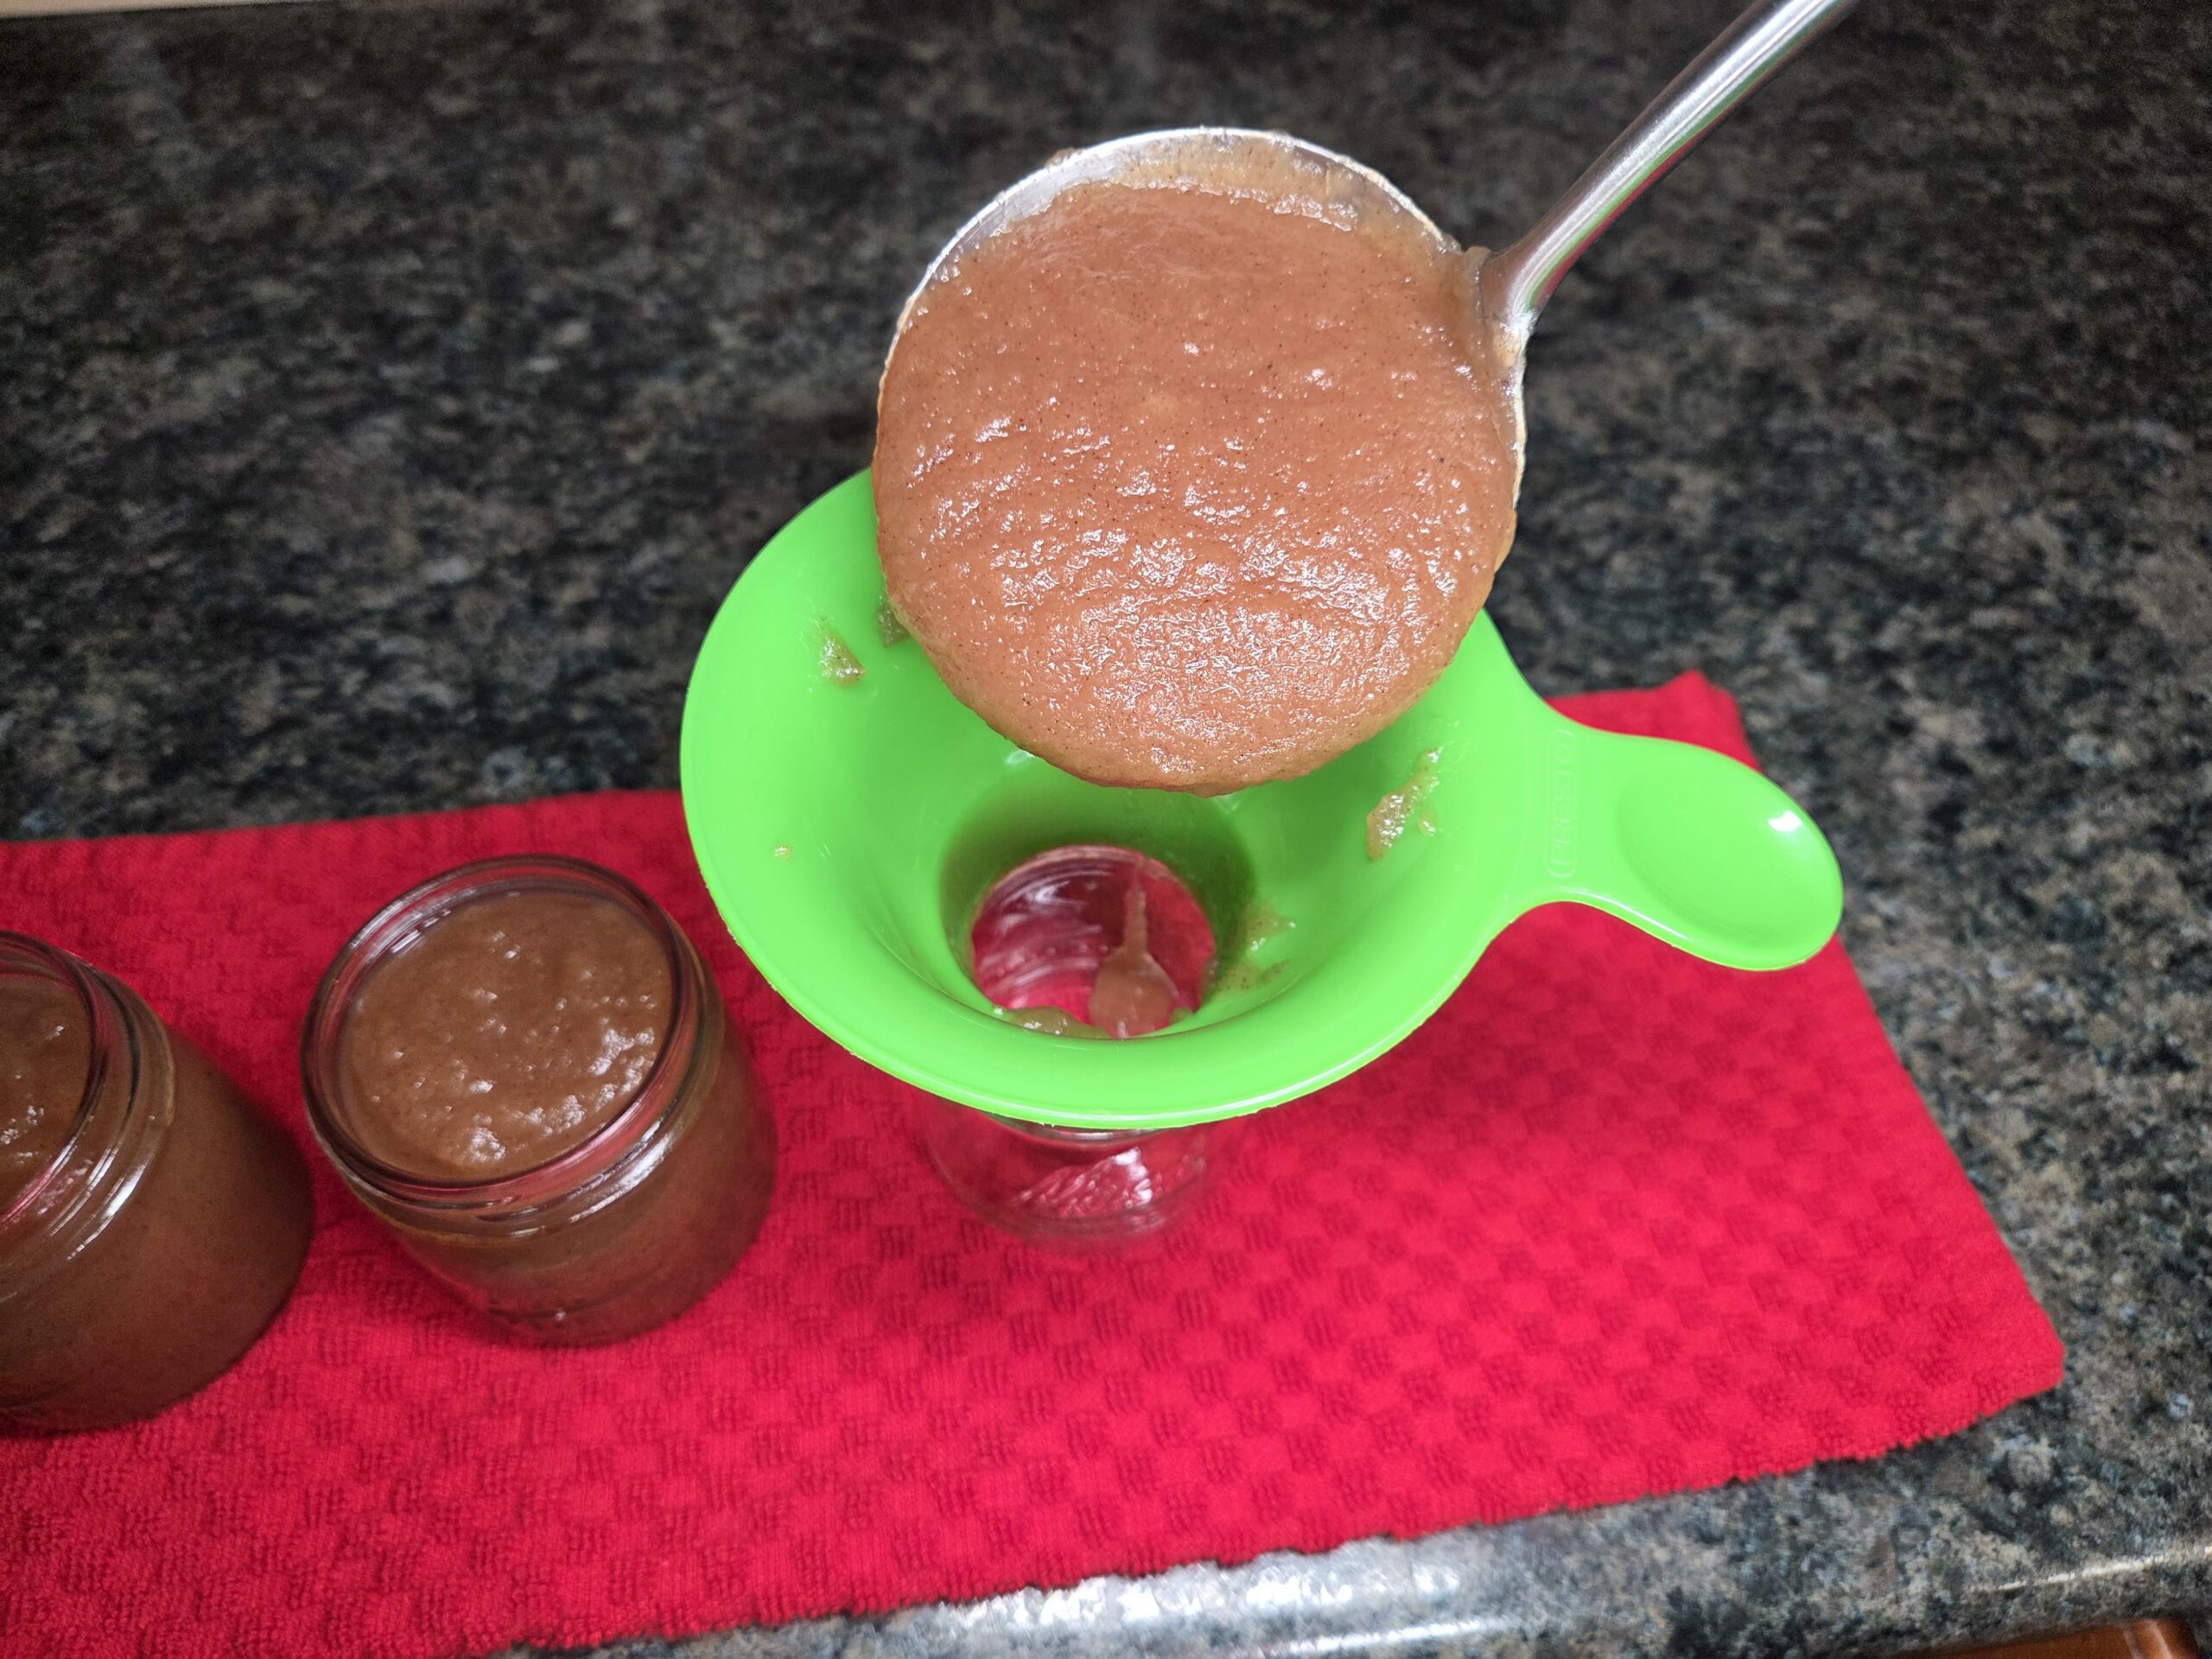
Ladle the hot apple butter into hot jars, leaving 1/4‑inch of headspace—the space between the apple butter and the underside of the lid. This gap allows the contents to expand during processing and ensures a proper vacuum seal as the jars cool.
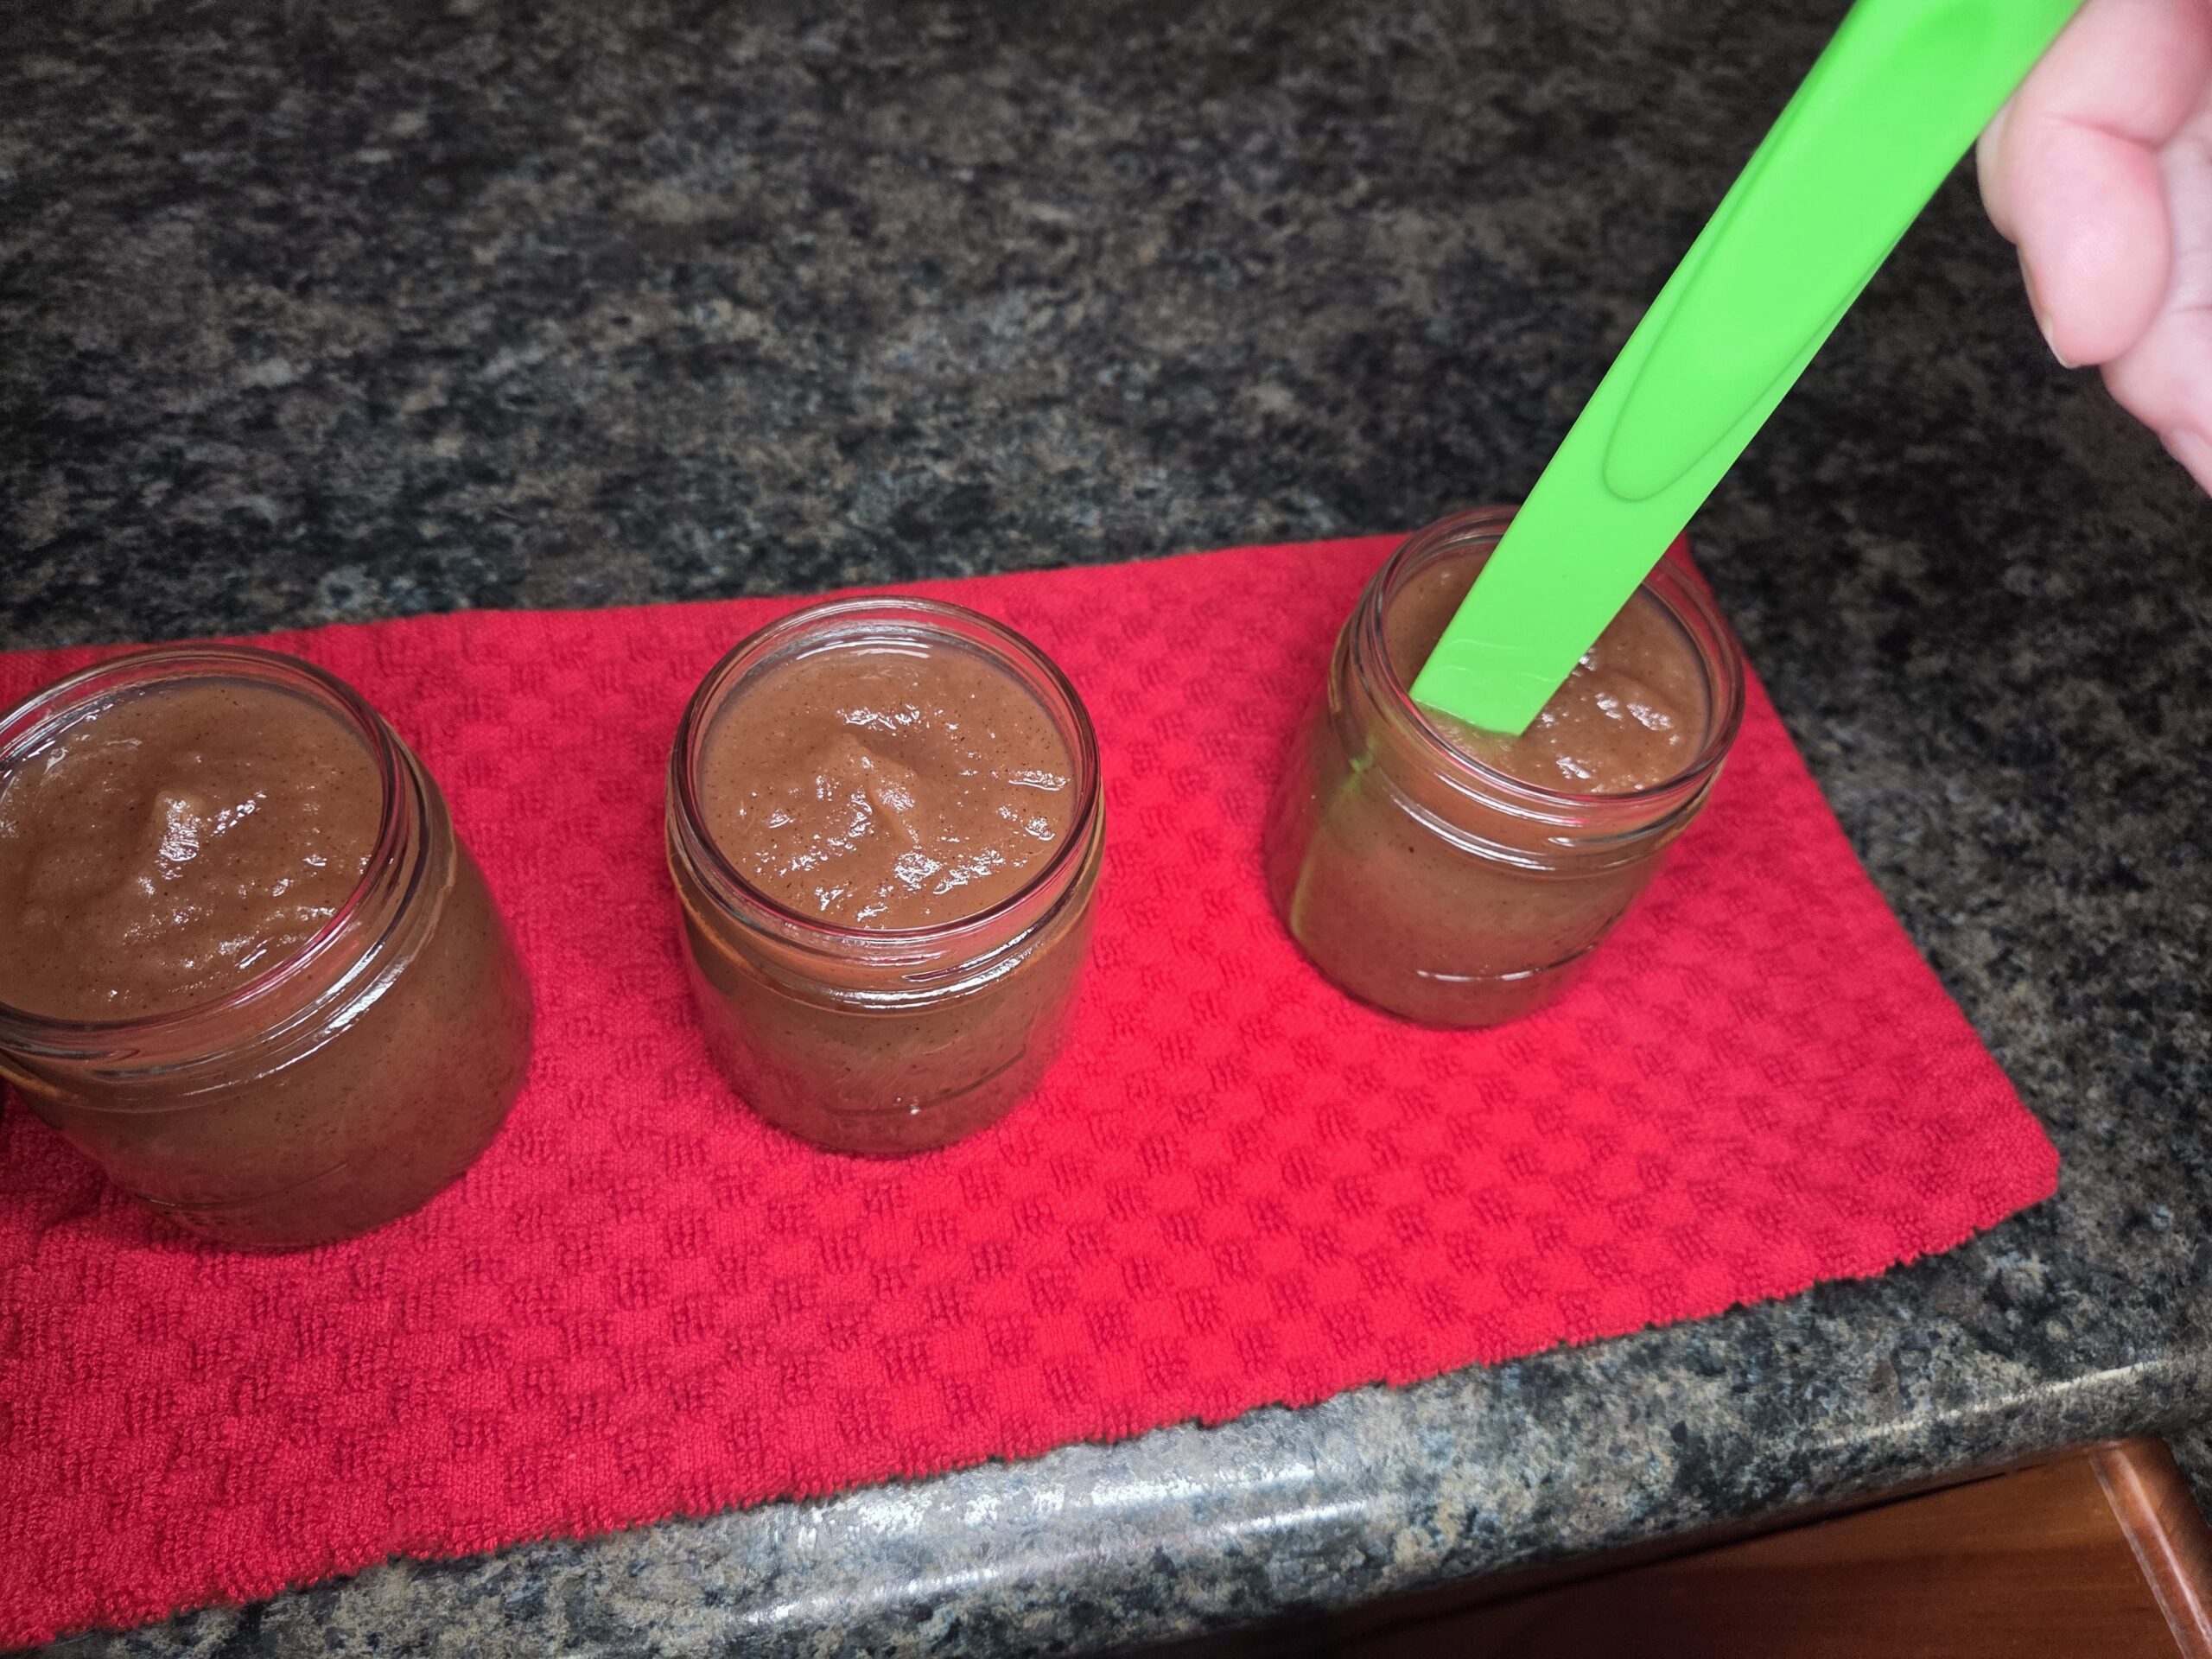
Remove any large air pockets or bubbles with a non-reactive air bubble tool to release trapped air and ensure proper headspace for a safe seal.
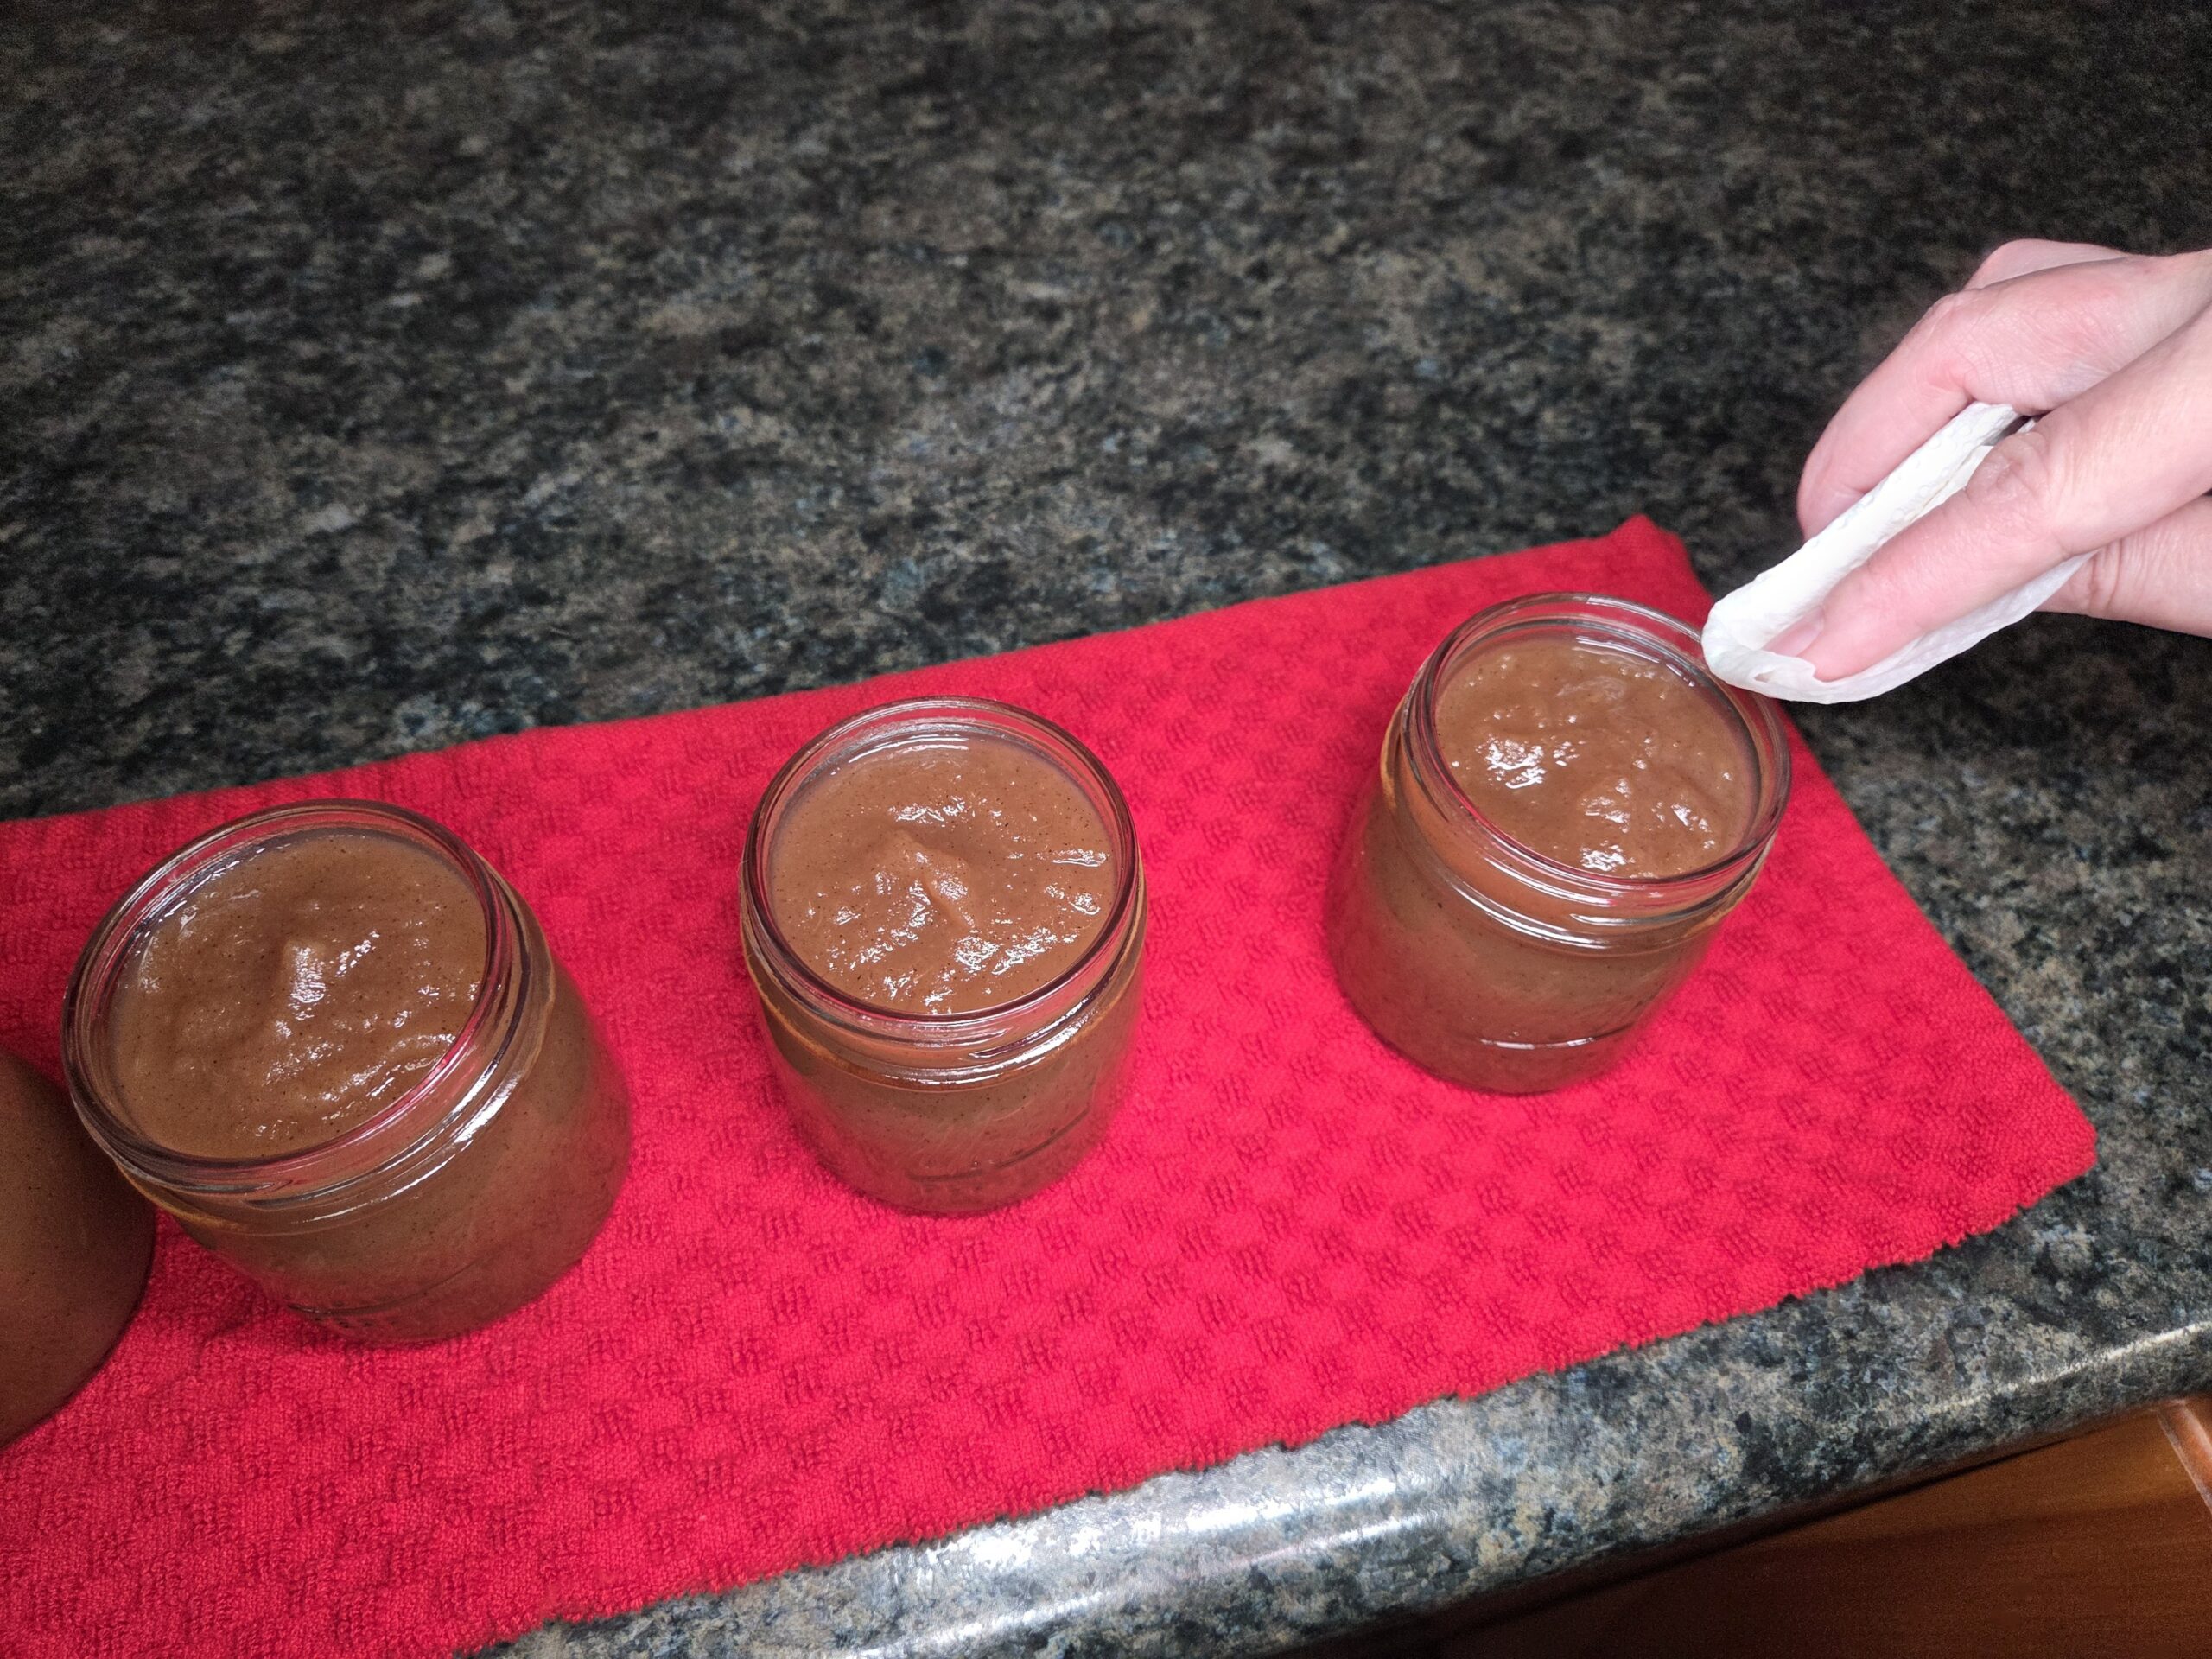
Wipe the jar rims with a clean, damp towel to remove any residue that could interfere with sealing.
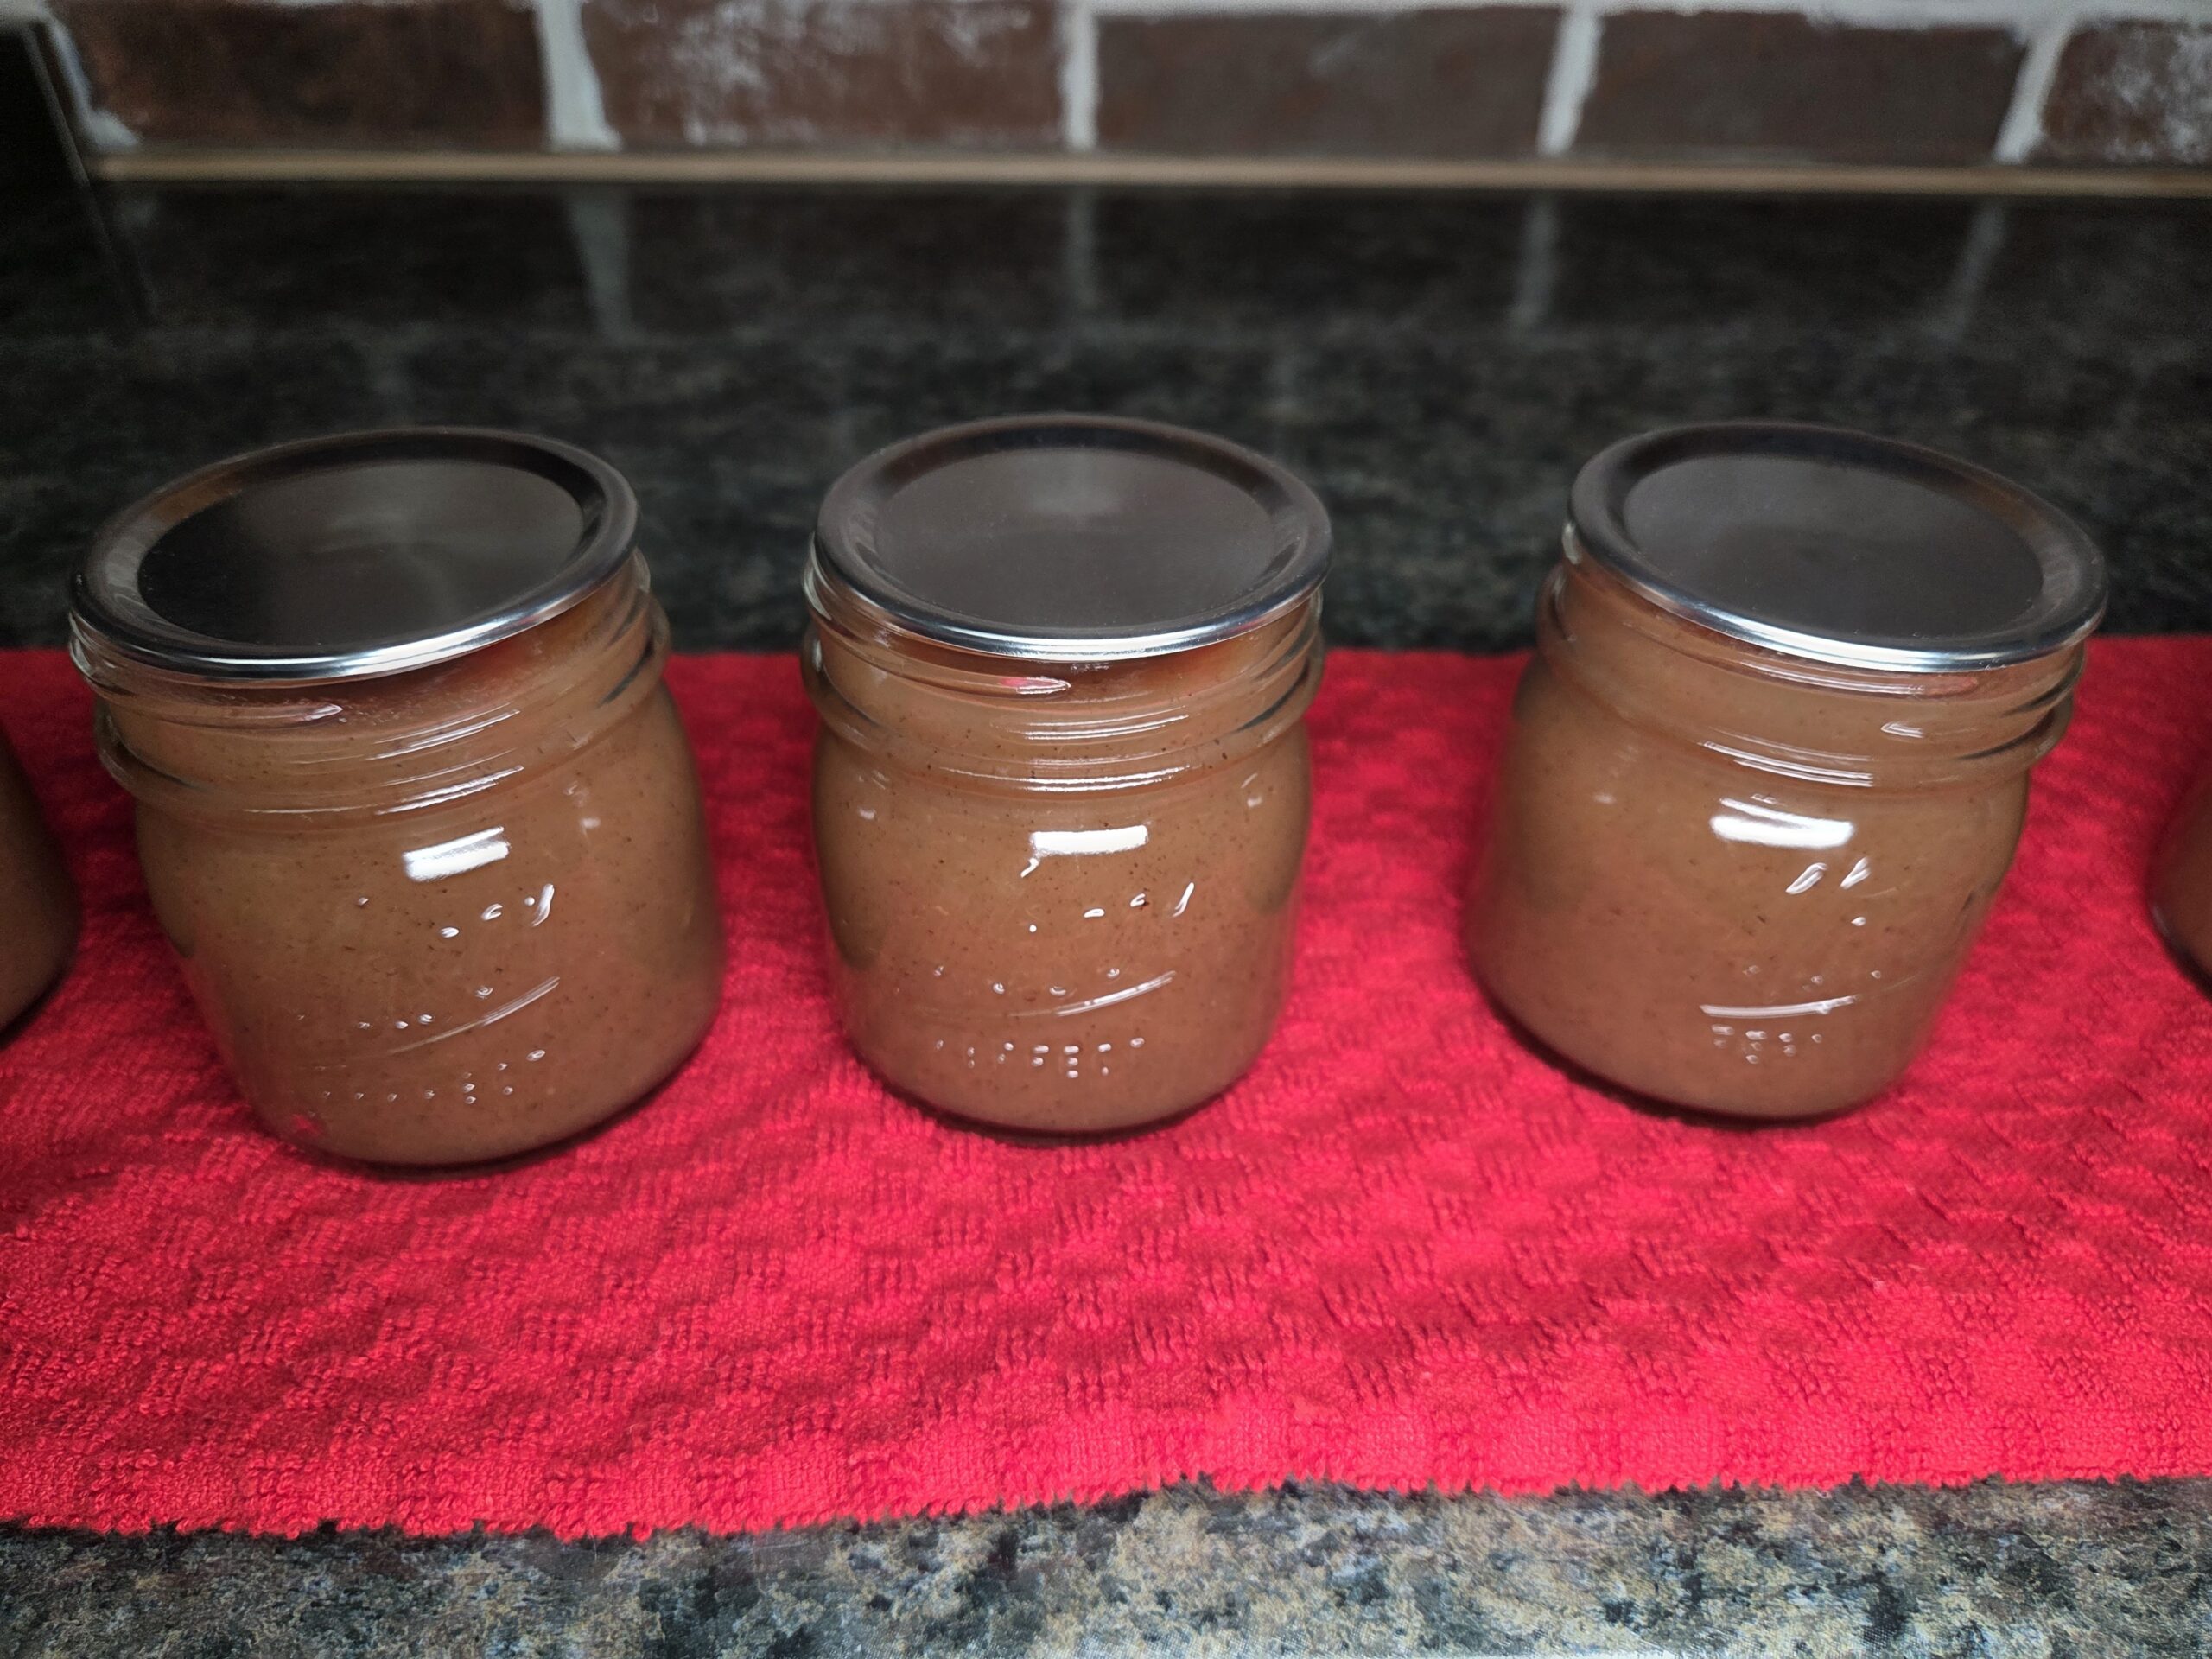
Center the lids on the jars, making sure each one sits evenly to ensure a proper seal.
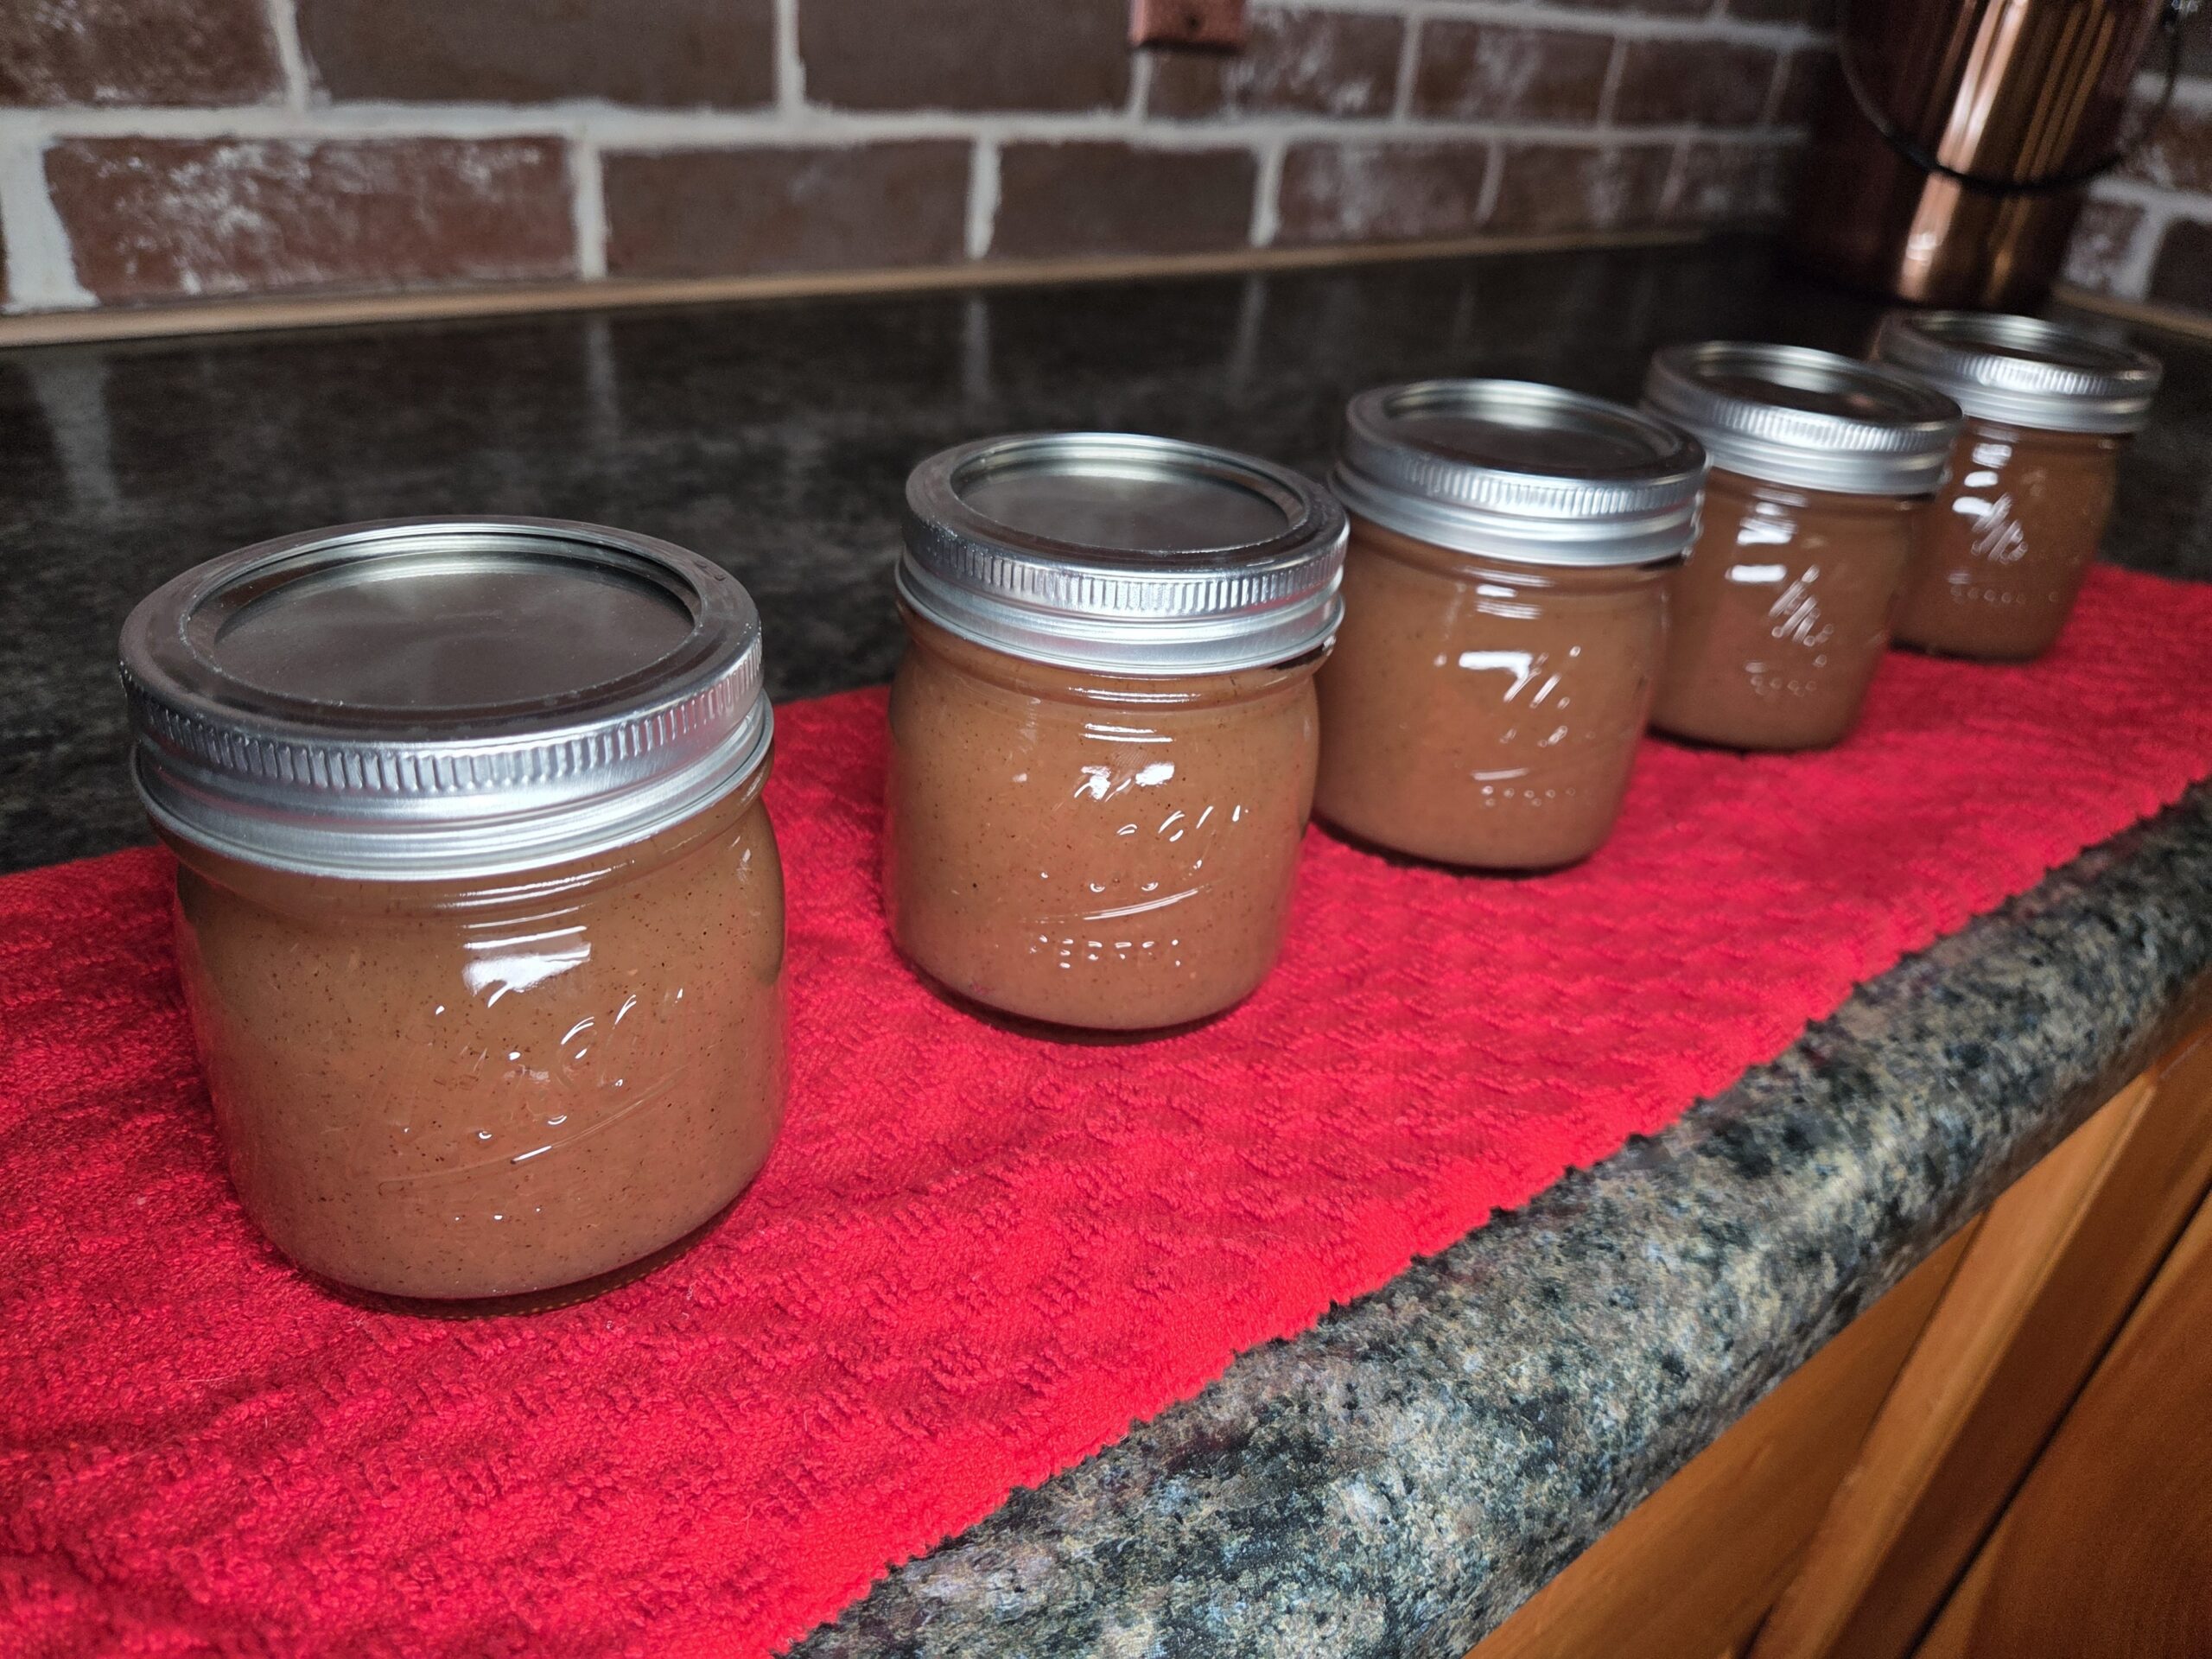
Place the bands on the jars, tightening them to fingertip tightness—snug but not overly tight.
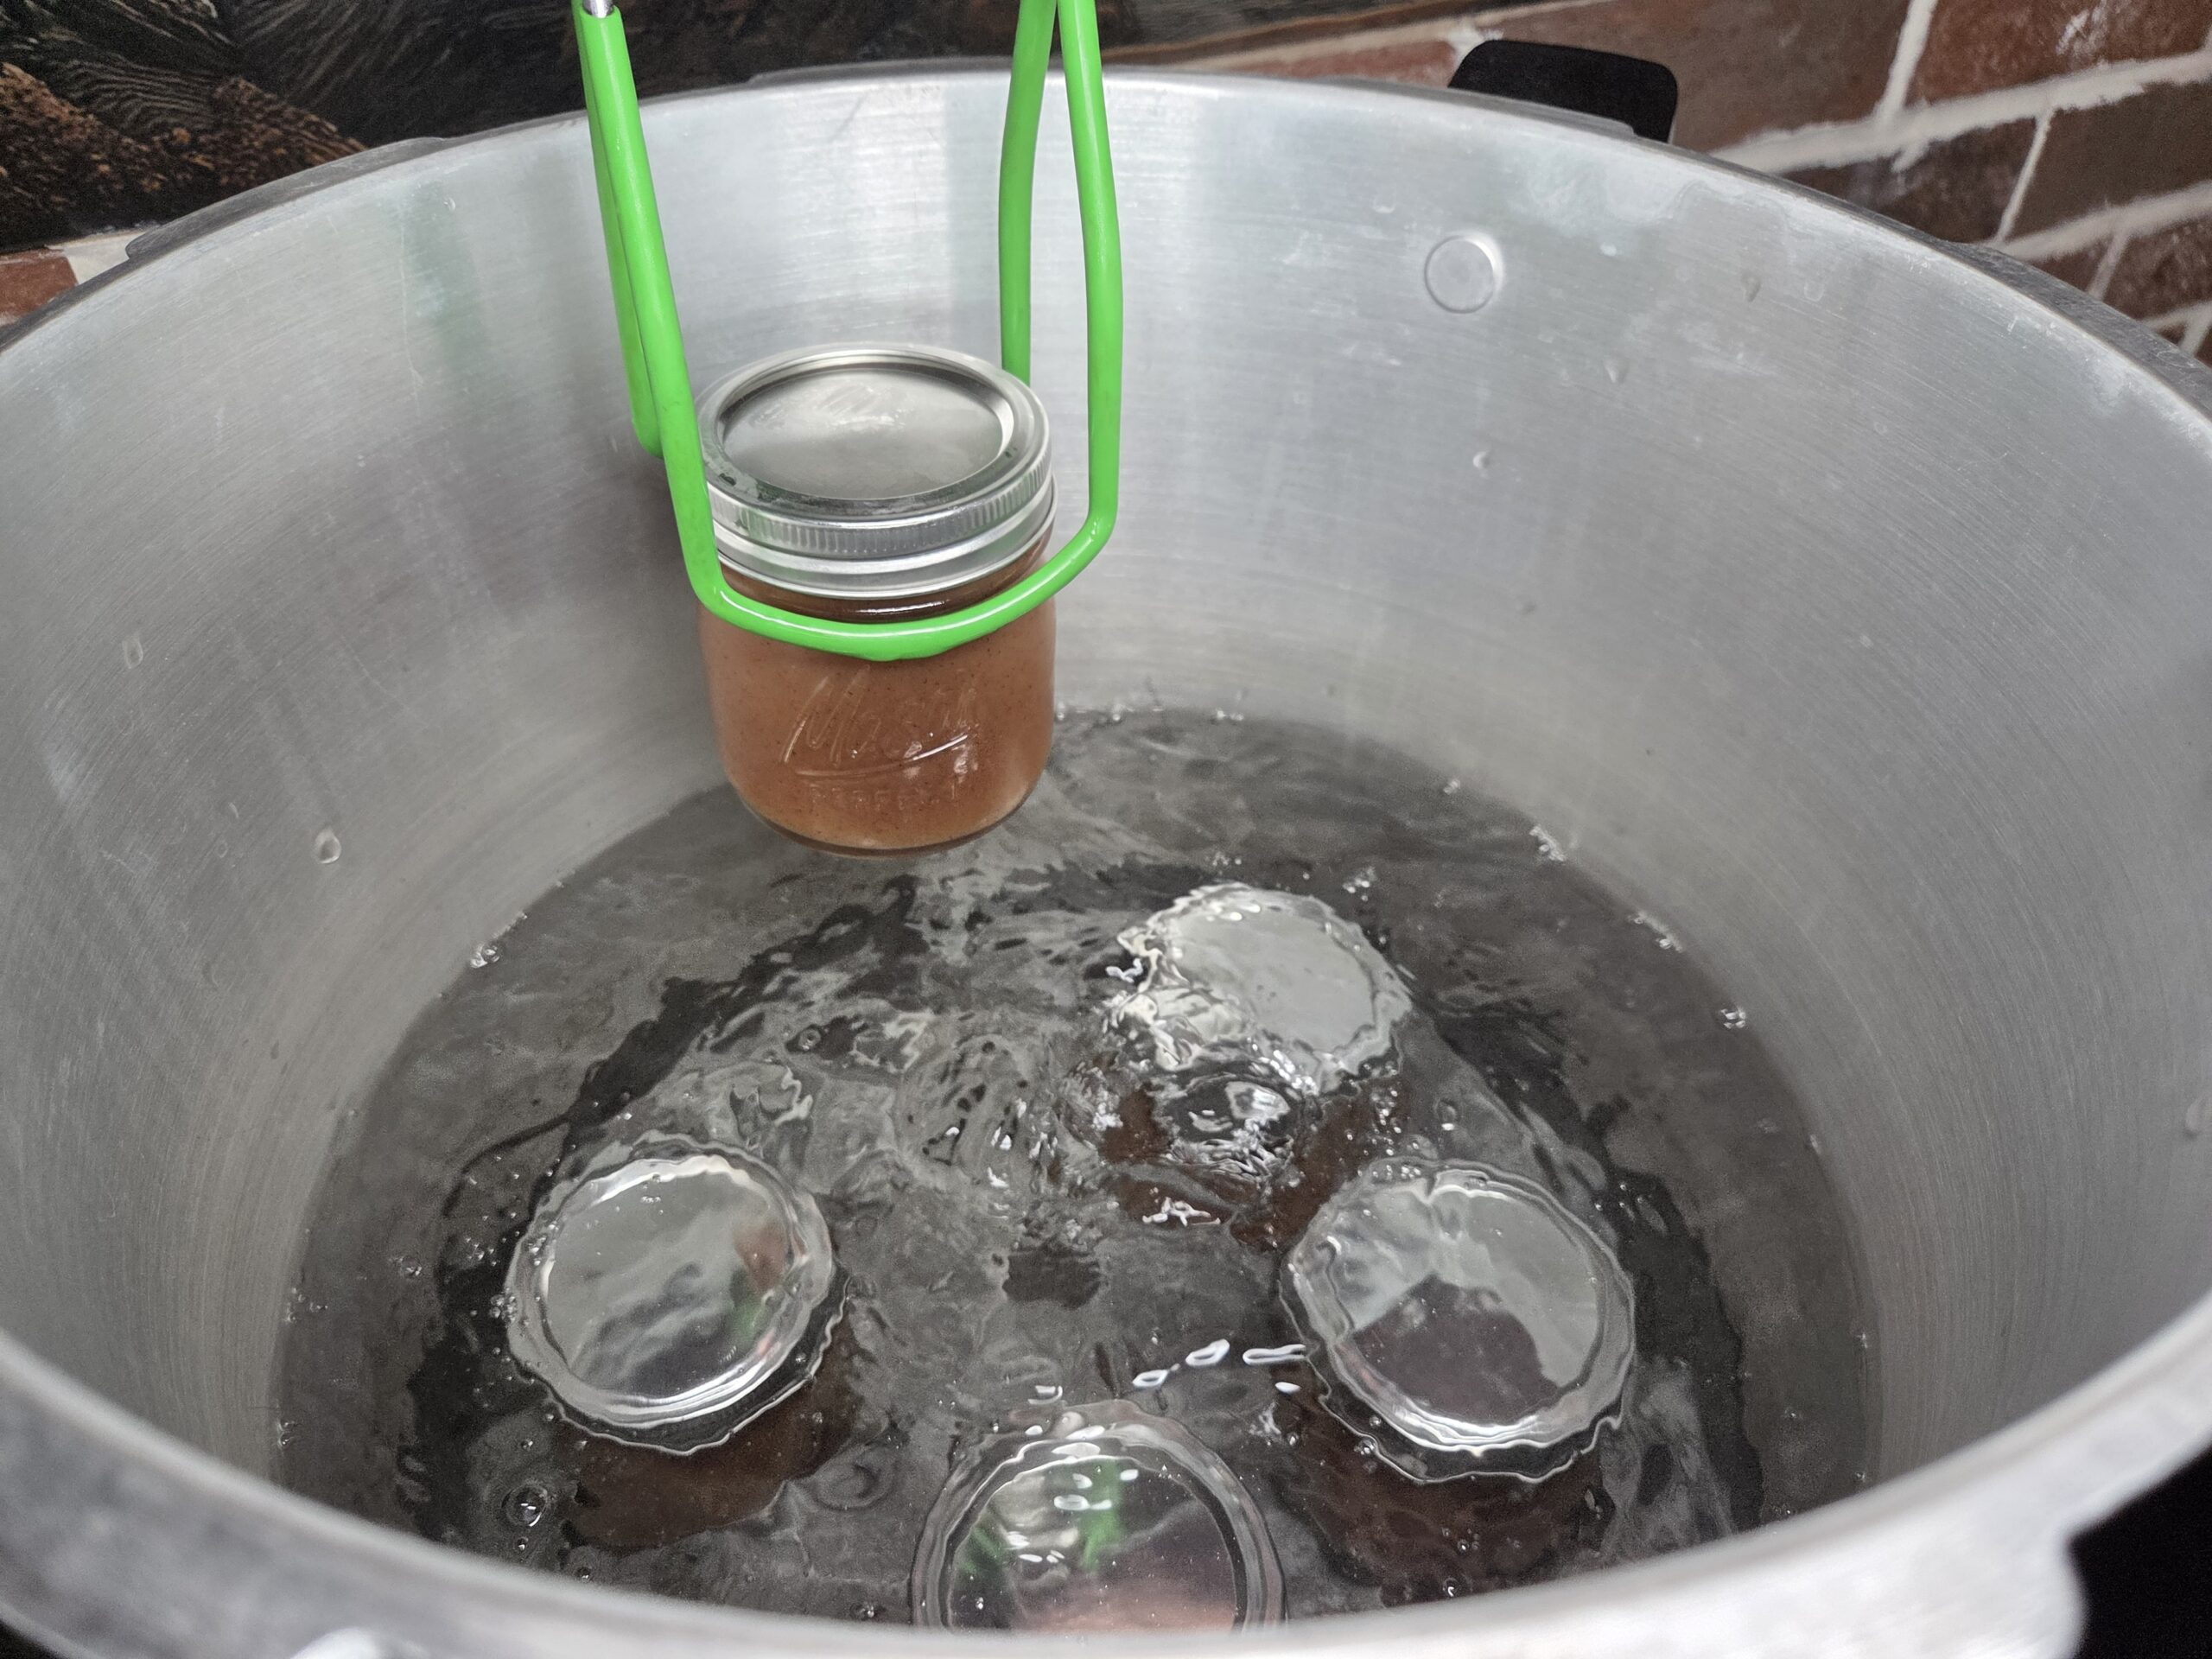
Carefully lower the jars into the boiling water, keeping them upright. When using a jar lifter, make sure it is securely positioned below the jar neck (below the screw band of the lid). Tilting the jar could cause food to spill into the lid's sealing area. Make sure the water covers the jars by 1–2 inches. Place the lid on the canner. Begin timing once the water returns to a full boil. Process 16-ounce pint jars and 8-ounce half-pint jars for 15 minutes at elevations from sea level to 1,000 feet. For 1,001–3,000 feet, process for 20 minutes; for 3,001 to 6,000 feet, 25 minutes; for 6,001 to 8,000 feet, 30 minutes; and for 8,001 to 10,000 feet, 35 minutes.
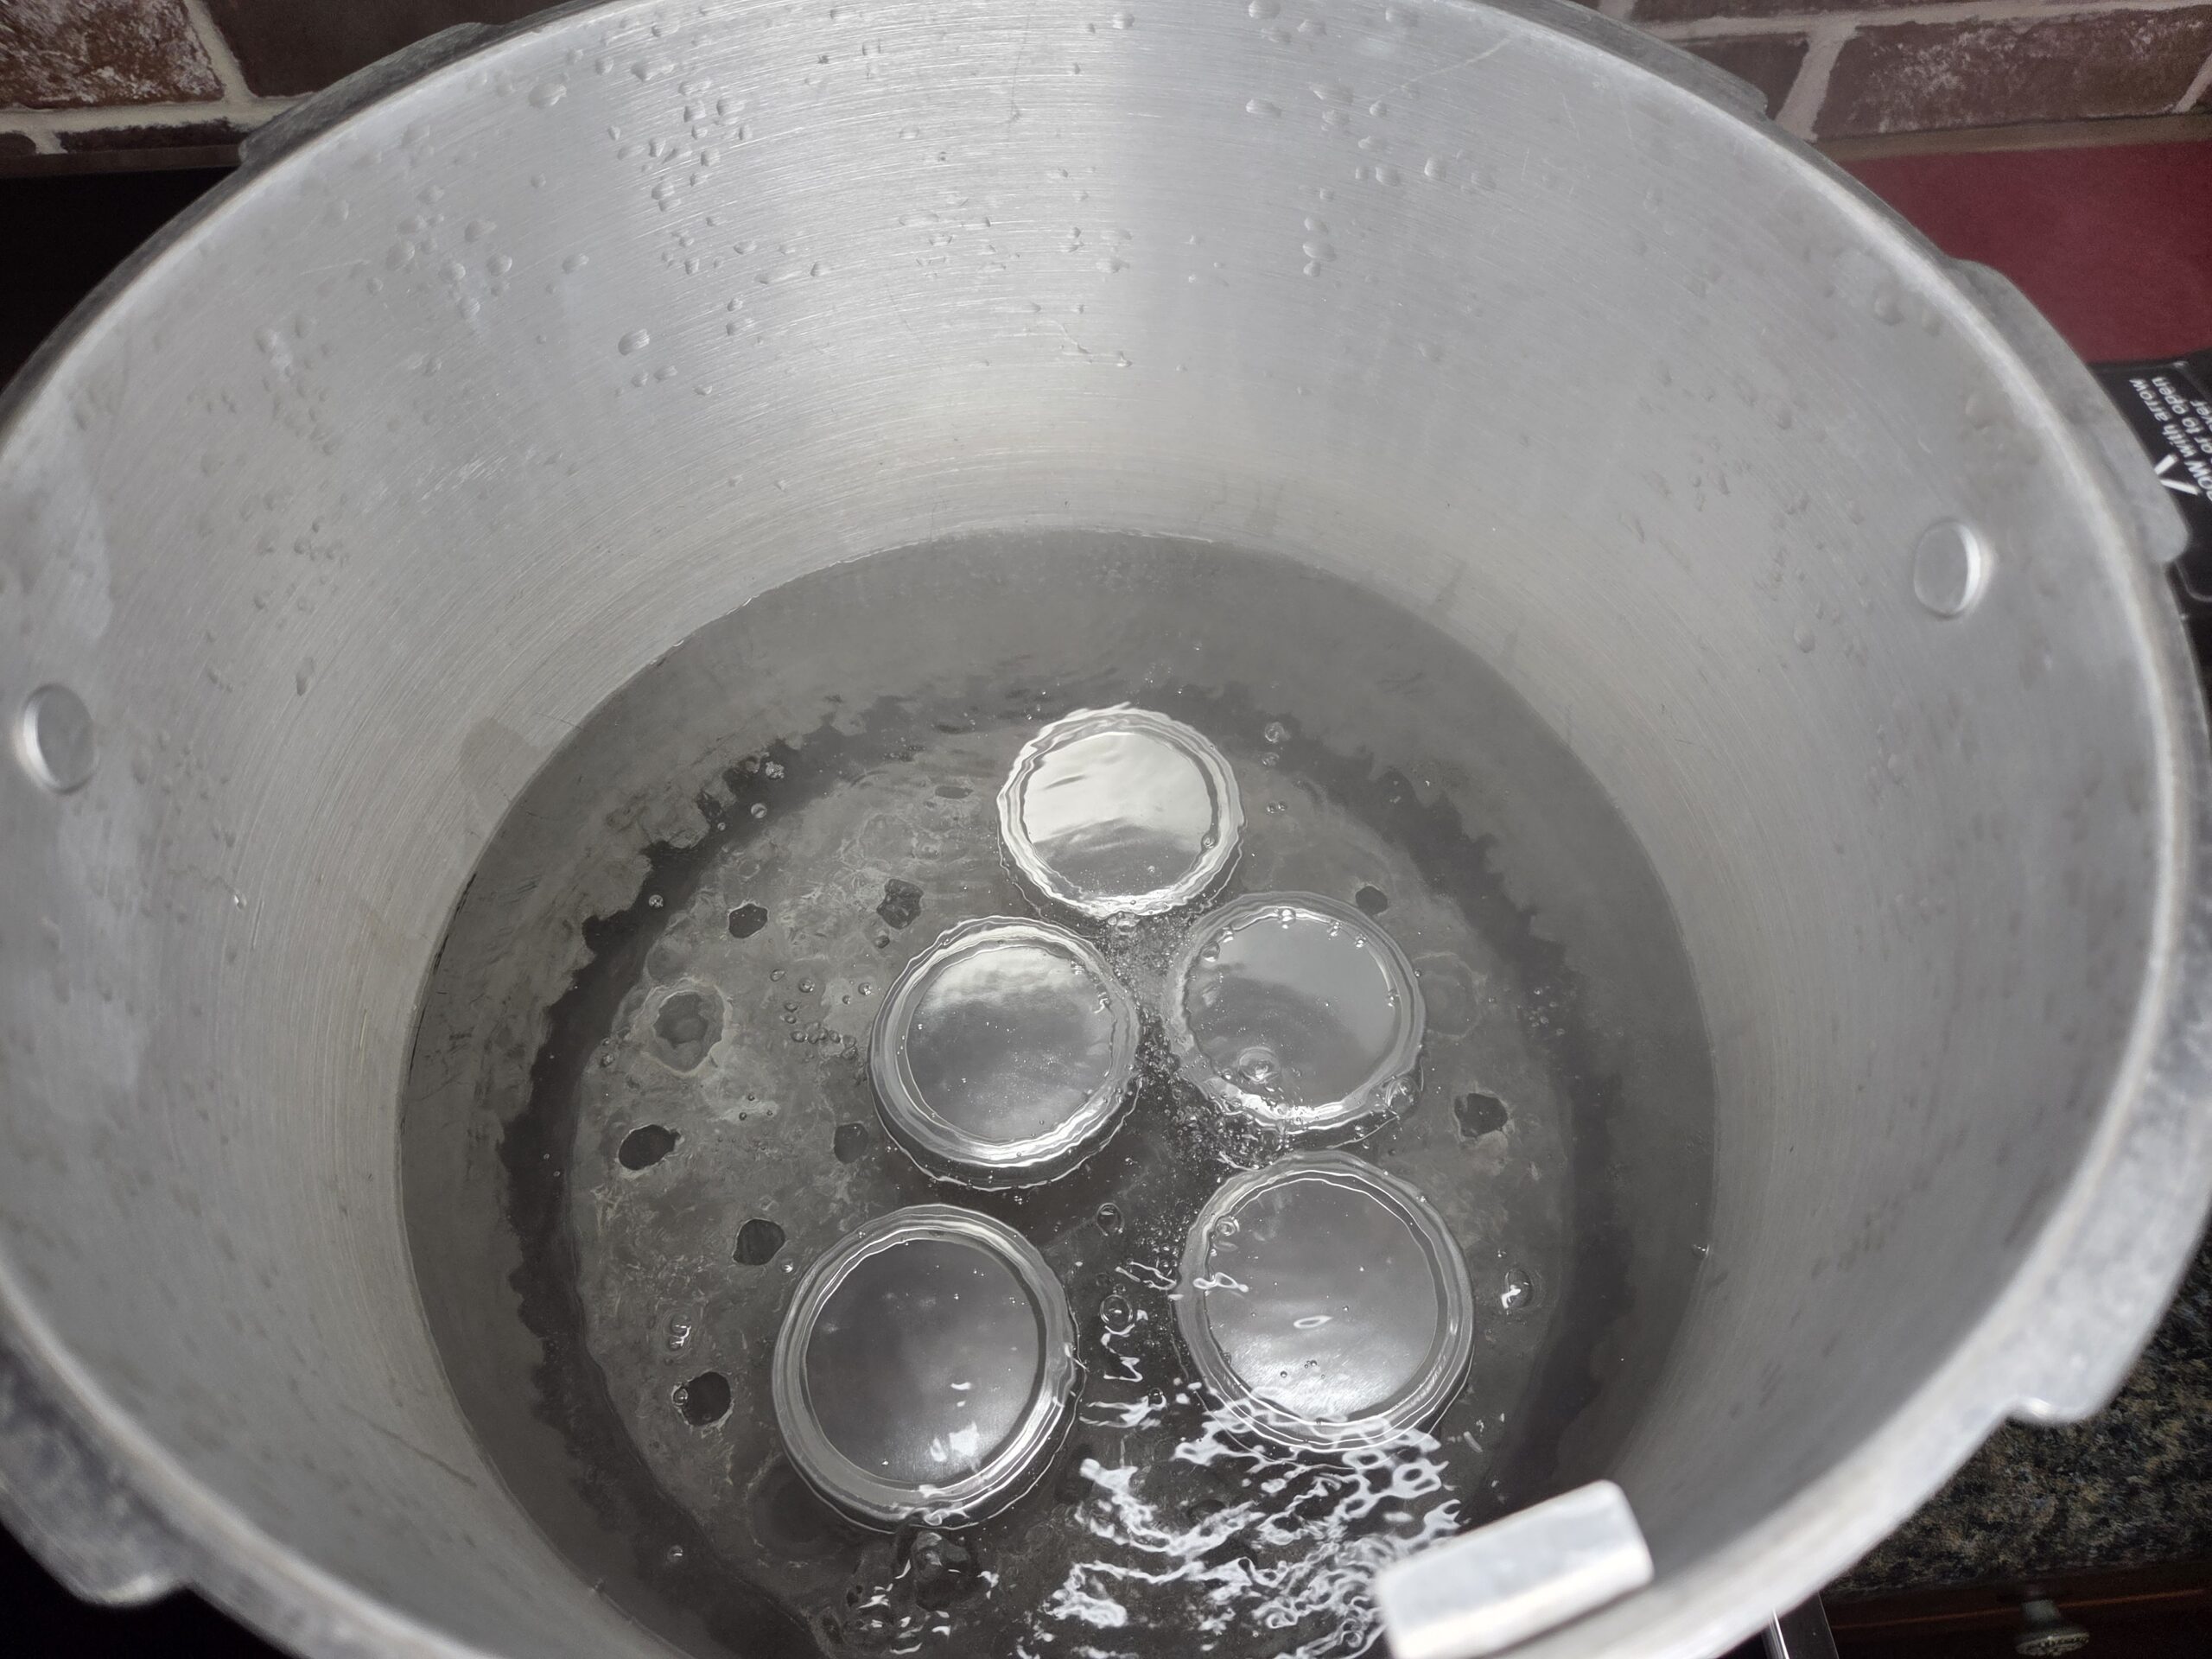
When the processing time is complete, turn off the heat, move the canner off the burner if possible, and carefully remove the lid. Let the jars rest in the hot water for 5 minutes before lifting them out. Place the jars upright on a towel‑lined countertop and leave them undisturbed for 12 to 24 hours. Jars may take several hours to seal, though many seal within the first 30 minutes or even during processing. After 12 hours, check the seals and clean the jars. Label with contents and date—store sealed jars for up to one year. Refrigerate any jars that did not seal.
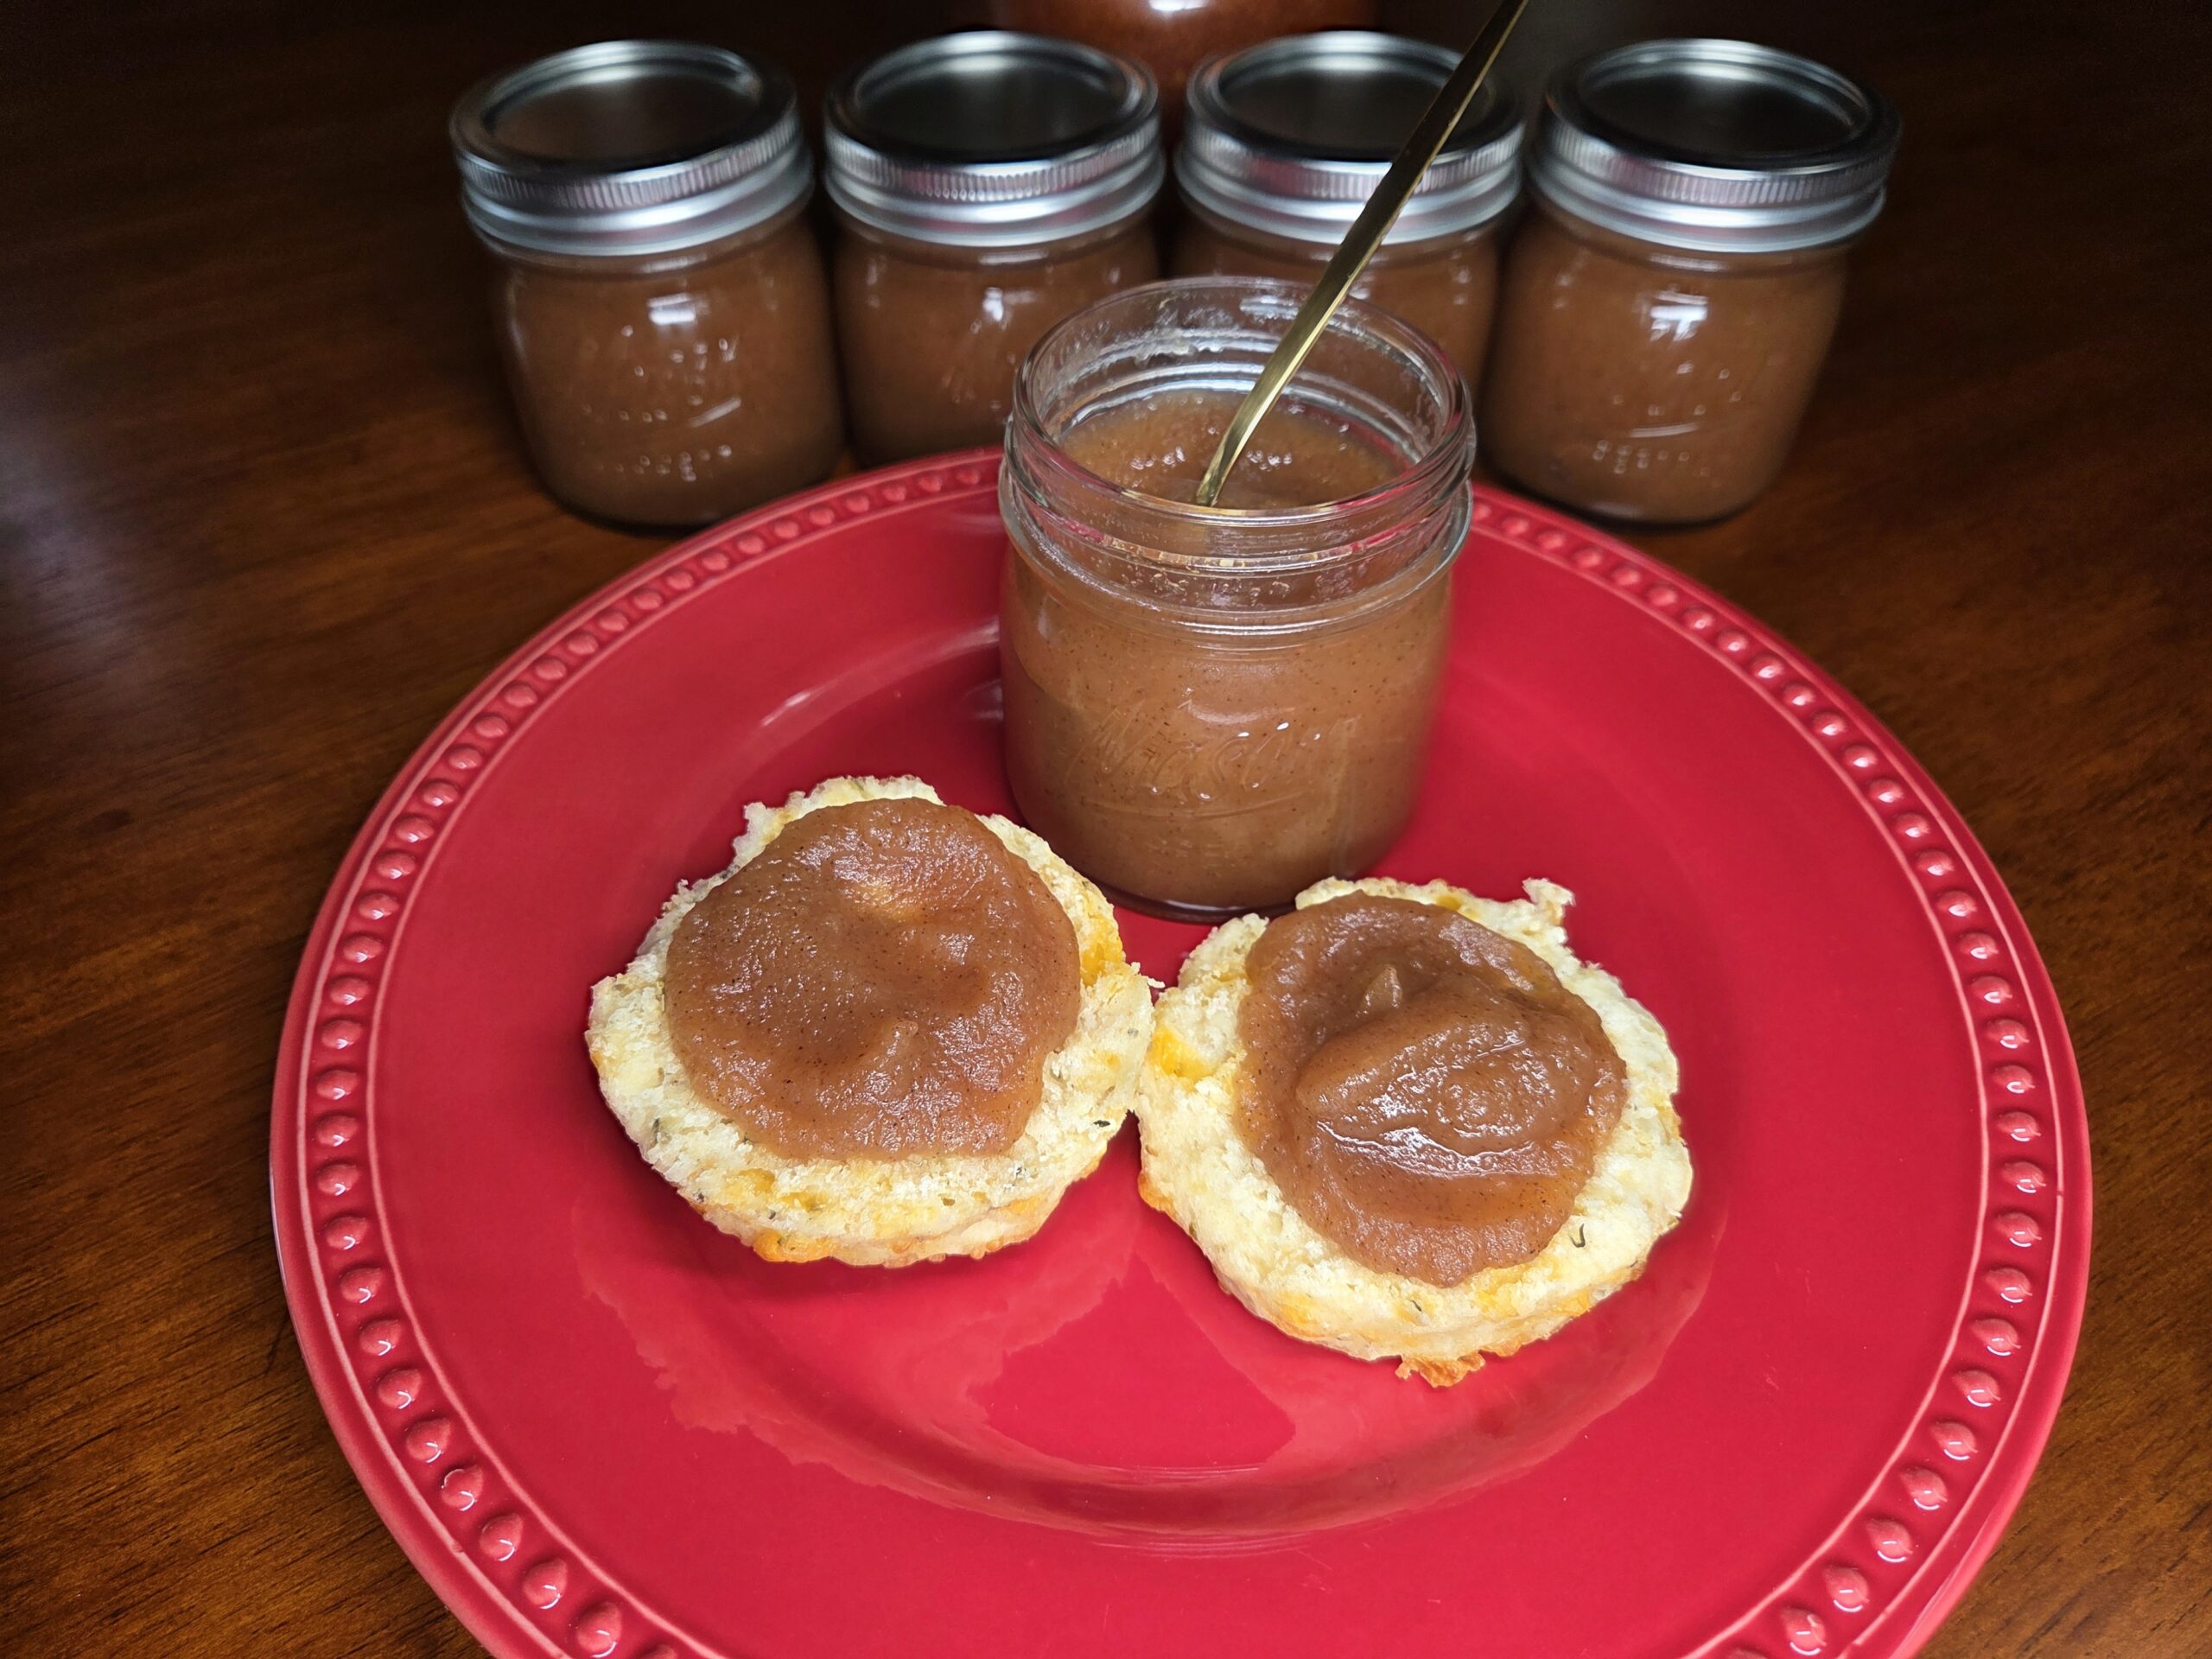
Enjoy!
If you love festive apple recipes, check out these flavorful favorites:
Conclusion
Kitchen Tools :Need some tools or ingredients to make this recipe? Use my Amazon Affiliate links to shop. I will make a small commission and it doesn't cost you any extra. Thank you for visiting.
Simply Organic Ground Ceylon Cinnamon Simply Organic Pure Ground Nutmeg Simply Organic Pure Vanilla Extract 7.5 Quart Enamel Cast-Iron Round Dutch Oven Cuisinart Smart Stick Two-Speed Hand Blender, 300-Watt Presto 23-Quart Induction Compatible Pressure Canner Check out all of my kitchen essentials here in my Amazon store. Originally published on: Nov 5, 2024


Leave a Review