

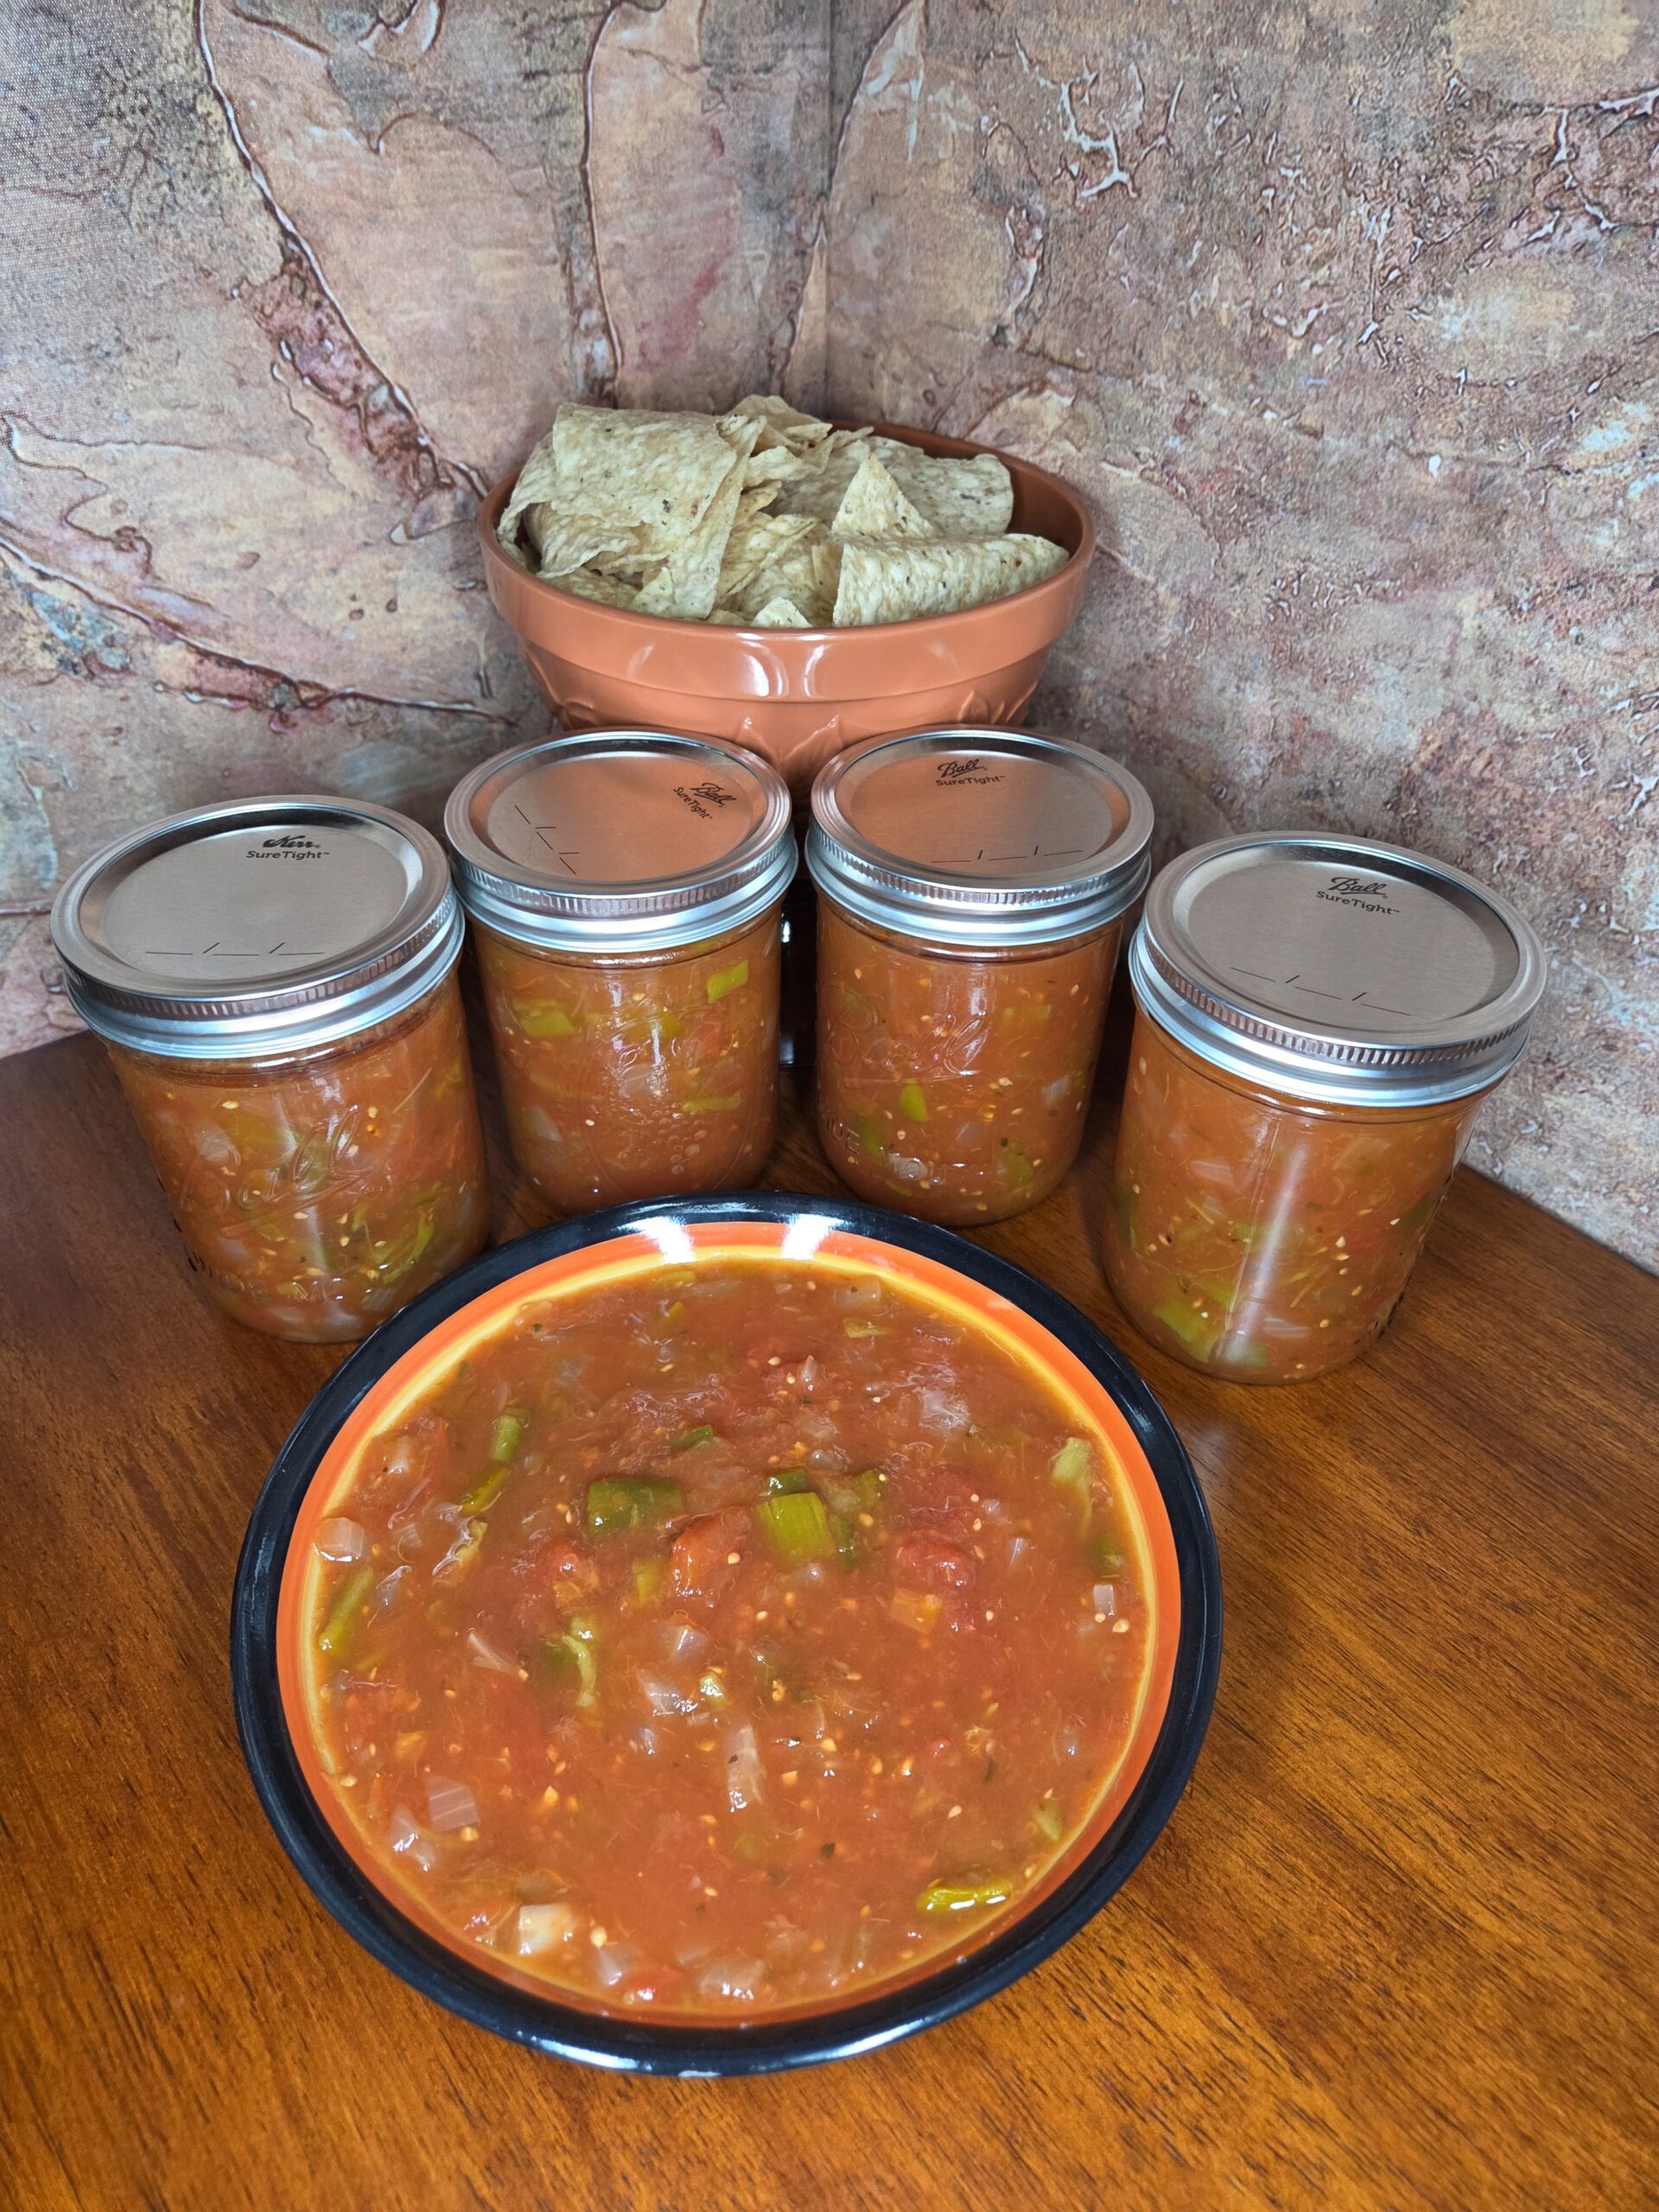
-
Prep Time40 minutes
-
Cook Time25 minutes plus pressure canning time
-
Serv SizeYield: 8 pints
This sauce captures the smoky depth of garden peppers with the bright, fresh sweetness of ripe tomatoes.
Ingredients
Directions
This Mexican Hot Tomato Sauce, or Salsa de Chile Fresco, layers smoky chile heat with the bright sweetness of garden‑ripe tomatoes. Perfect over tacos, enchiladas, tamales, grilled or roasted meats and fish, it’s equally irresistible with tortilla chips, bringing vibrant harvest flavor to your table well into winter.
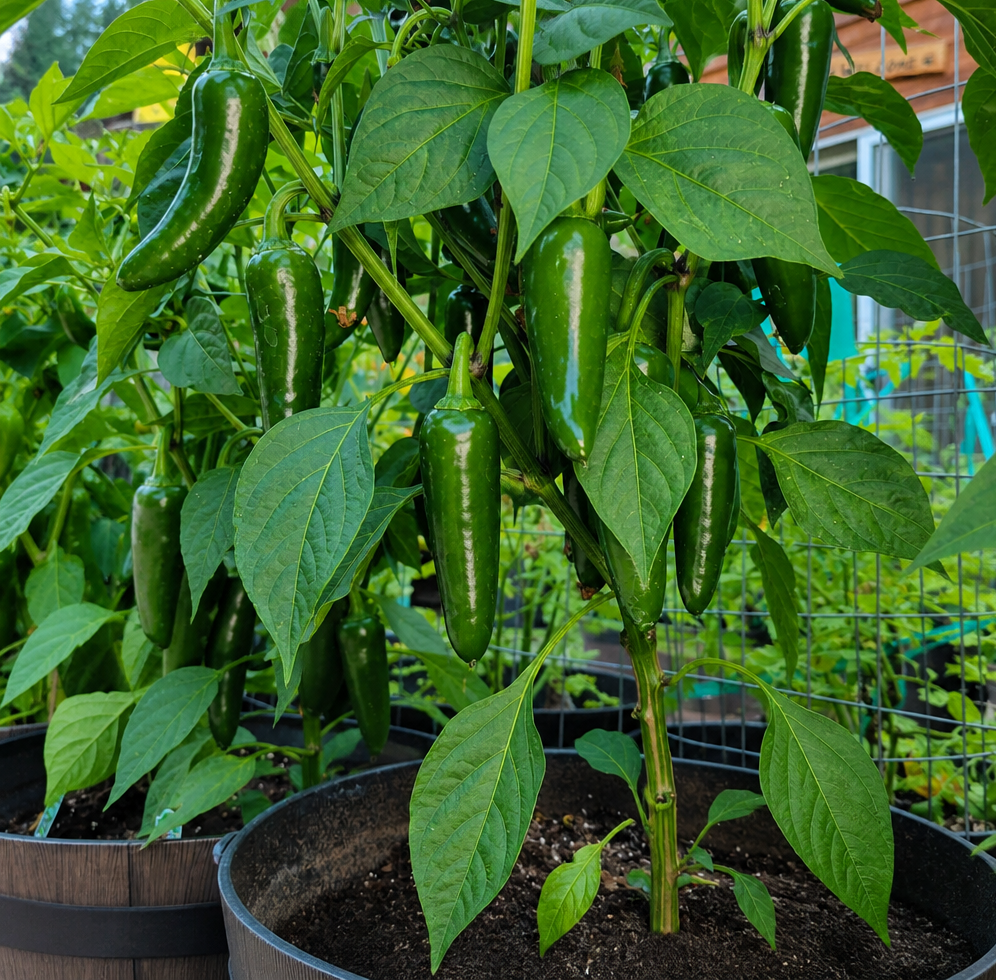
This tested recipe is one of my favorite ways to preserve garden peppers and tomatoes. This year we have a bounty of tomatoes, jalapeño peppers, poblano, Hatch, and Anaheim peppers—feel free to use any mix of peppers you enjoy, as long as the total is 1 1/2 pounds. The most important thing to know about canning this sauce at home is that it should be pressure‑canned. The ingredients in this sauce are considered “low‑acid foods,” meaning their pH is too high for safe water‑bath canning. Pressure canning ensures proper heat penetration, safety, and shelf stability. The result is a rich, smoky sauce with fresh garden flavor that you can enjoy well into the winter months.
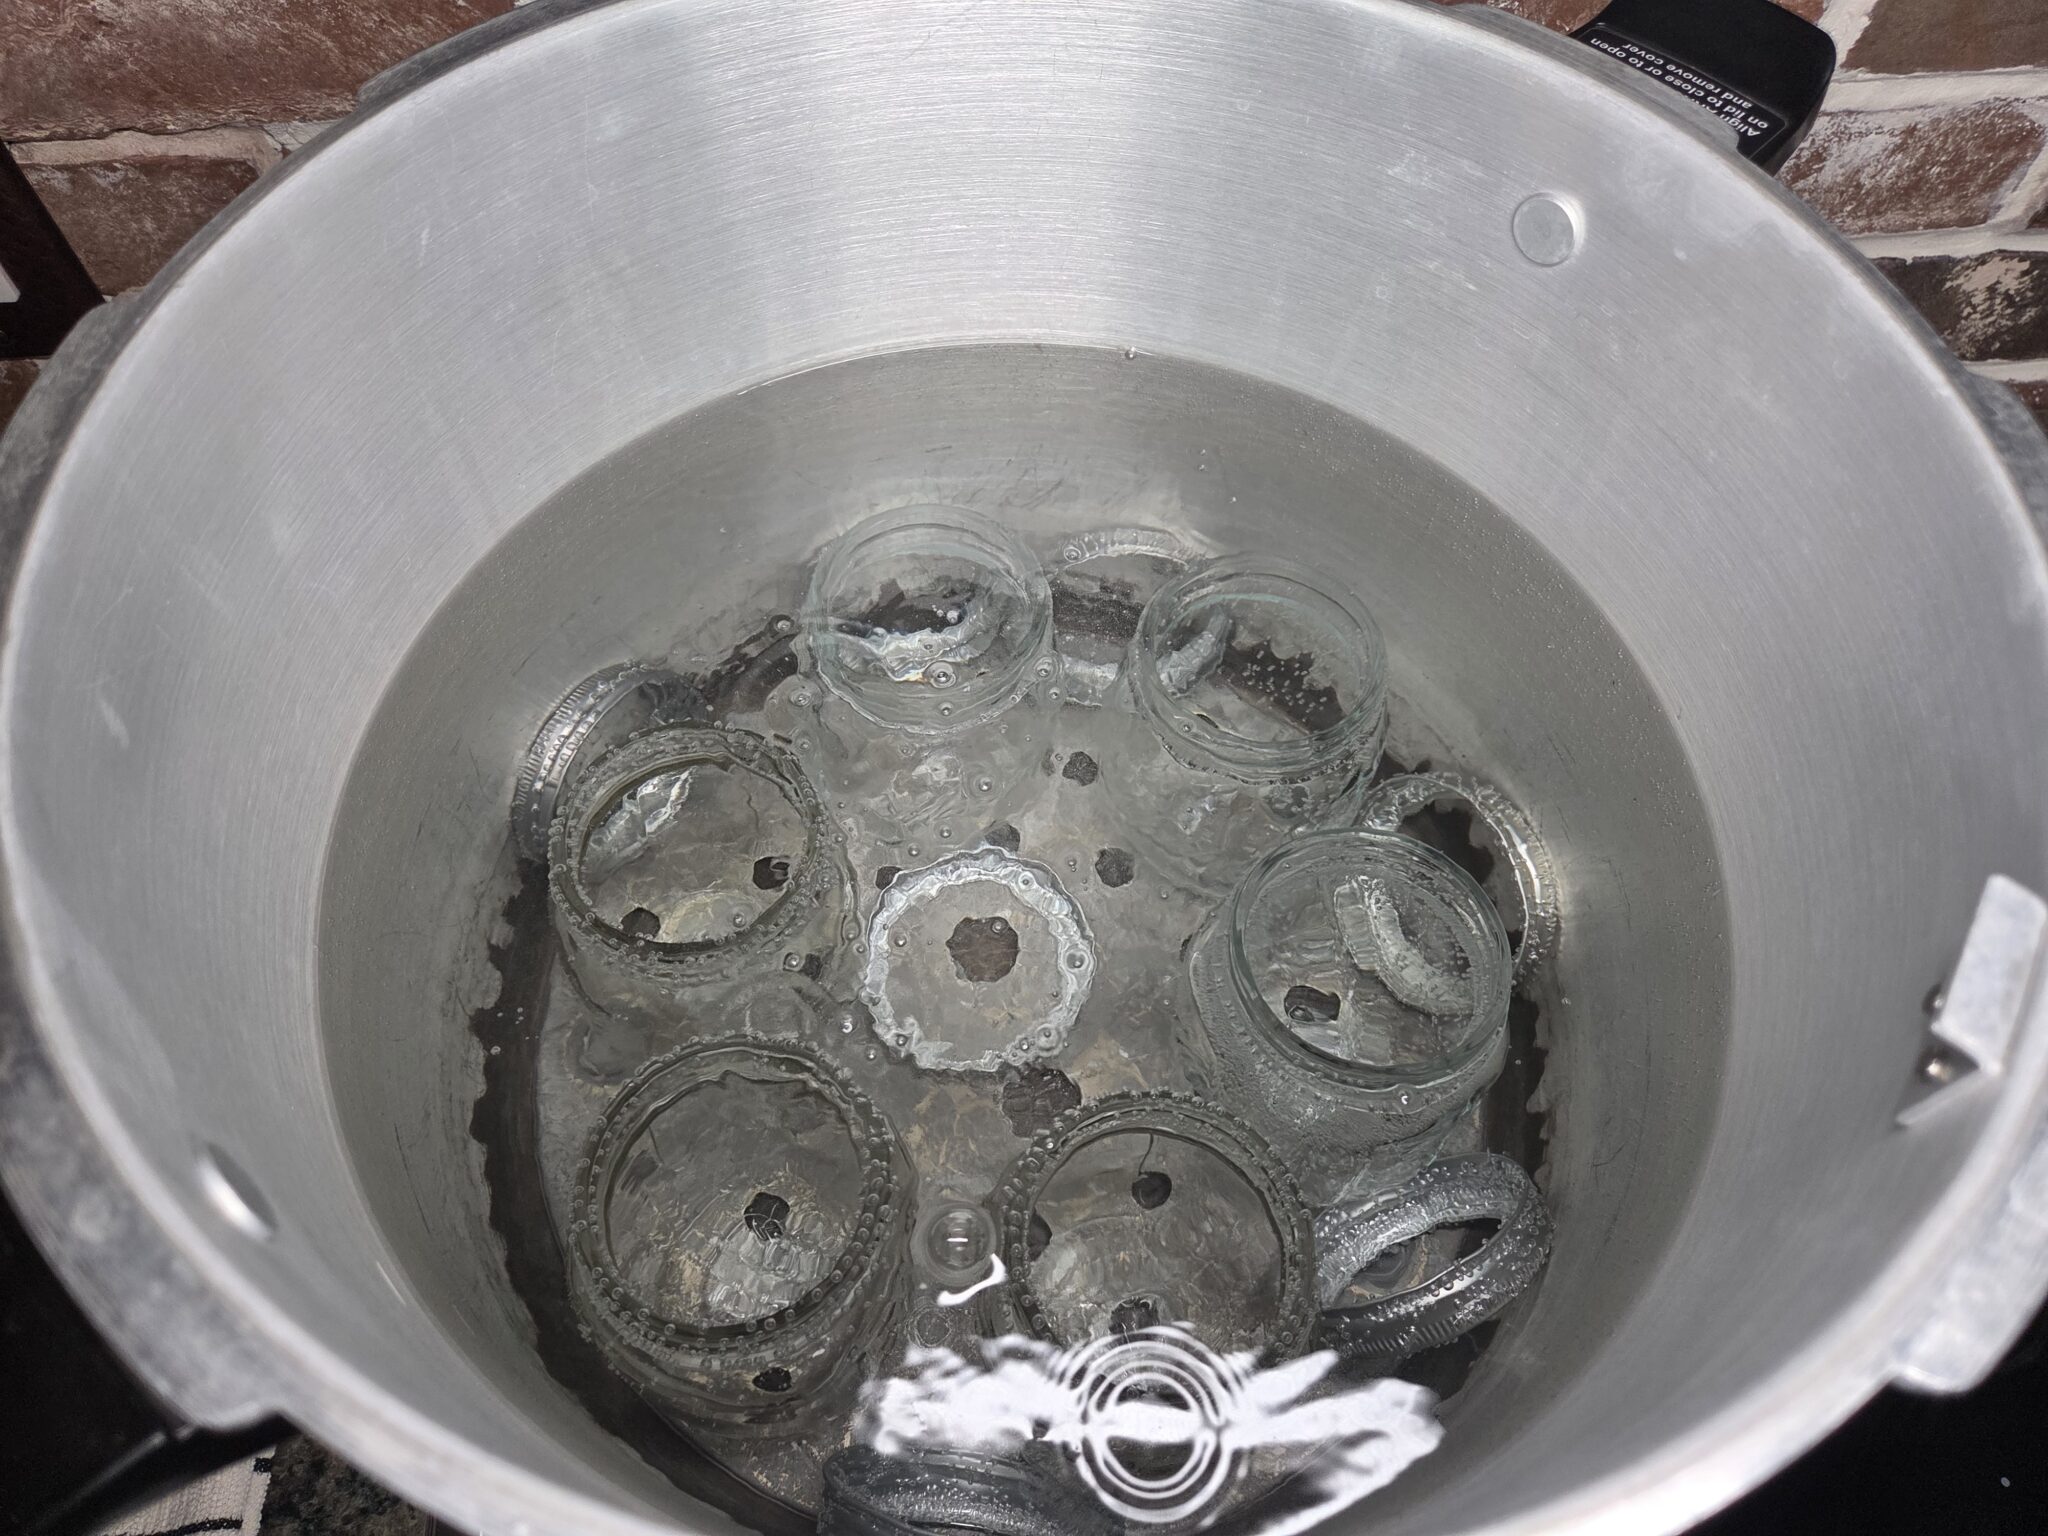
Wash the jars, lids, and bands in warm, soapy water and rinse well. Place the jars right side up in a boiling‑water canner fitted with a canning rack . Do not boil lids. Add warm water until it covers the jars by about 1 inch. Bring the water to a boil and boil the jars for 10 minutes if you are below 1,000 feet elevation; add 1 minute of boiling time for every additional 1,000 feet. Reduce the heat and keep the jars hot until you’re ready to fill them.
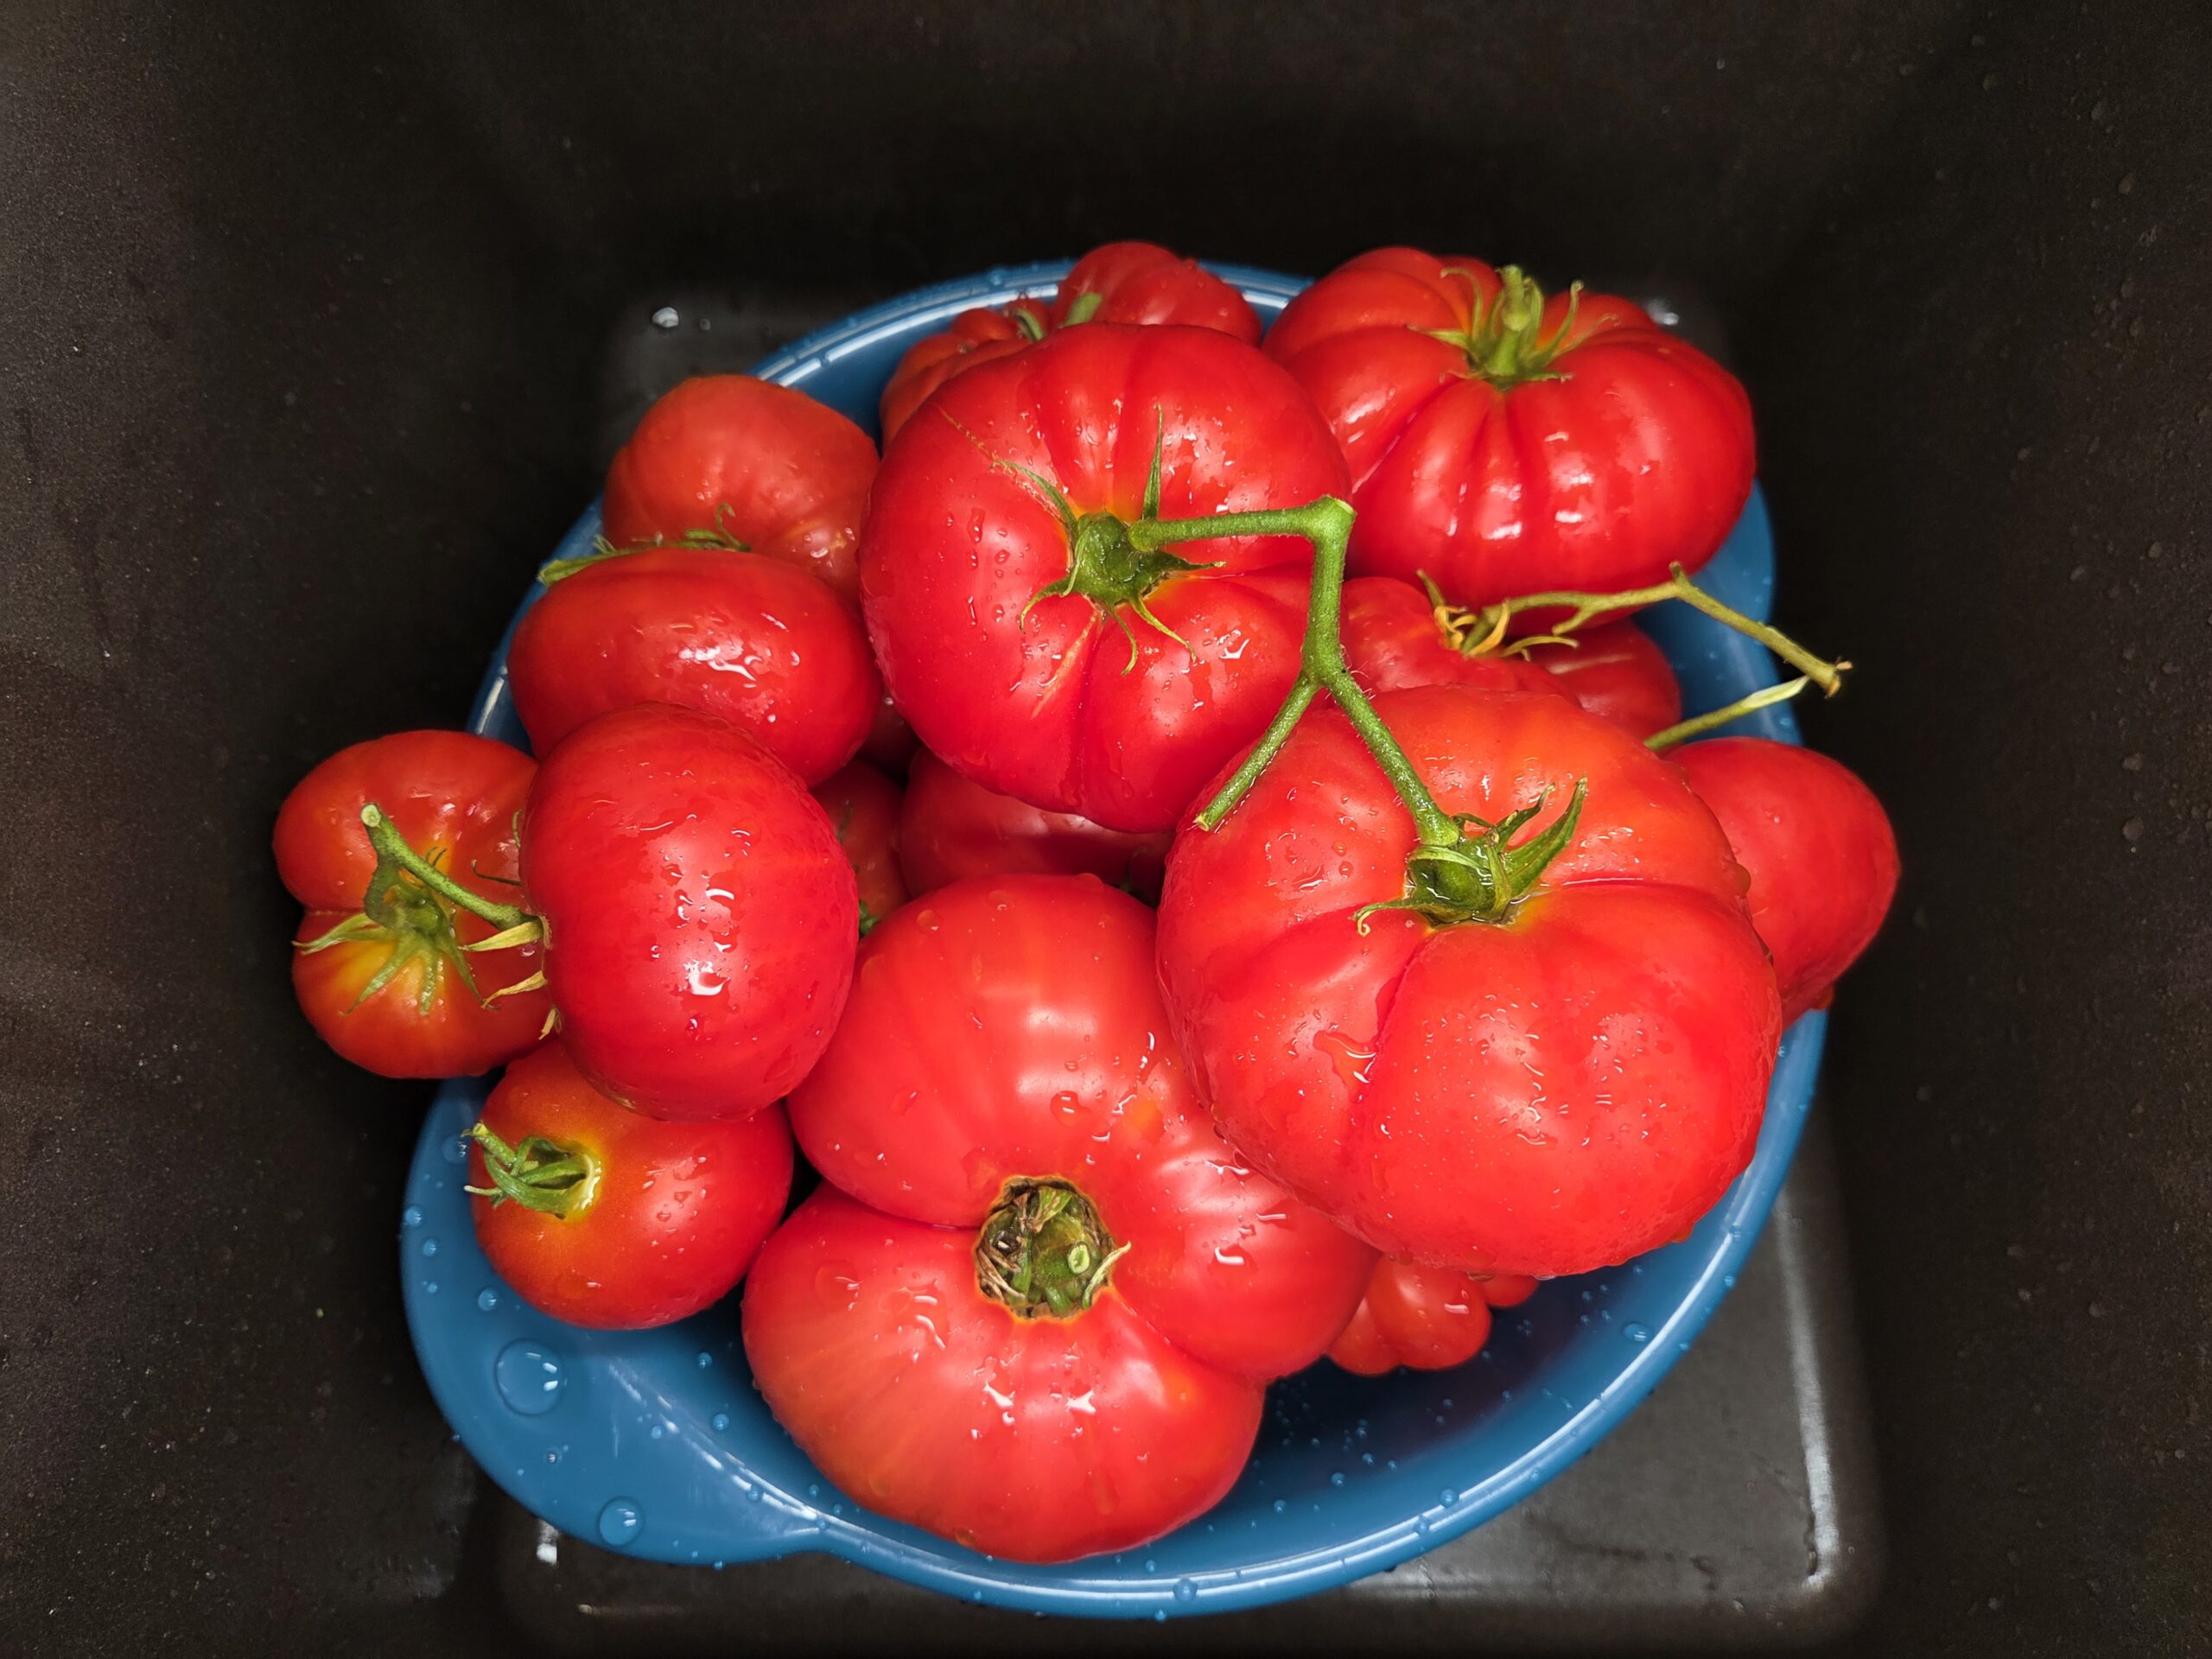
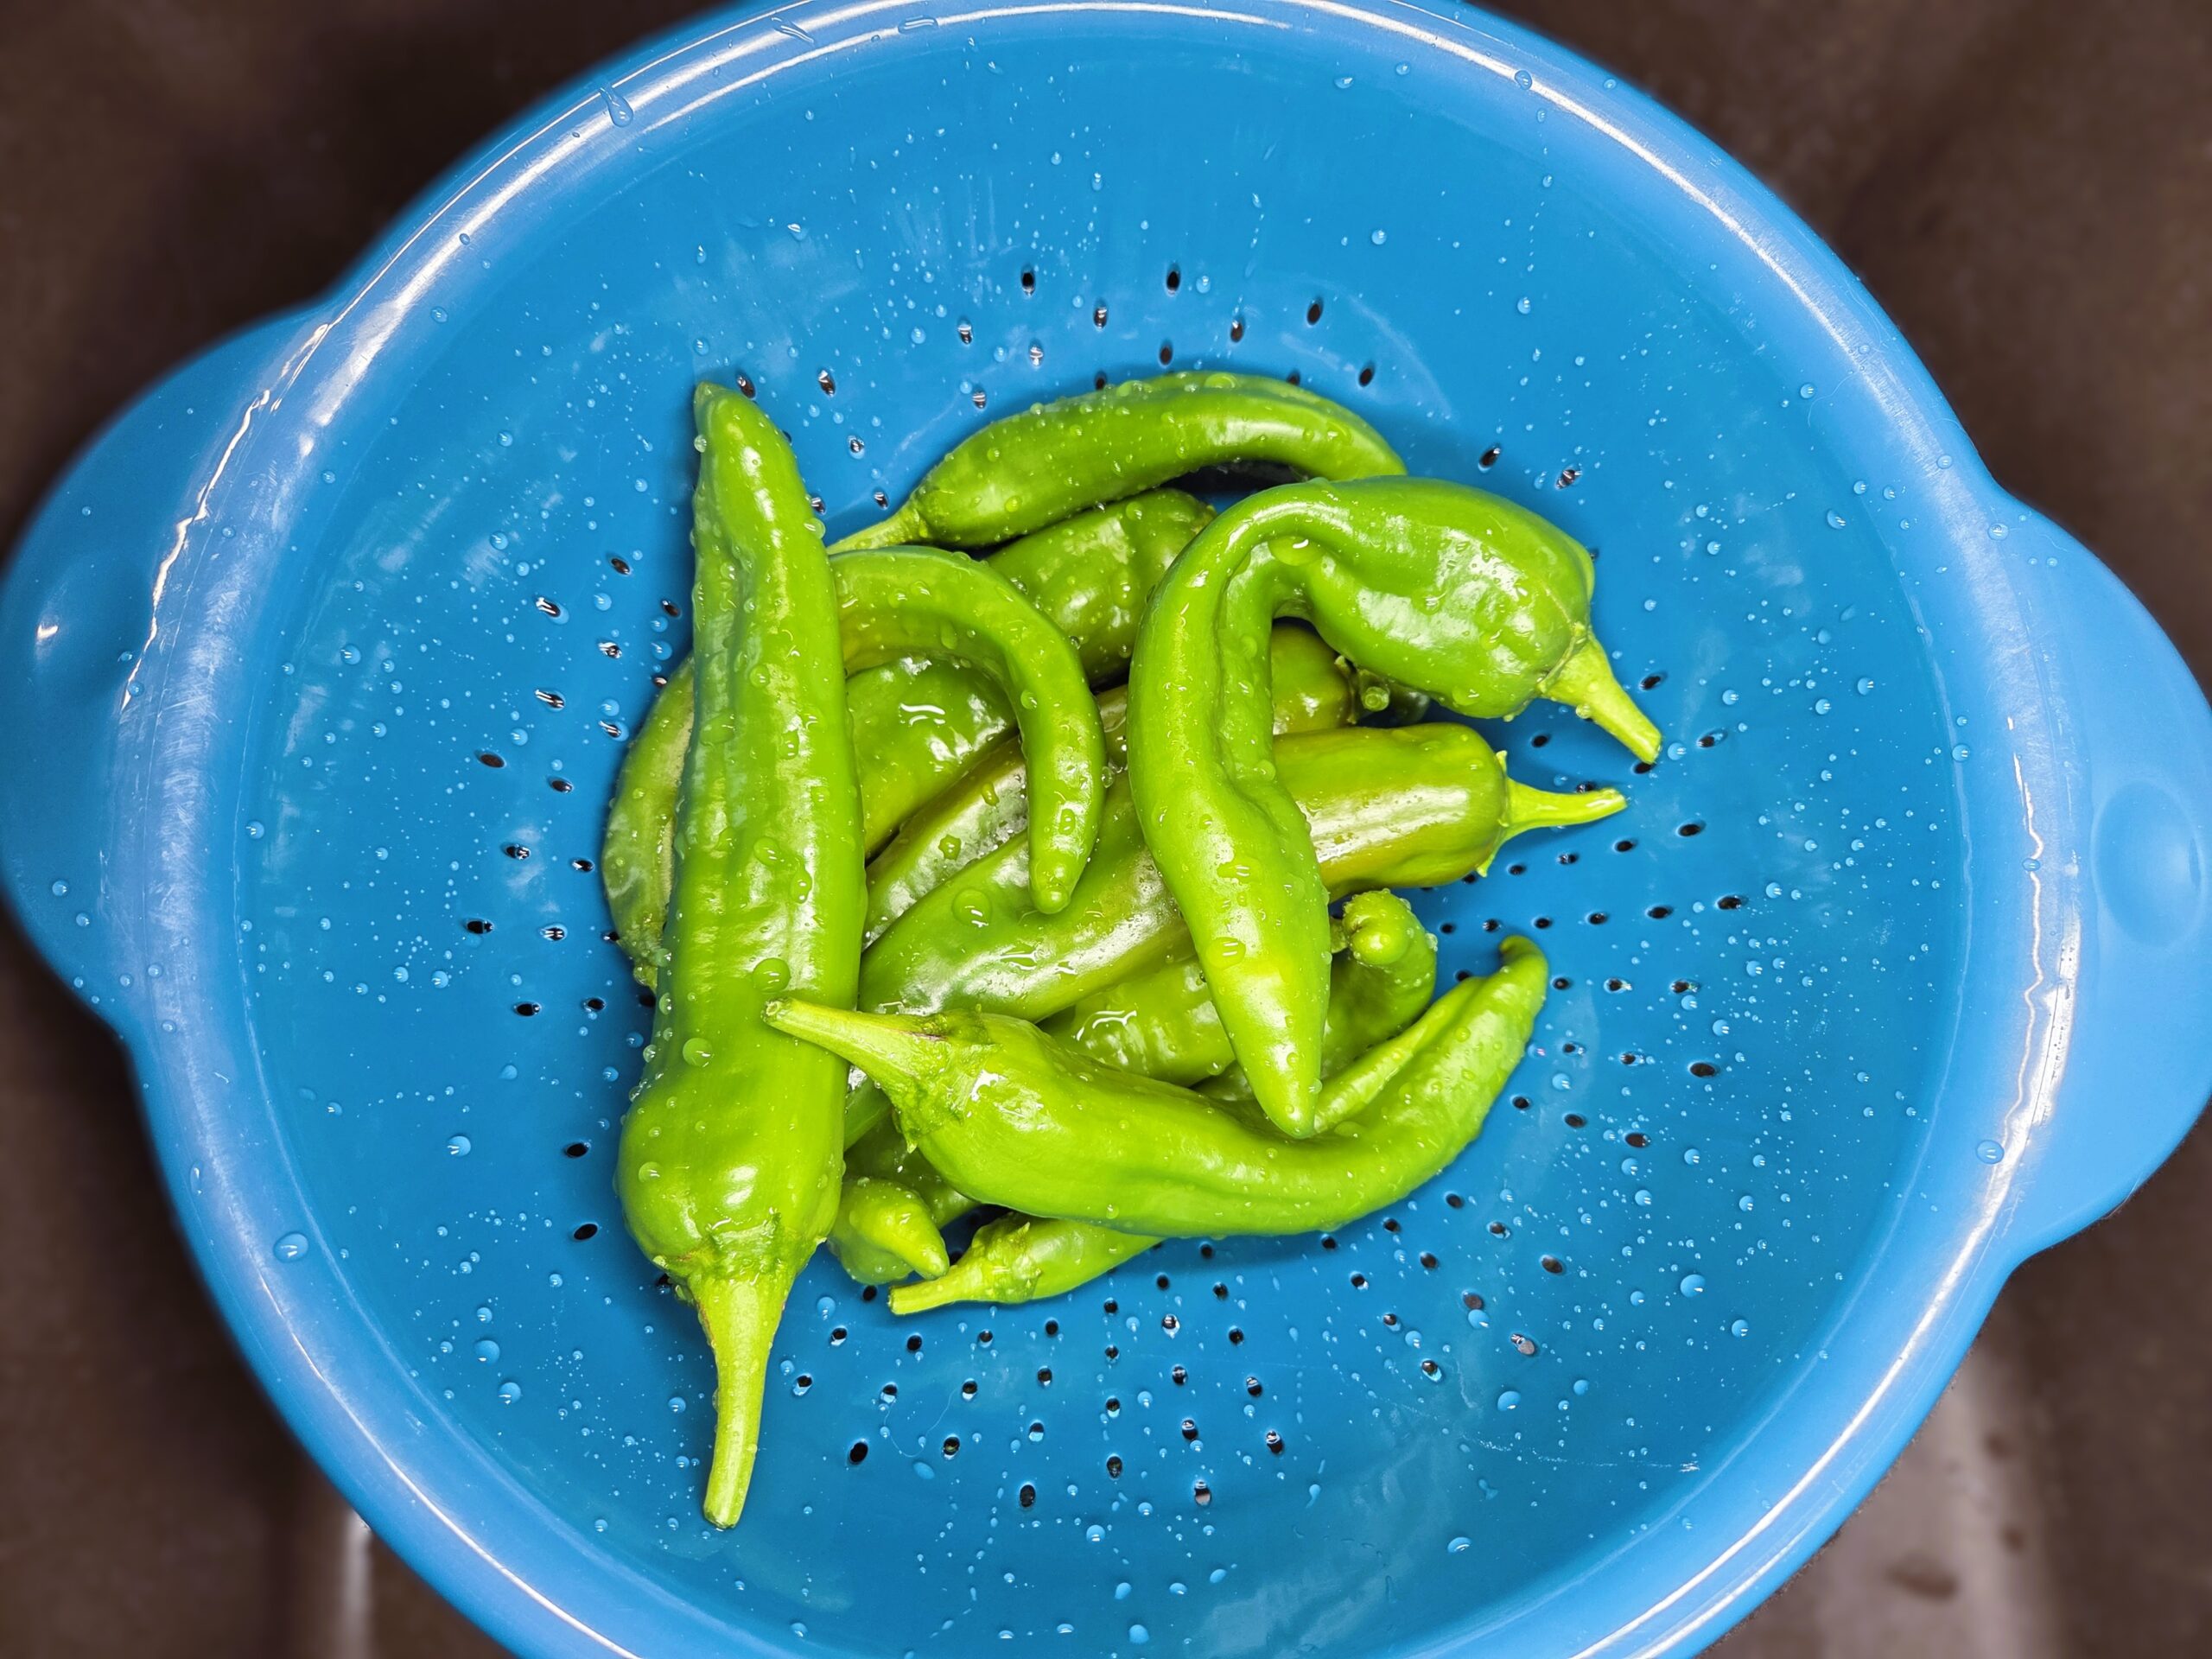
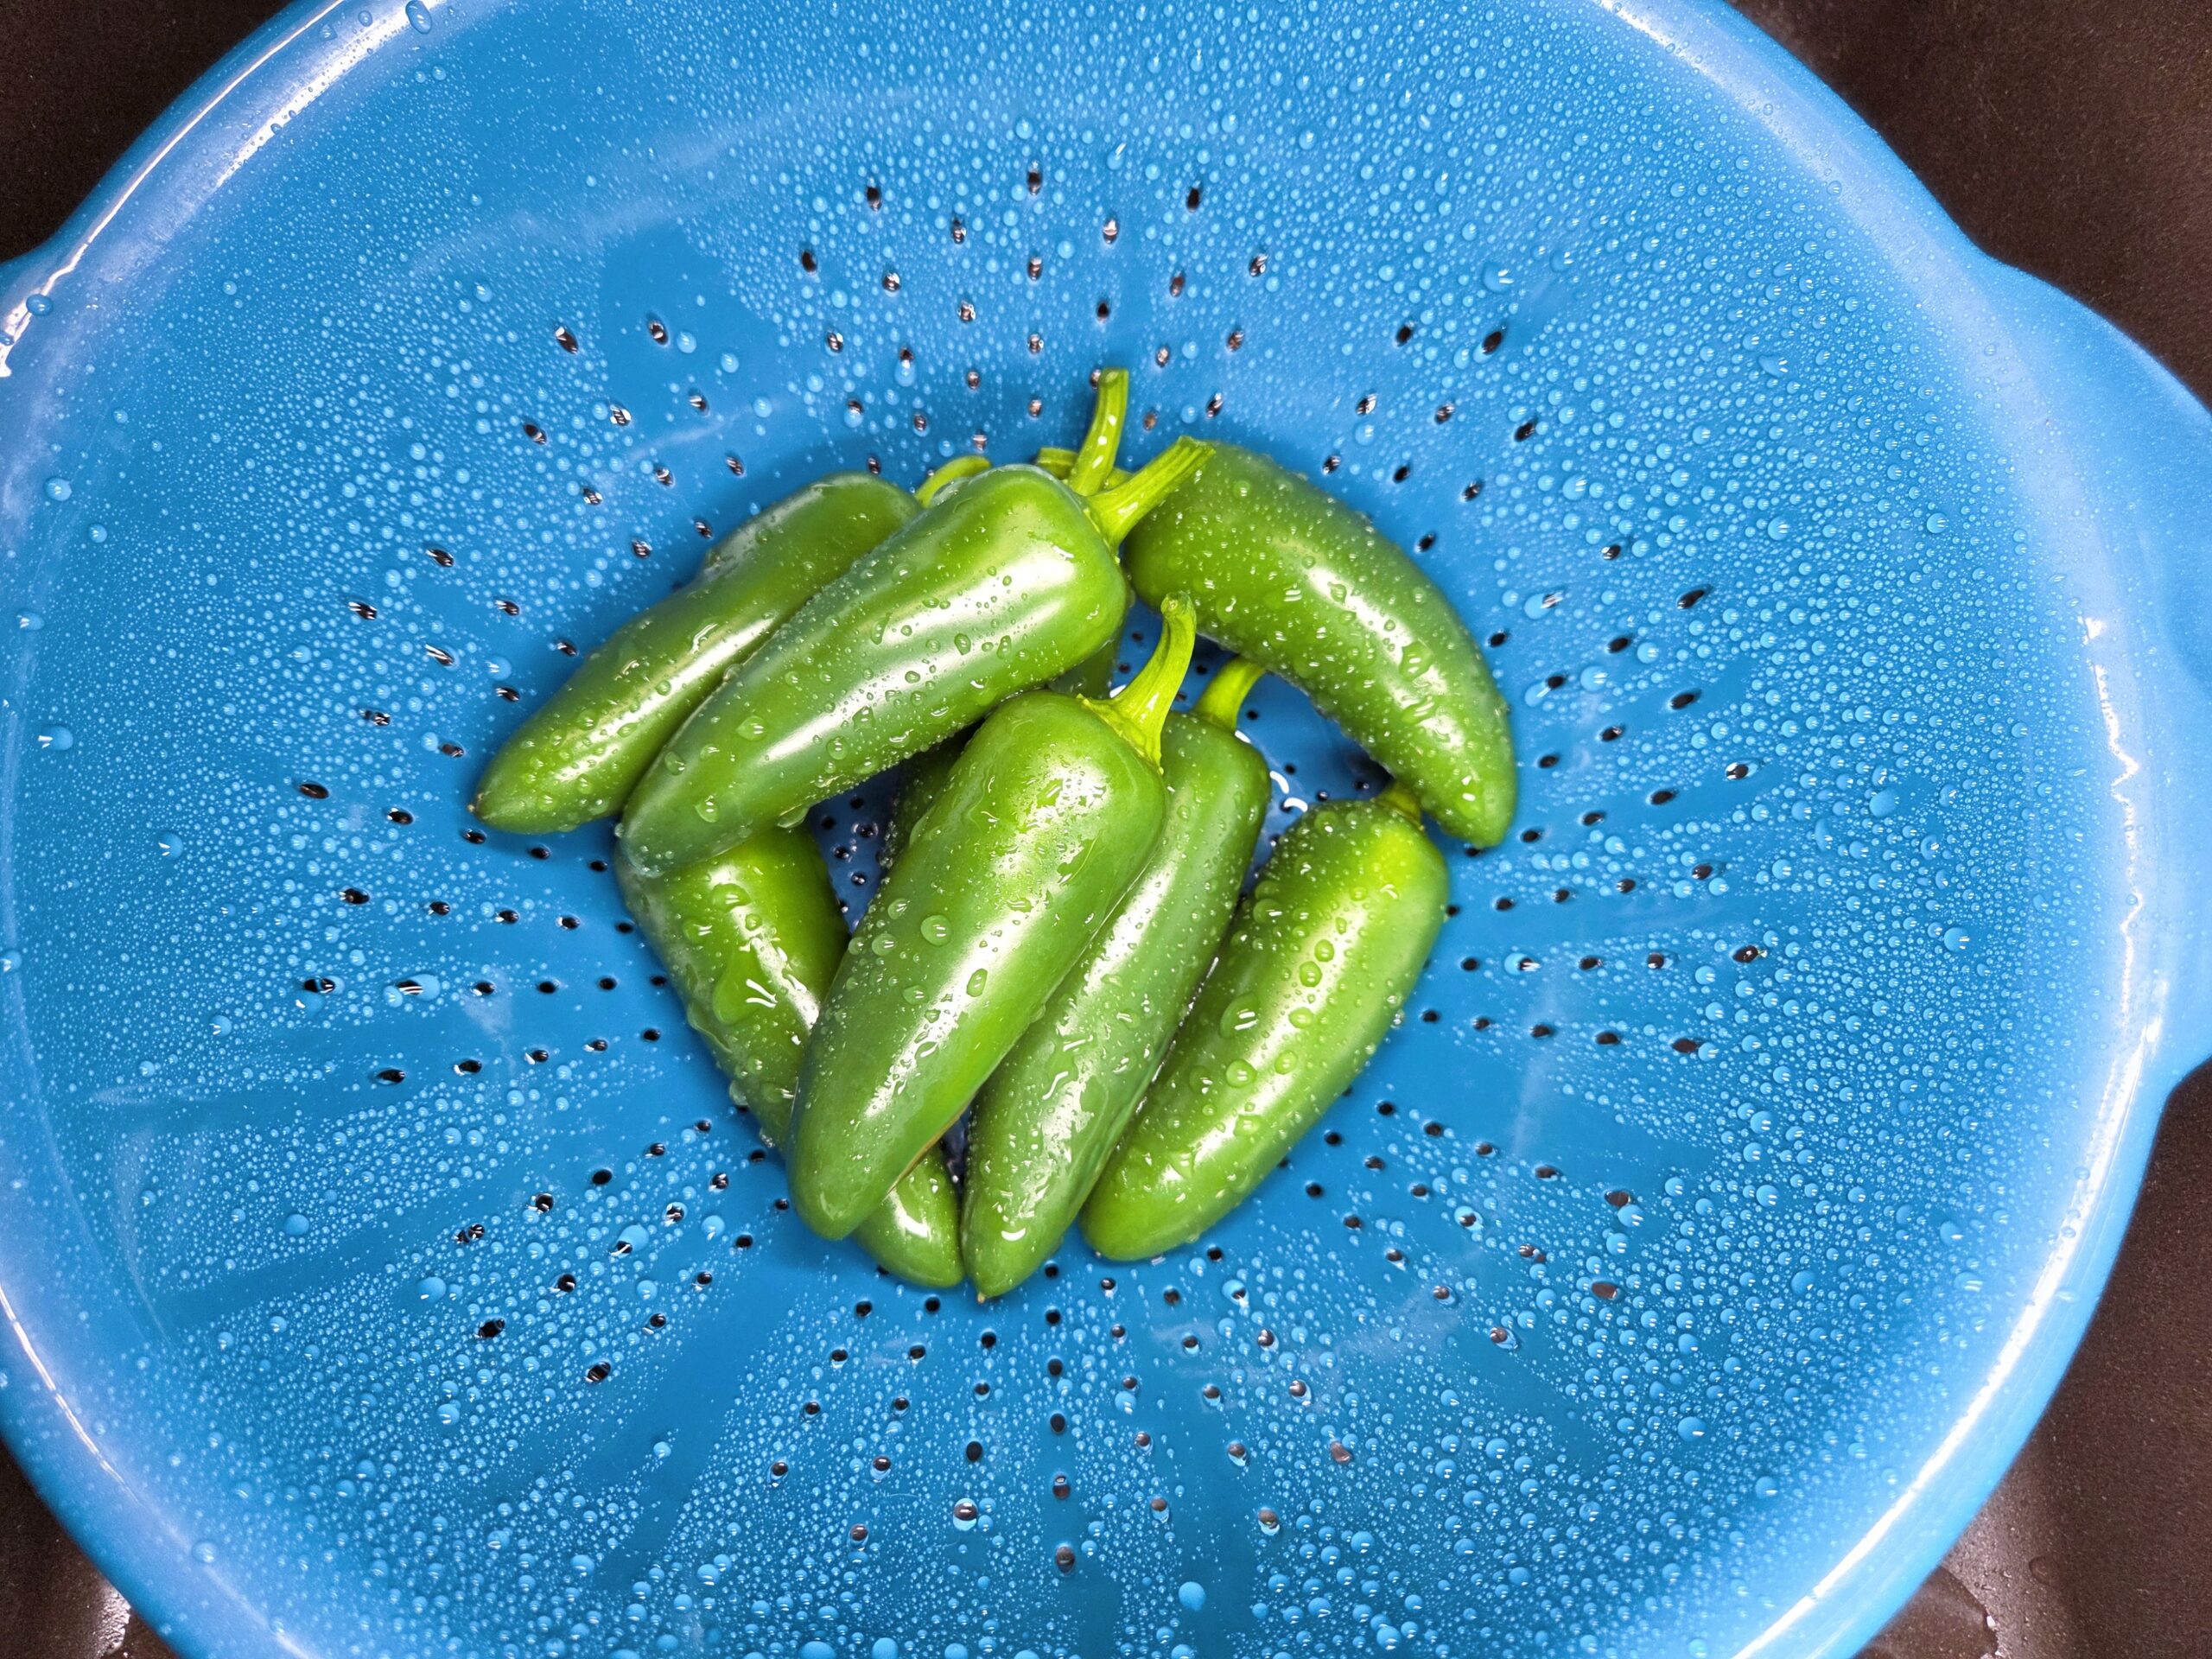
First, wash all of the produce thoroughly under cool running water, removing any dirt or debris. I’m using 9 pounds of garden tomatoes, plus 1½ pounds of a mix of Anaheim, Hatch, and jalapeño peppers.
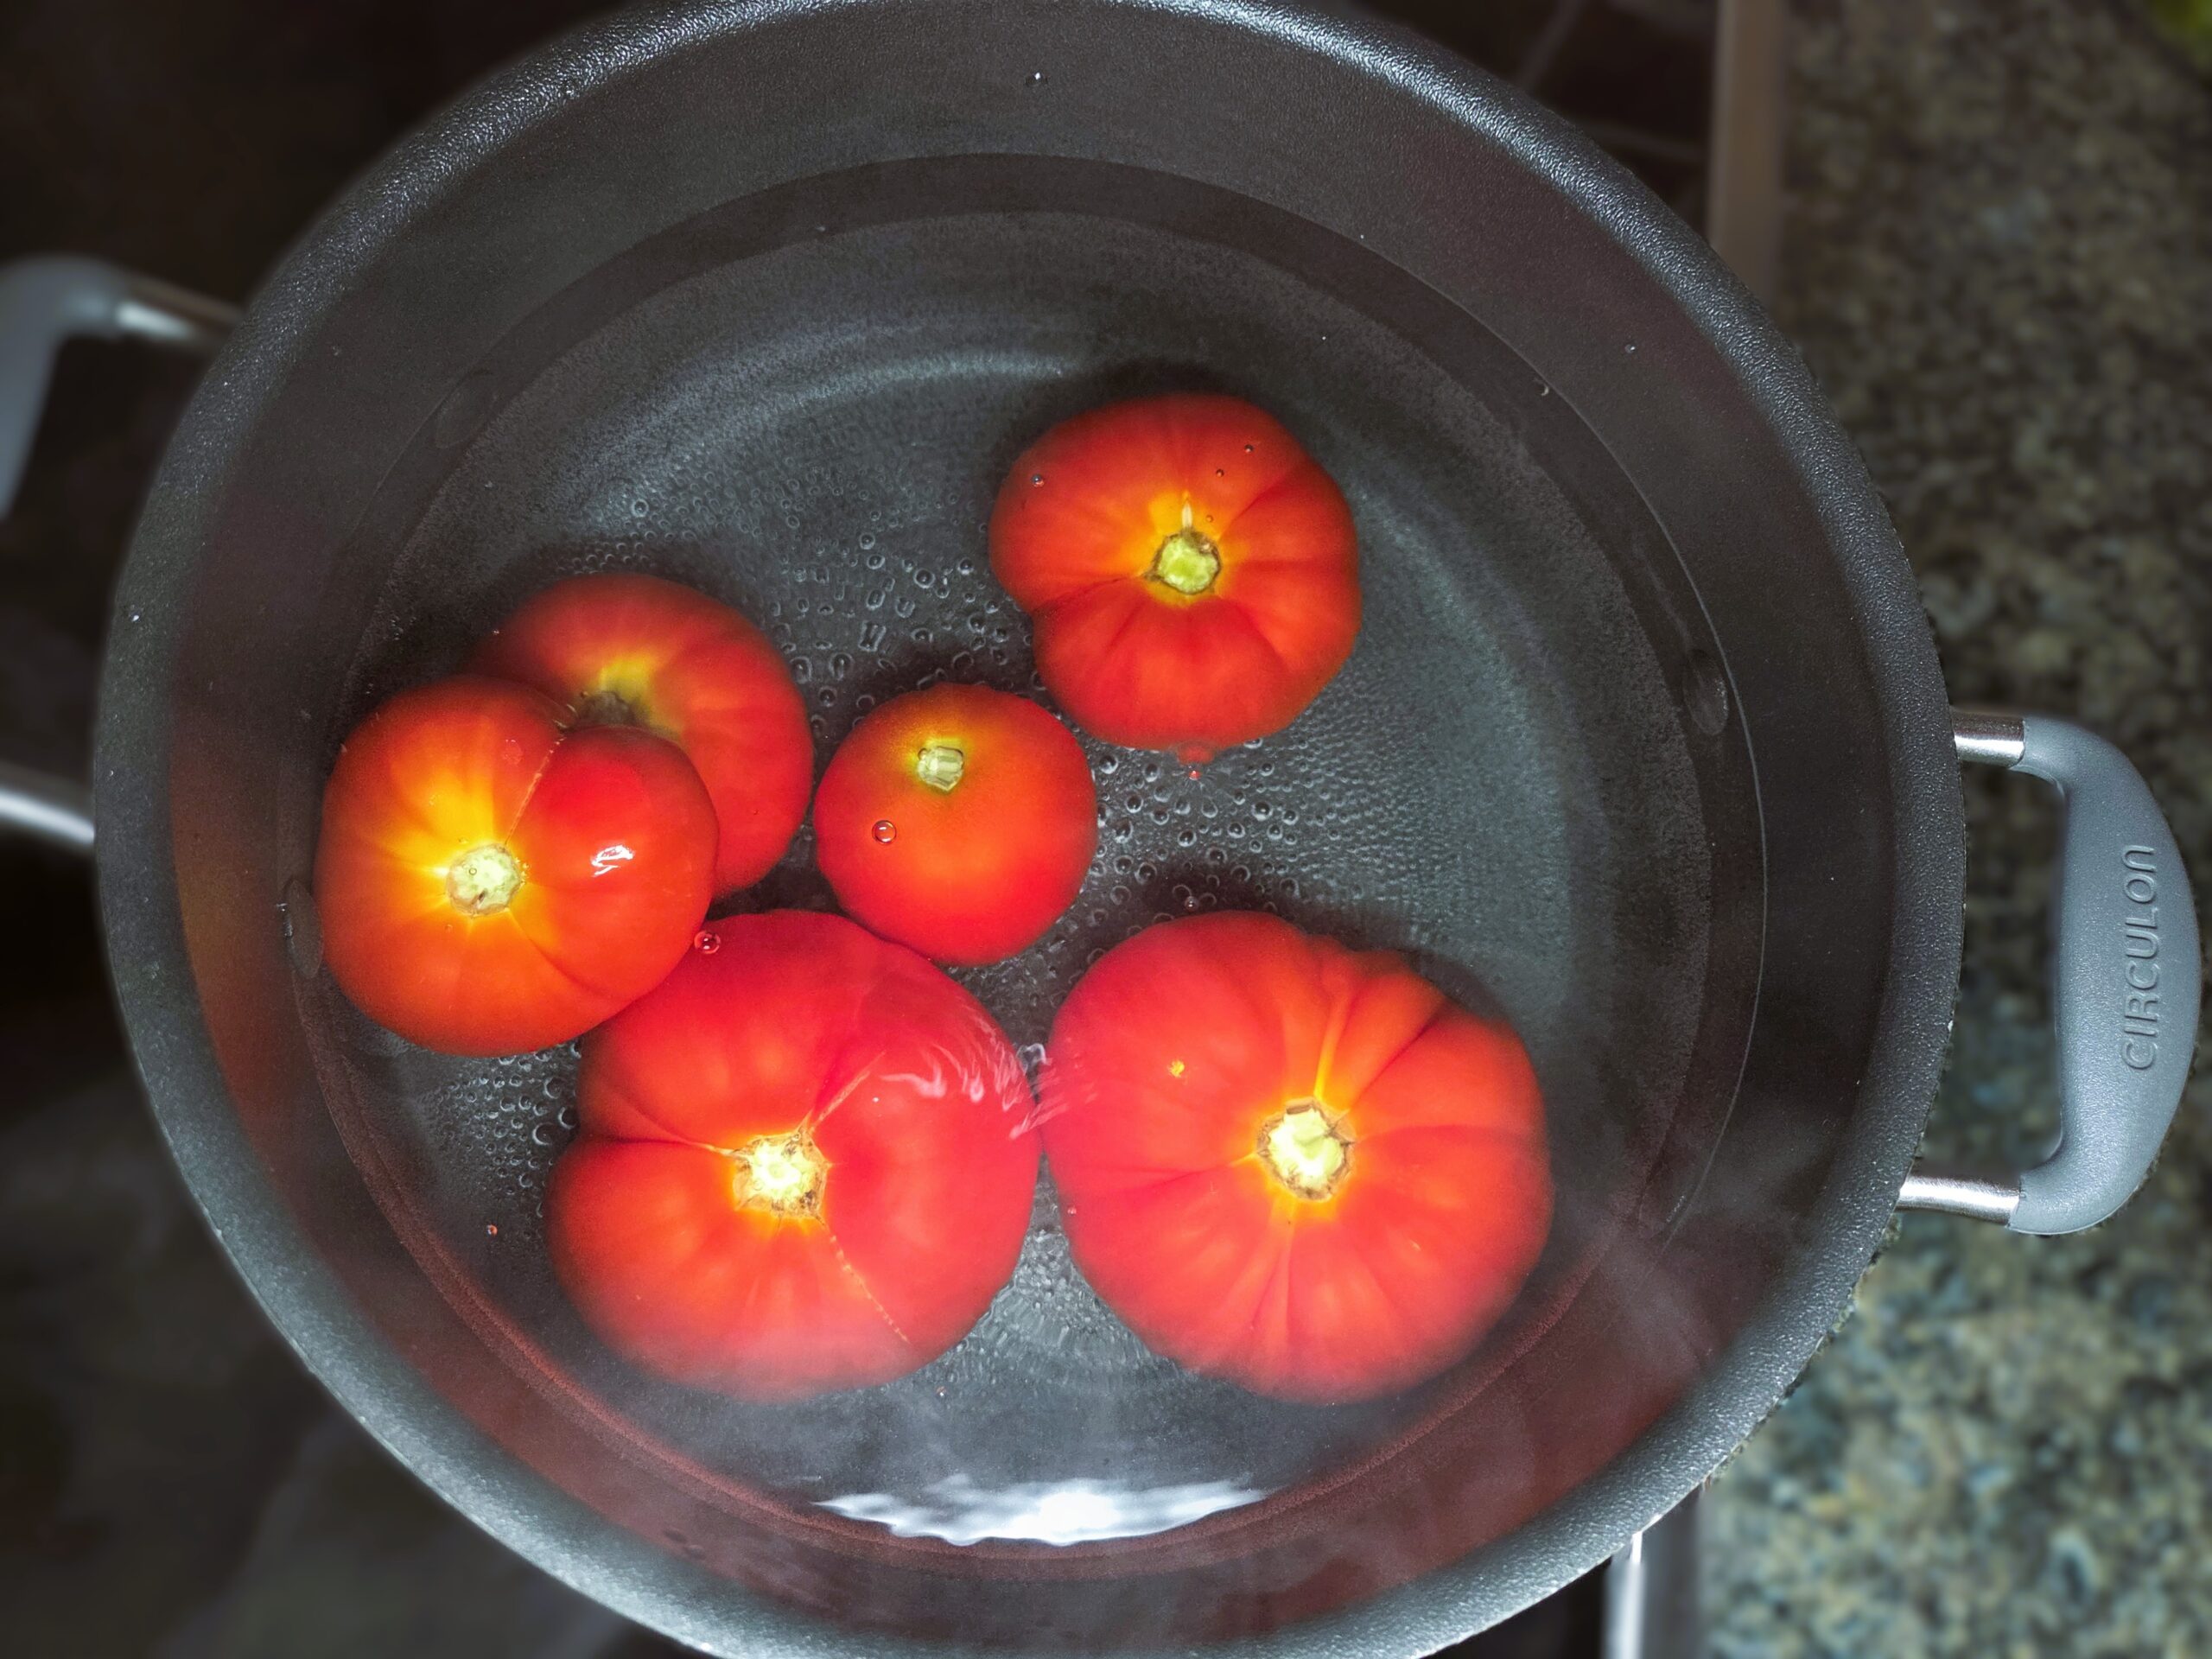
Bring a large pot of water to a boil. Score the bottom of each tomato with a small “X,” cutting just through the skin but not into the flesh. Fill a large stainless‑steel bowl with a couple of cups of ice and a couple of cups of cold water to create an ice‑water bath. Carefully lower the tomatoes into the boiling water and blanch for 30–60 seconds. The skins will begin to loosen and split at the scored “X.”
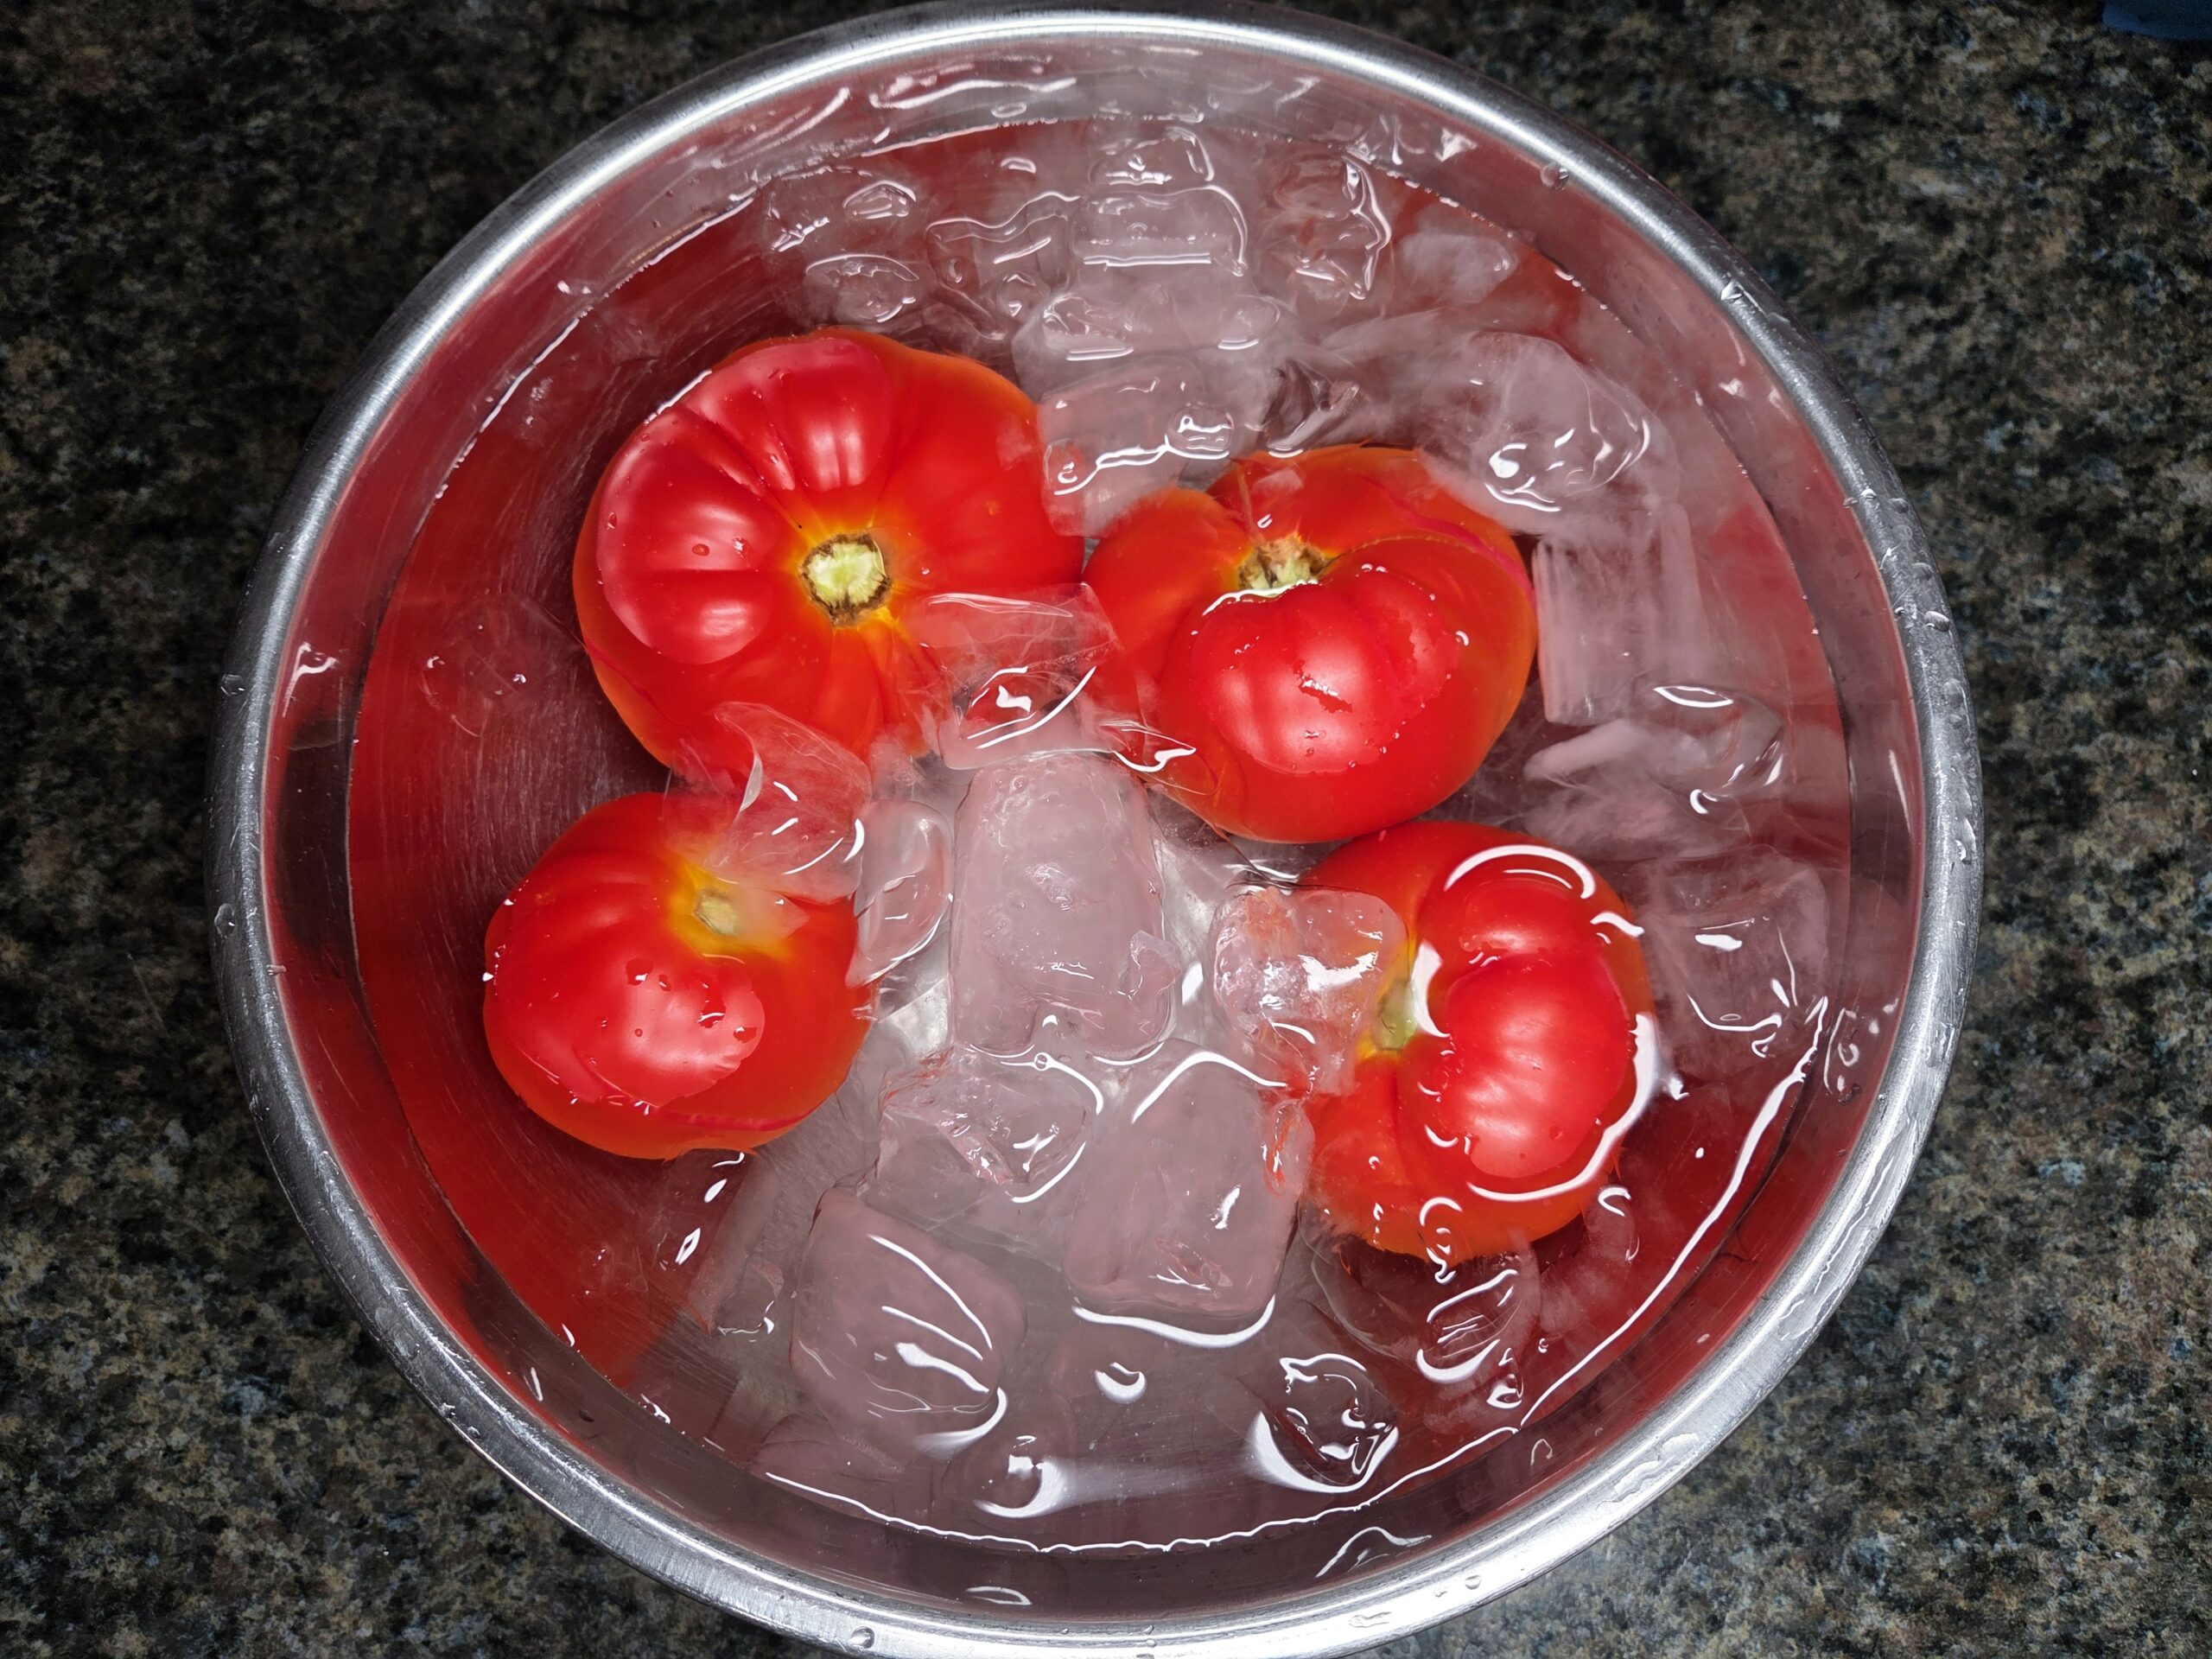
Then, using a slotted spoon, remove the tomatoes from the boiling water and immediately transfer them to the ice‑water bath. This stops the cooking process and helps the skins loosen fully, making them easy to peel.
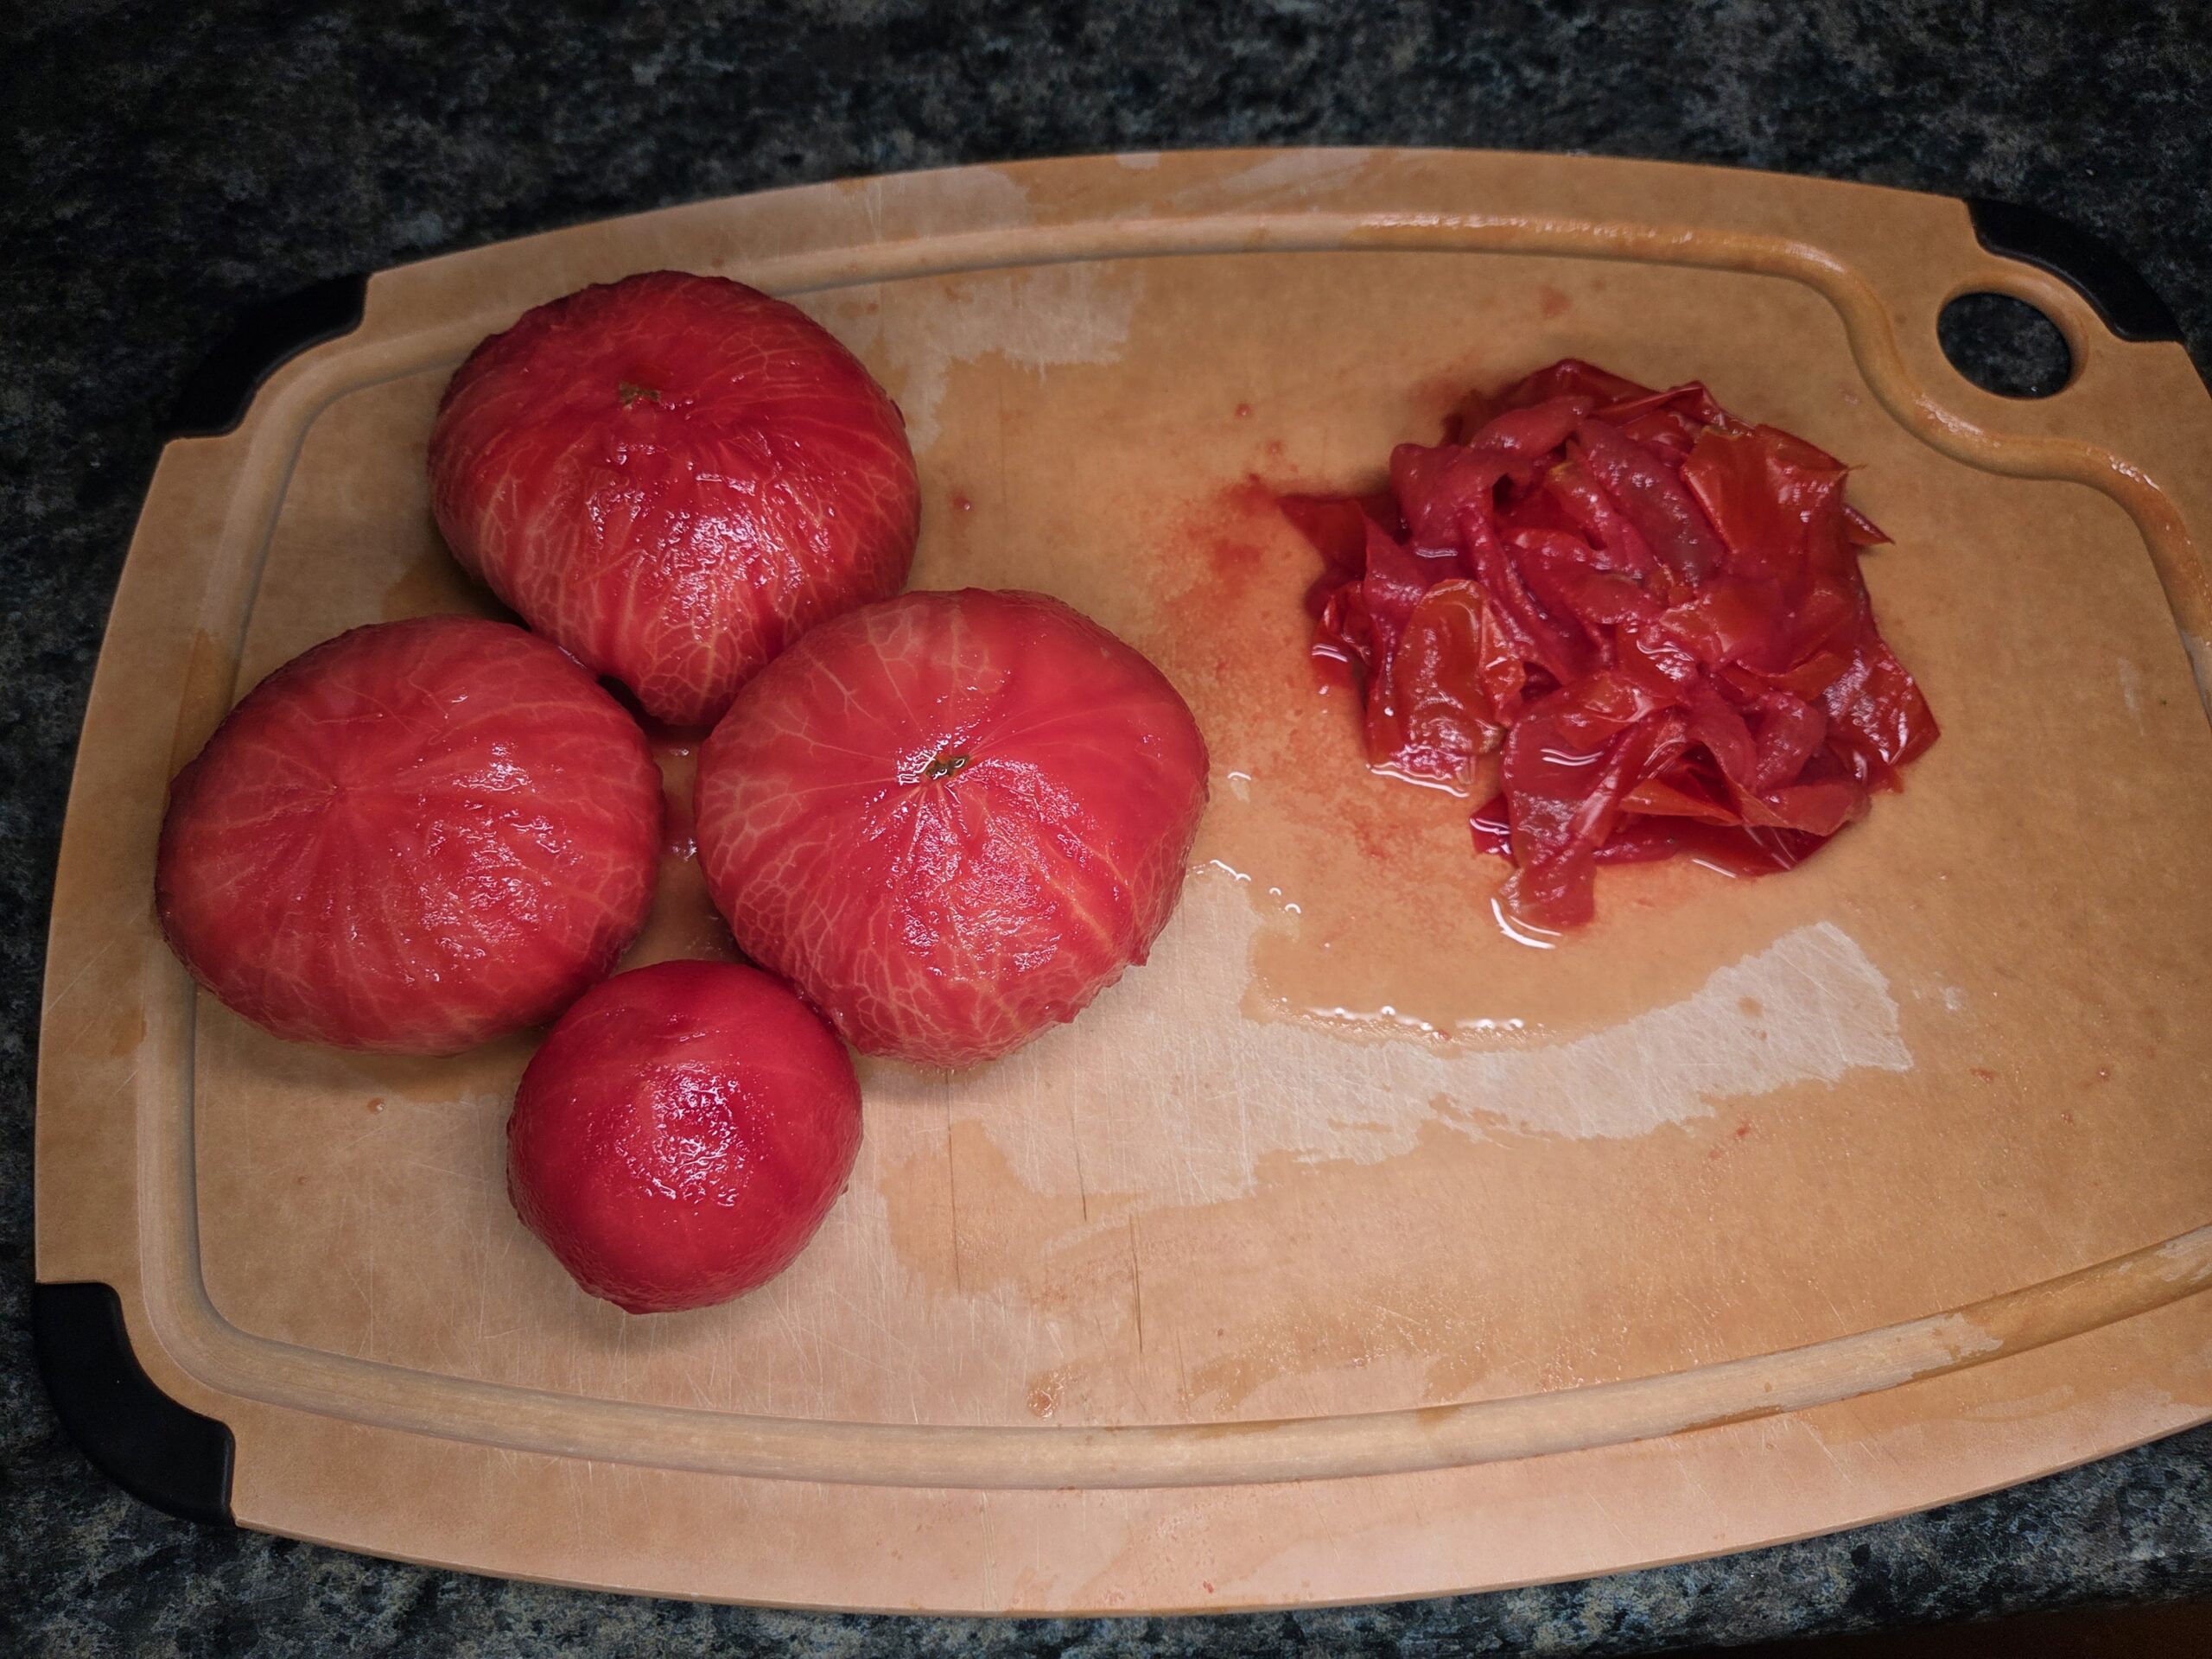
Remove the skins from all of the tomatoes. Trim away any fibrous parts that could affect the texture and cut out the tough core at the stem end. Discard or mulch these pieces, then dice the prepared tomatoes and set aside.
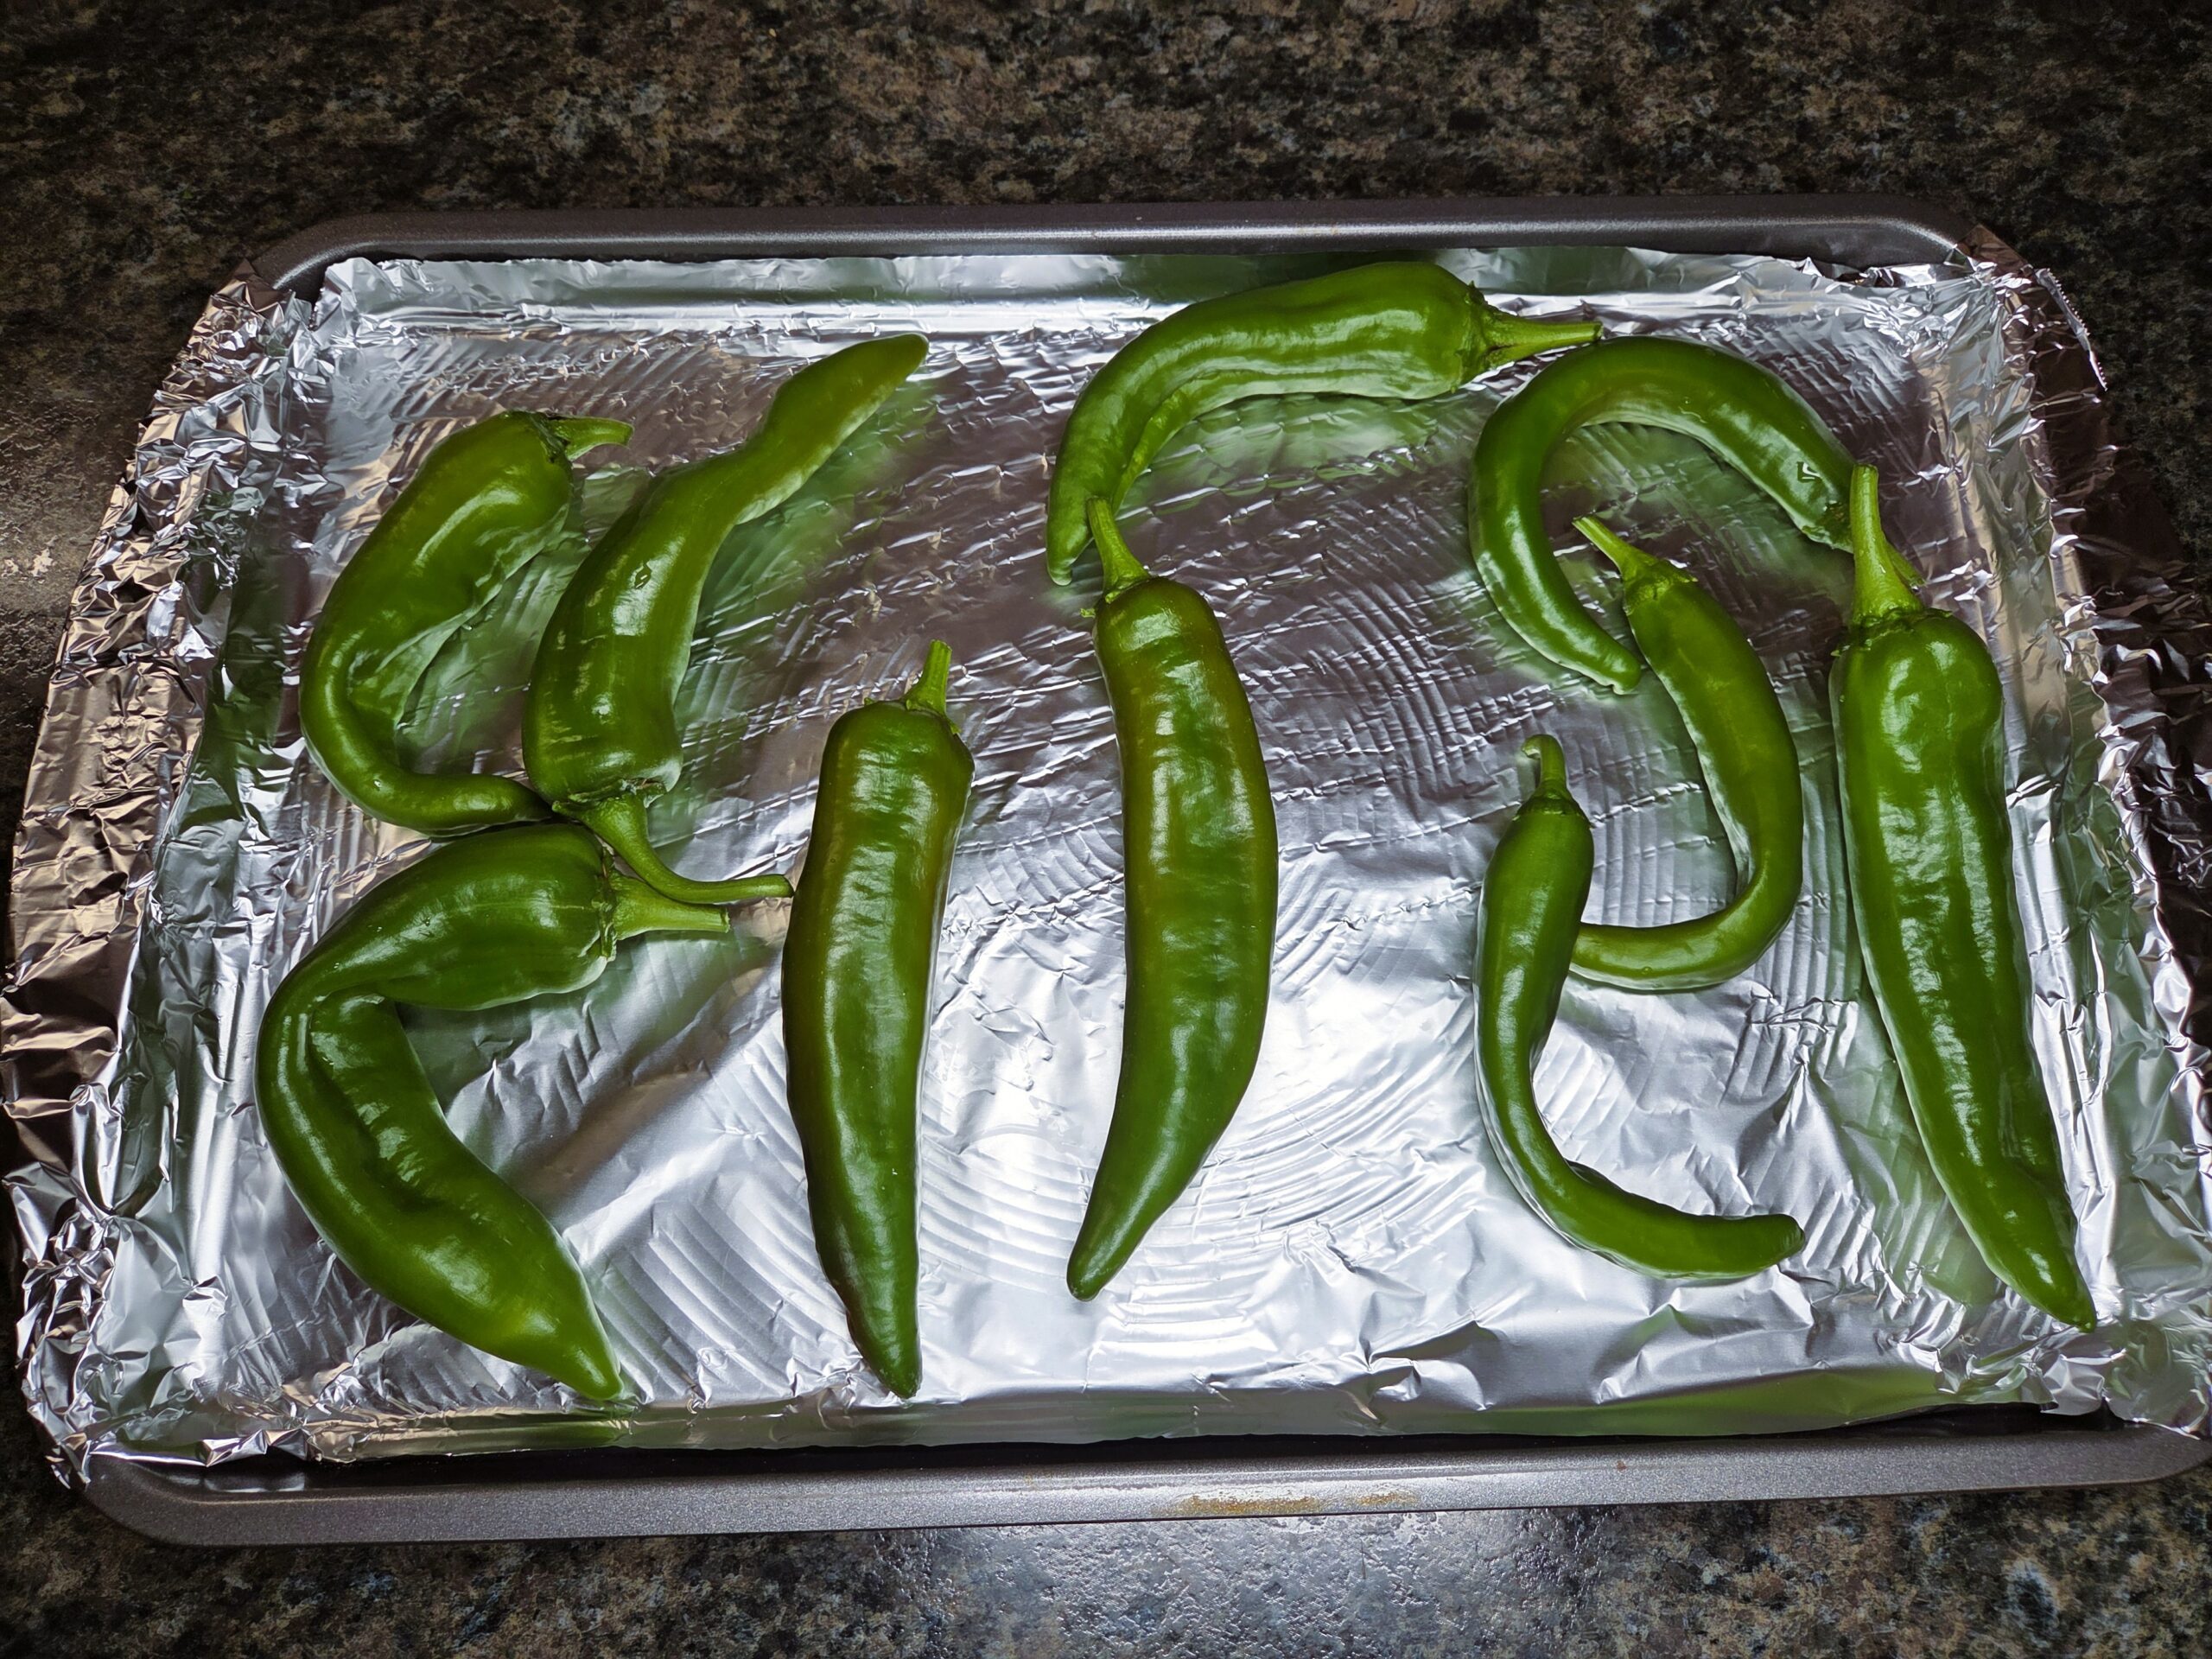
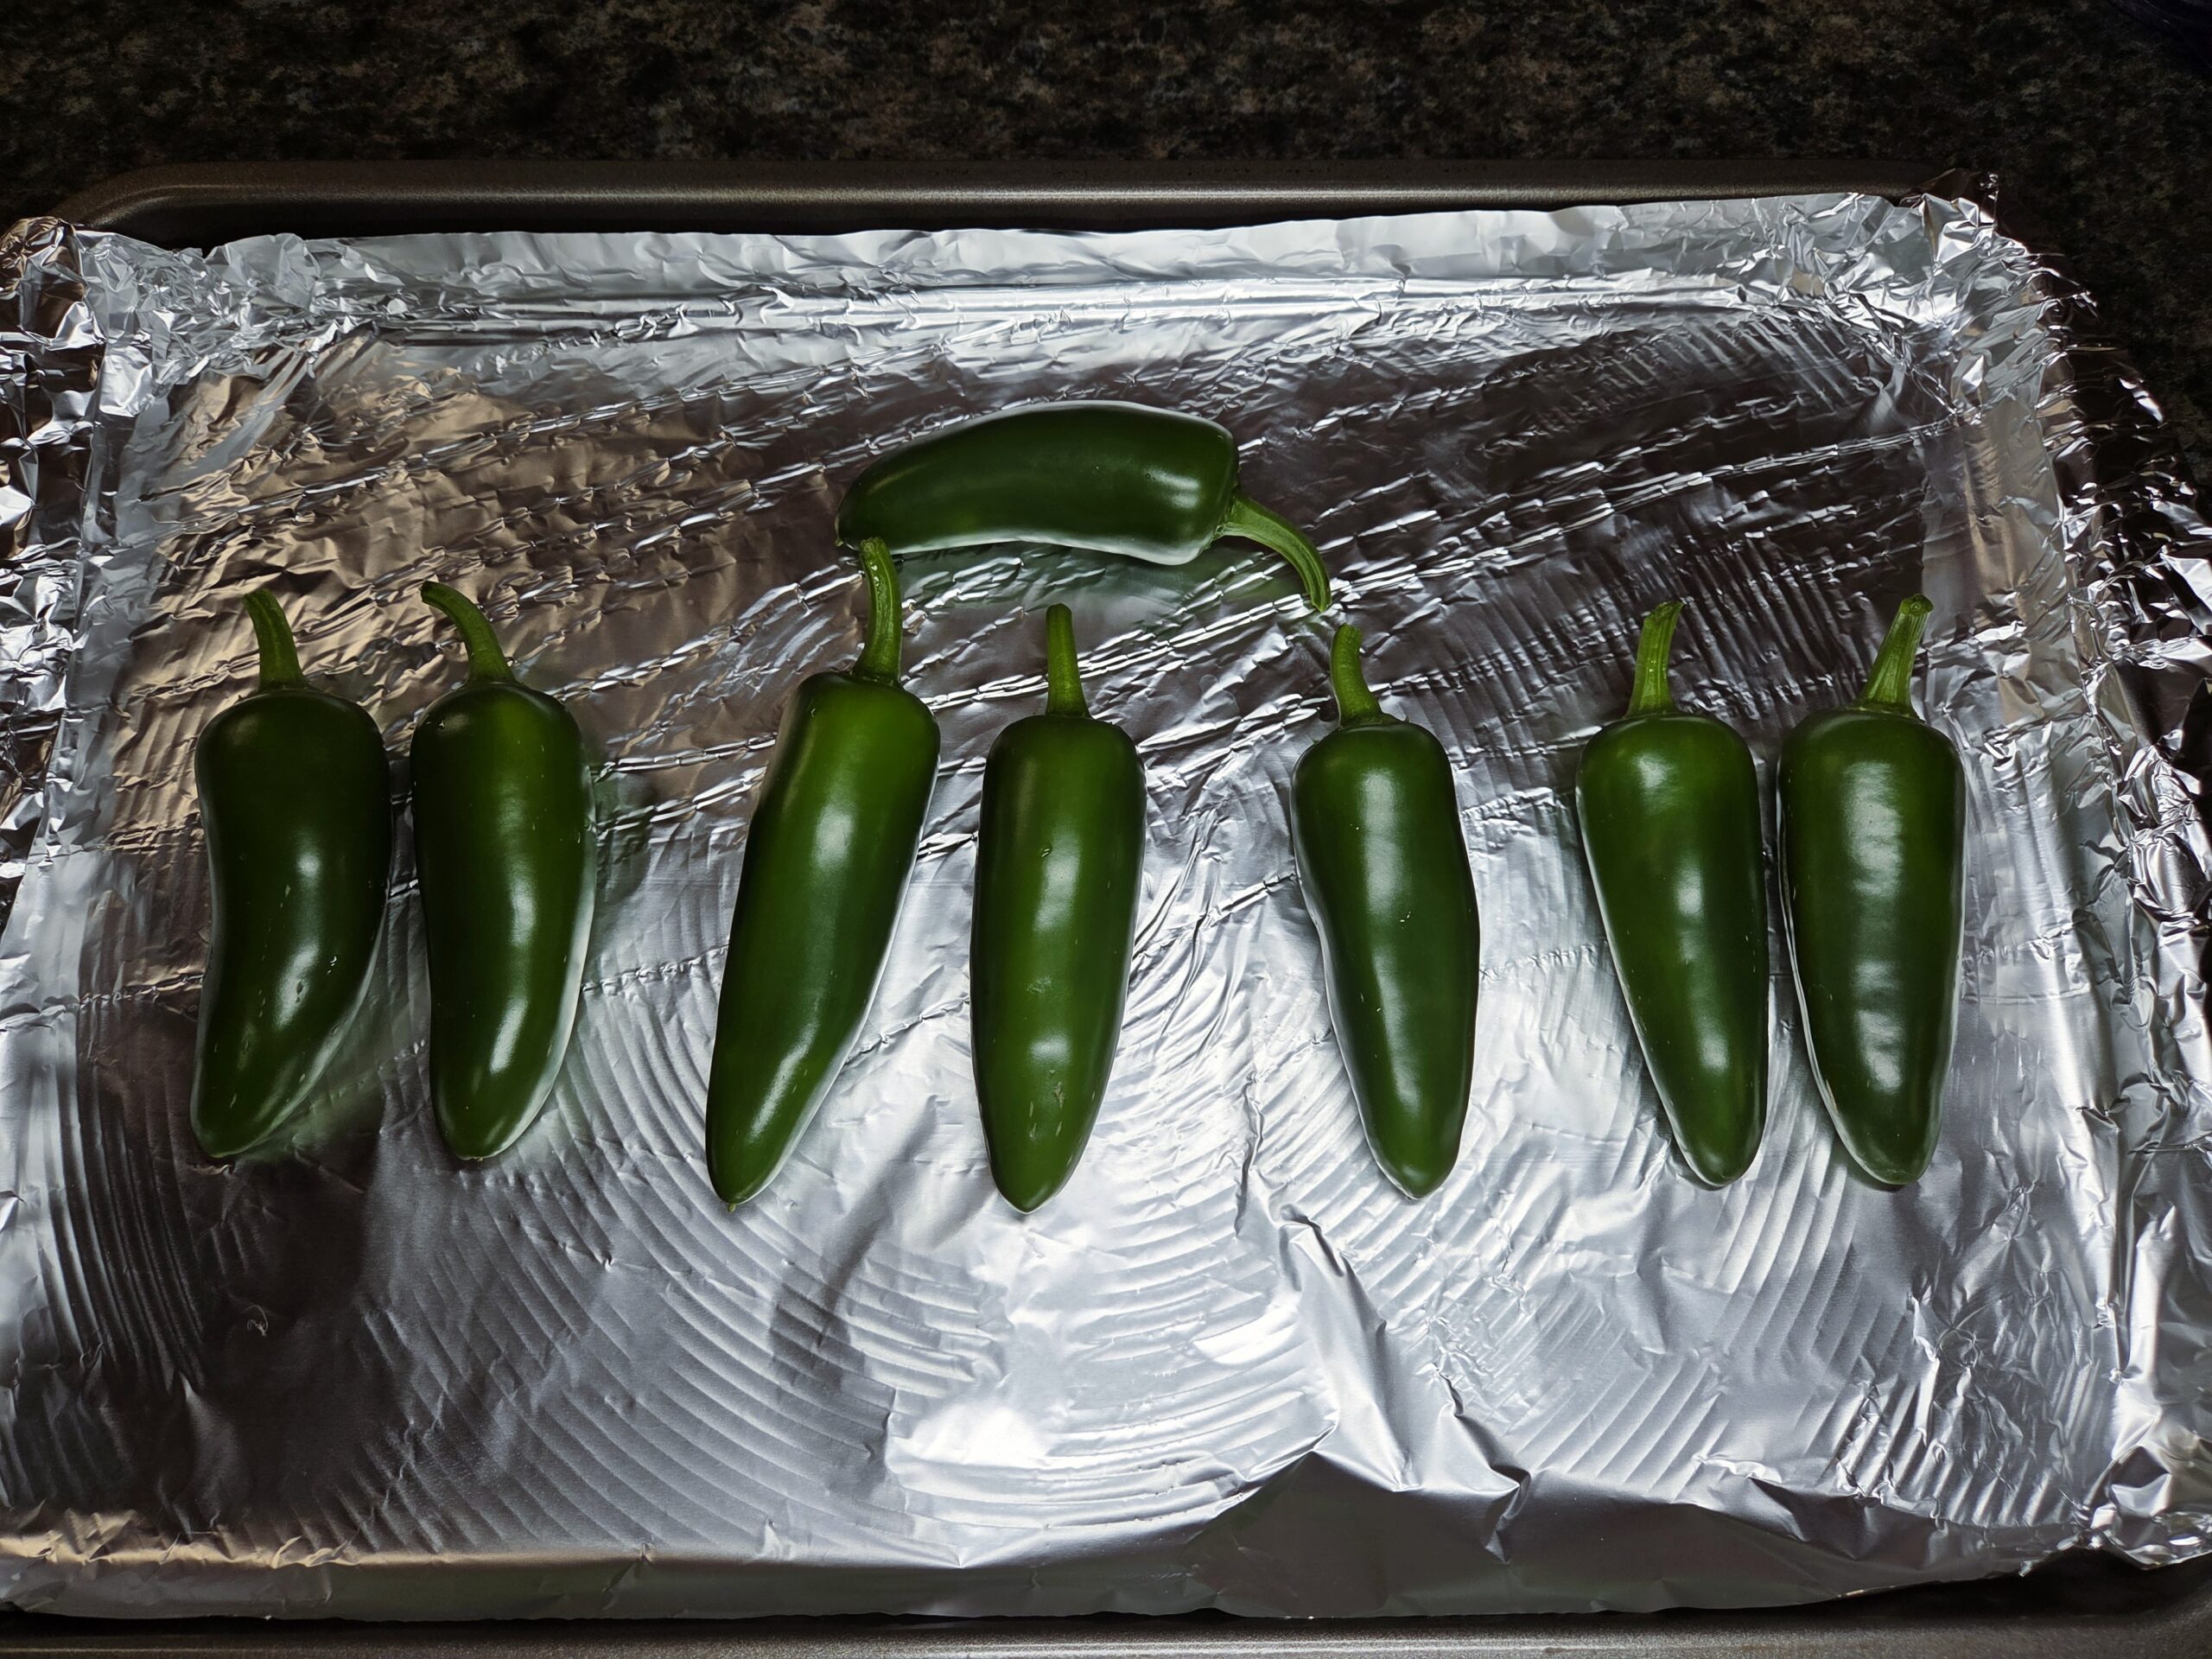
Preheat the oven to broil. Line a baking sheet with aluminum foil and arrange the peppers on top. Place the sheet under the broiler until the skins blister, about 5–7 minutes. Turn the peppers and continue broiling until the other side is evenly blistered, another 5–7 minutes.
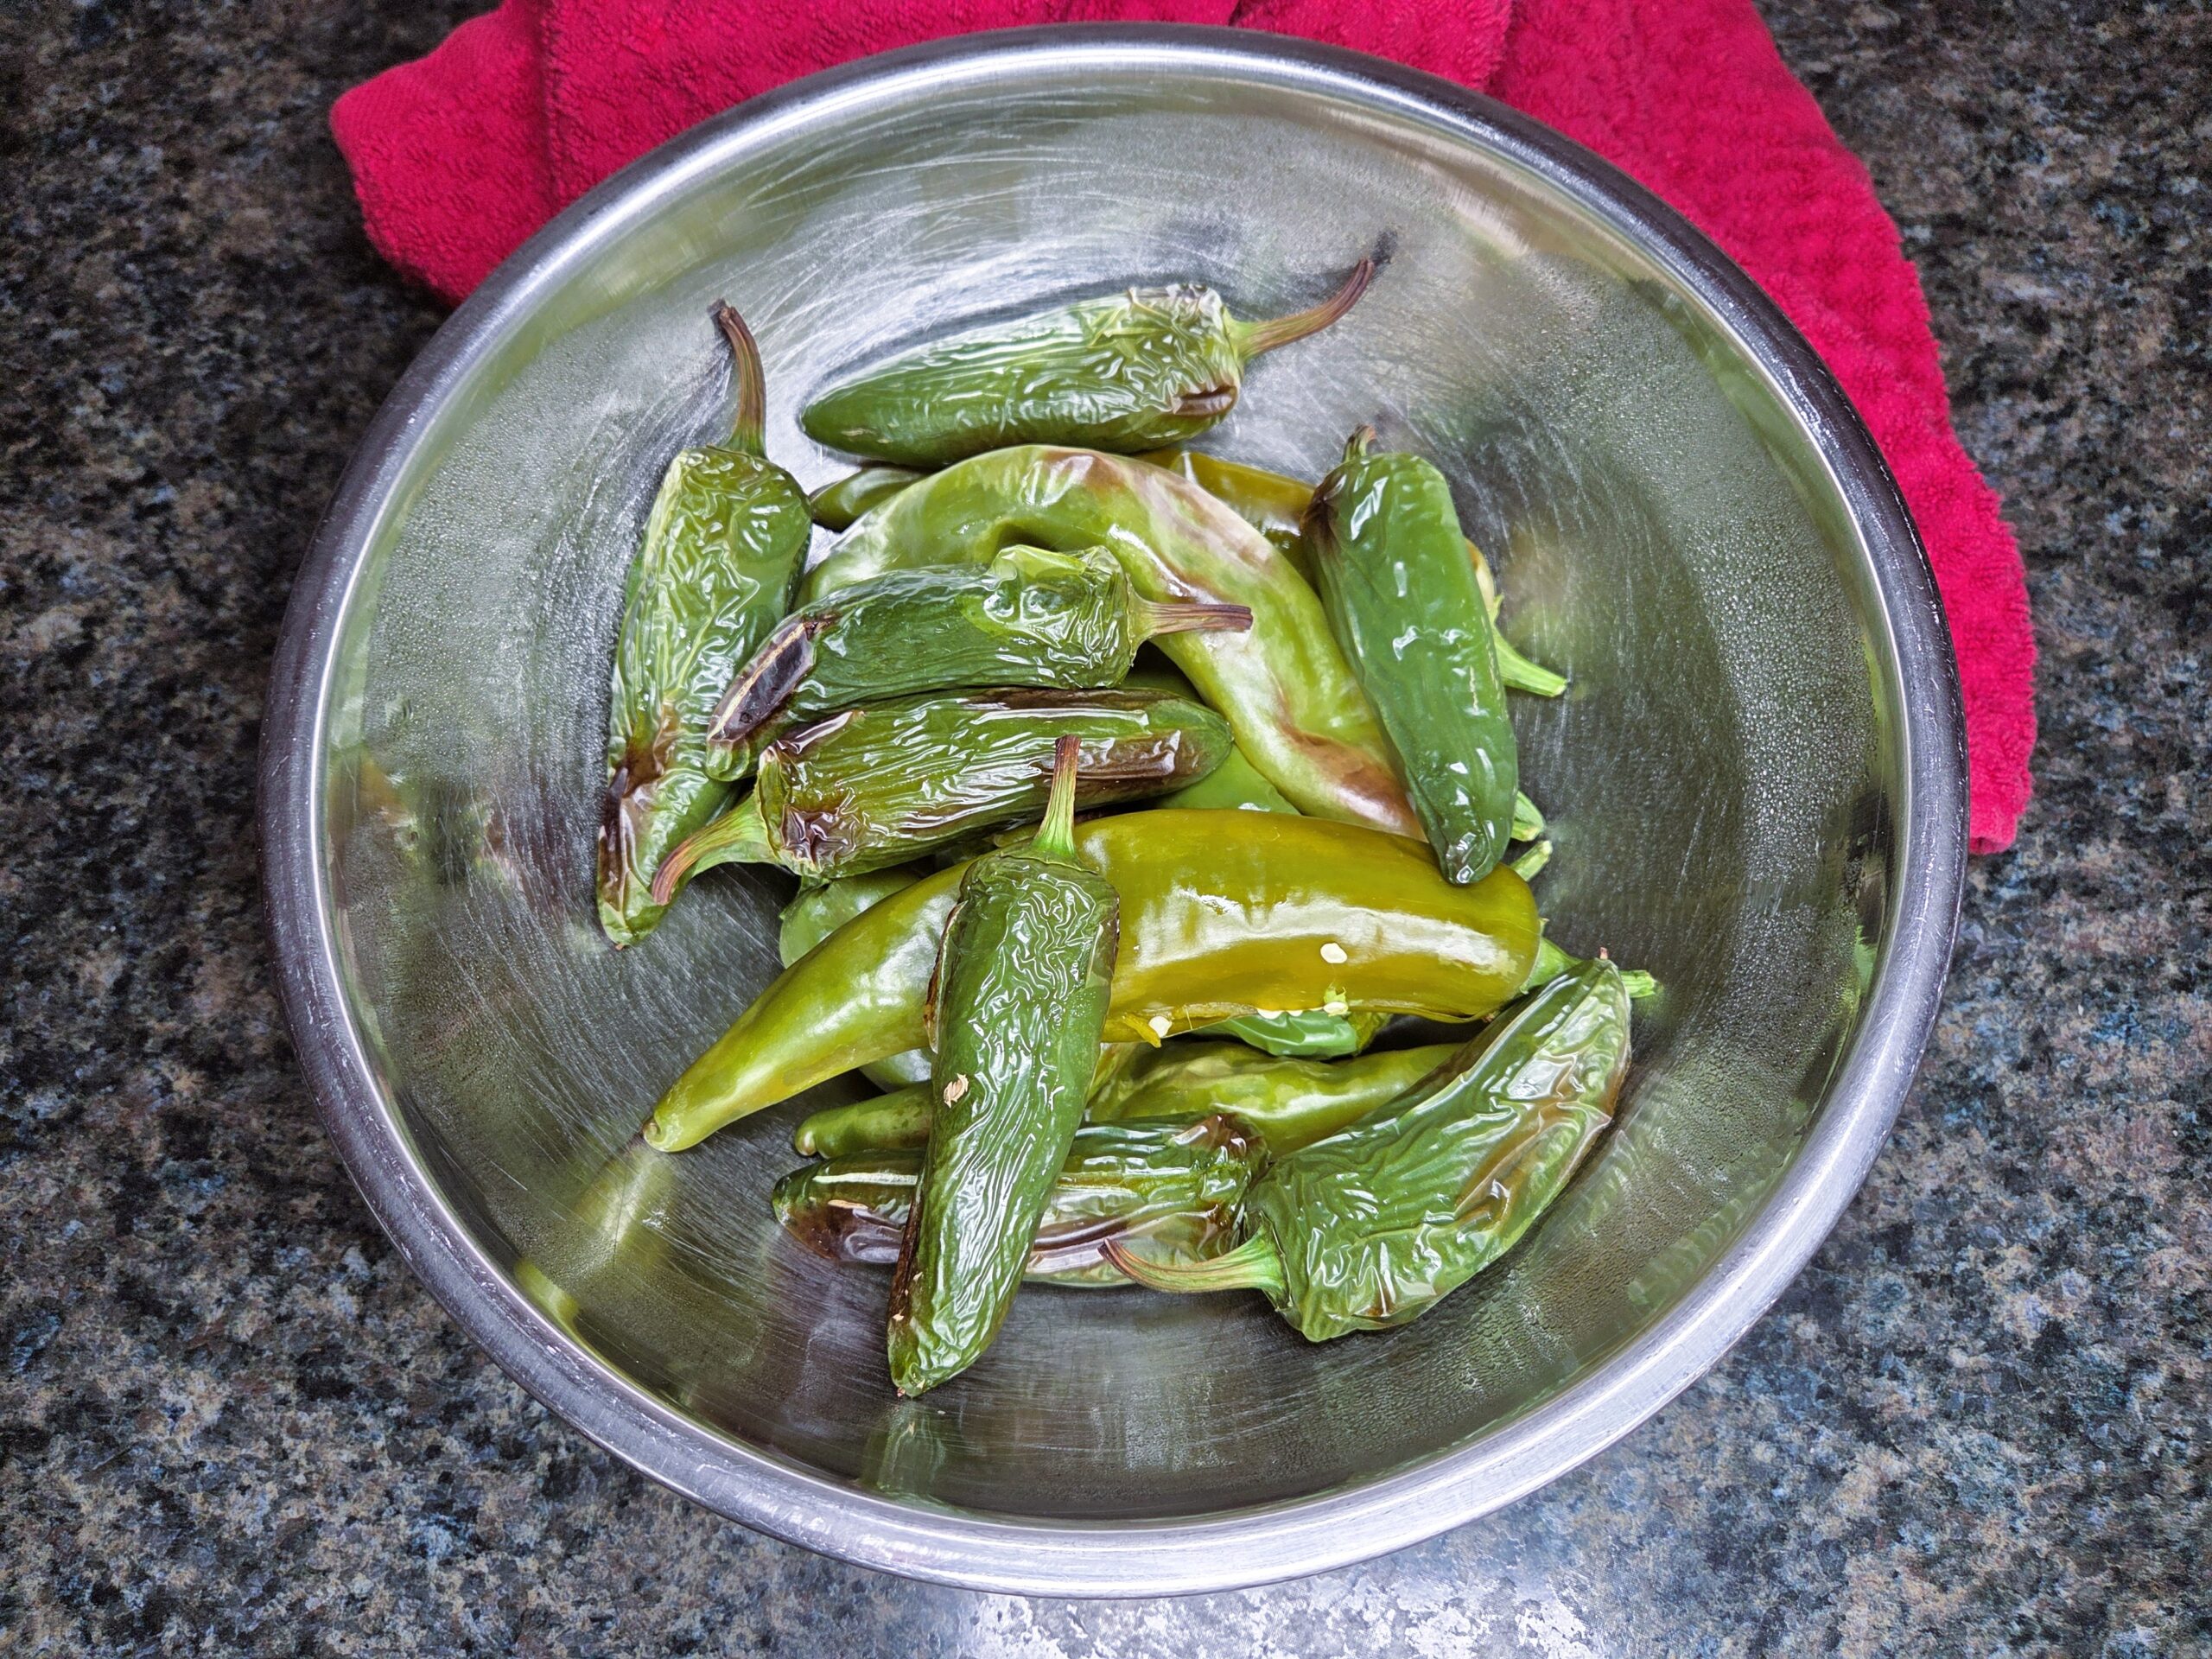
Once the peppers come out of the oven, transfer them to a bowl and cover with a towel. Let them steam for 12–15 minutes — this loosens the skins and cools the peppers enough to handle.
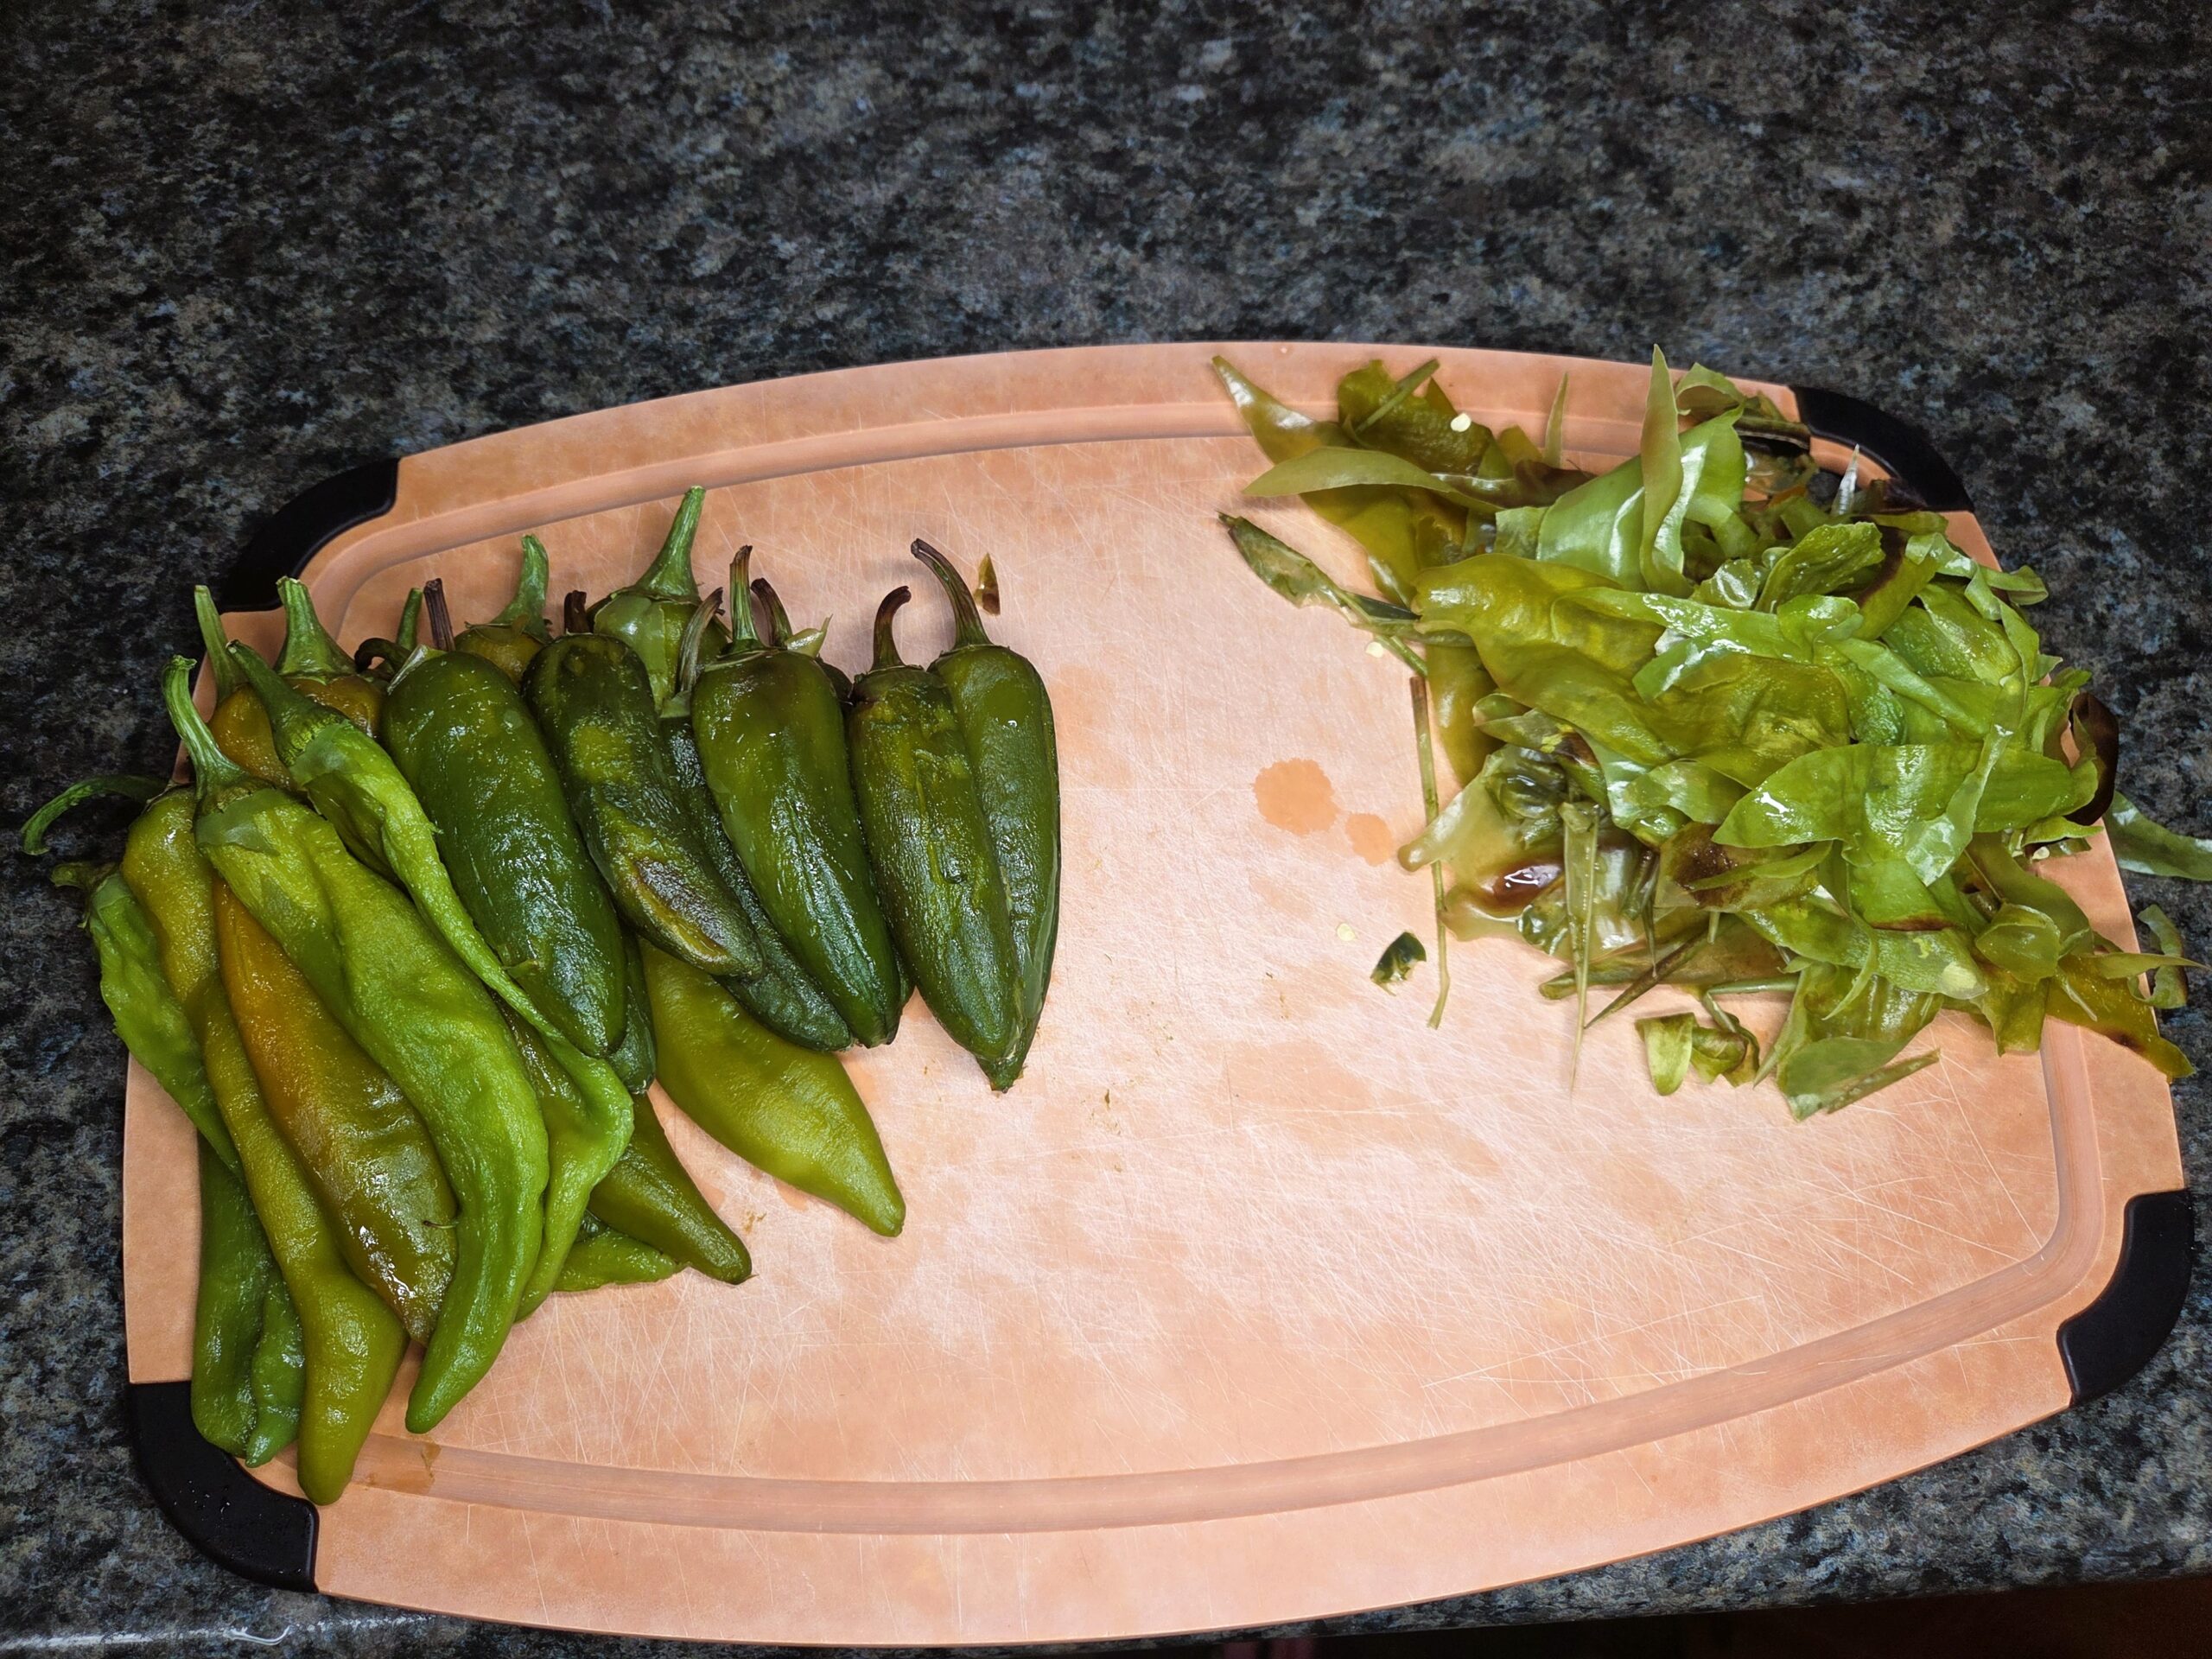
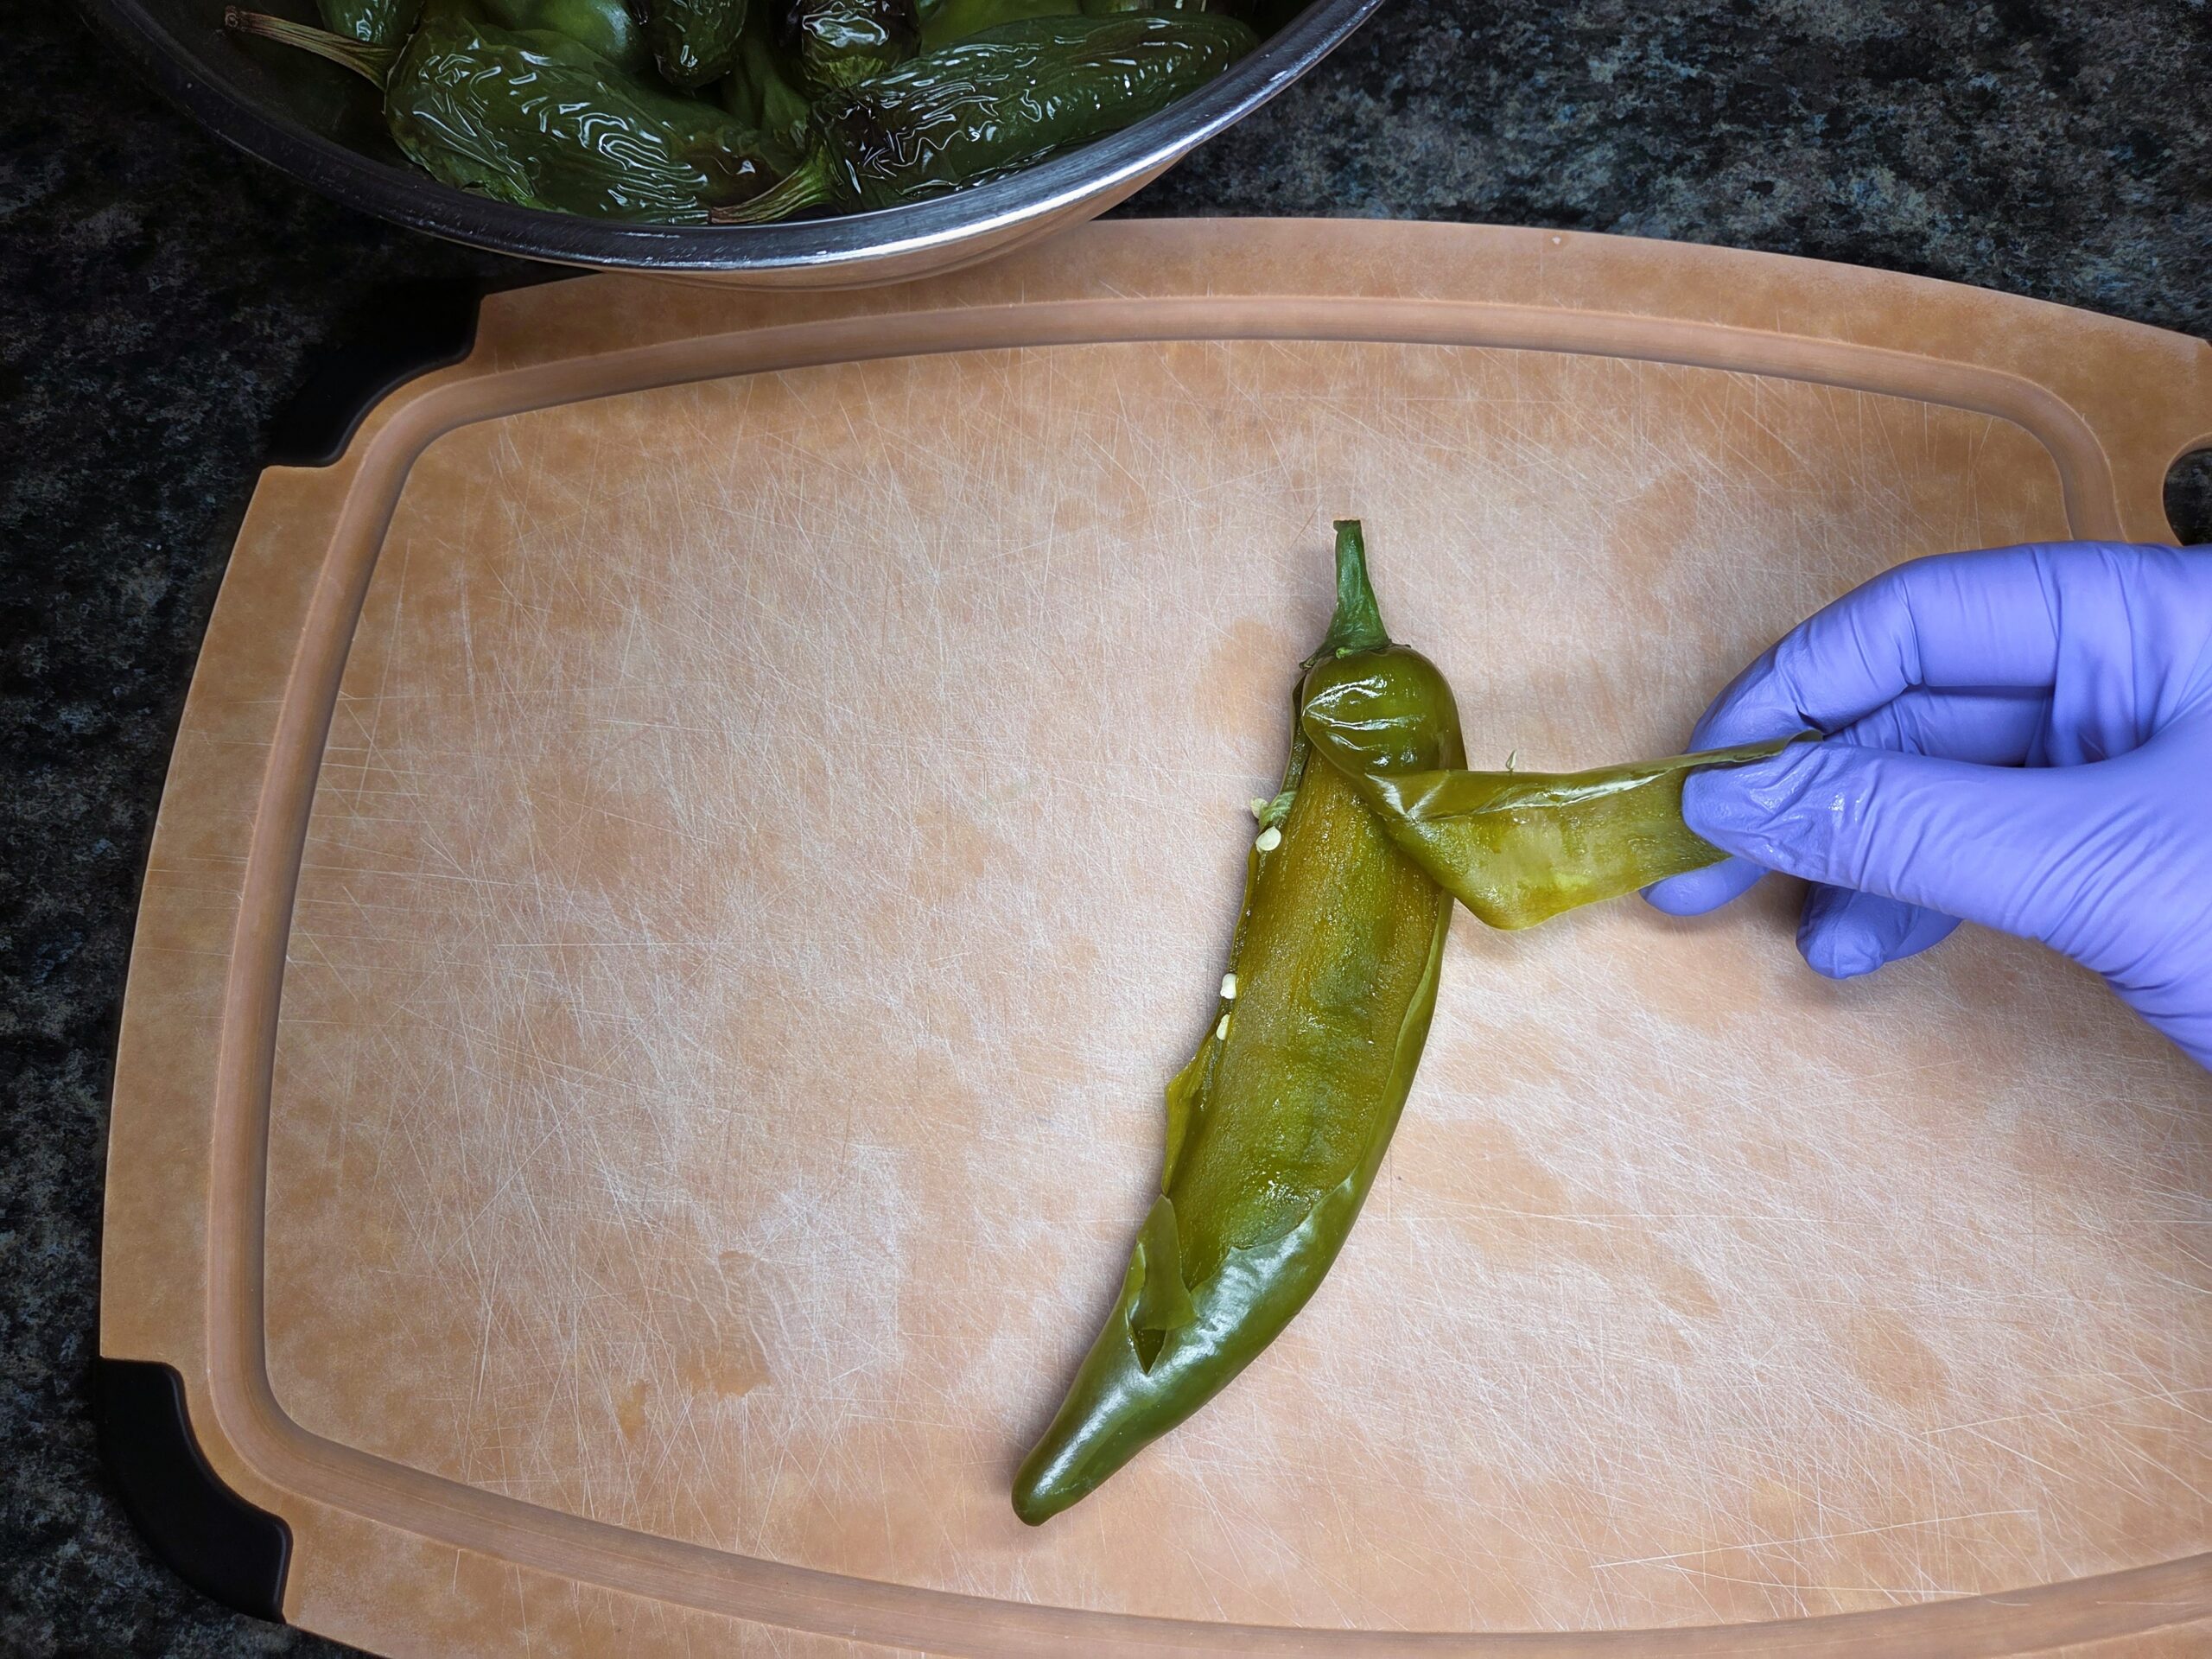
With gloved hands and in a well‑ventilated space, remove the outer skins from the peppers. If you're sensitive to pepper fumes and vinegar vapors, a fan blowing airflow away from your face and a kitchen air purifier can make the process more comfortable.
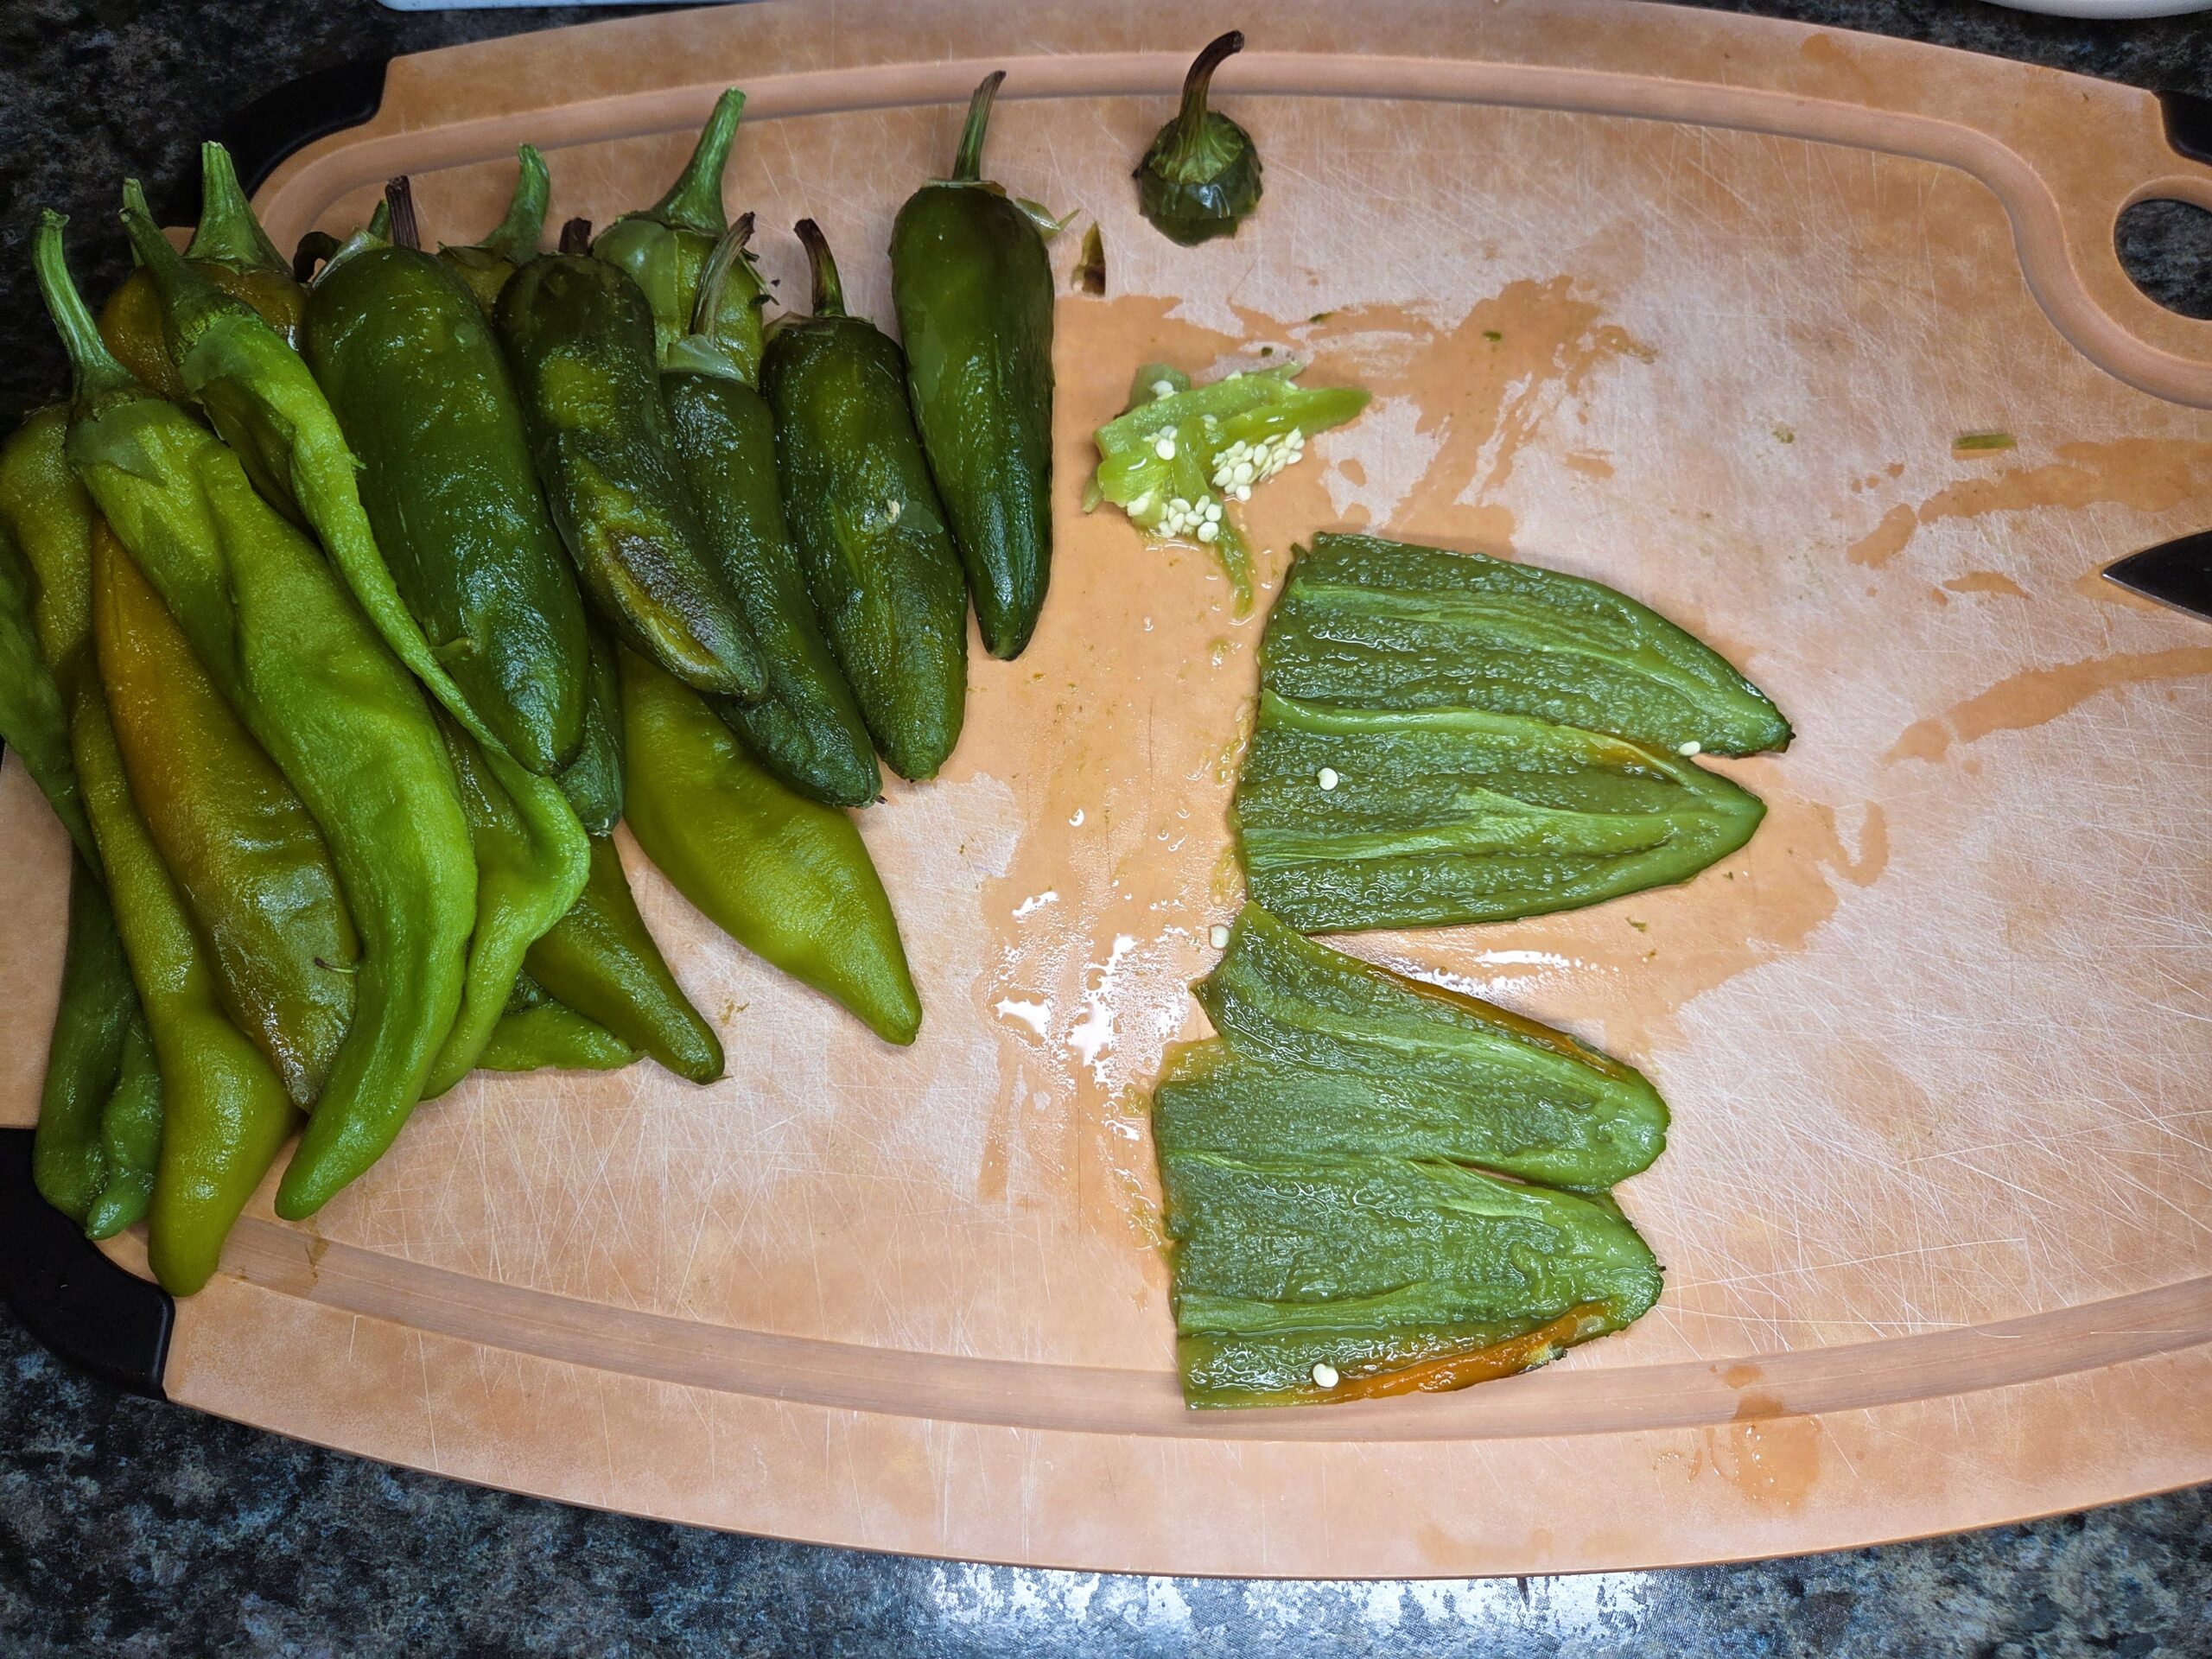
Stem the peppers and slit them open. Remove the membranes and seeds, discarding or mulching the trimmings. Dice the remaining pepper flesh into small pieces.
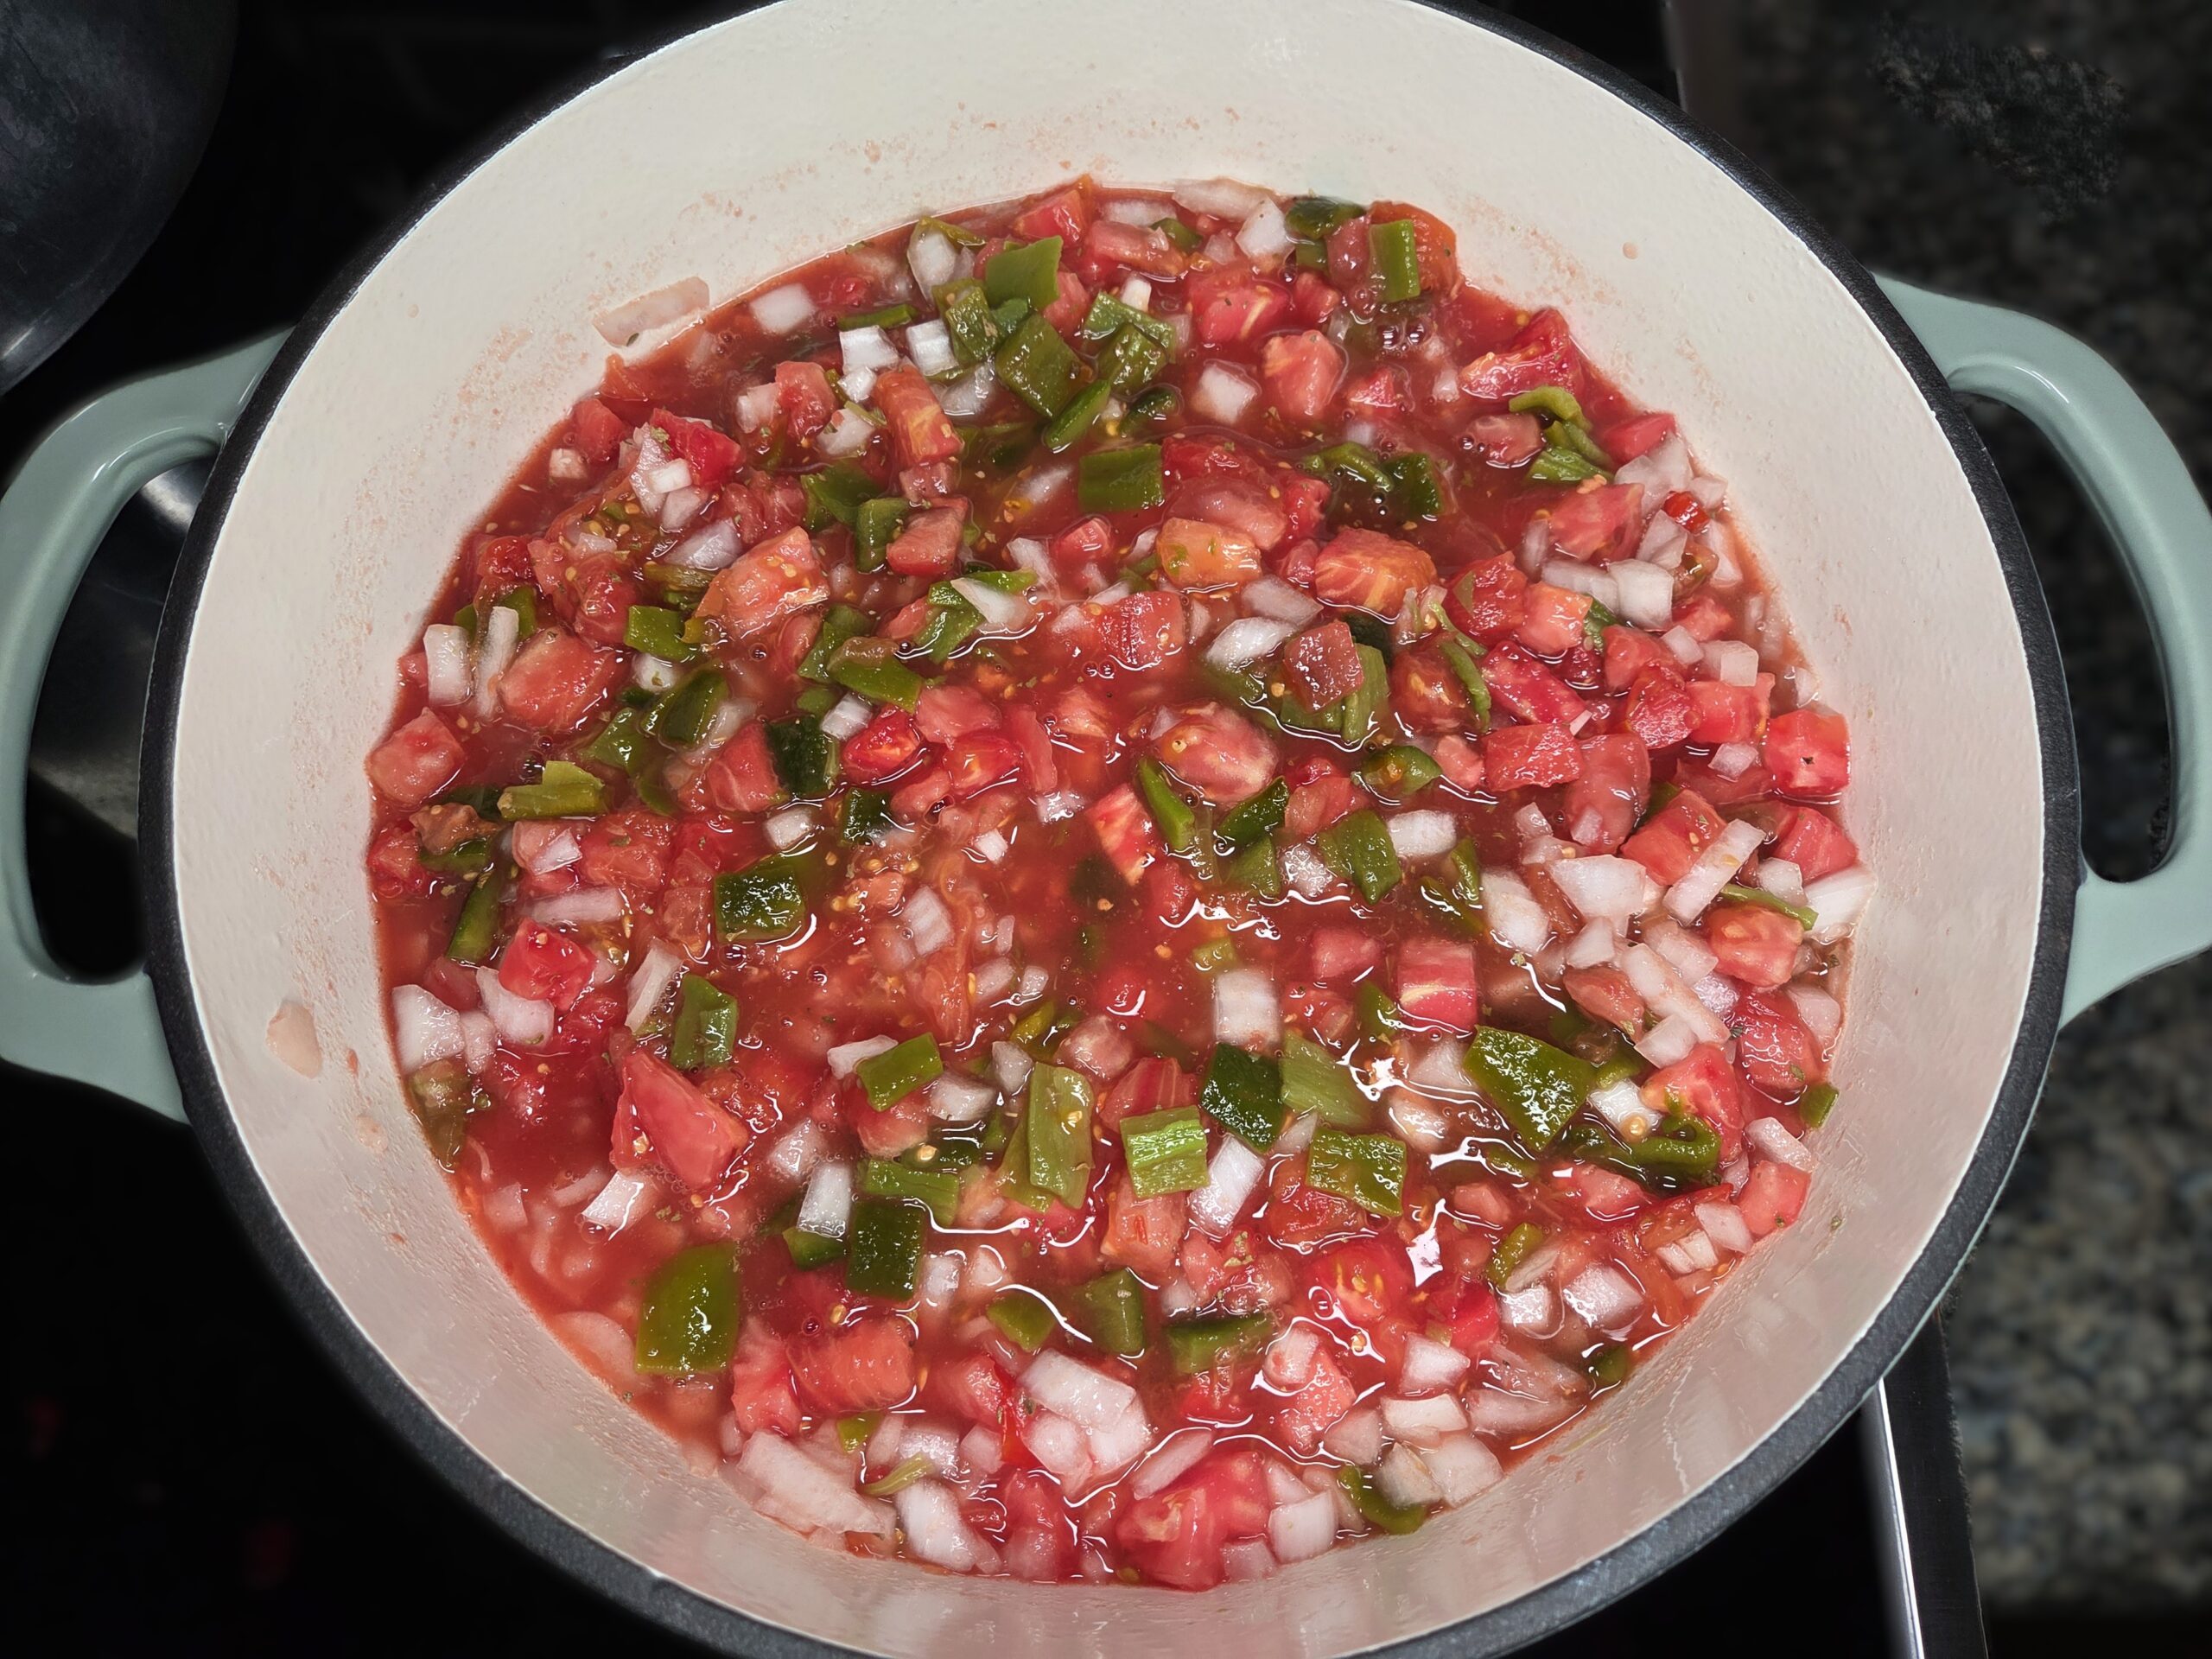
In a large, heavy‑bottomed non‑reactive pot with a lid (stainless steel or enameled; the one shown in the photos is a 7.5‑quart), add all of the prepared ingredients: diced tomatoes, diced peppers, 1 1/2 cups of diced onions, ½ tablespoon of dried Mexican oregano (or regular oregano), ½ tablespoon of canning salt, and ⅓ cup of 5% white vinegar. Stir everything together and bring to a boil.
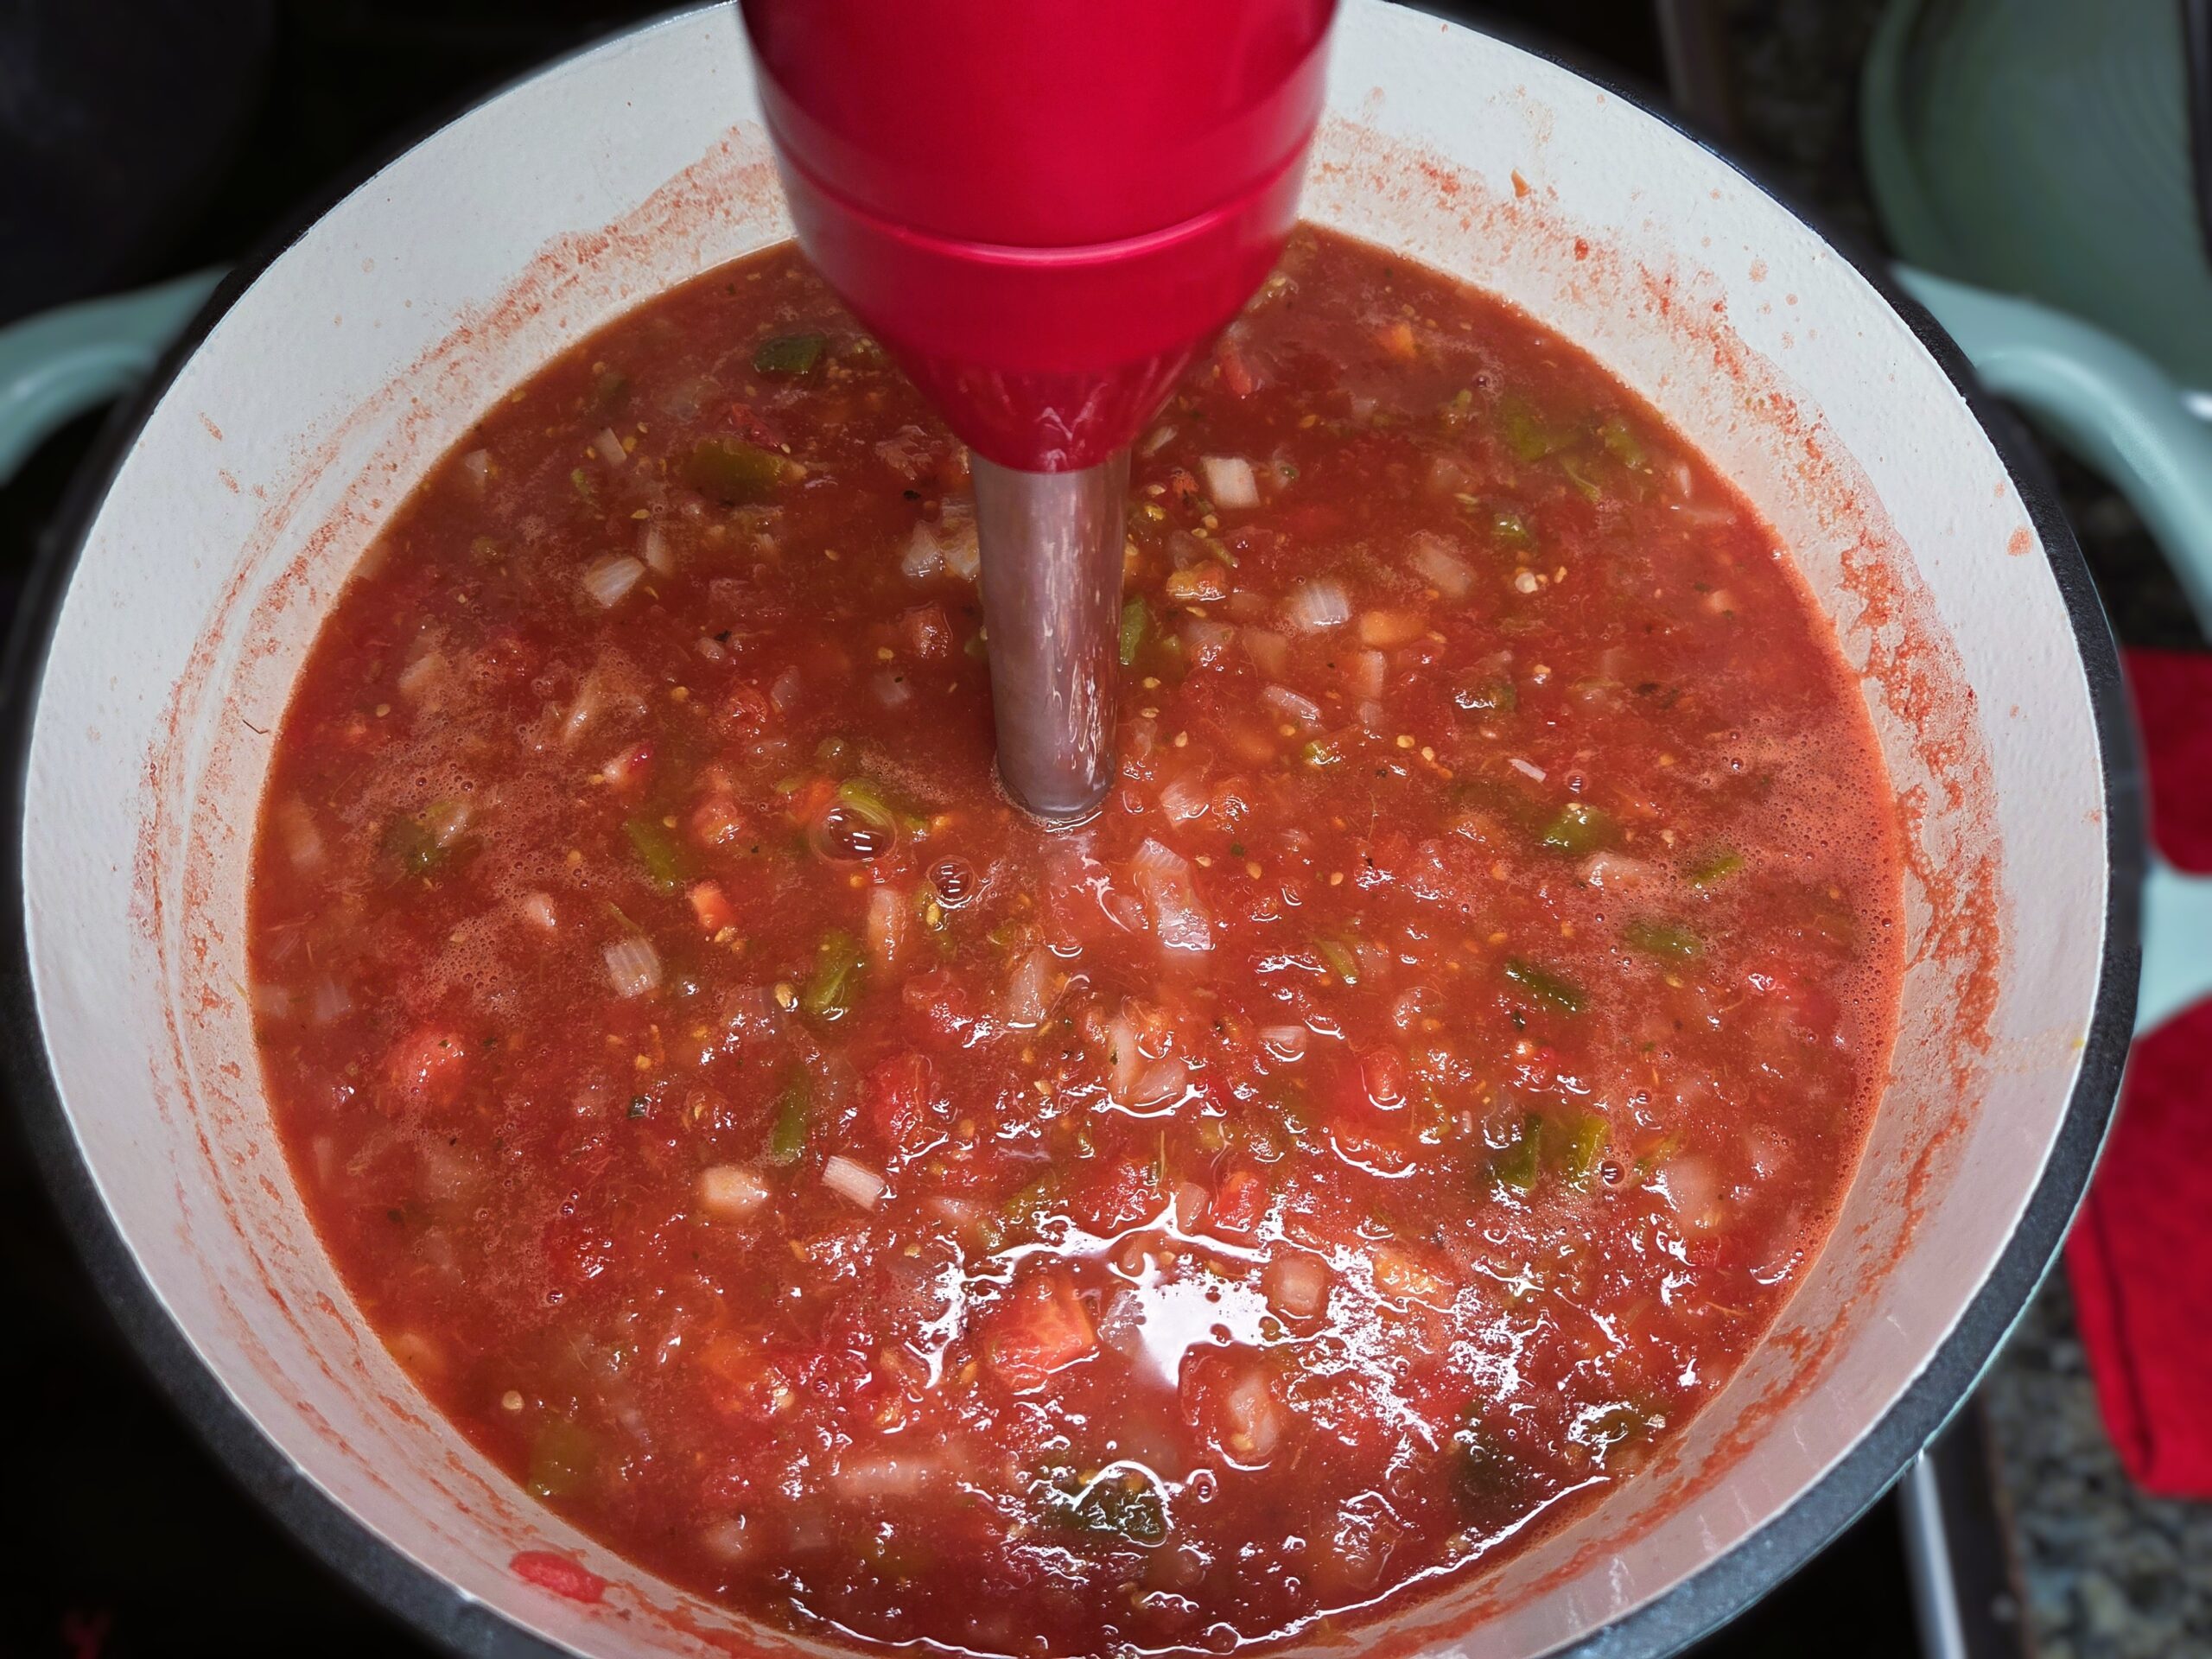
Using an immersion blender, blend the mixture to your desired consistency.
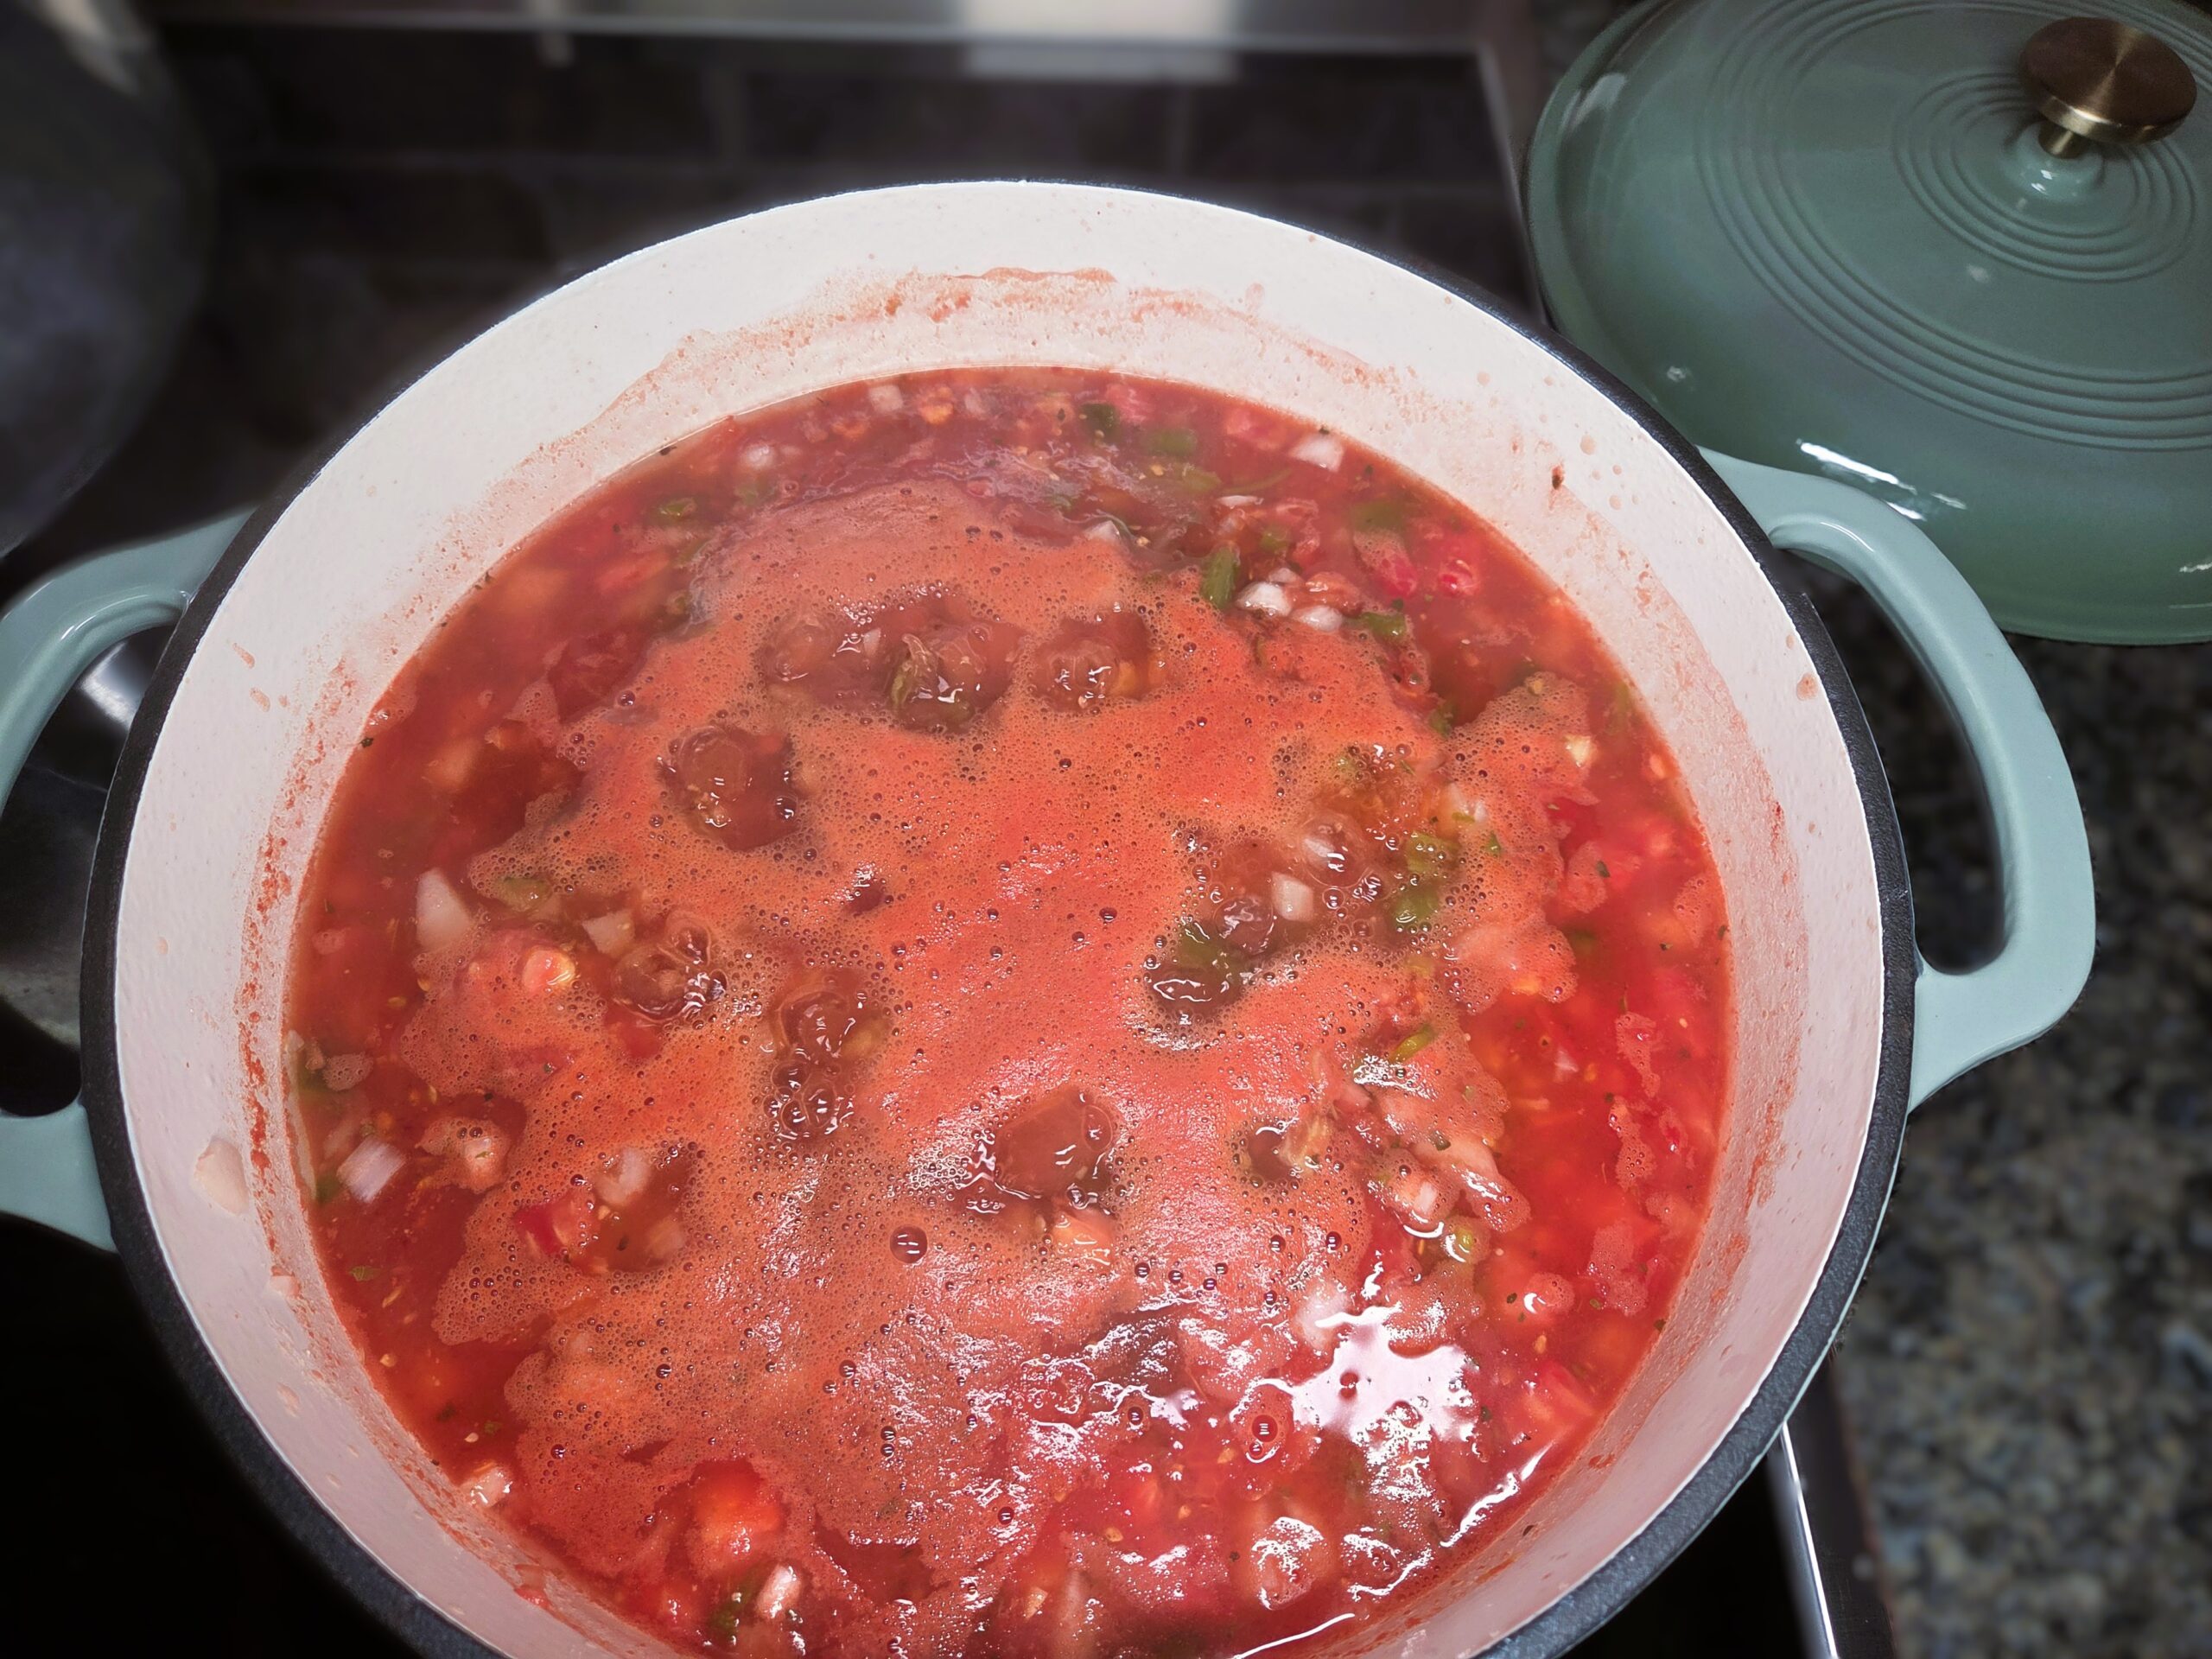
Reduce heat, cover, and simmer for 10 minutes.
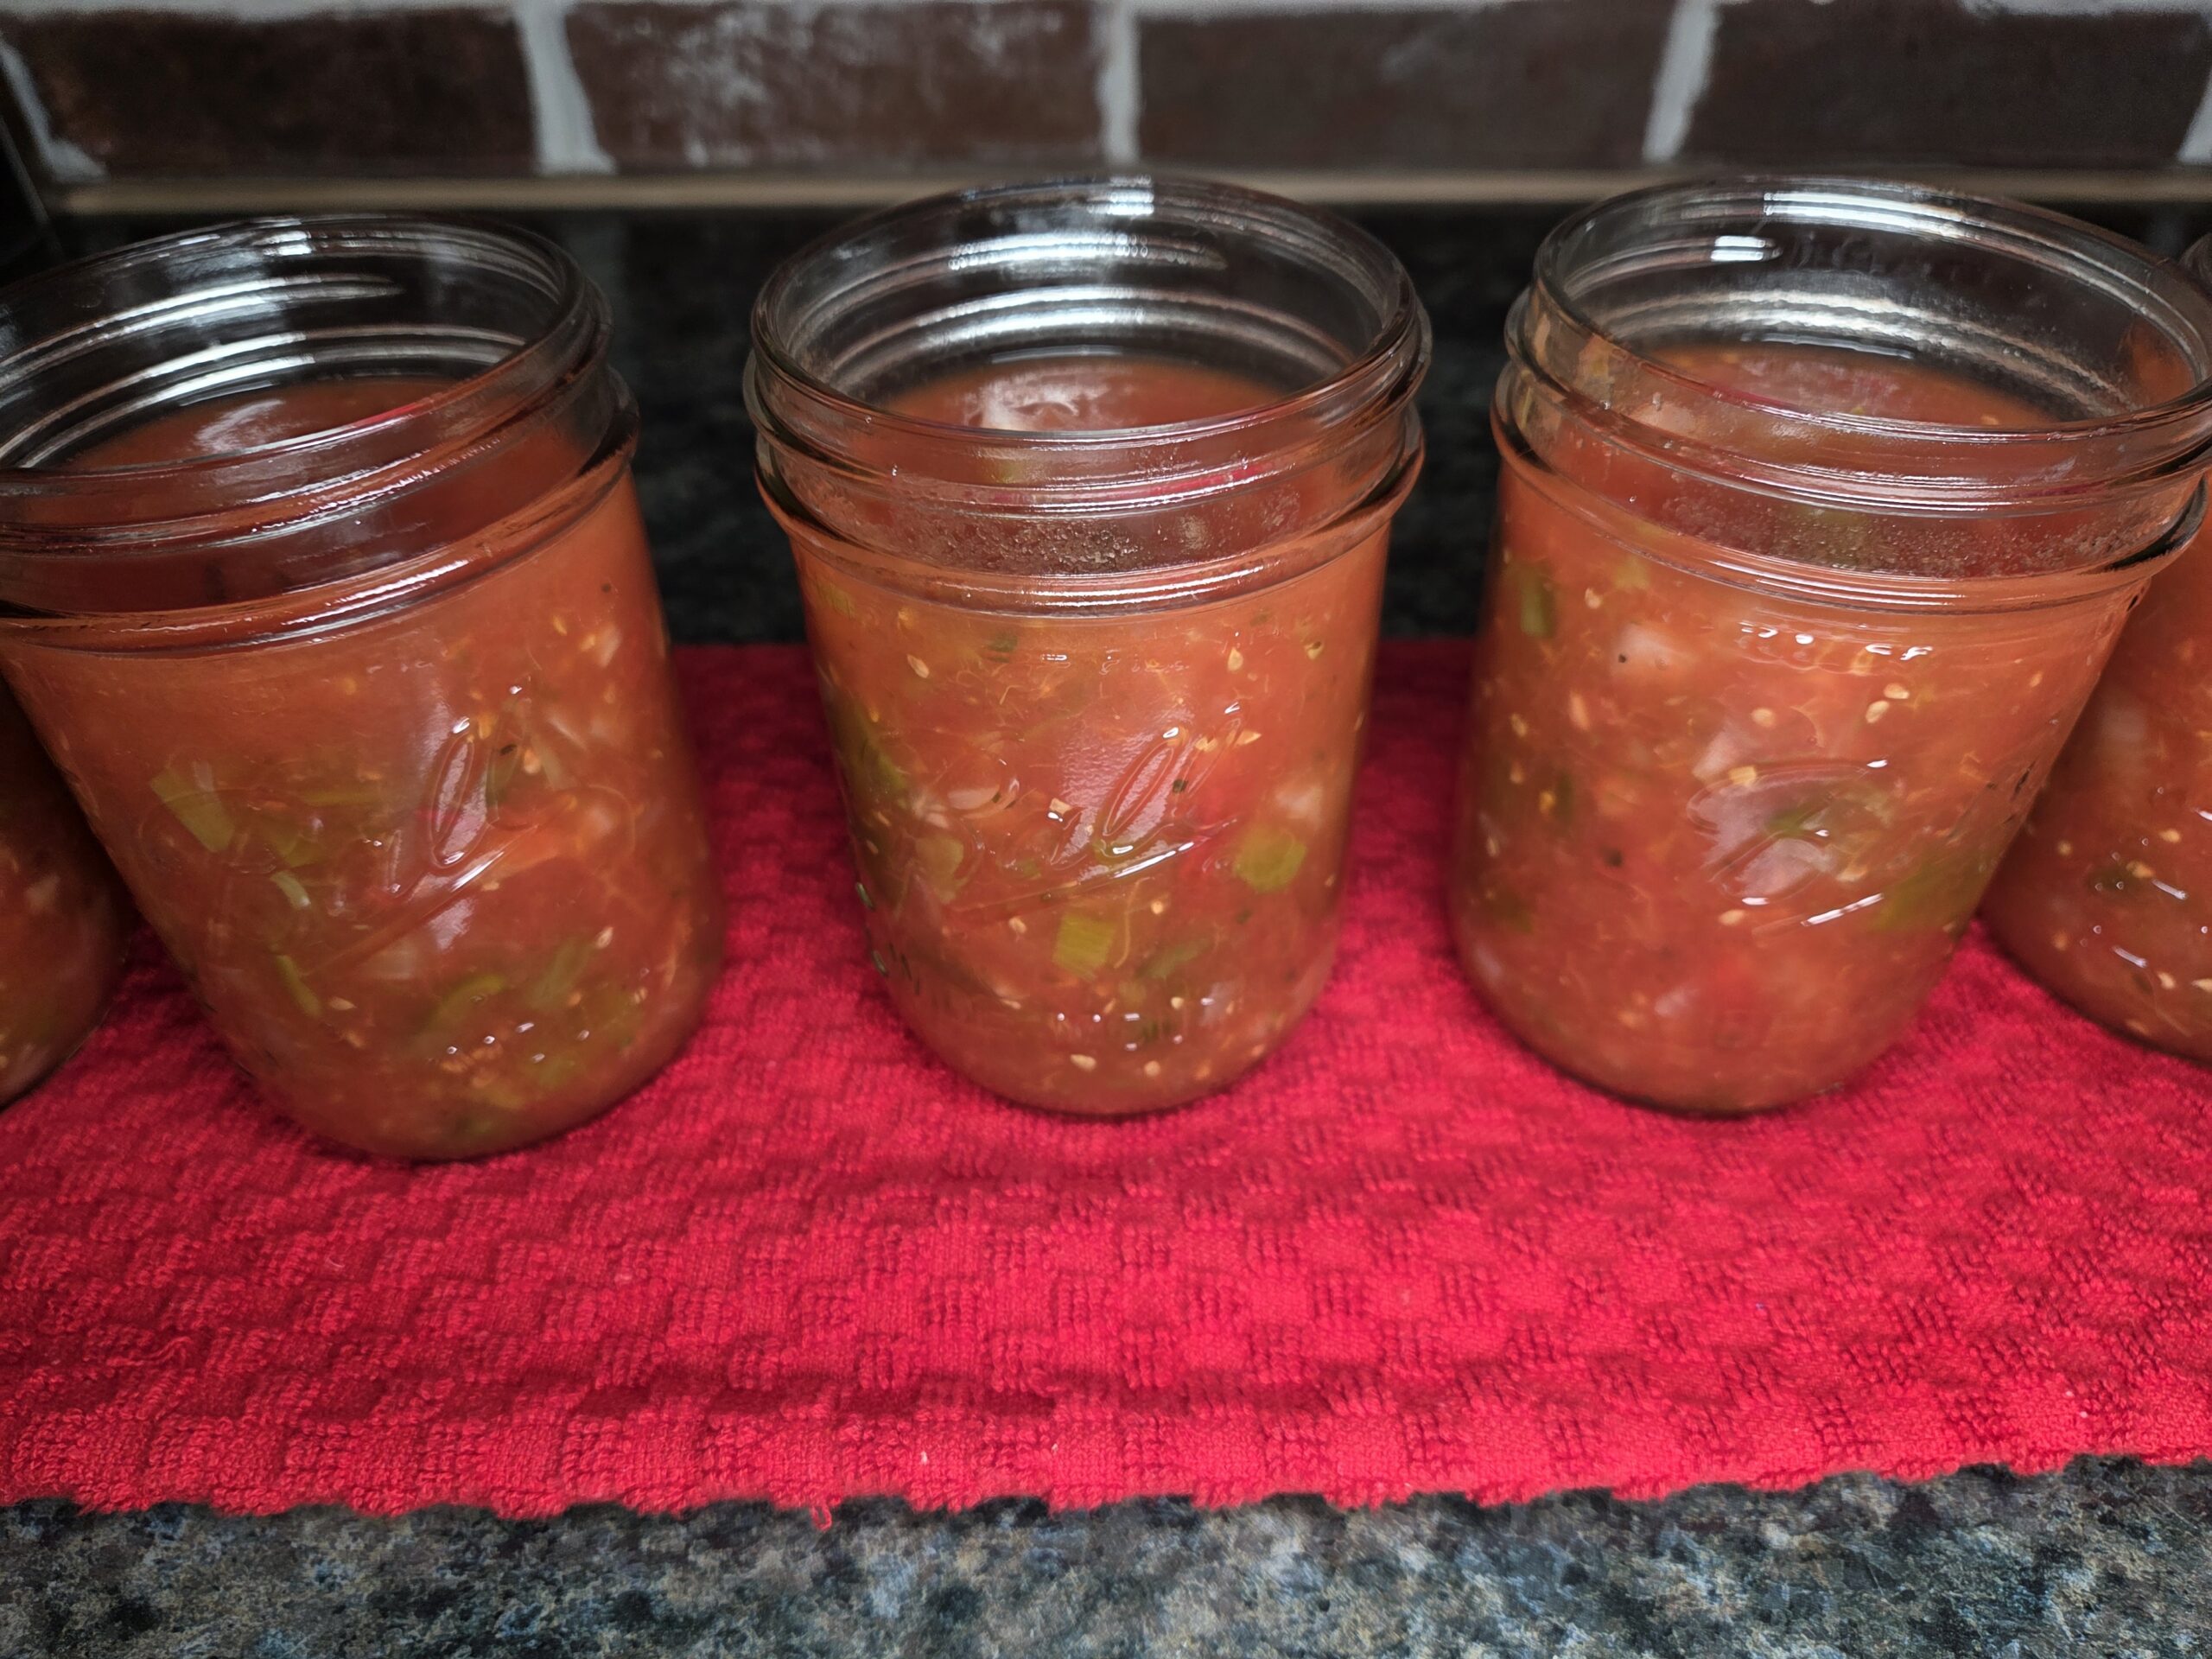
Ladle the hot sauce into hot jars, leaving 1‑inch of headspace—the space between the sauce and the underside of the lid. This gap allows the contents to expand during processing and ensures a proper vacuum seal as the jars cool.
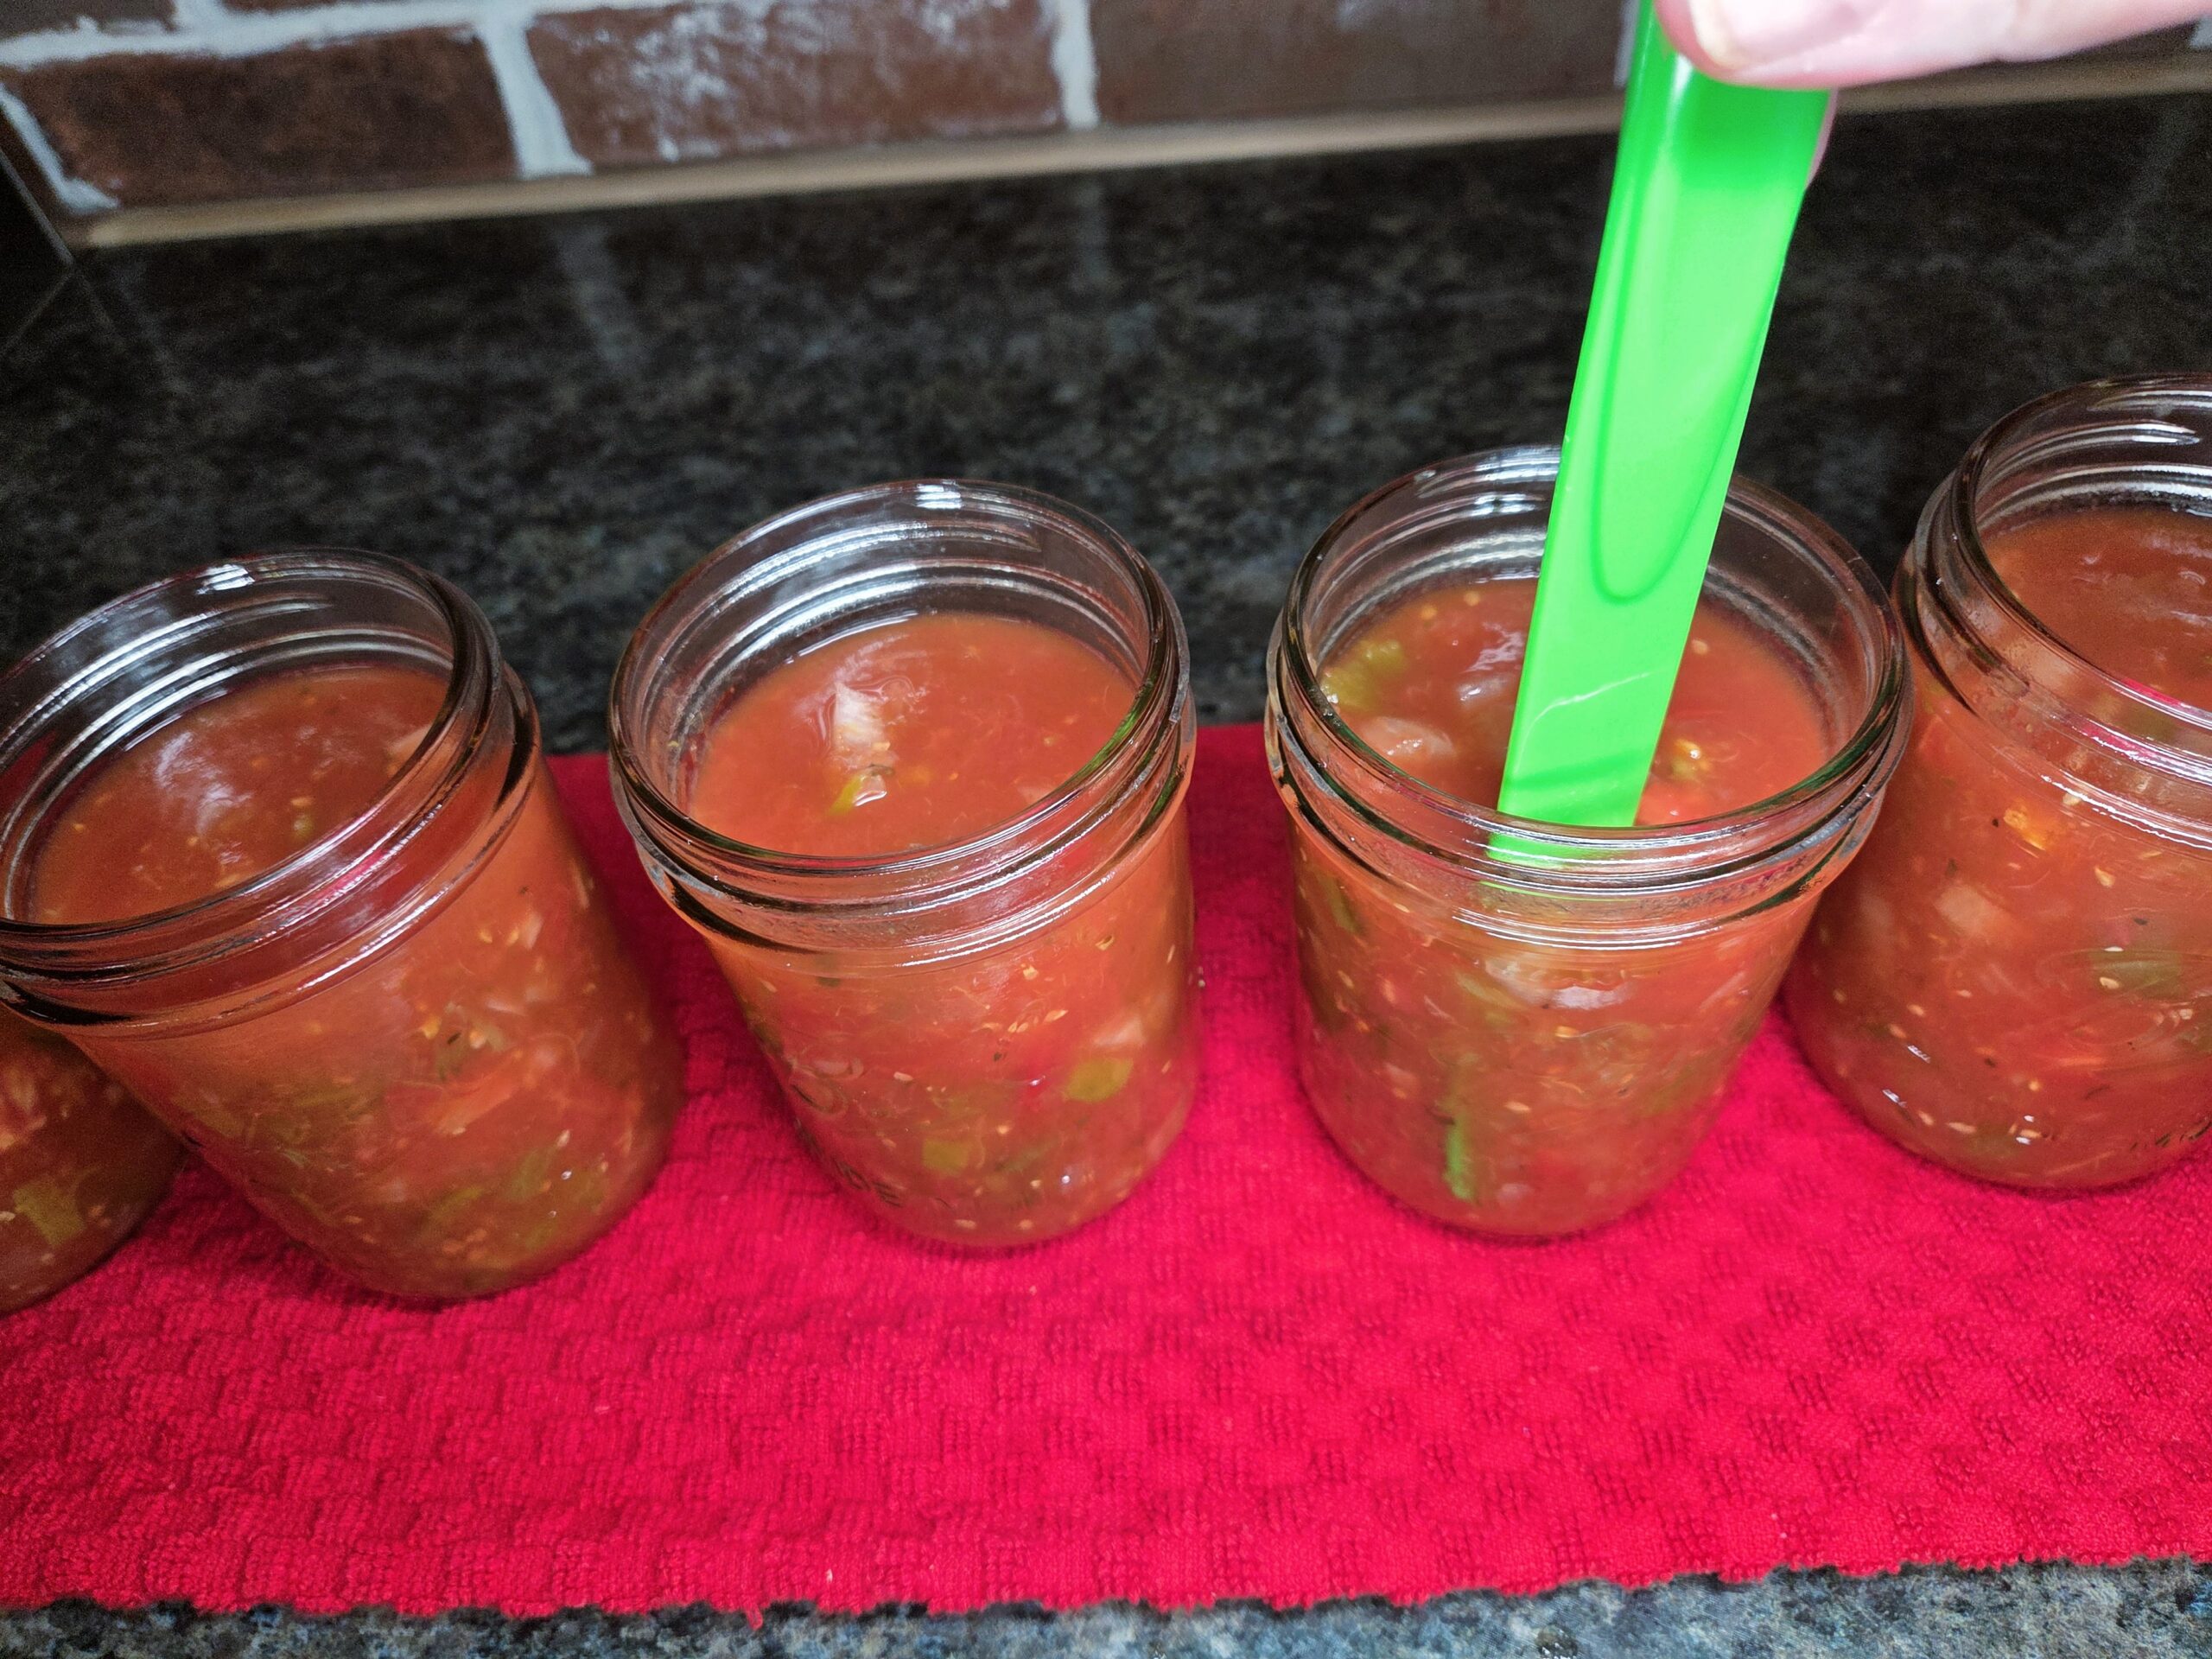
Remove any large air pockets or bubbles with a non-reactive air bubble tool to release trapped air and ensure proper headspace for a safe seal.
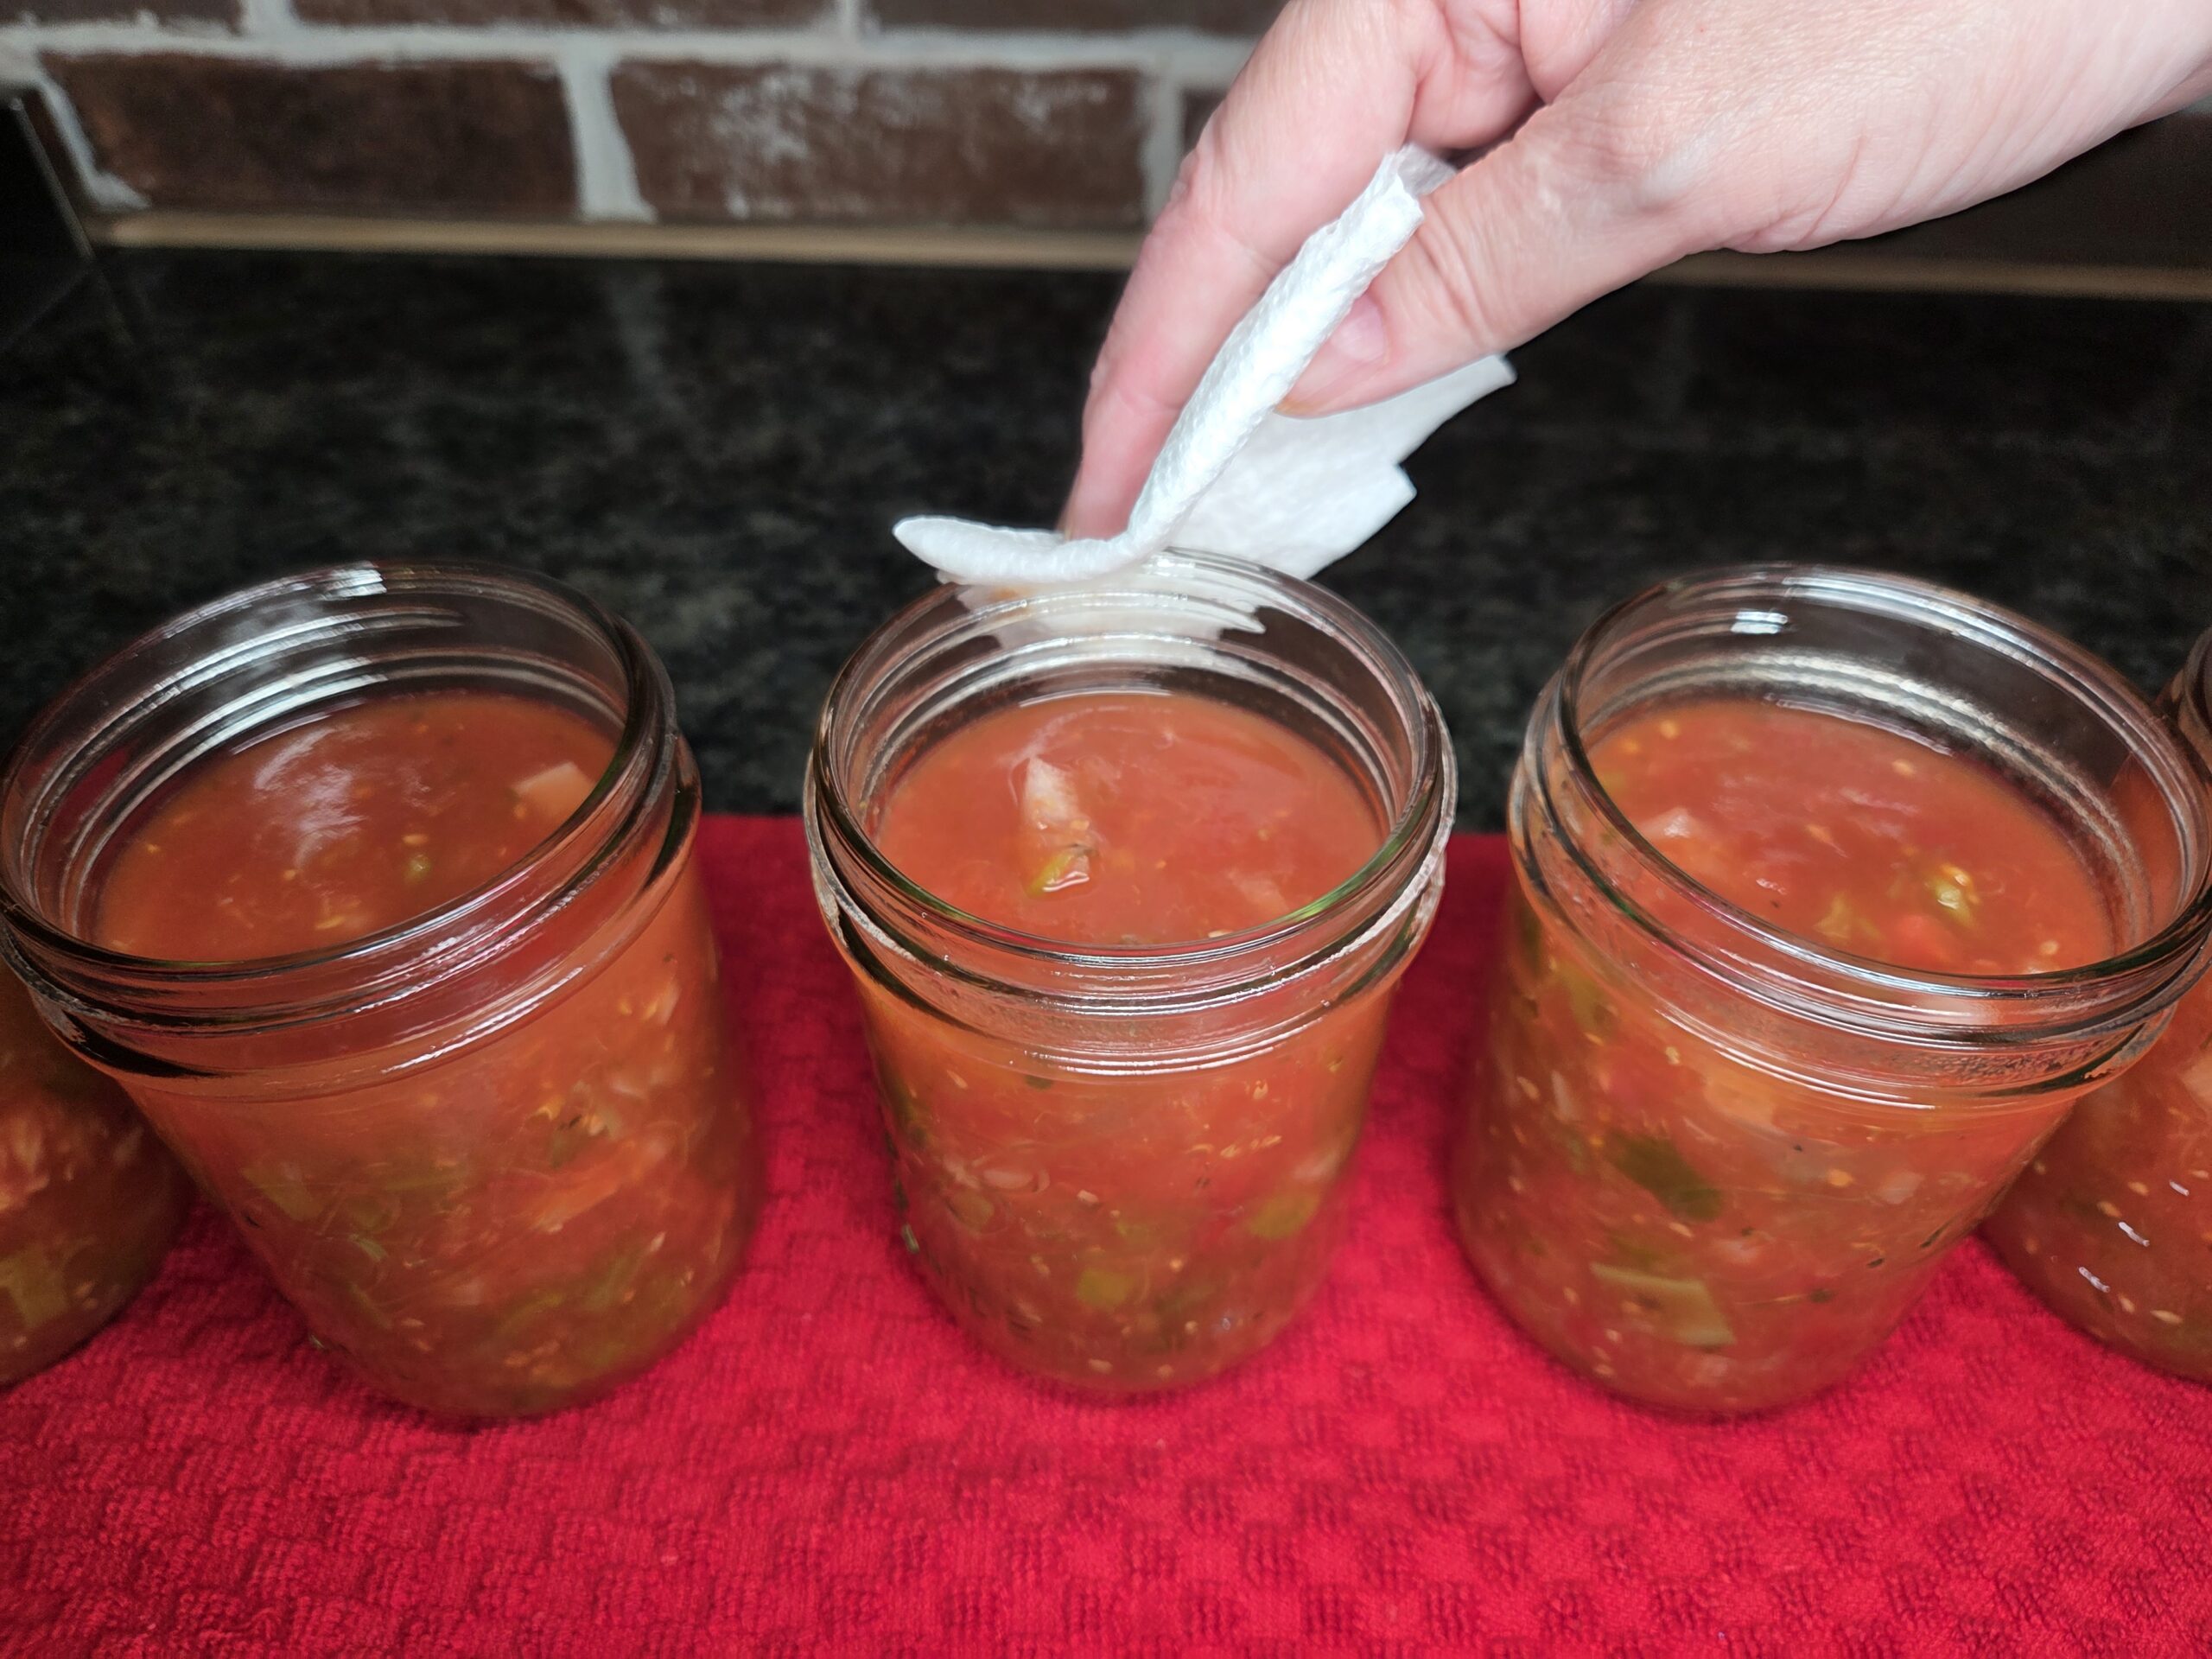
Wipe the jar rims with a clean, damp towel to remove any residue that could interfere with sealing.
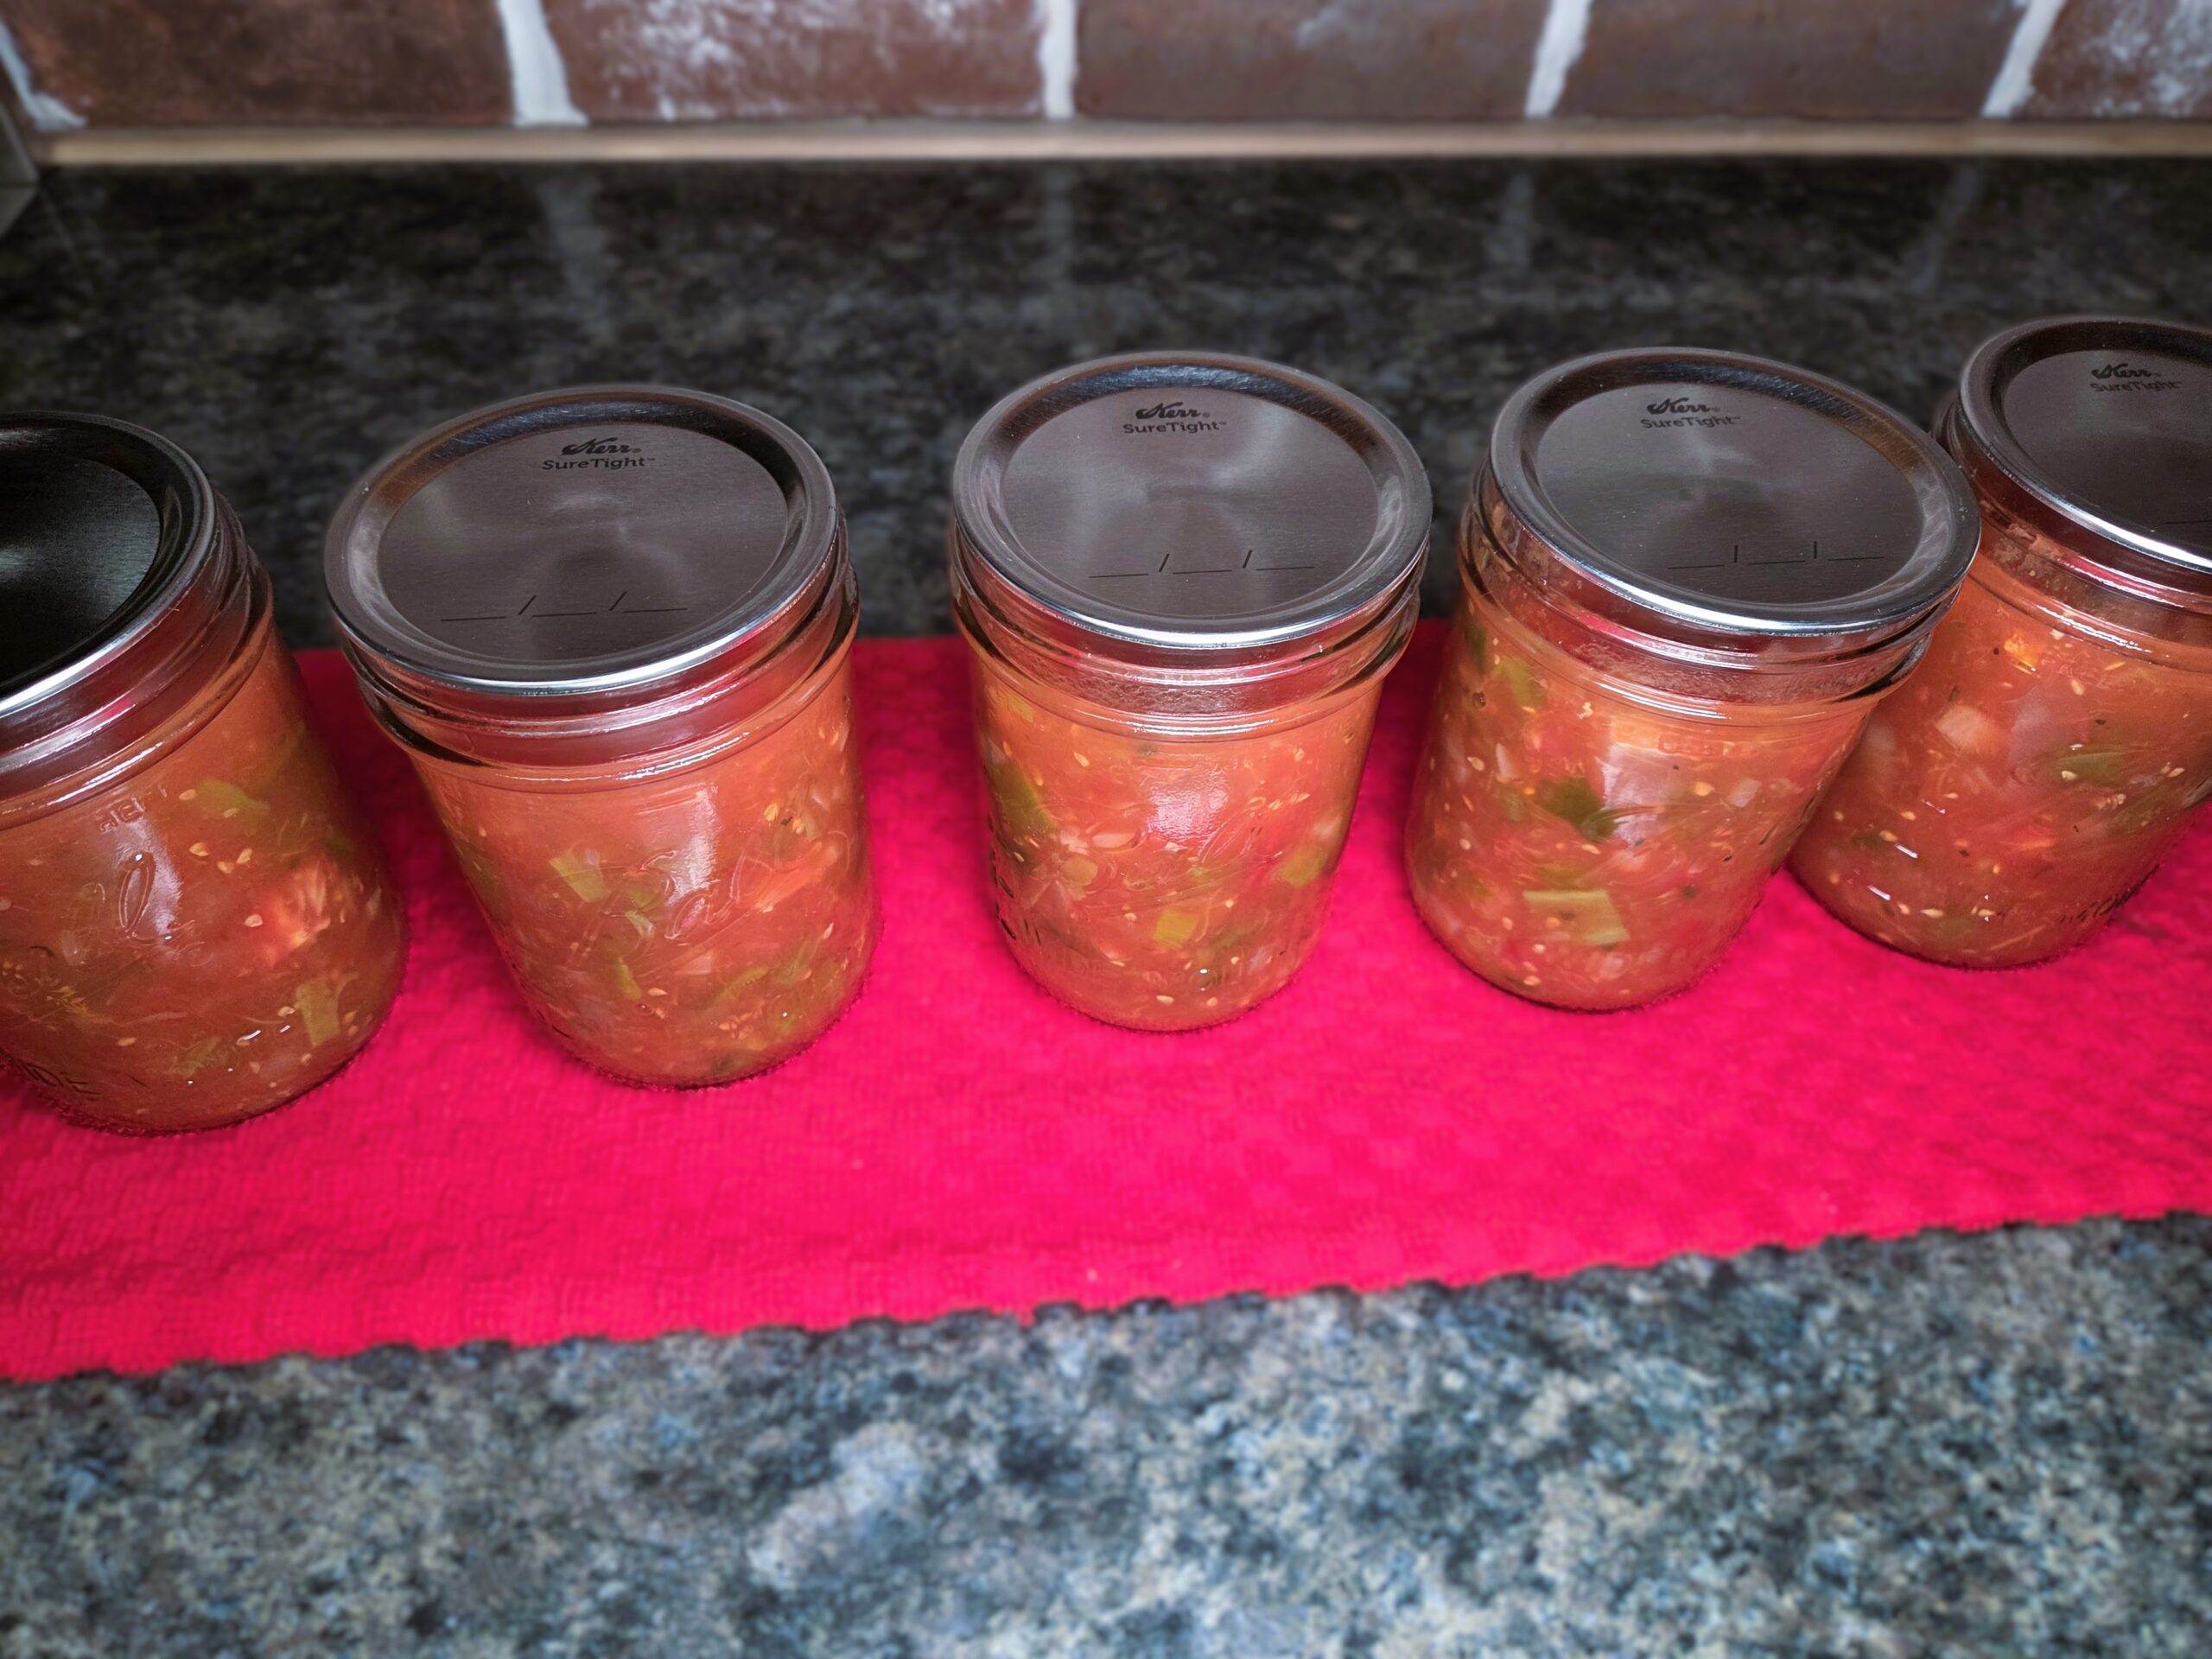
Center the lids on the jars, making sure each one sits evenly to ensure a proper seal.
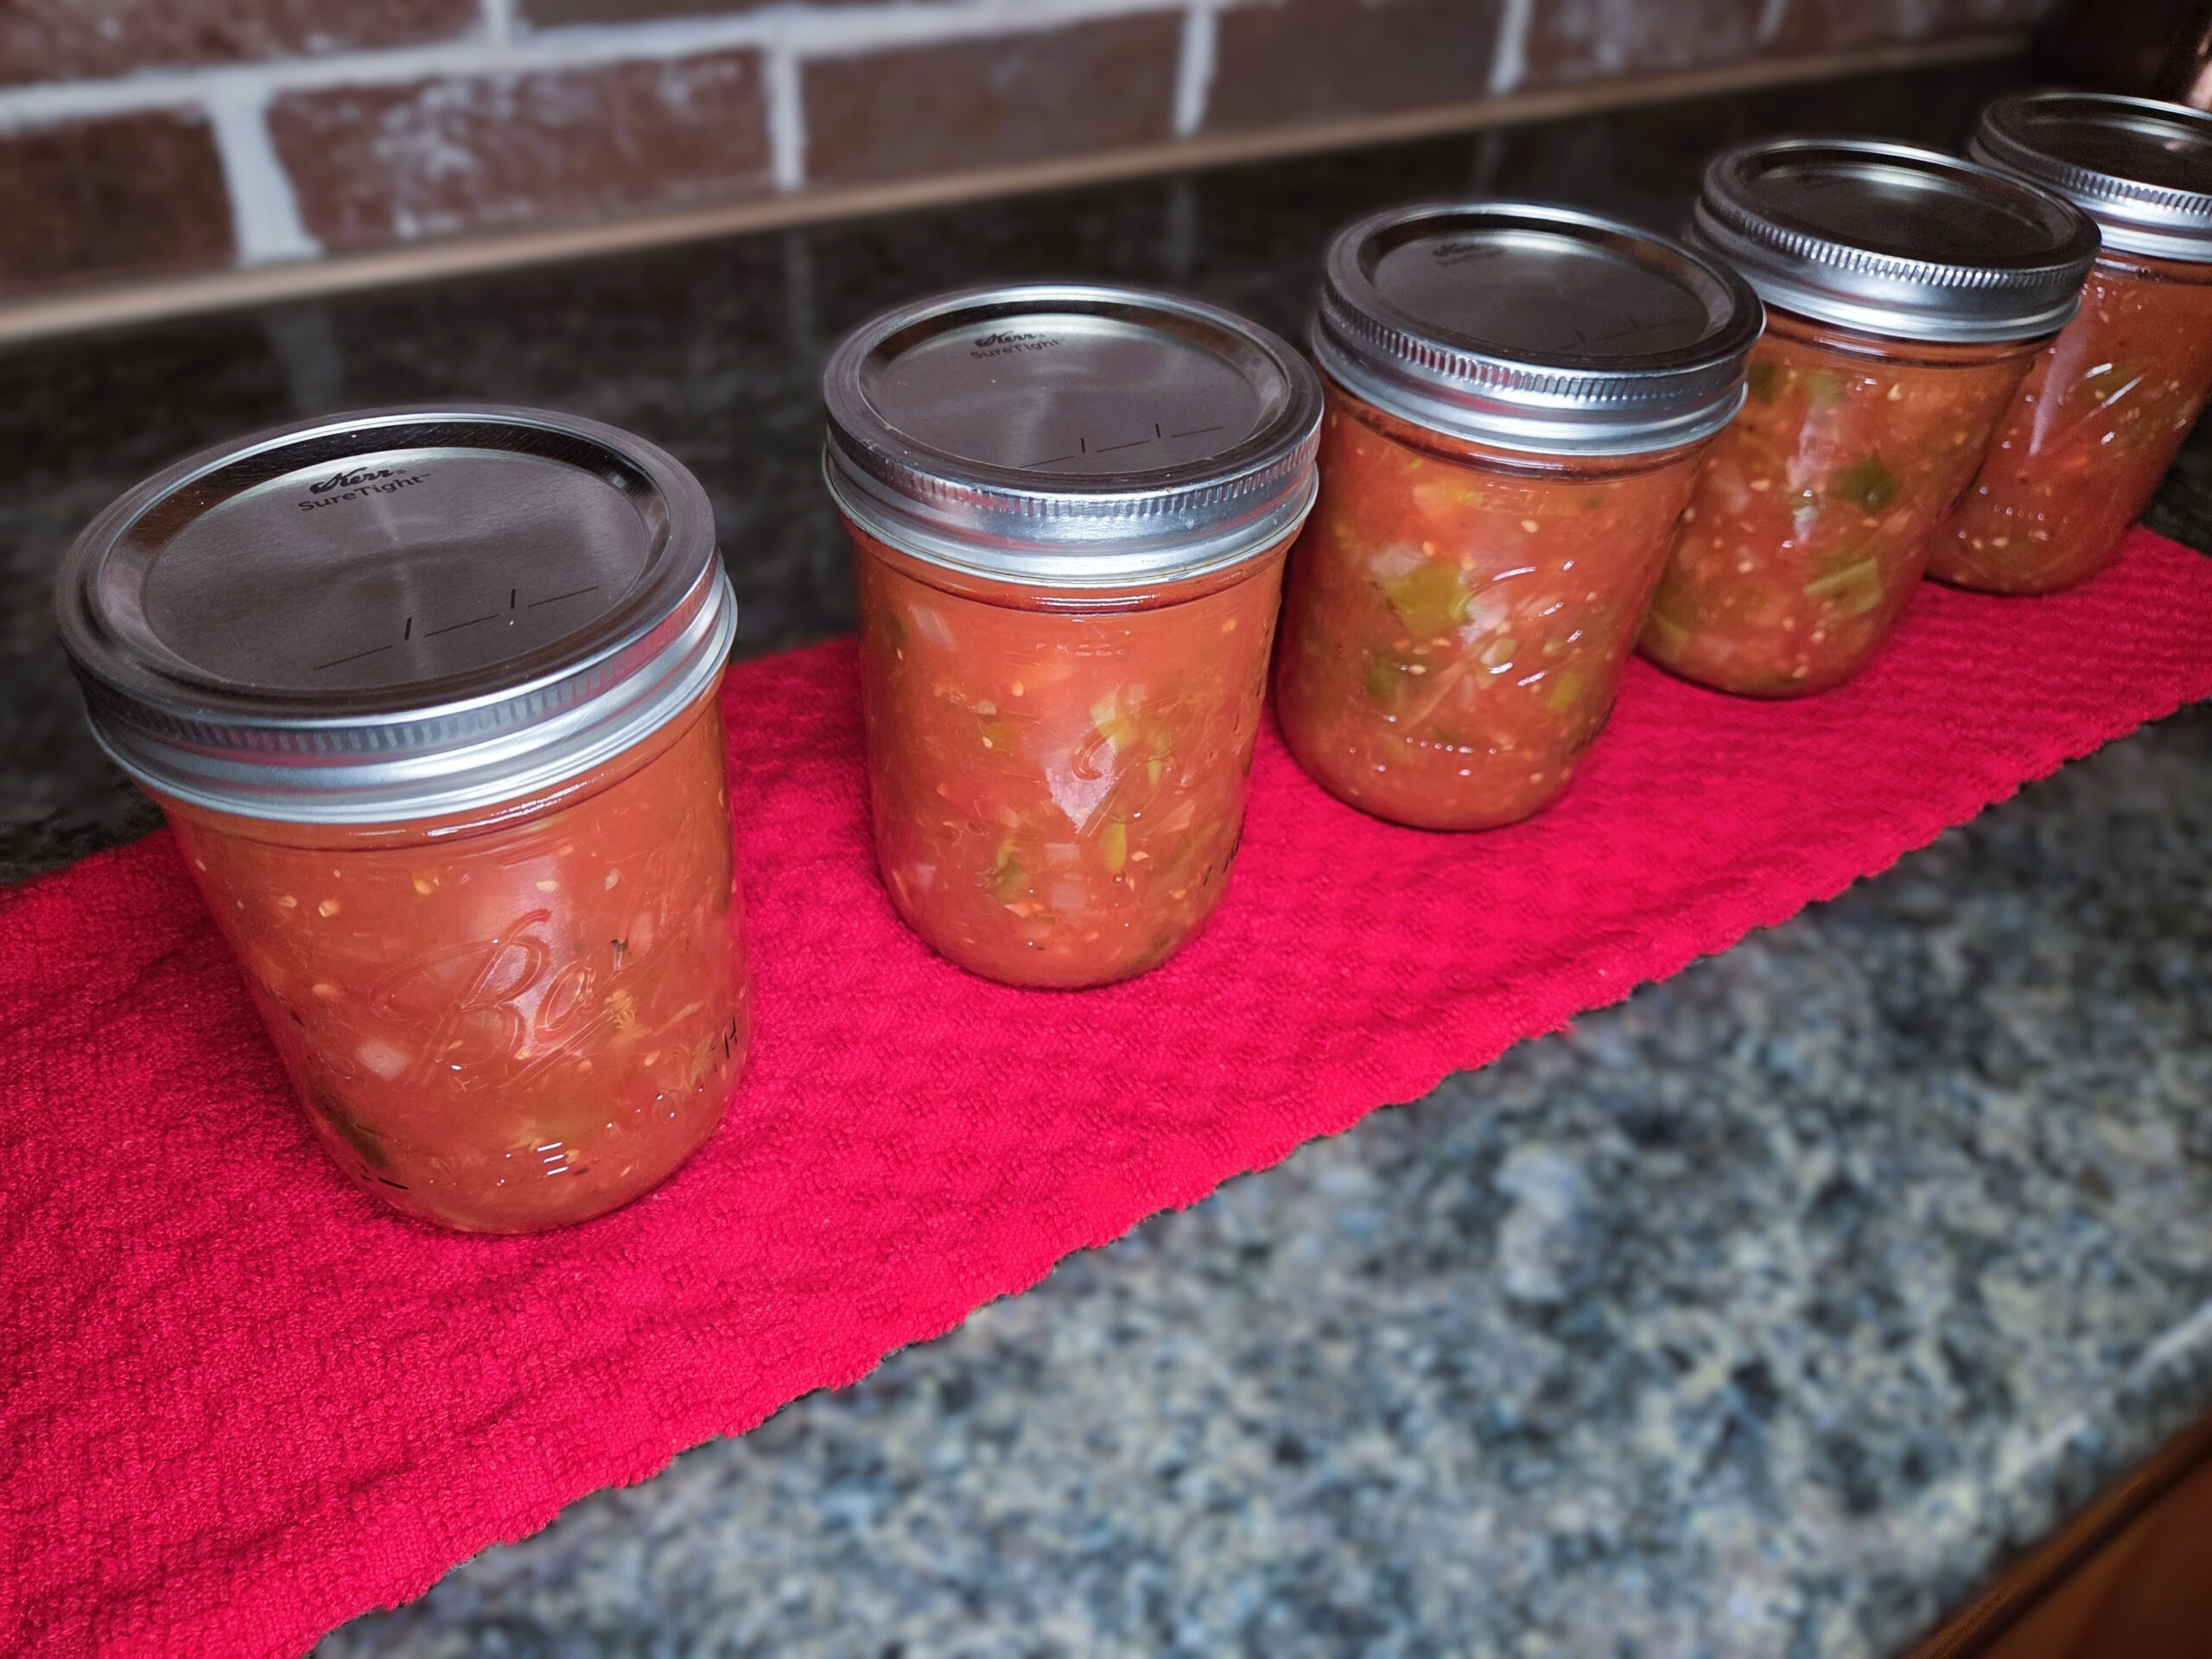
Place the bands on the jars, tightening them to fingertip tightness—snug but not overly tight.
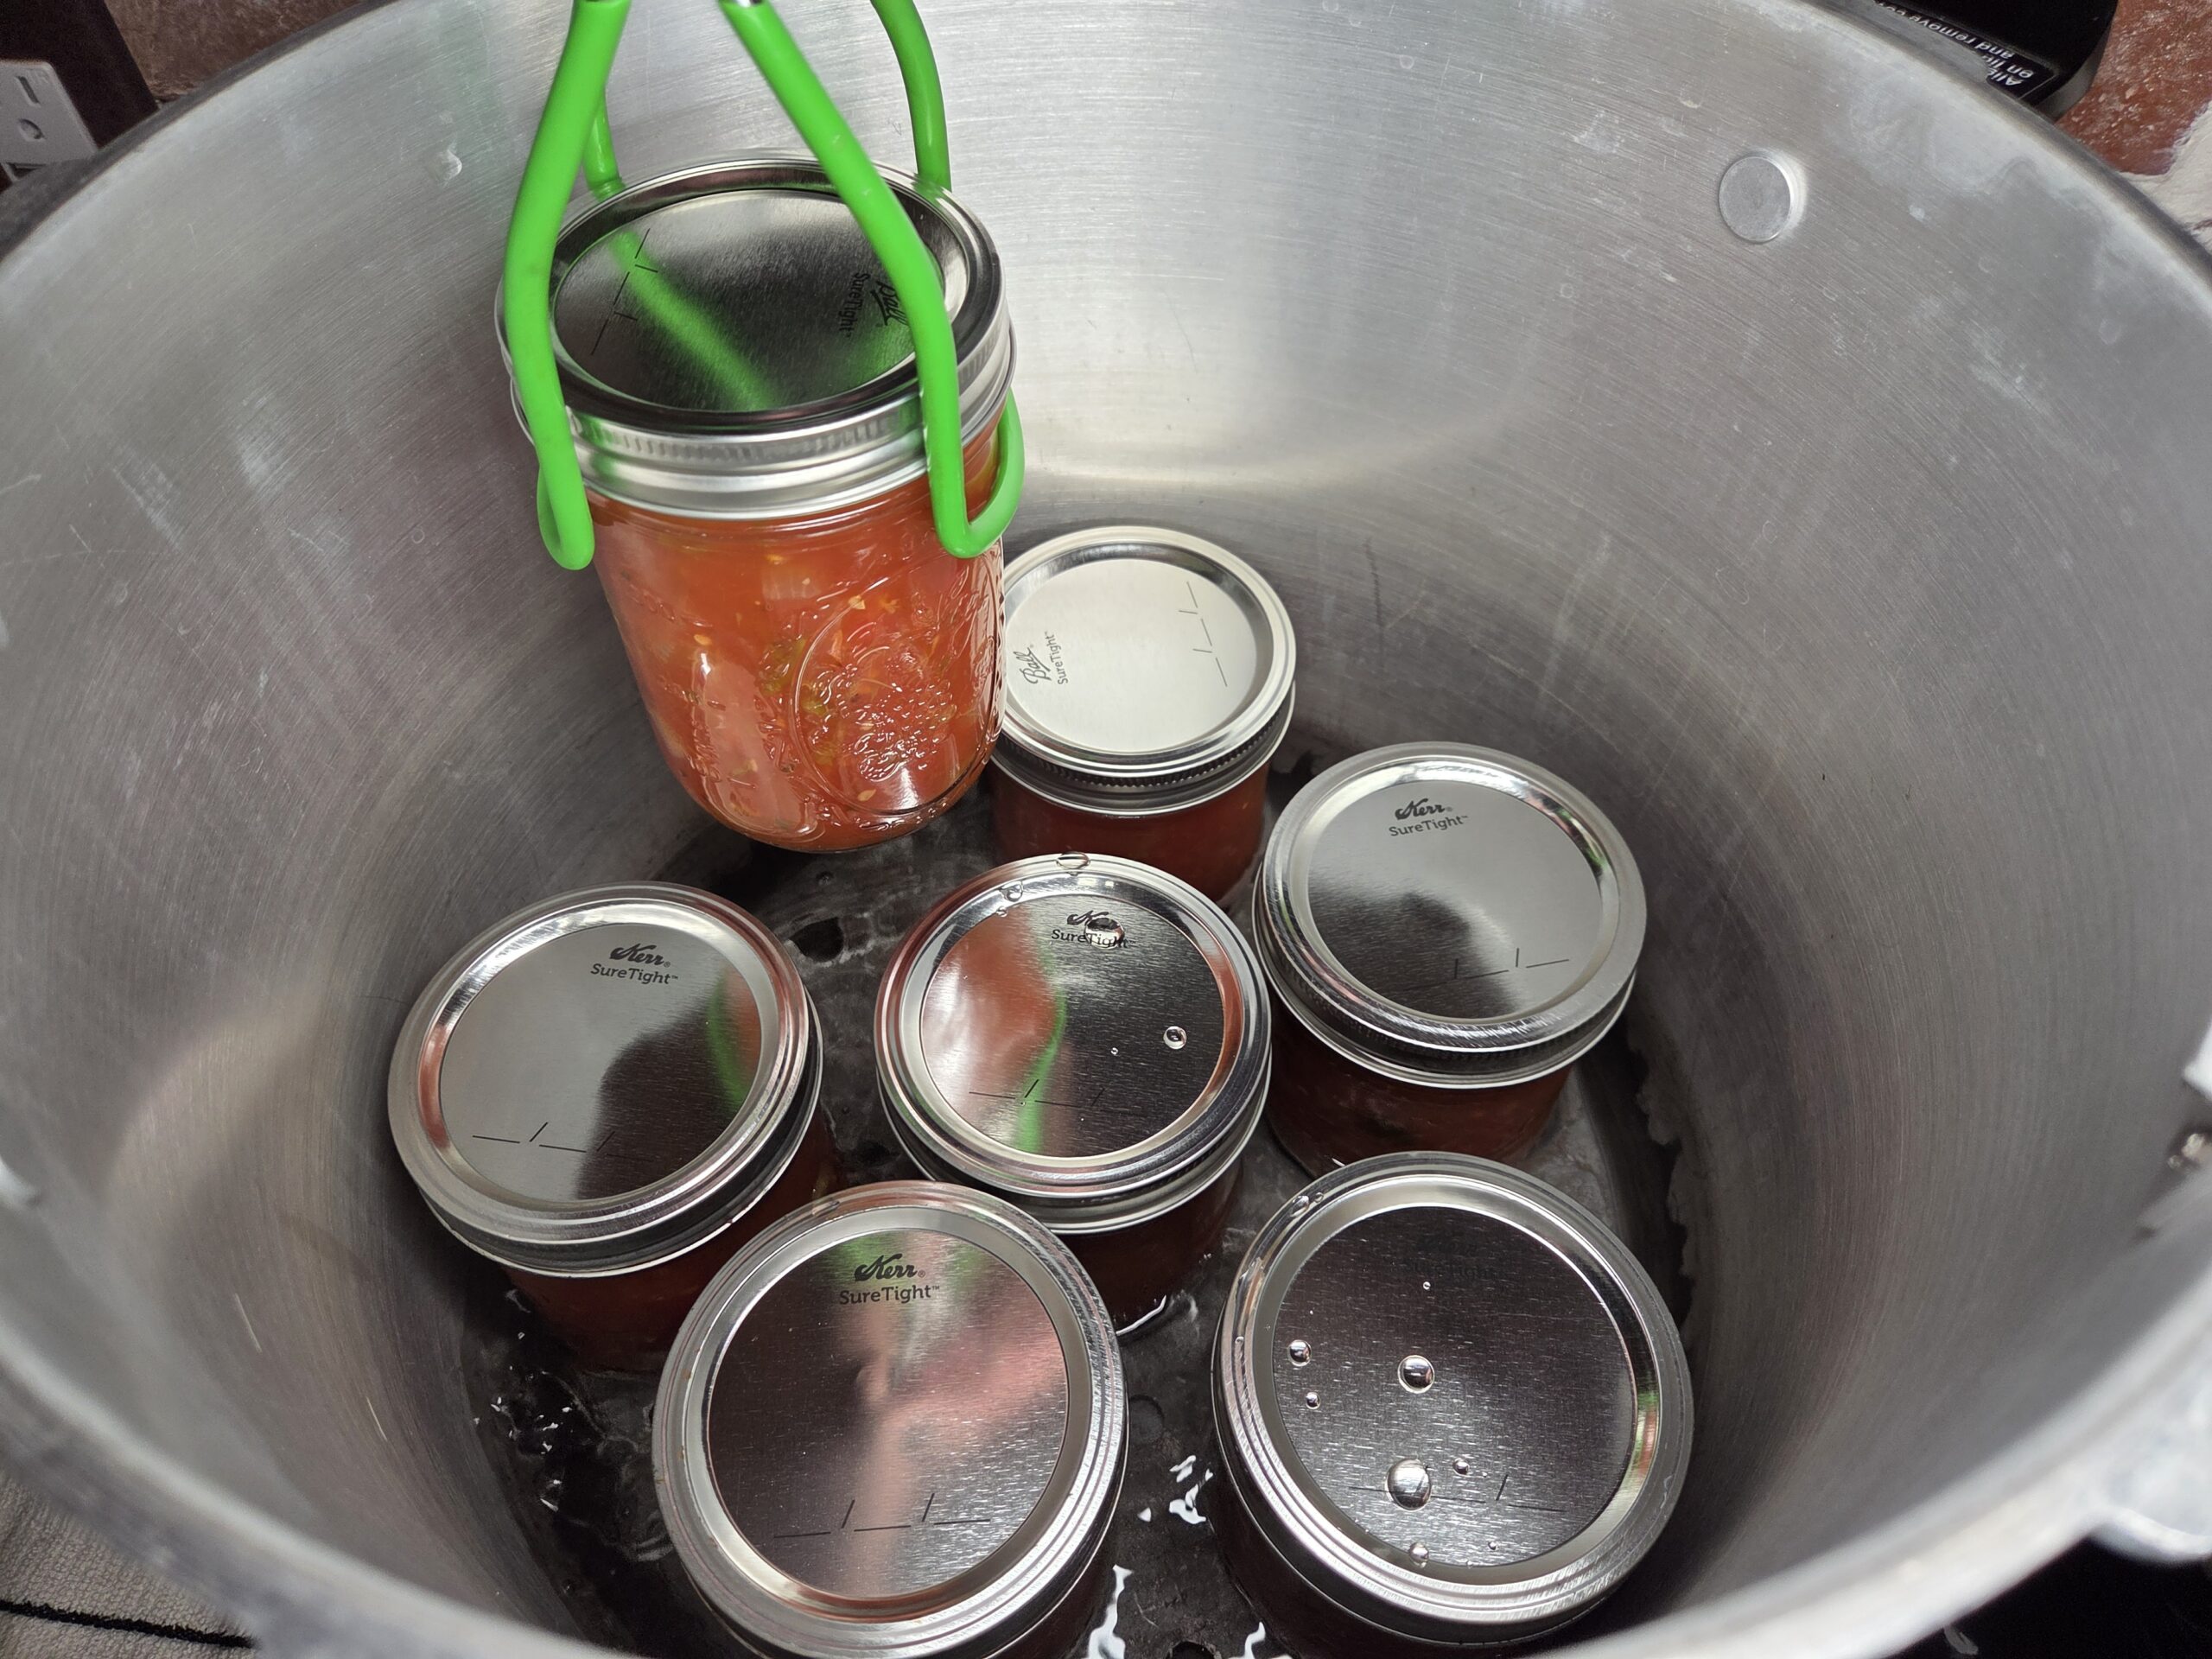
Carefully lower the filled jars into the boiling water, which for pressure canning should be 2–3 inches deep. Keep the jars upright at all times. When using a jar lifter, position it securely below the jar neck (just under the screw band of the lid). Avoid tilting the jars, as this can cause food to spill into the sealing area of the lid.
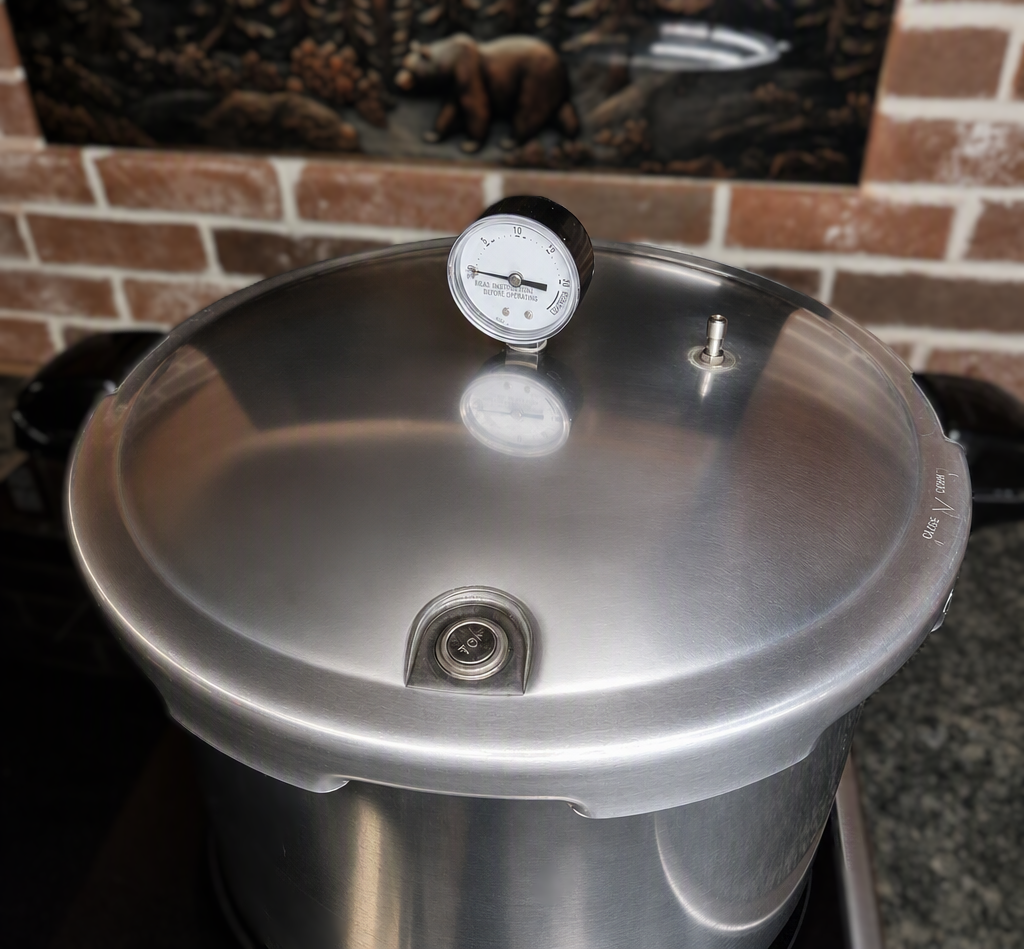
Place the lid on the canner and secure it, leaving the weight off the vent pipe. Heat the canner until the water boils and steam flows freely from the vent continuously for 10 minutes.
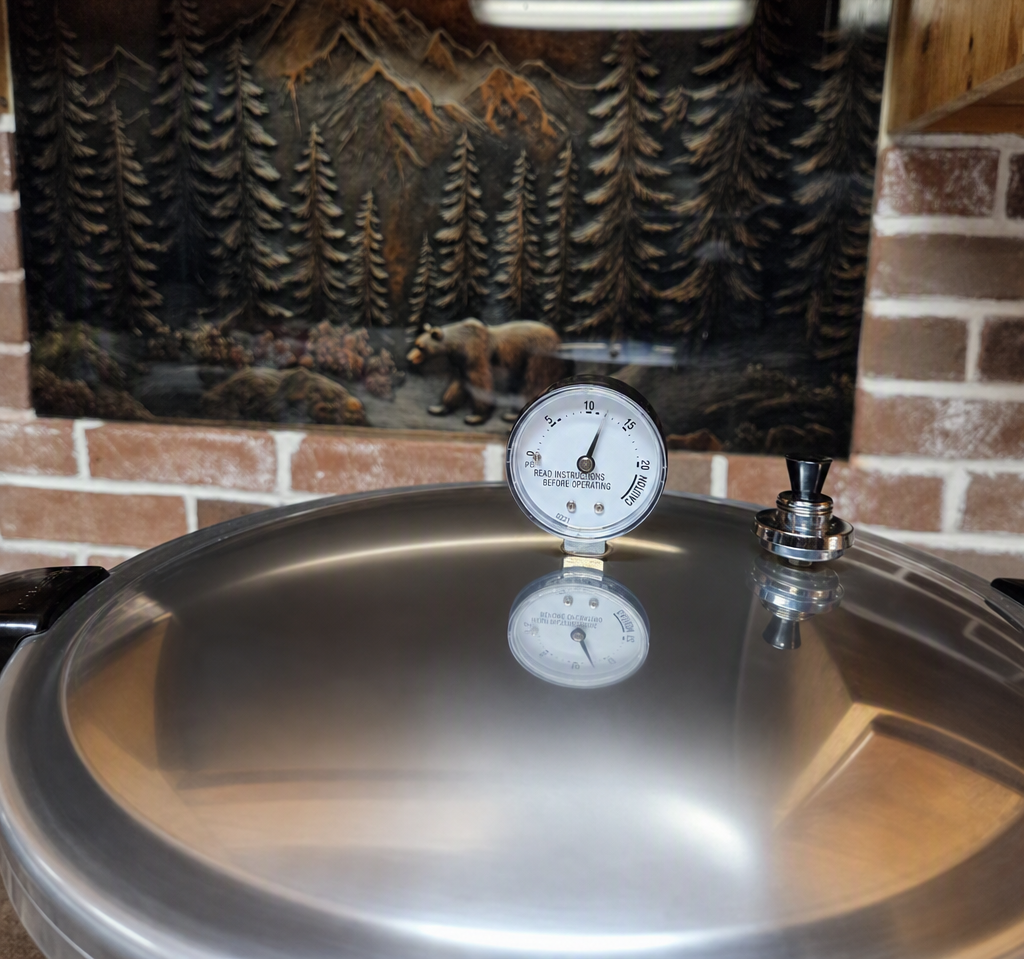
After venting (exhausting) the canner, place the counterweight on the vent pipe. The canner will pressurize over the next 3–10 minutes. Process pint jars for 20 minutes at 11 pounds of pressure for elevations from sea level to 2,000 feet. For 2,001–4,000 feet, process for 20 minutes at 12 pounds; for 4,001–6,000 feet, 20 minutes at 13 pounds; and for 6,001–8,000 feet, 20 minutes at 14 pounds. Start timing once the dial gauge reaches the correct pressure for your elevation. Maintain that pressure, or slightly above, for the full 20 minutes. When the timed process is complete, turn off the heat and, if possible, remove the canner from the burner. Allow the canner to cool naturally until it is fully depressurized. Remove the weight from the vent pipe and wait 10 minutes. Carefully unfasten the lid, lifting it so the underside faces away from you to avoid steam burns. Using a jar lifter, remove the jars one at a time, being careful not to tilt the jars.
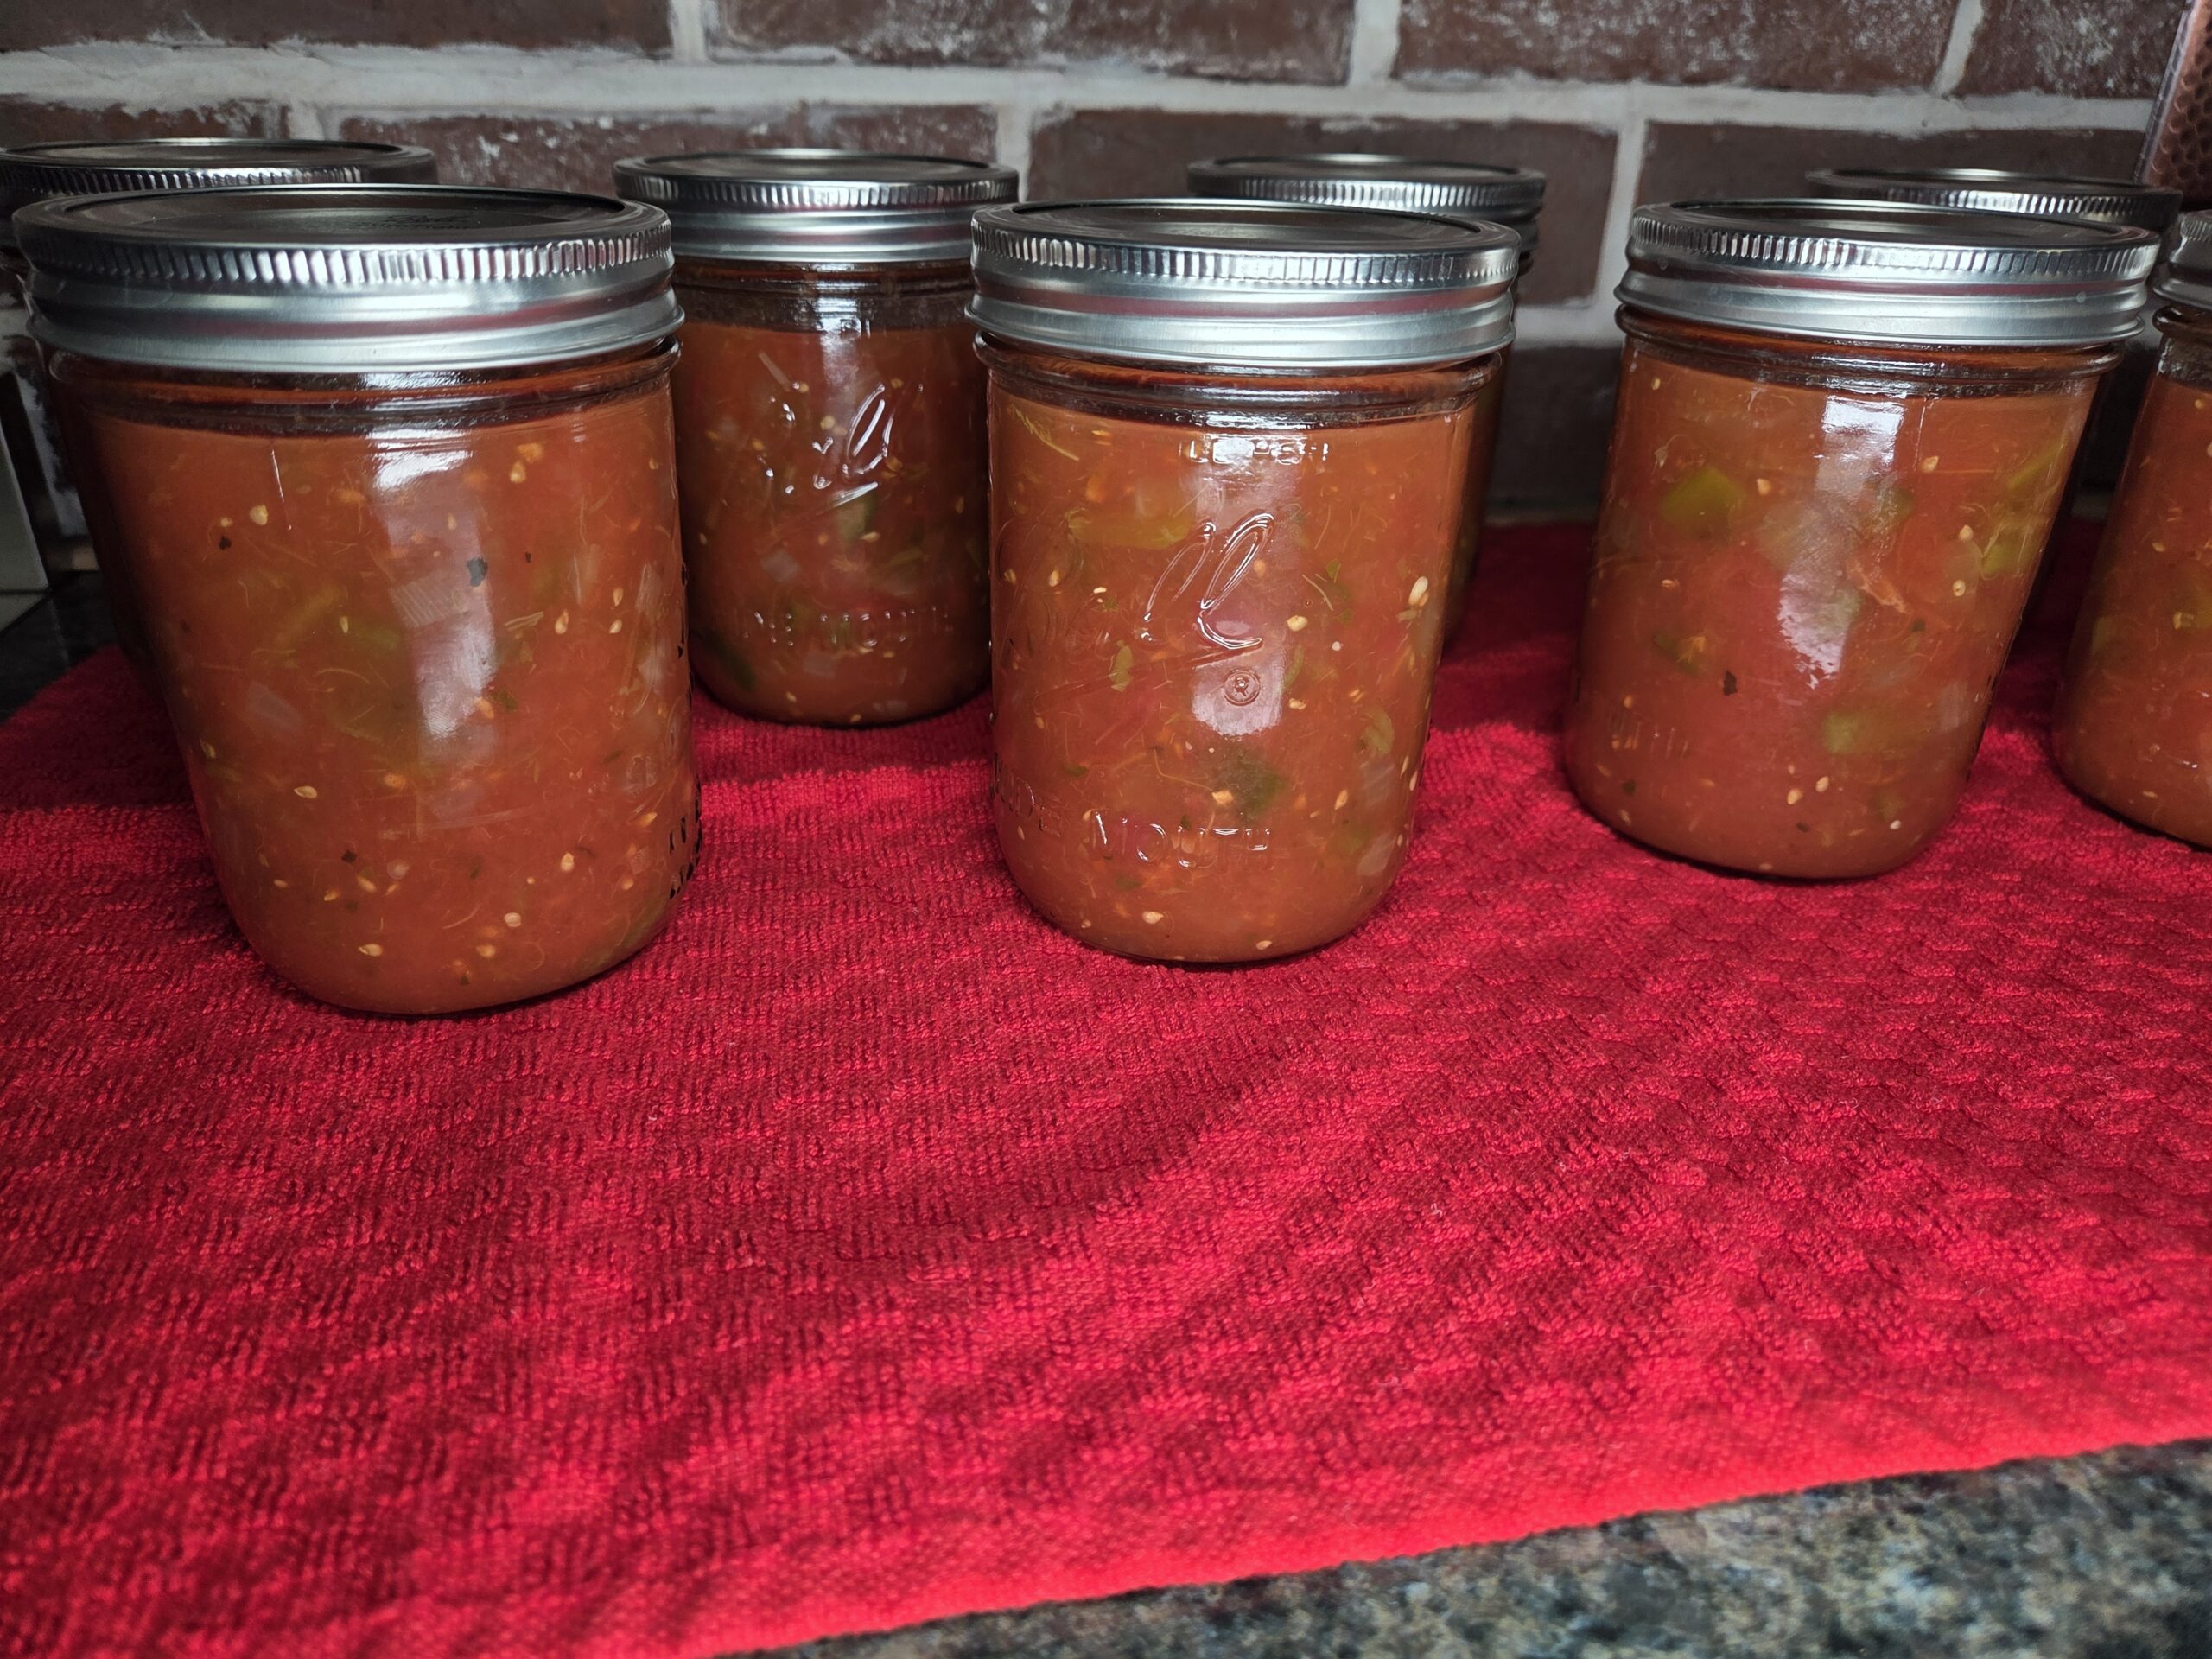
Carefully place the jars directly onto a towel, cake‑cooling rack, or other padded surface, leaving at least 1 inch of space between them. Avoid setting jars on a cold surface or in a draft. Let the jars cool undisturbed for 12–24 hours. Do not tighten the ring bands or press down on the center of the lids until the jars are completely cooled. Remove the ring bands from the sealed jars. Place any unsealed jars in the refrigerator. Gently wipe down the jars and lids with a clean, damp towel or paper towel to remove any residue, moisture, or stickiness left on the surface. Write the contents and date on the jars, then store them in a cool, dry place away from direct light.
Enjoy!
For more delicious salsa and canning recipes, check out these:
Conclusion
Kitchen Tools :Need some tools or ingredients to make this recipe? Use my Amazon Affiliate links to shop. I will make a small commission and it doesn't cost you any extra. Thank you for visiting.
Tam Jalapeno Pepper Seeds Sow Right Seeds- Anaheim Pepper Seeds Poblano Pepper Seeds Big Jim Legacy Hatch Variety Seeds Digital pH Meter, Food pH Checker Presto 23-Quart Induction Compatible Pressure Canner Circulon Total Bakeware Nonstick Cookie Baking Sheet 7.5 Quart Enamel Cast-Iron Round Dutch Oven, Sage Green Check out all of my kitchen essentials here in my Amazon store. Published on: August 28, 2026

Recipe Reviews