-
Prep Time30 minutes
-
Cook Time20-30 minutes plus canning time
-
Serv SizeYield: 6 half pints
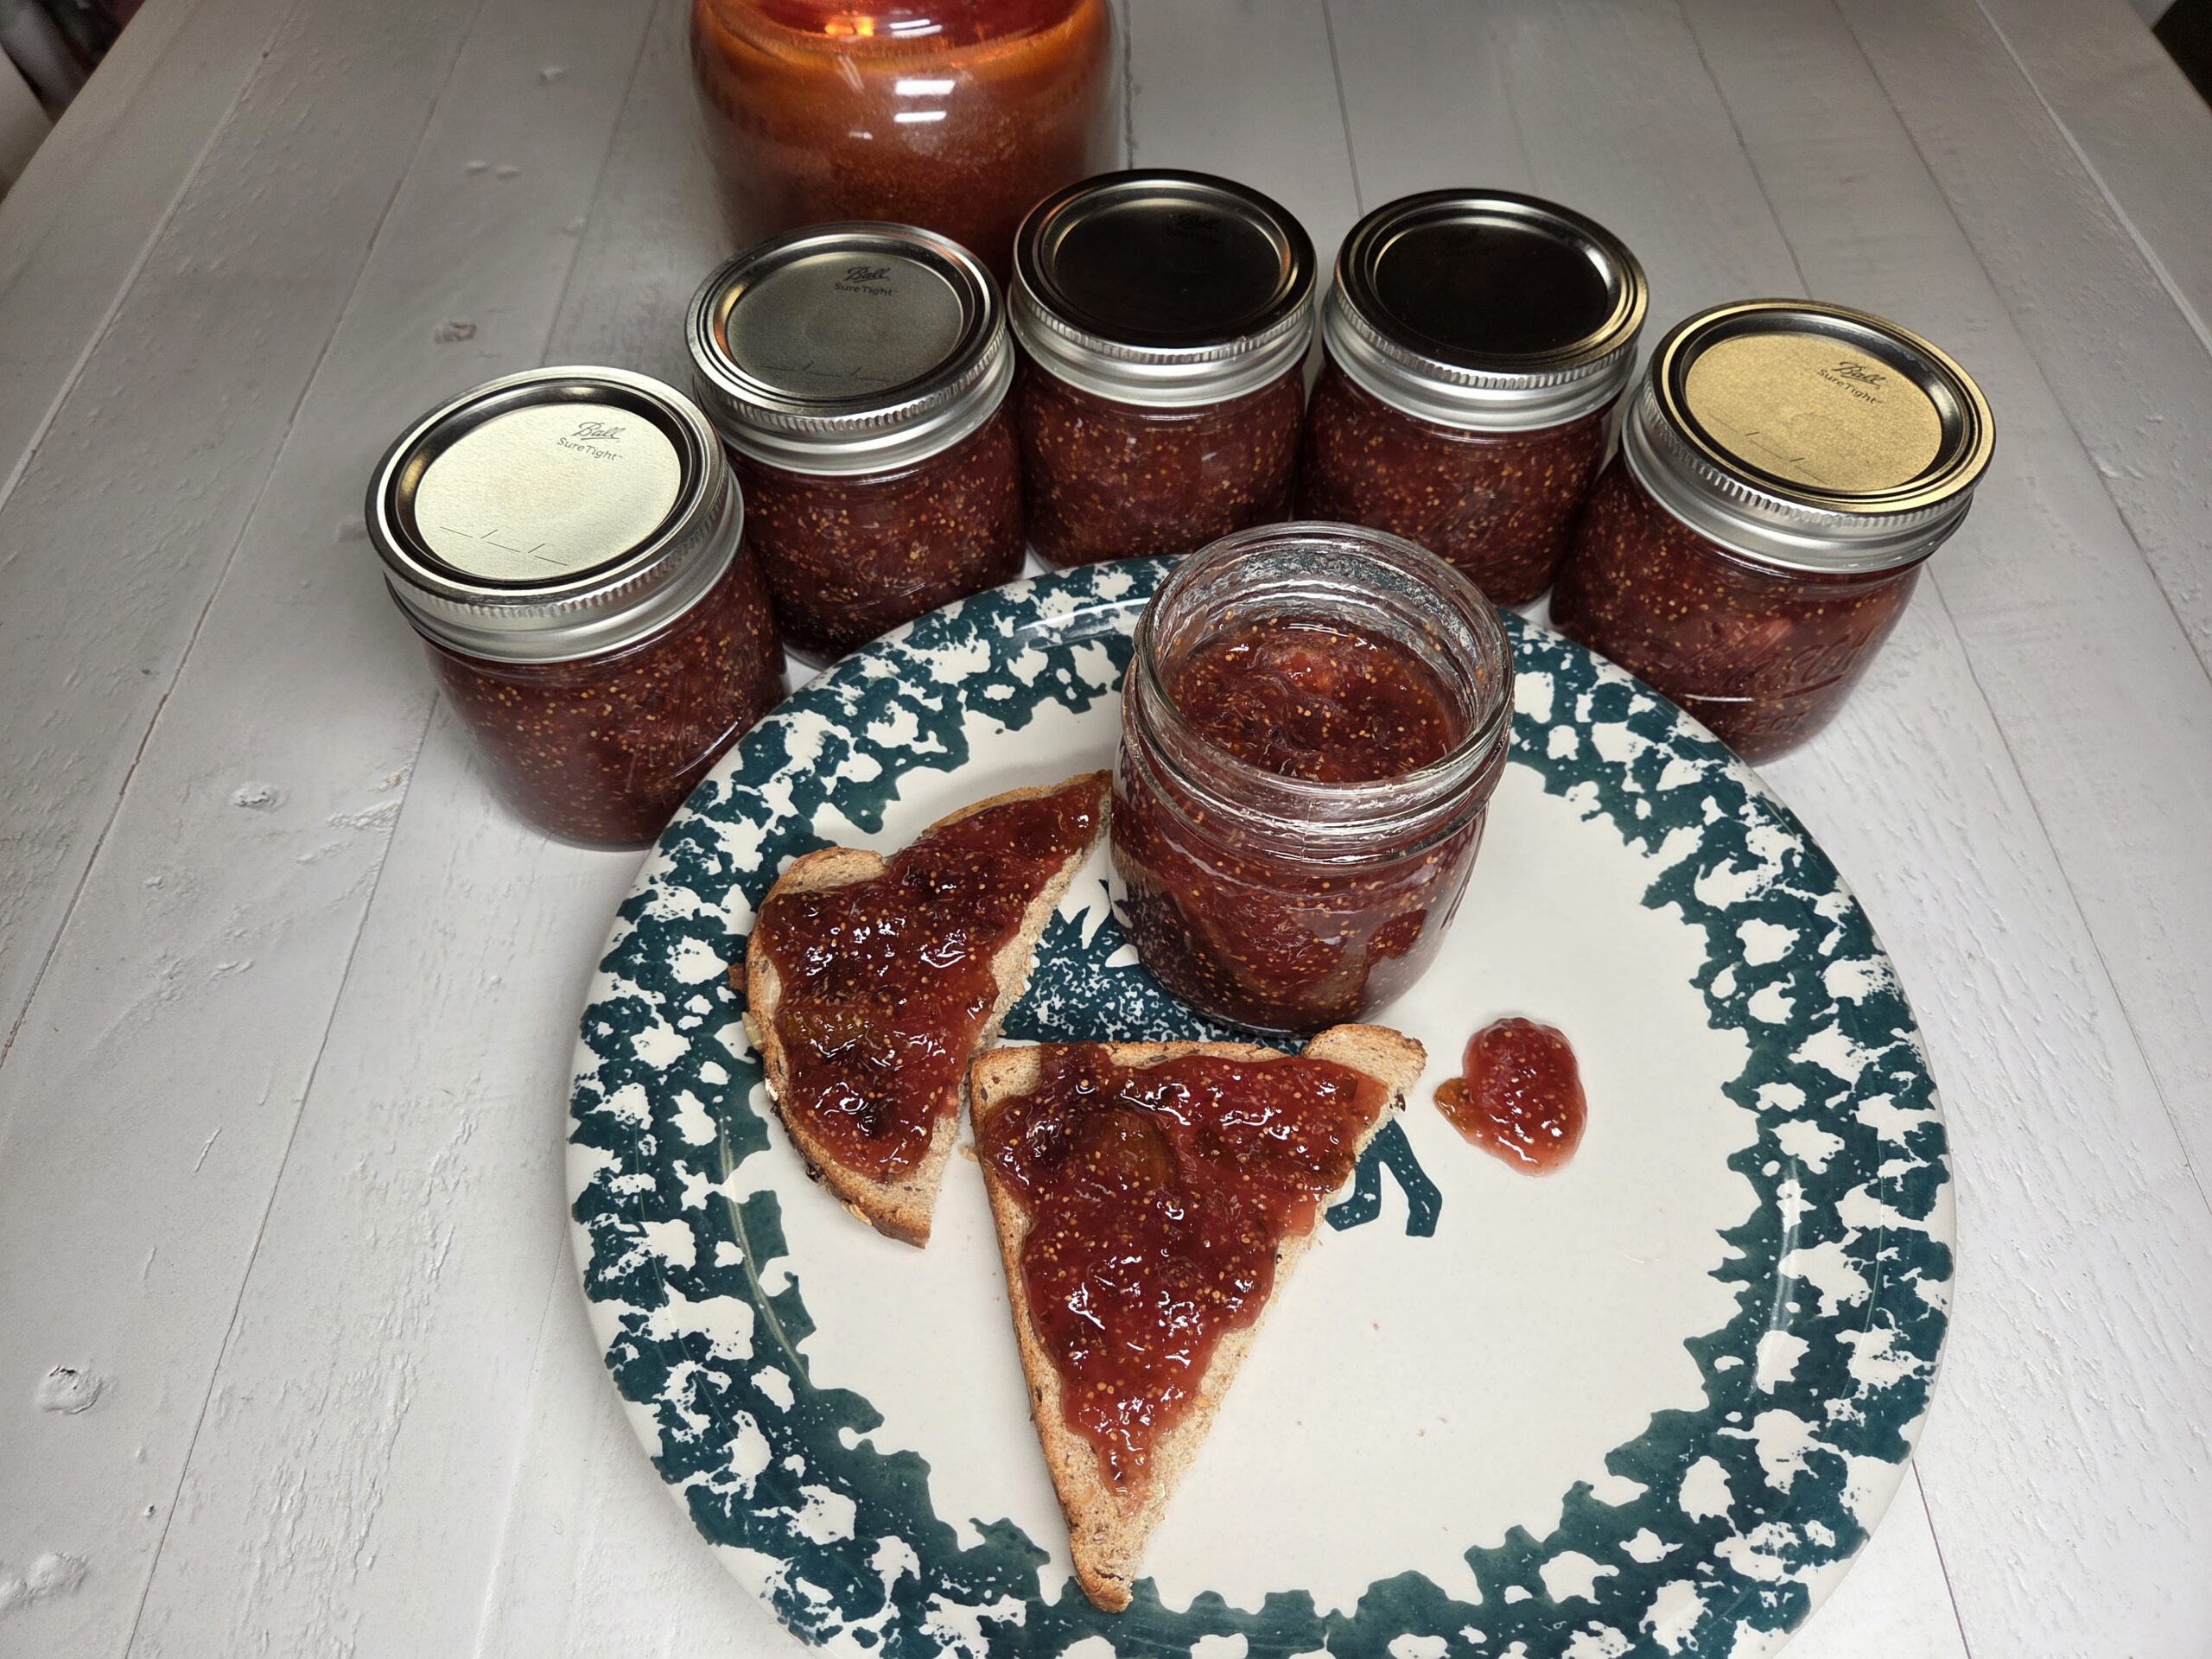
A pot of sun‑sweet figs simmered into a glossy, fragrant jam that tastes like pure heaven, complete with simple, reliable canning instructions.
Ingredients
Directions
Fig Jam is incredibly versatile — sweet, floral, and delicious on biscuits, toast, or whisked into a quick pan sauce with diced shallots, a splash of water, and a pinch of salt, then spooned over chicken. Figs are one of the easiest fruits to turn into jam: no pectin, no peeling, no pitting, no seed removal, and only a short cook time to reach that perfect, spoonable thickness. Botanically, a fig is considered a “multiple fruit,” made up of tiny inverted flowers, which are those little seeds you see when you slice one open are actually the blossoms themselves. This tutorial walks you through water‑bath canning 6 half‑pints of homemade fig jam.
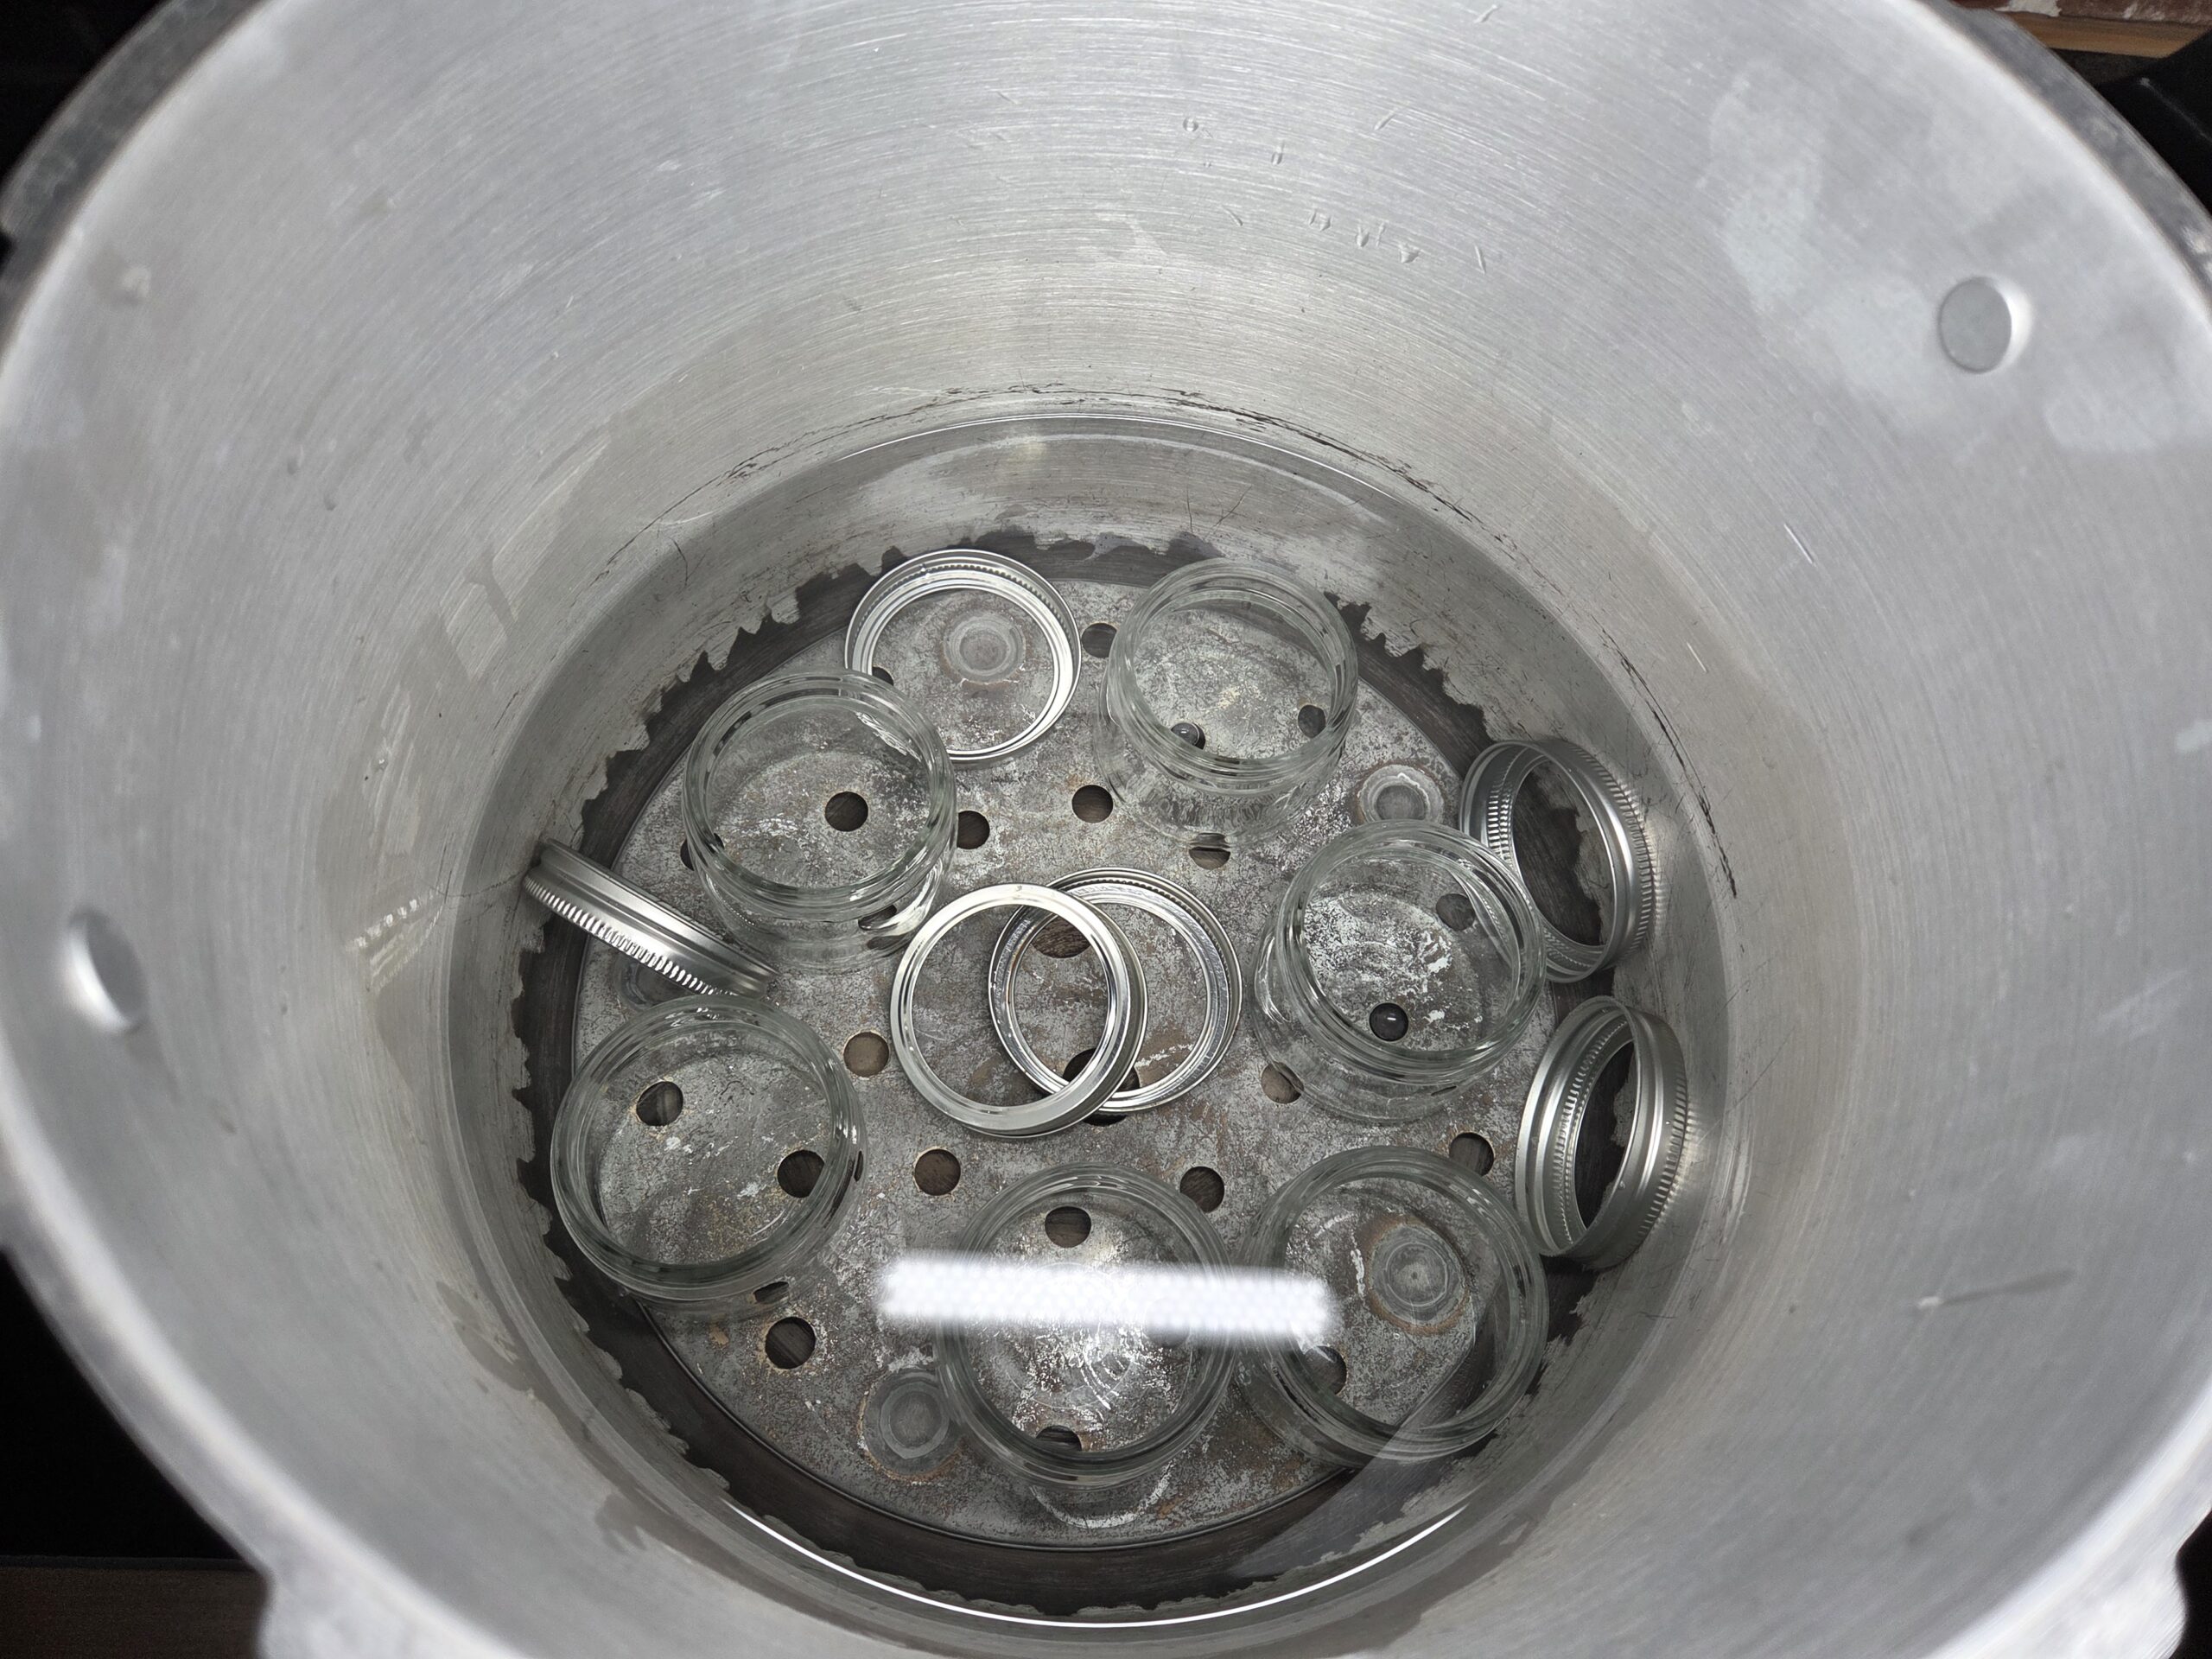
Wash the jars, lids, and bands in warm, soapy water and rinse well. Place the jars right side up in a boiling‑water canner fitted with a canning rack . Do not boil lids. Add warm water until it covers the jars by about 1 inch. Bring the water to a boil and boil the jars for 10 minutes if you are below 1,000 feet elevation; add 1 minute of boiling time for every additional 1,000 feet. Reduce the heat and keep the jars hot until you’re ready to fill them.
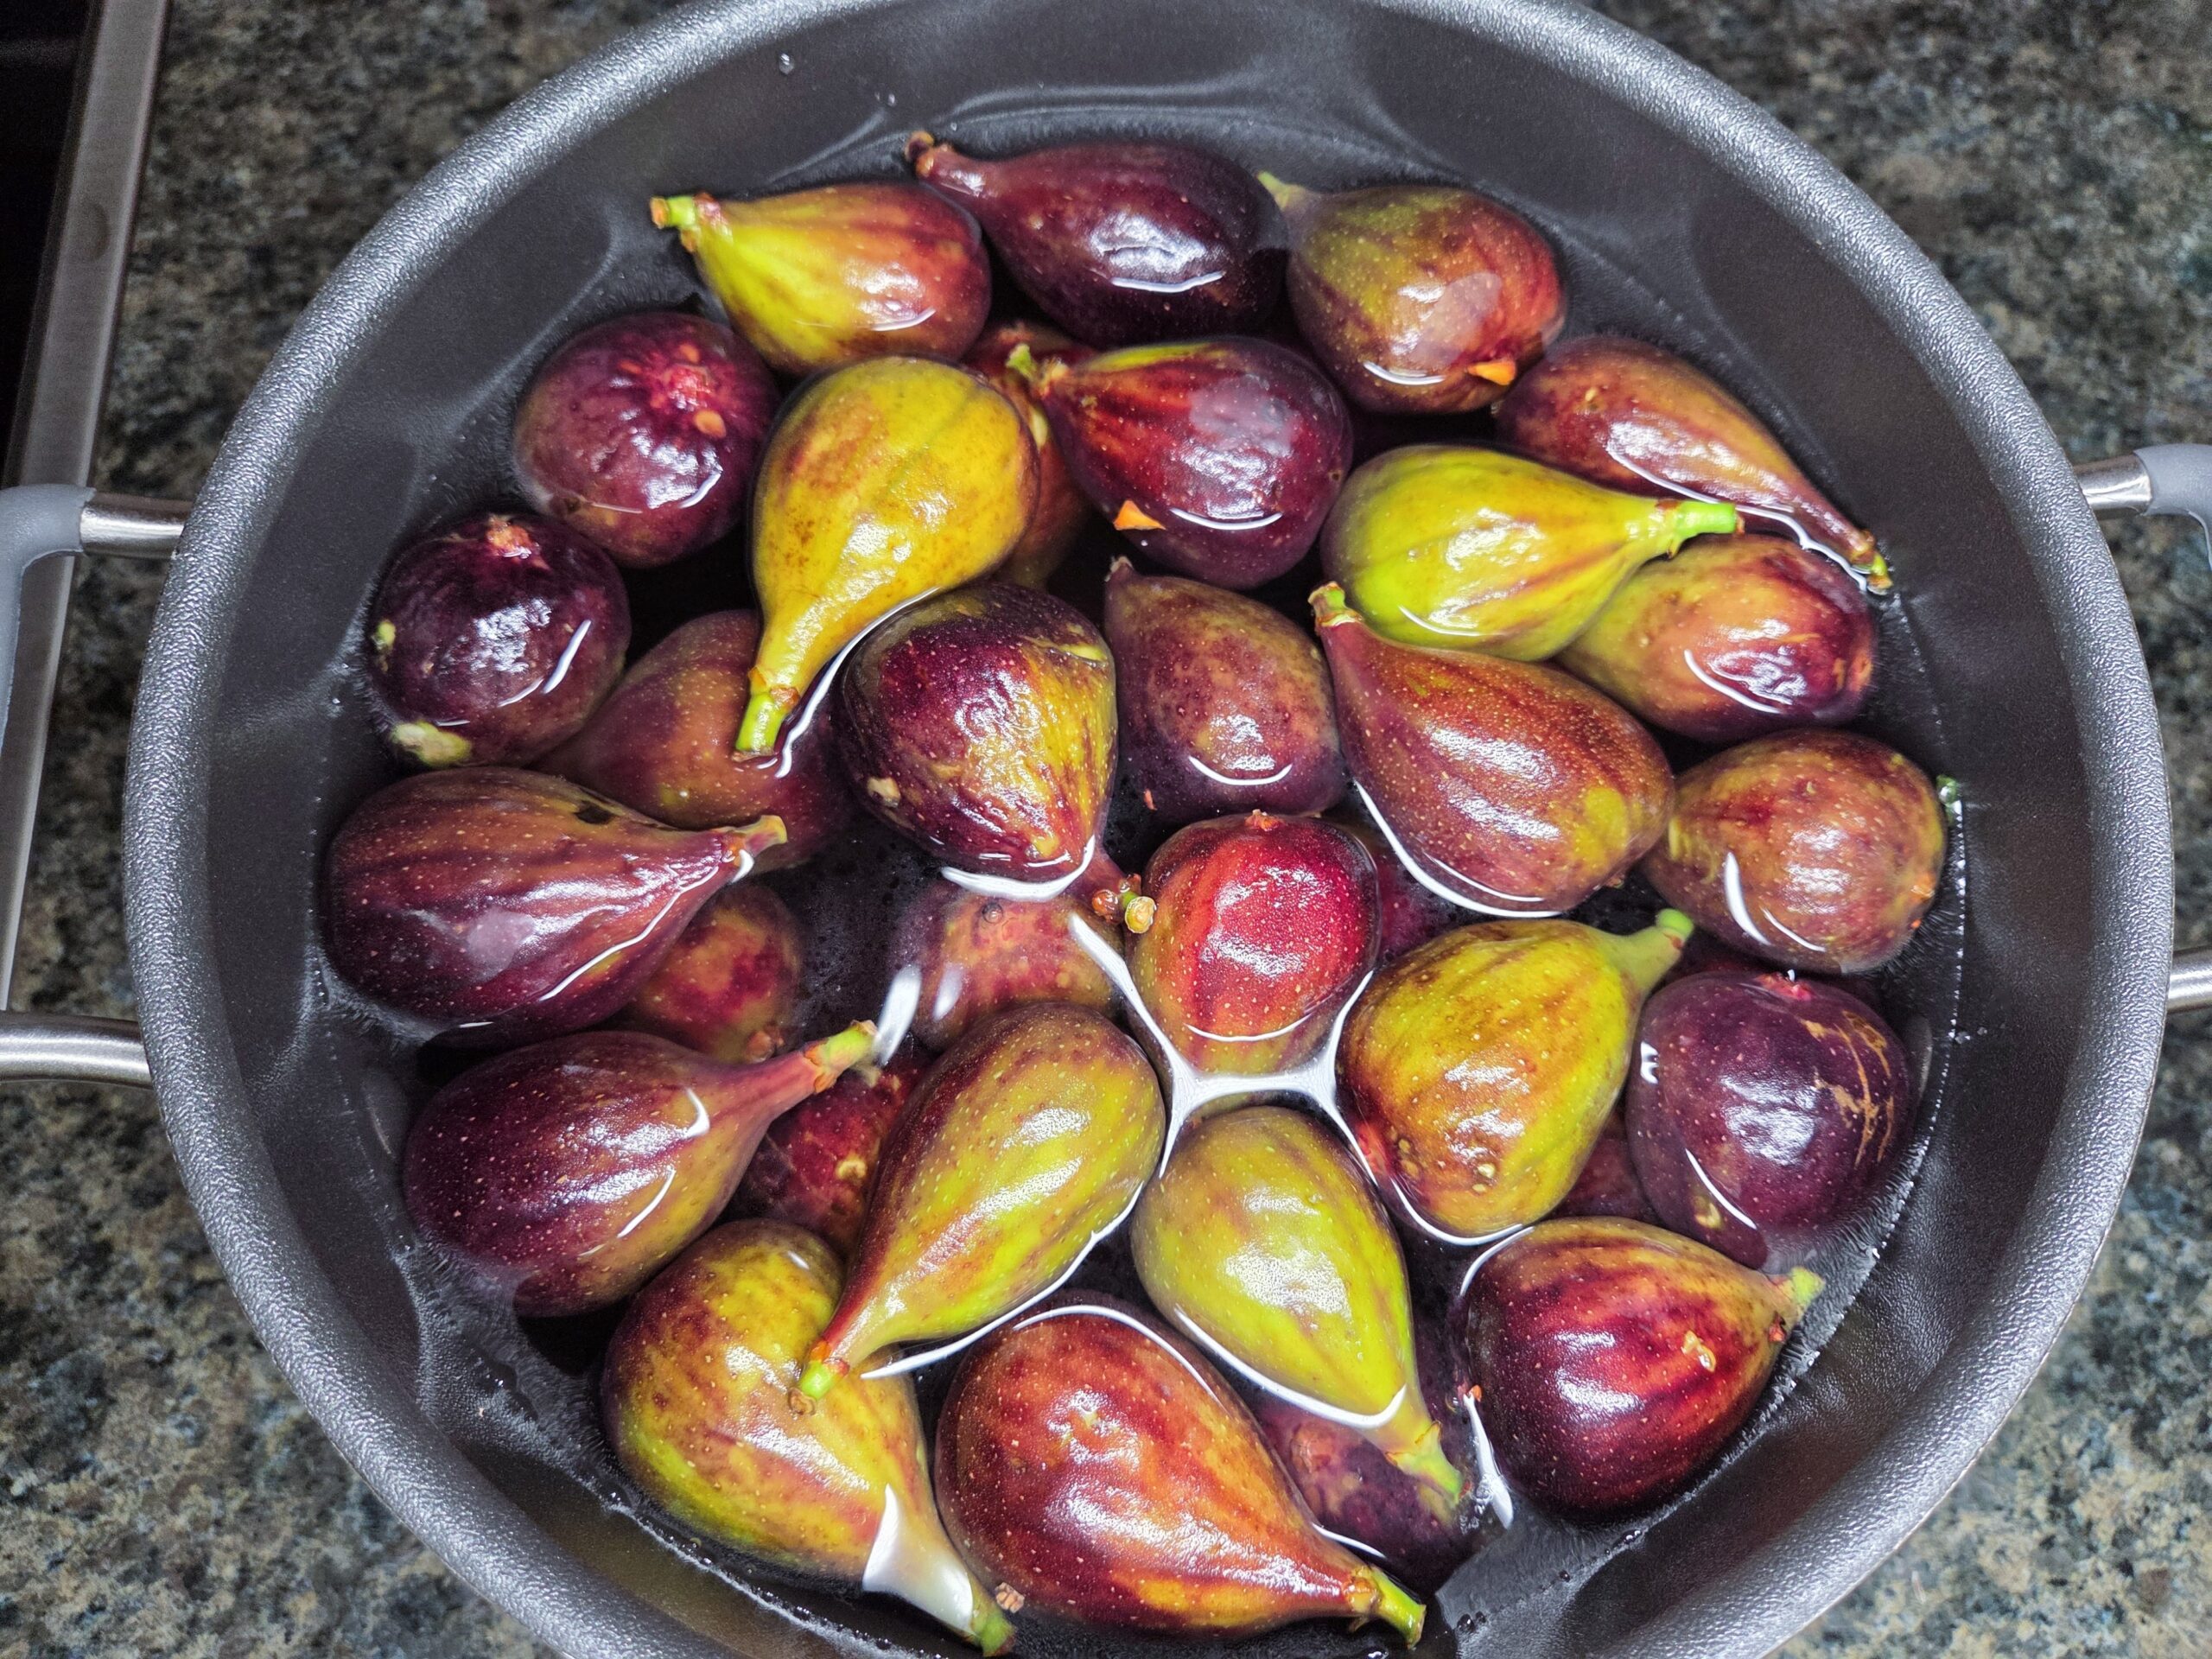
In a large pot, bring enough water to cover the figs to a boil — you’ll be submerging all of the figs, so make sure the pot is large enough. Once the water reaches a full boil, remove the pot from the heat and add the figs. Let them sit in the hot water for 10 minutes, then drain well. This brief soak softens the skins, plumps the fruit, and rinses away any sap or surface residue so the figs break down more easily and the jam tastes clean and smooth.
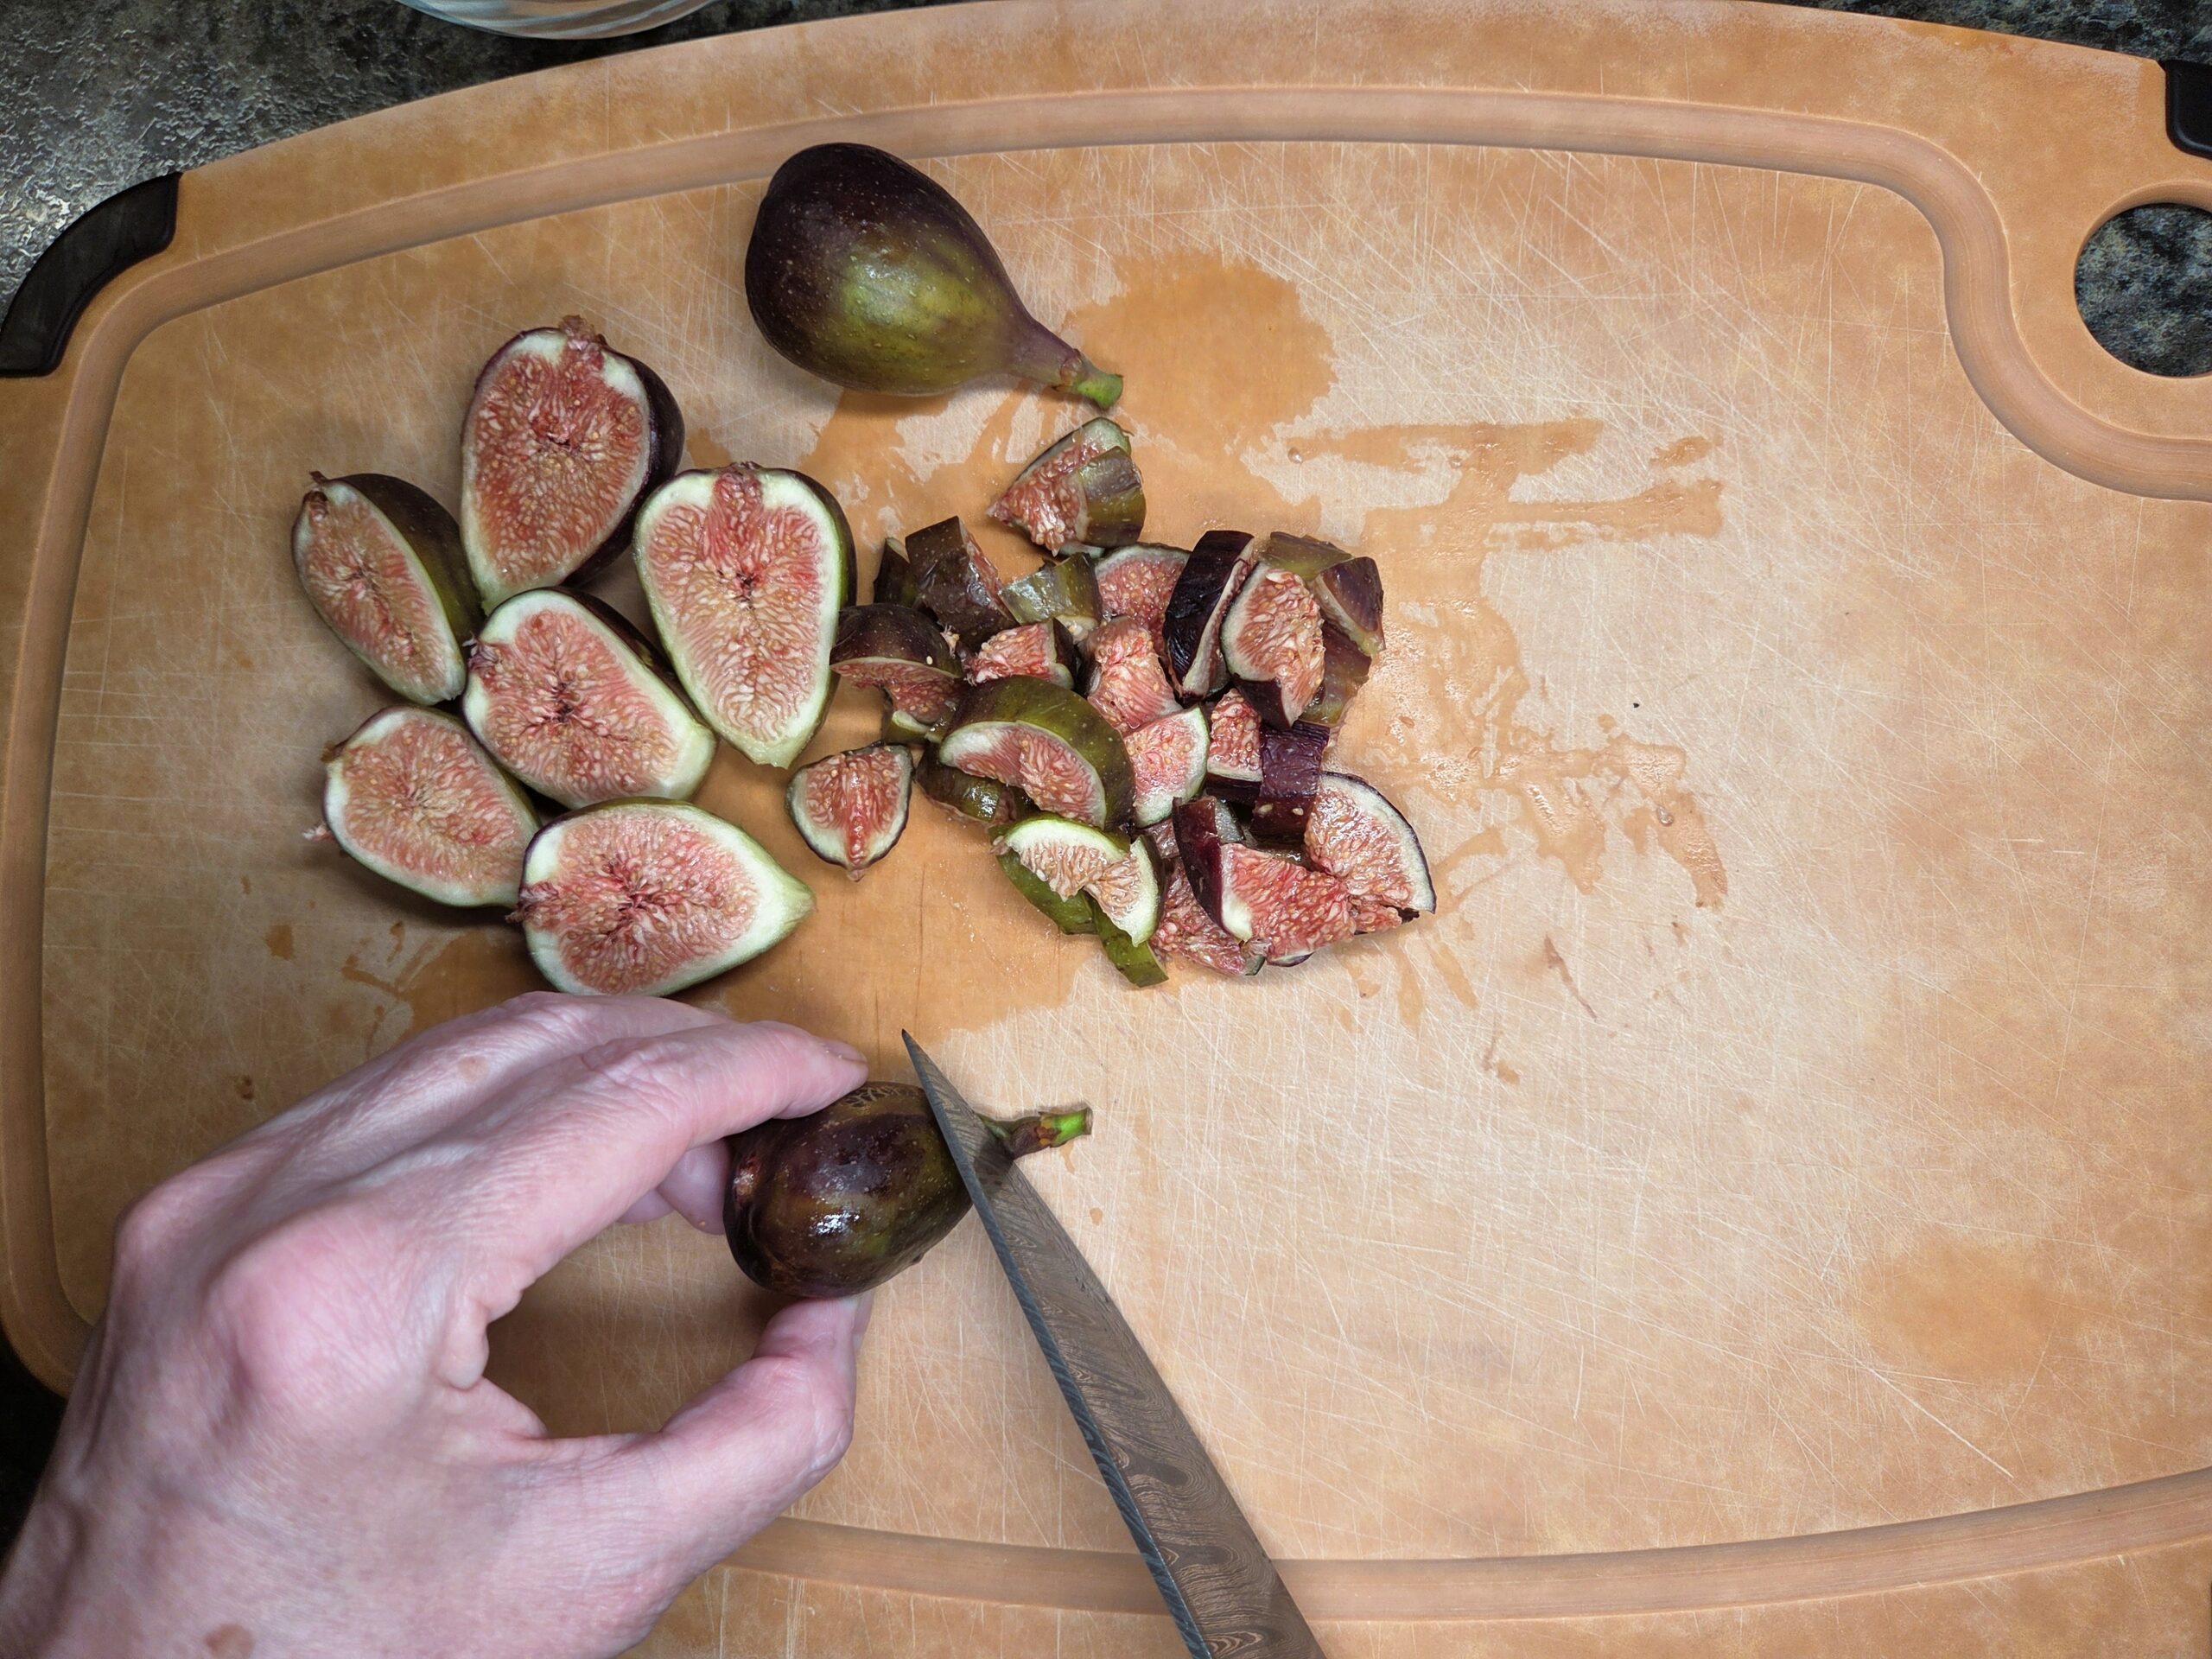
Cut the stems off of all of the figs and dice them into 1/2-inch pieces.
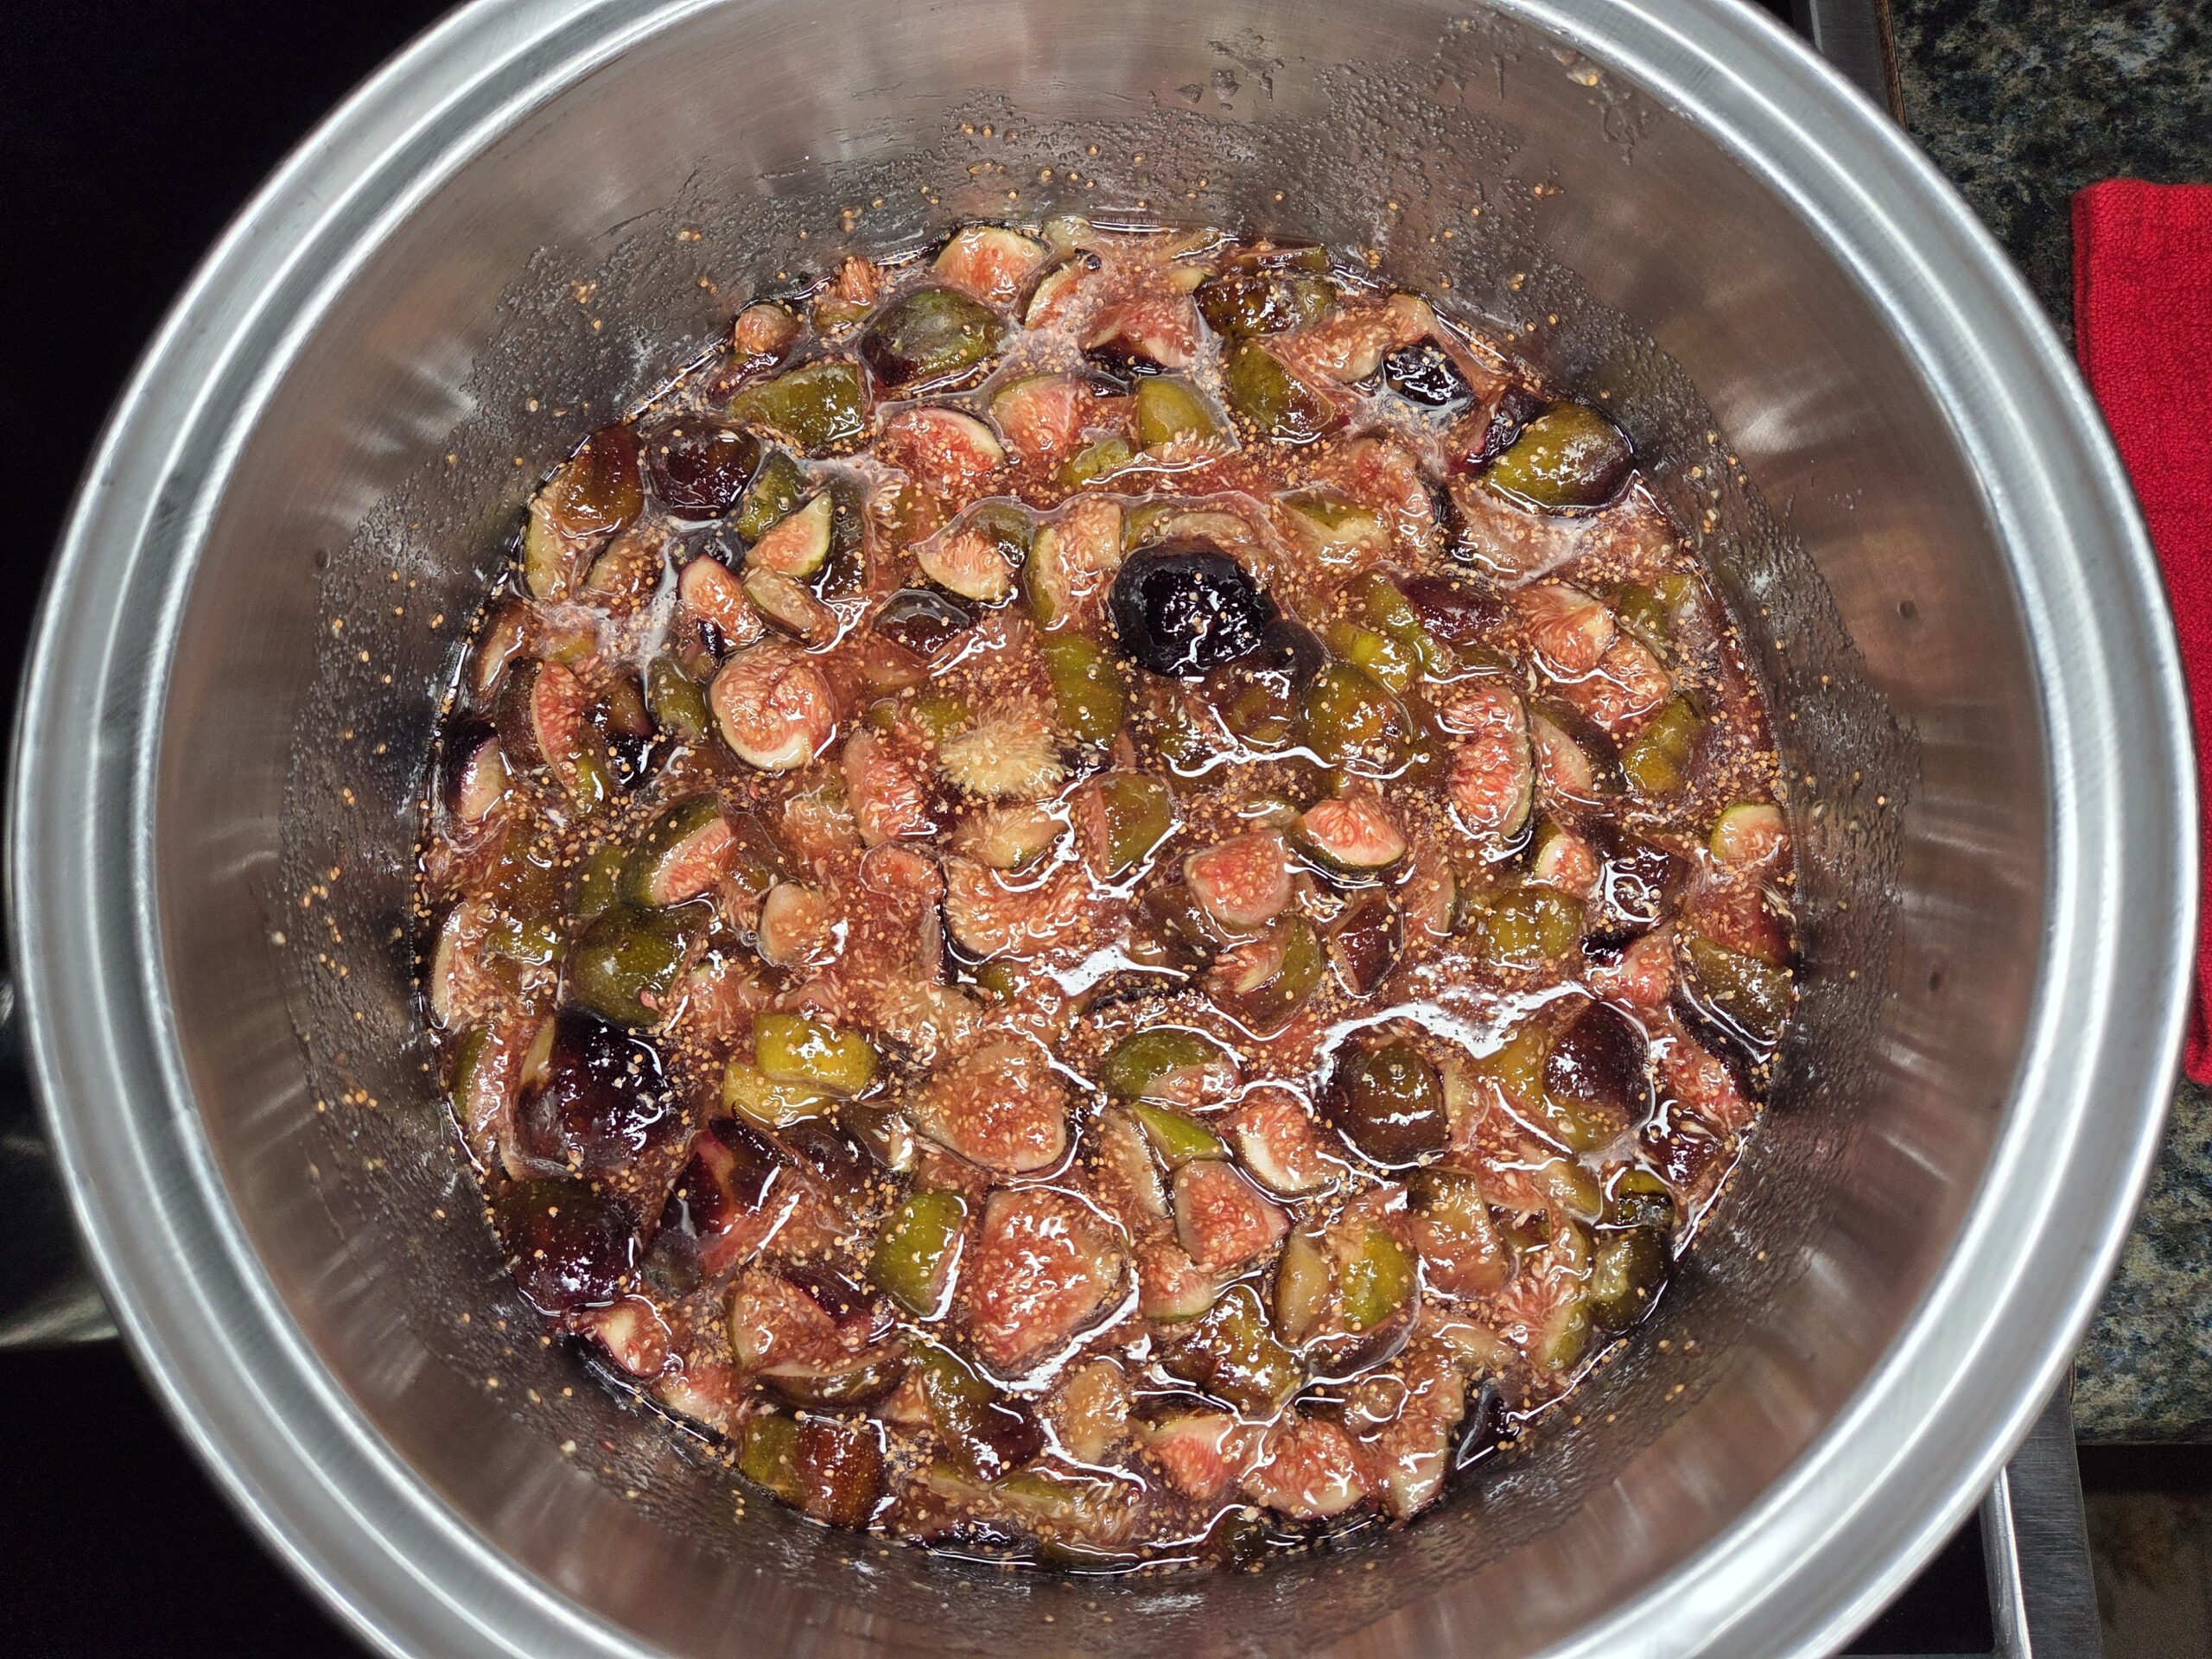
Add the chopped figs to a clean non‑reactive pot along with 3 cups of granulated sugar and 1/3 cup of water, stirring to combine. I like my jam slightly chunky but not too chunky, so I use an immersion blender to partially smooth the mixture.
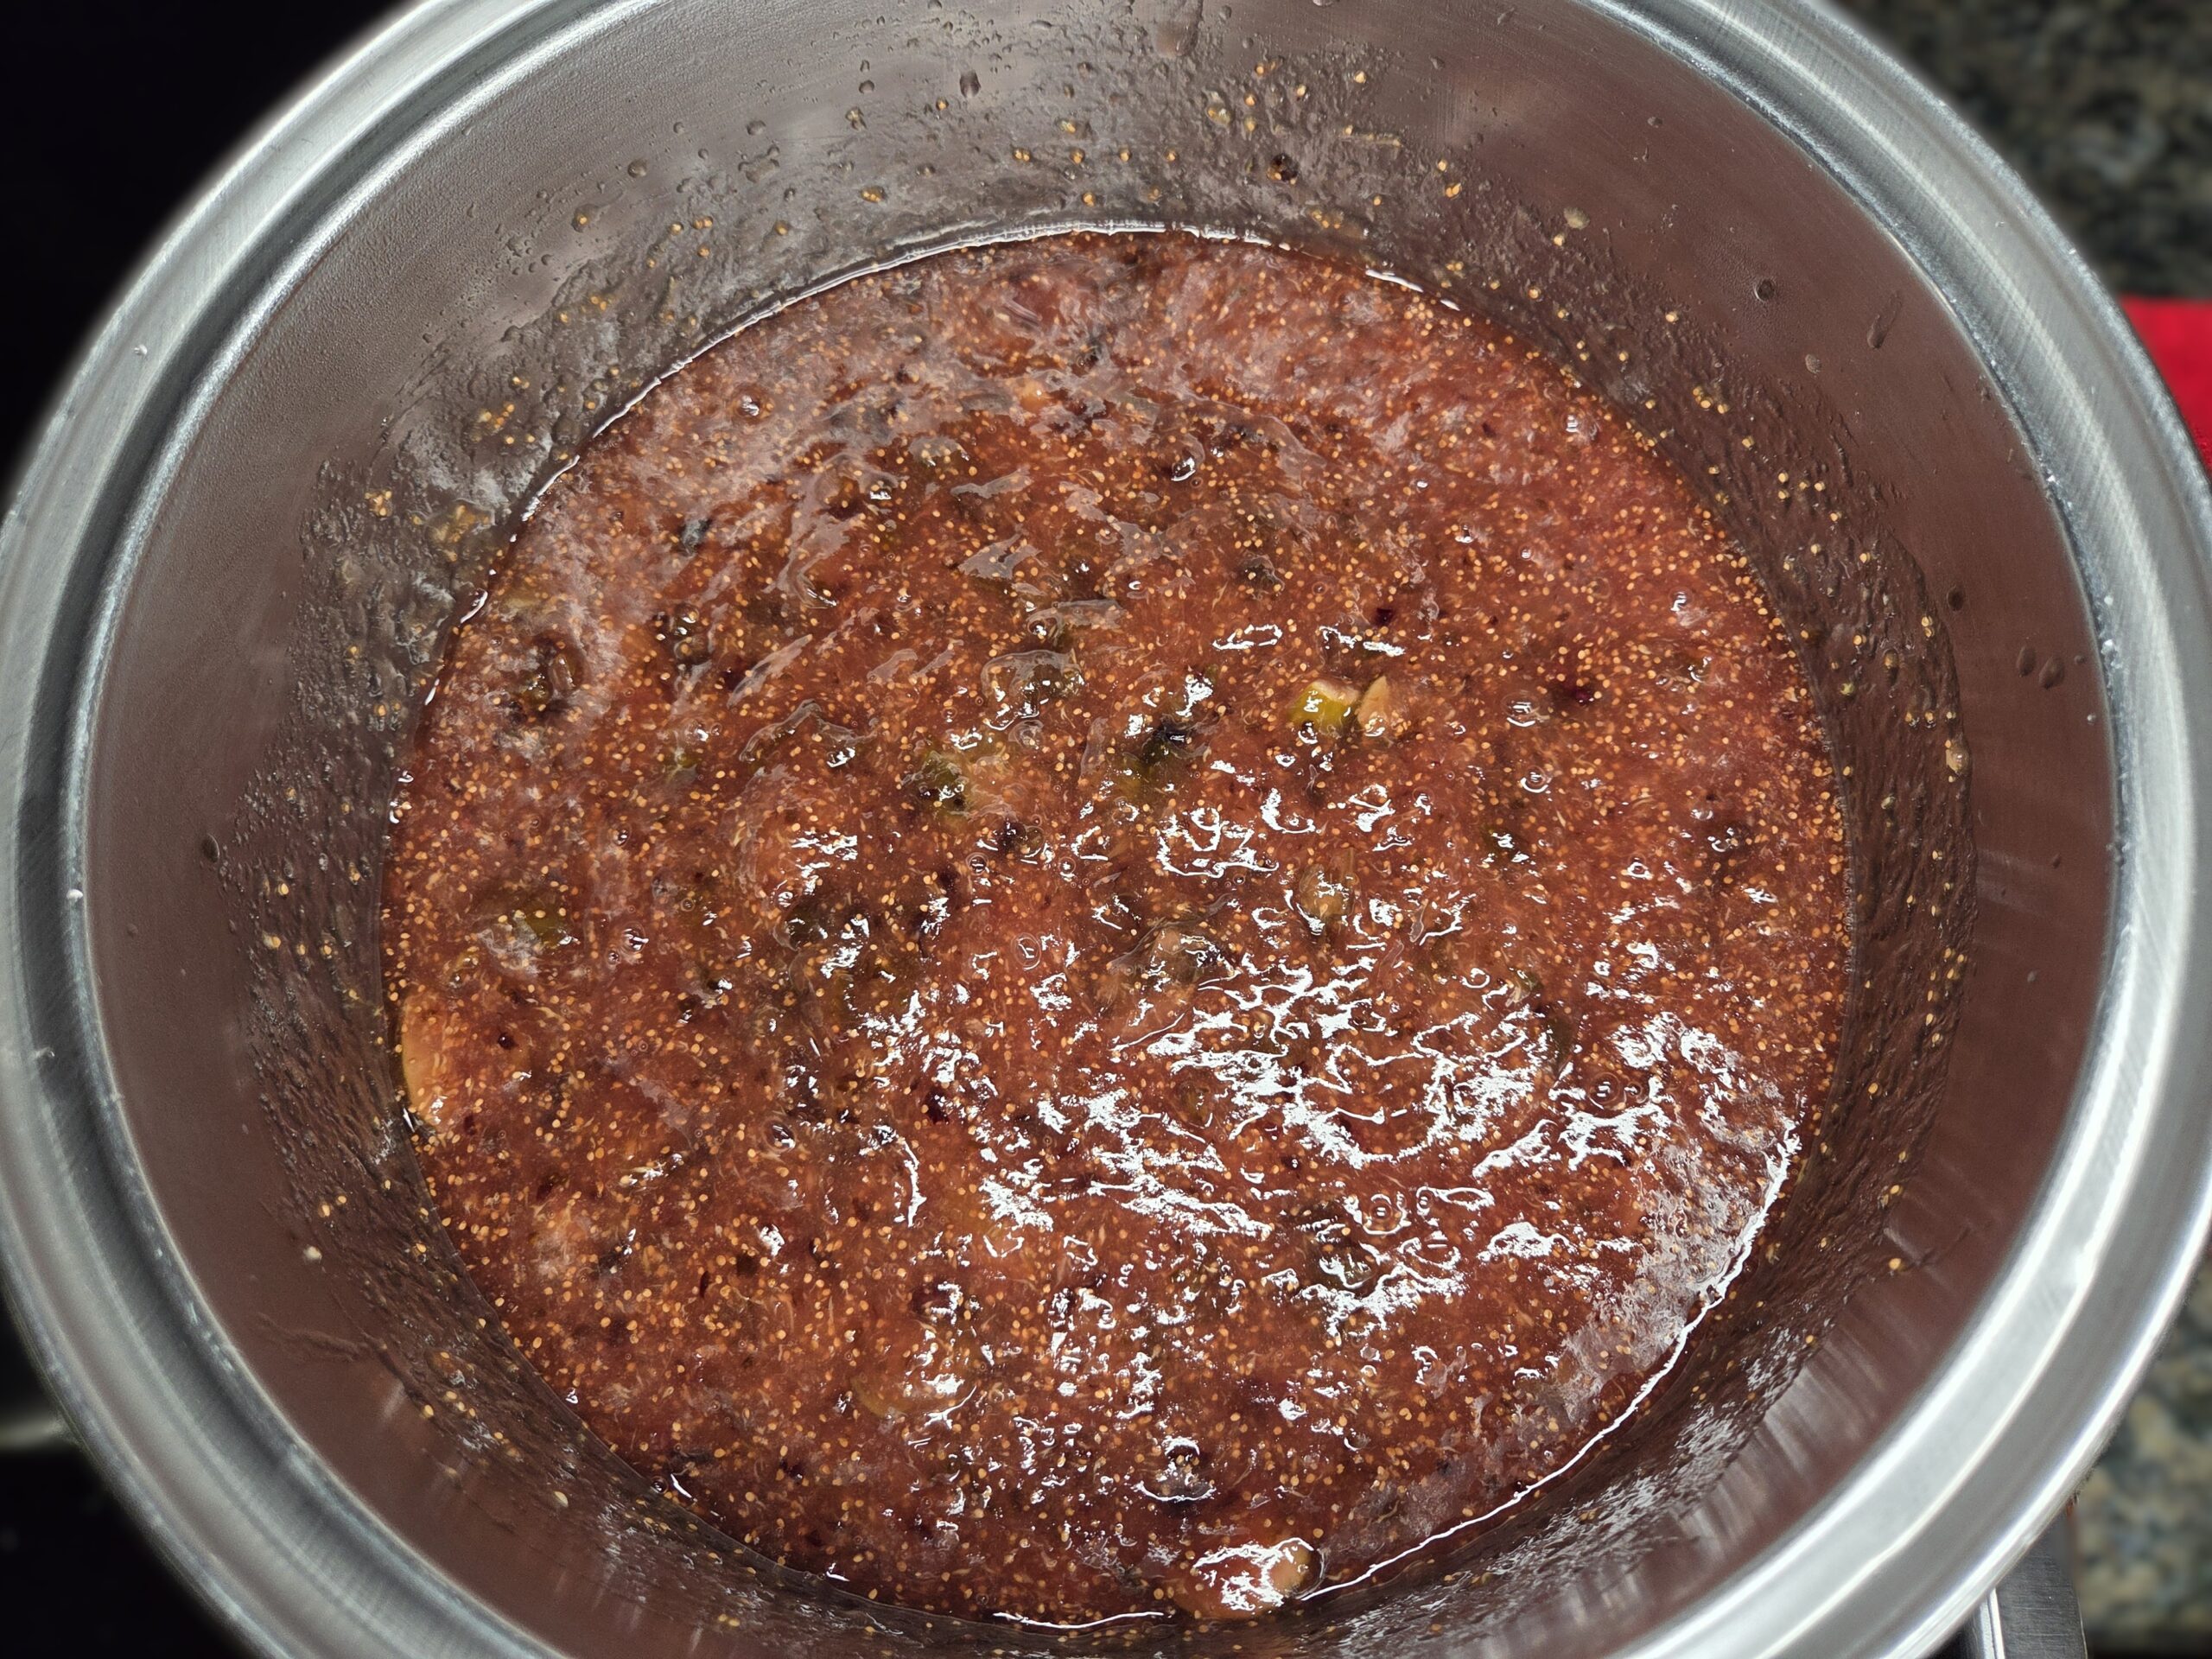
Bring the mixture to a boil and cook until it thickens to your desired consistency, stirring frequently to prevent sticking. Once the jam has thickened, add 2 tablespoons of bottled lemon juice and cook for 1 minute longer. Bottled lemon juice is recommended because it has a consistent acidity level, while fresh lemons vary in pH depending on age, variety, and ripeness.
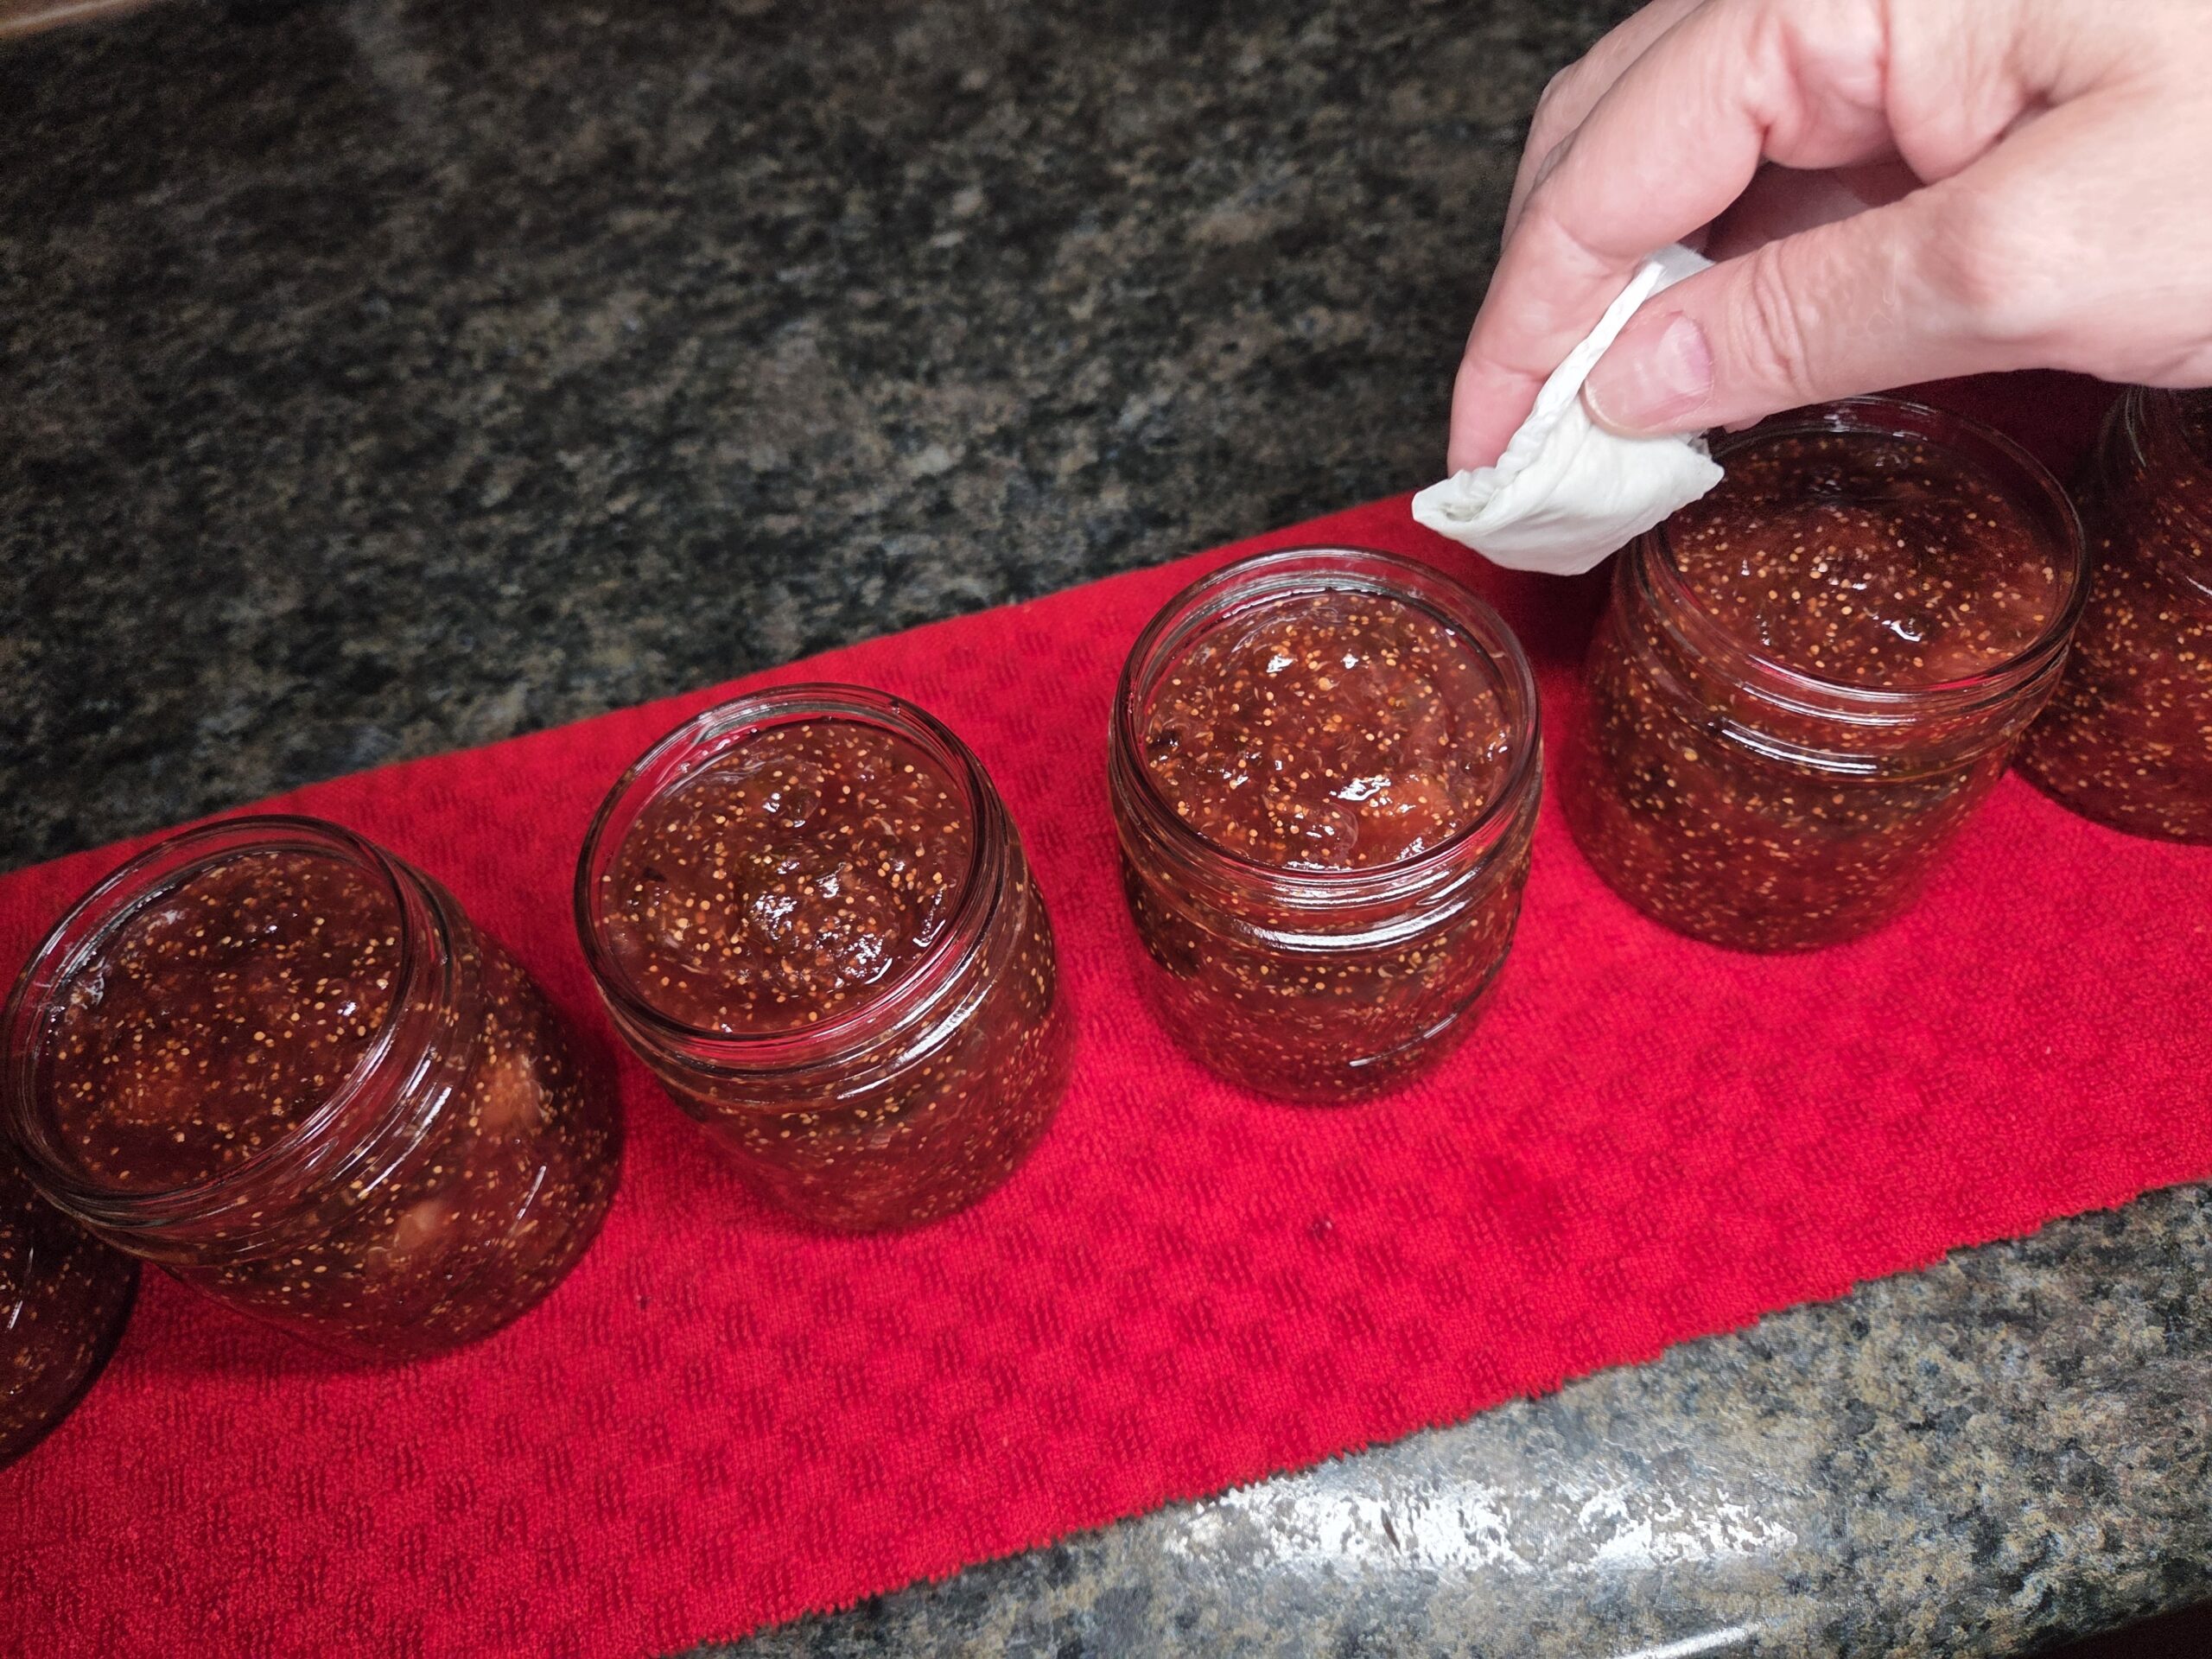
Fill the hot jars with the hot jam, leaving 1/4 inch of headspace — the gap between the surface of the jam and the rim of the jar. Wipe the rims with a clean, damp towel to remove any jam or residue that could prevent a proper seal.
Place the lids and bands on the jars, tightening the bands to fingertip tightness — snug, but not overly tight.
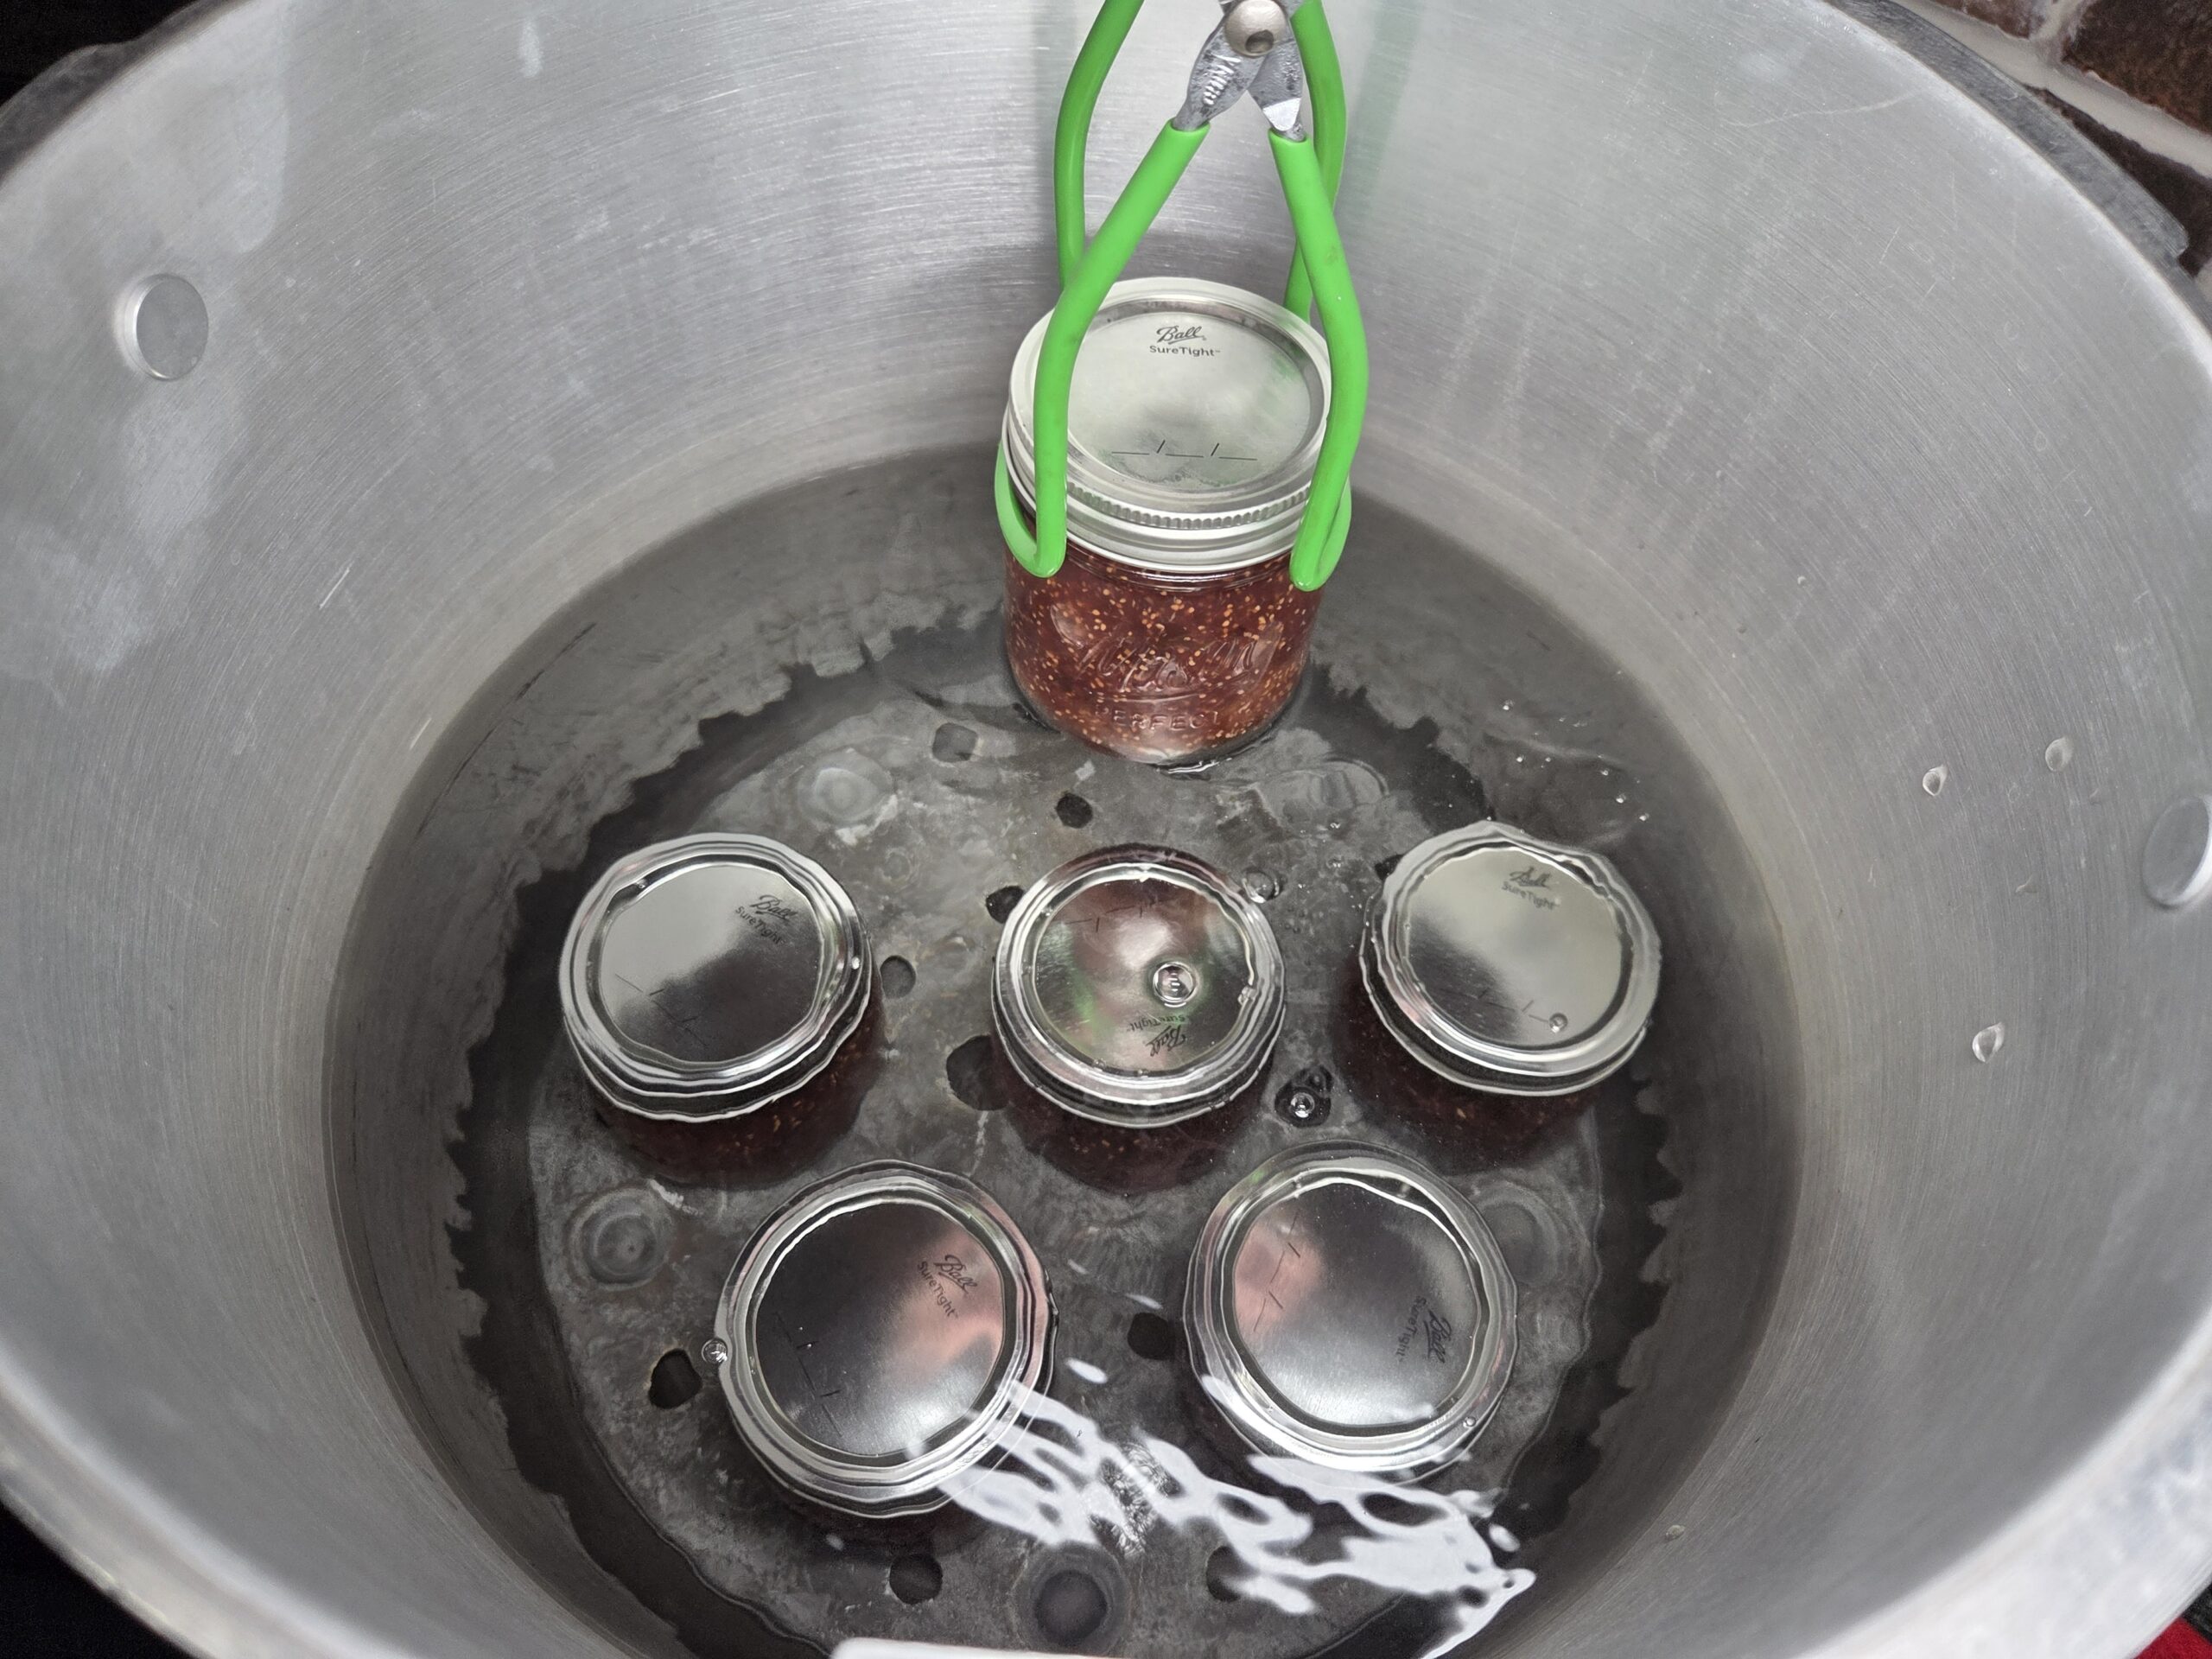
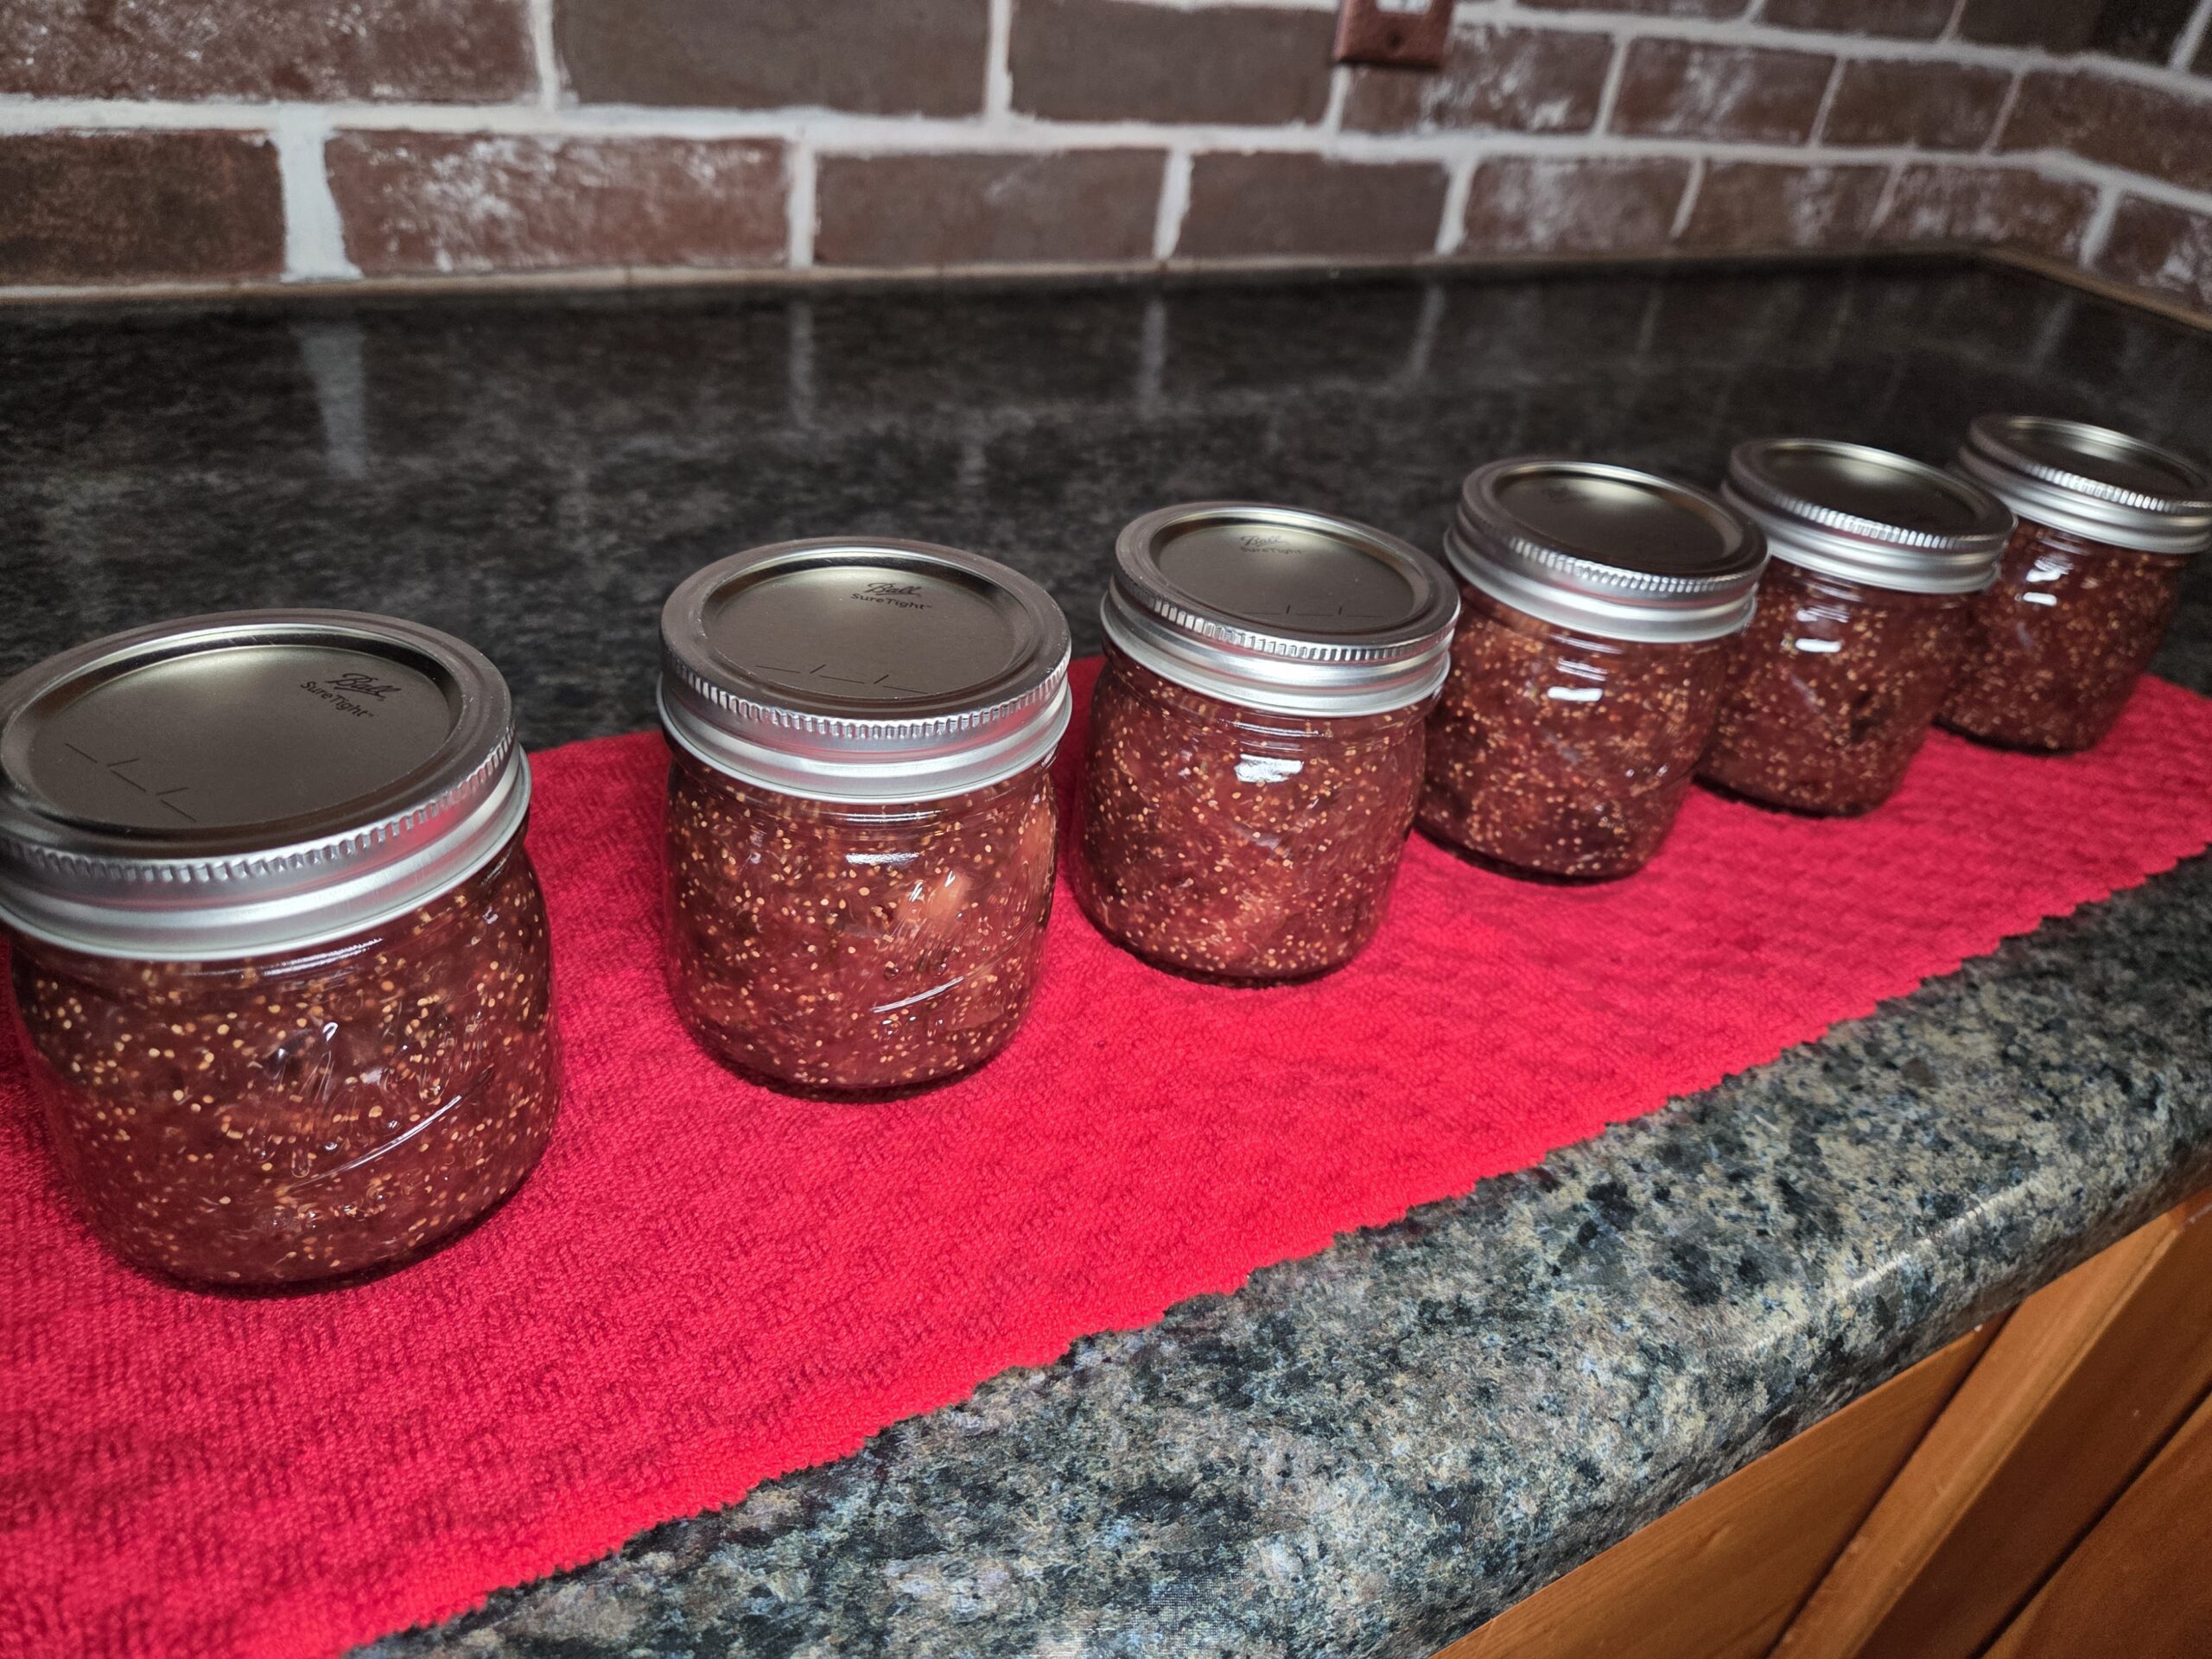
Carefully lower the jars into the boiling water, keeping them upright. When using a jar lifter, make sure it is securely positioned below the neck of the jar (below the screw band of the lid). Tilting the jar could cause food to spill into the lid's sealing area. Make sure the water covers the jars by 1–2 inches. Place the lid on the canner. Begin timing once the water returns to a full boil. Process half-pints and pints for 5 minutes at elevations from sea level to 1,000 feet. For 1,001–6,000 feet, process for 10 minutes; for 6,000 feet and above, process for 15 minutes. When the processing time is complete, turn off the heat, move the canner off the burner if possible, and carefully remove the lid. Let the jars rest in the hot water for 5 minutes before lifting them out. Place the jars upright on a towel‑lined countertop and leave them undisturbed for 12 to 24 hours. Jars may take several hours to seal, though many seal within the first 30 minutes or even during processing. After 12 hours, check the seals and clean the jars. Label with contents and date—store sealed jars for up to one year. Refrigerate any jars that did not seal.
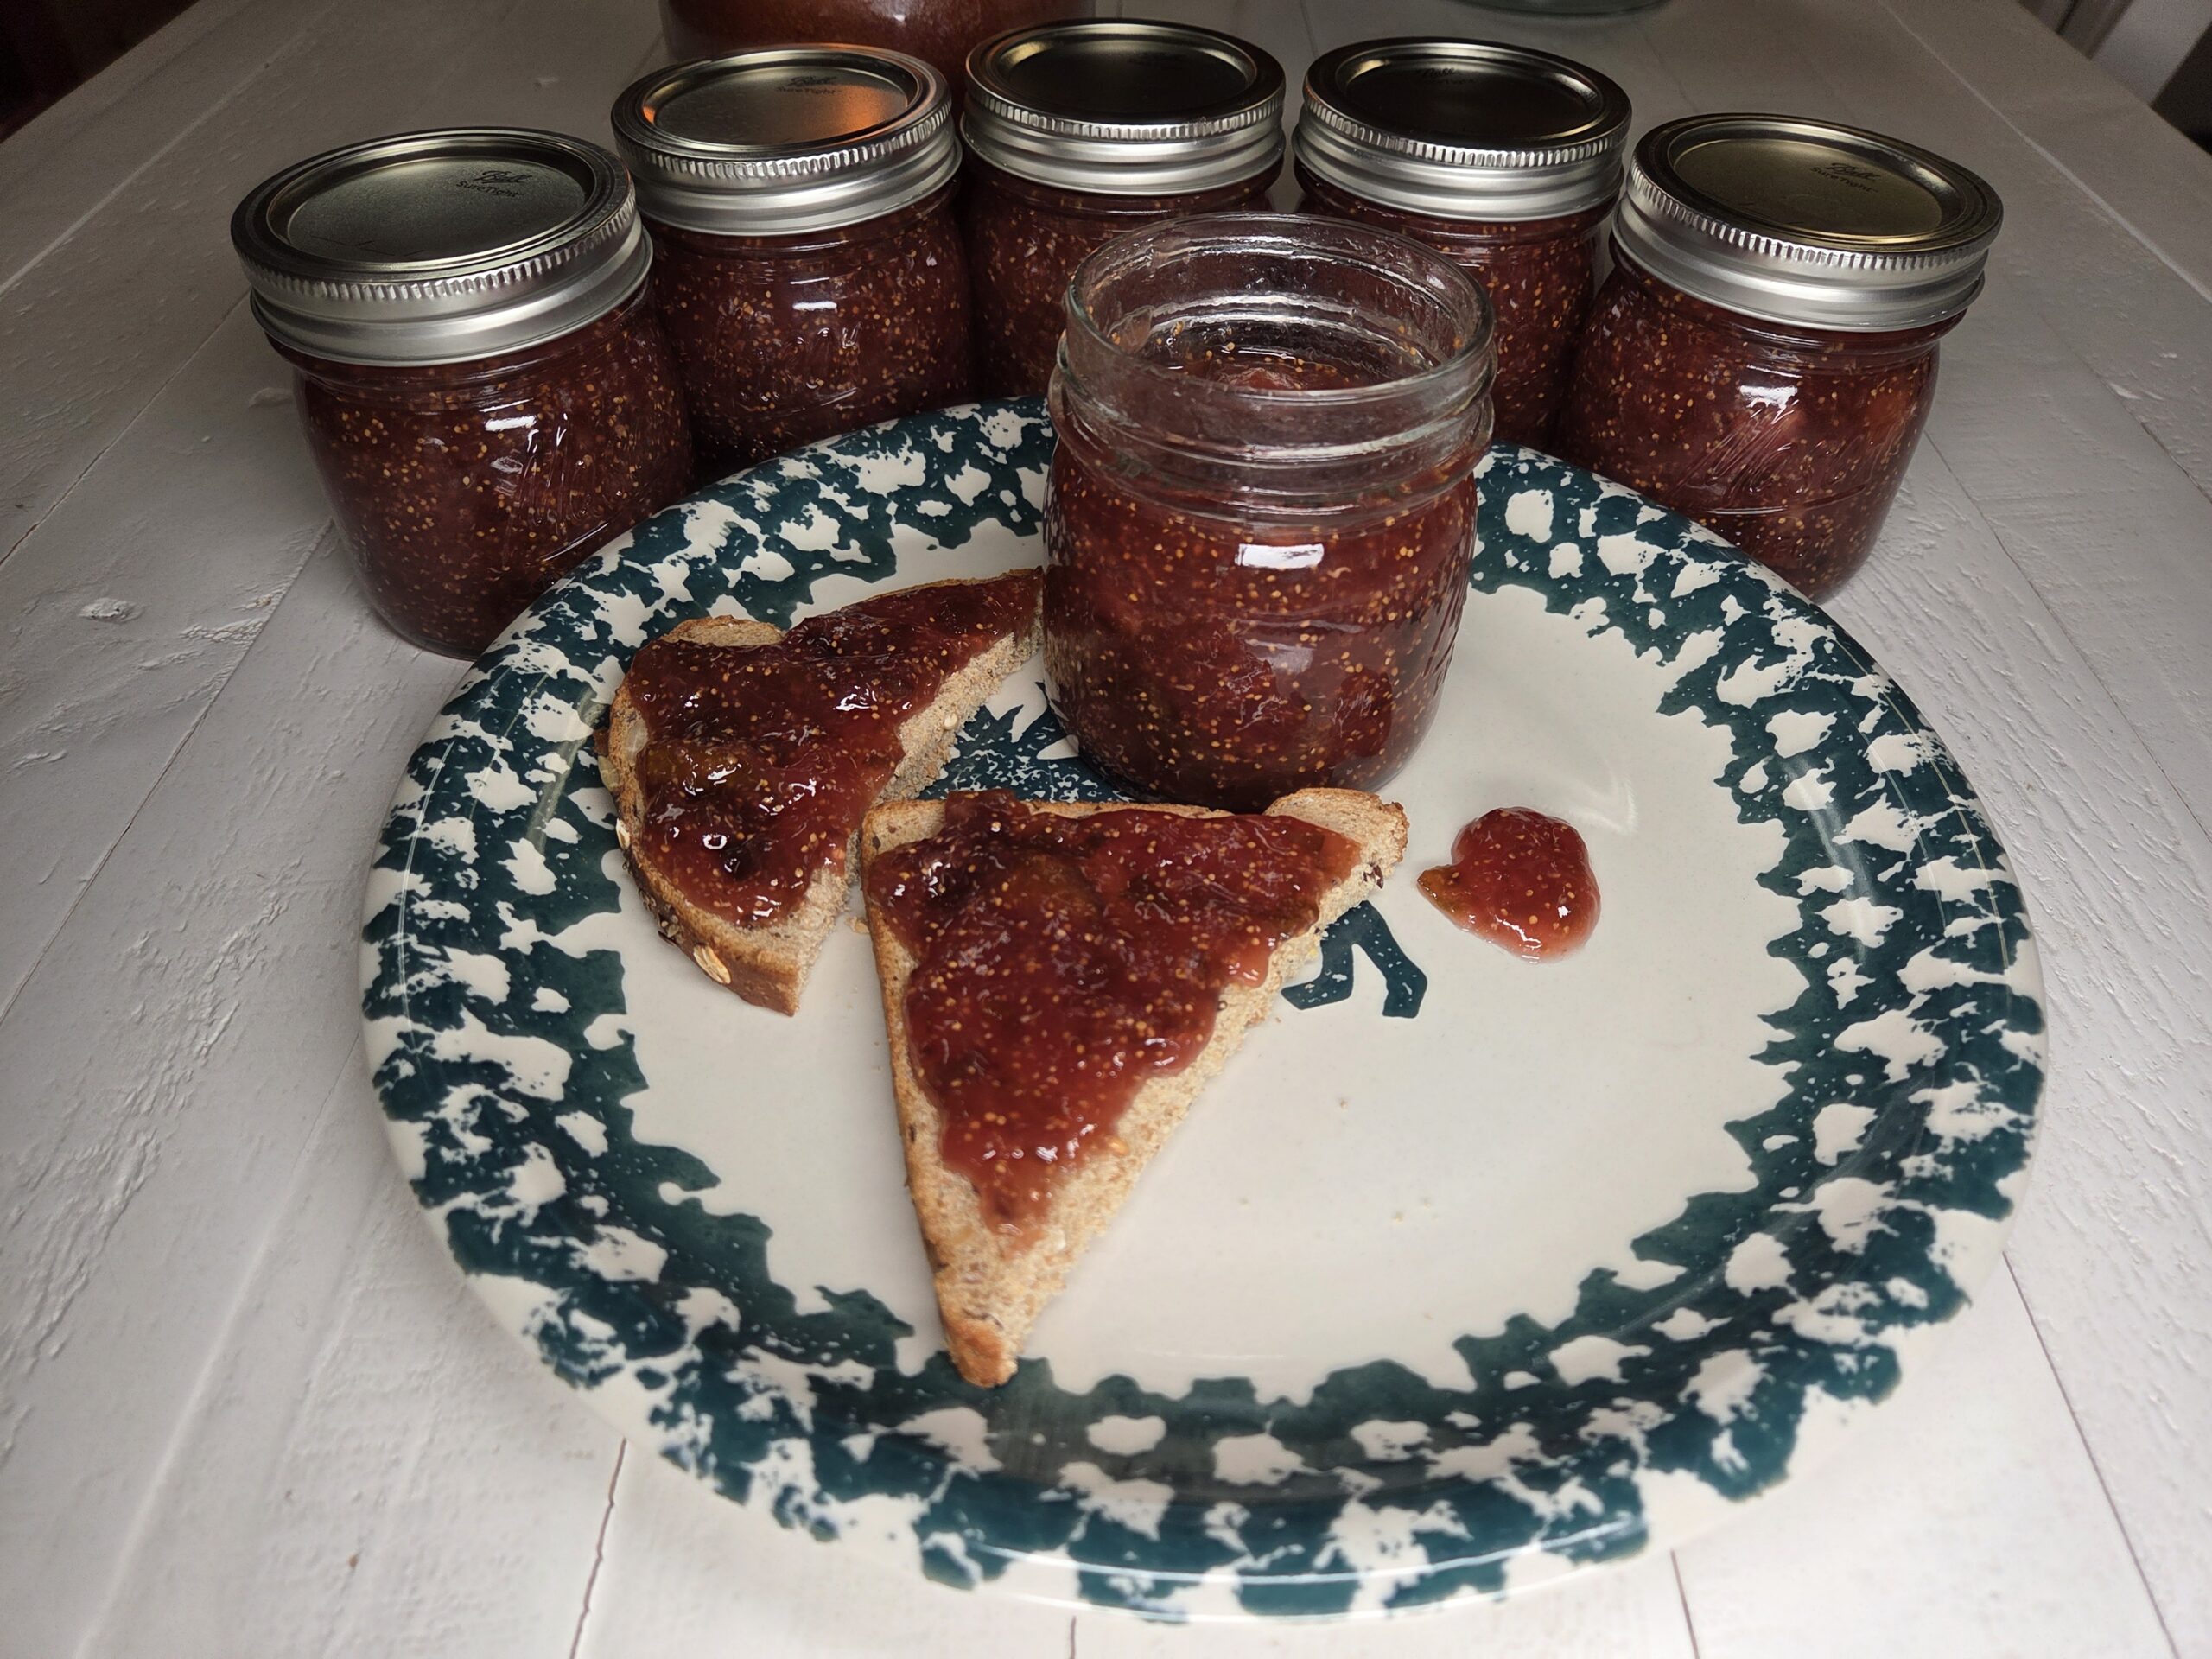
Enjoy!
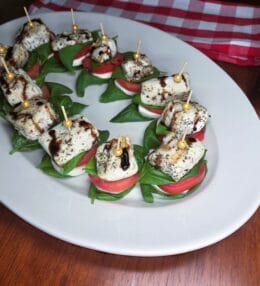
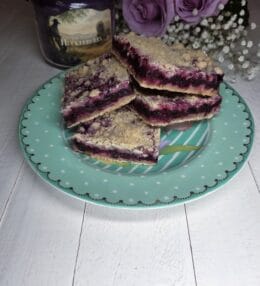
Love canning recipes? Here are a few of my favorites:
Conclusion
Kitchen Tools :Need some tools or ingredients to make this recipe? Use my Amazon Affiliate links to shop. I will make a small commission and it doesn't cost you any extra. Thank you for visiting.
XL Composite Wood Cutting Board w/ Juice Groove Presto 23-Quart Induction Compatible Pressure Canner Glass Canning Jars, 8 OZ, 12 Pack with Lids and Bands Terry Dish Towels, 100% Cotton for Kitchen Check out all of my kitchen essentials here in my Amazon store.


Leave a Review