-
Prep Time30 minutes
-
Cook Time20 minutes plus canning time
-
Serv SizeYields 6 half pint jars
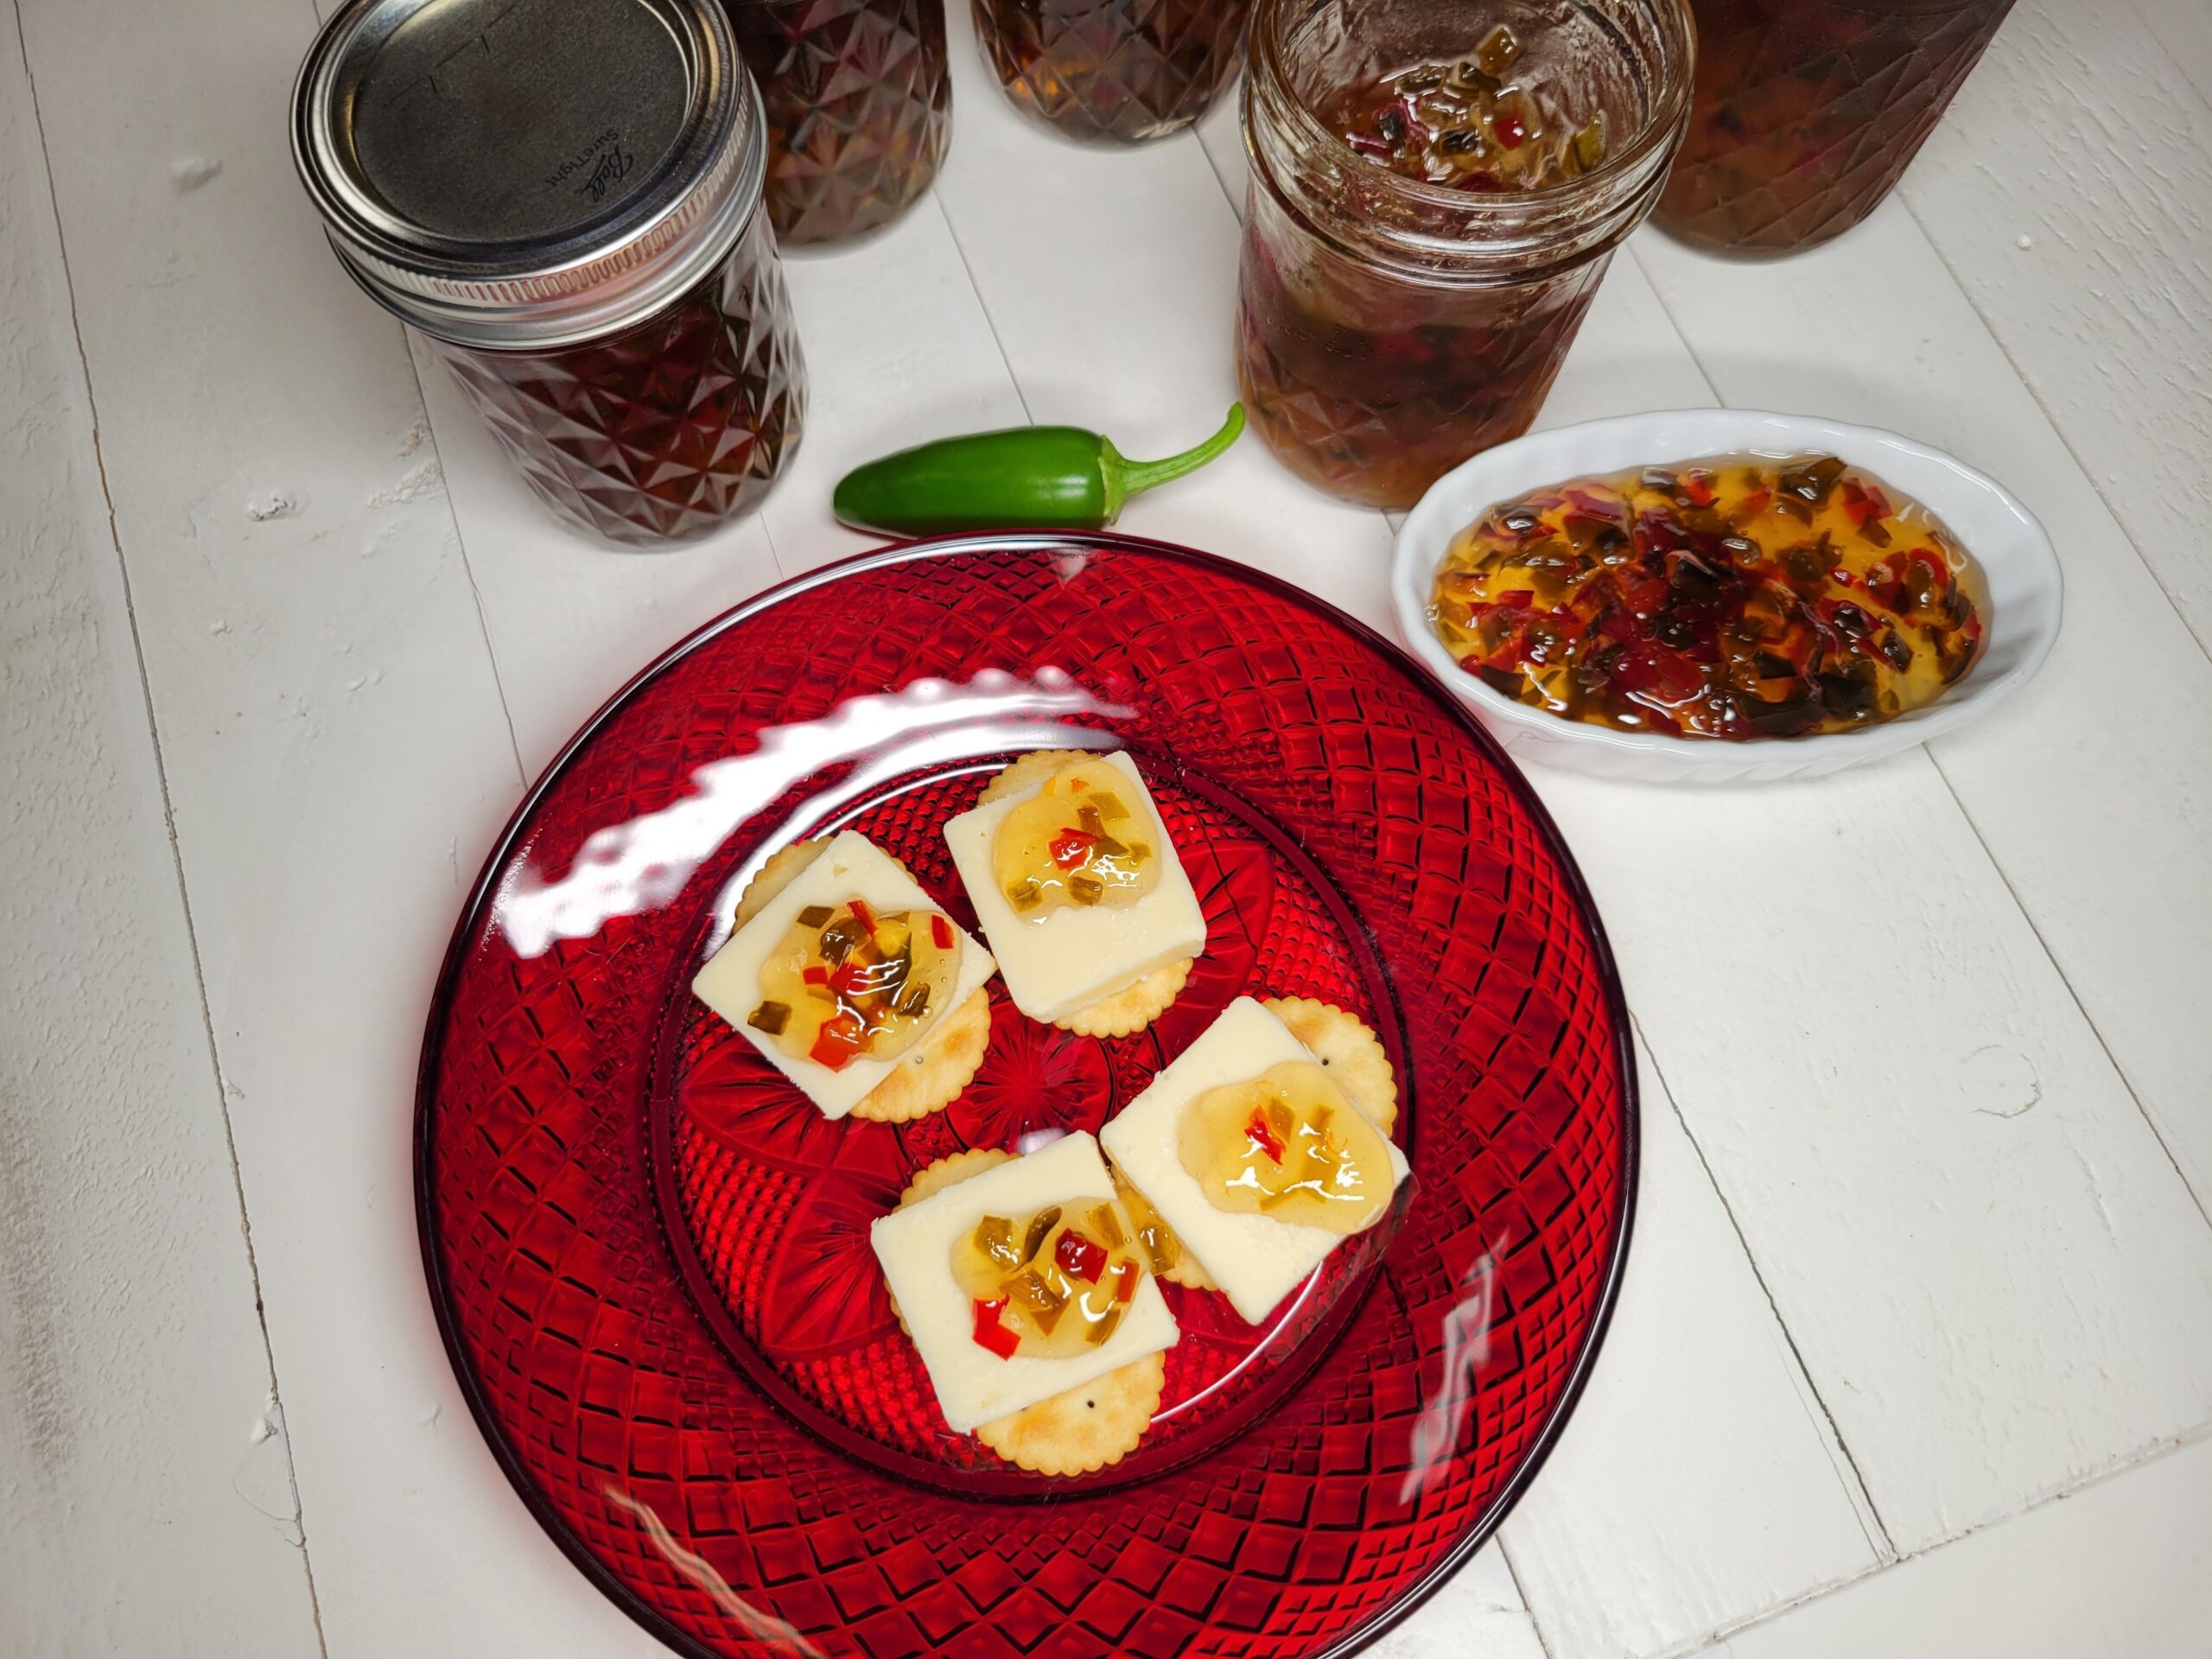
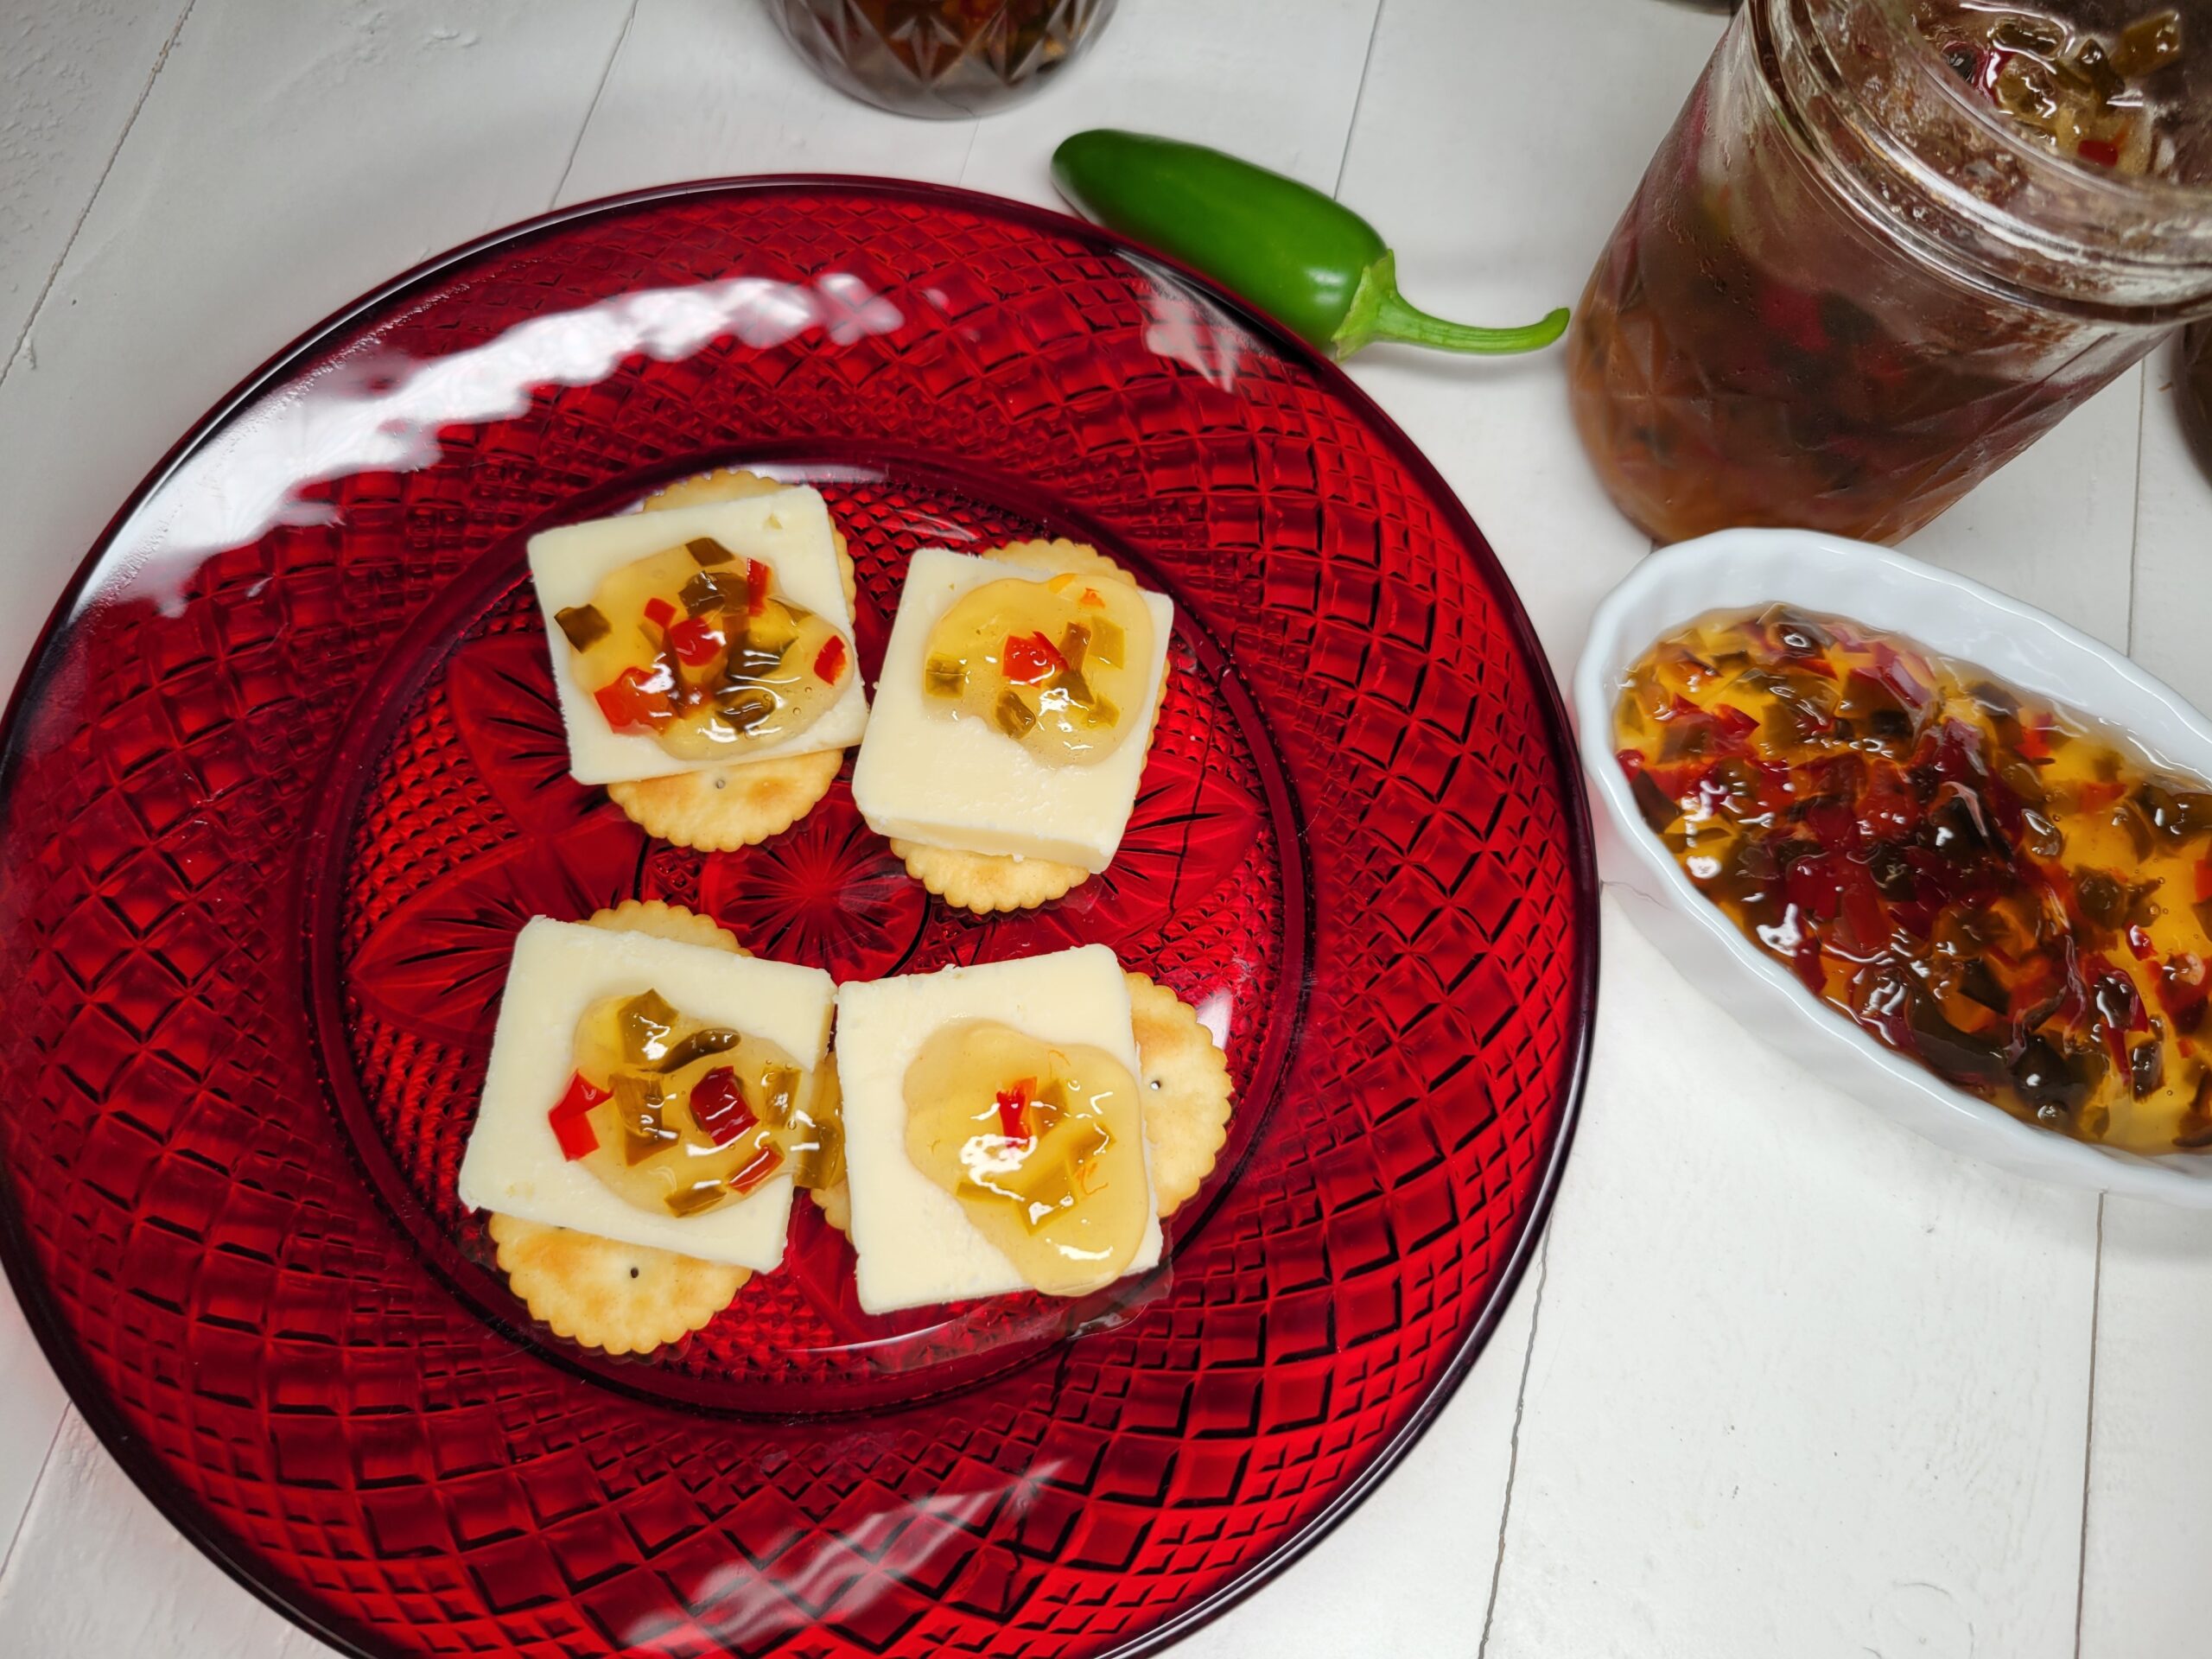
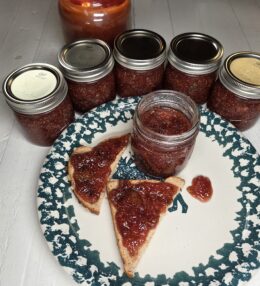
This pepper jelly is the perfect balance of sweet and heat—like a warm hug with a spicy wink. It turns every bite into a celebration.
Ingredients
Directions
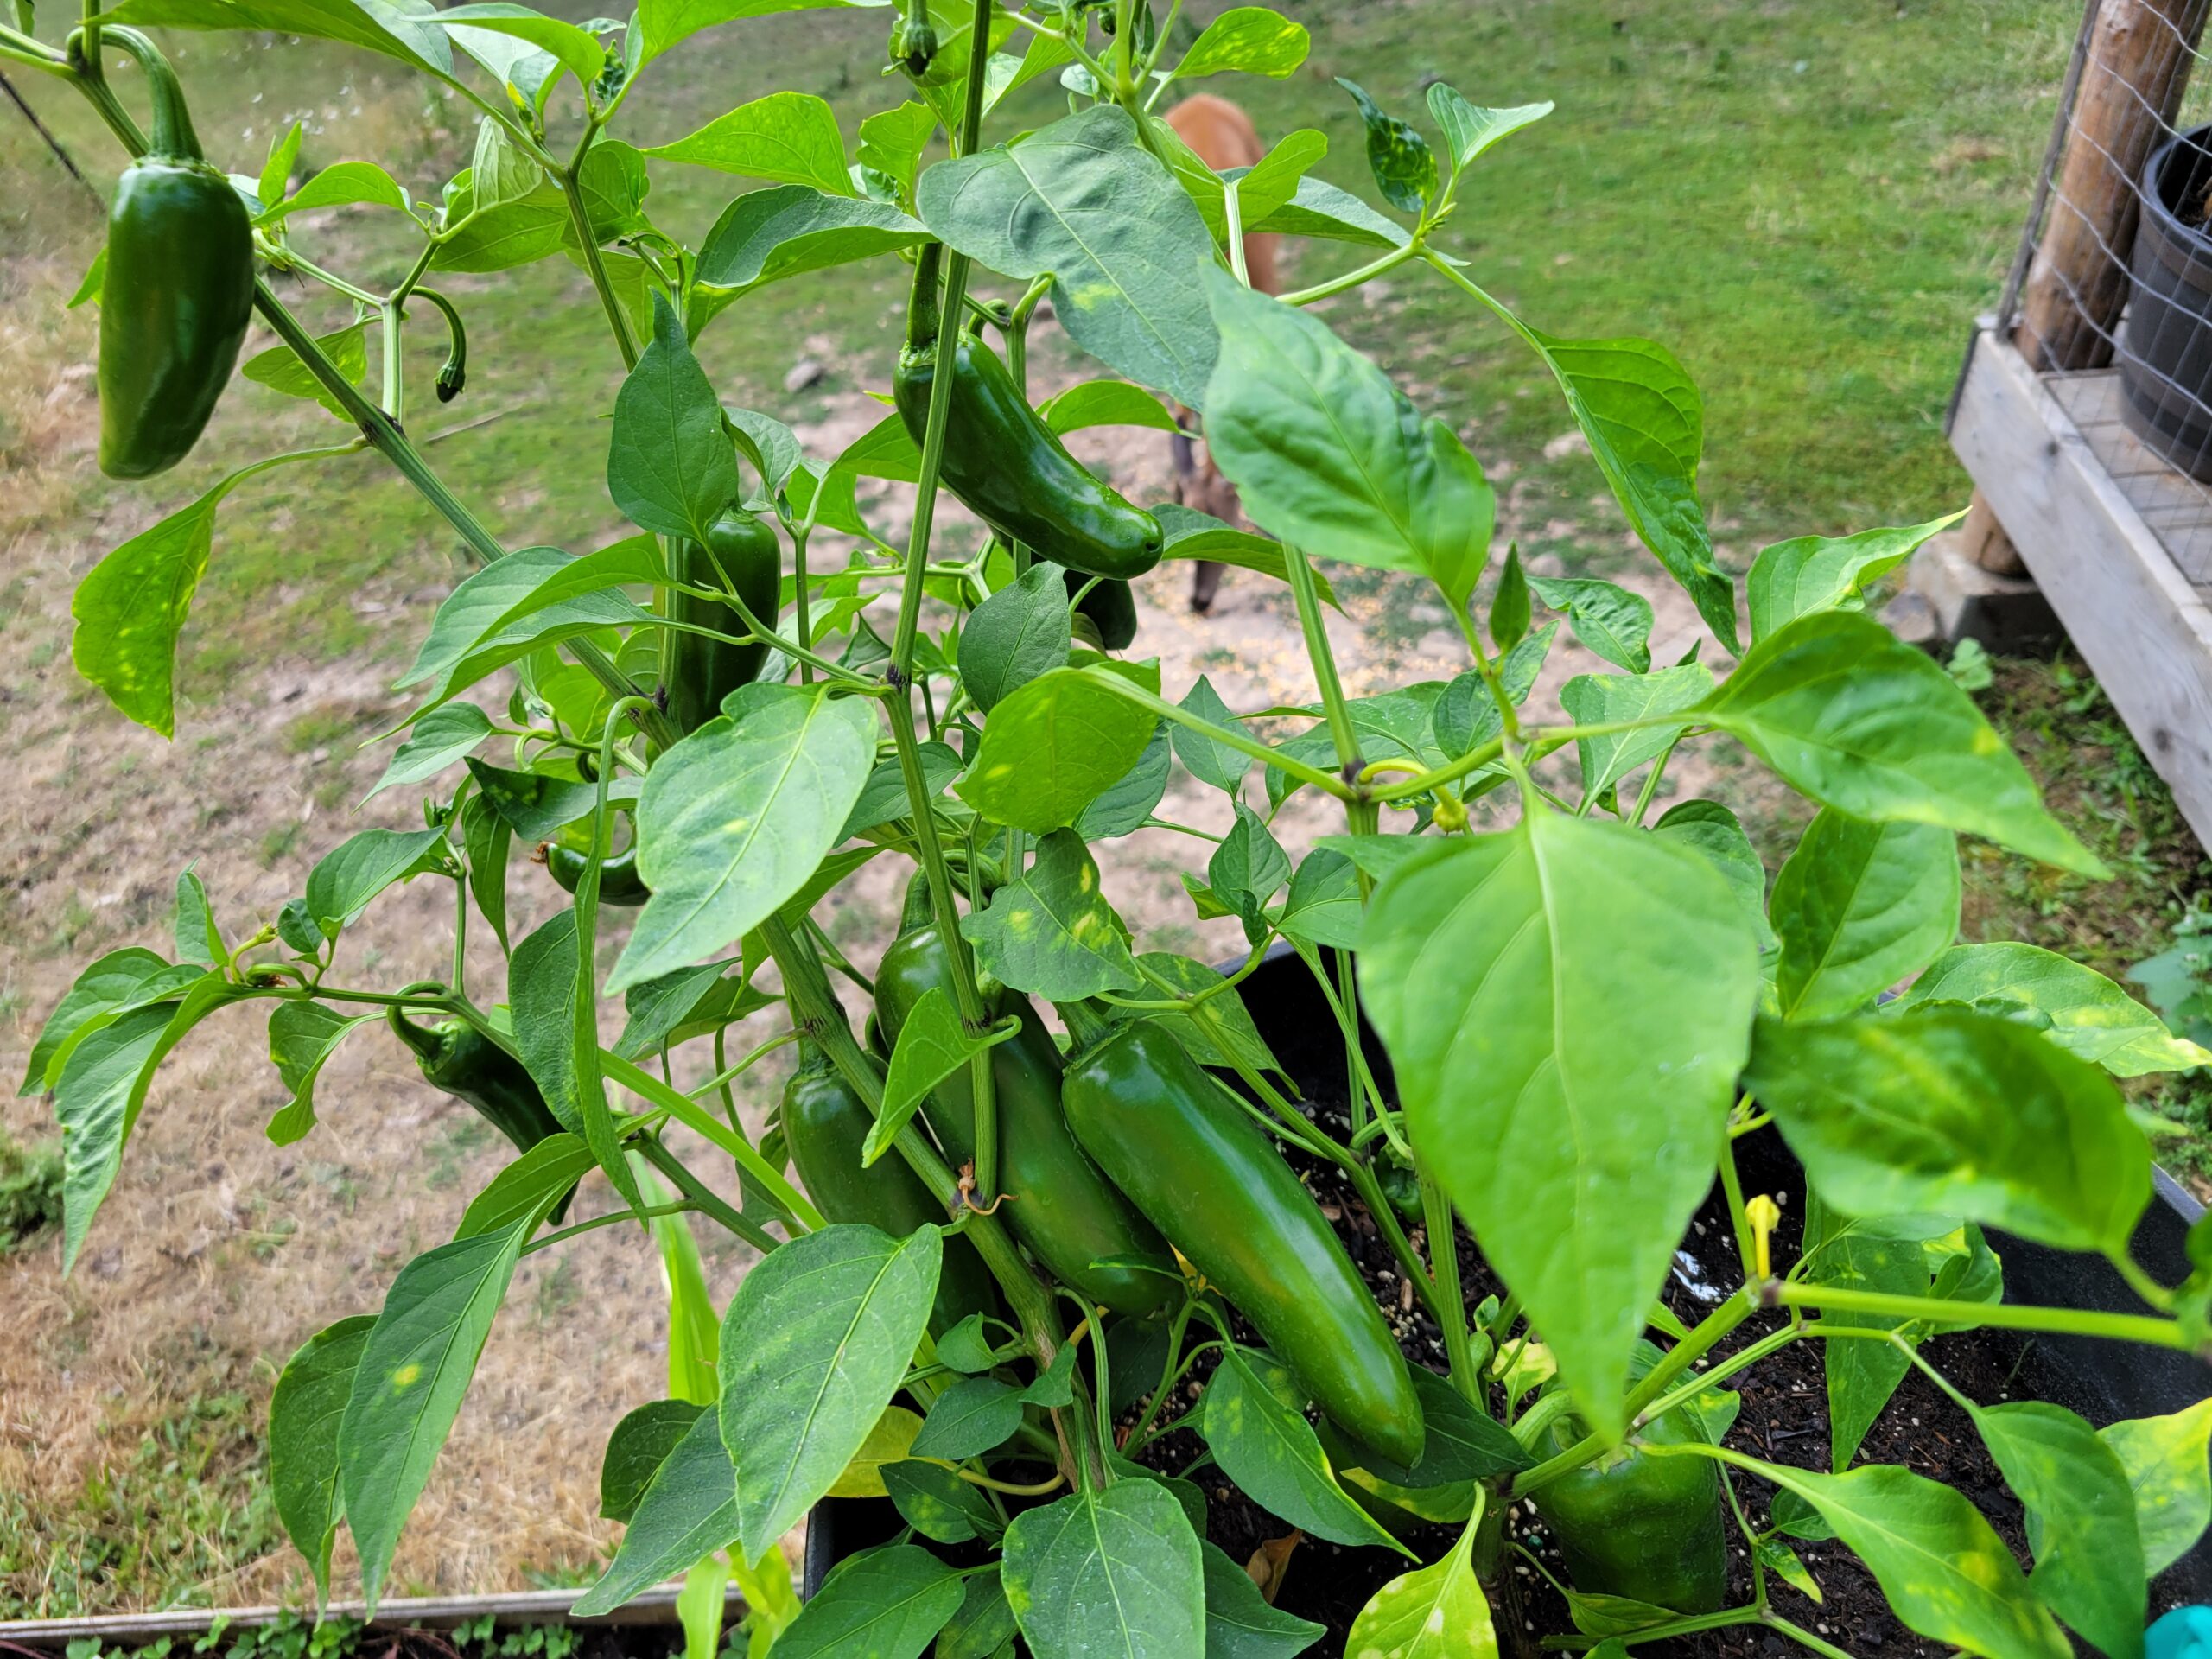
This is a water bath canning recipe and guide for making 6 half-pints of pepper jelly. With our garden peppers thriving, this is the perfect and tasty way to preserve them. Pepper jelly pairs beautifully with cream cheese and crackers, grilled or roasted meats and smoked salmon. It’s also great in cocktails. Feel free to use any combination of peppers you like. I used a mix of red and green jalapeños, mirasol, chilaca, hatch, Anaheim, and poblano peppers. You can keep the seeds for added heat or remove them along with the membranes if you prefer a milder flavor.
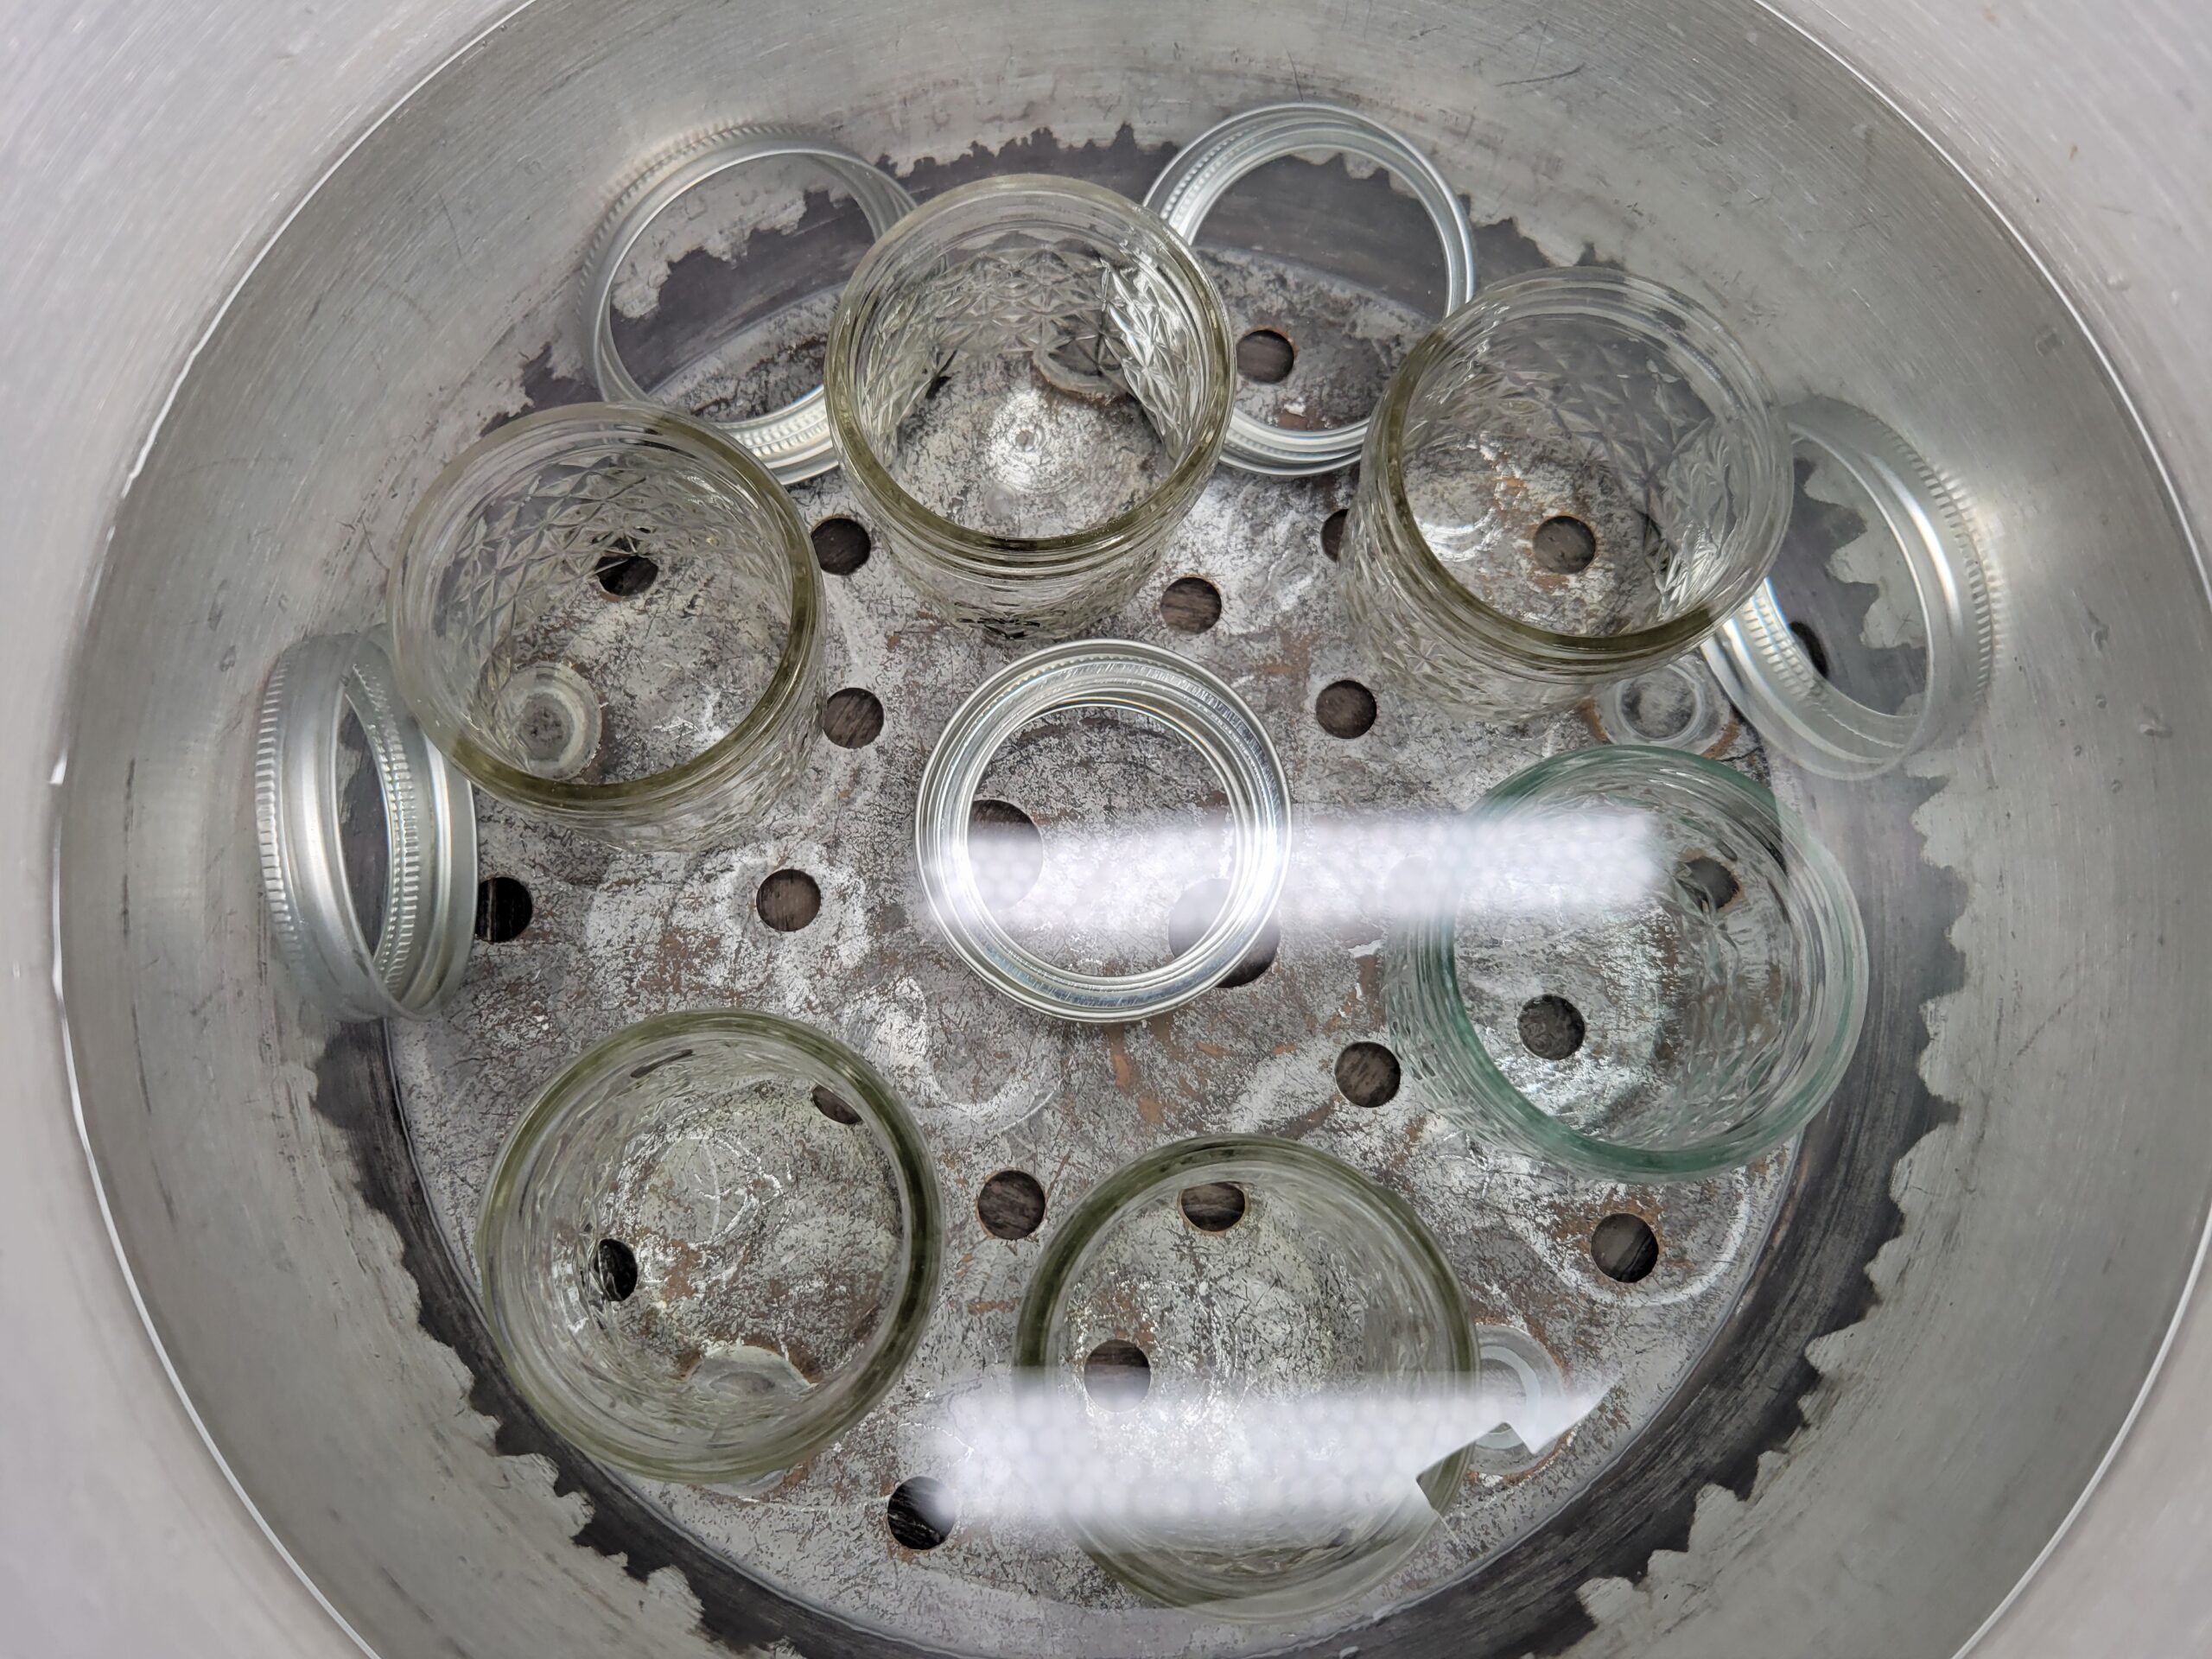
Wash jars, rims, and lids in warm, soapy water. Fill the canner with enough water to cover the jars while they are standing up. Boil jars and rims for at least 10 minutes before filling them with jelly. Do not boil lids, as this can compromise their sealing ability.
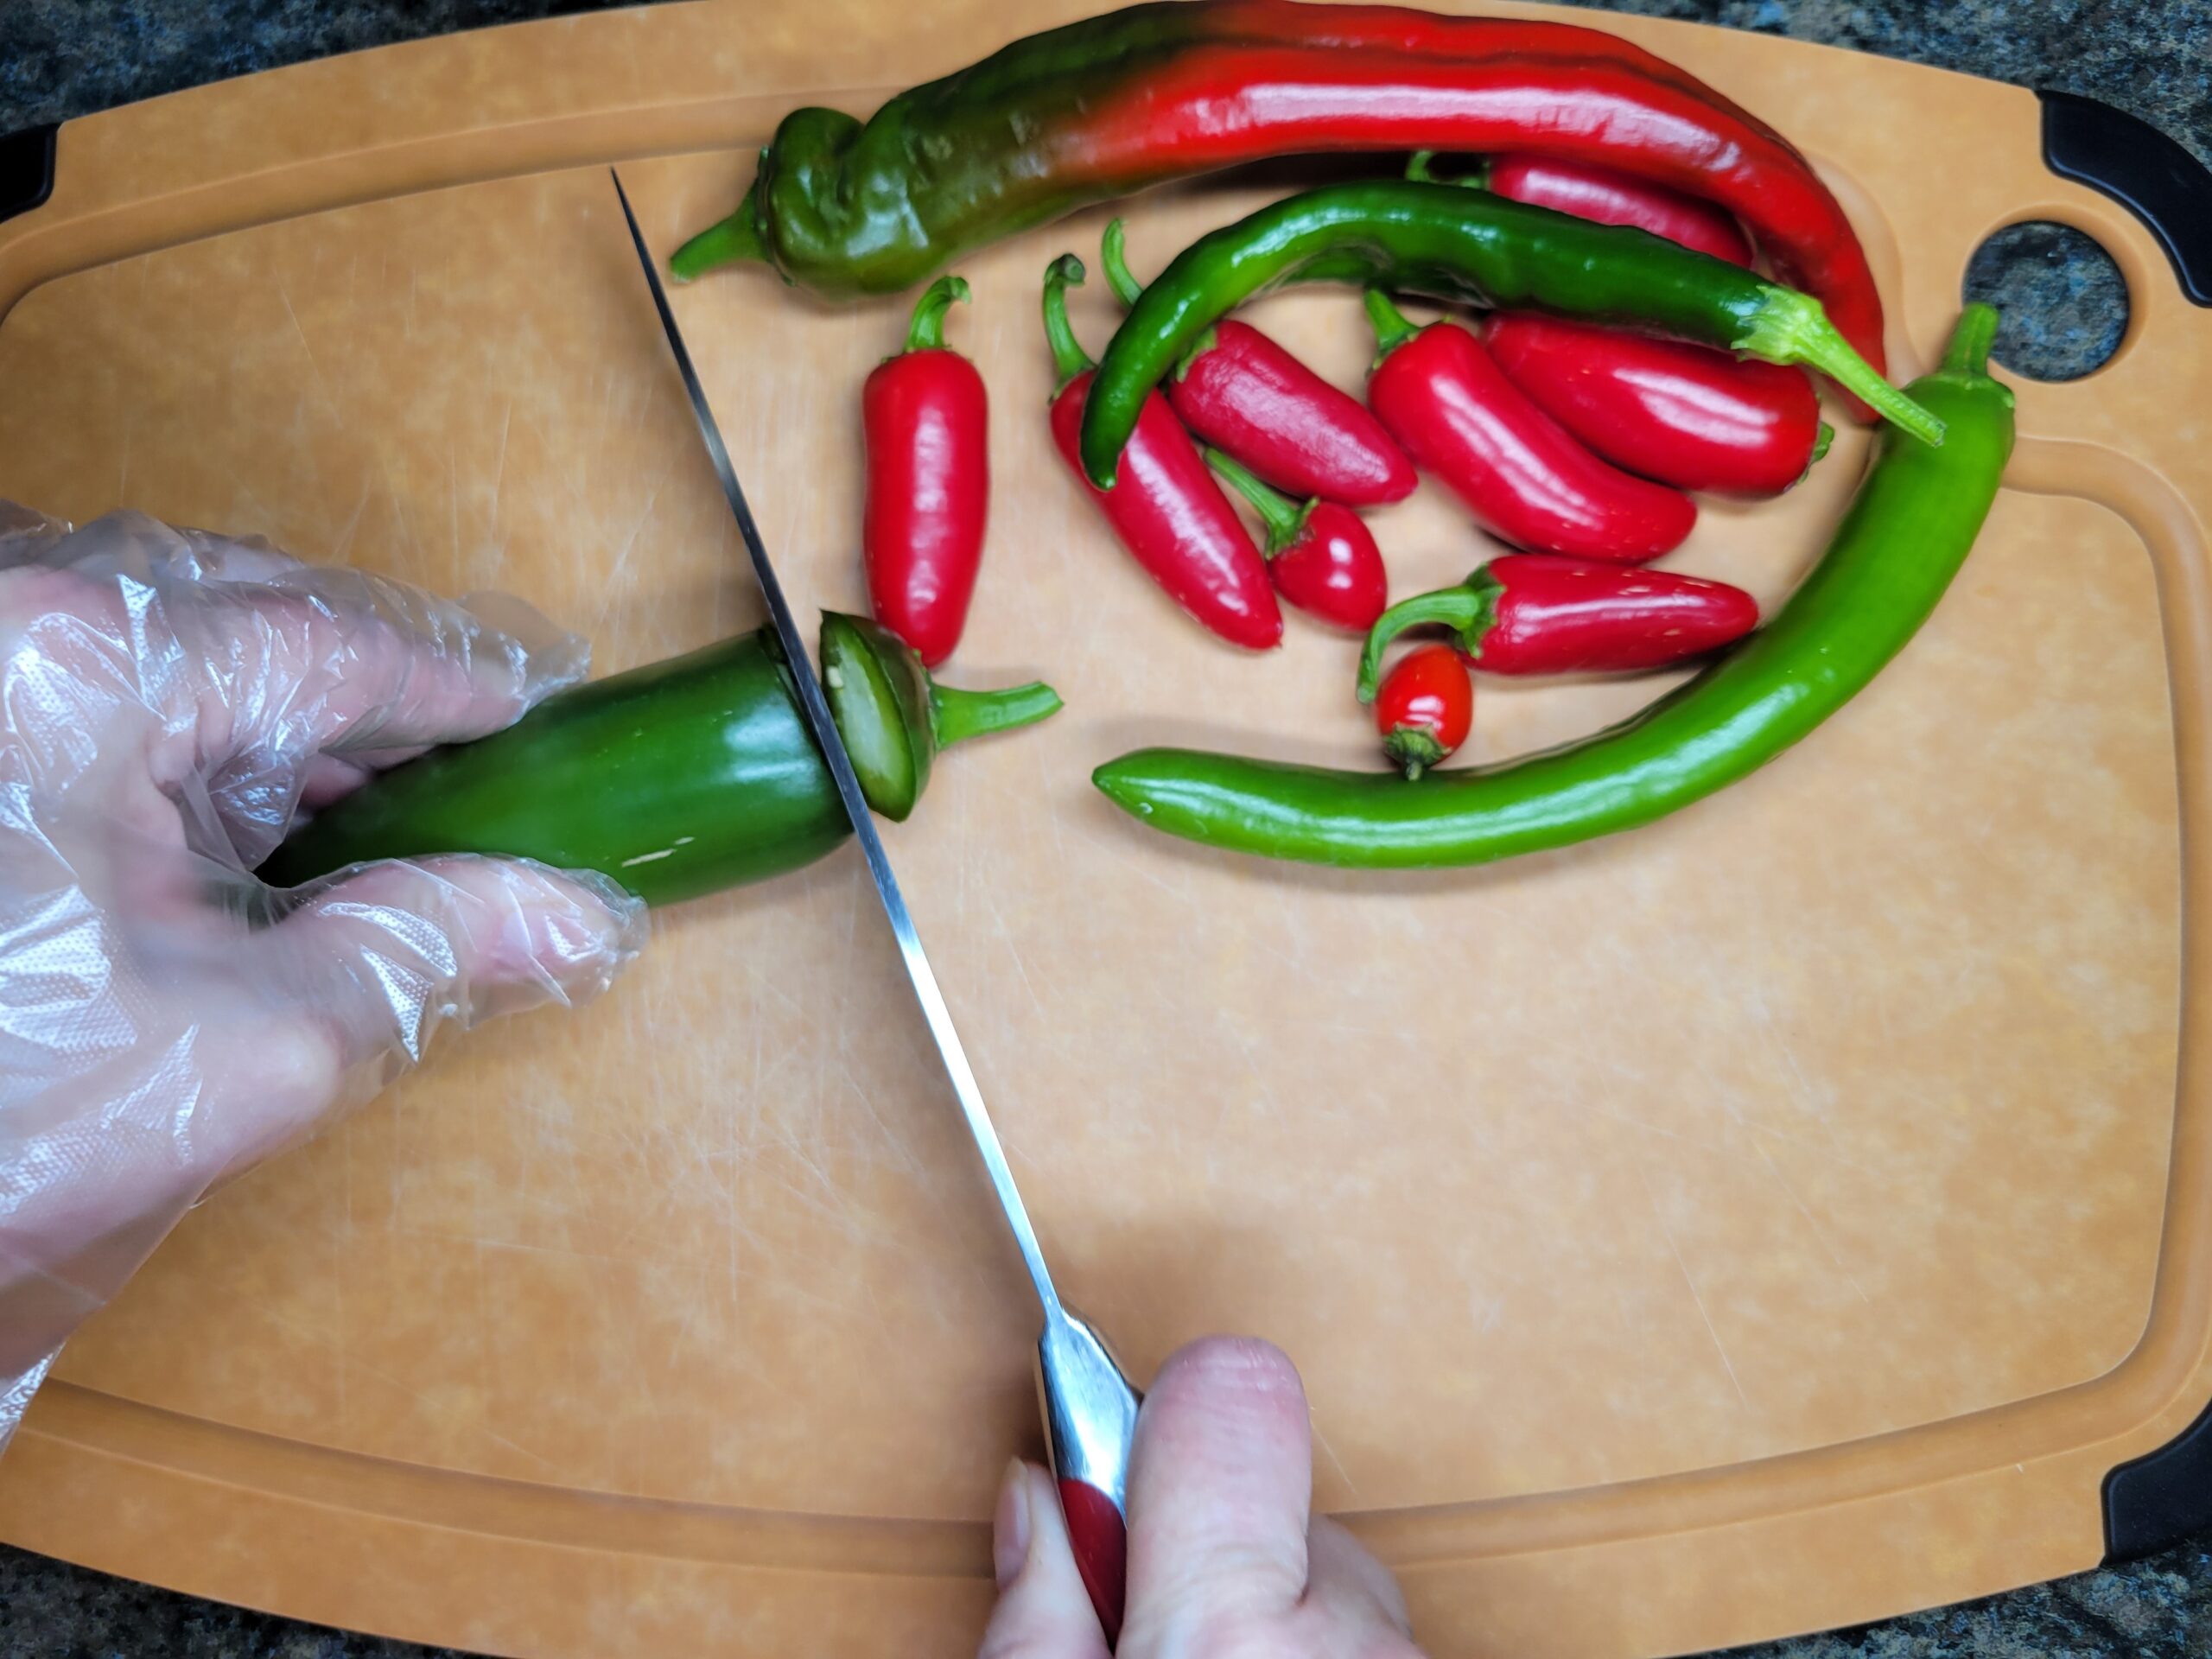
Remove the stems of the peppers and discard them. Take out the membranes and seeds unless you want to keep them for added heat.
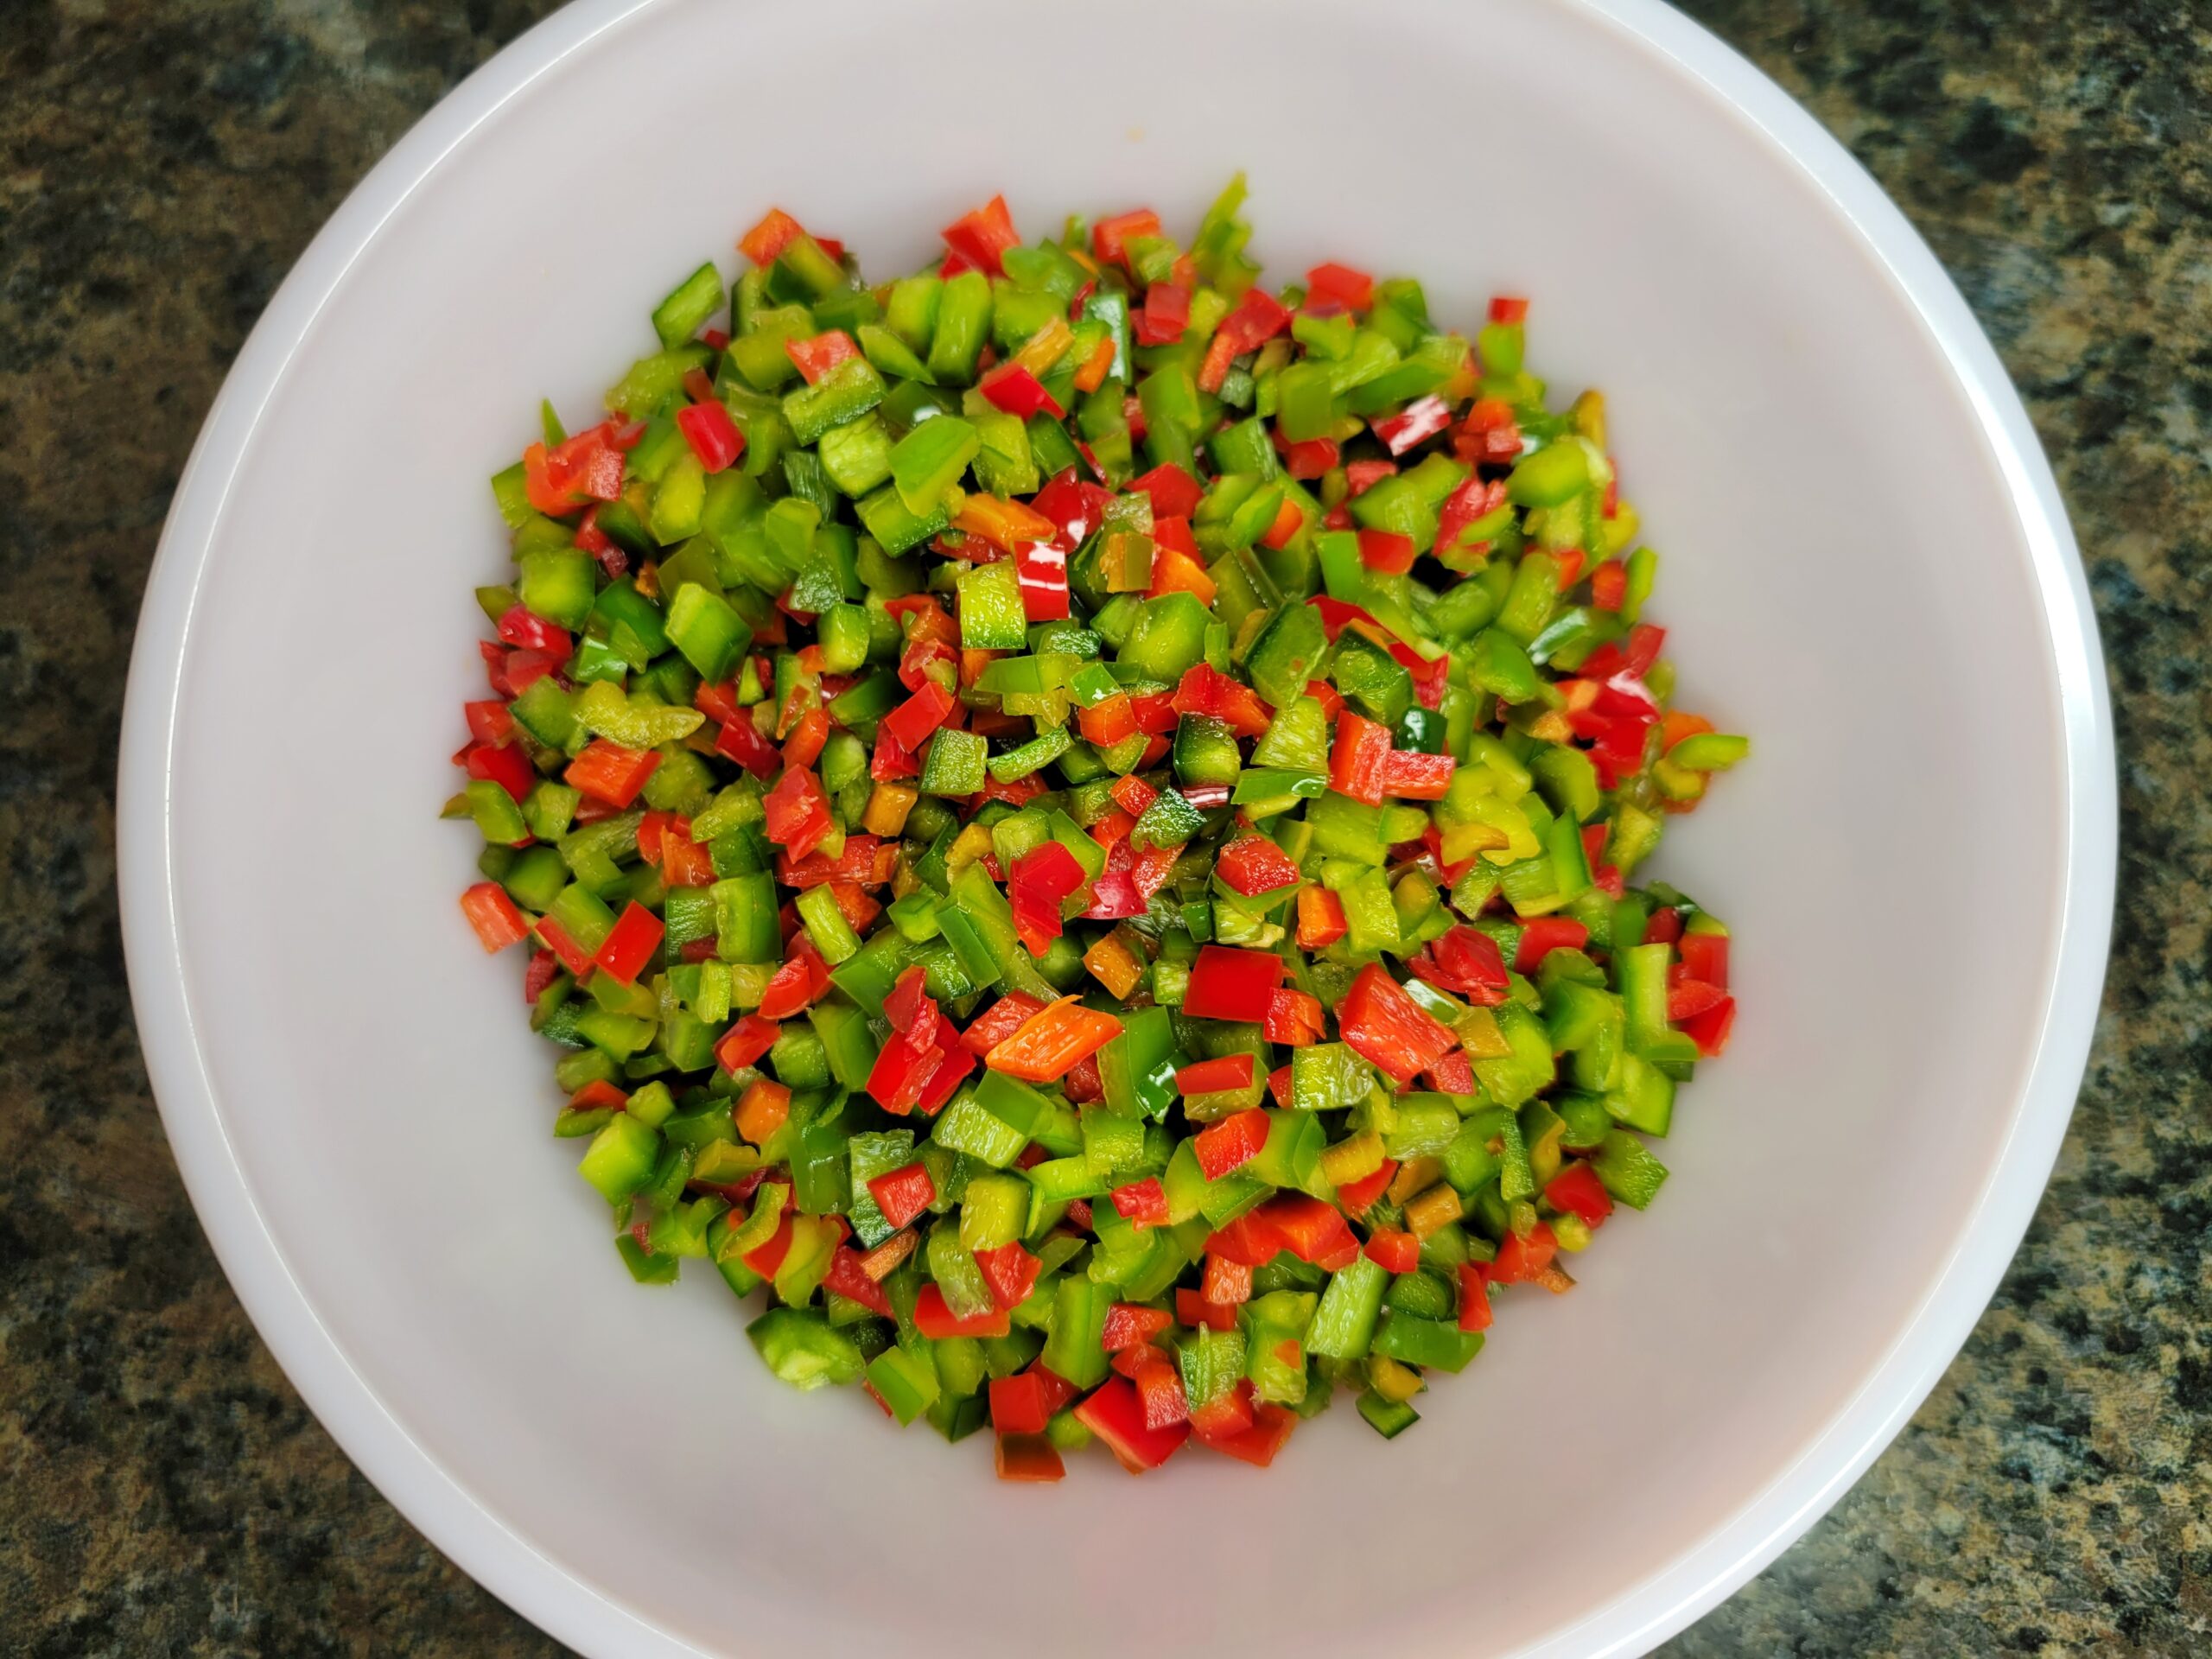
Very finely dice 4 cups of peppers.
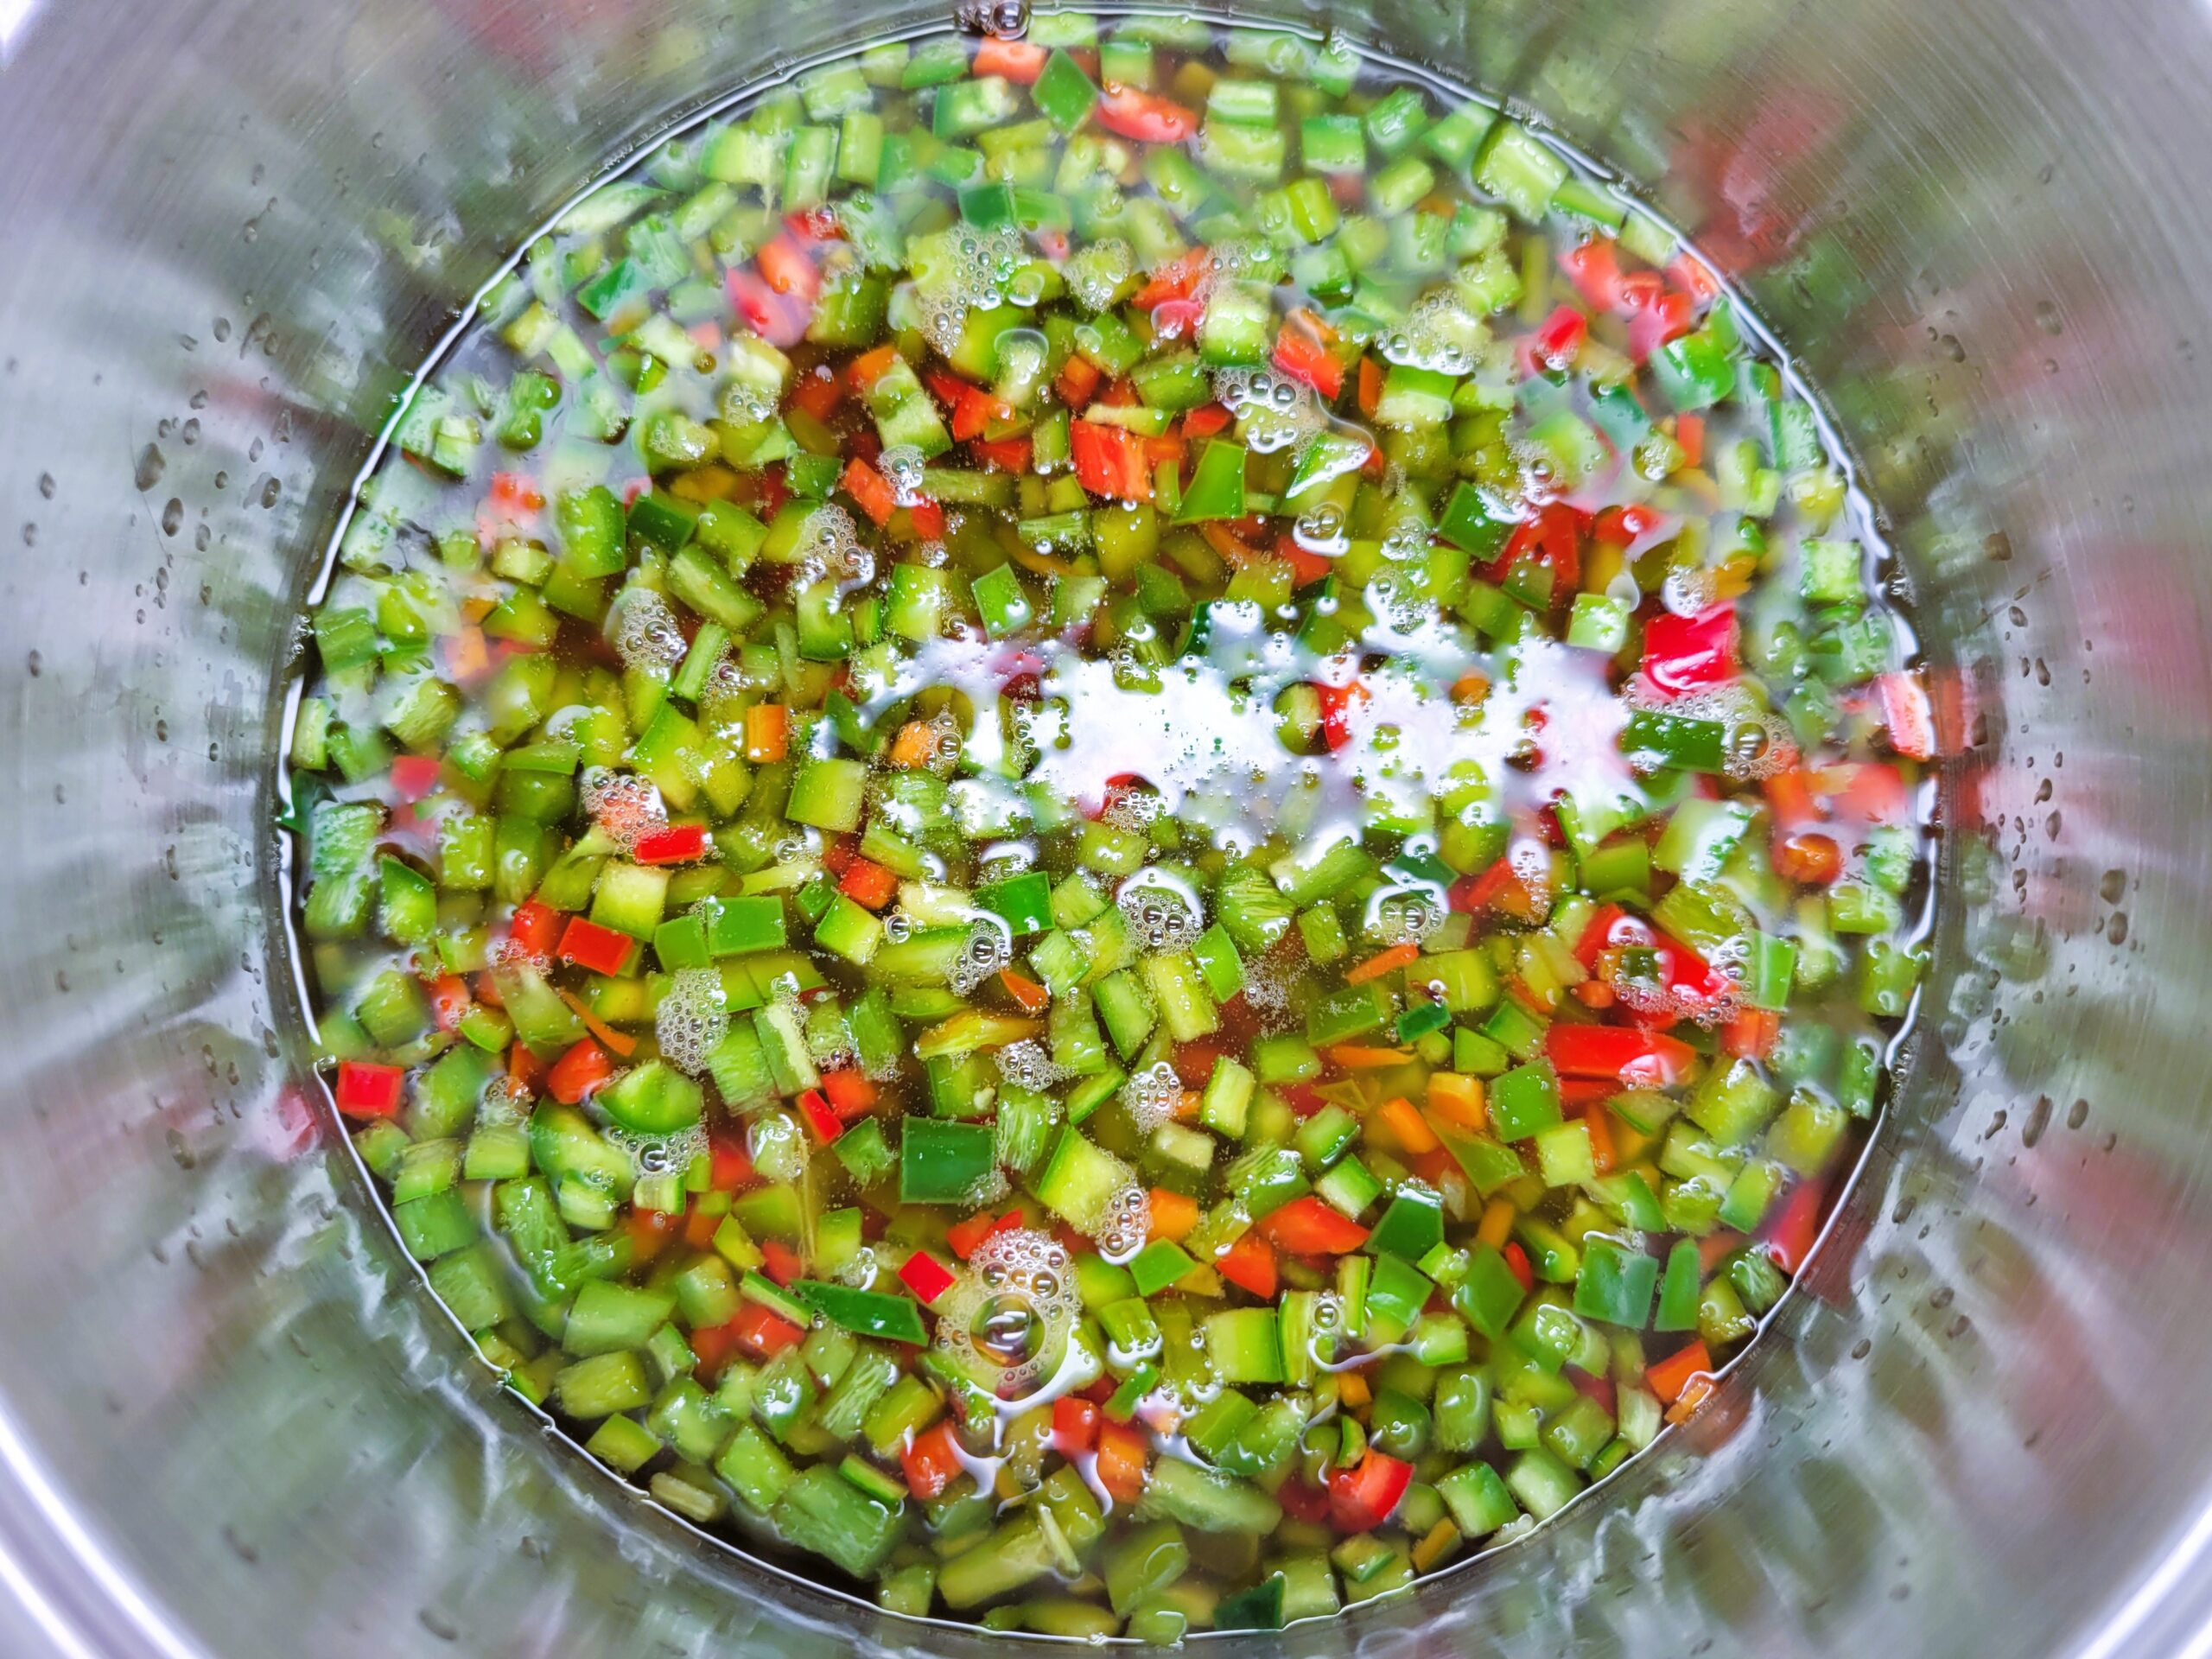
Pour 2 cups of apple cider vinegar into a stainless-steel non-reactive pot and heat it on high until it boils. Add all the diced peppers, stir well, and bring it back to a boil.
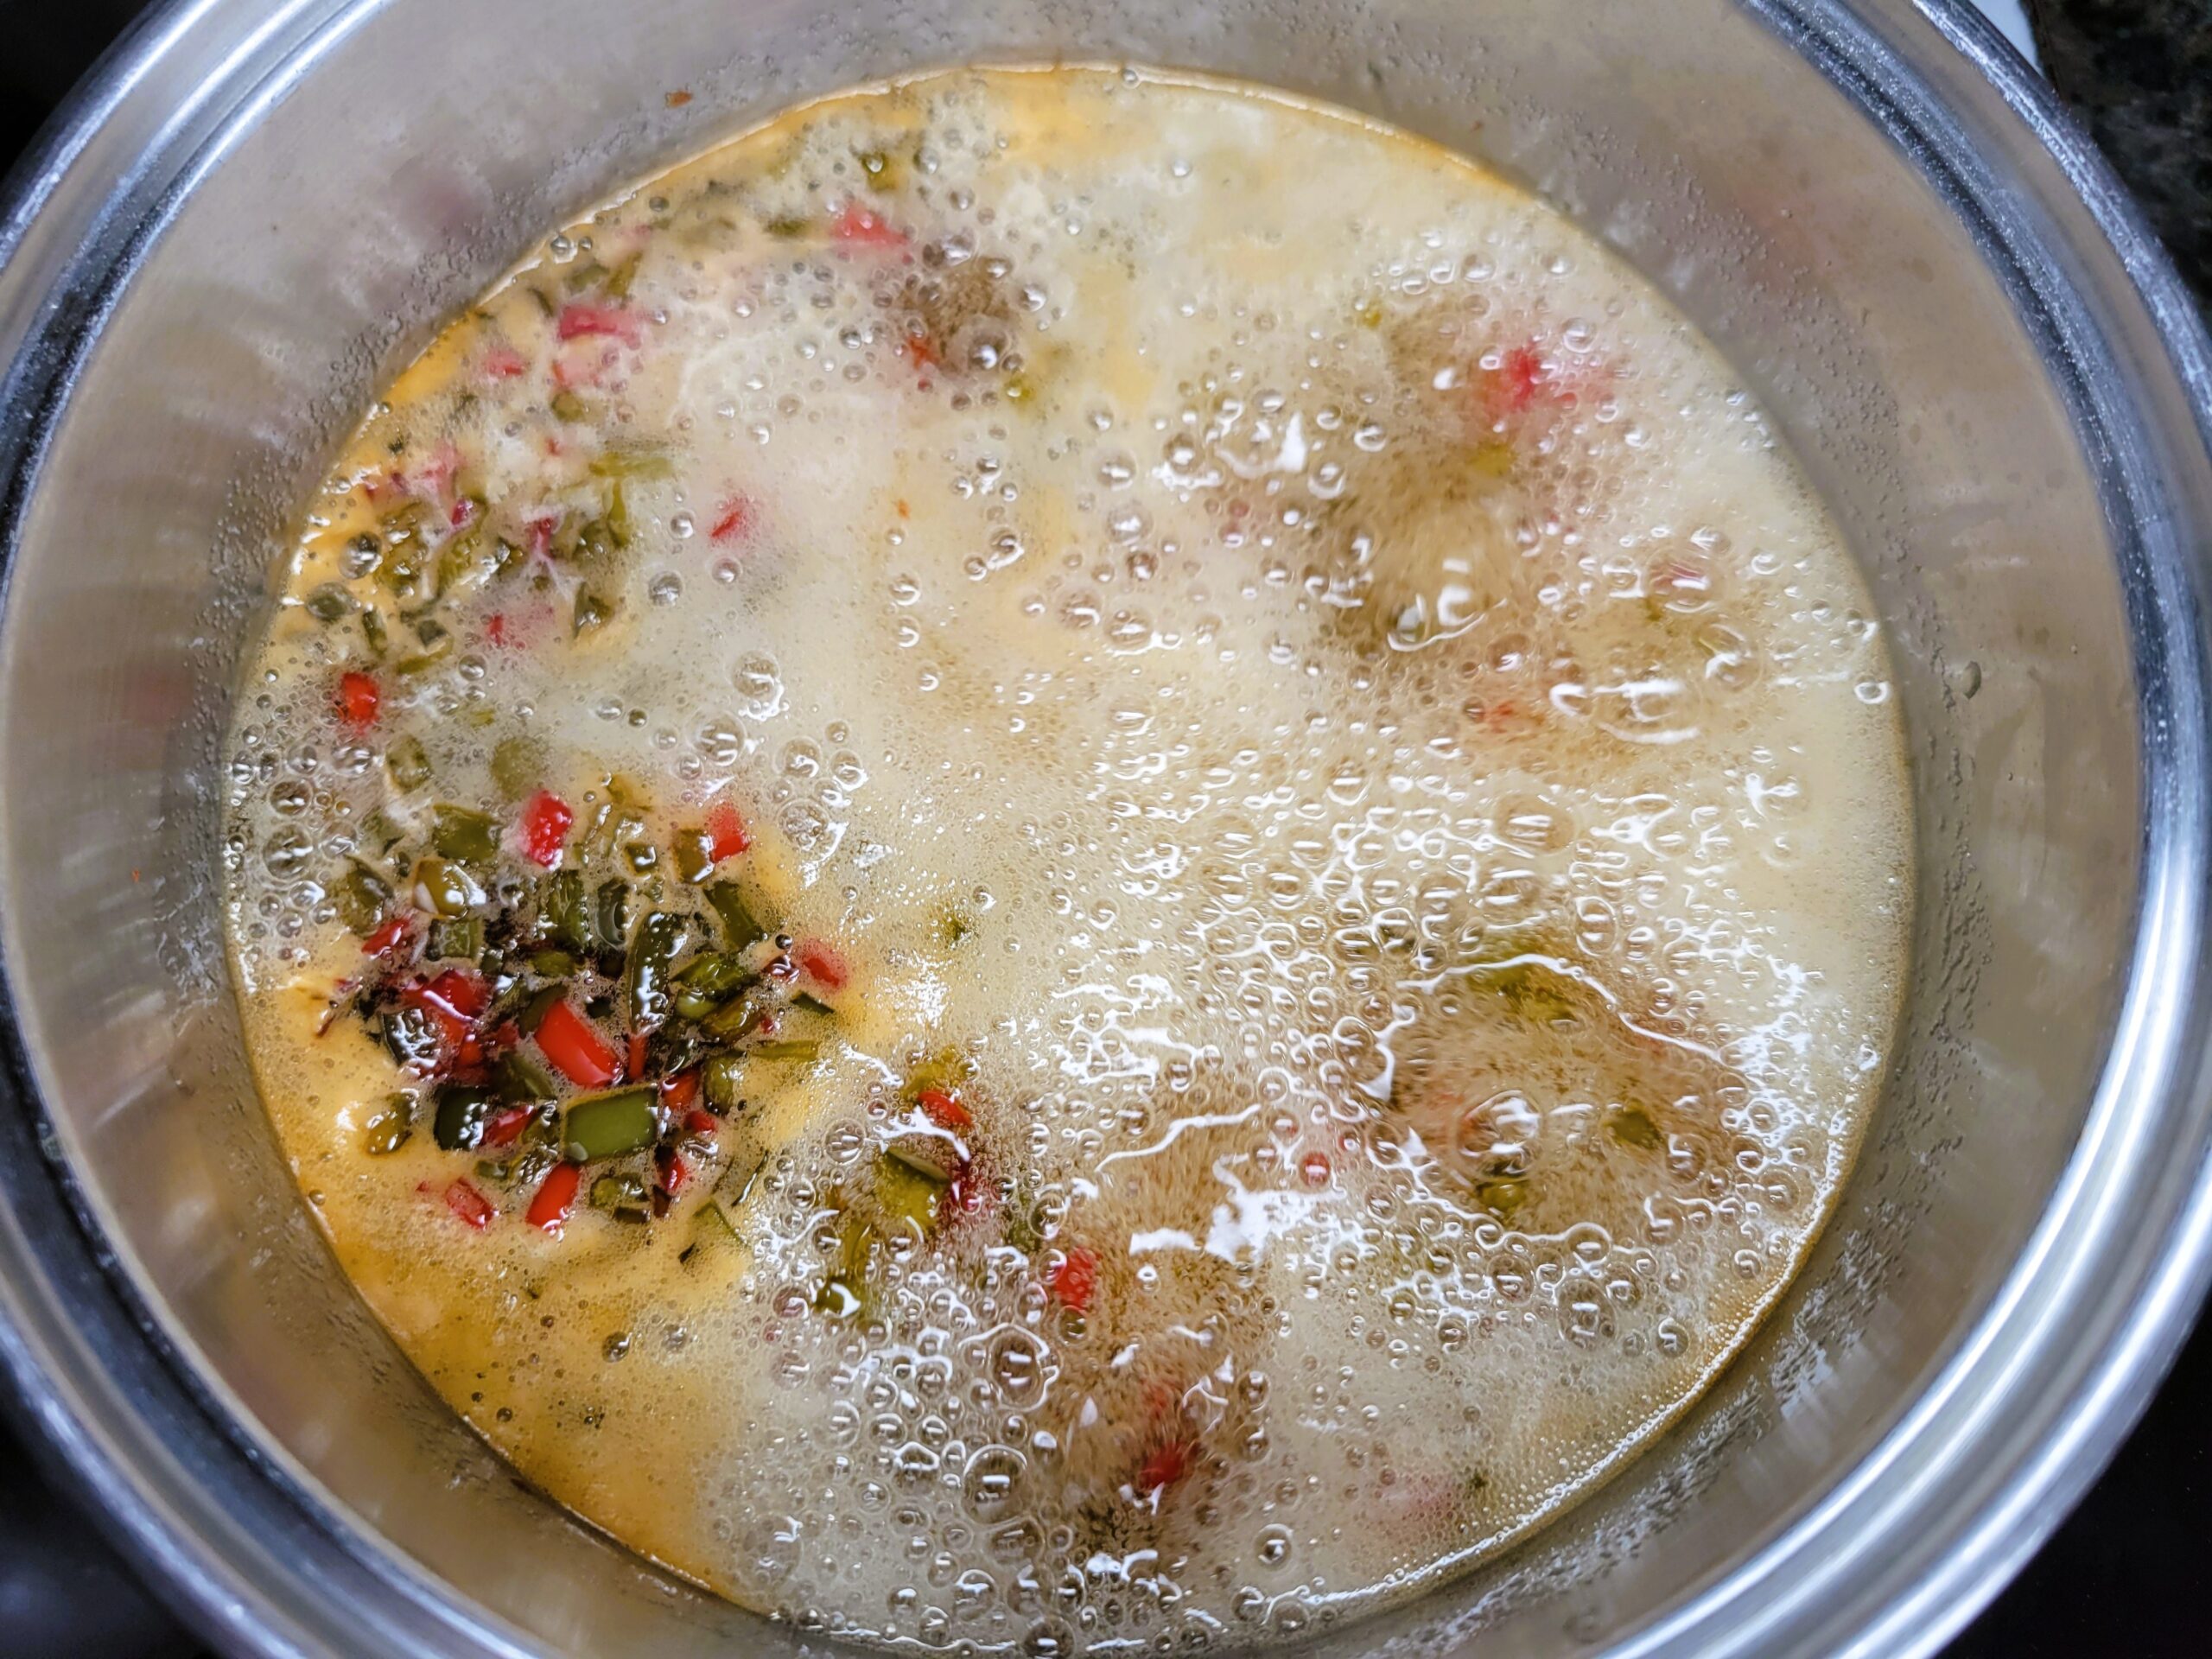
Stir in 6 cups of granulated sugar, allowing it to dissolve while bringing the mixture to a full rolling boil, stirring constantly. Then add pectin and return to a full rolling boil. Boil hard for 1 minute and skim off any foam with a spoon.
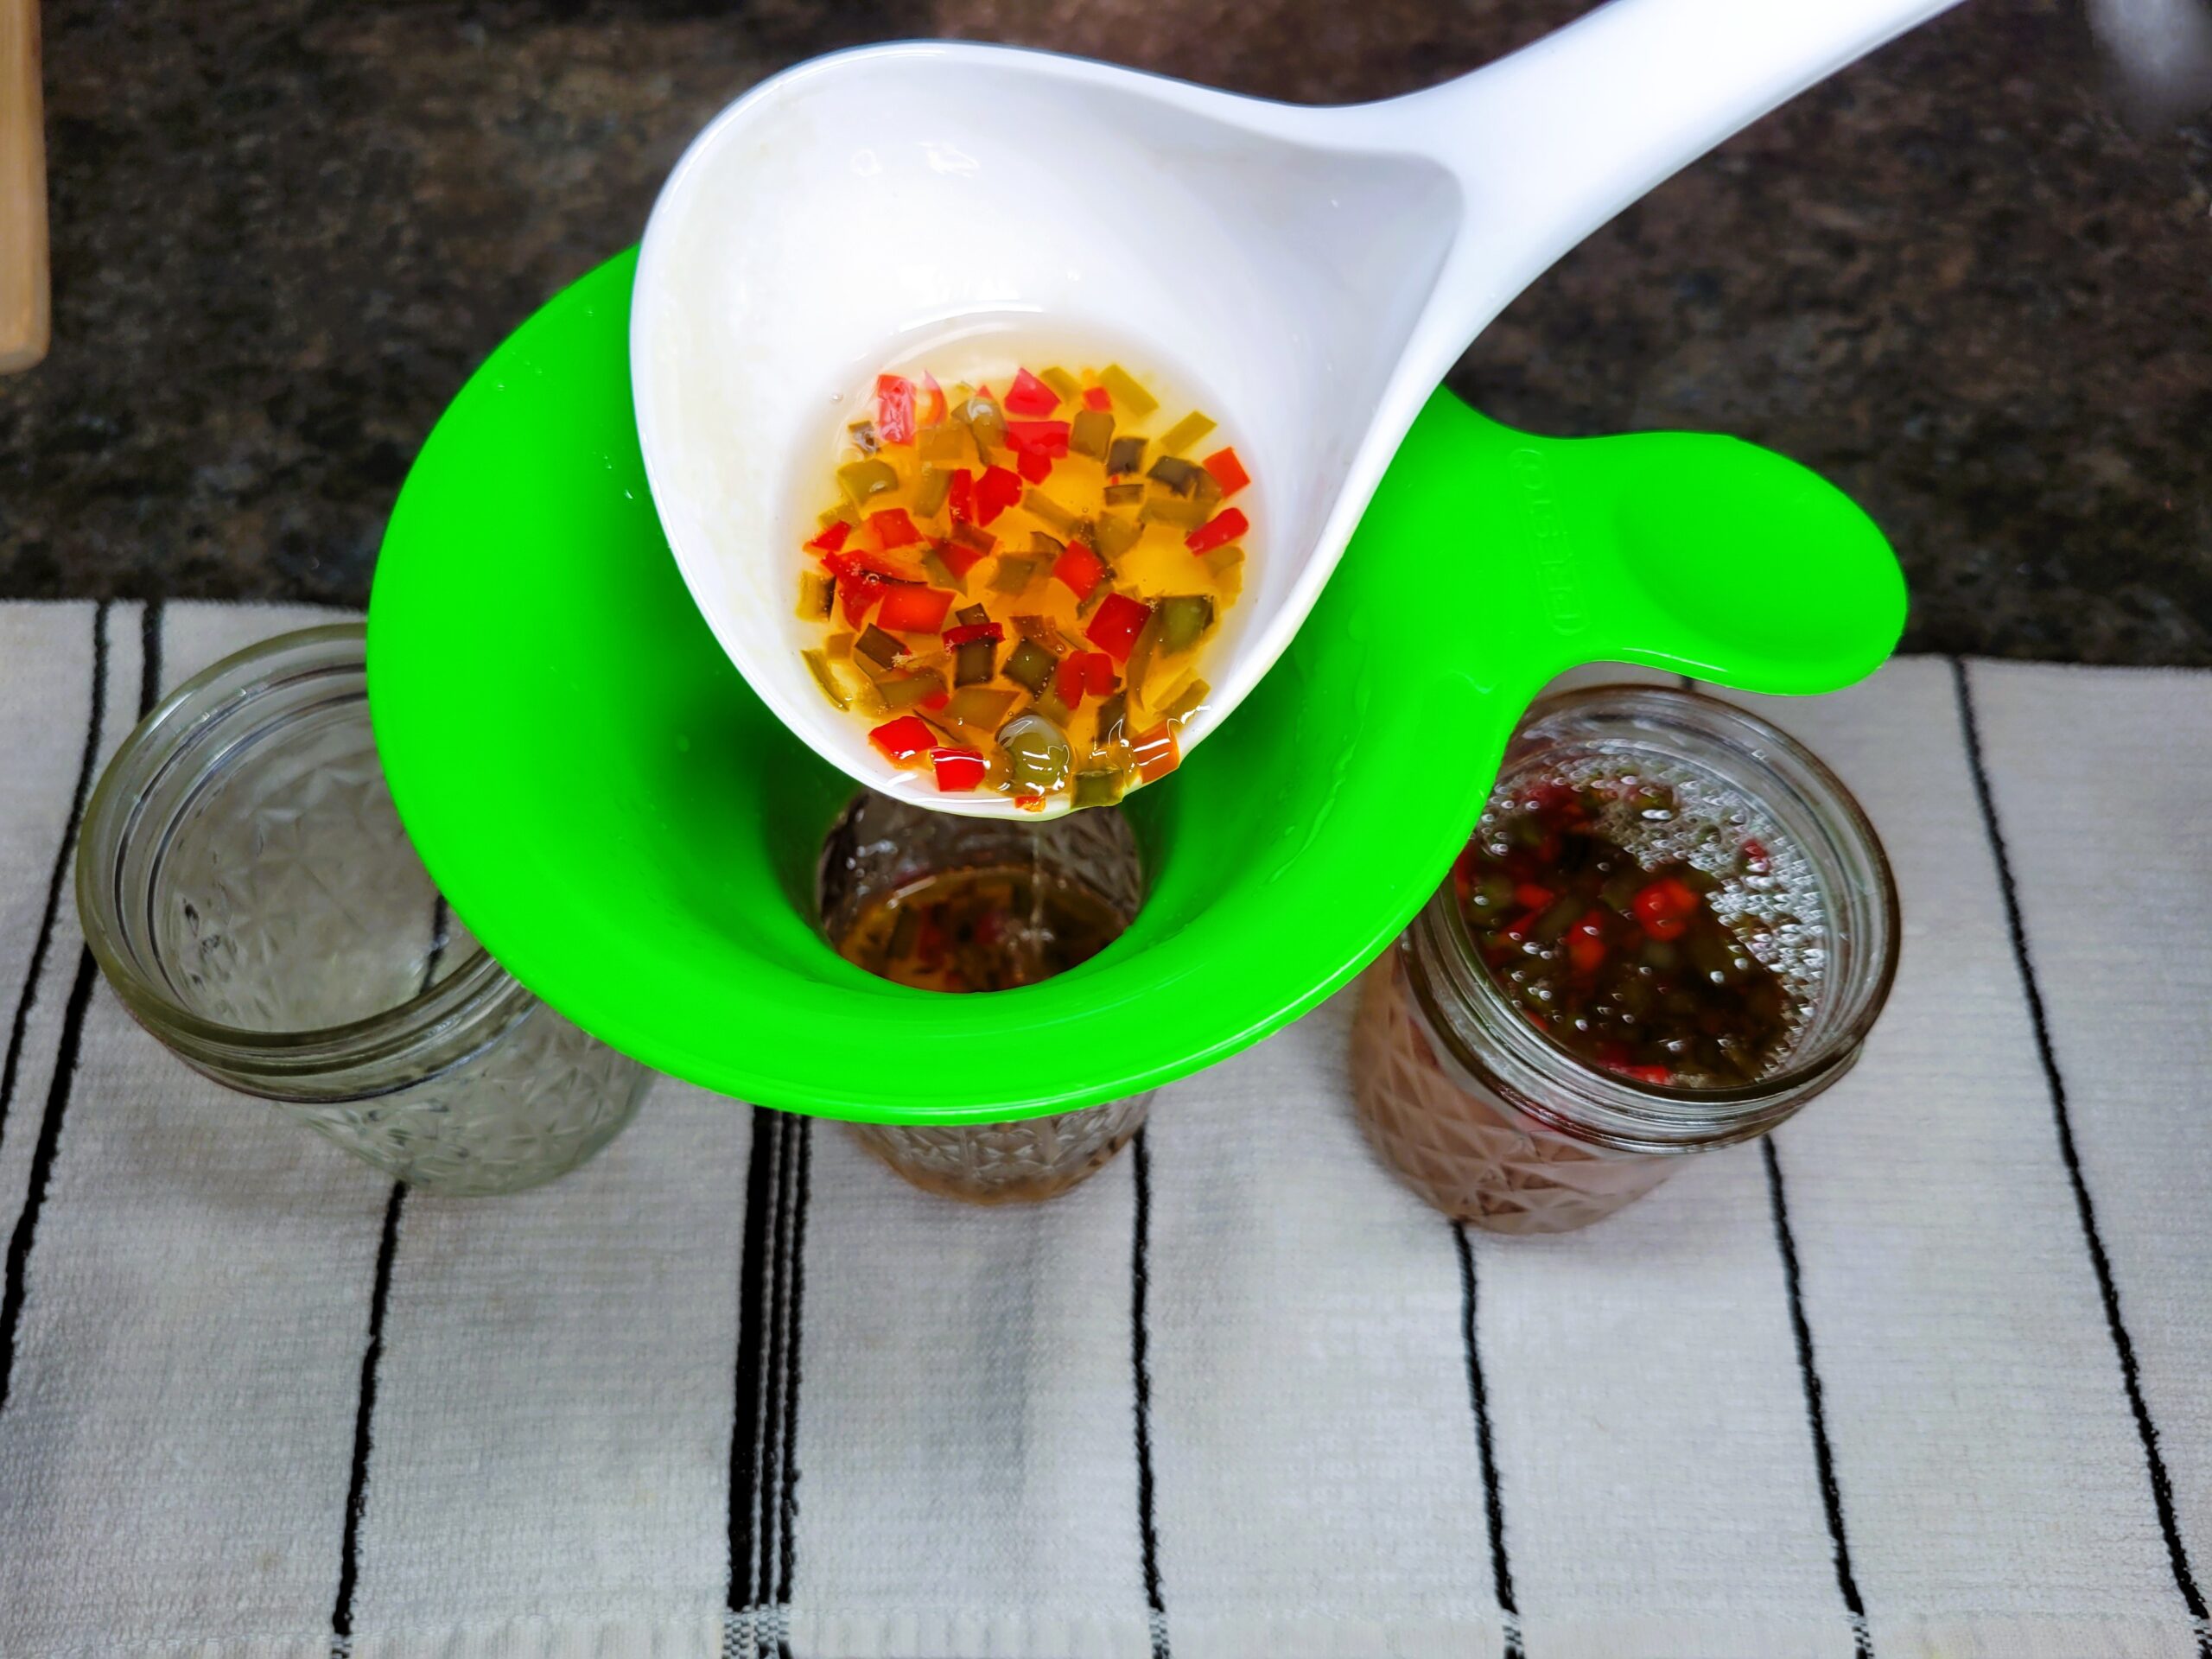
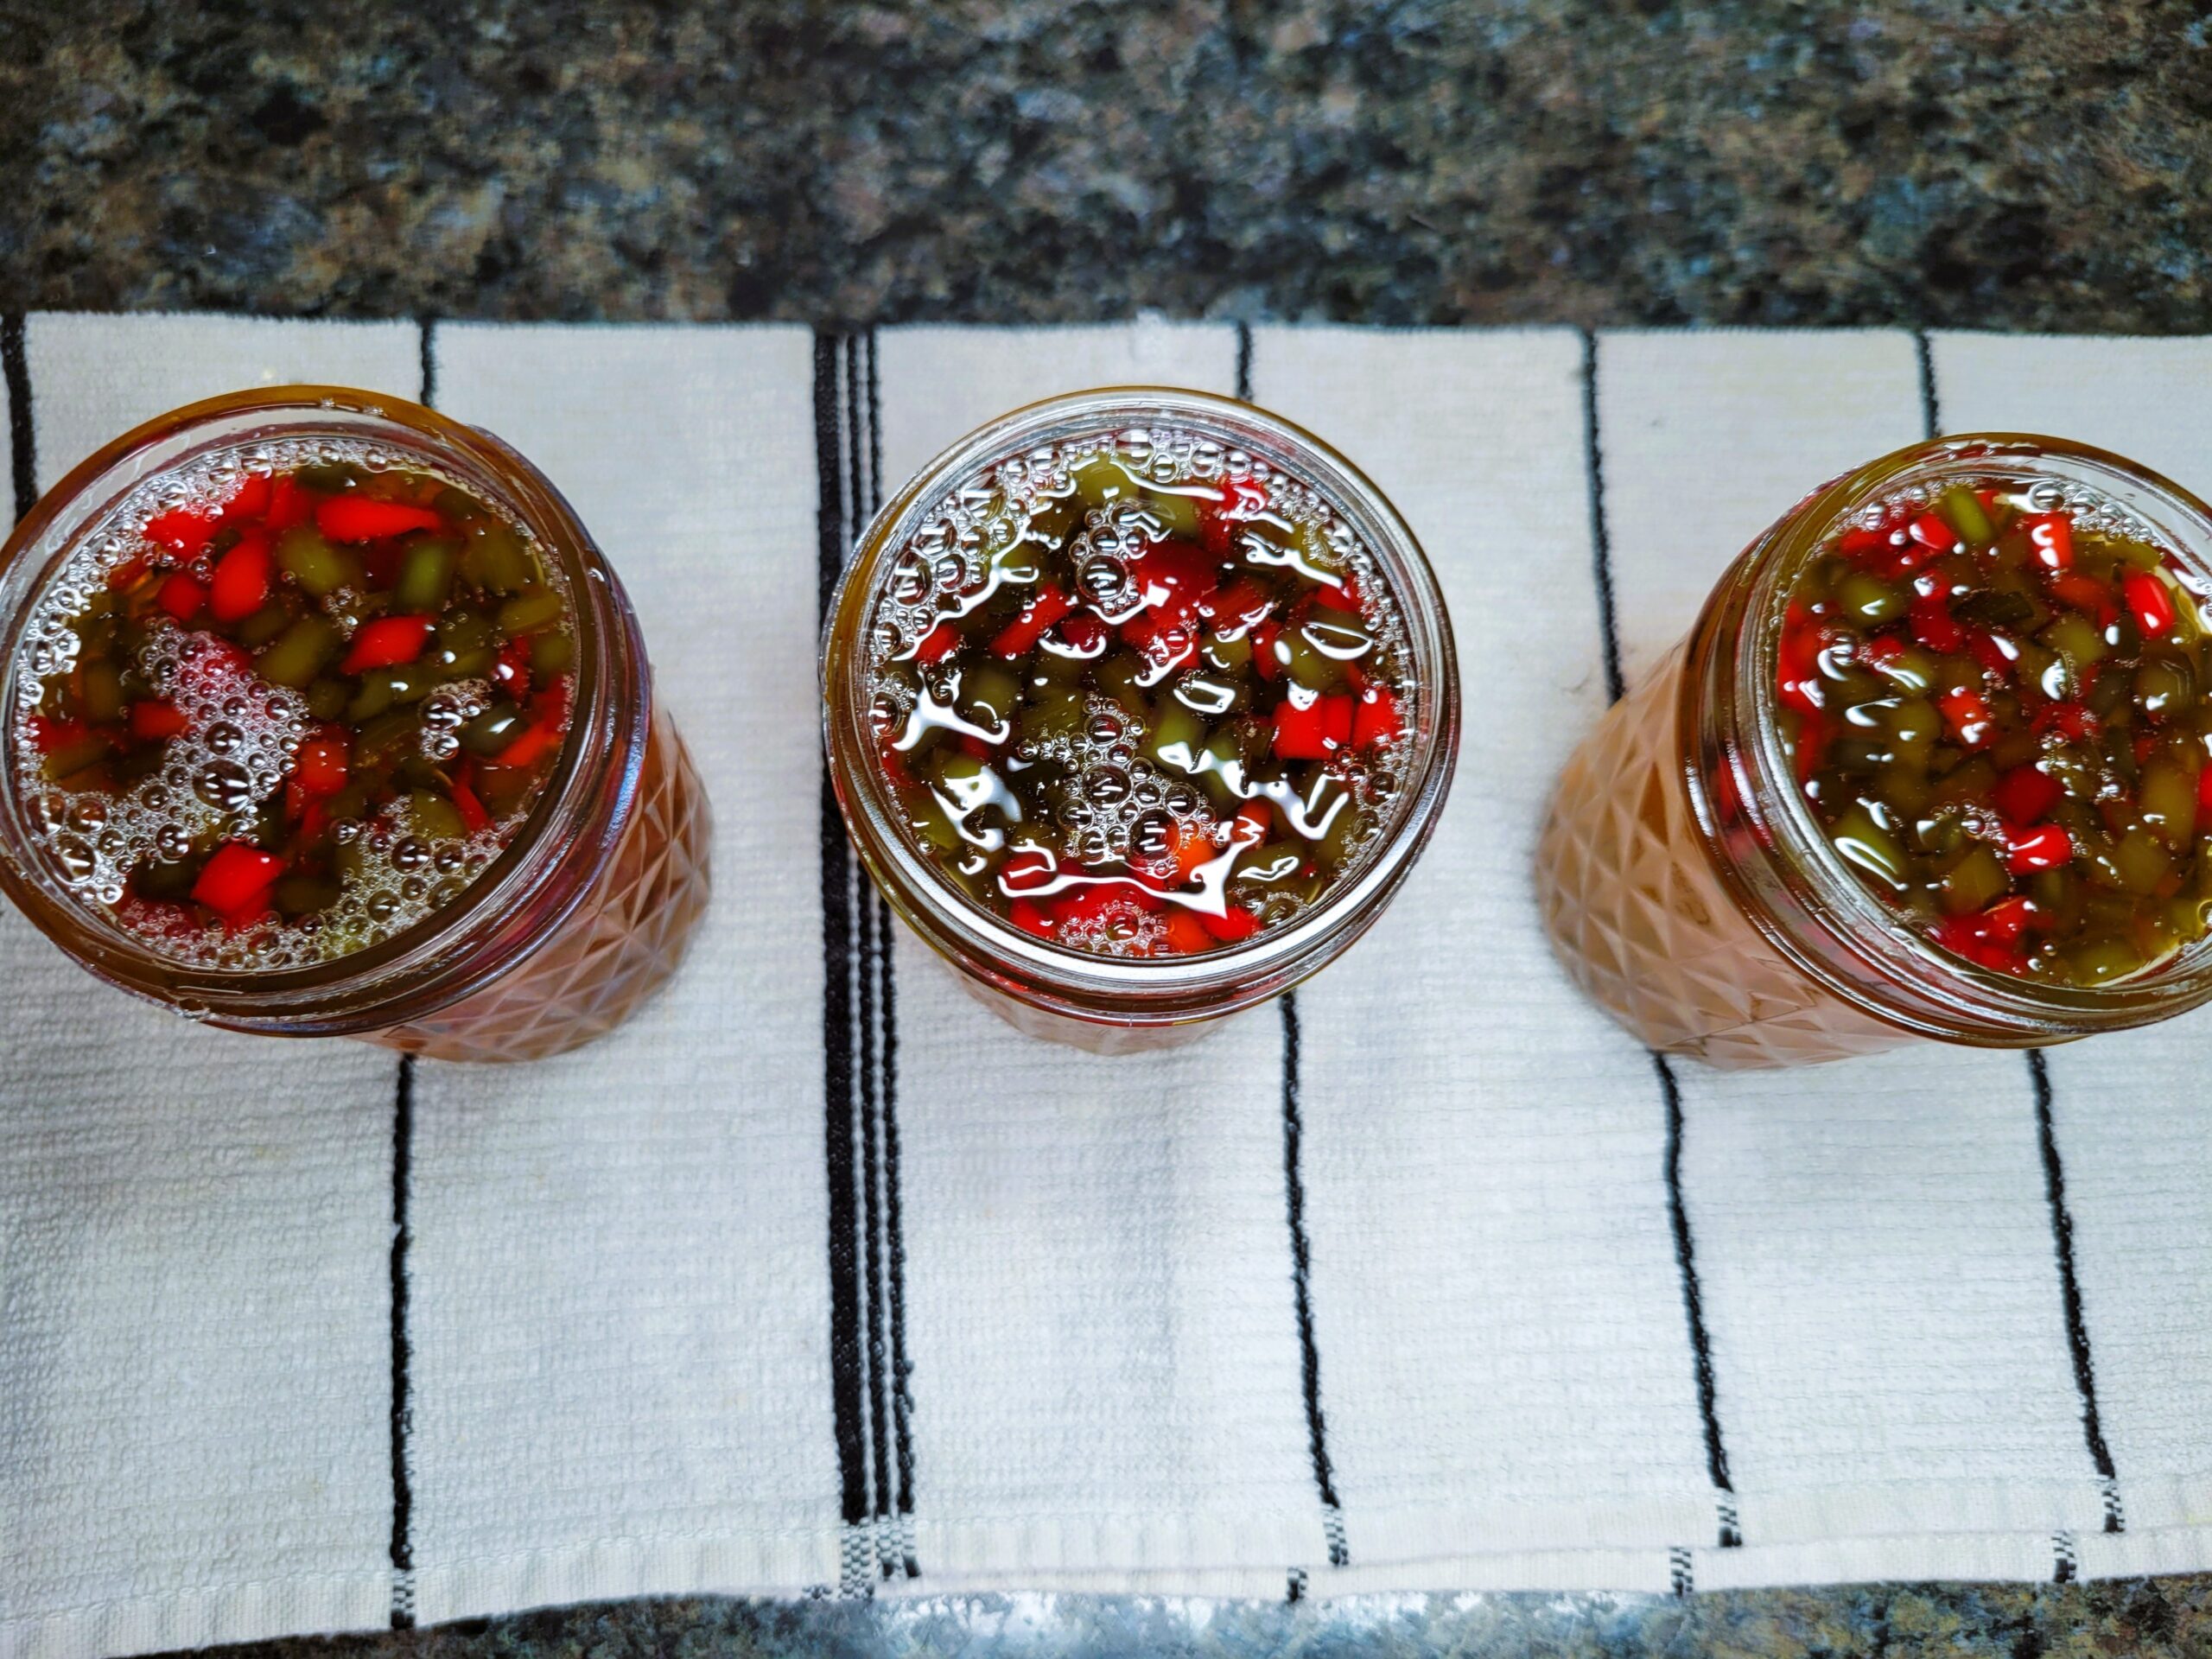
Pour the hot jelly into hot, sterilized jars, leaving ¼ inch of headspace.
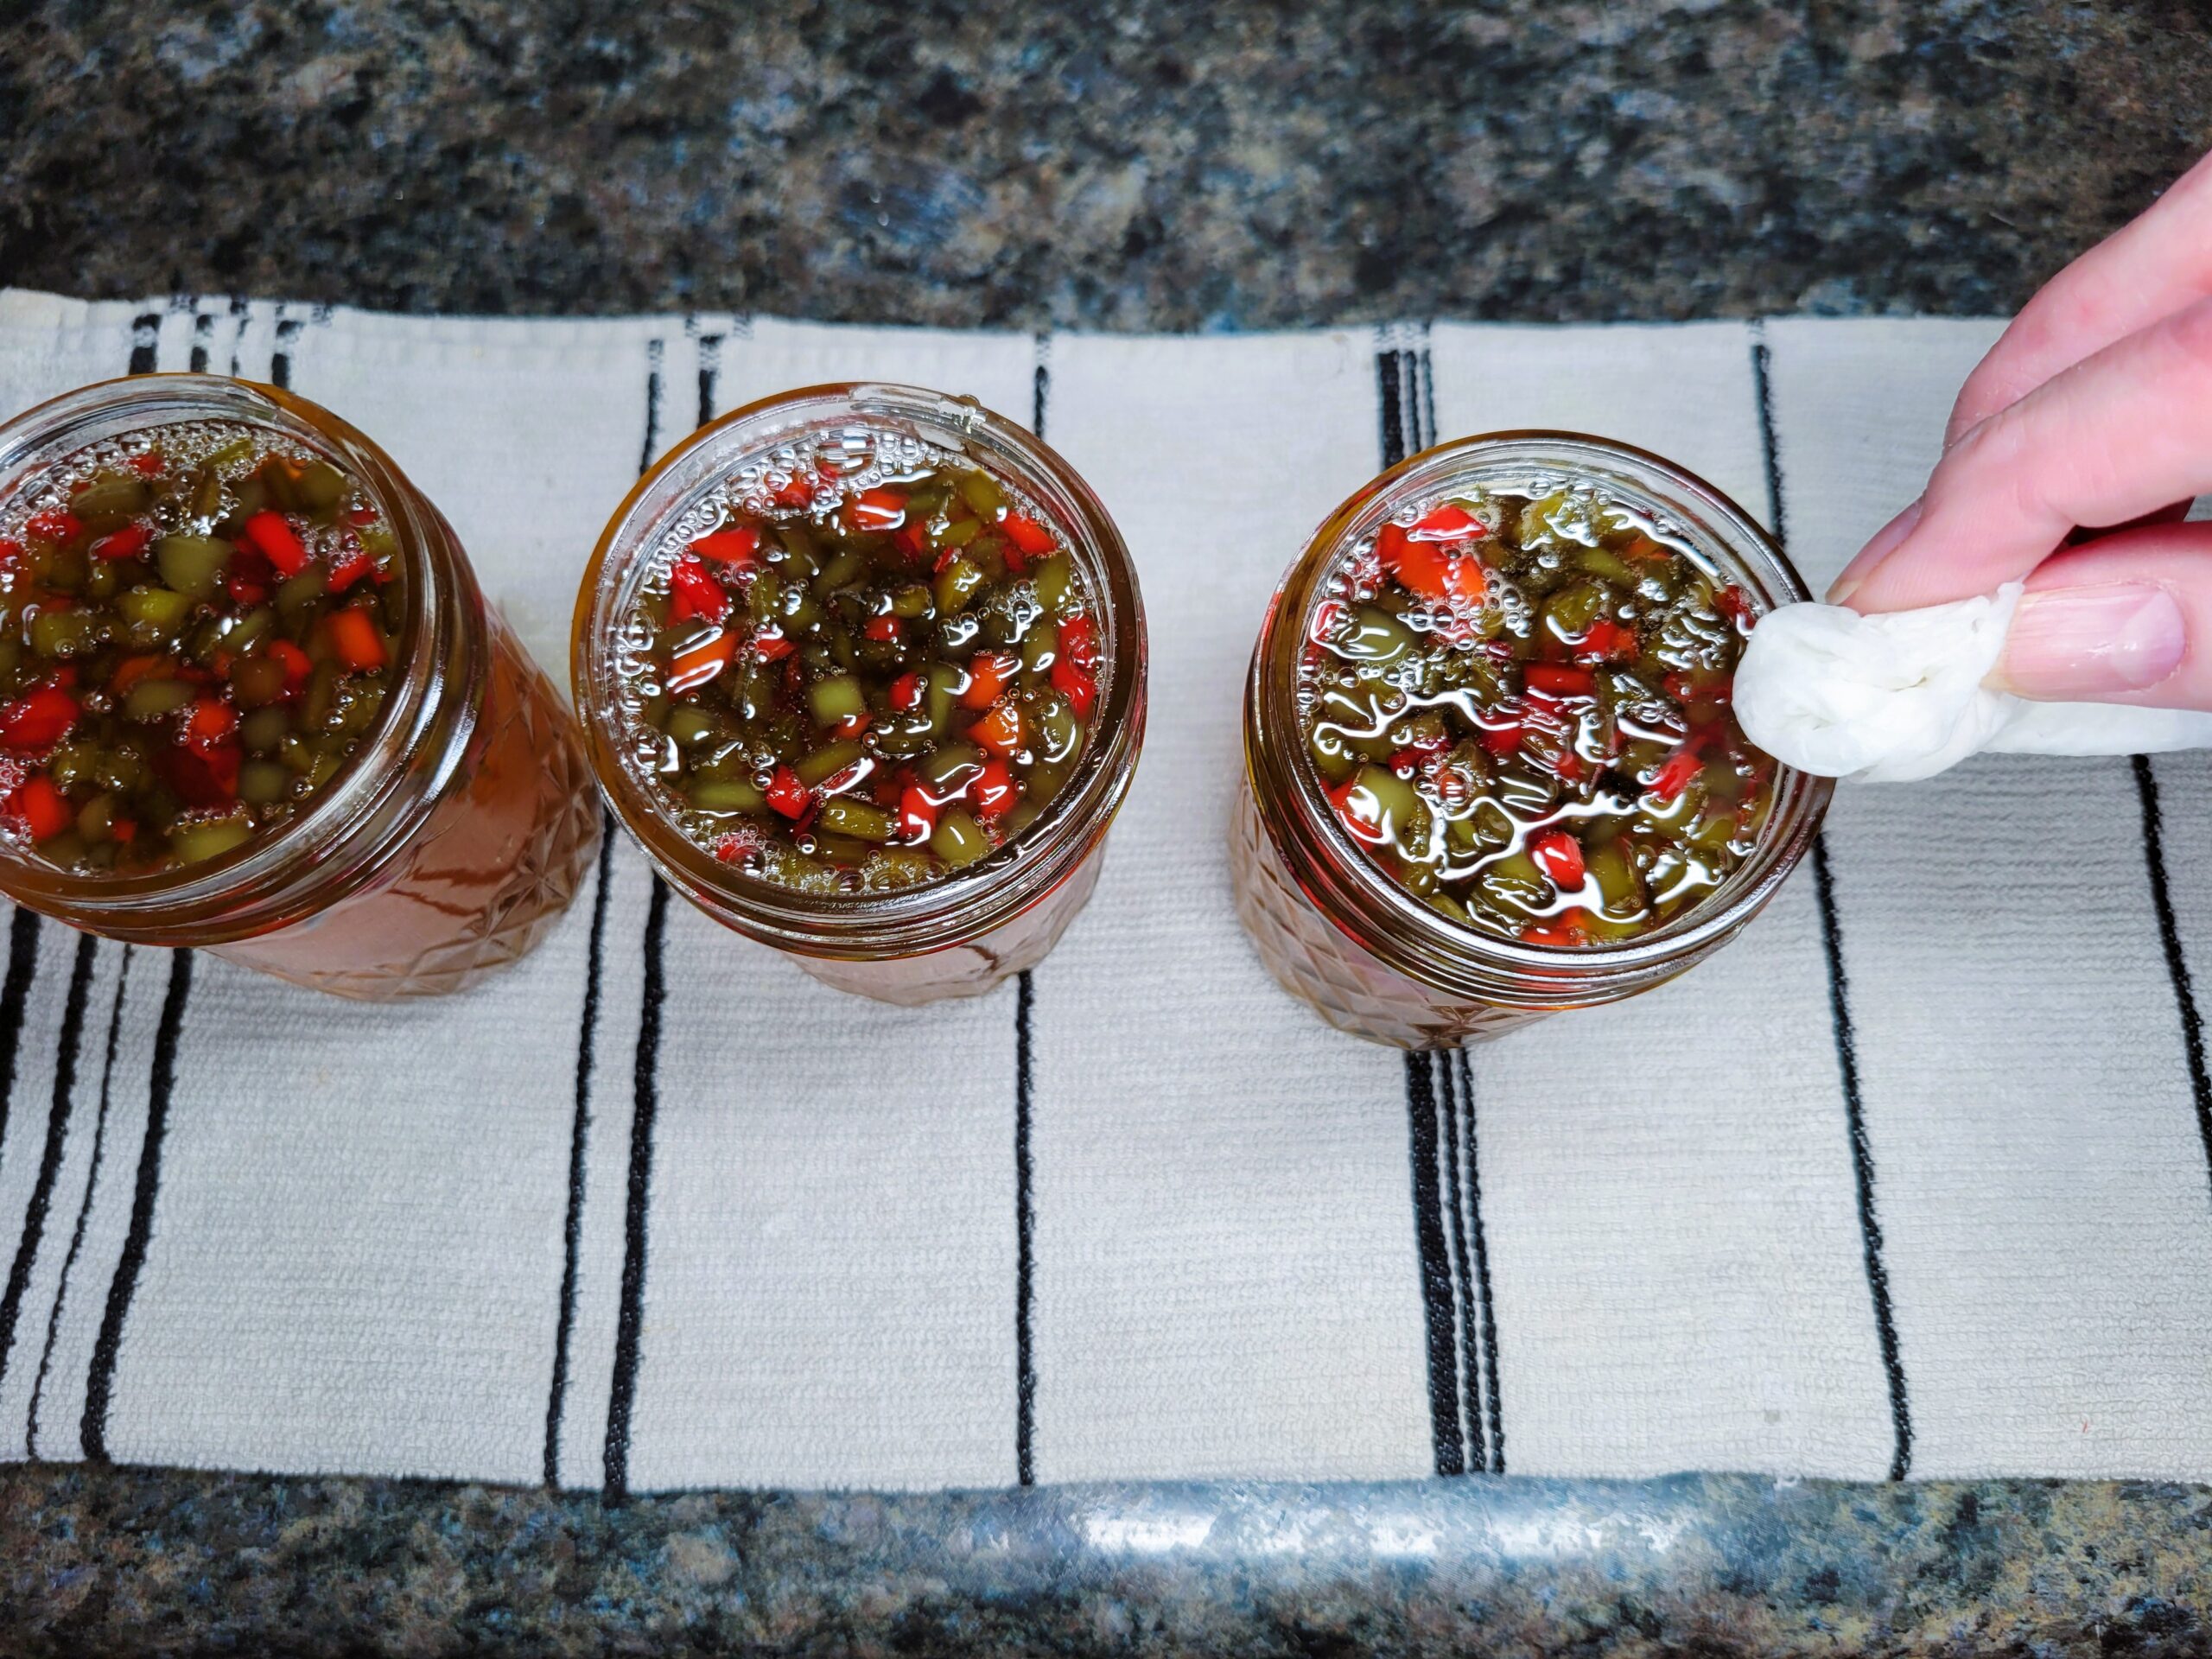
Wipe the rims of the jars with a clean, damp paper towel.
Place the lid and bands on, carefully tightening them with your fingertips.

Carefully lower the jars into the boiling water bath canner, ensuring they are spaced slightly apart from each other and the canner walls. The water should cover the tops of the jars by 1-2 inches. Place the lid on the canner and remember not to start timing until the water is fully boiling and up to temperature. For pints and half-pint jars, process for 5 minutes at elevations of 0-1,000 feet, 10 minutes at elevations of 1,001-6,000 feet, and 15 minutes above 6,000 feet. When the time is up, turn off the heat and, if possible, remove the canner from the heat source. Take off the lid and let the jars sit undisturbed in the water for 5 minutes.
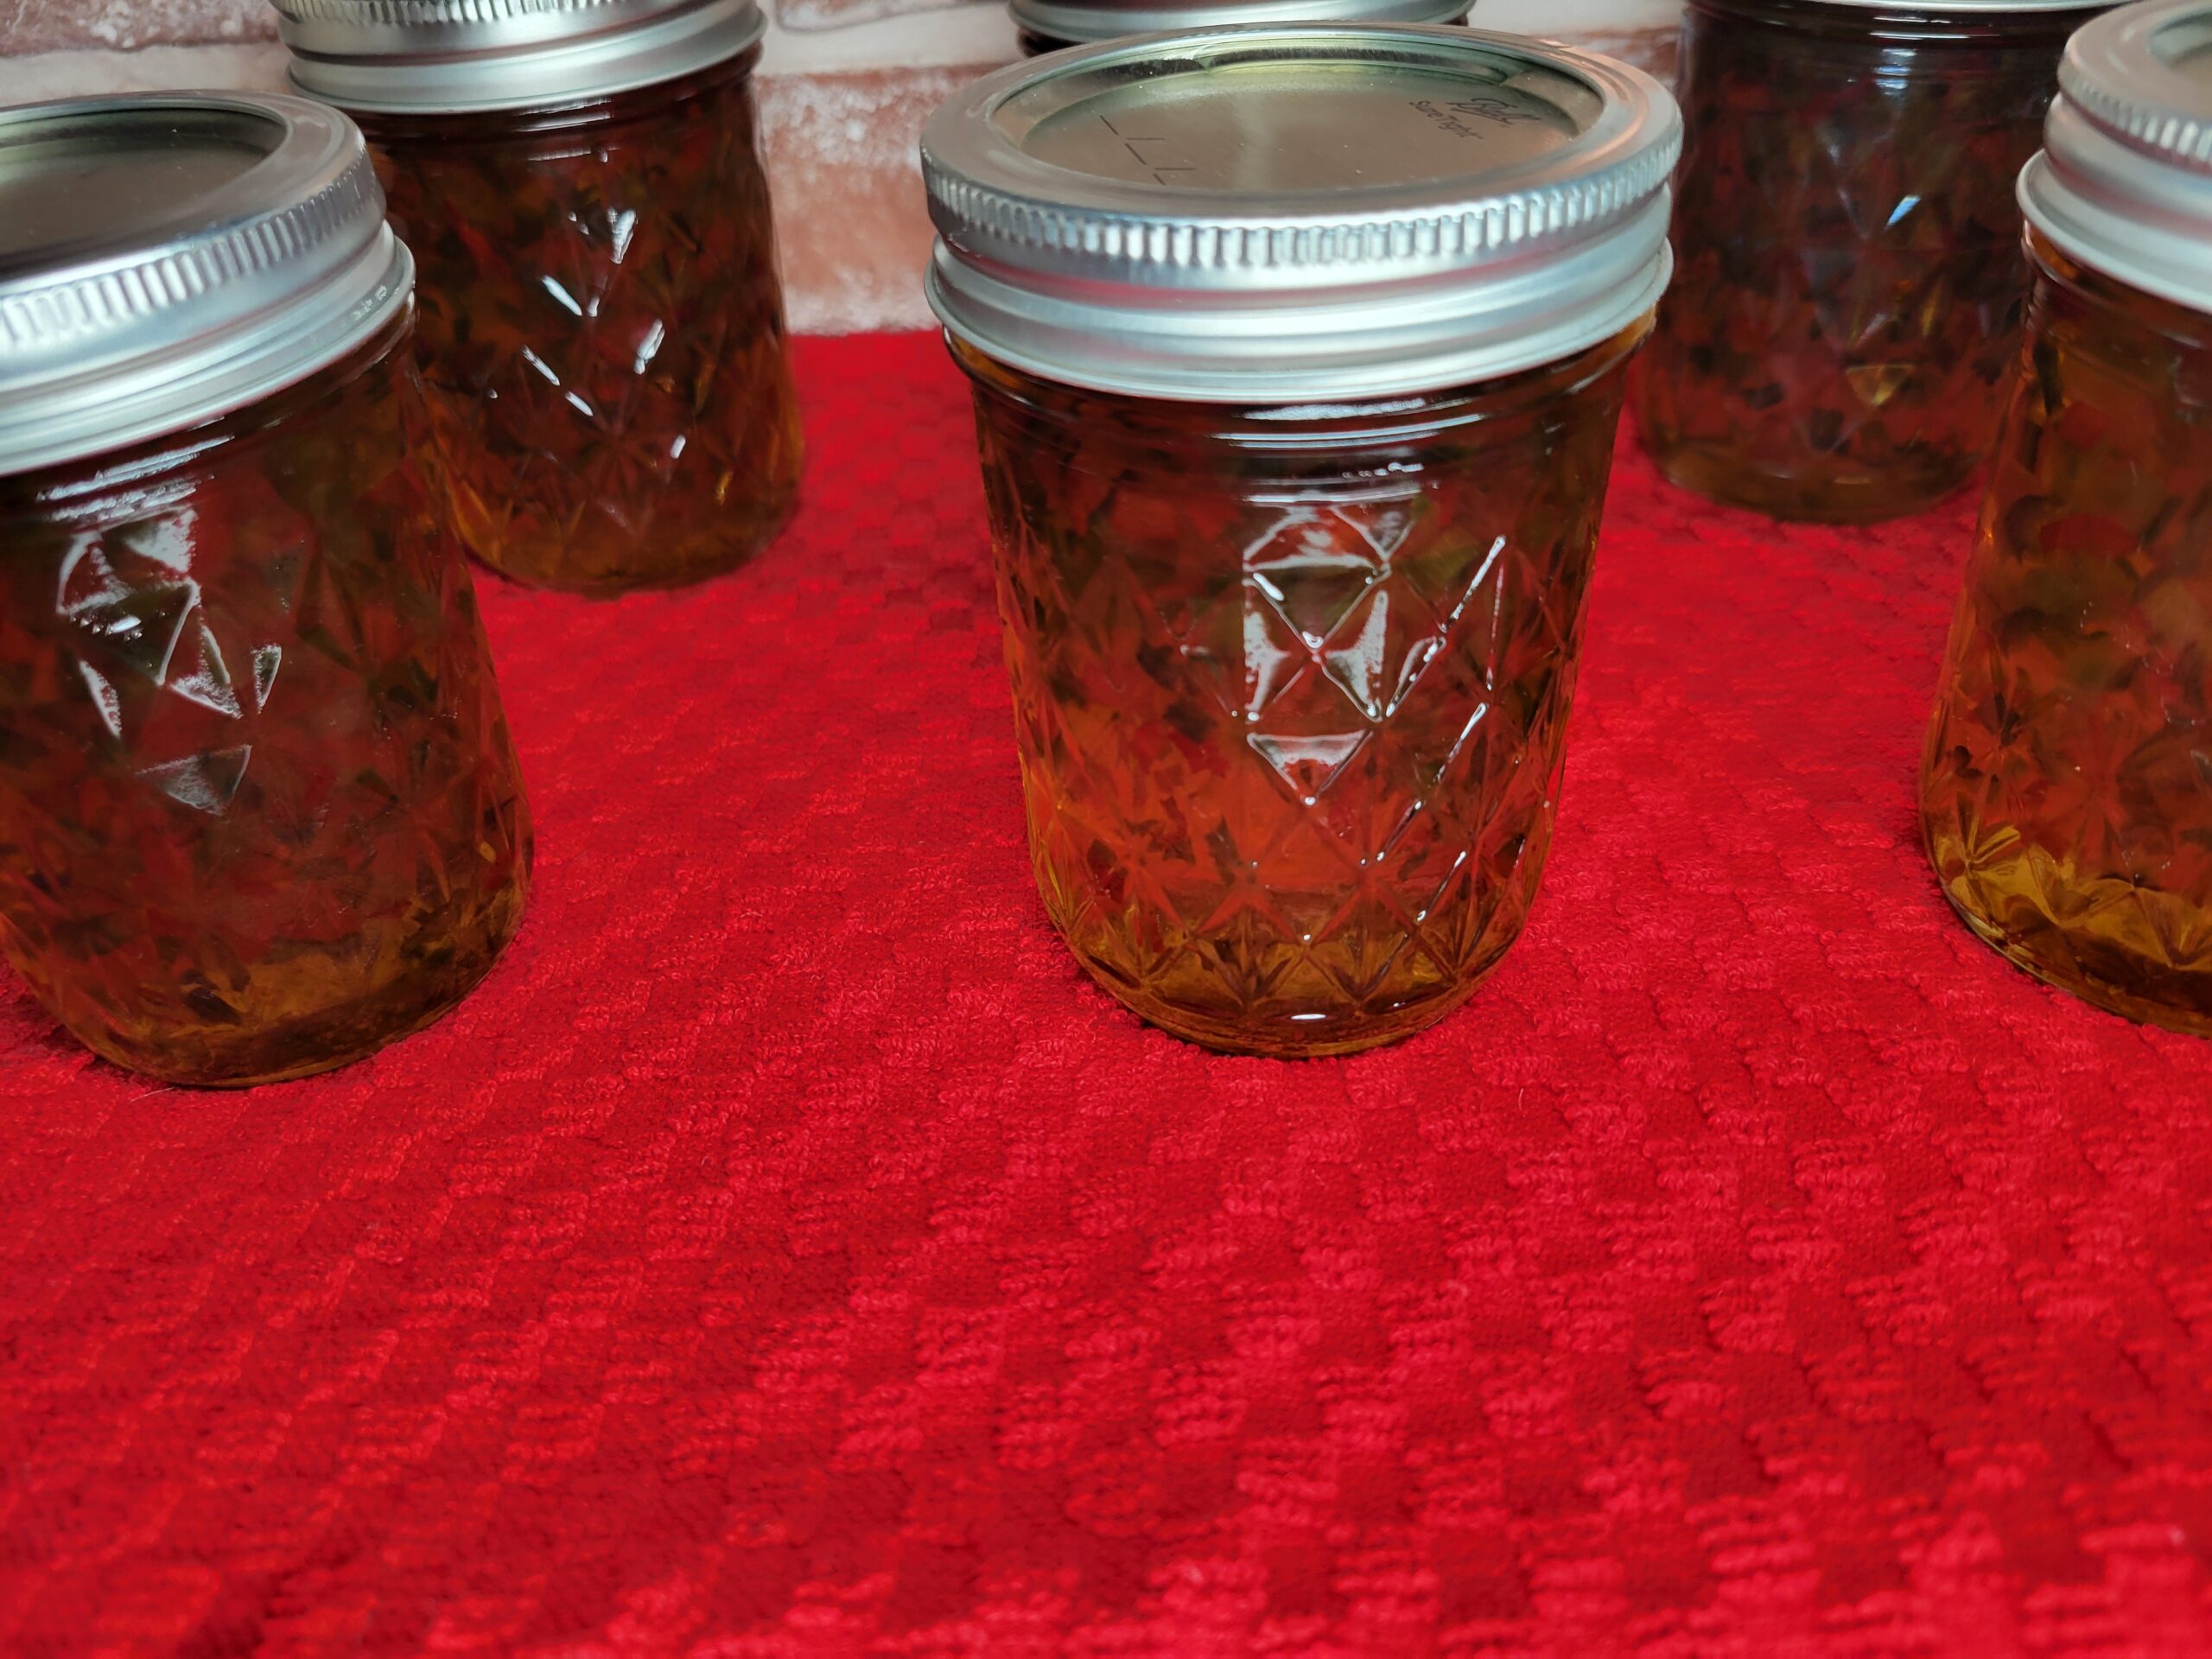
After 5 minutes, carefully remove jars from the water bath and place on a kitchen towel-lined countertop. Some jars can take hours to seal; however, most will seal within 30 minutes from being removed from the canner, and some may even seal during the water bath canning process. Leave the jars undisturbed for at least 12 hours. Ensure that all jars are sealed by inspecting the tops, as they should be sucked in. If any jars don't seal, refrigerate them. Wipe the jars with a damp towel. Write the contents and date on the sealed jars and store in a cool, dry place for up to 18 months.
Enjoy!
Conclusion
Kitchen Tools :Need some tools or ingredients to make this recipe? Use my Amazon Affiliate links to shop. I will make a small commission and it doesn't cost you any extra. Thank you for visiting.
Tam Jalapeno Pepper Seeds Mirasol/Guajillo Pepper Seeds Chilaca/Pasilla Pepper Seeds Big Jim Legacy Hatch Variety Seeds Sow Right Seeds - Anaheim Pepper Seeds Sow Right Seeds - Poblano Pepper Seeds Certo Premium Liquid Fruit Pectin XL Composite Wood Cutting Board Mosser Jade 3 Piece Mixing Bowl Set Presto 23-Quart Induction Pressure Canner Canning Starter Set Stainless Steel SAE Metric Ruler Set
Leave a Review