

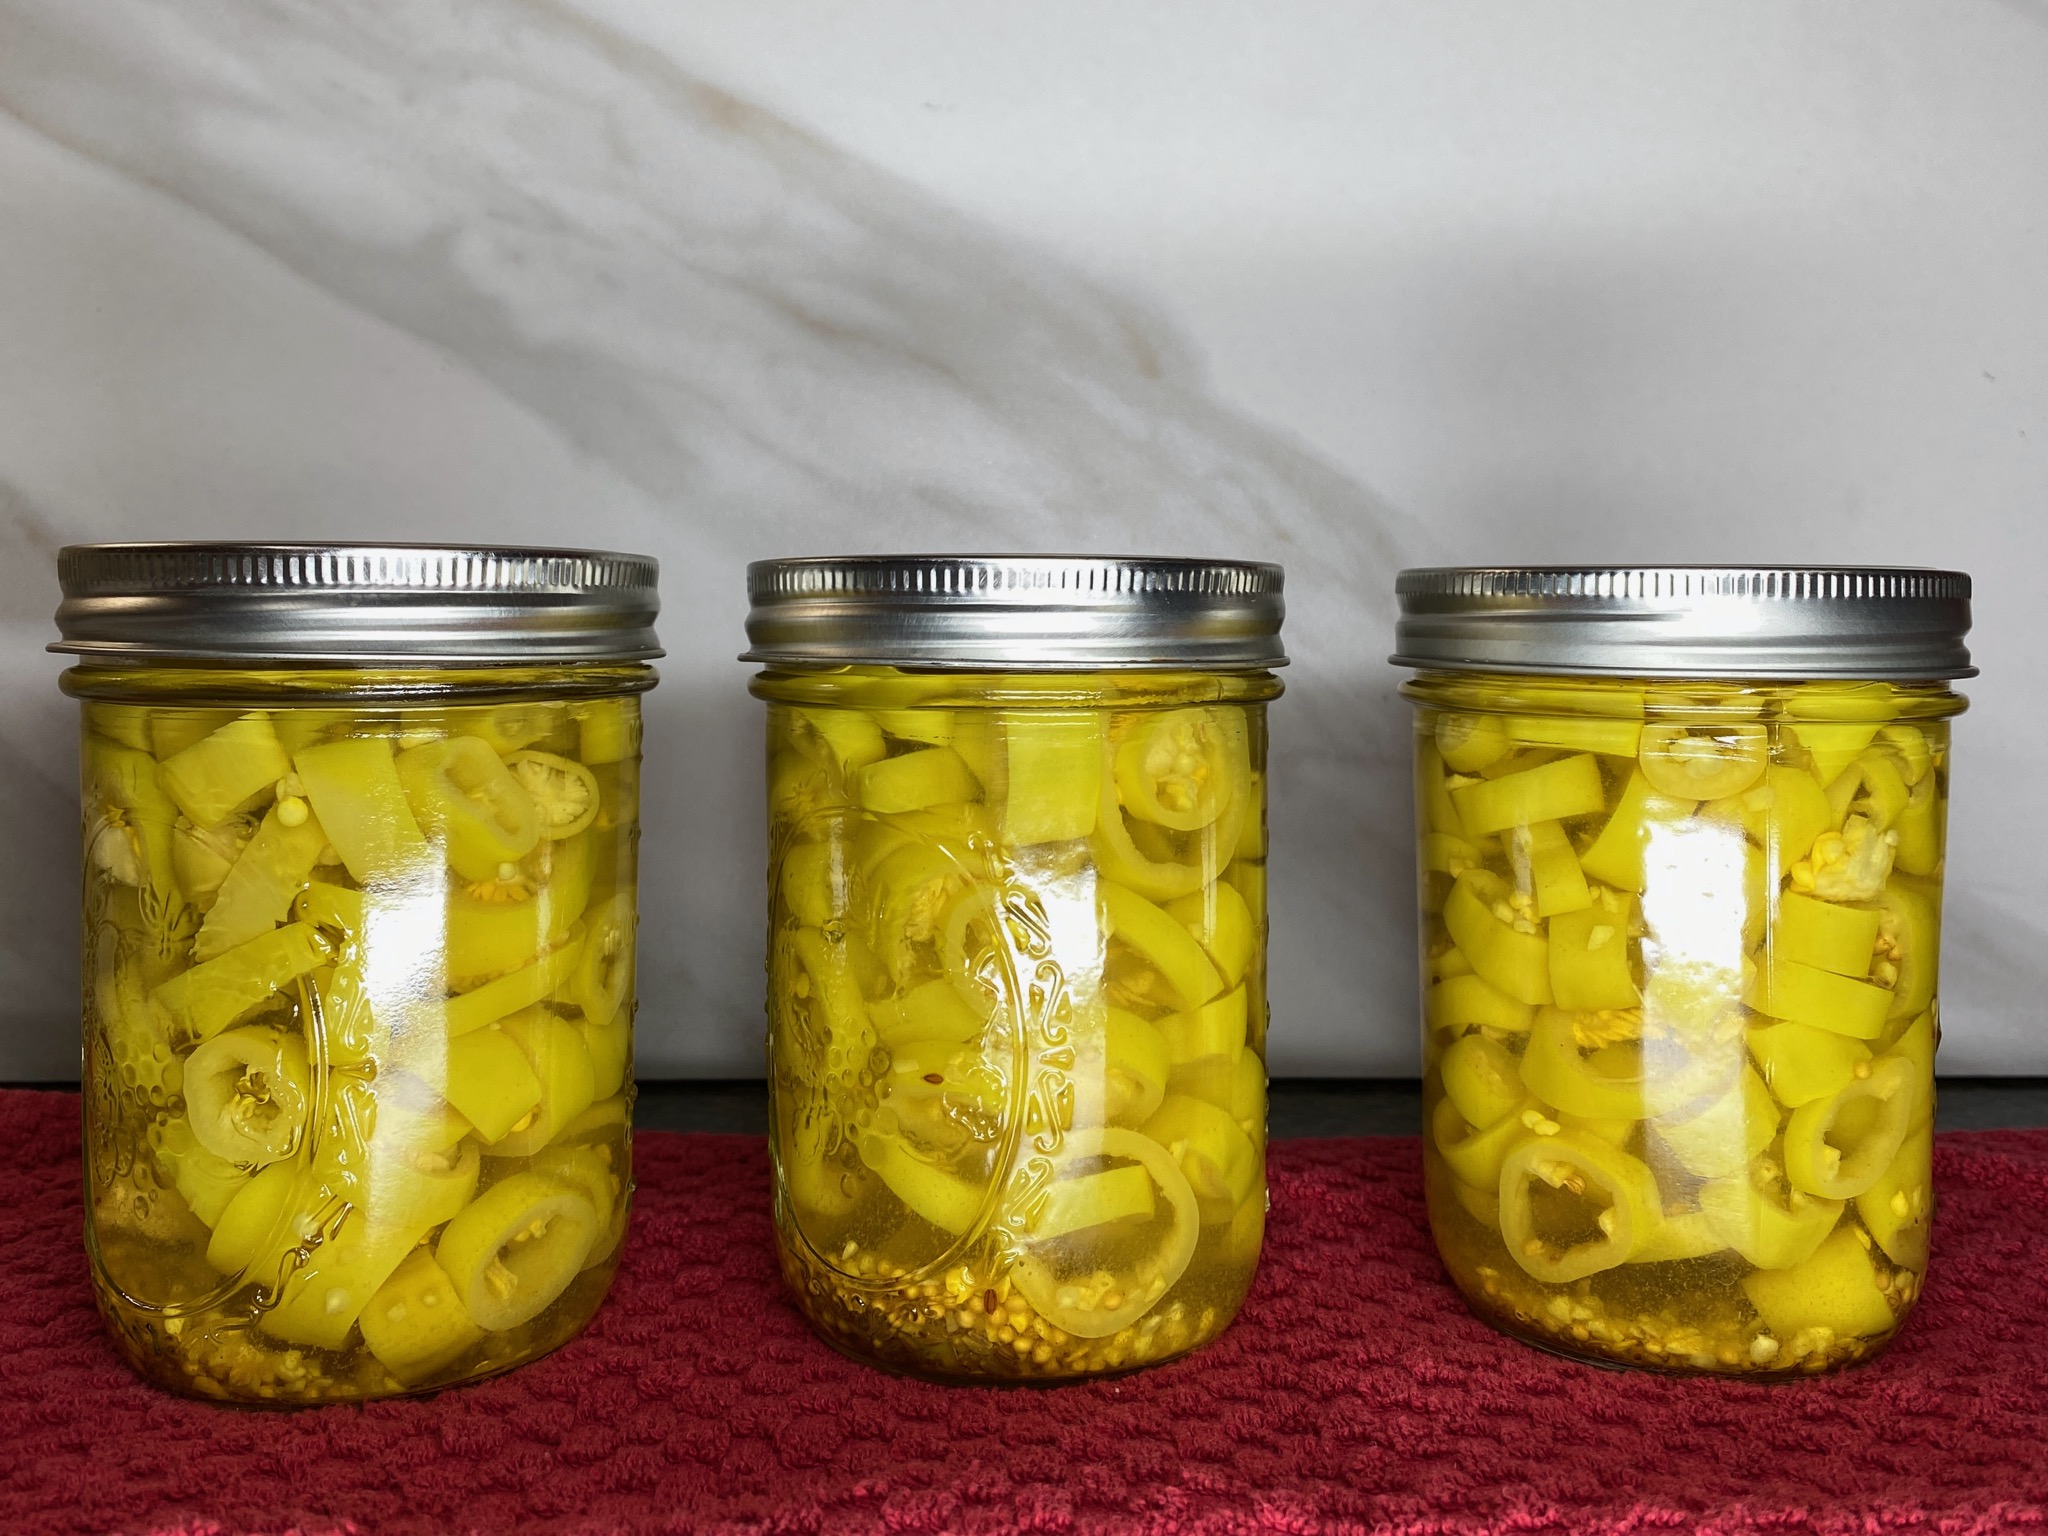
-
Prep Time30 minutes
-
Cook Time20 minutes plus canning time
-
Serv SizeYield 3 Pint Jars
Pickled banana peppers have a mild, zesty flavor that pairs excellently with sandwiches, burgers, wraps, Italian pasta salads, pizzas, cheese & crackers, & much more!
Ingredients
Directions
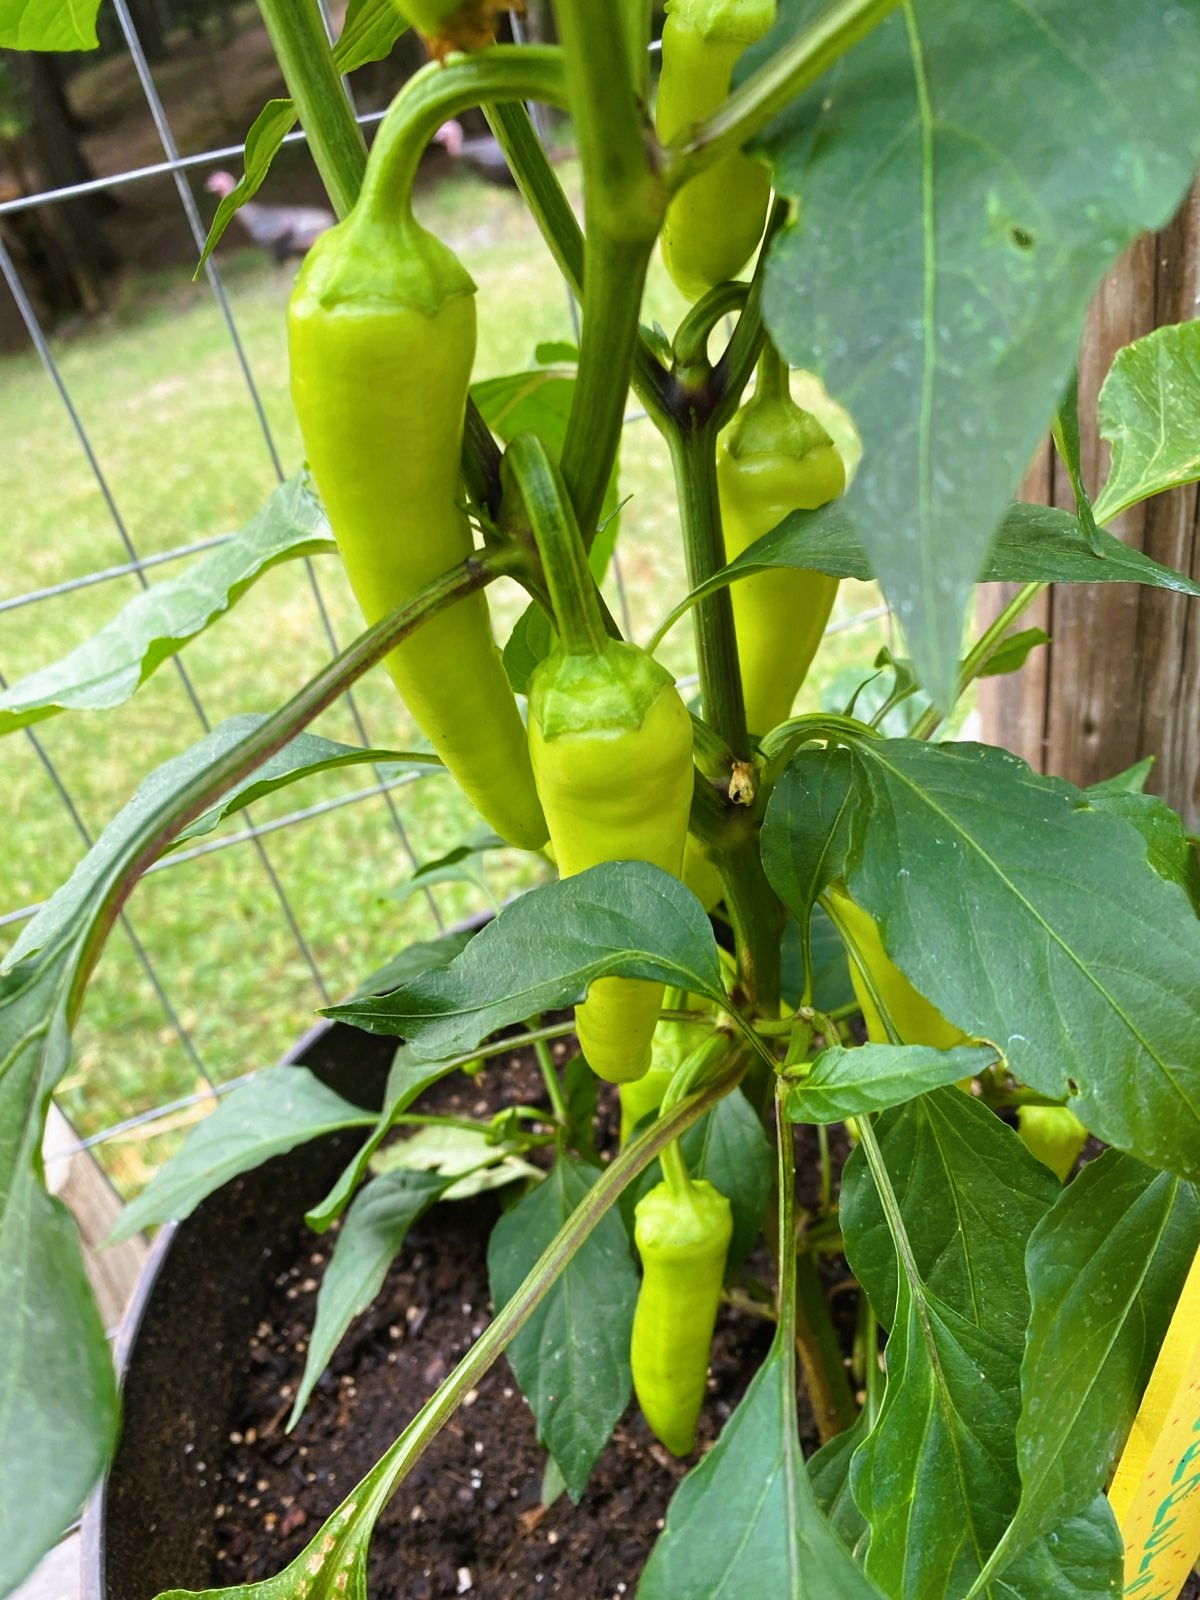
This recipe yields three pints of mild, tangy pickled banana peppers with step‑by‑step water bath canning instructions. If you prefer a quick refrigerator version, simply follow steps 3–7, cool, and store in the fridge for crisp, ready‑to‑eat peppers. Banana peppers are a mild and delicious variety, perfect for sandwiches, salads, or enjoying straight from the jar — and we love growing, pickling, and canning them alongside other peppers from the garden.
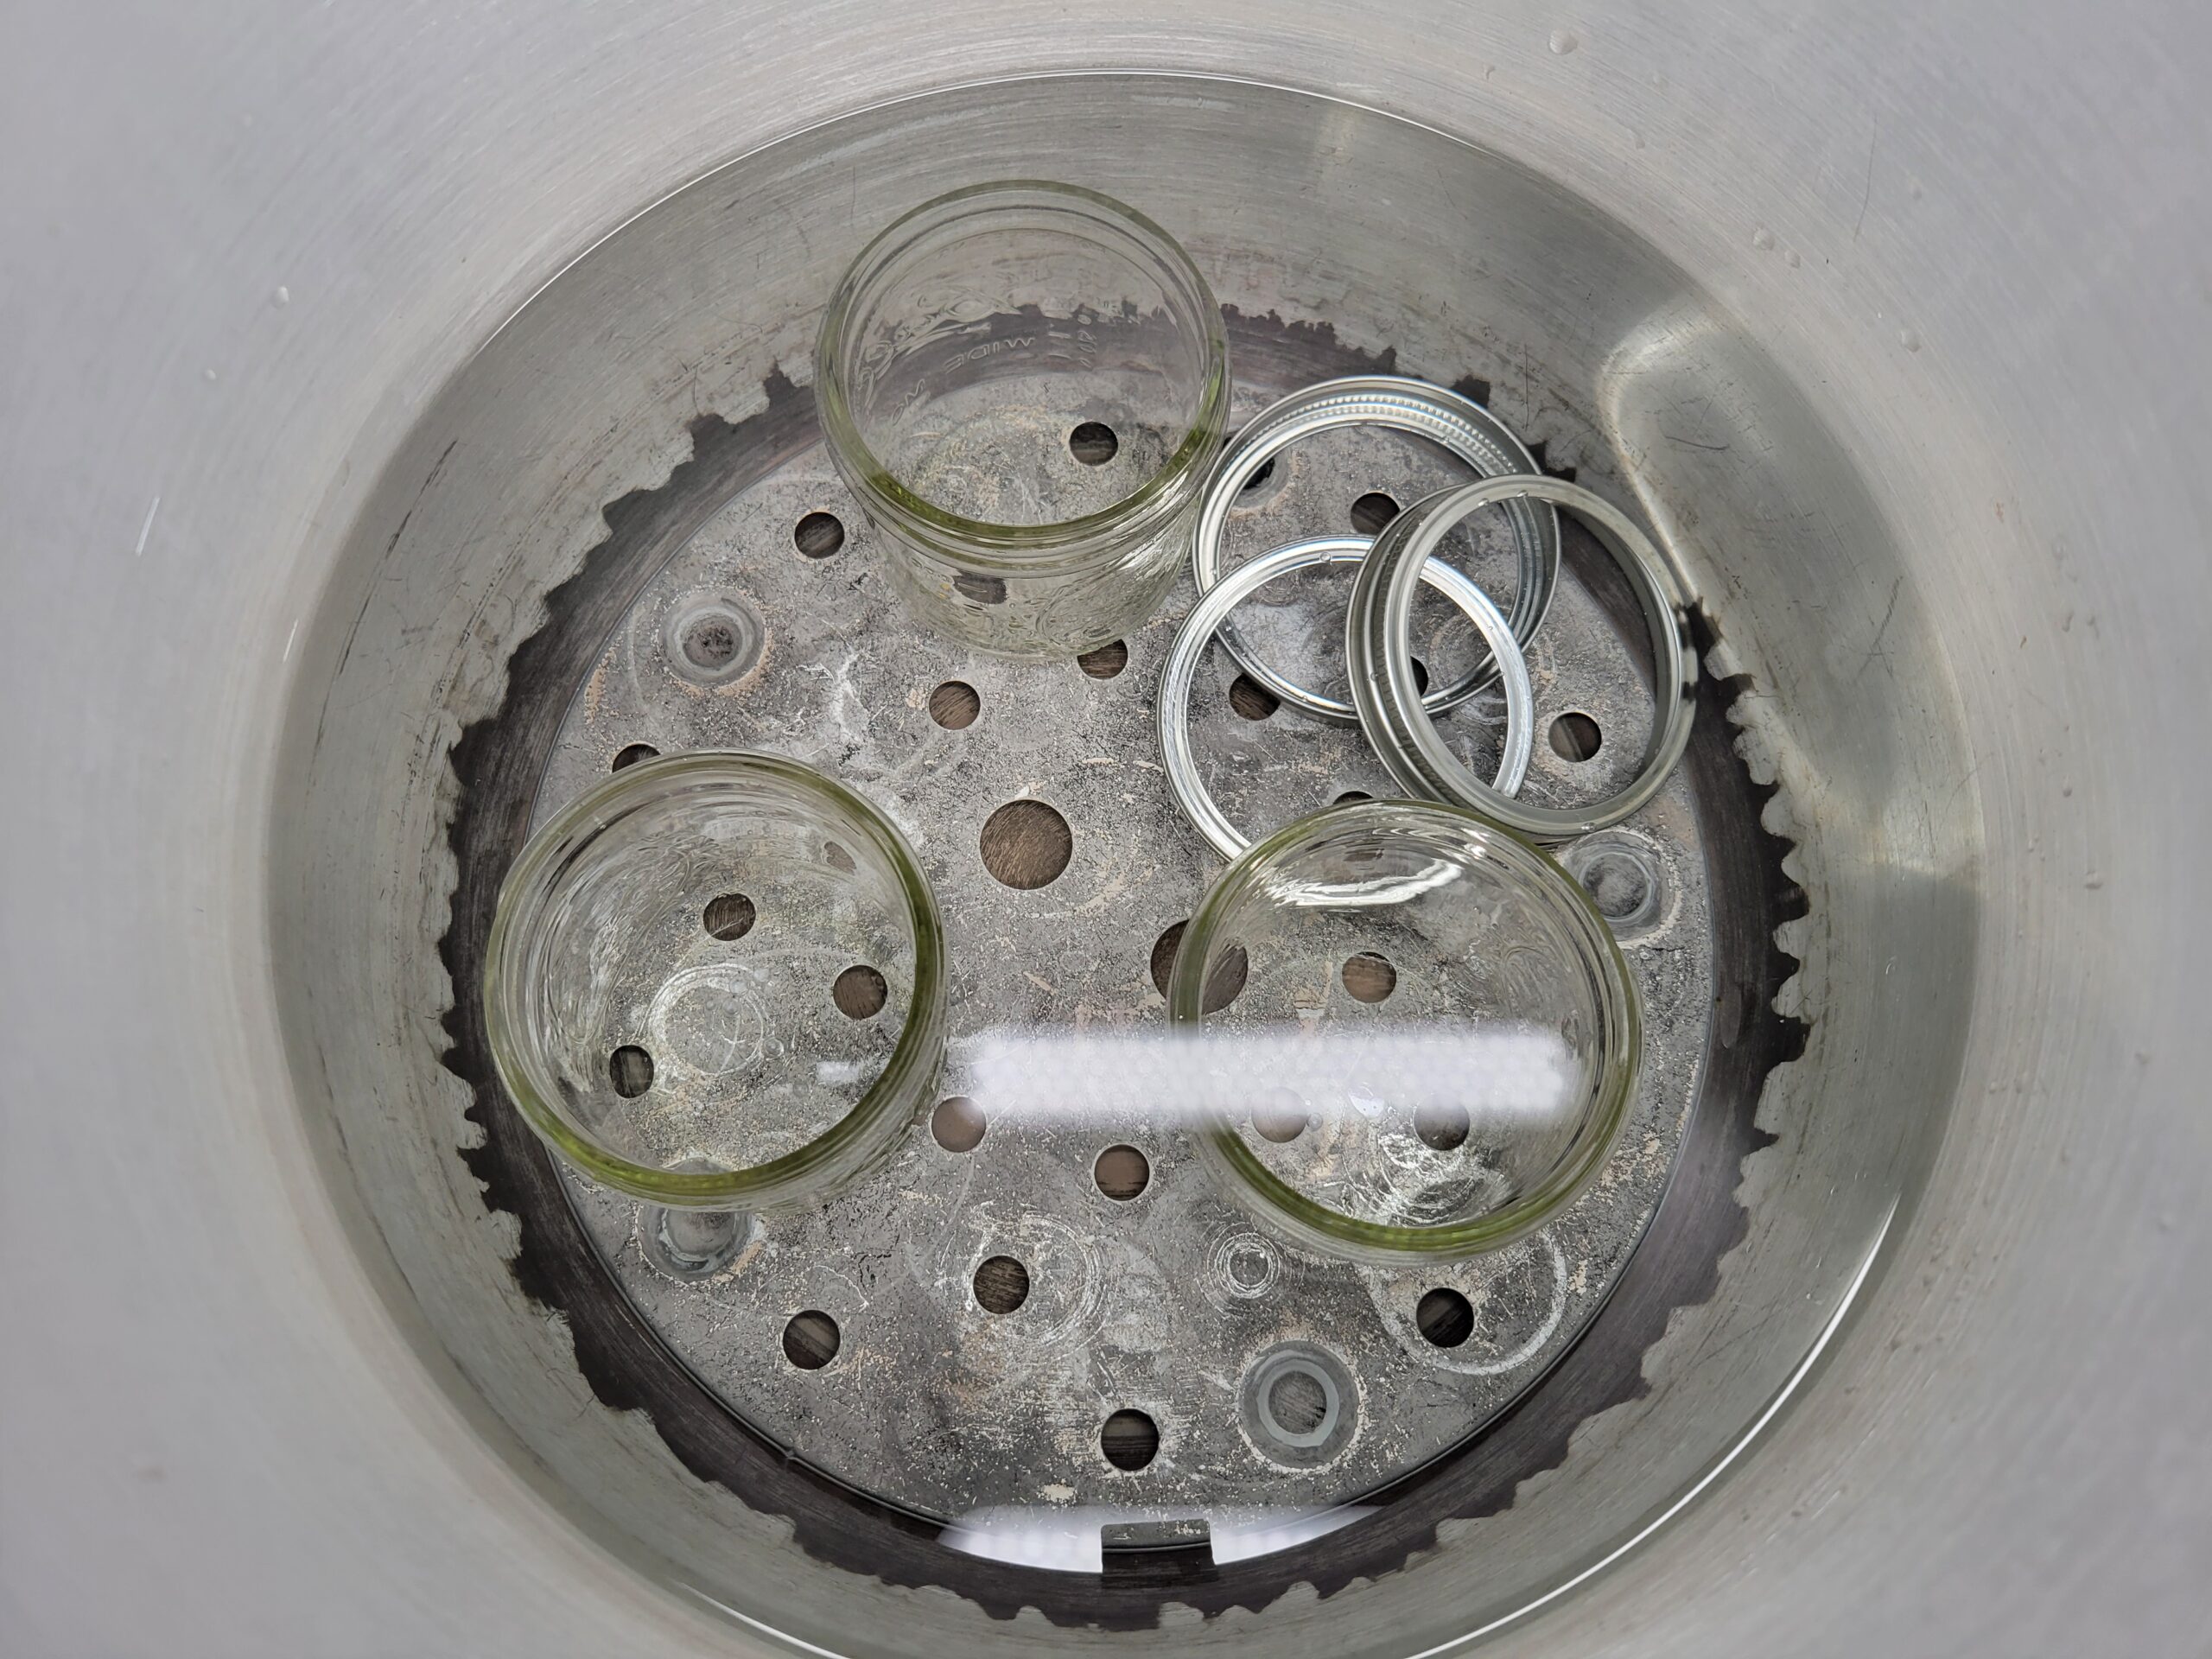
Wash the jars, lids, and bands in warm, soapy water and rinse well. Place the jars right side up in a boiling‑water canner fitted with a canning rack. Do not boil lids. Add warm water until it covers the jars by about 1 inch. Bring the water to a boil and boil the jars for 10 minutes if you are below 1,000 feet elevation; add 1 minute of boiling time for every additional 1,000 feet. Reduce the heat and keep the jars hot until you’re ready to fill them.
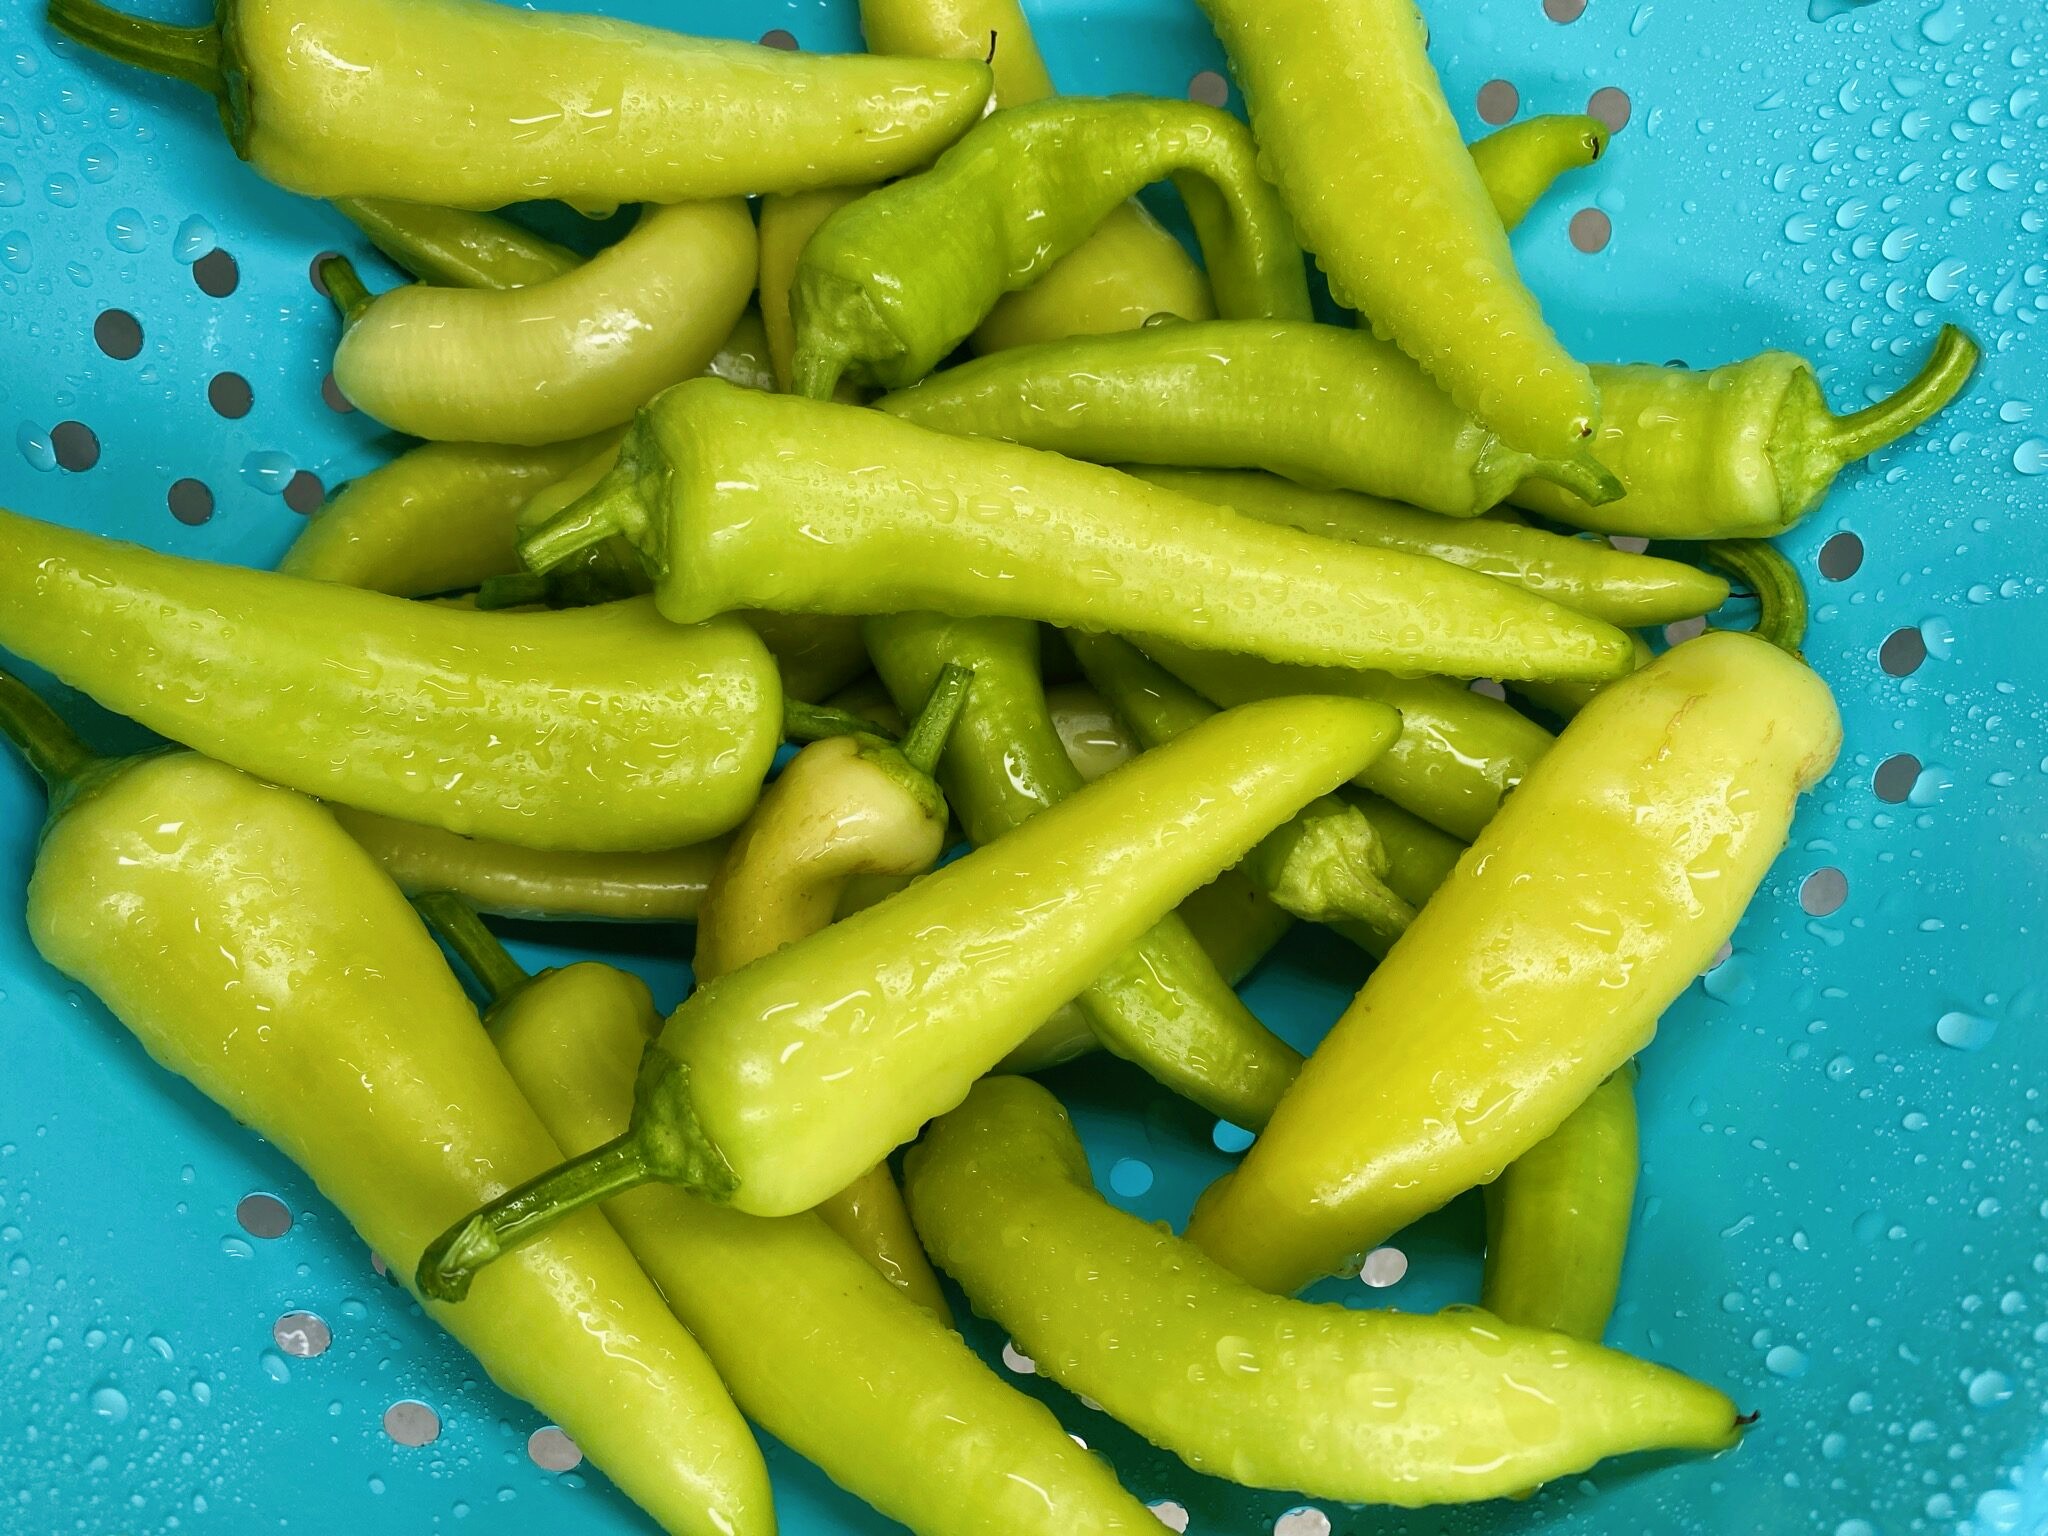
Wash banana peppers.
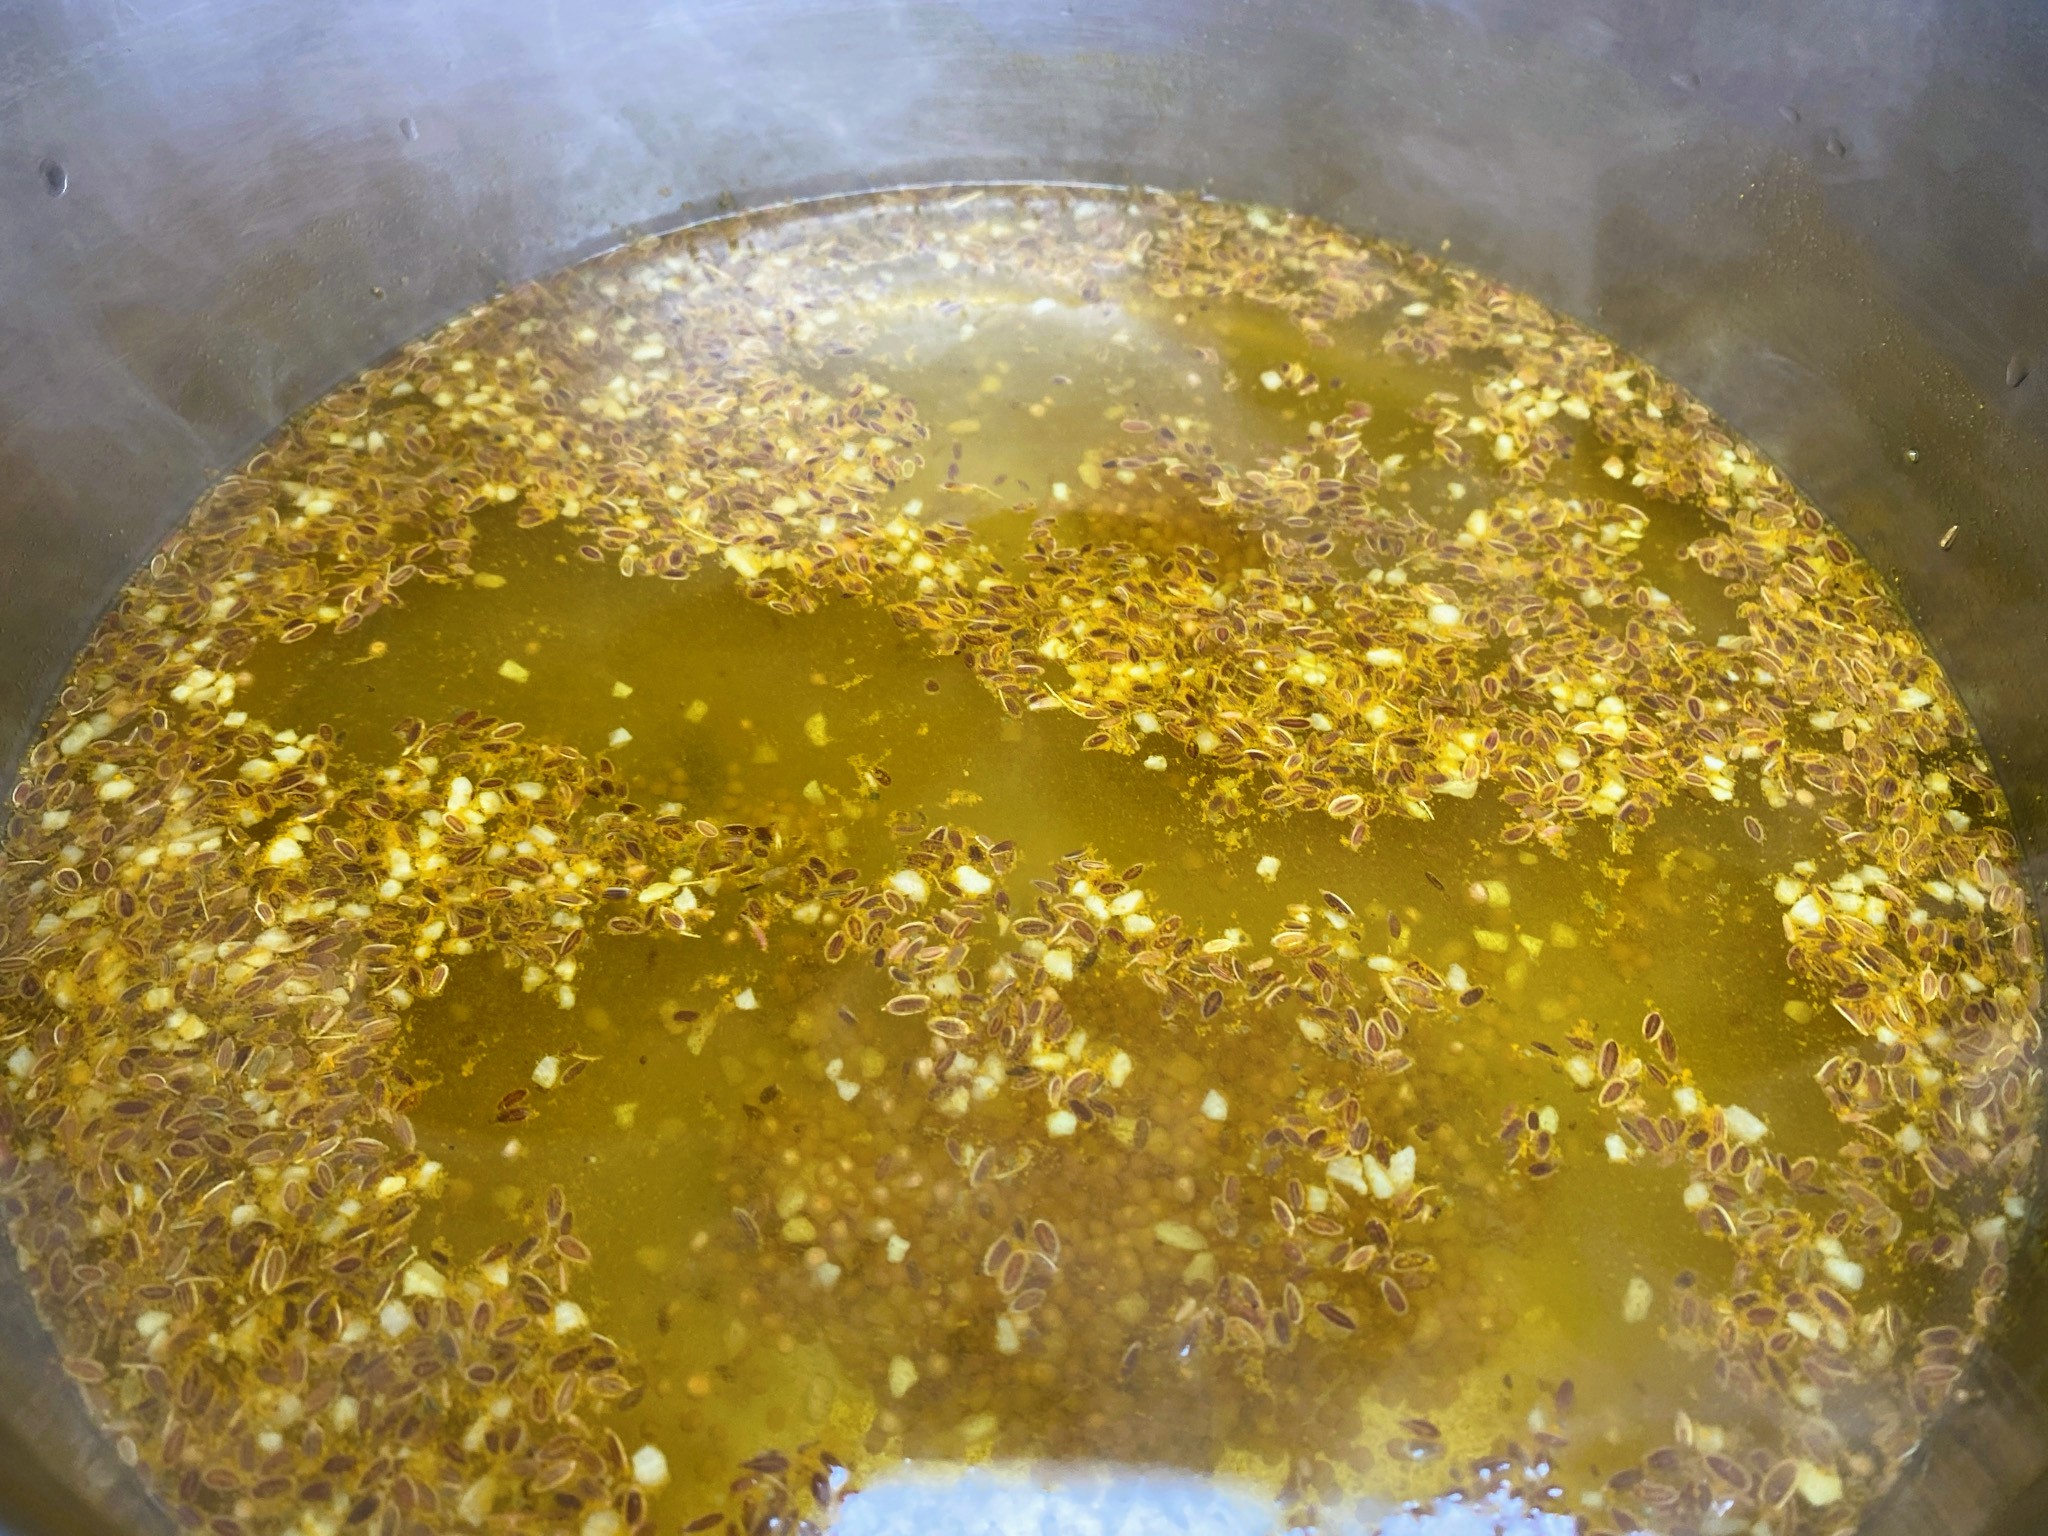
In a large stainless‑steel pot, combine 4 cups of white vinegar (5%), ¼ teaspoon turmeric, 1 tablespoon minced garlic, ½ tablespoon mustard seed, ½ tablespoon dill seed, 1 tablespoon granulated sugar, ¼ teaspoon celery seed, and 1 teaspoon pickling salt. Bring the mixture to a boil, then reduce to a gentle simmer and cook for 10 minutes to allow the flavors to fully infuse before pouring over the peppers.
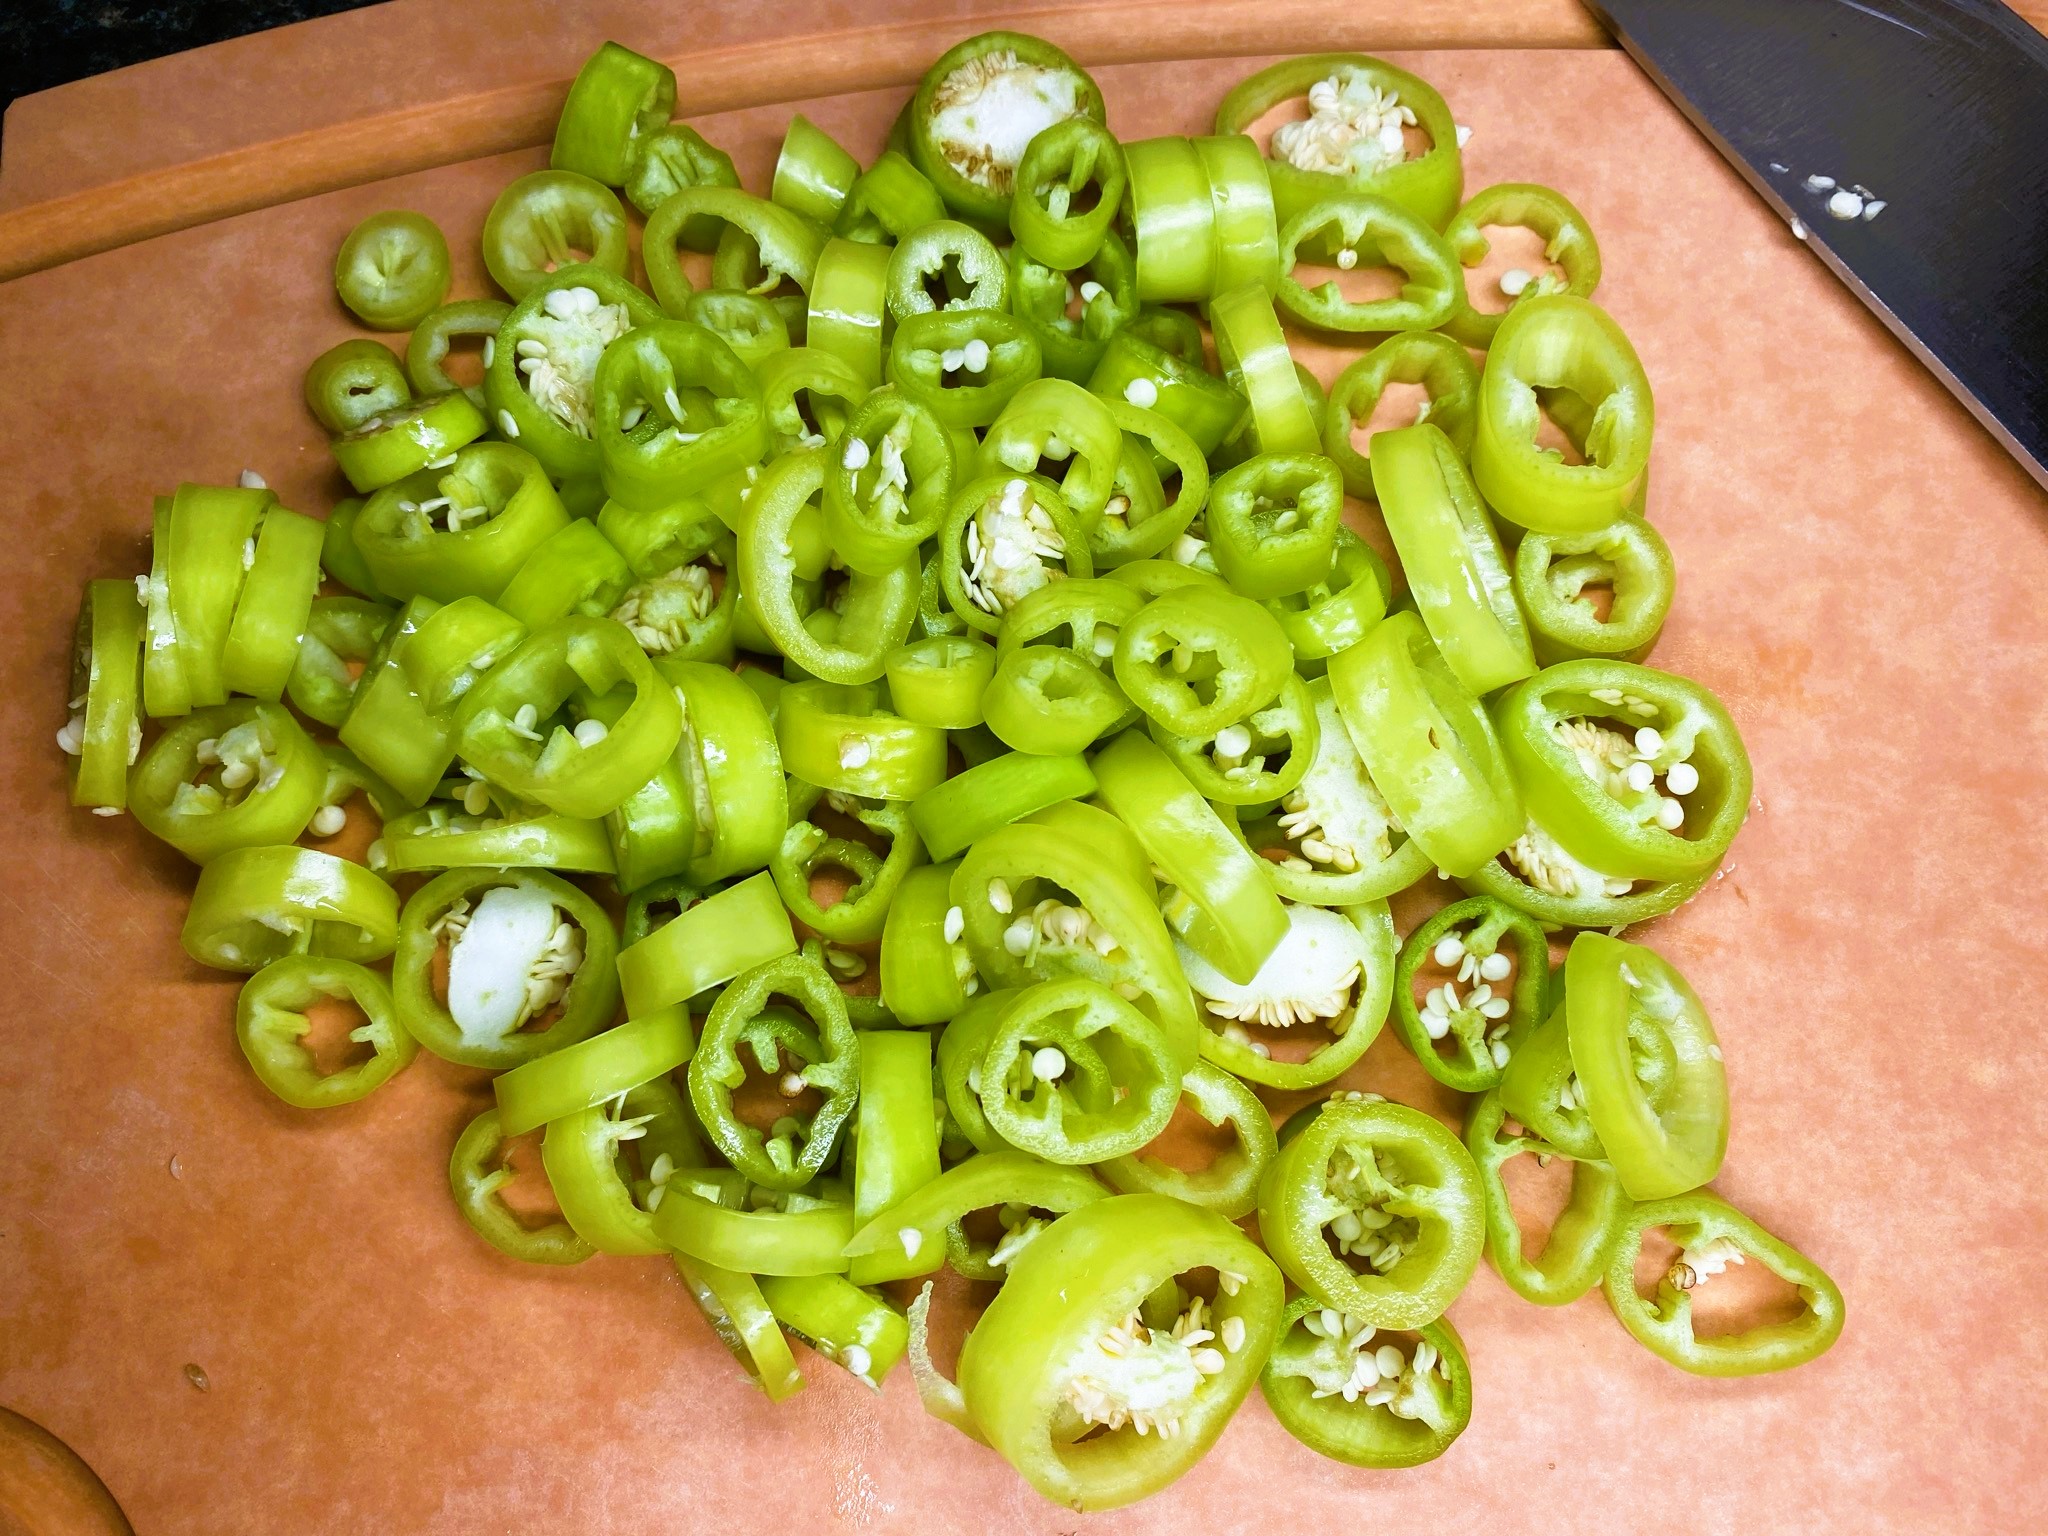
Slice banana peppers into 1/4-1/2-inch rounds.
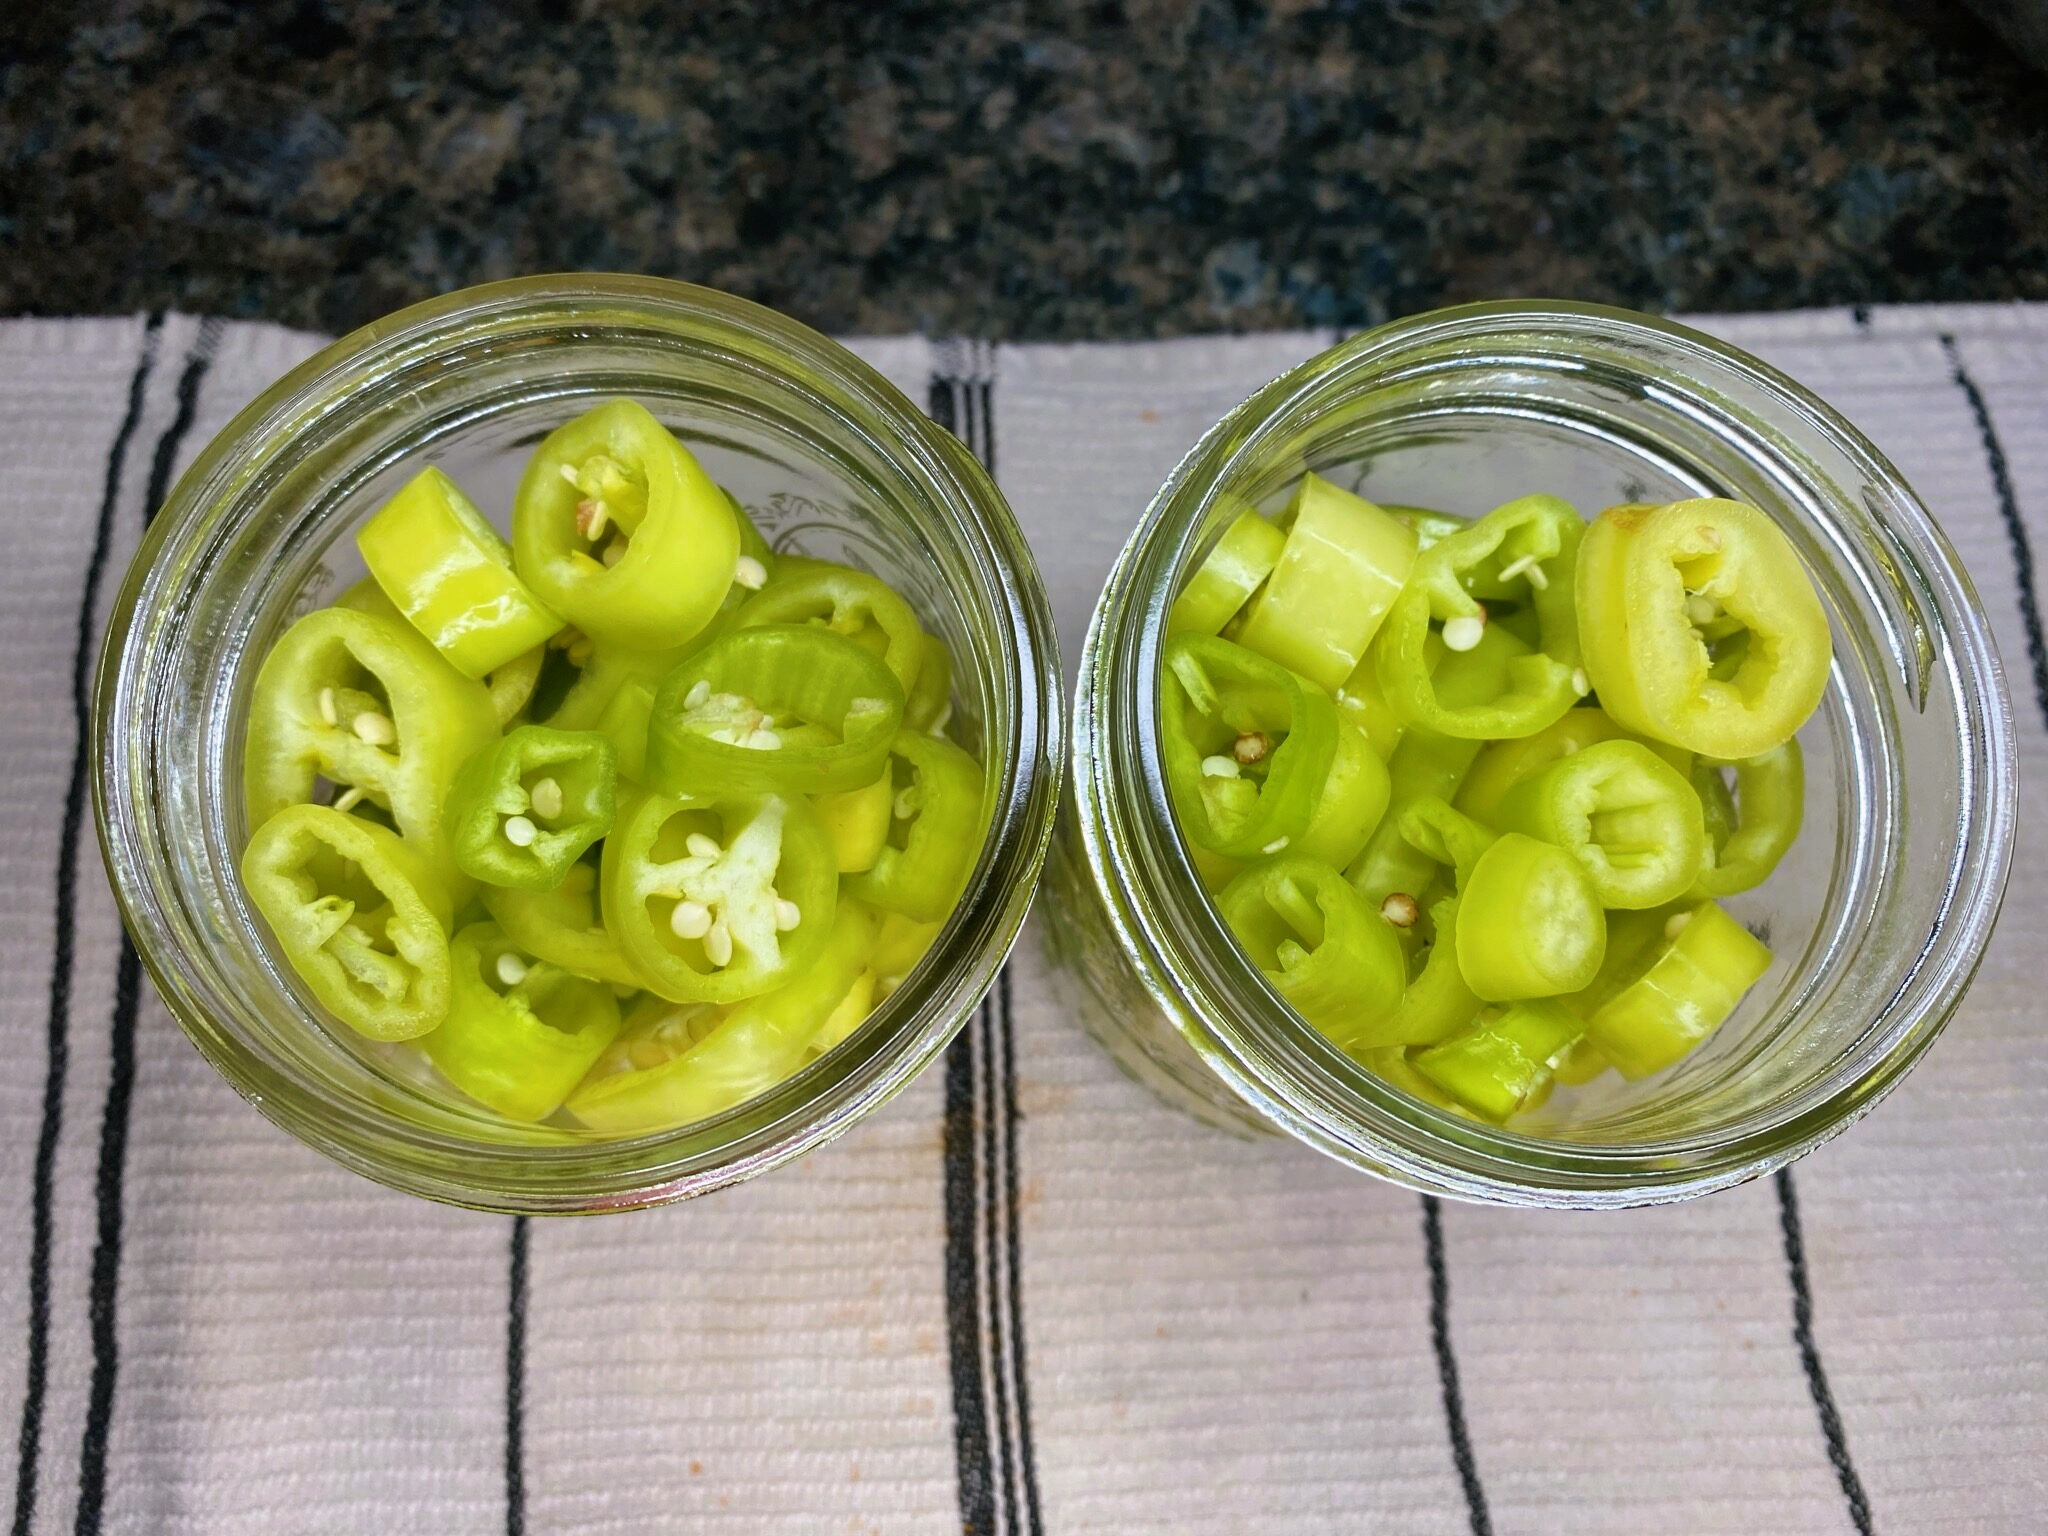
Fill hot jars with freshly sliced banana peppers.
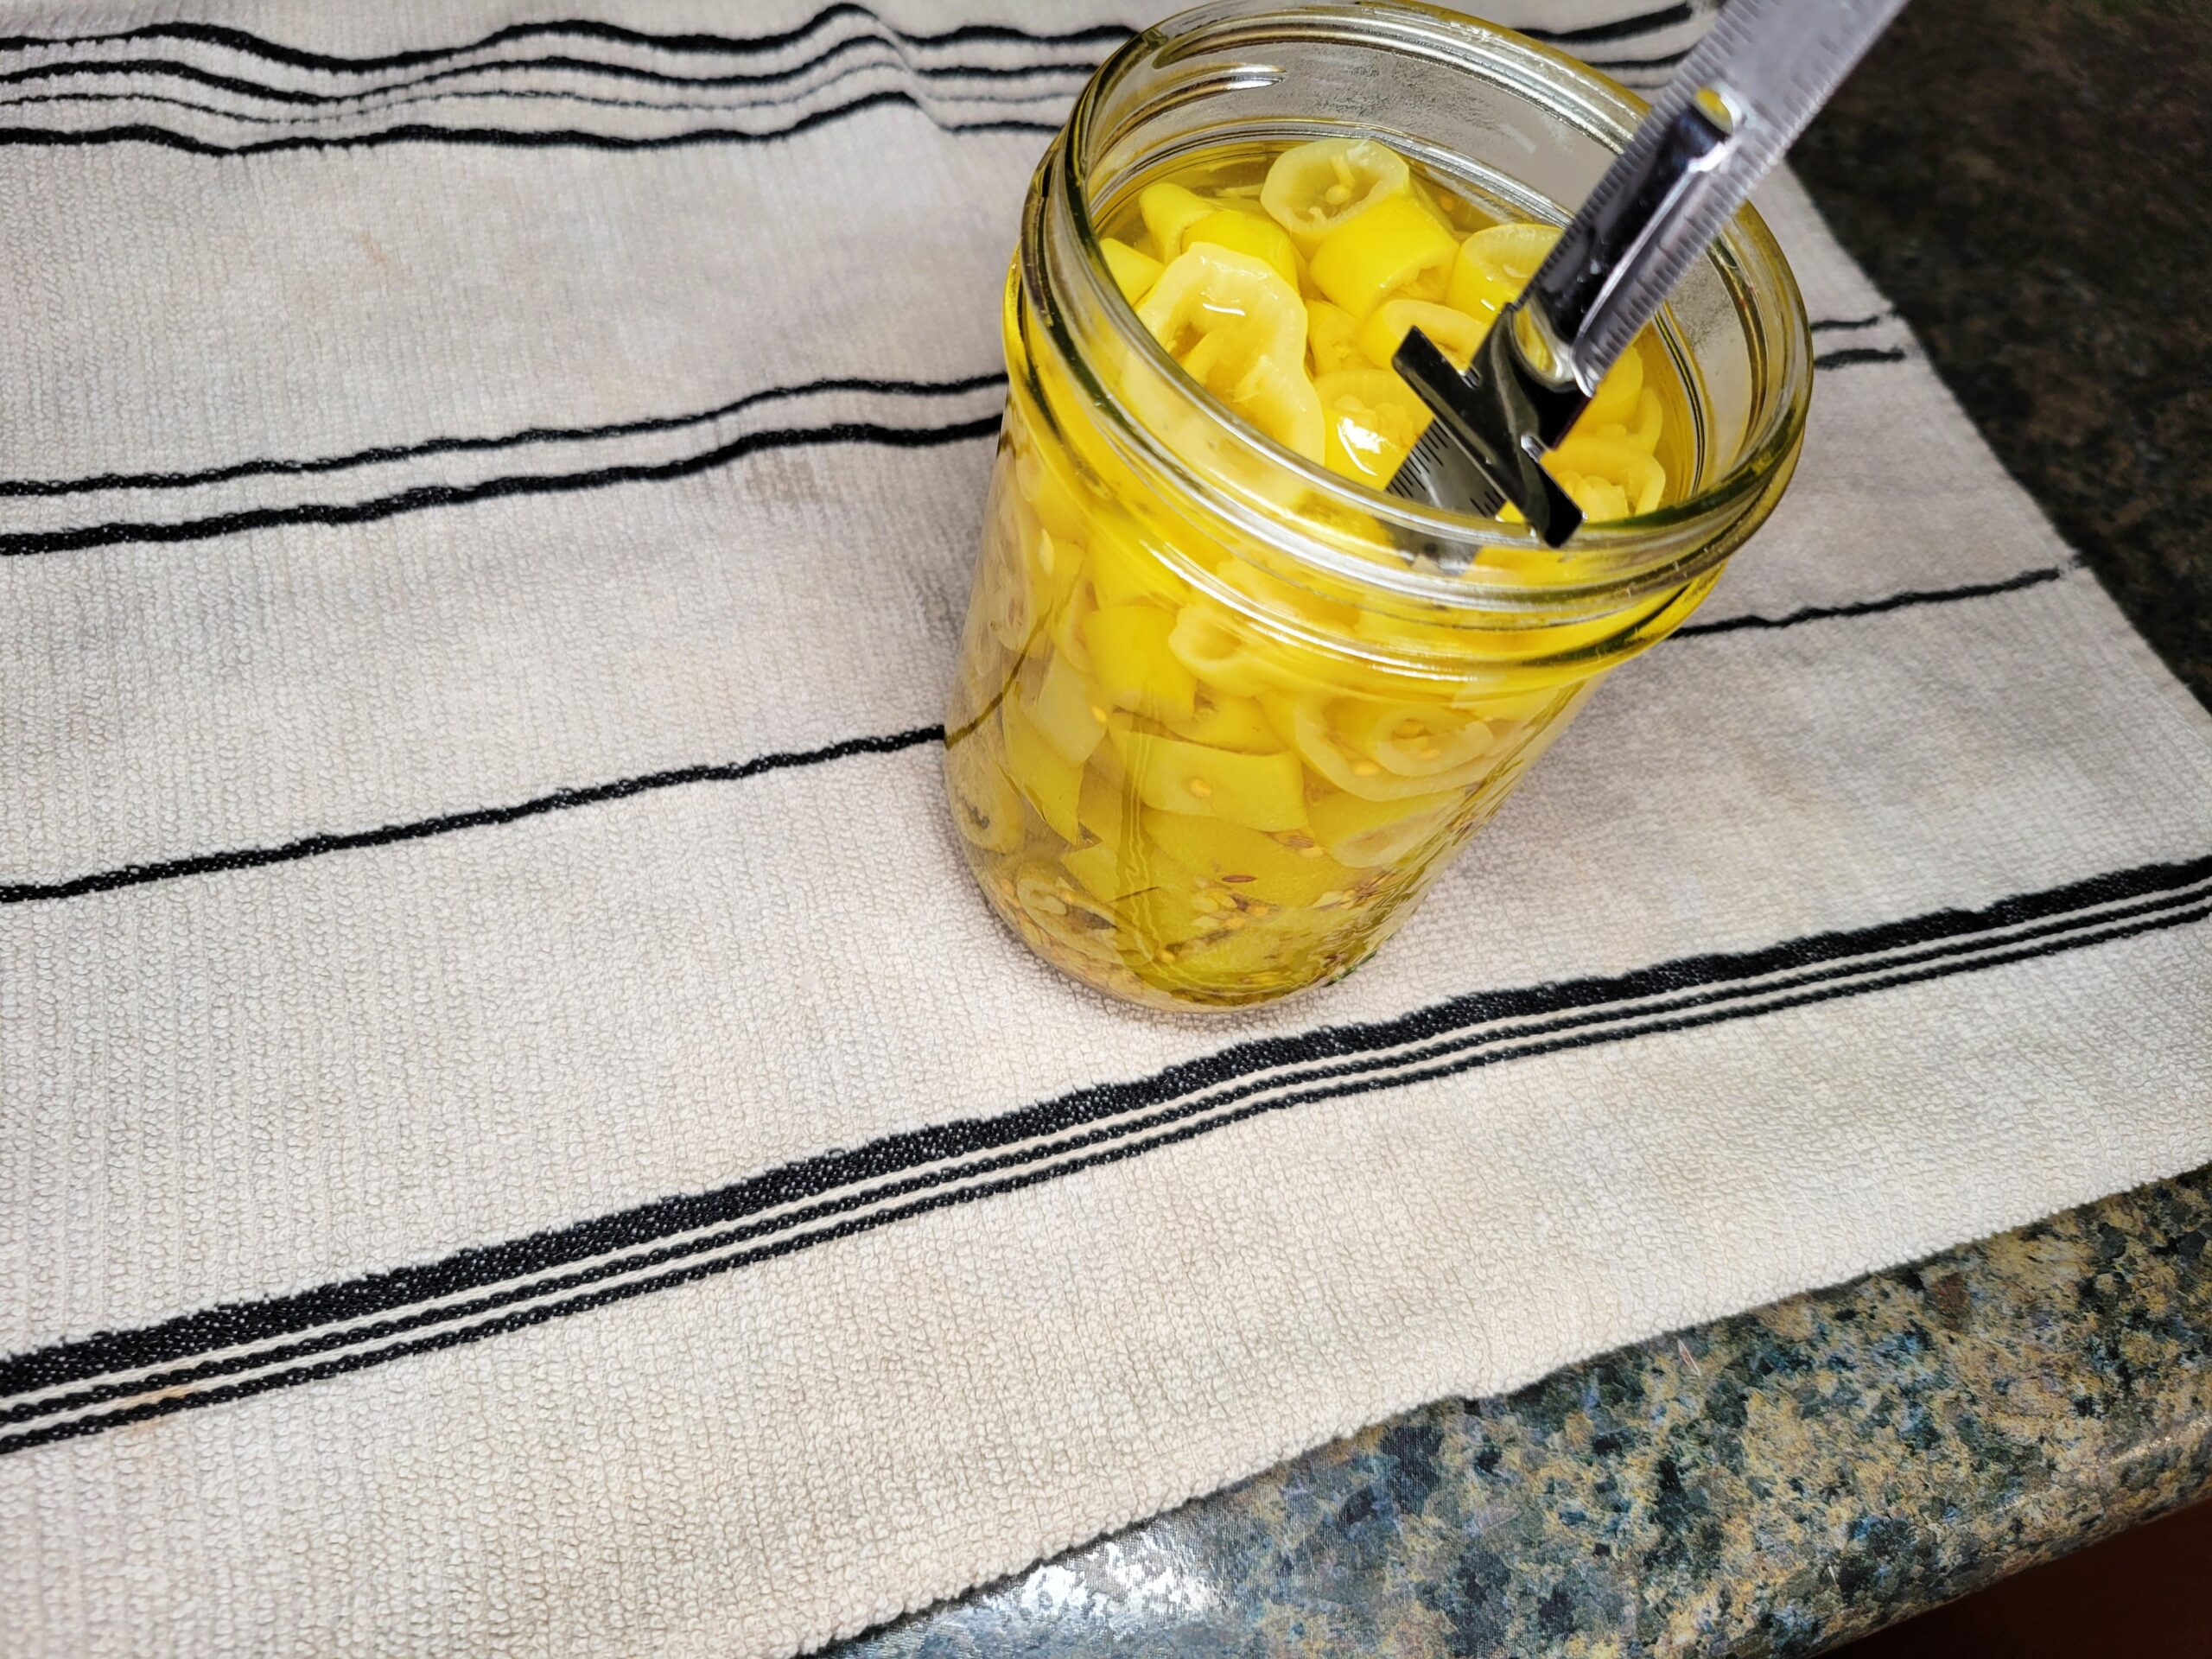
Pour the hot brine over the peppers in each jar, leaving about ½‑inch of headspace at the top. This ensures proper sealing and allows room for expansion during processing.
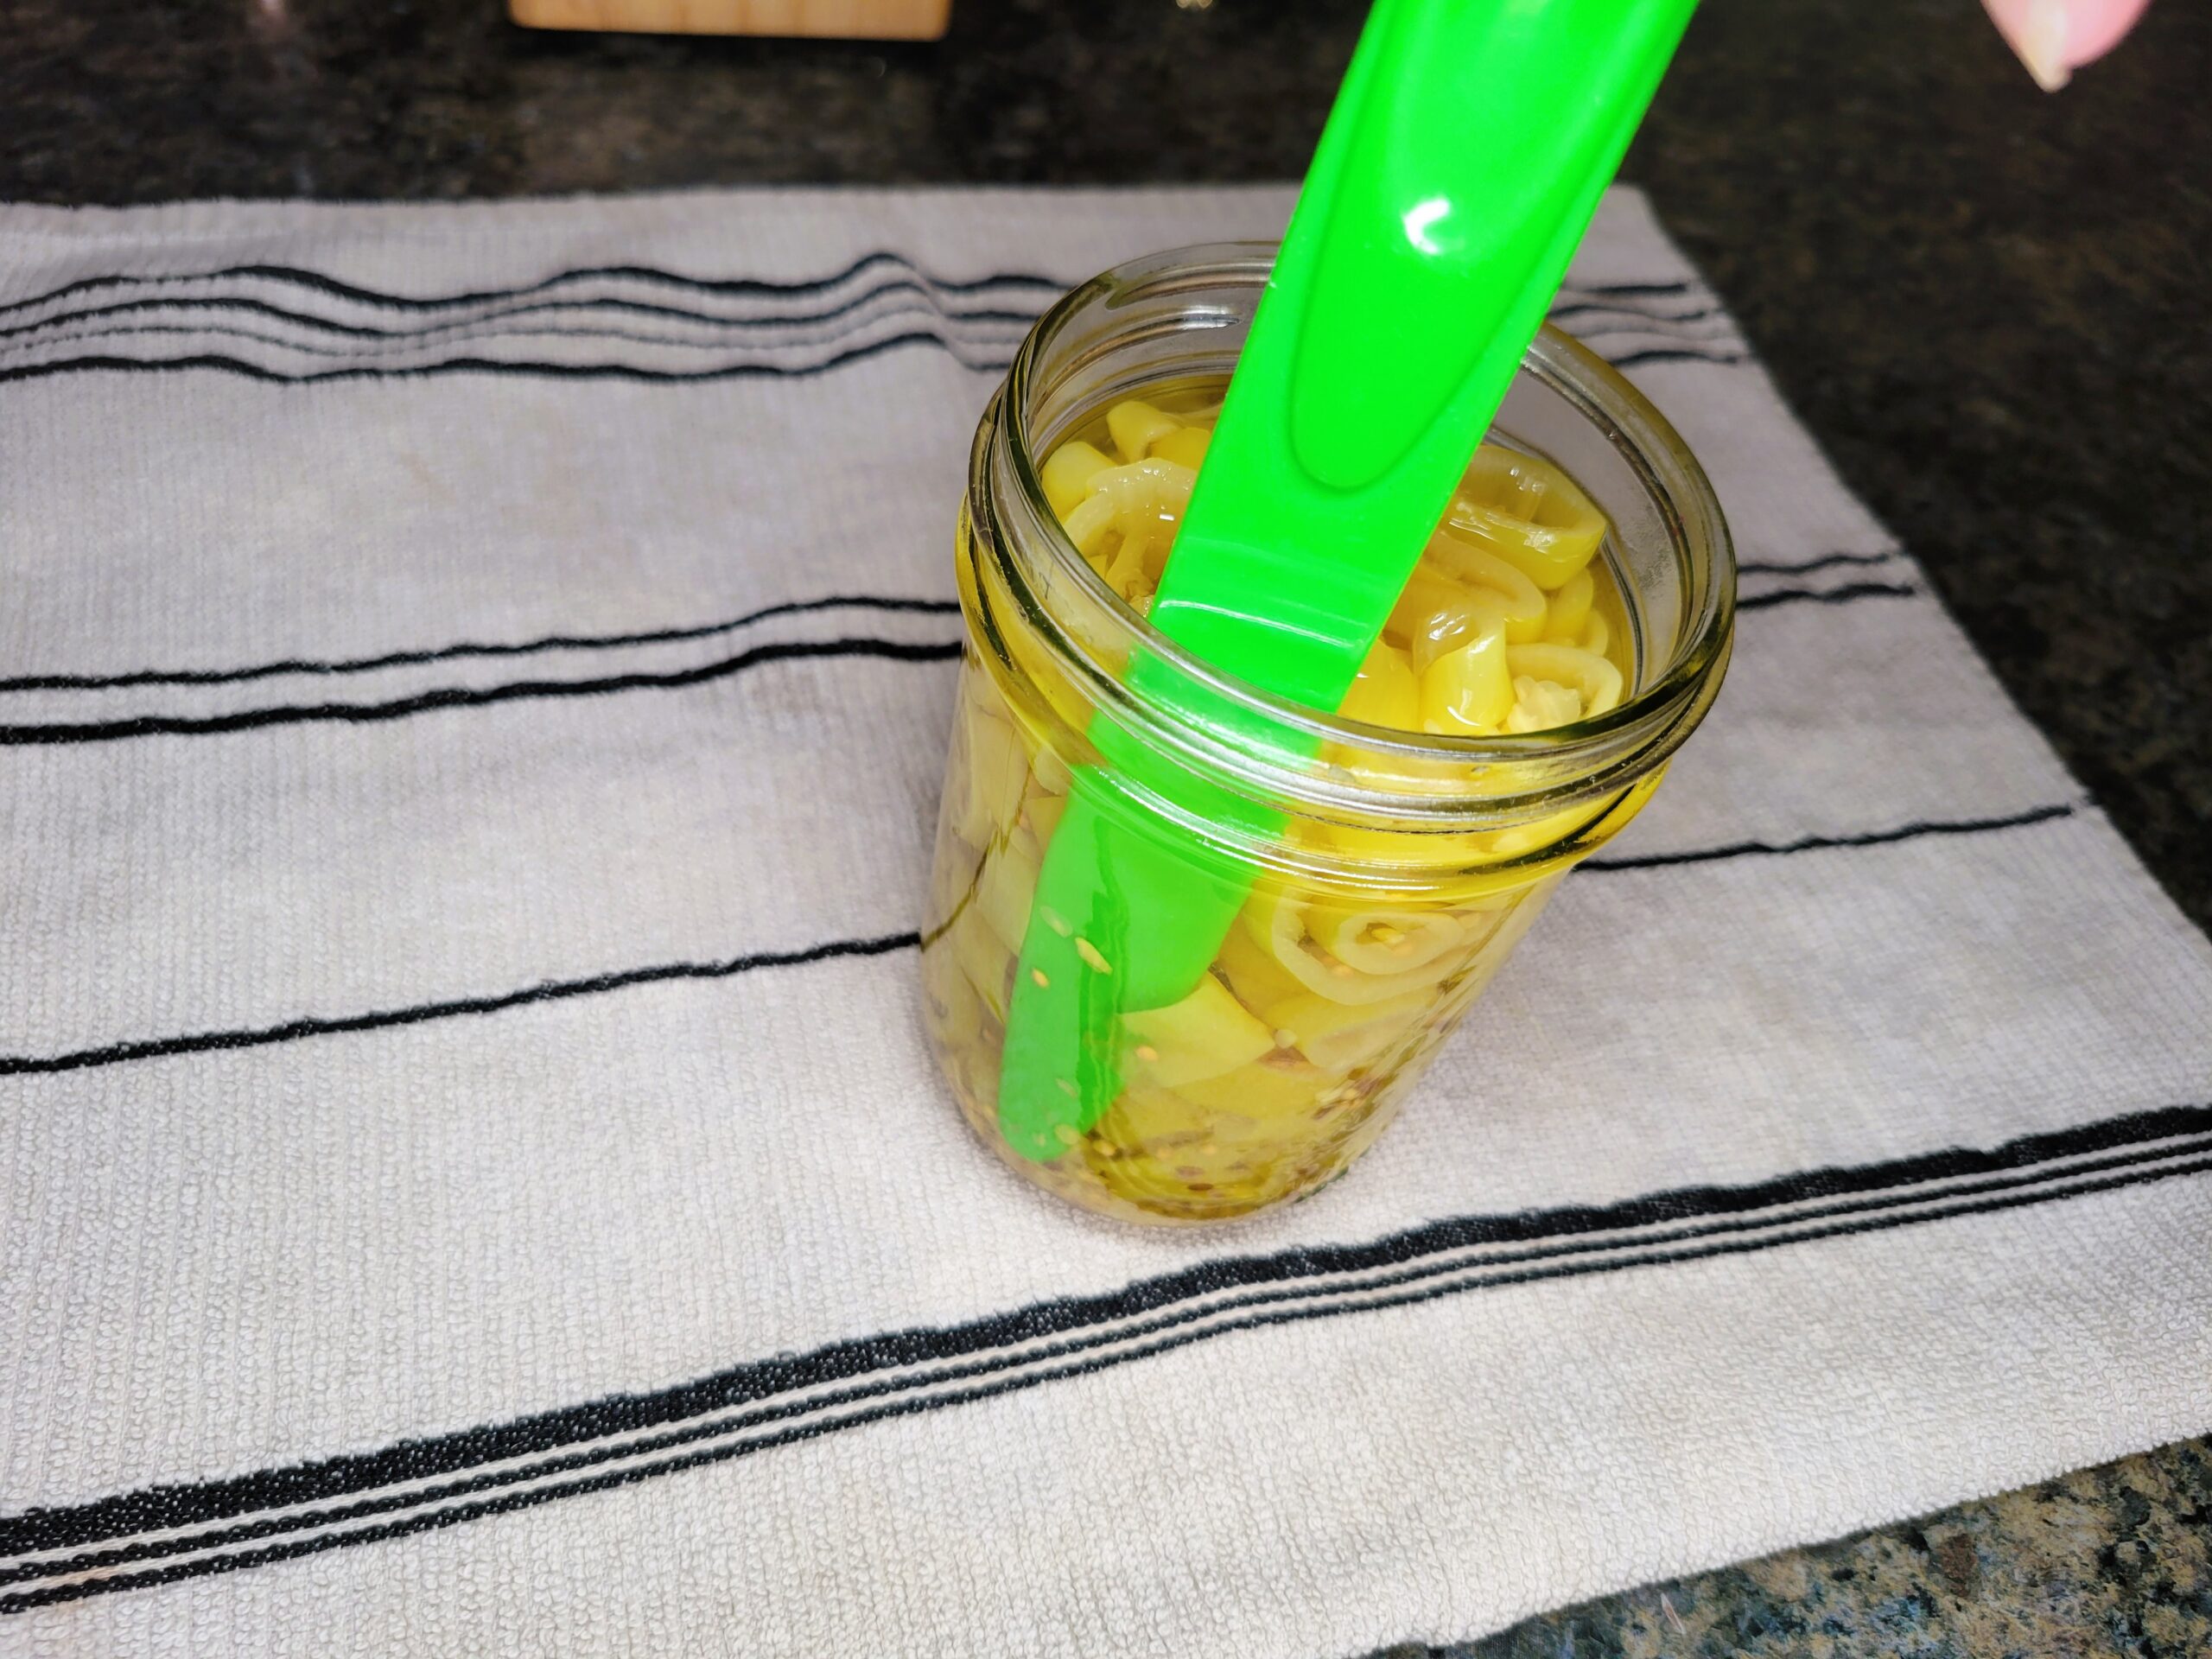
Remove air bubbles using a bubble tool, ensuring there are no air pockets around the pepper rings.
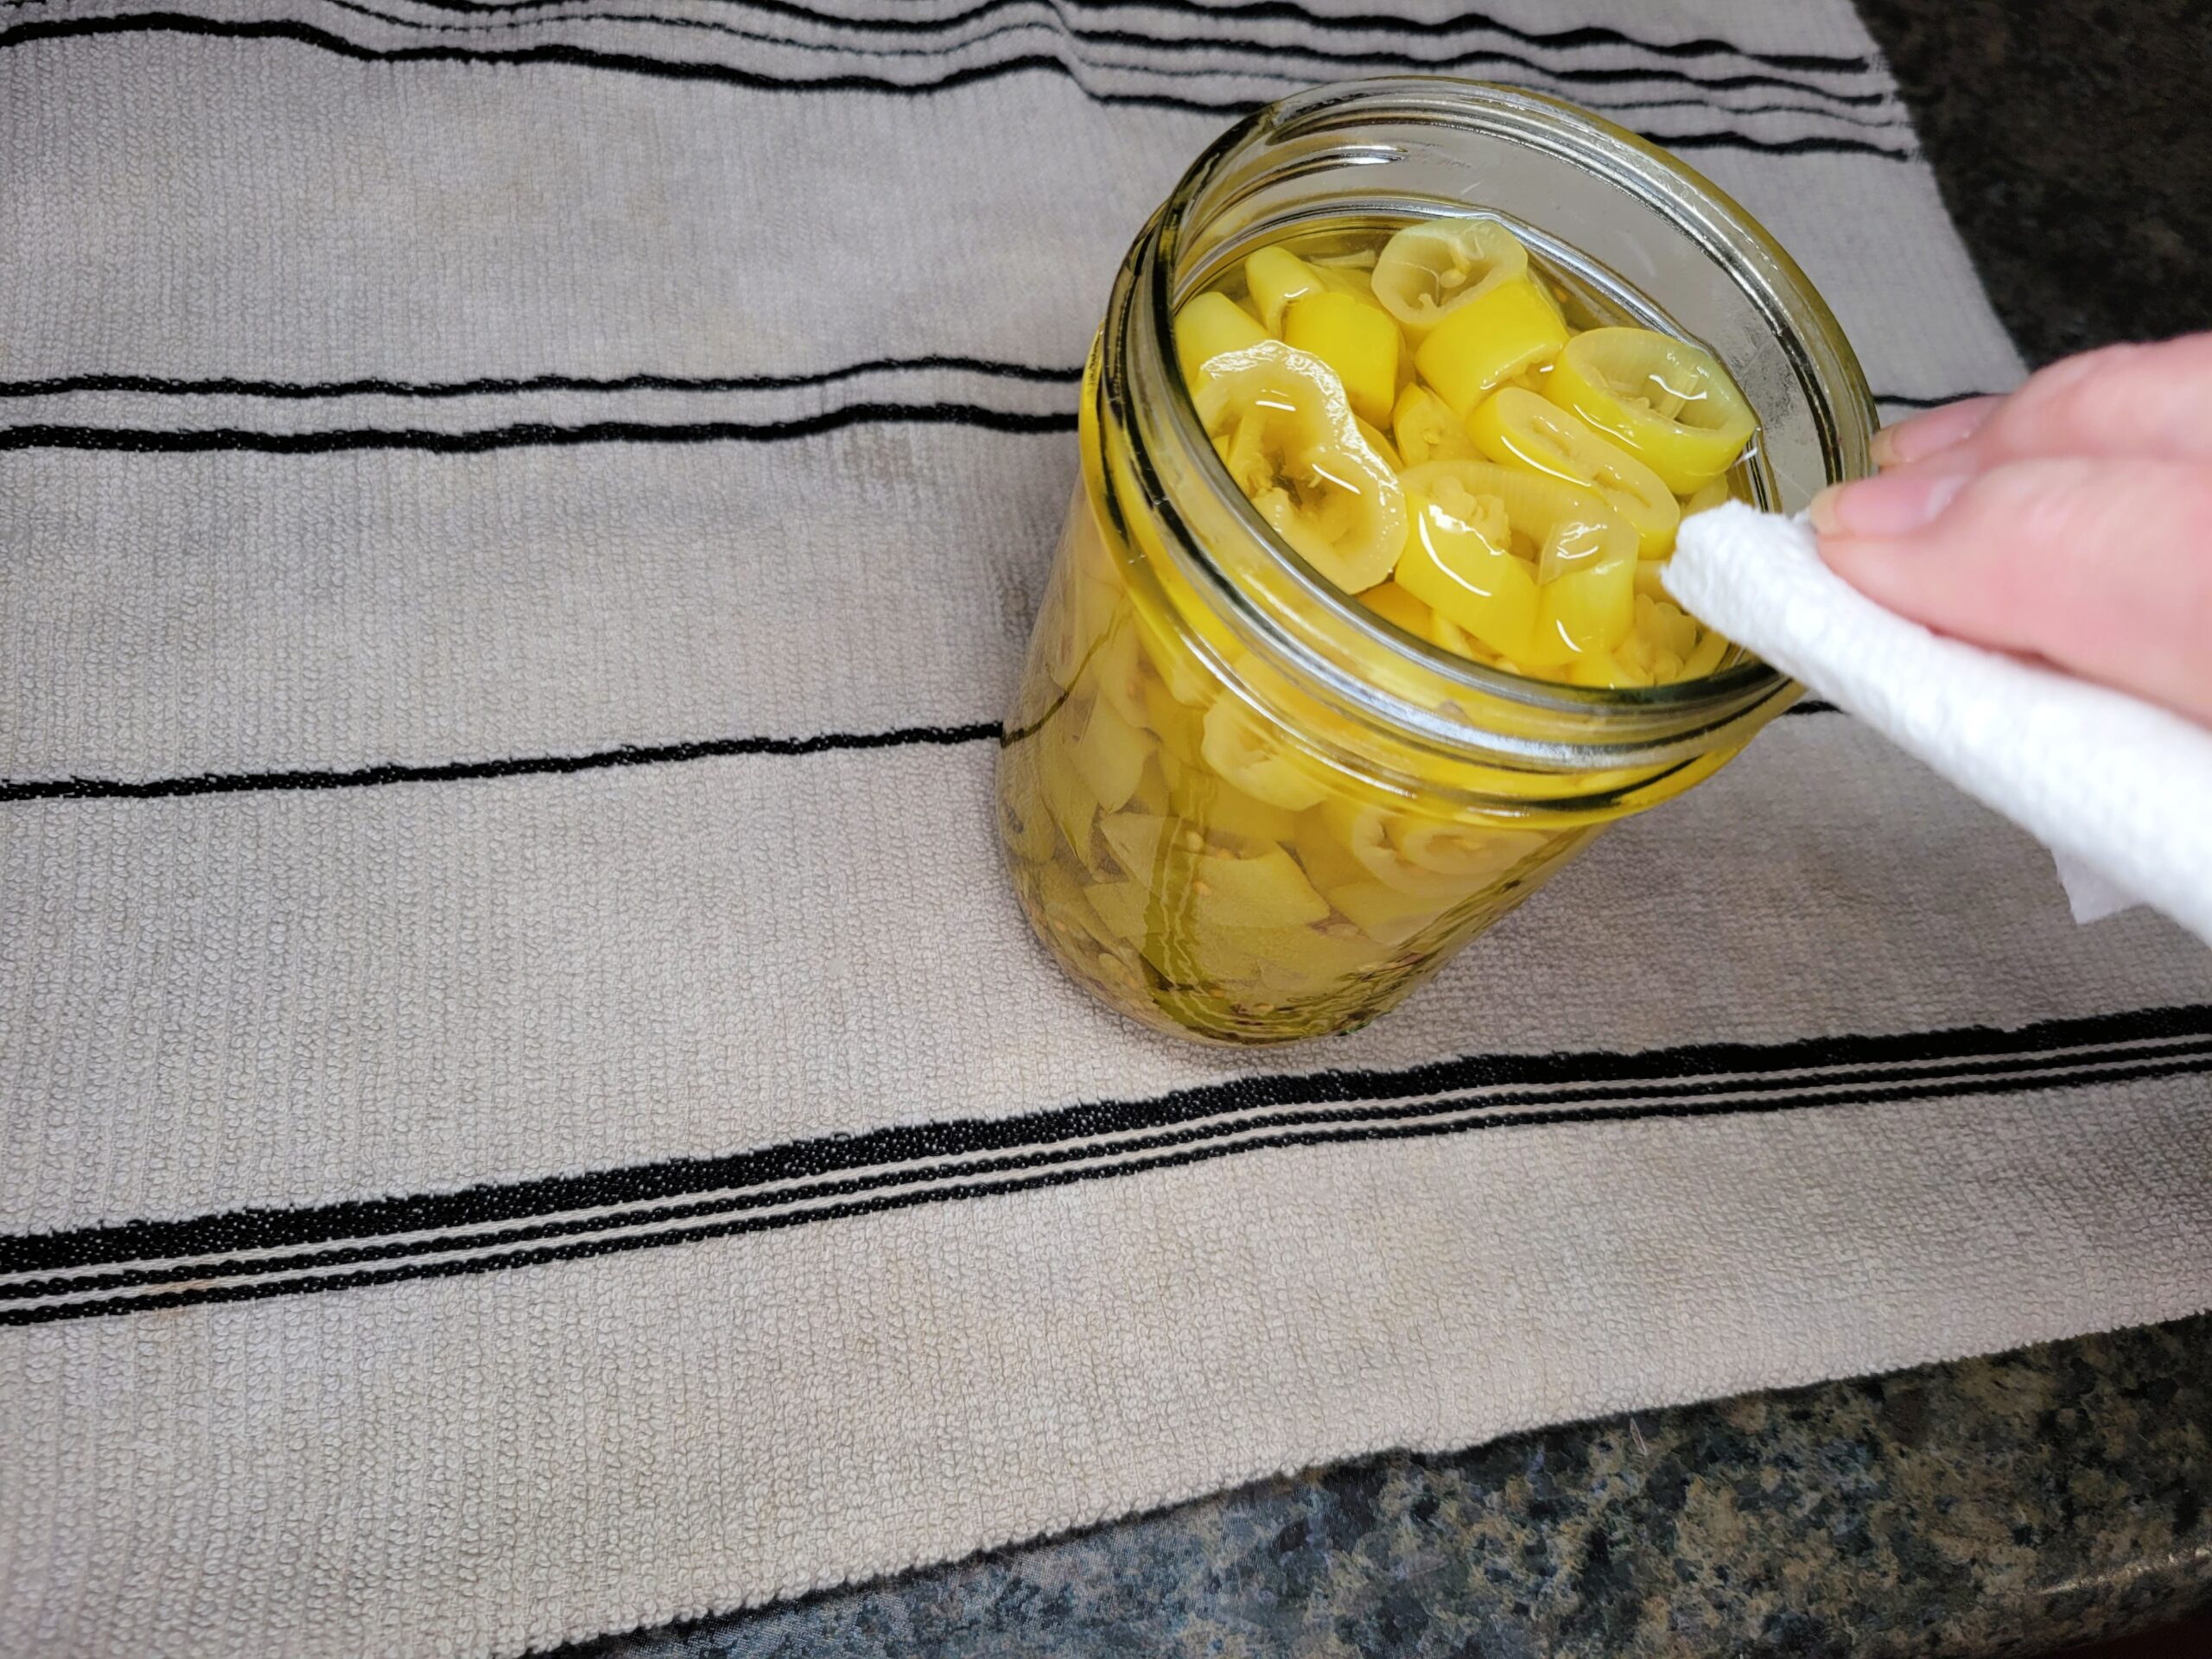
Wipe the rims of the jars with a clean, damp towel to remove any residue that could interfere with sealing. Place the lids on top, then screw on the bands until fingertip‑tight, ensuring each jar is properly secured for processing.
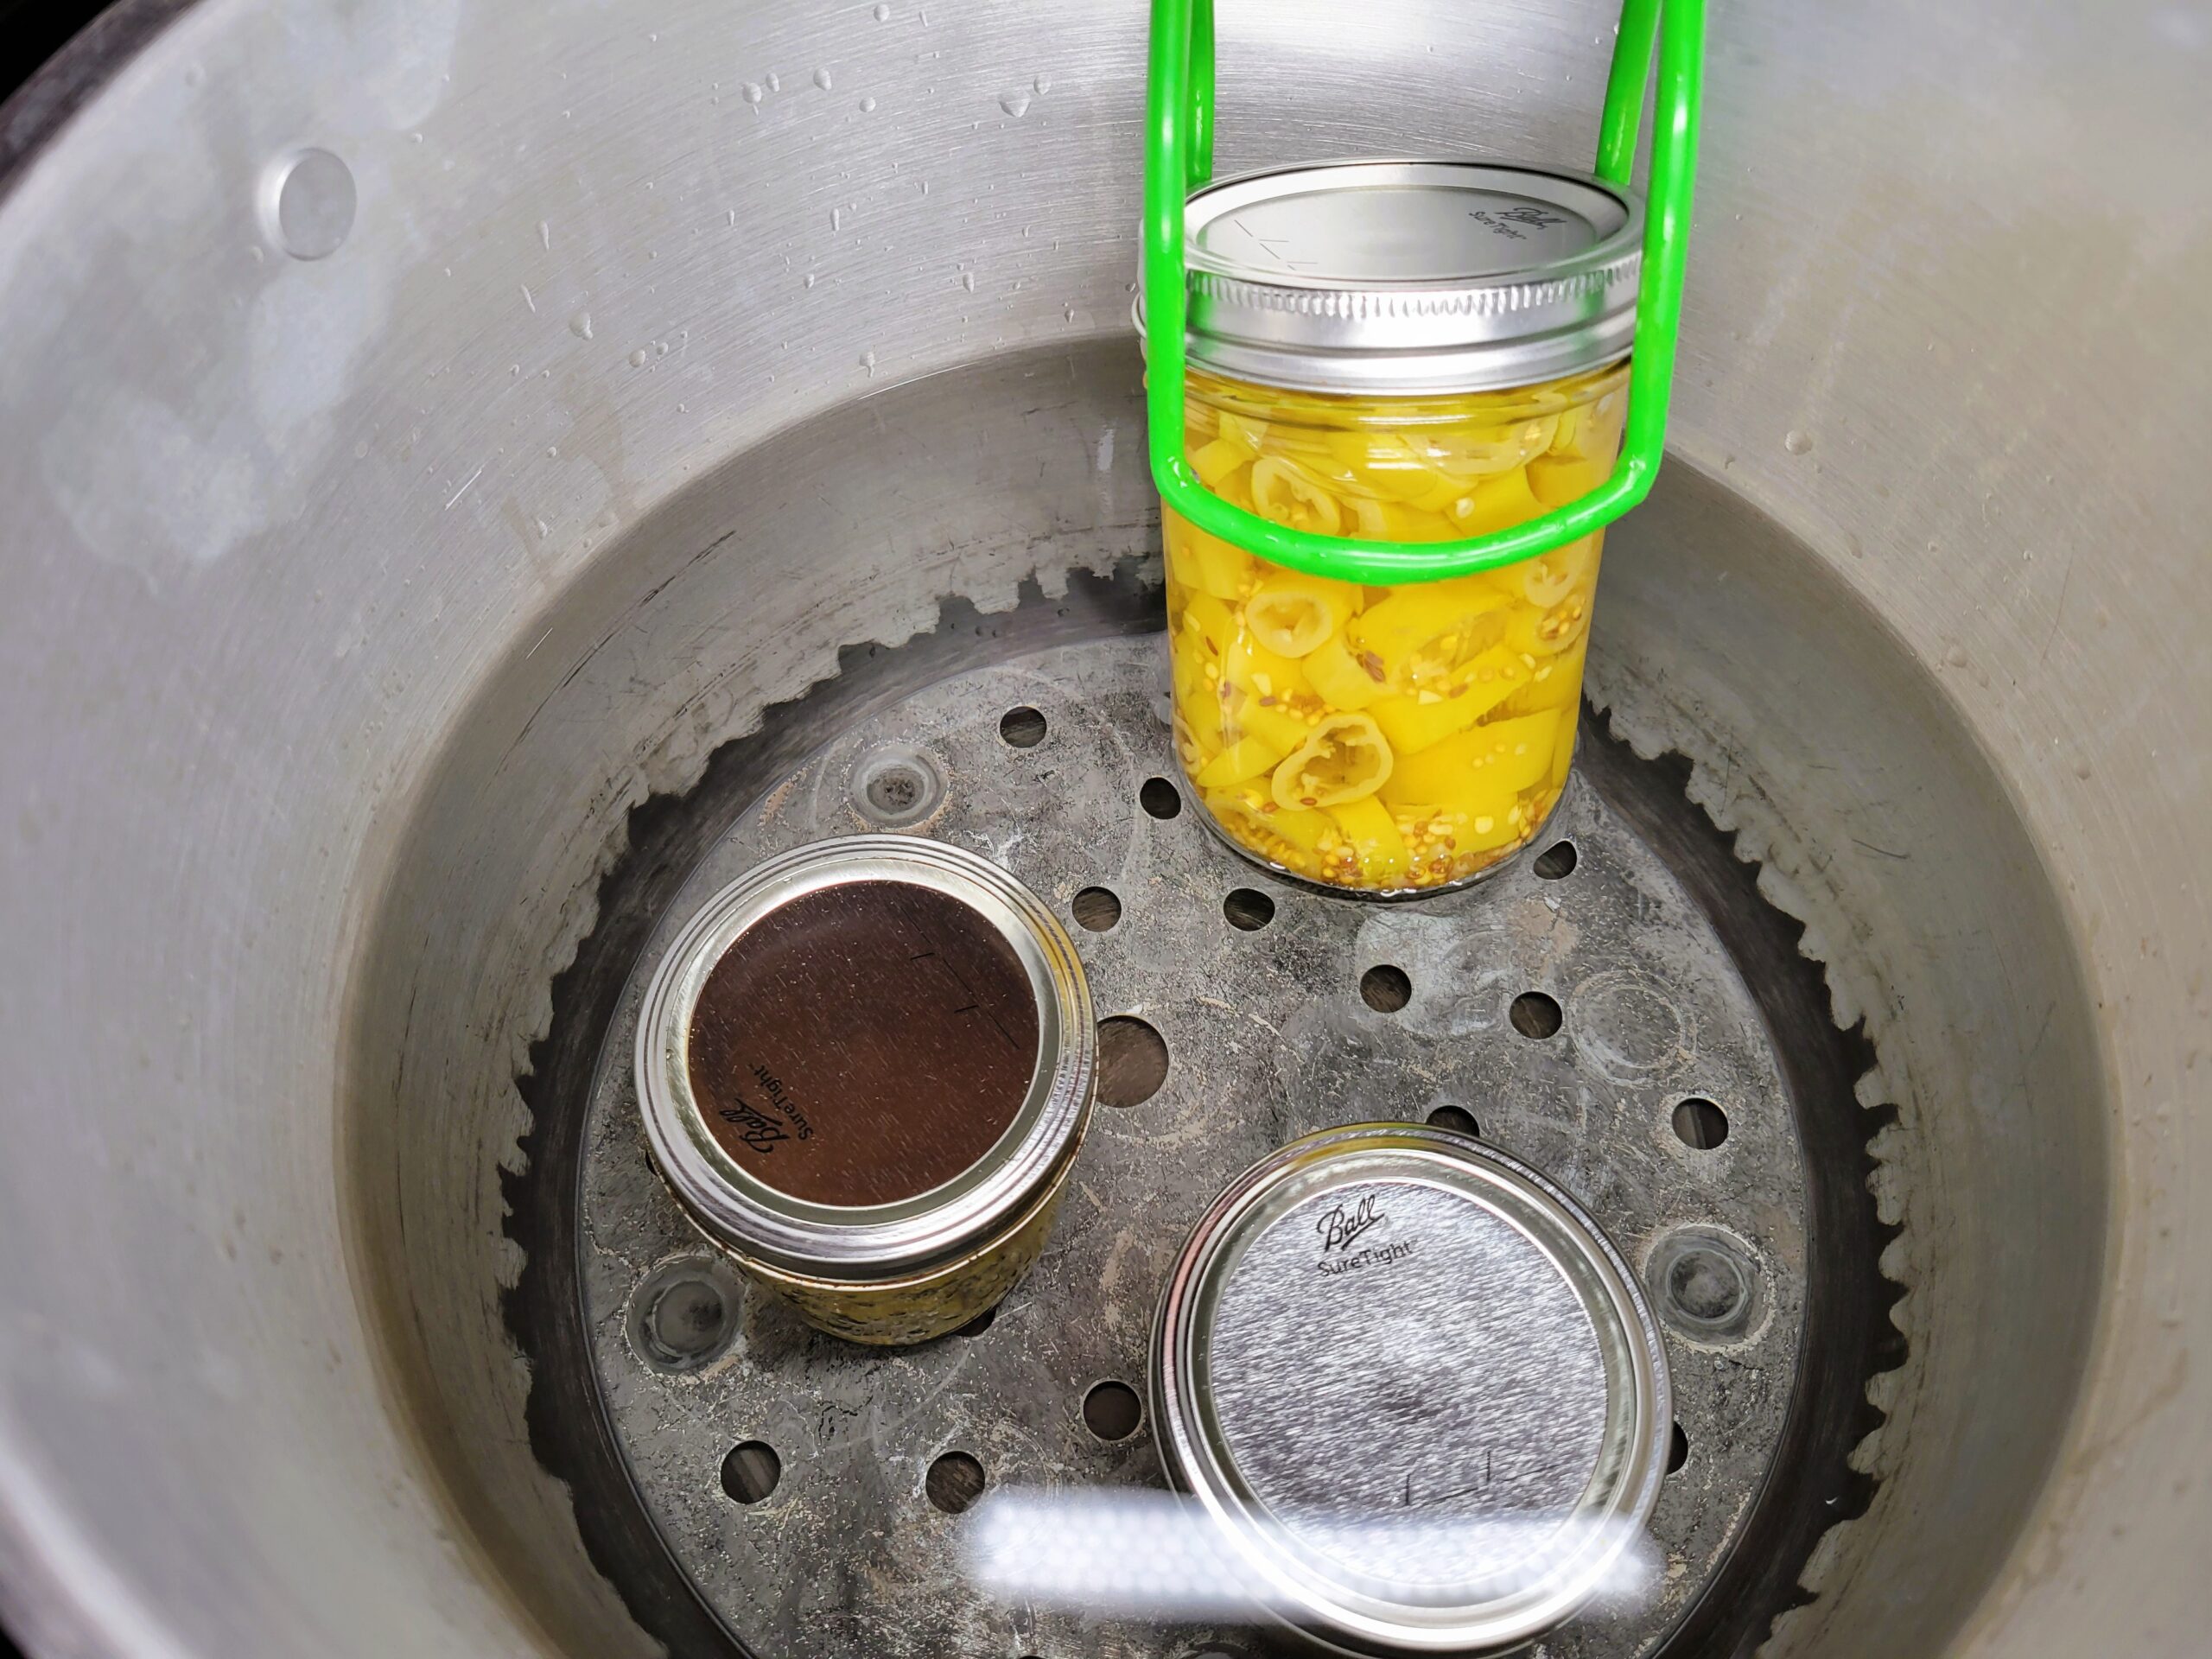
Carefully lower the jars into the boiling water, keeping them upright. When using a jar lifter, make sure it is securely positioned below the neck of the jar (below the screw band of the lid). Tilting the jar could cause food to spill into the lid's sealing area. Make sure the water covers the jars by 1–2 inches. Place the lid on the canner. Begin timing once the water returns to a full boil. Process pints for 10 minutes at elevations from sea level to 1,000 feet. For 1,001–6,000 feet, process for 15 minutes; for 6,000 feet and above, process for 20 minutes. When the processing time is complete, turn off the heat, move the canner off the burner if possible, and carefully remove the lid. Let the jars rest in the hot water for 5 minutes before lifting them out. Place the jars upright on a towel‑lined countertop and leave them undisturbed for 12 to 24 hours. Jars may take several hours to seal, though many seal within the first 30 minutes or even during processing. After 12 hours, check the seals and clean the jars. Label with contents and date—store sealed jars for up to one year. Refrigerate any jars that did not seal.
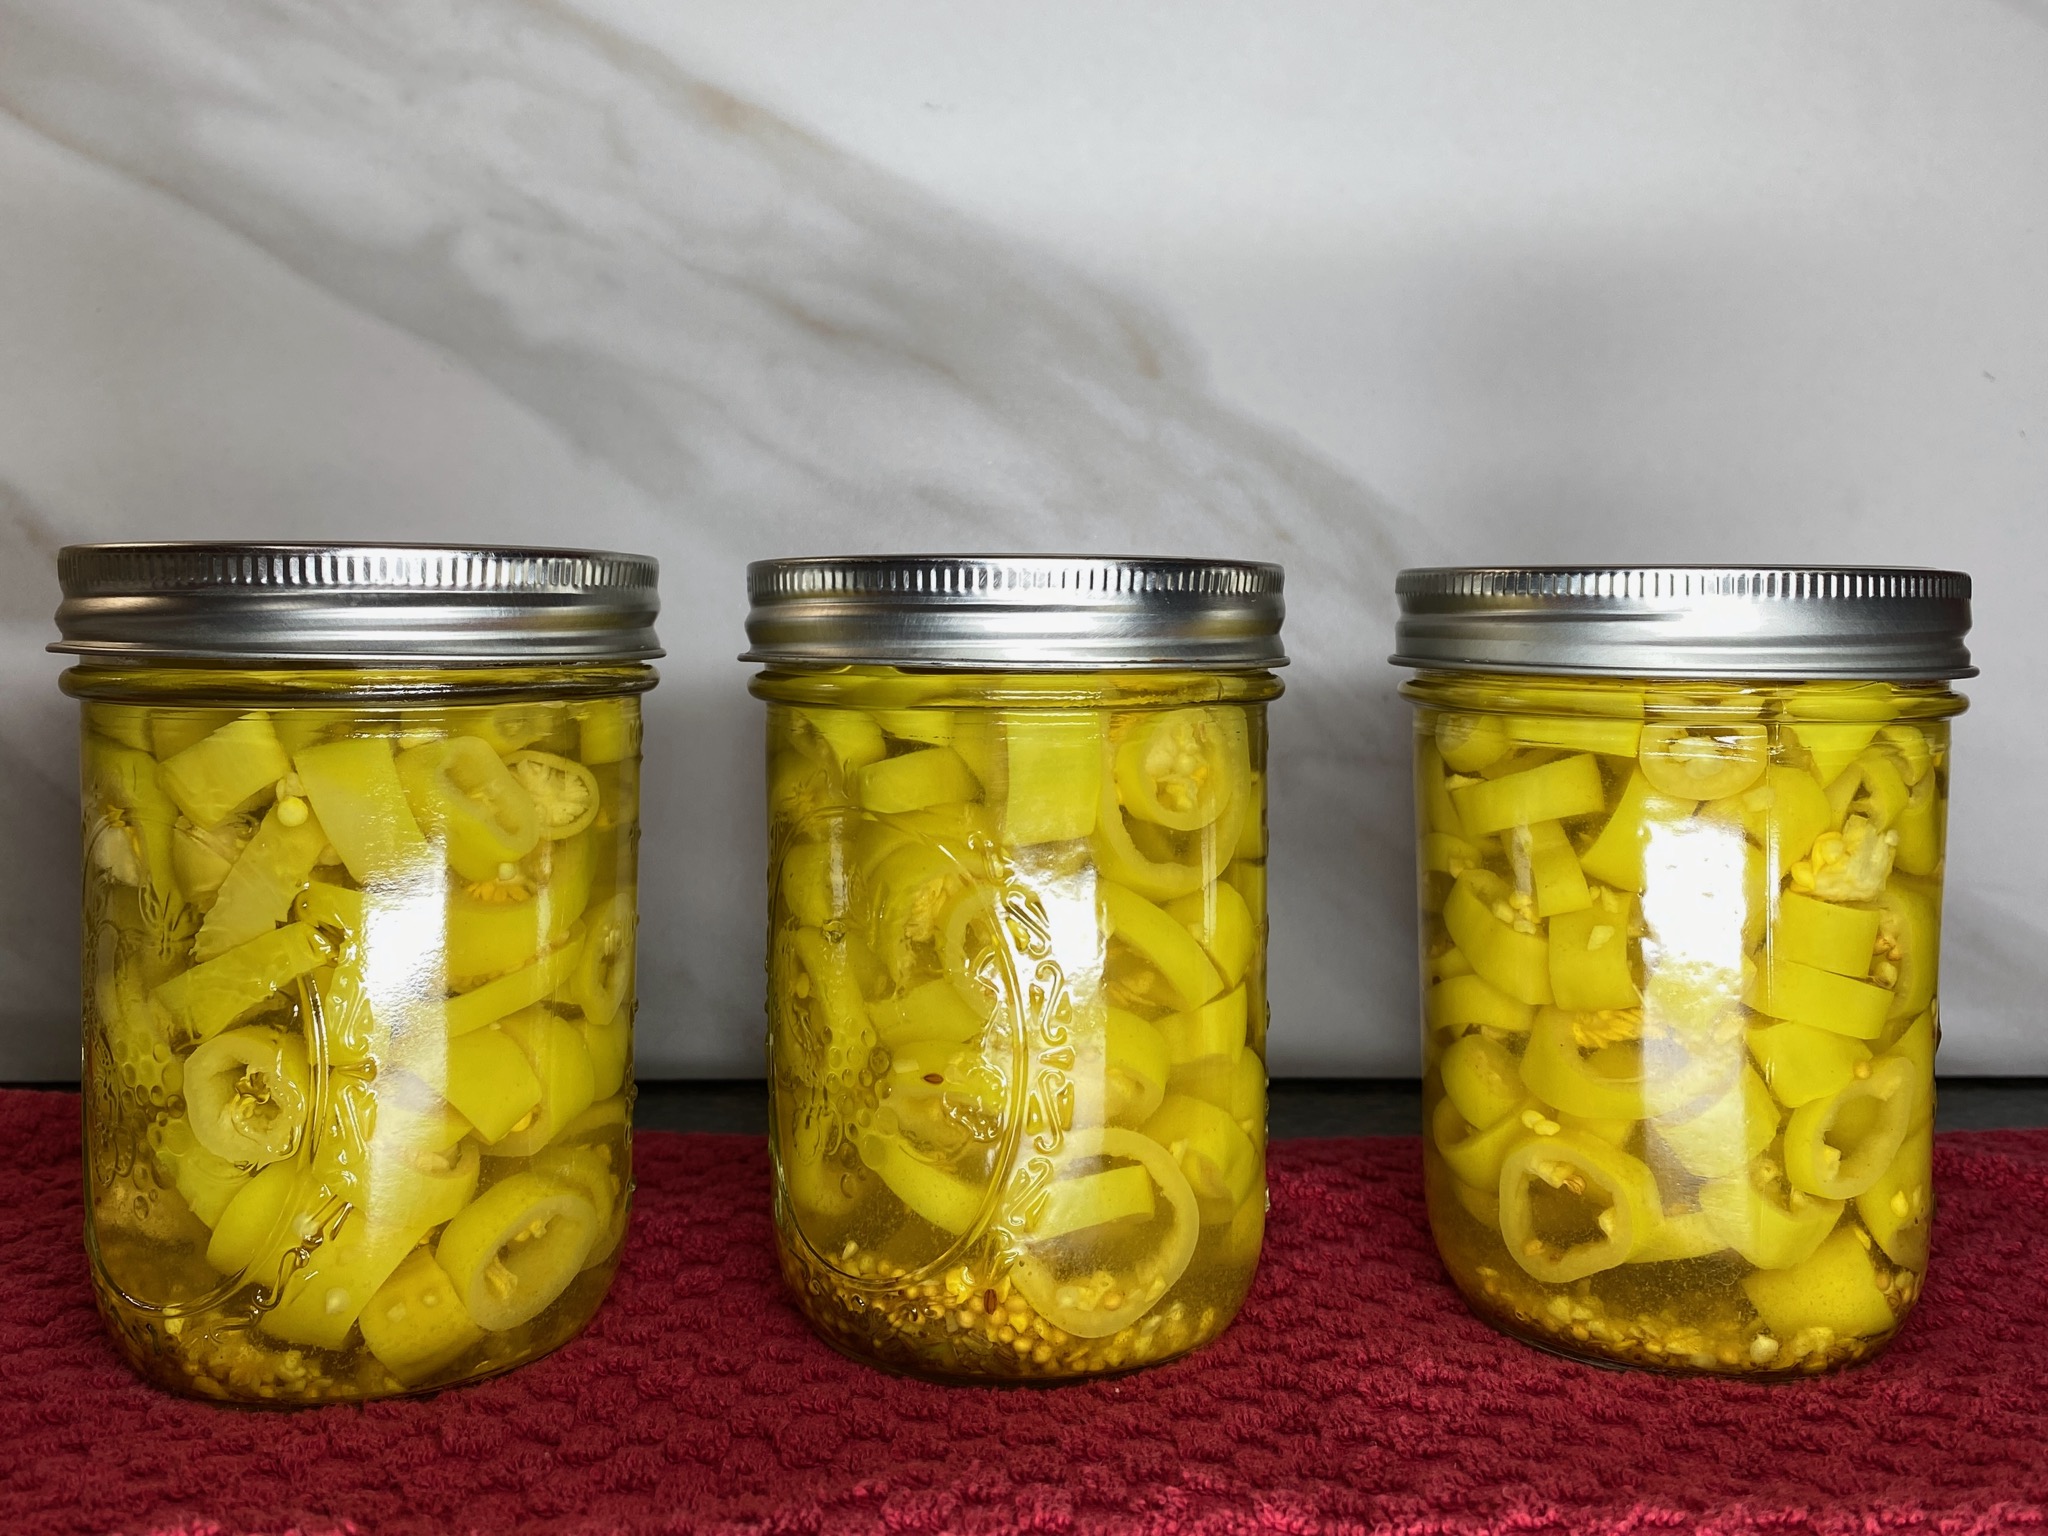
Enjoy!
Check out some of our other canning tutorials. Here are a few of our favorites:
Conclusion
Kitchen ToolsNeed some tools or ingredients to make this recipe? Use my Amazon Affiliate links to shop. I will make a small commission and it doesn't cost you any extra. Thank you for visiting.
Farms & Gardens - Sweet Banana Pepper Seeds for Planting, Heirloom Seeds, Non-GMO Simply Organic Ground Turmeric Root Morton All Natural Canning & Pickling Salt, 4 lb. Box 23-Quart Induction Compatible Pressure Canner Published on: Aug 2, 2024


Recipe Reviews