

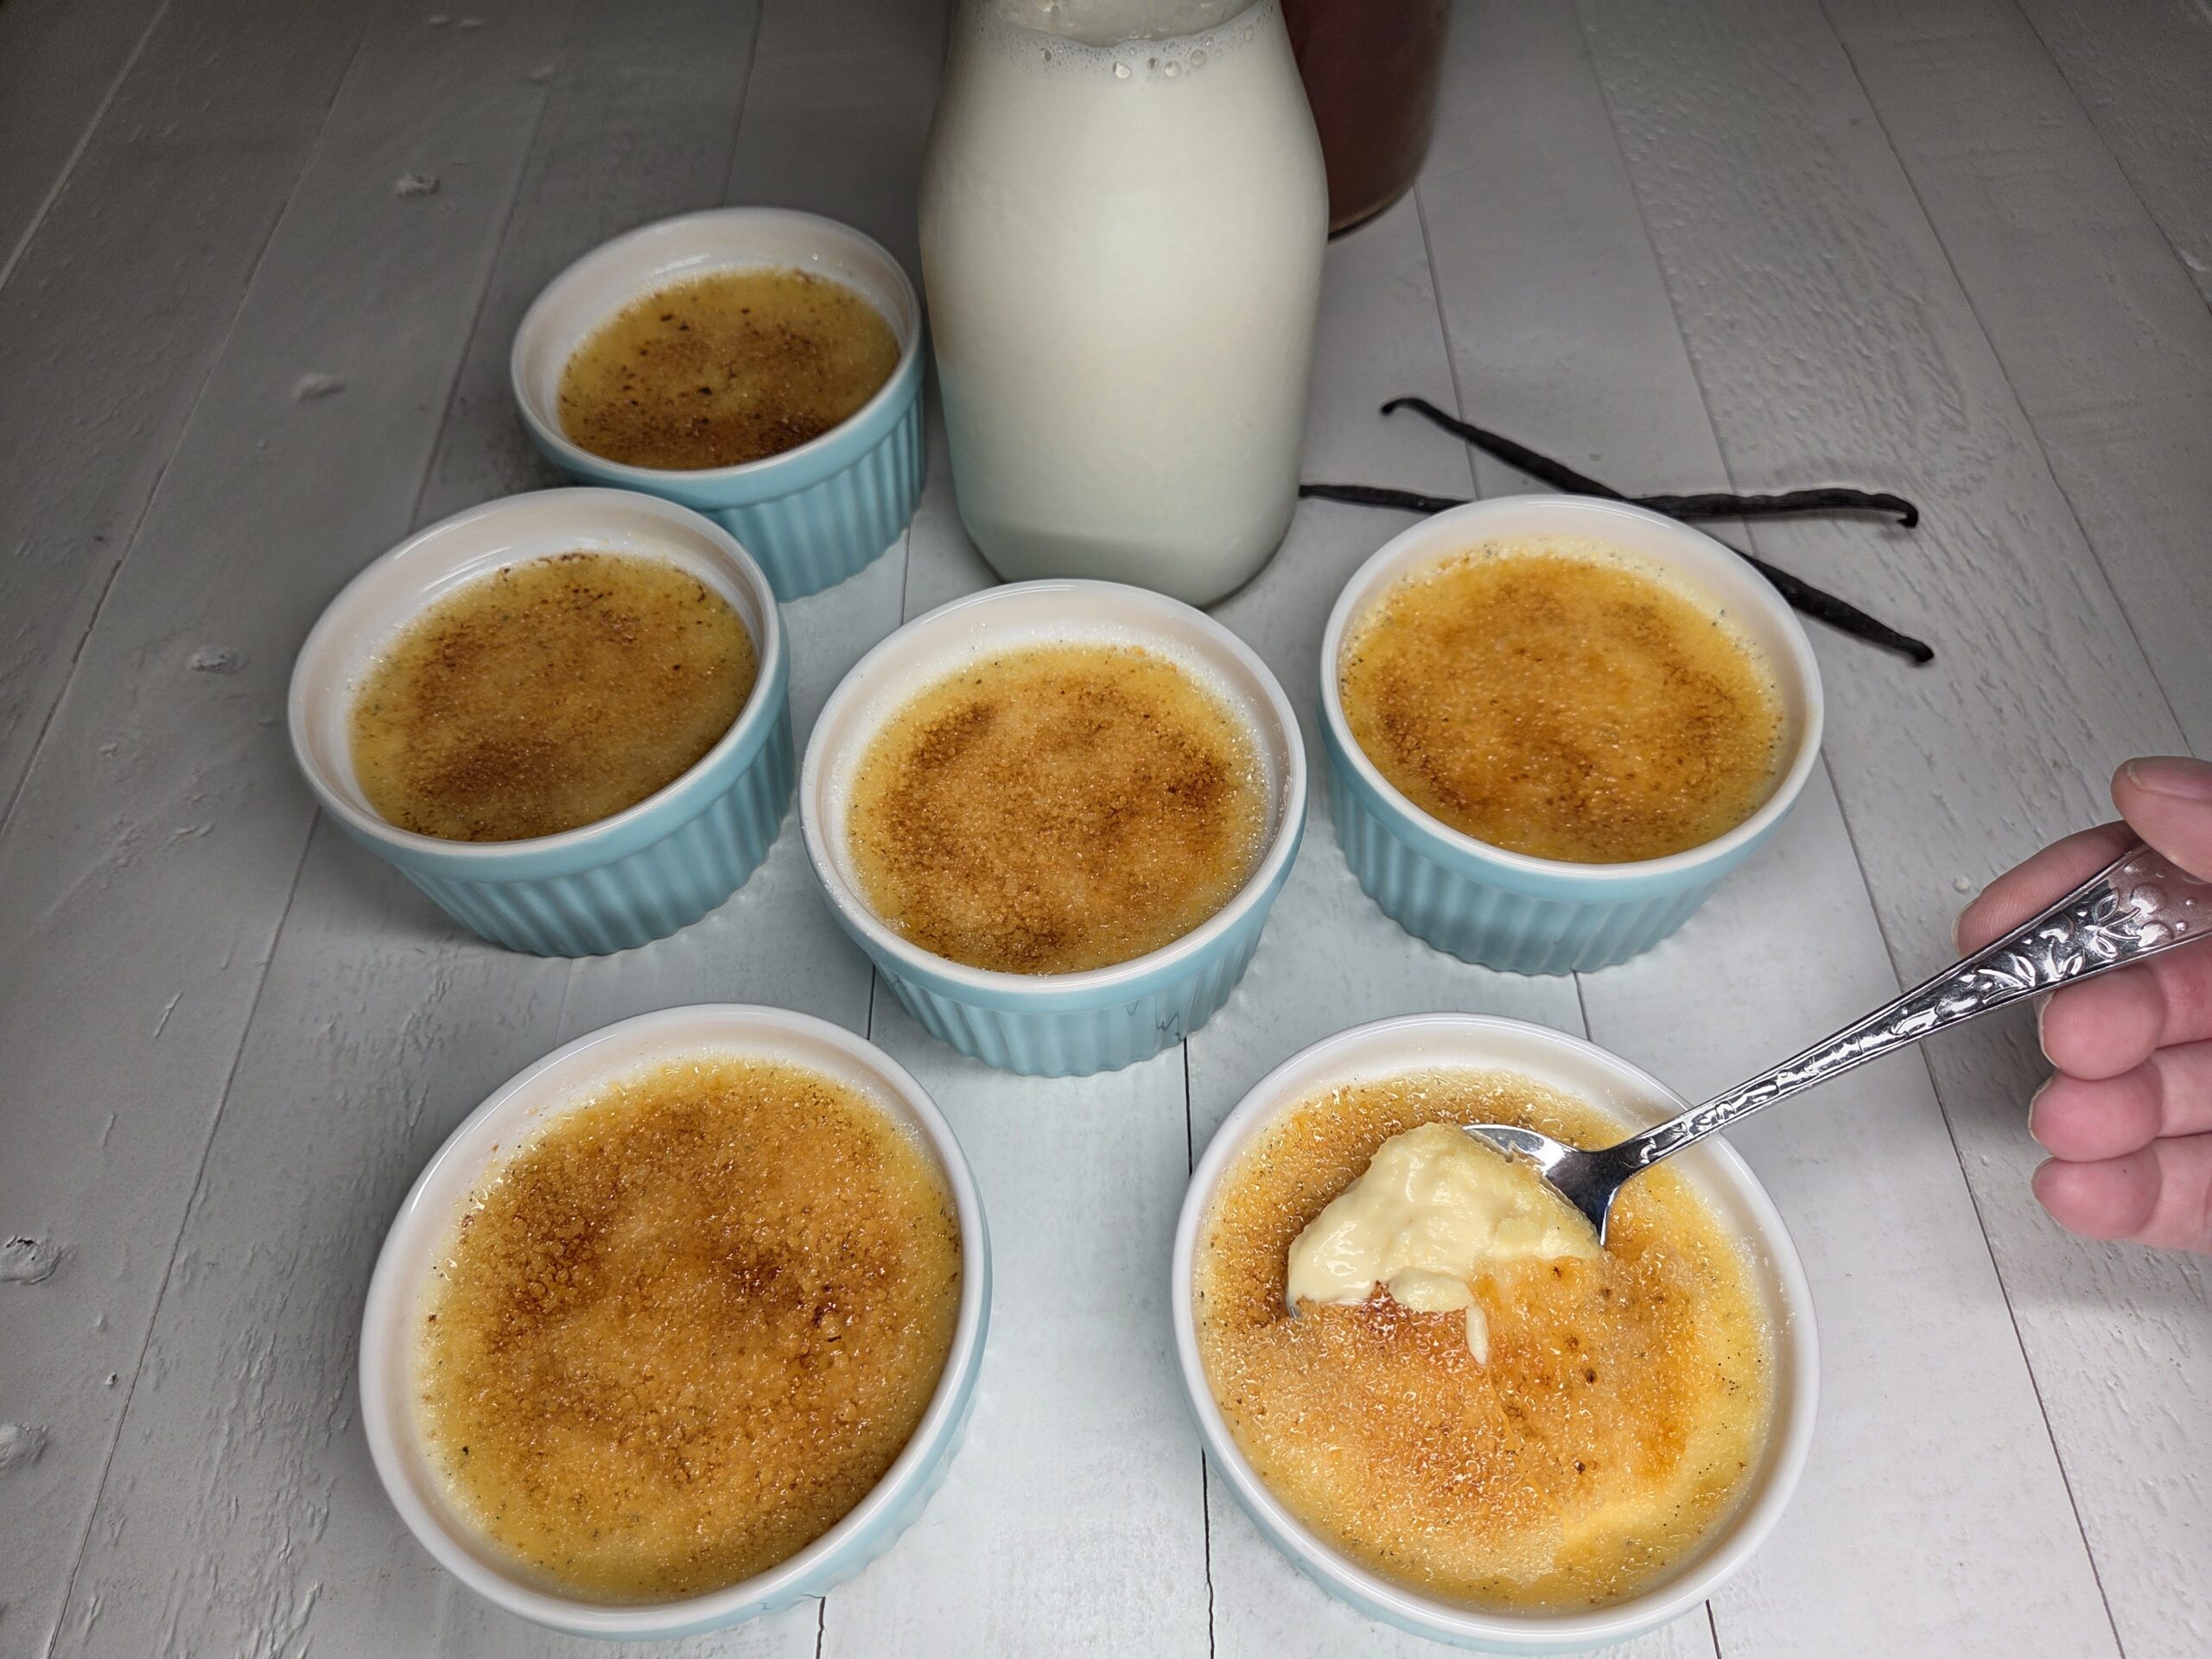
-
Prep Time15 minutes
-
Cook Time30-40 minutes
-
Serv SizeYield: 6 servings
Deliciously silky creme brulee, easy to make, with this simple step-by-step recipe.
Ingredients
Directions
This Easy Crème Brûlée is one of my family's most beloved desserts, feeling endlessly elegant yet wonderfully simple to master. This version leans into a silky‑smooth custard, a whisper of vanilla, and a crisp caramel top that shatters with the tip of your spoon. With clear, step‑by‑step guidance and a method that stays calm and approachable with simple, non-intimidating tools, it’s the kind of recipe you’ll return to whenever you want something timeless, comforting, and effortlessly impressive.
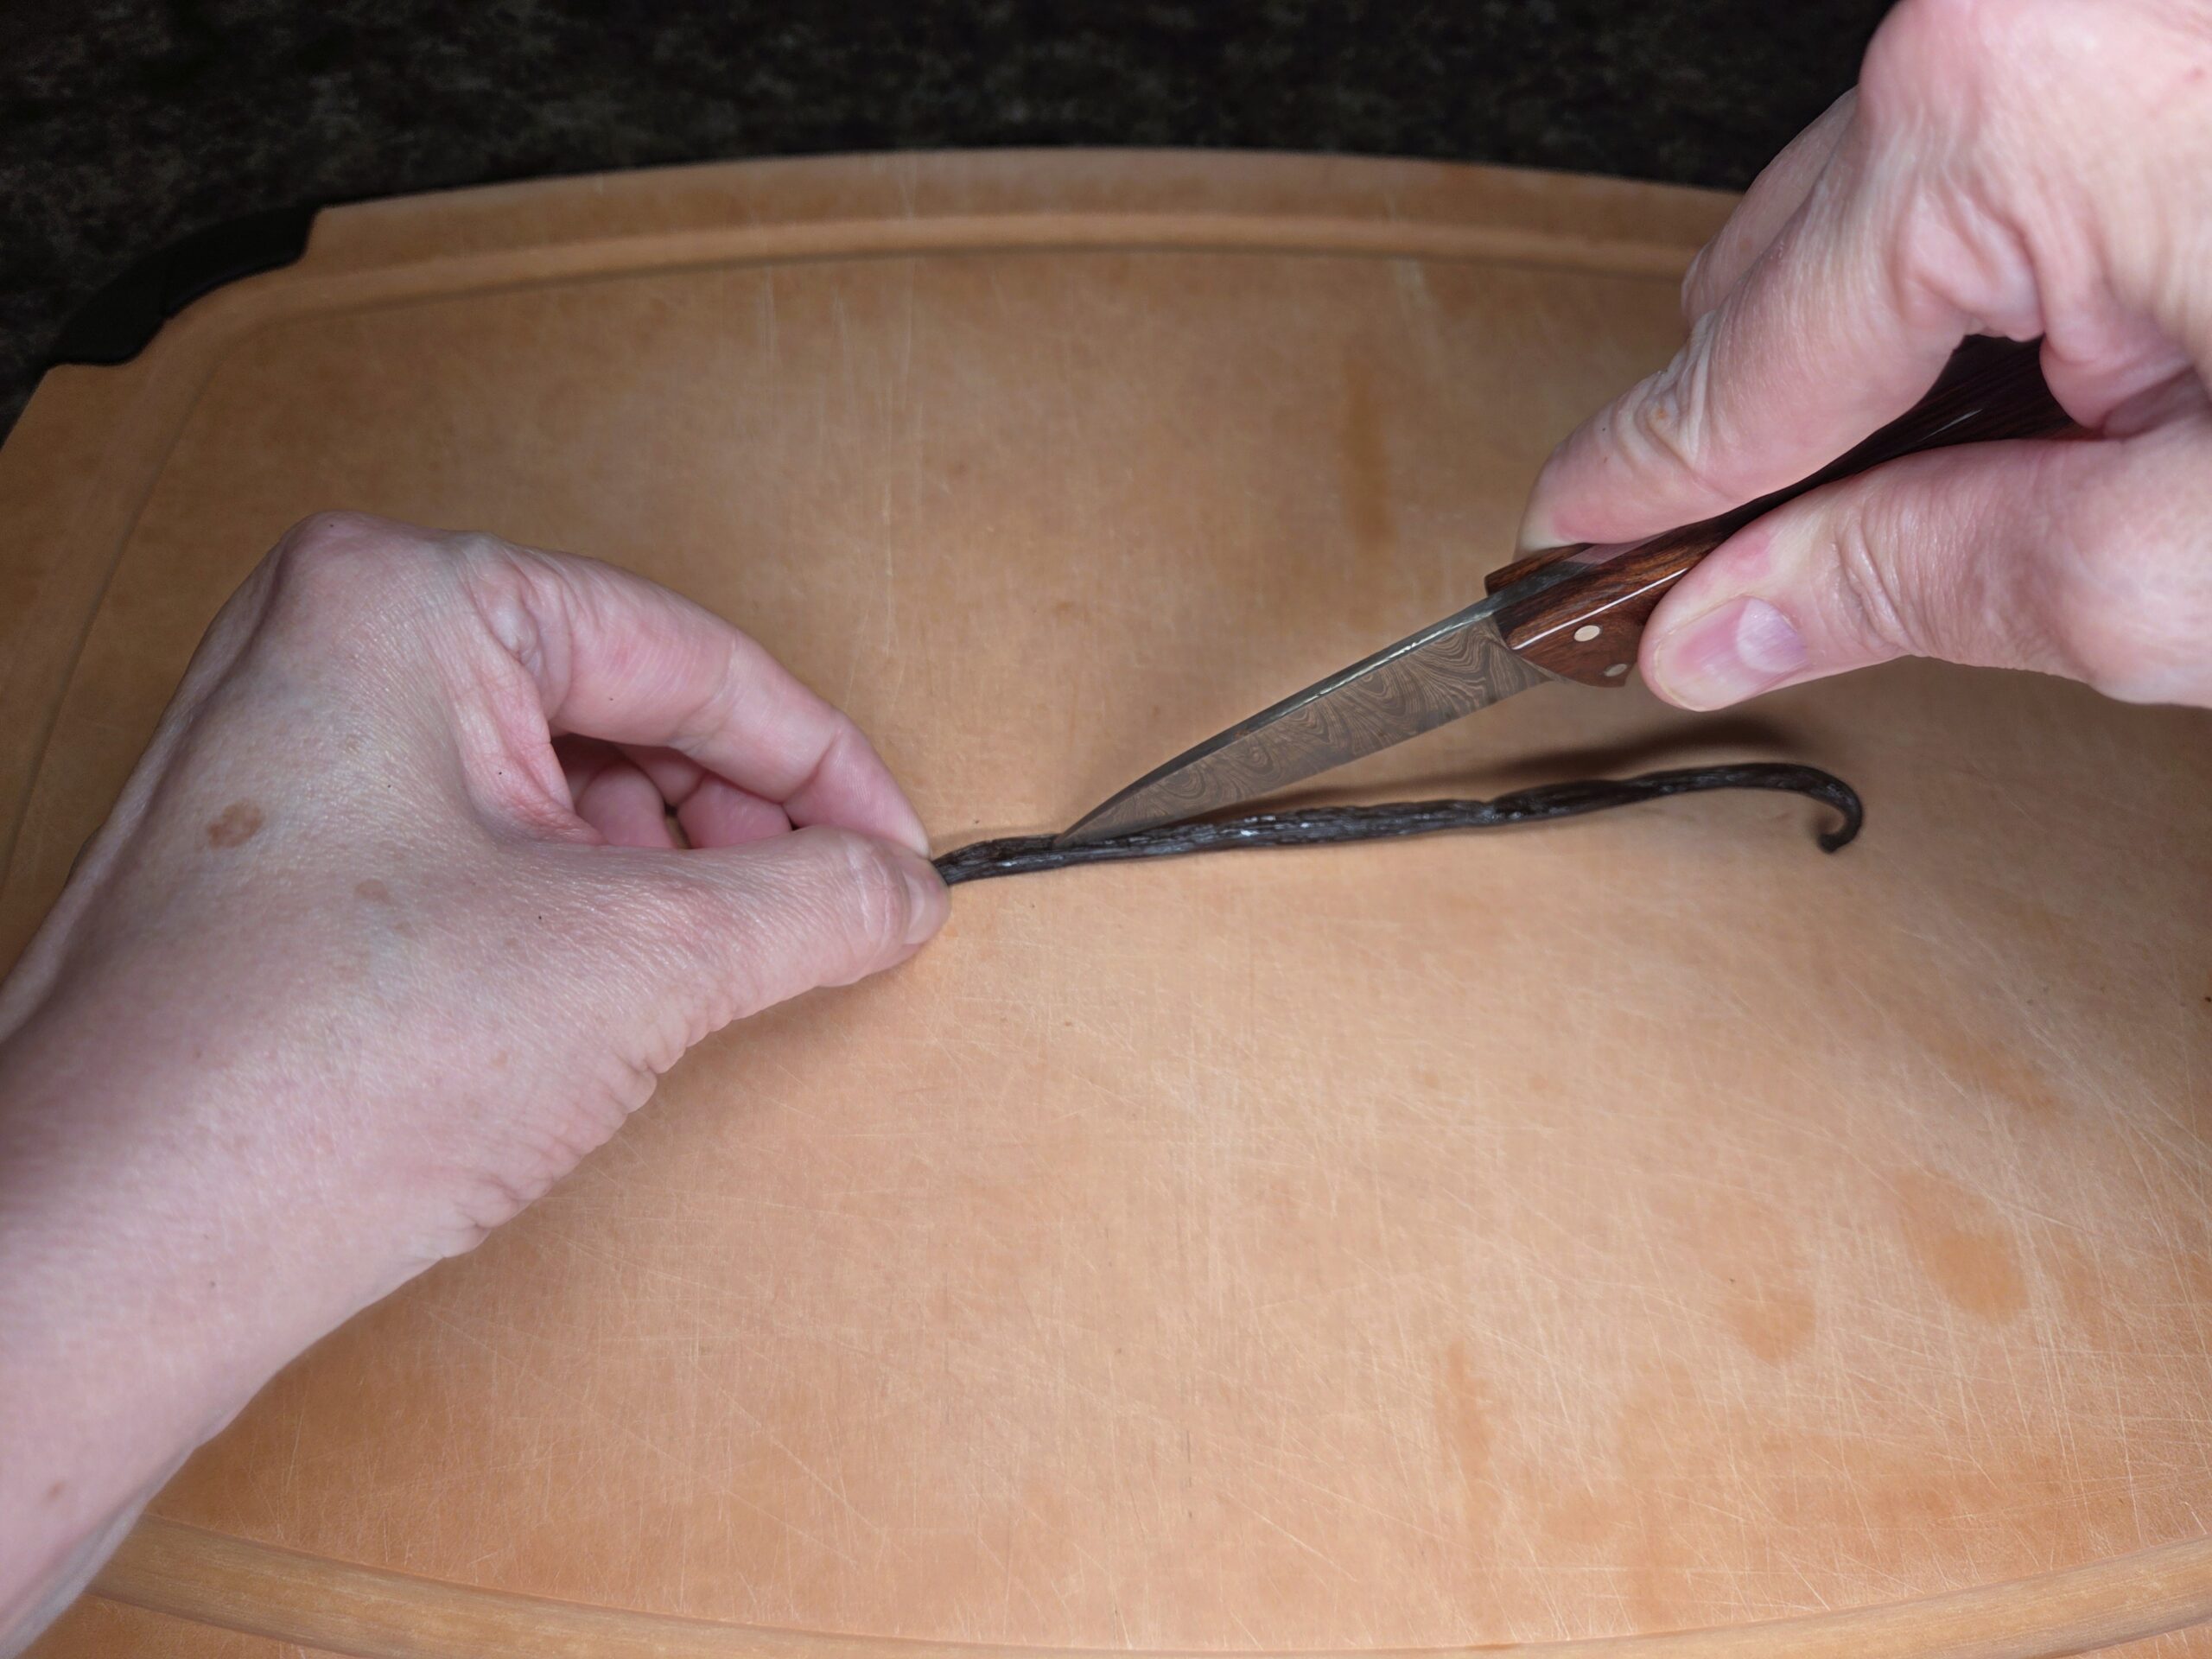
Preheat the oven to 325°F. Split one vanilla bean lengthwise with a sharp knife, then use the tip of the blade to gently scrape out the seeds.
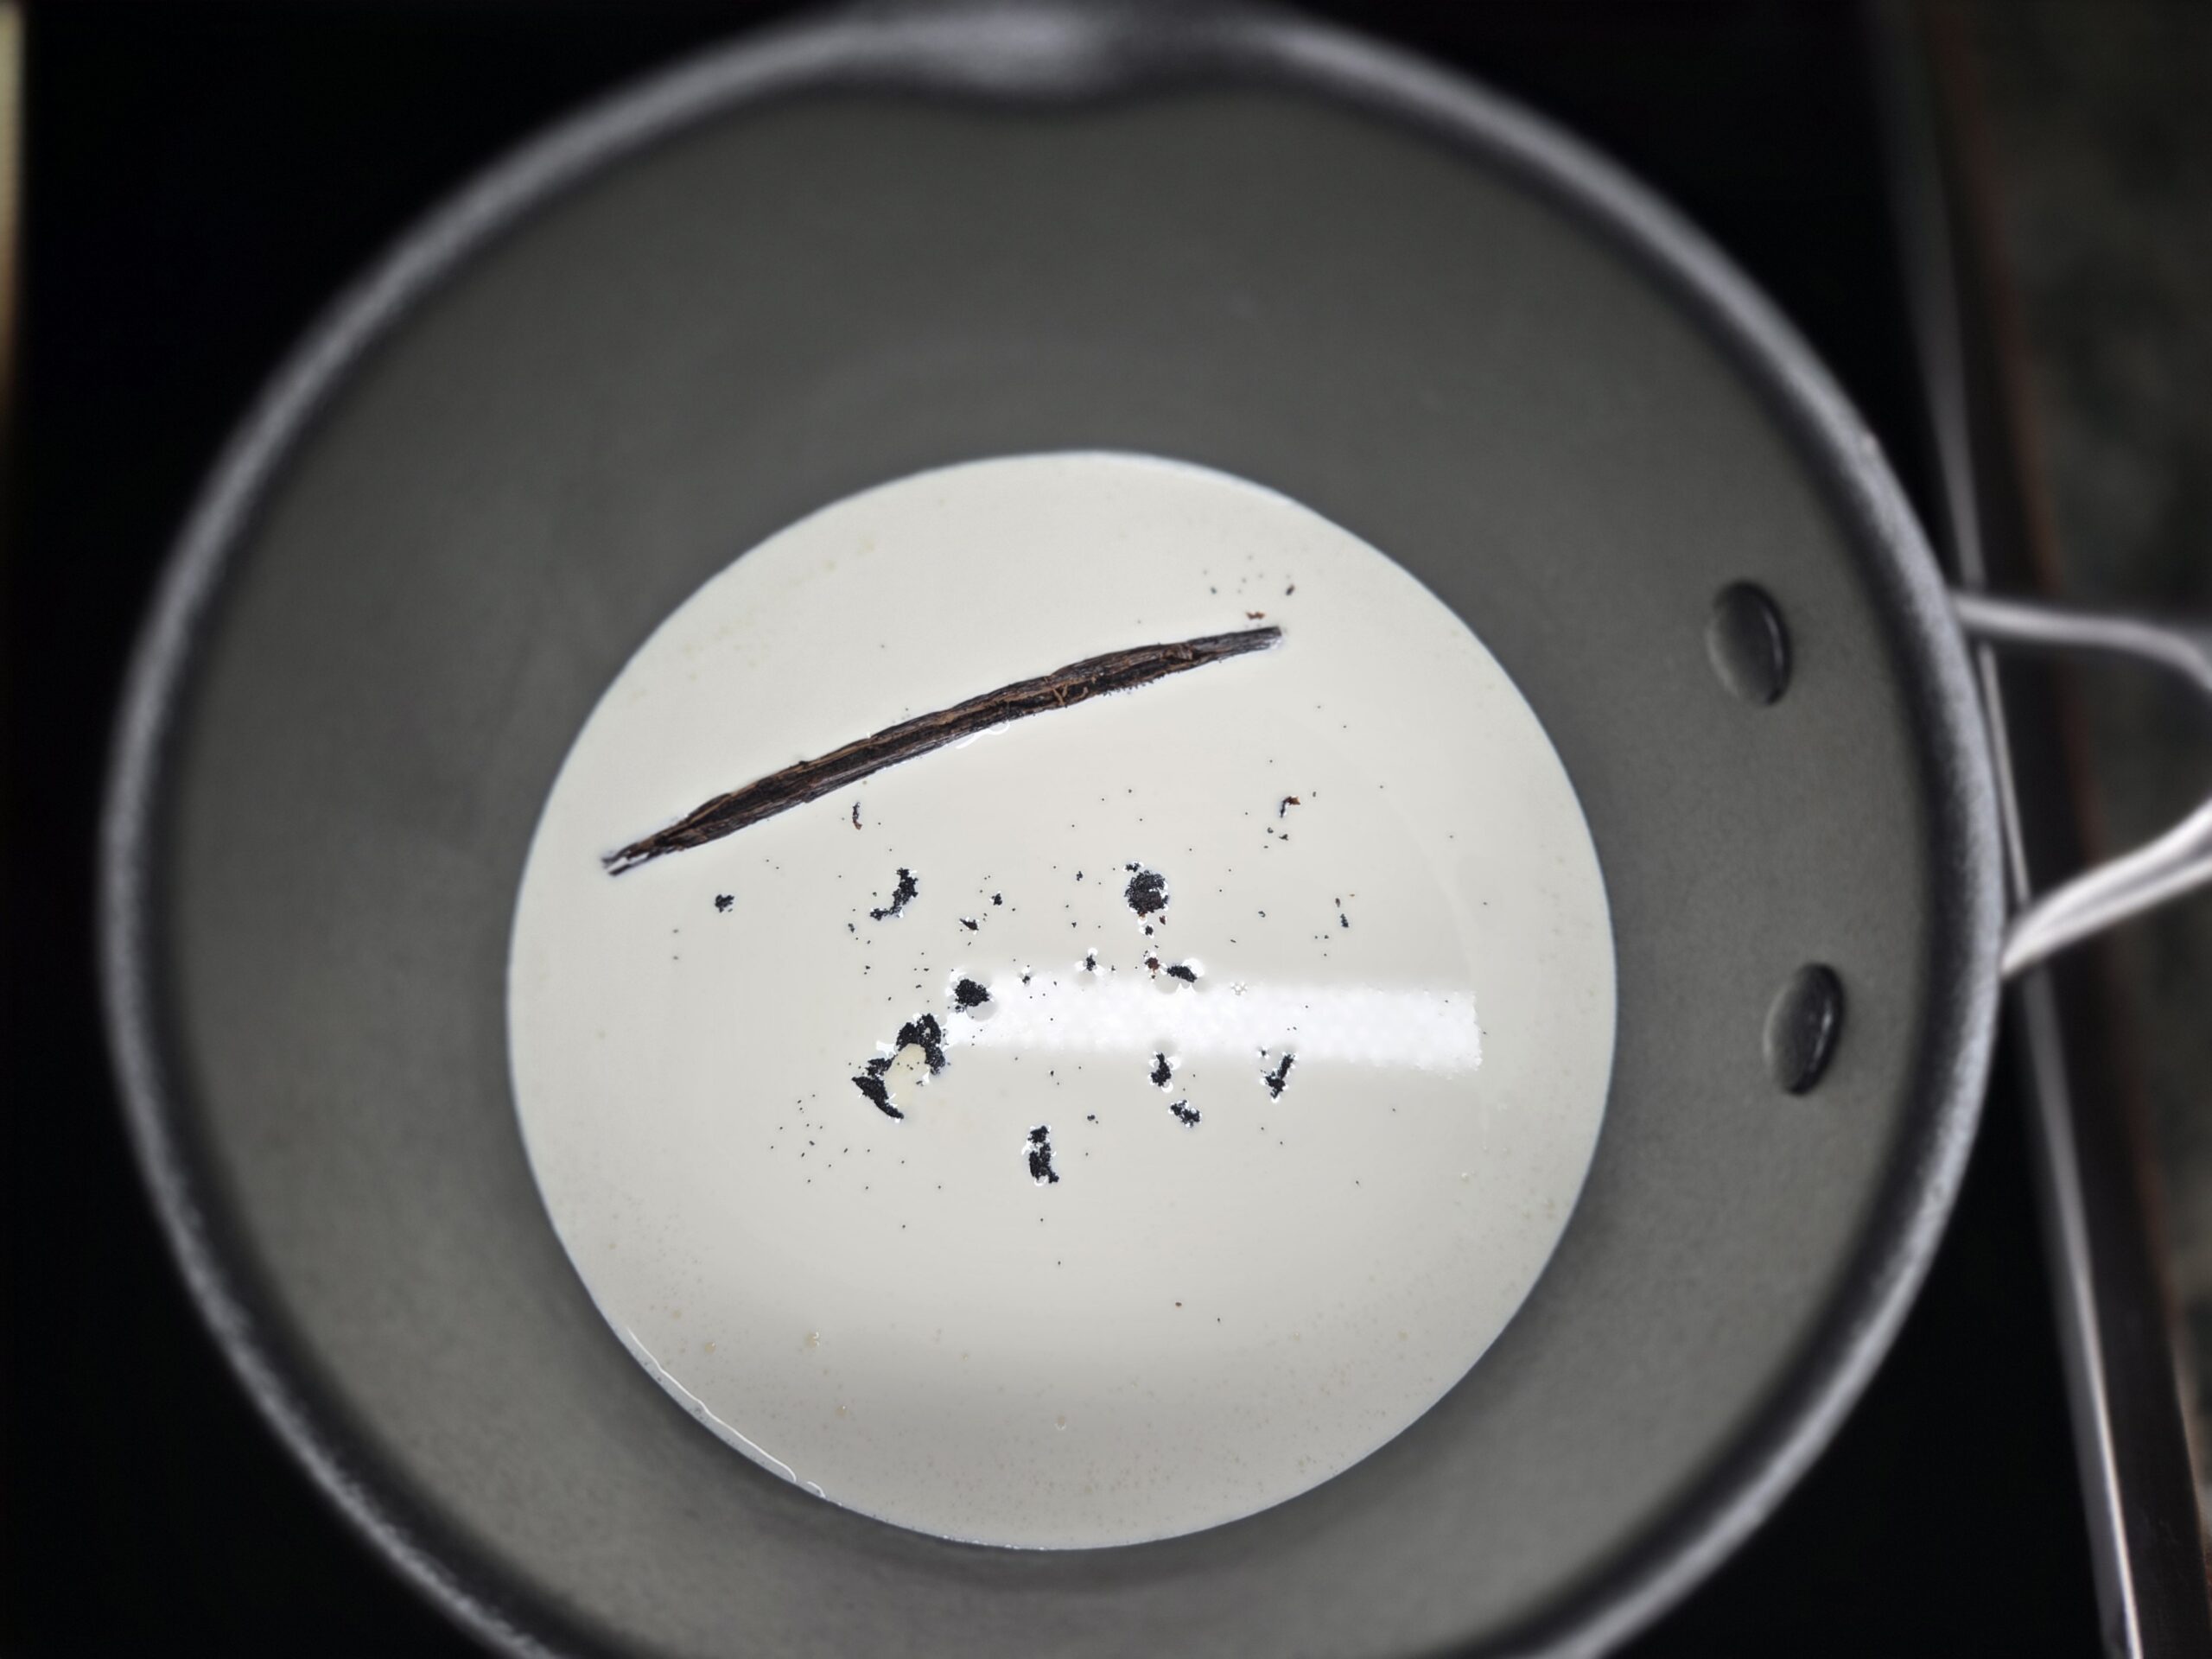
In a medium saucepan, combine 2¼ cups of heavy whipping cream, the vanilla bean seeds, and the scraped vanilla bean pod. Heat over medium until the cream is steaming and just beginning to bubble around the edges — do not let it boil. Remove from the heat and let it steep for 10–15 minutes to draw out maximum vanilla flavor.
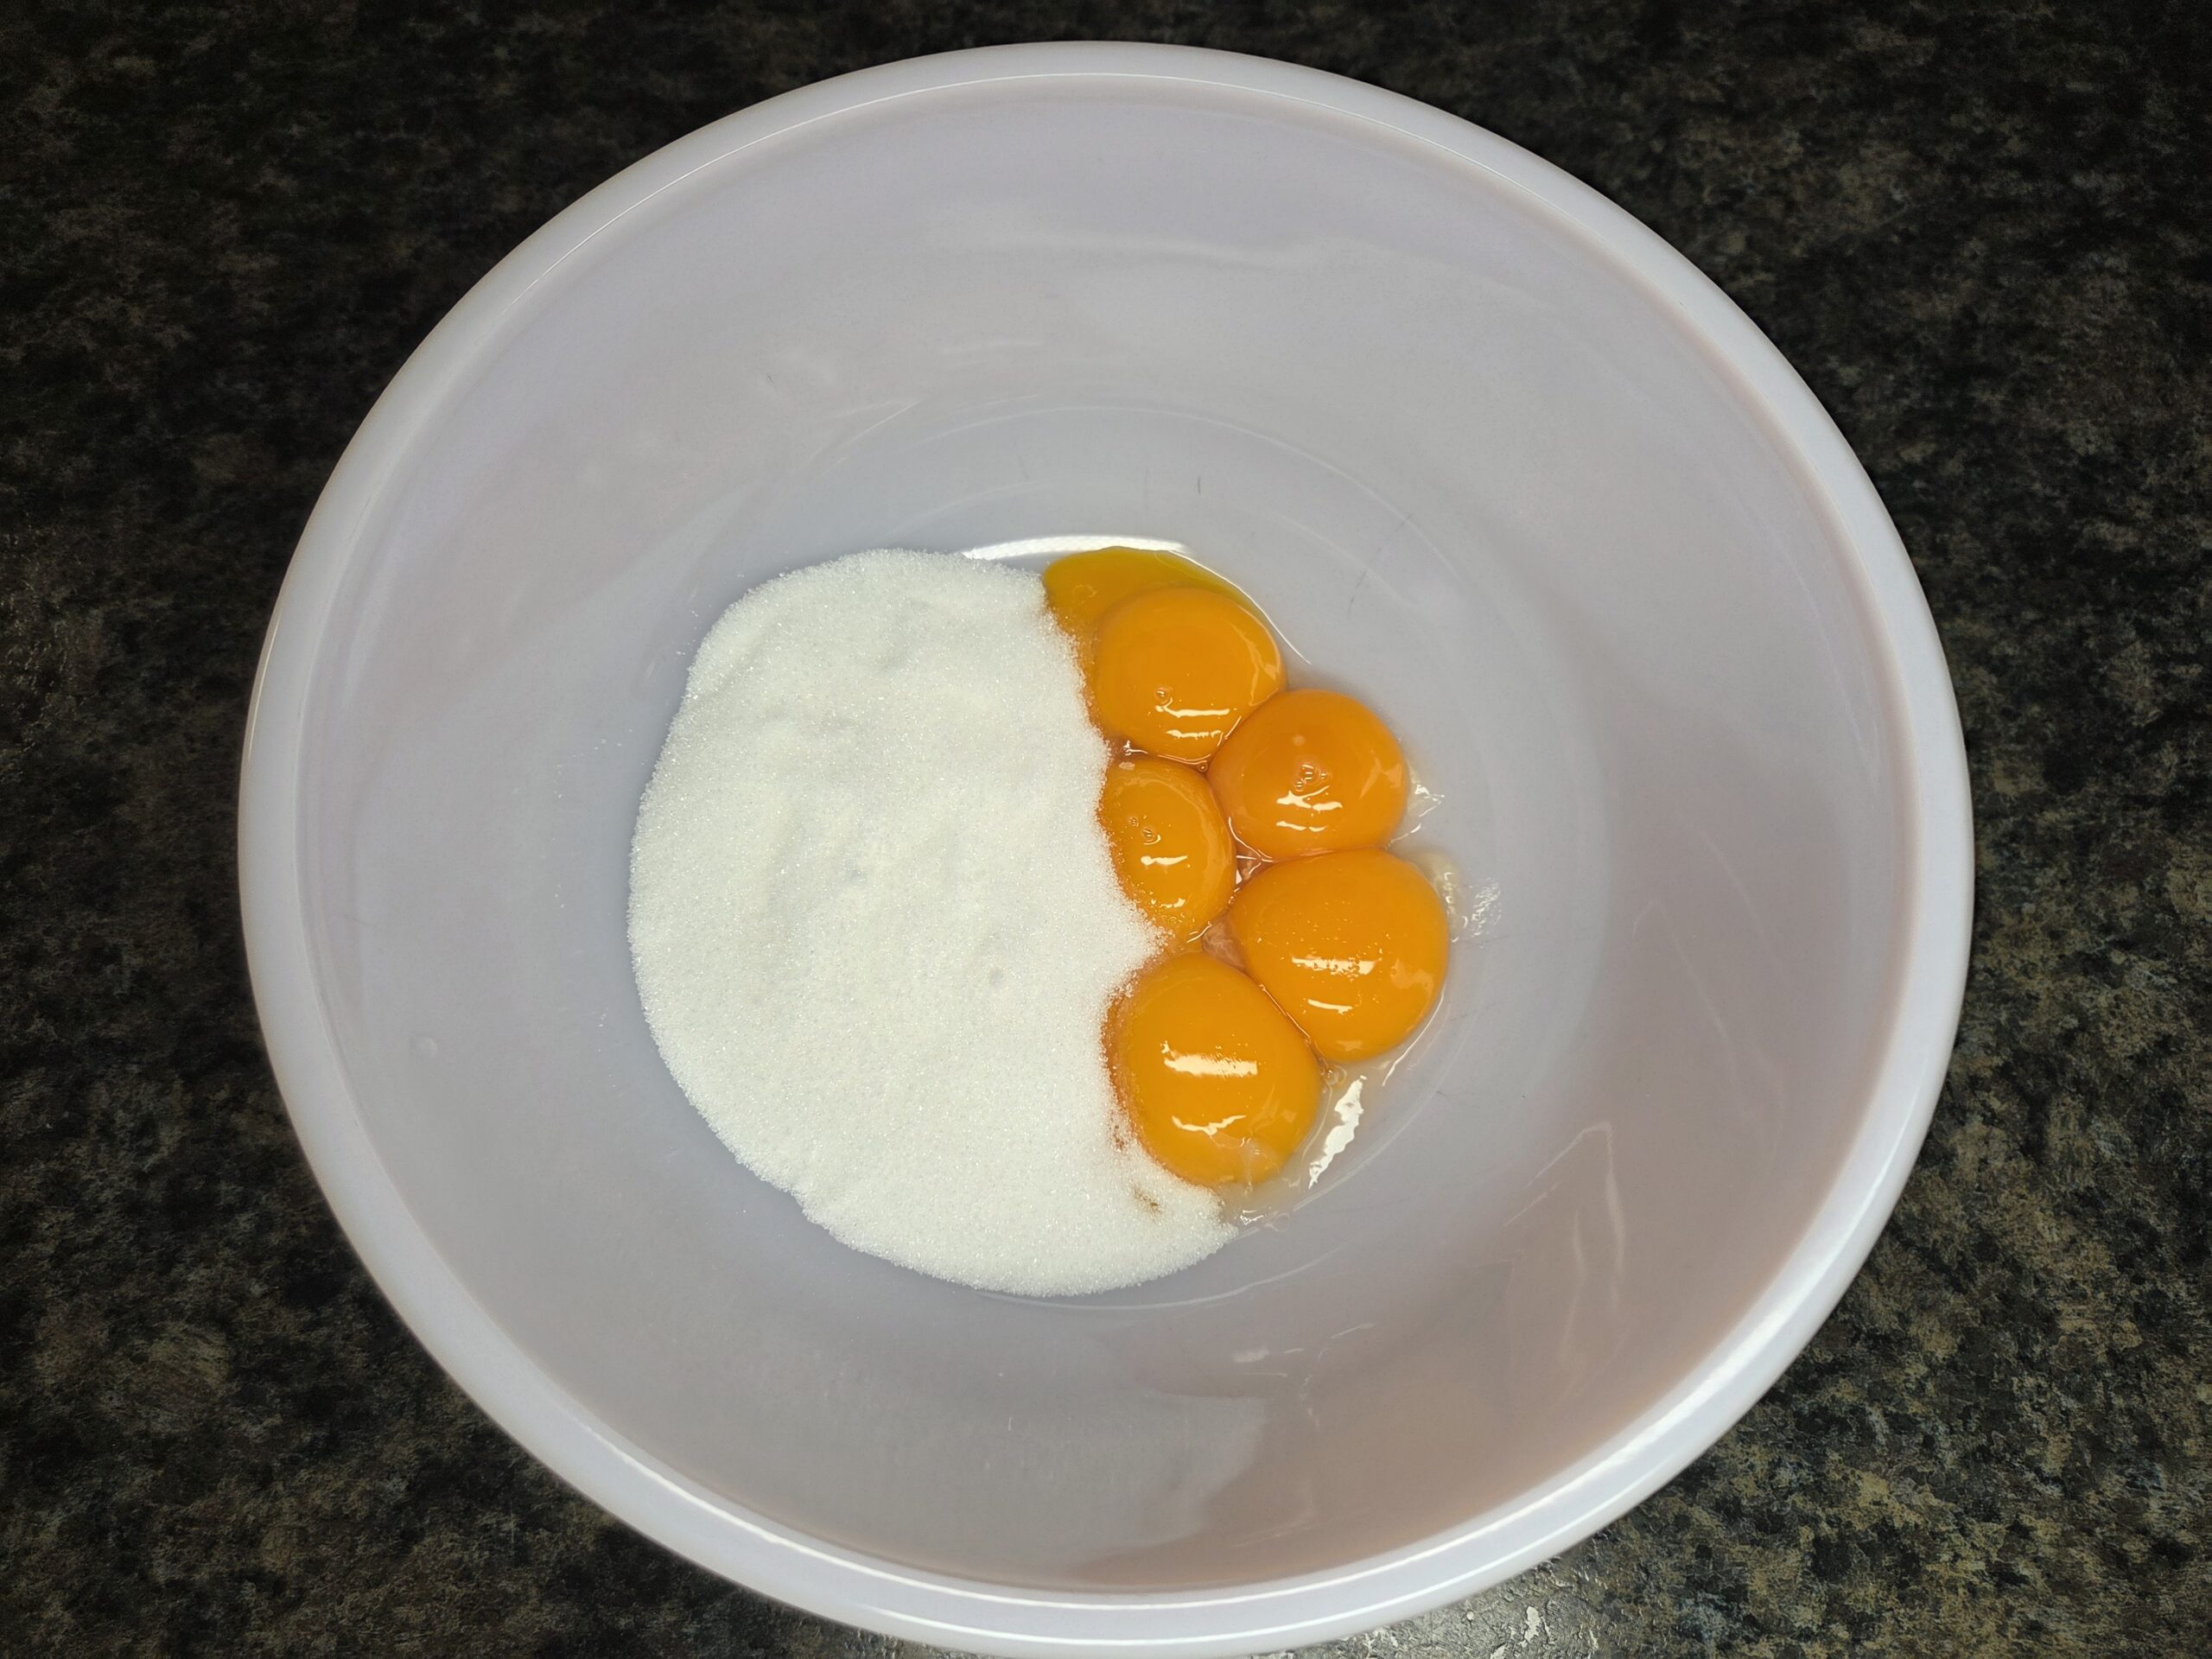
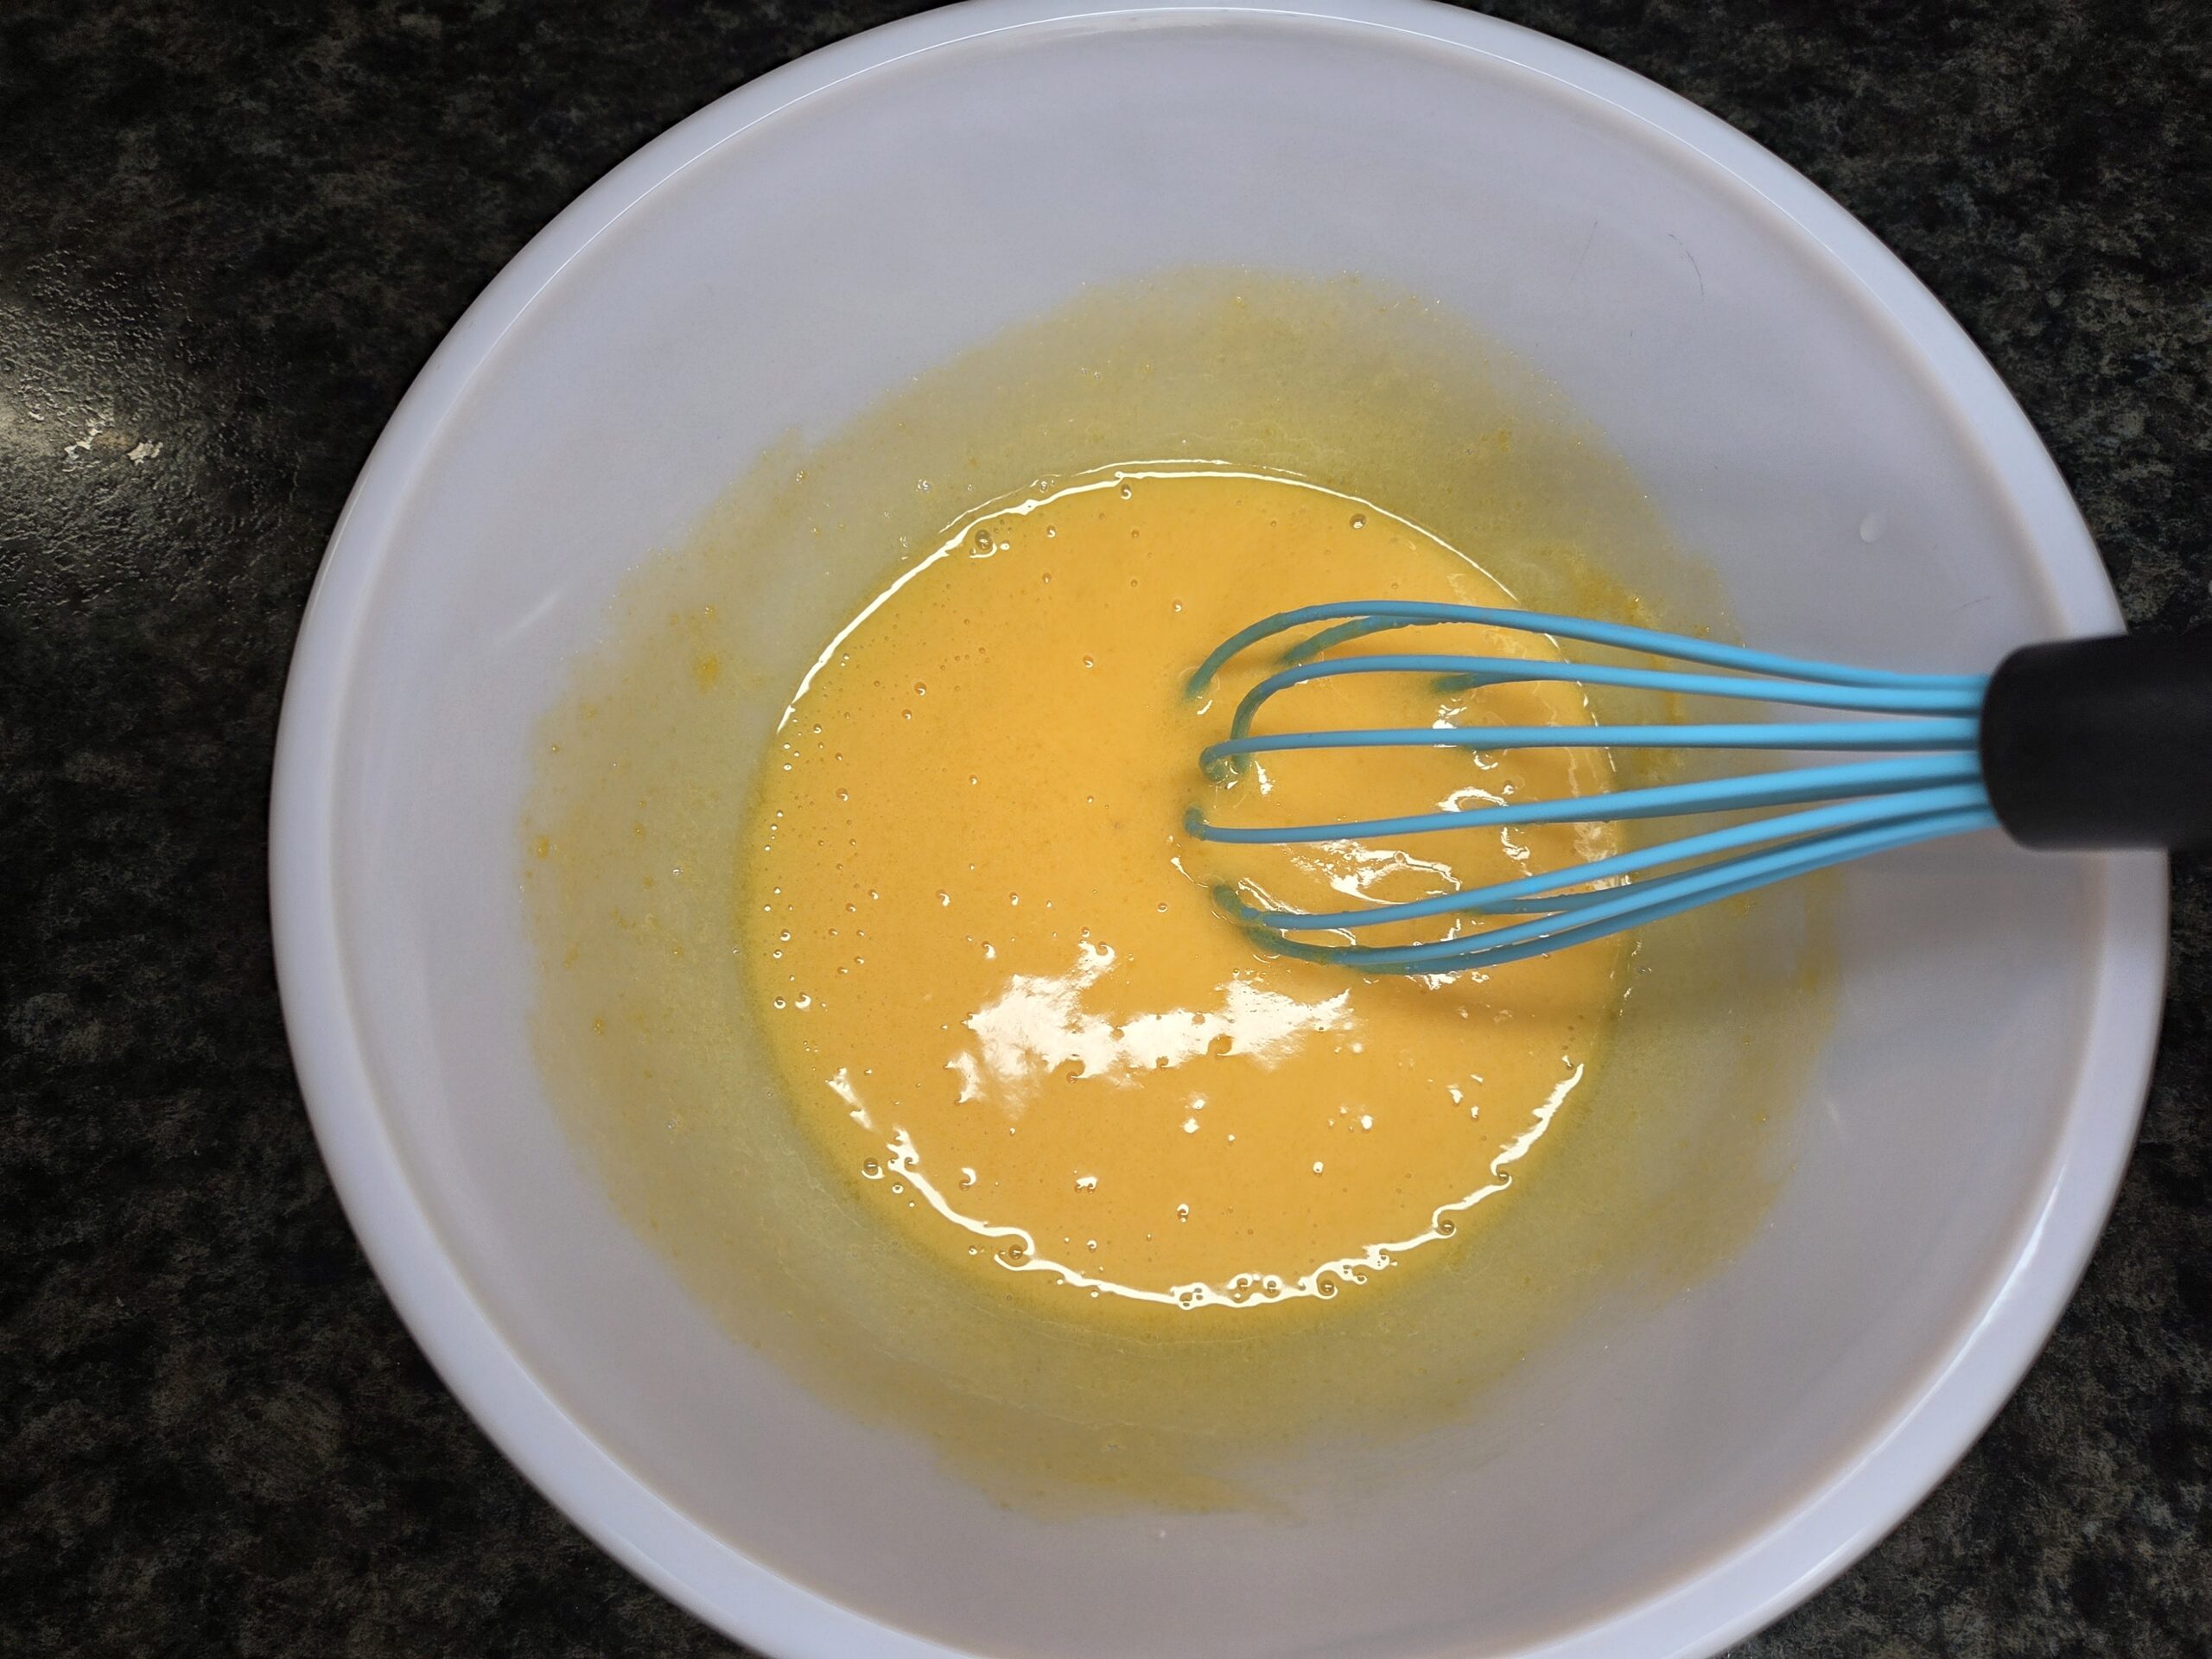
Whisk together 6 egg yolks, ½ cup of granulated sugar, and a pinch of salt until the mixture is smooth, pale, and slightly thickened.
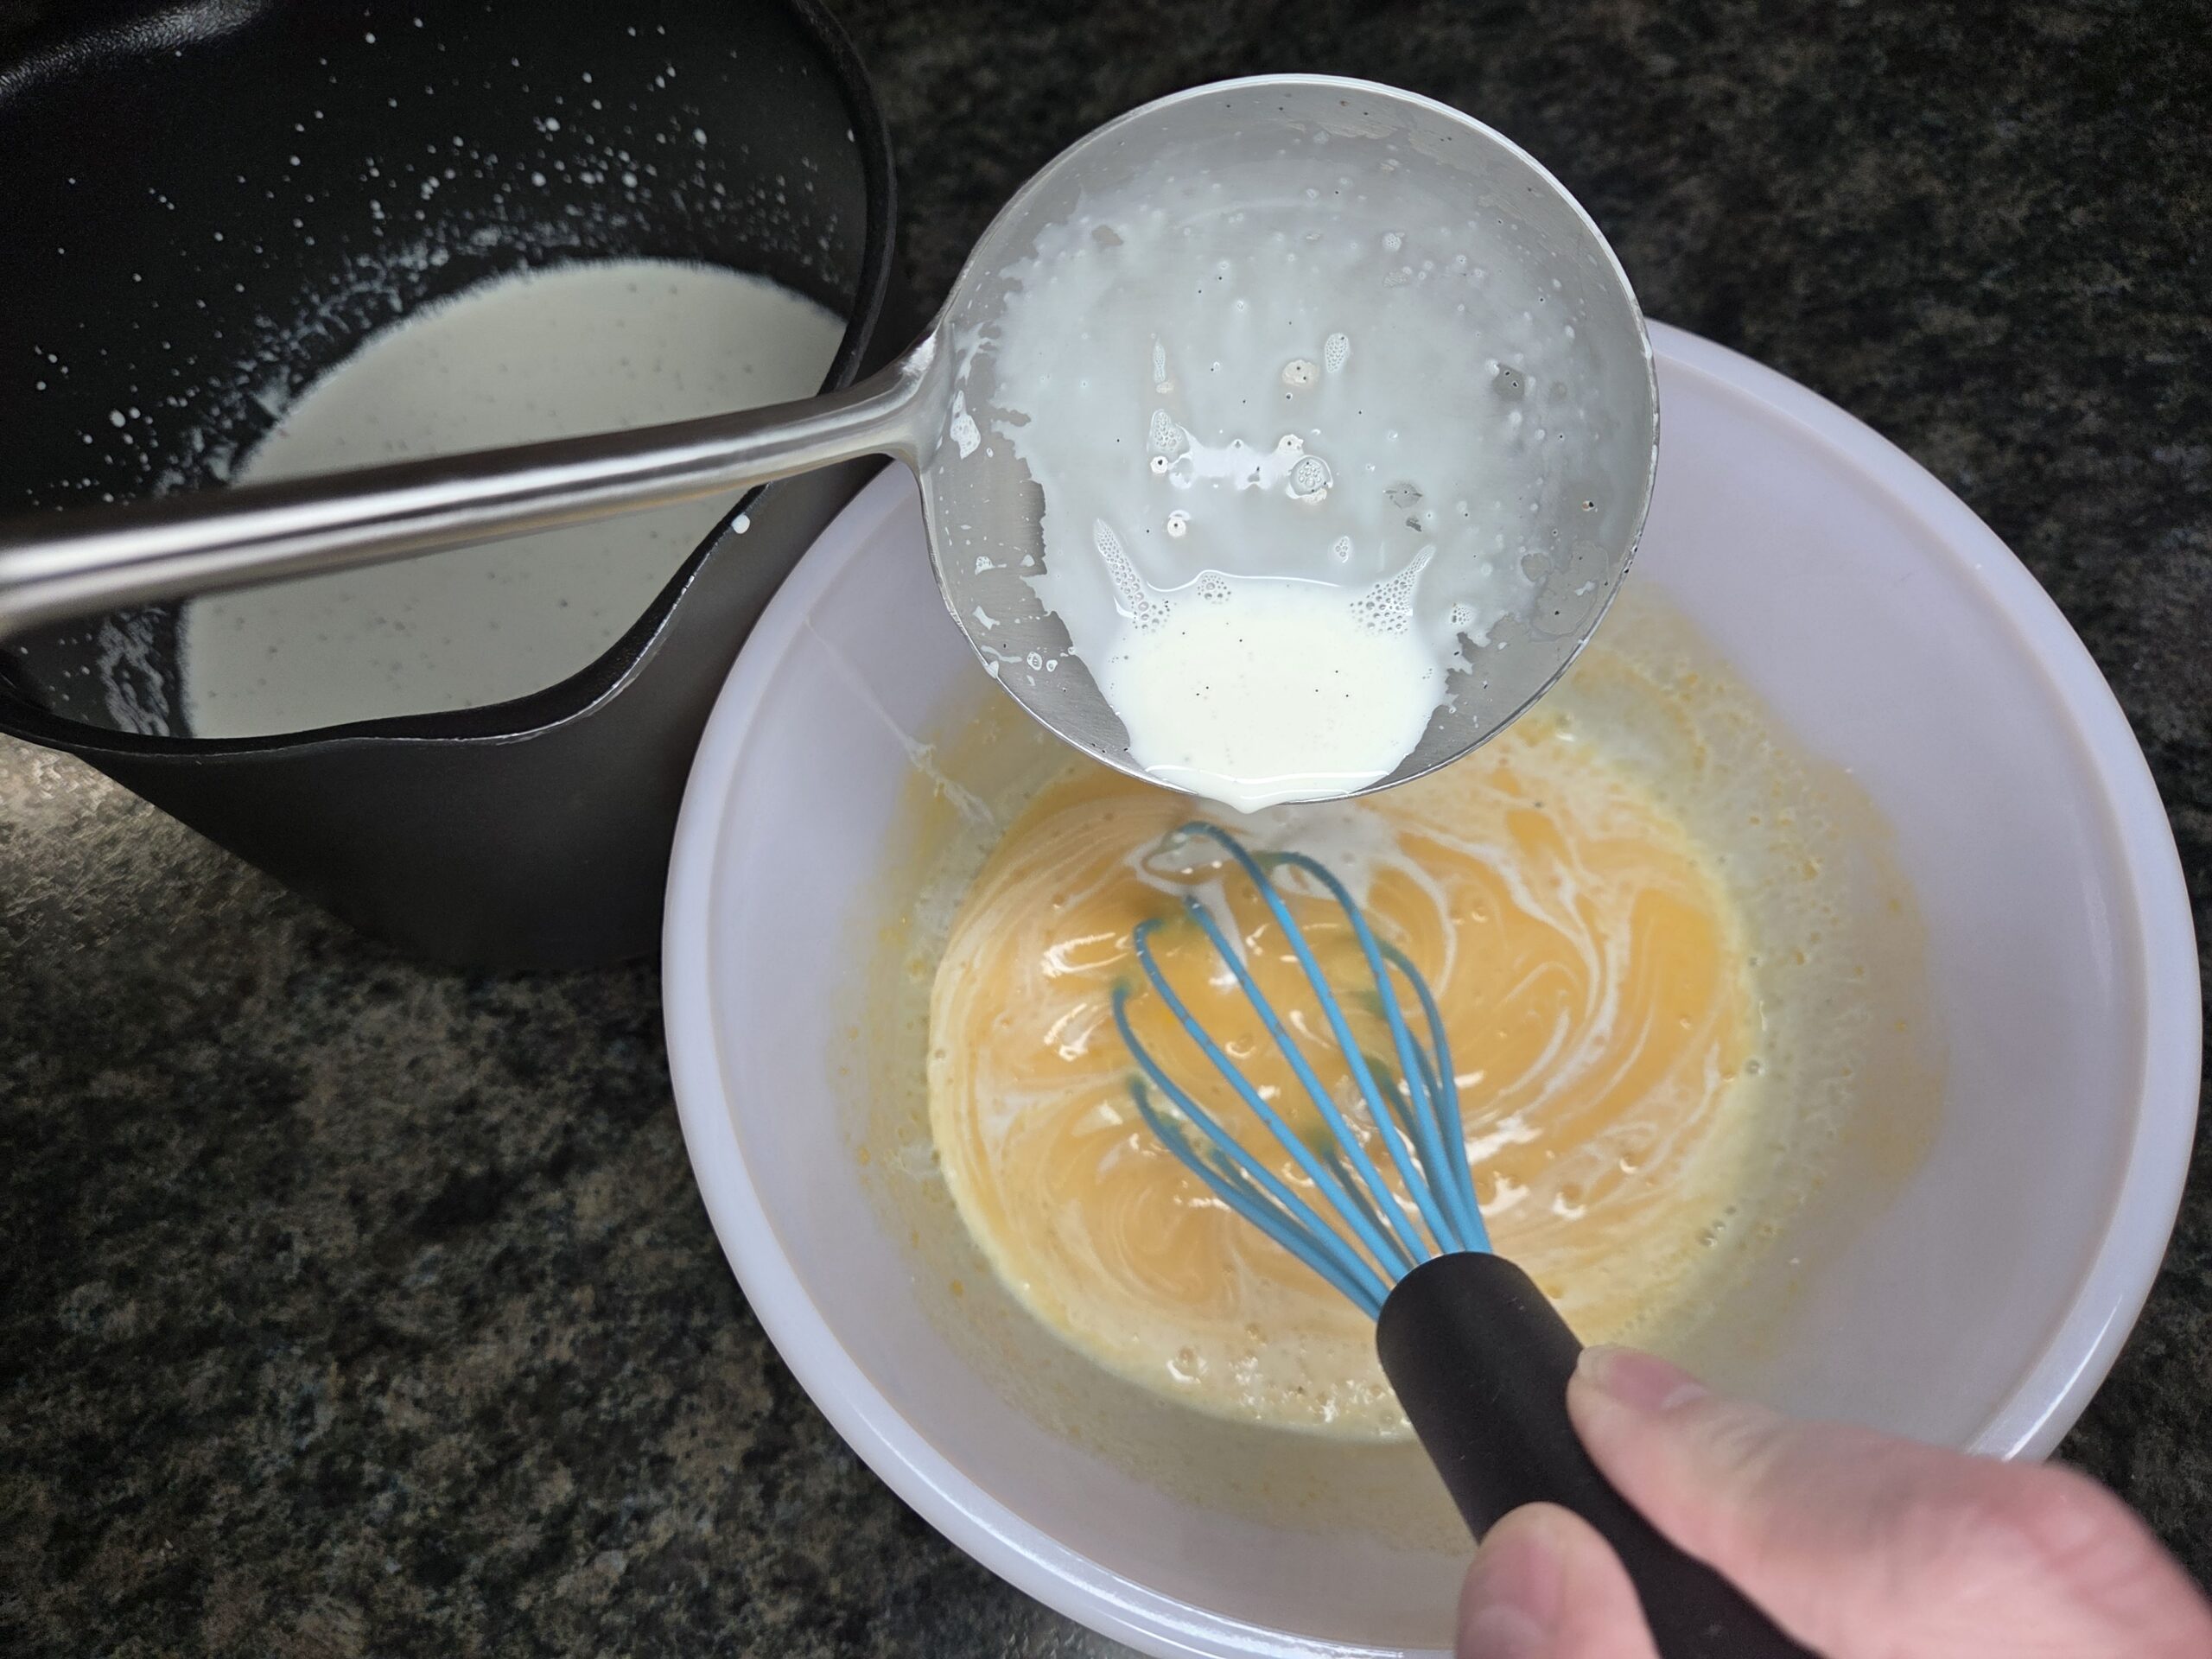
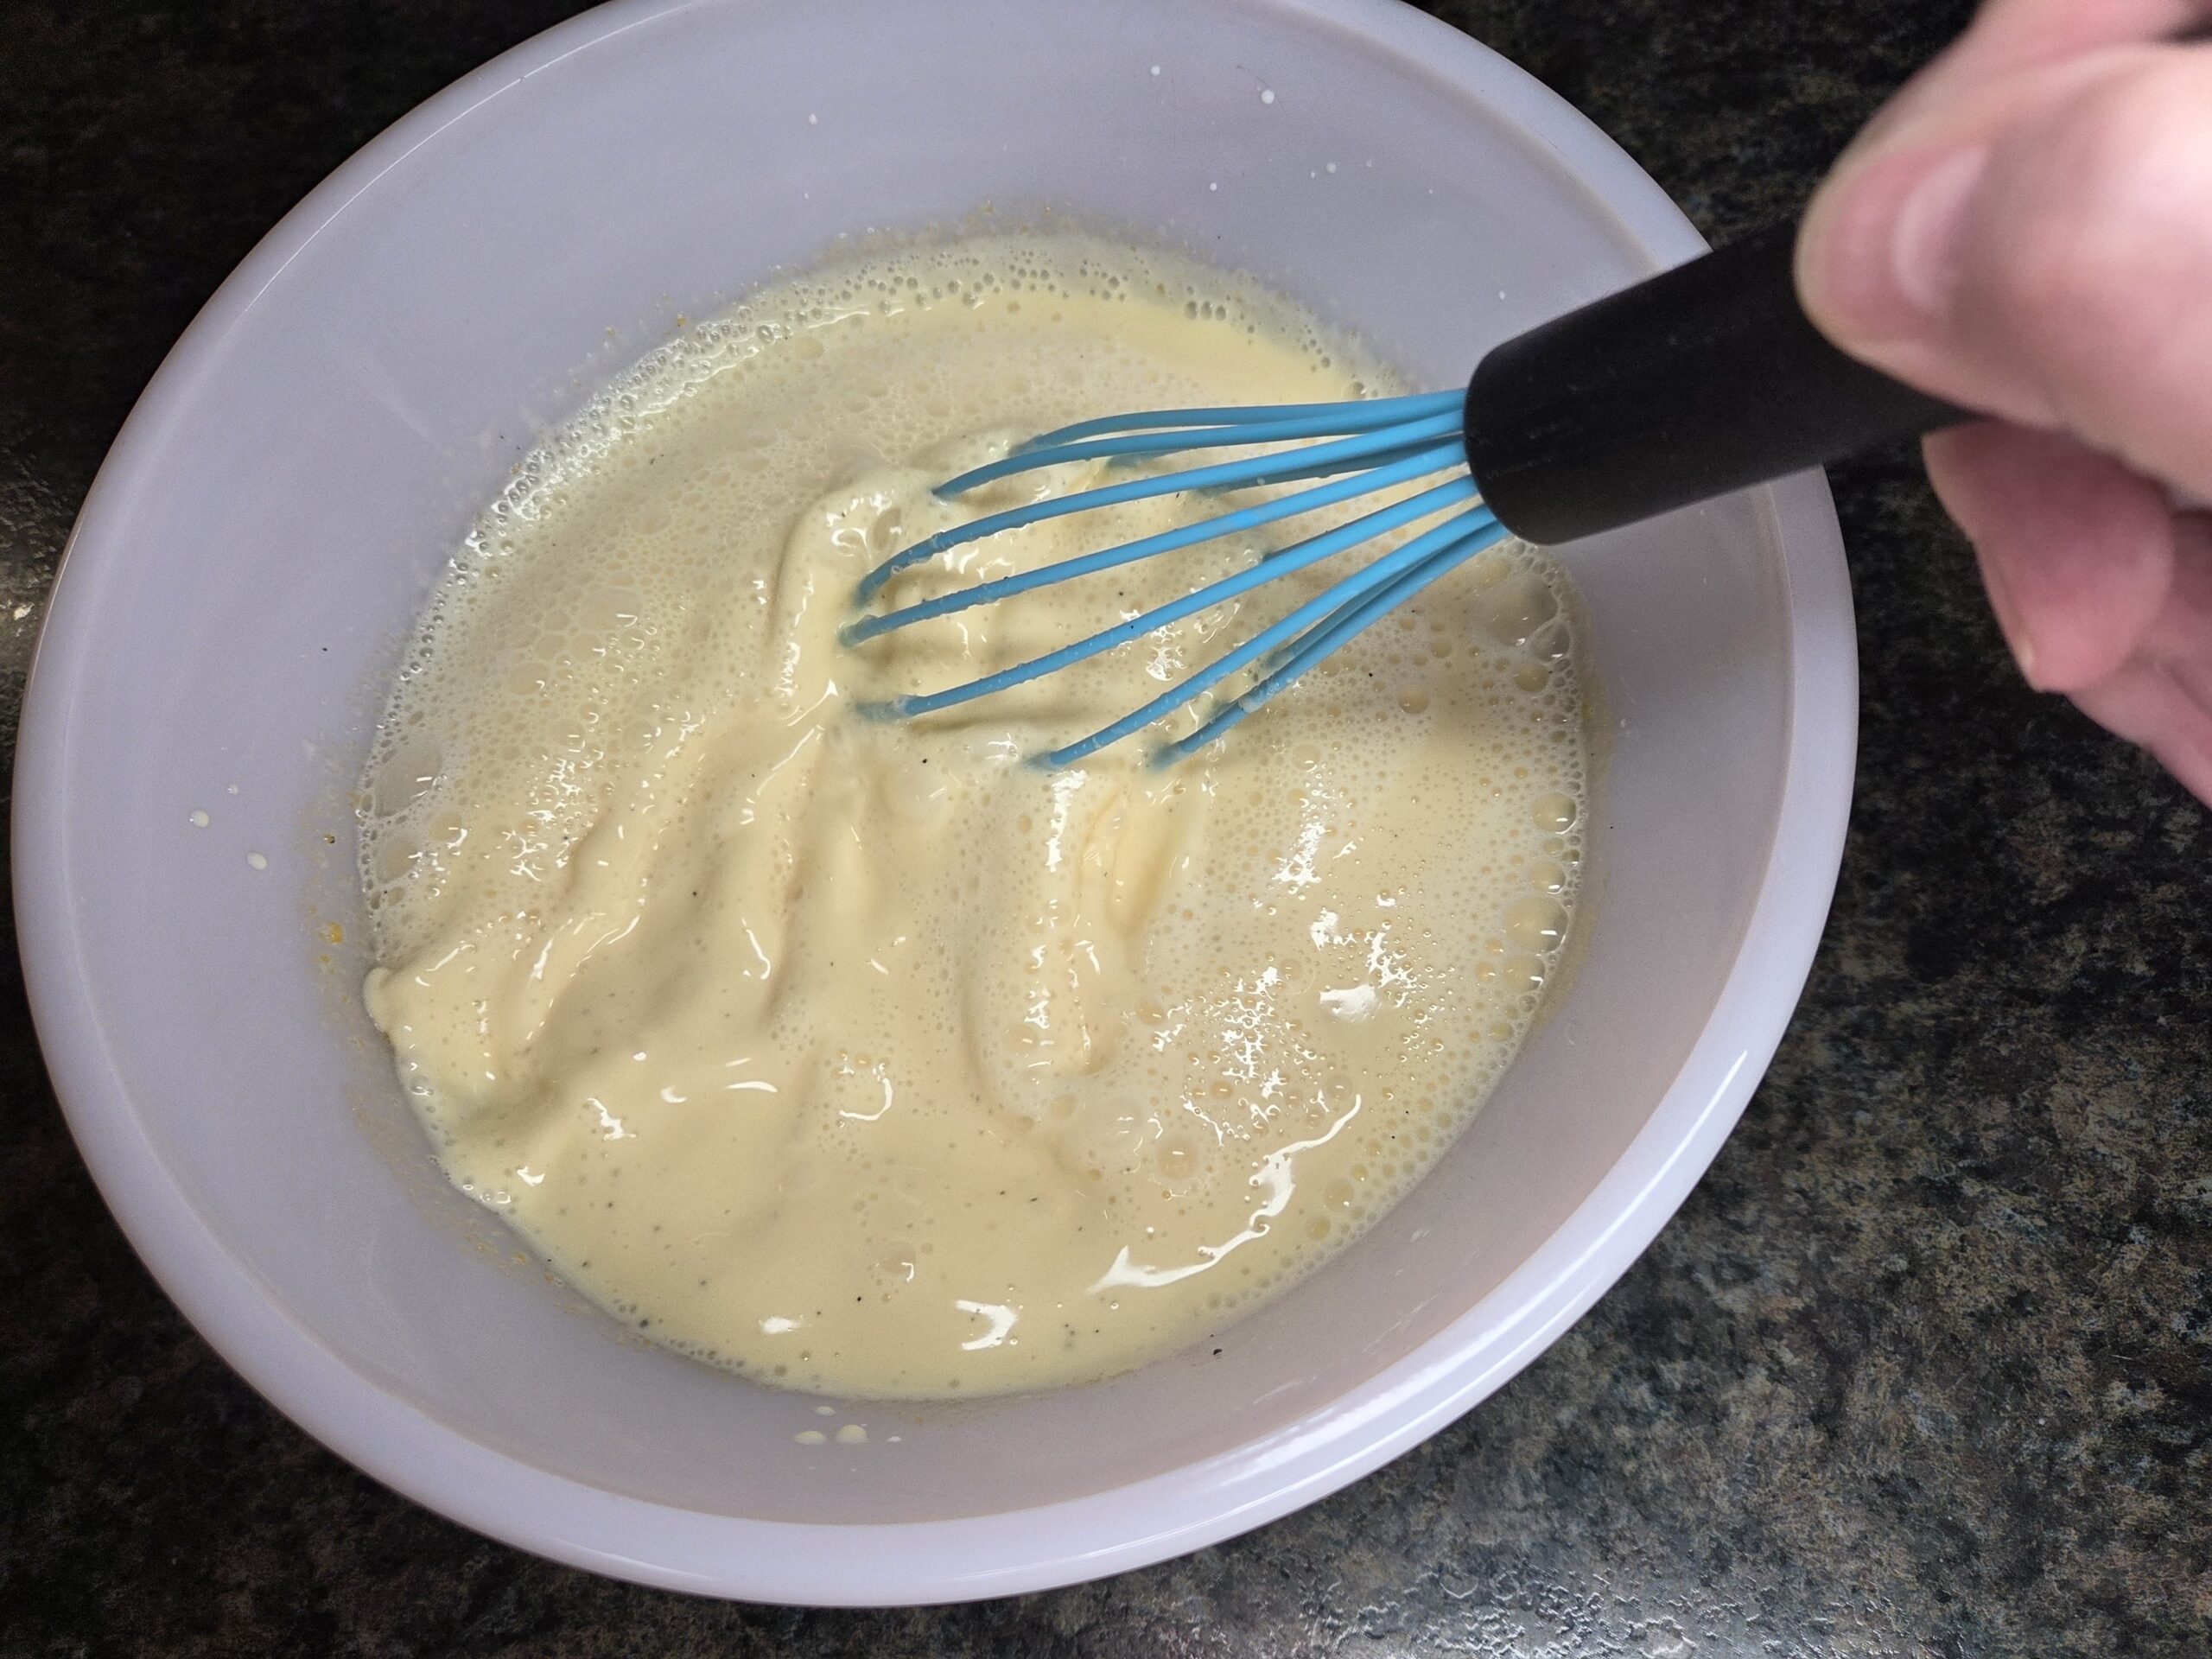
After the cream and vanilla bean have steeped, remove the vanilla bean pod from the cream, leaving the seeds behind. Give the cream and seeds a quick whisk to blend them, then slowly whisk the warm vanilla‑infused cream into the egg mixture, whisking constantly.
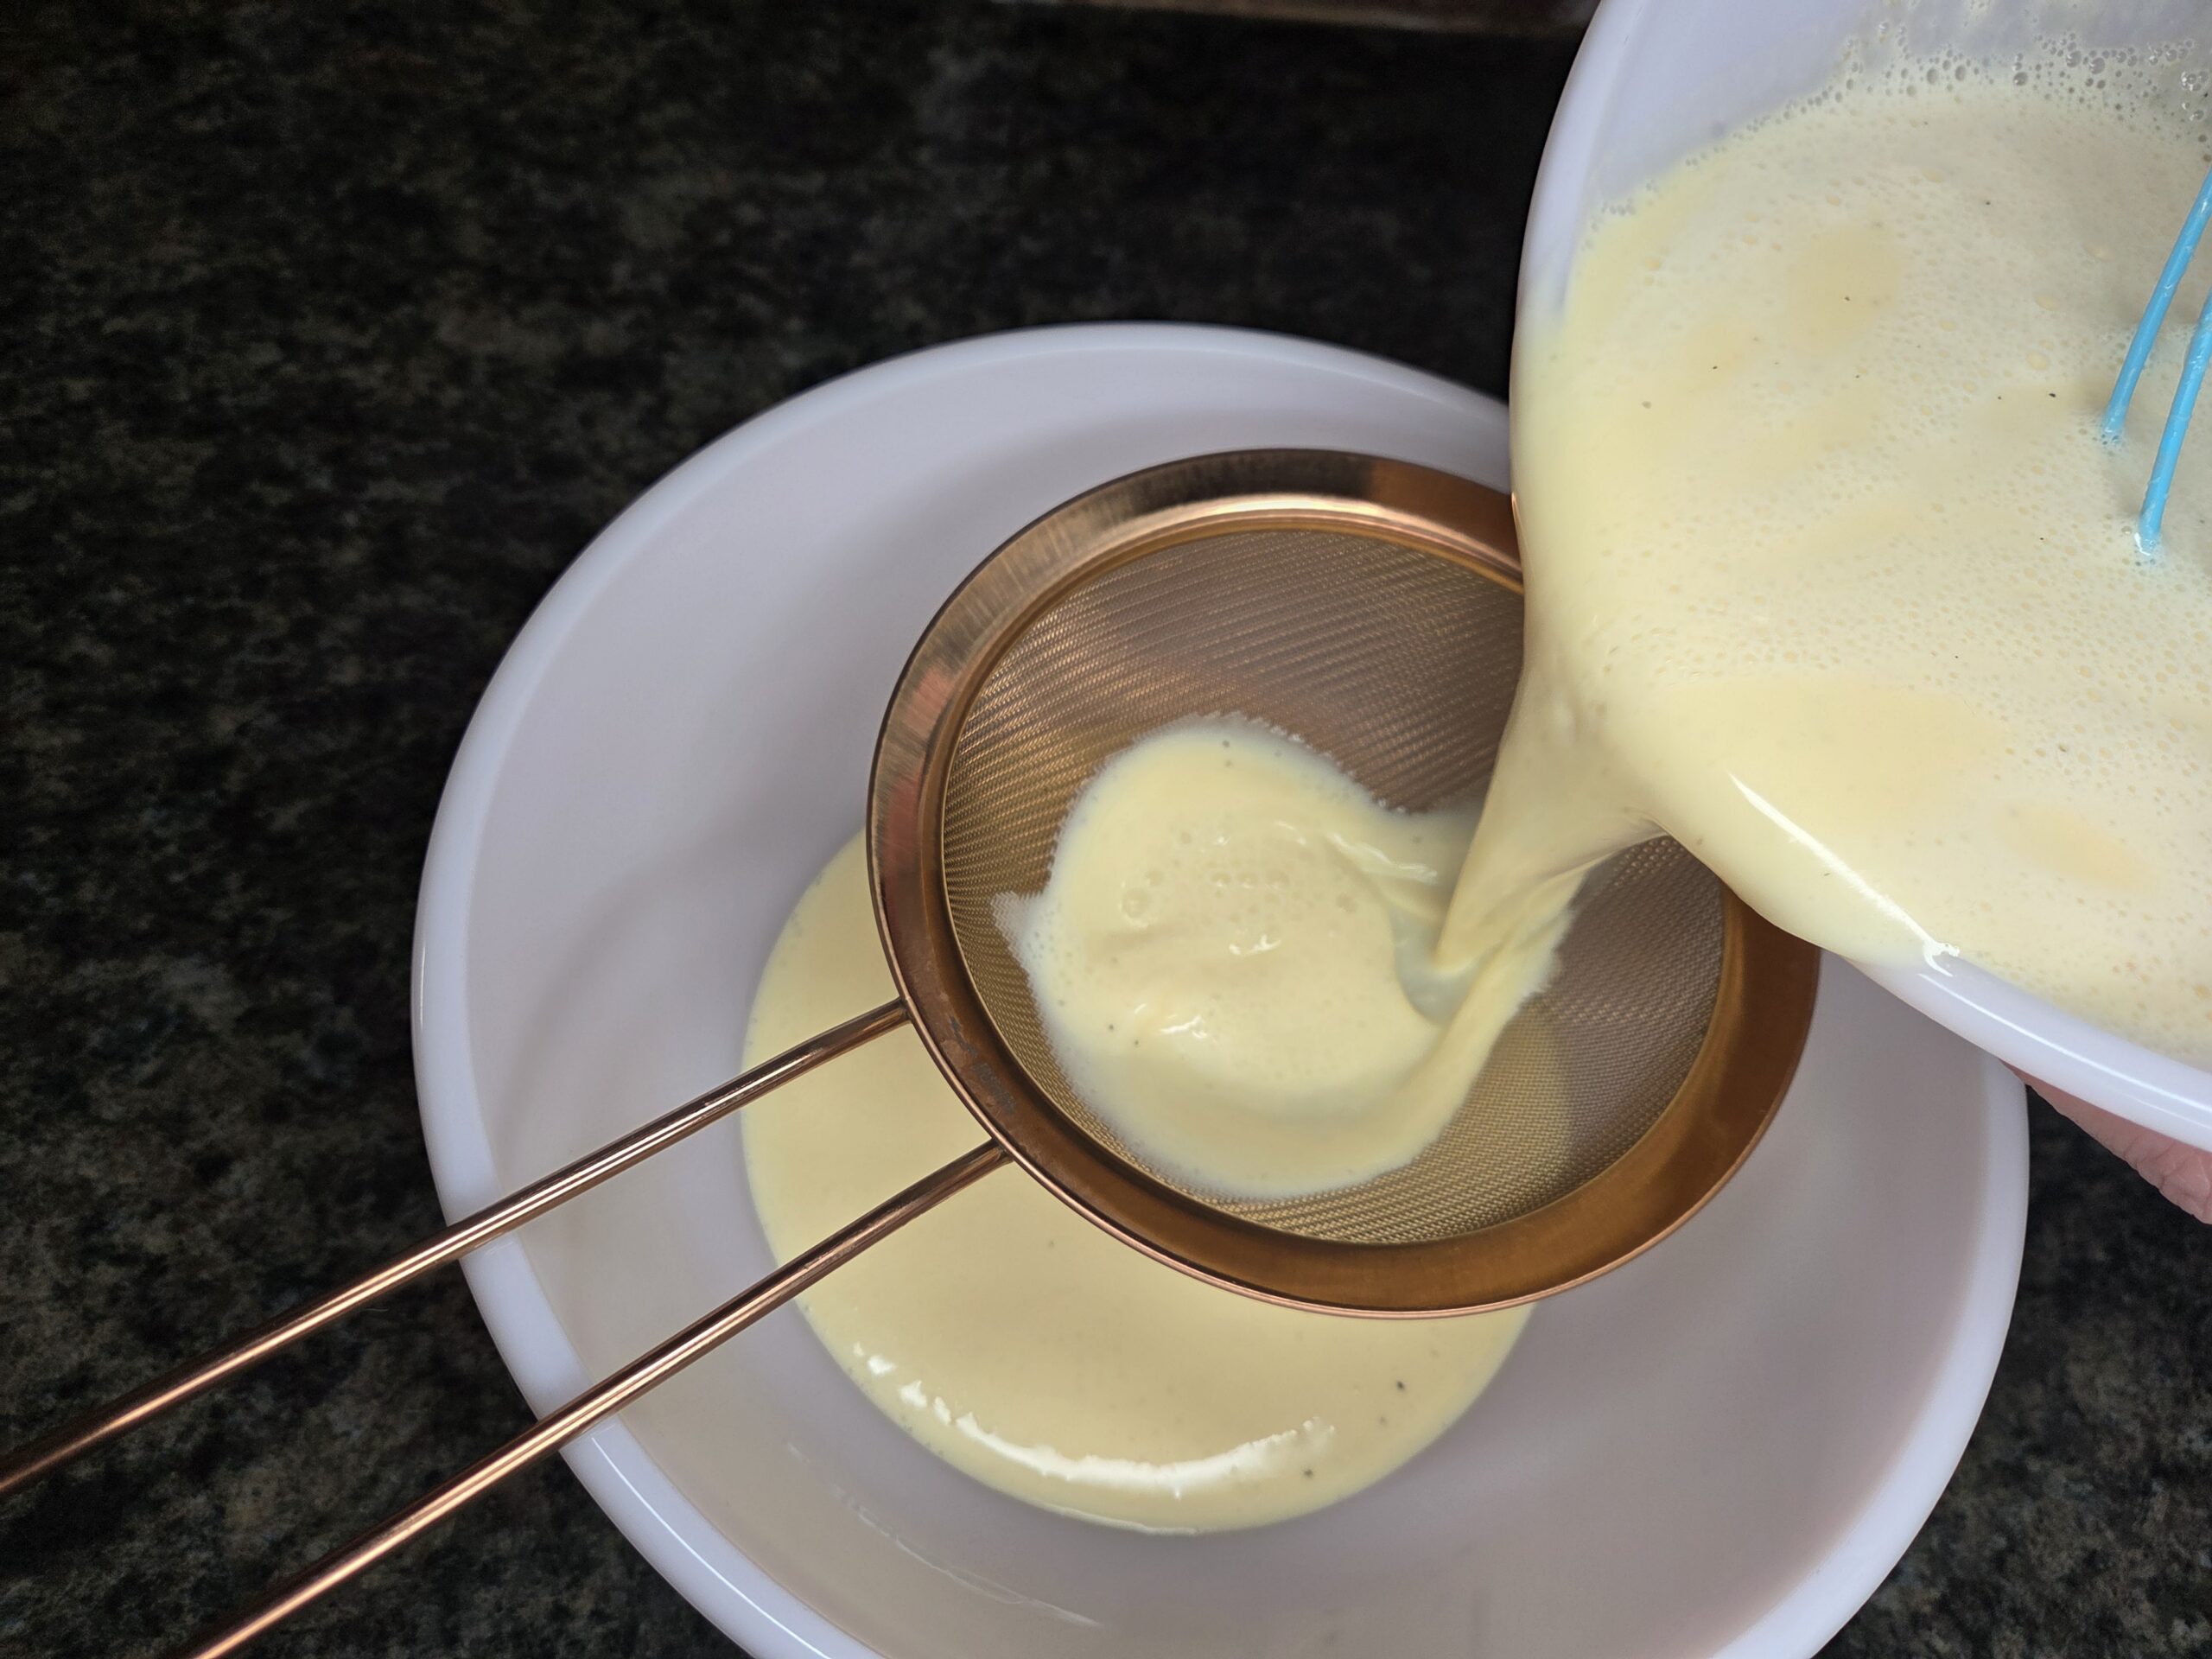
Carefully pour the custard through a fine‑mesh strainer into a clean, large bowl. This removes any bits of egg that may have cooked and ensures a perfectly silky‑smooth custard.
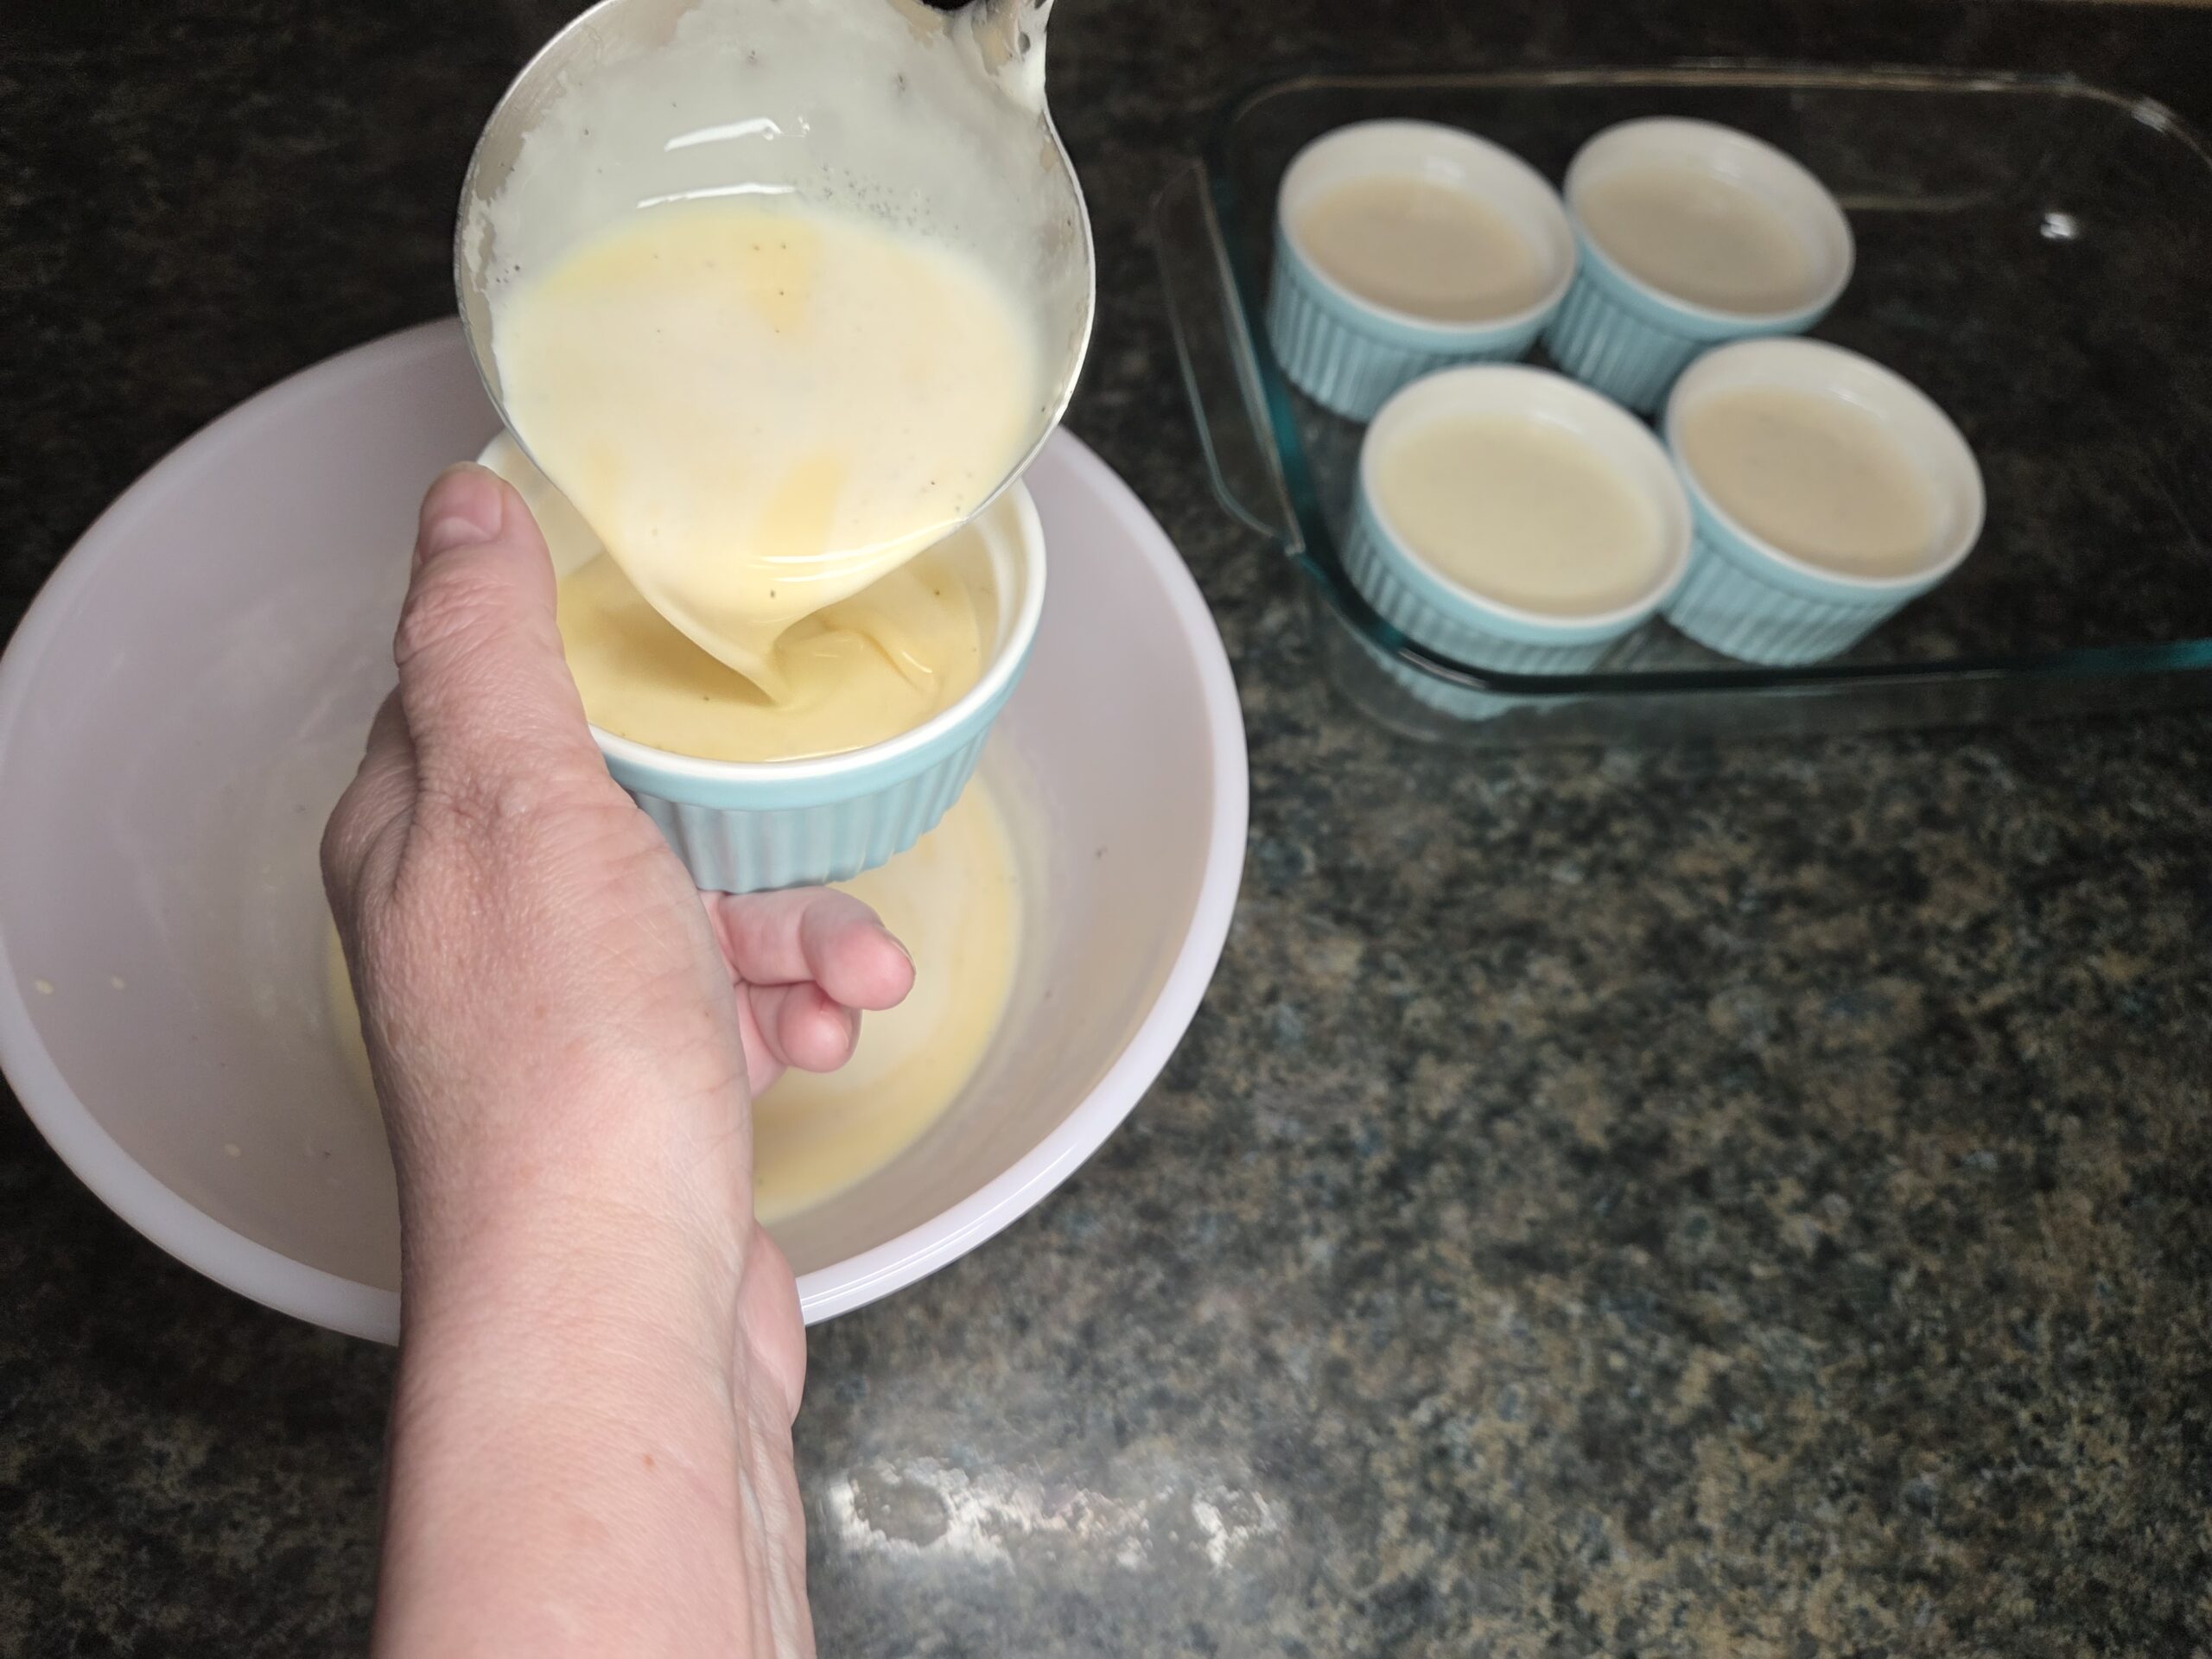
Pour the strained custard into the ramekins; the ones shown in the photo are 4‑ounce dishes. Arrange the filled ramekins inside a larger baking dish — a 9×13‑inch casserole dish works perfectly. Placing the ramekins in a larger dish allows you to create a water bath, which surrounds the custards with gentle, even heat so they bake slowly without curdling or cracking.
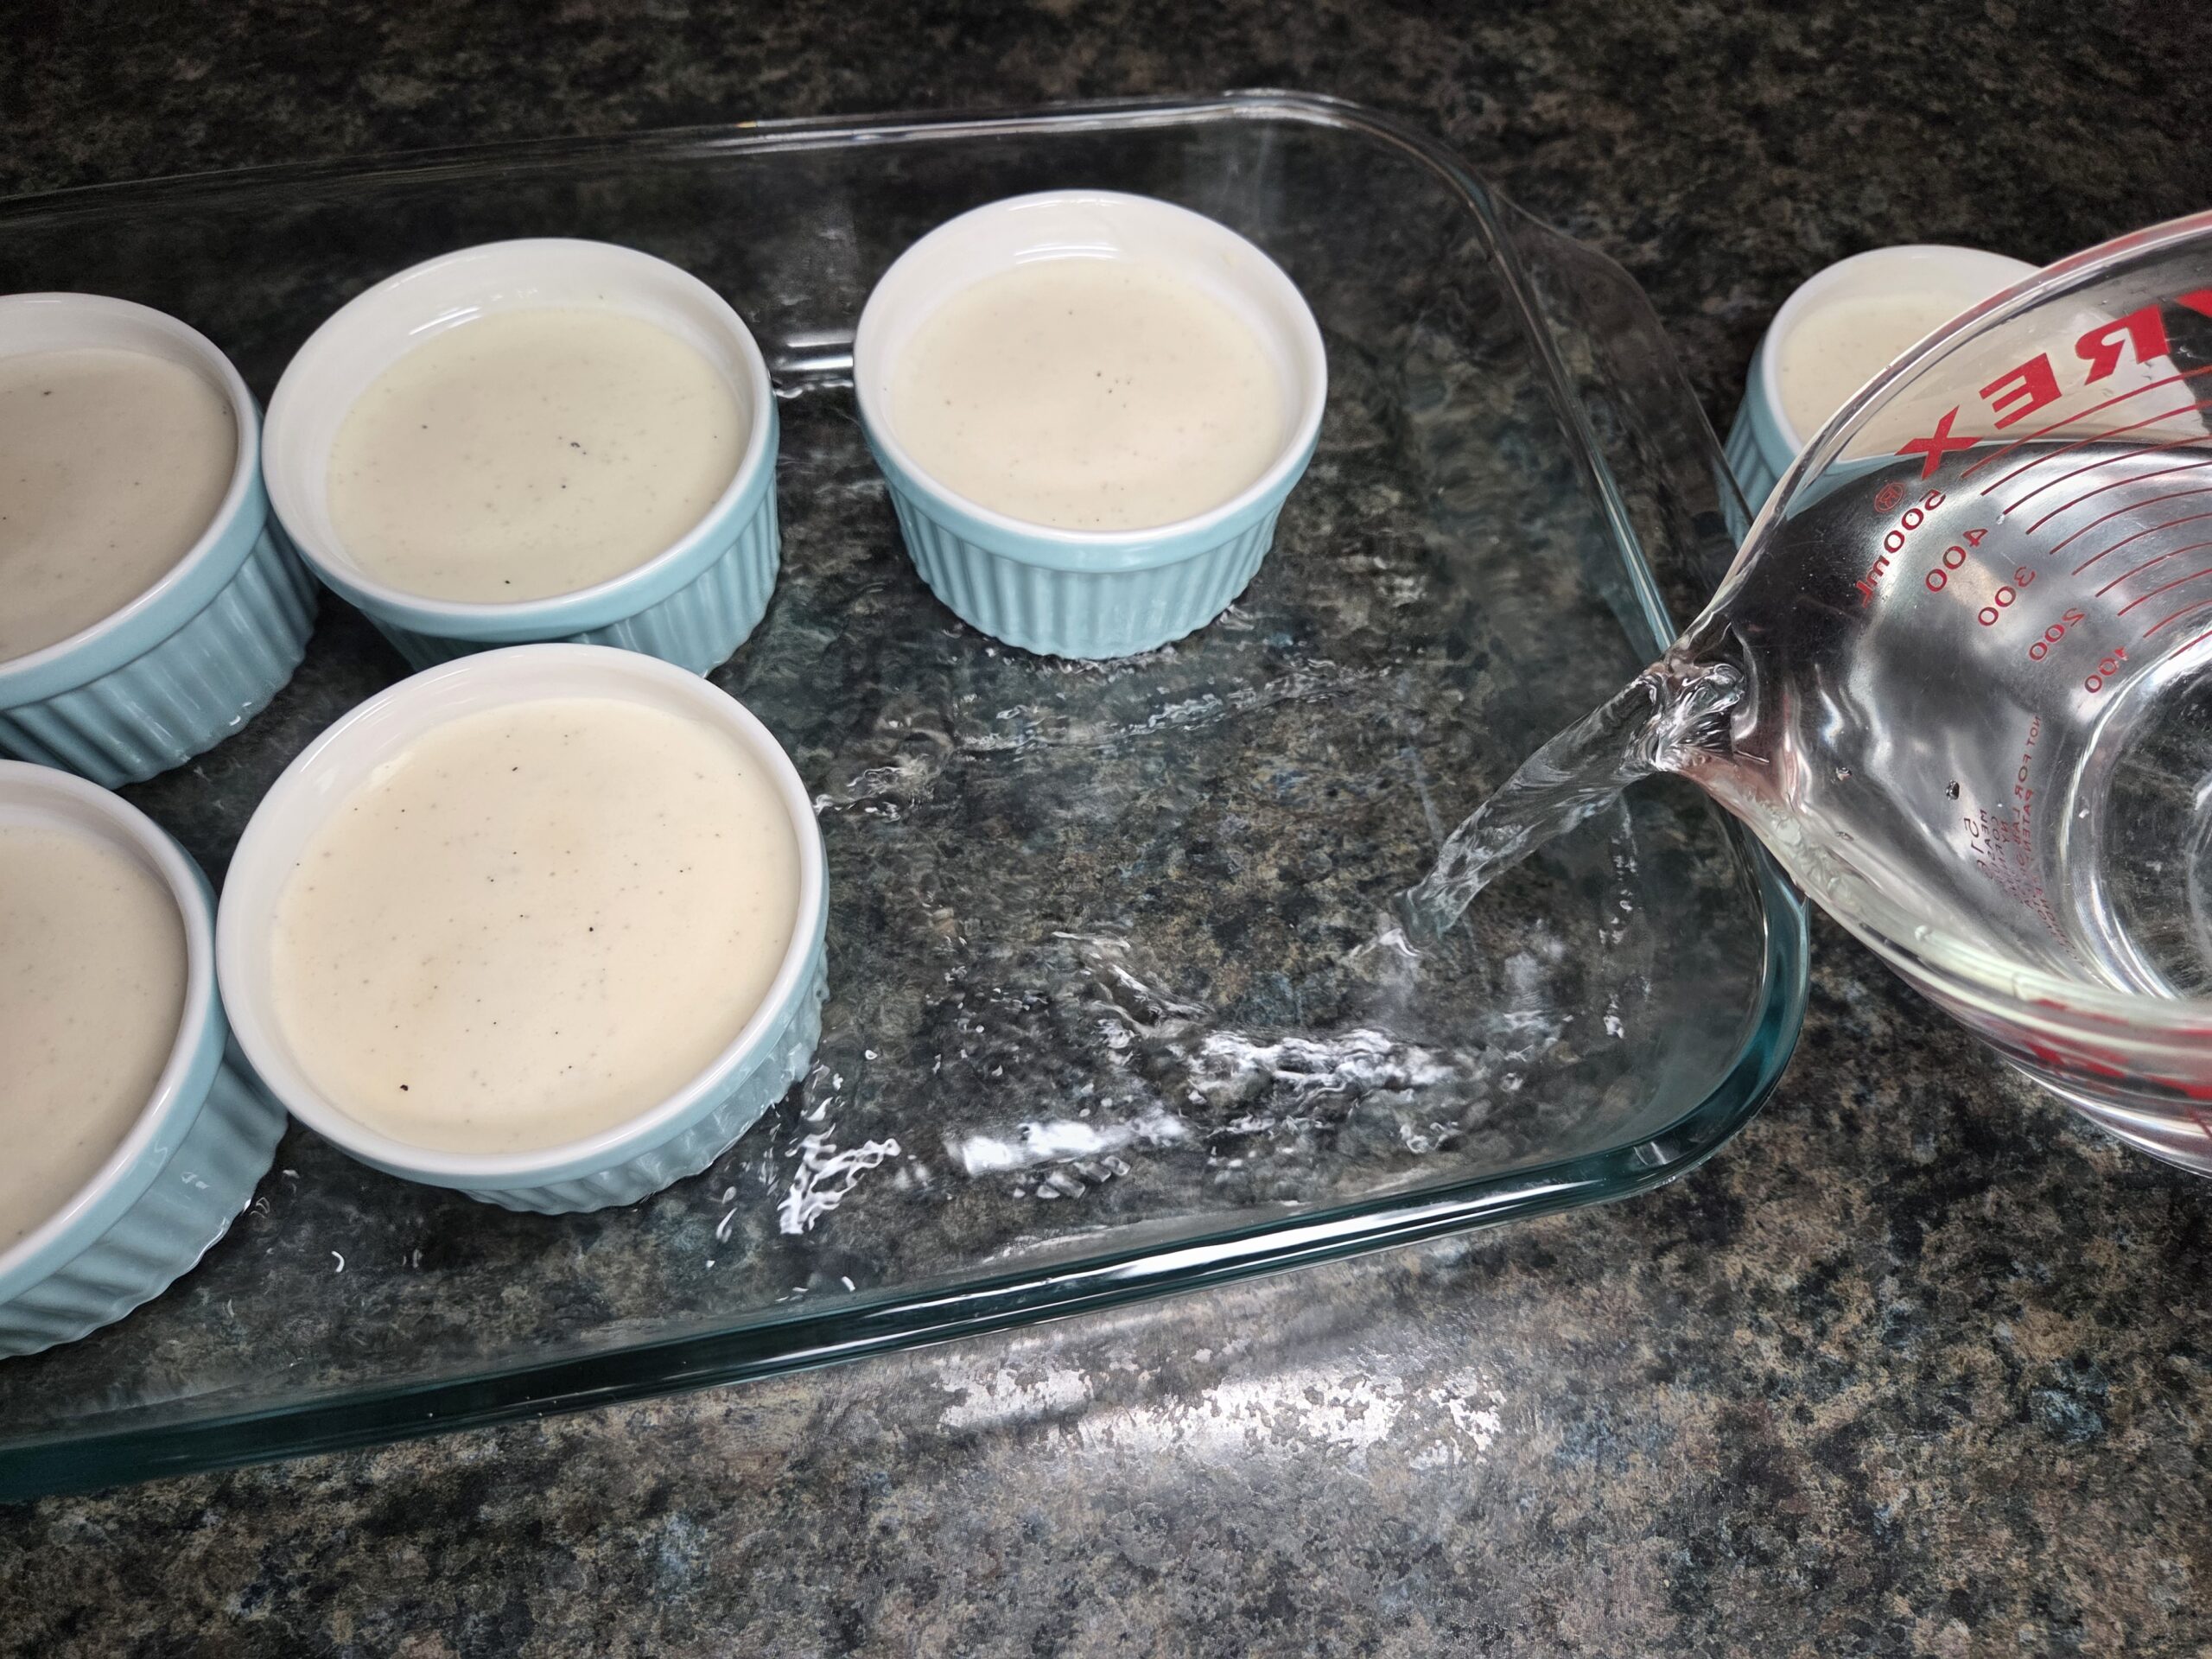
Pour hot tap water into the larger baking dish, being careful not to splash any into the custards, until the water reaches halfway up the sides of the ramekins.
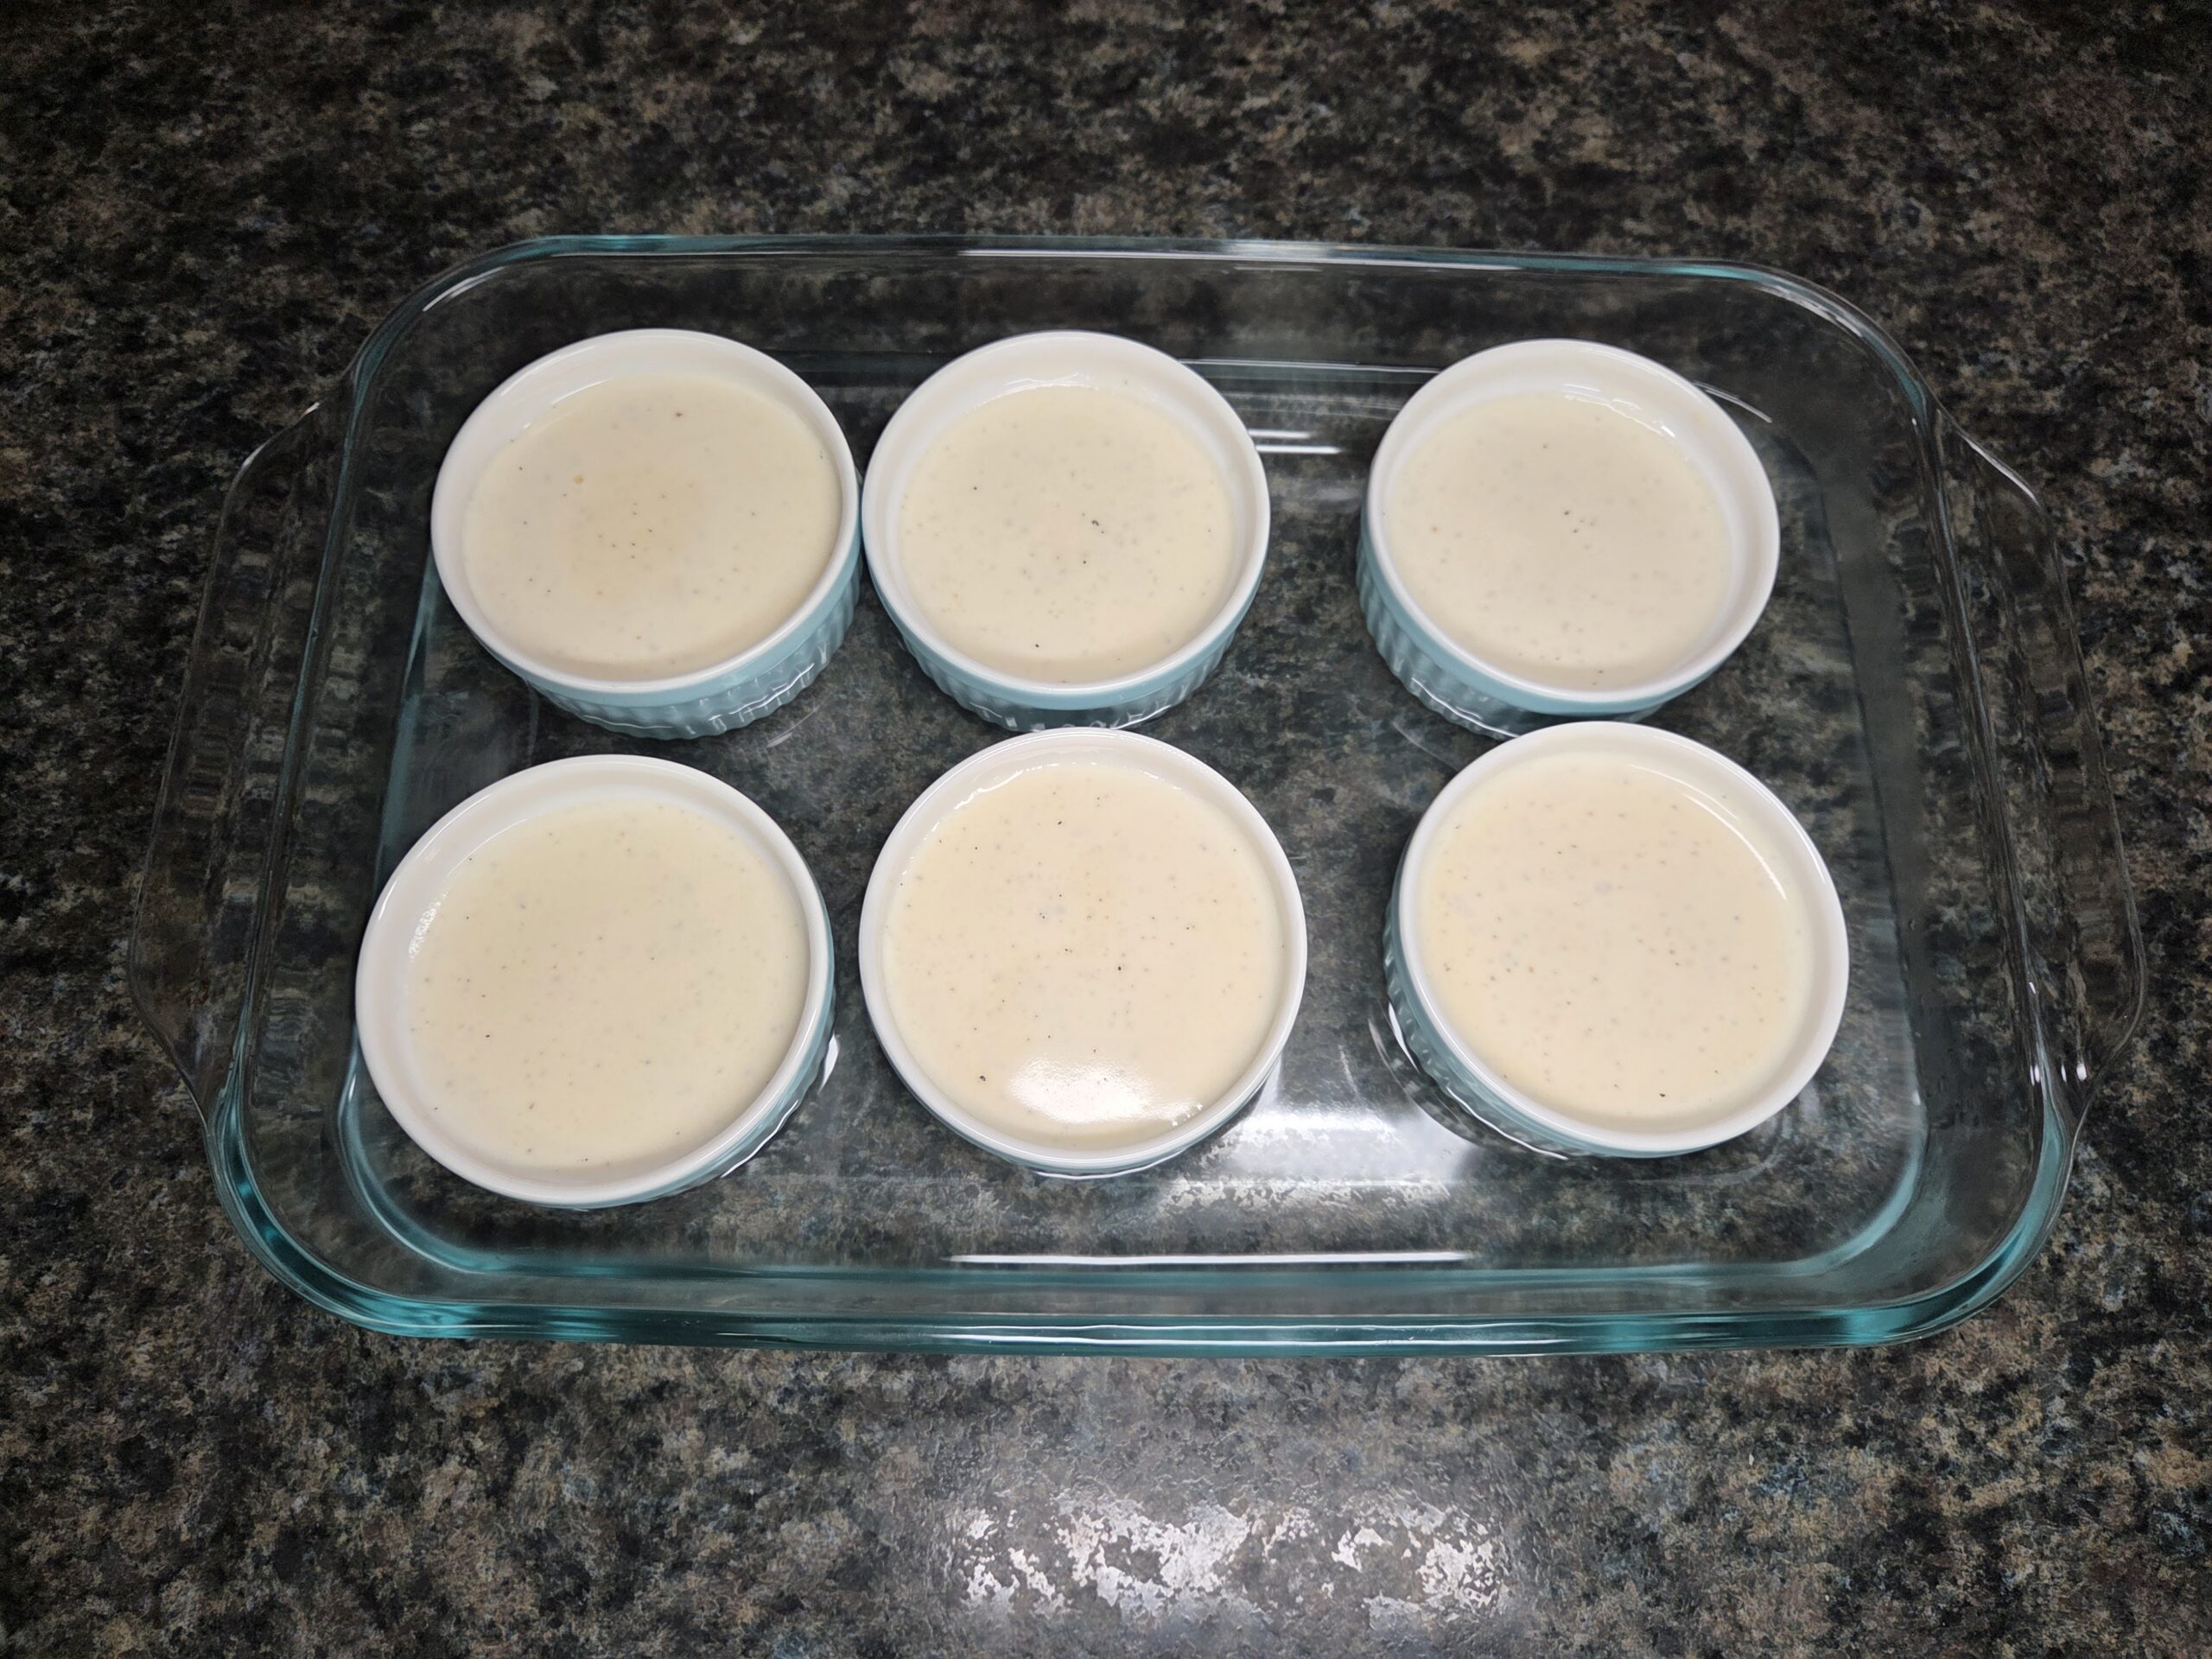
Bake for 30–40 minutes, or until the custards are set and the centers still give a gentle jiggle when the ramekins are lightly shaken.
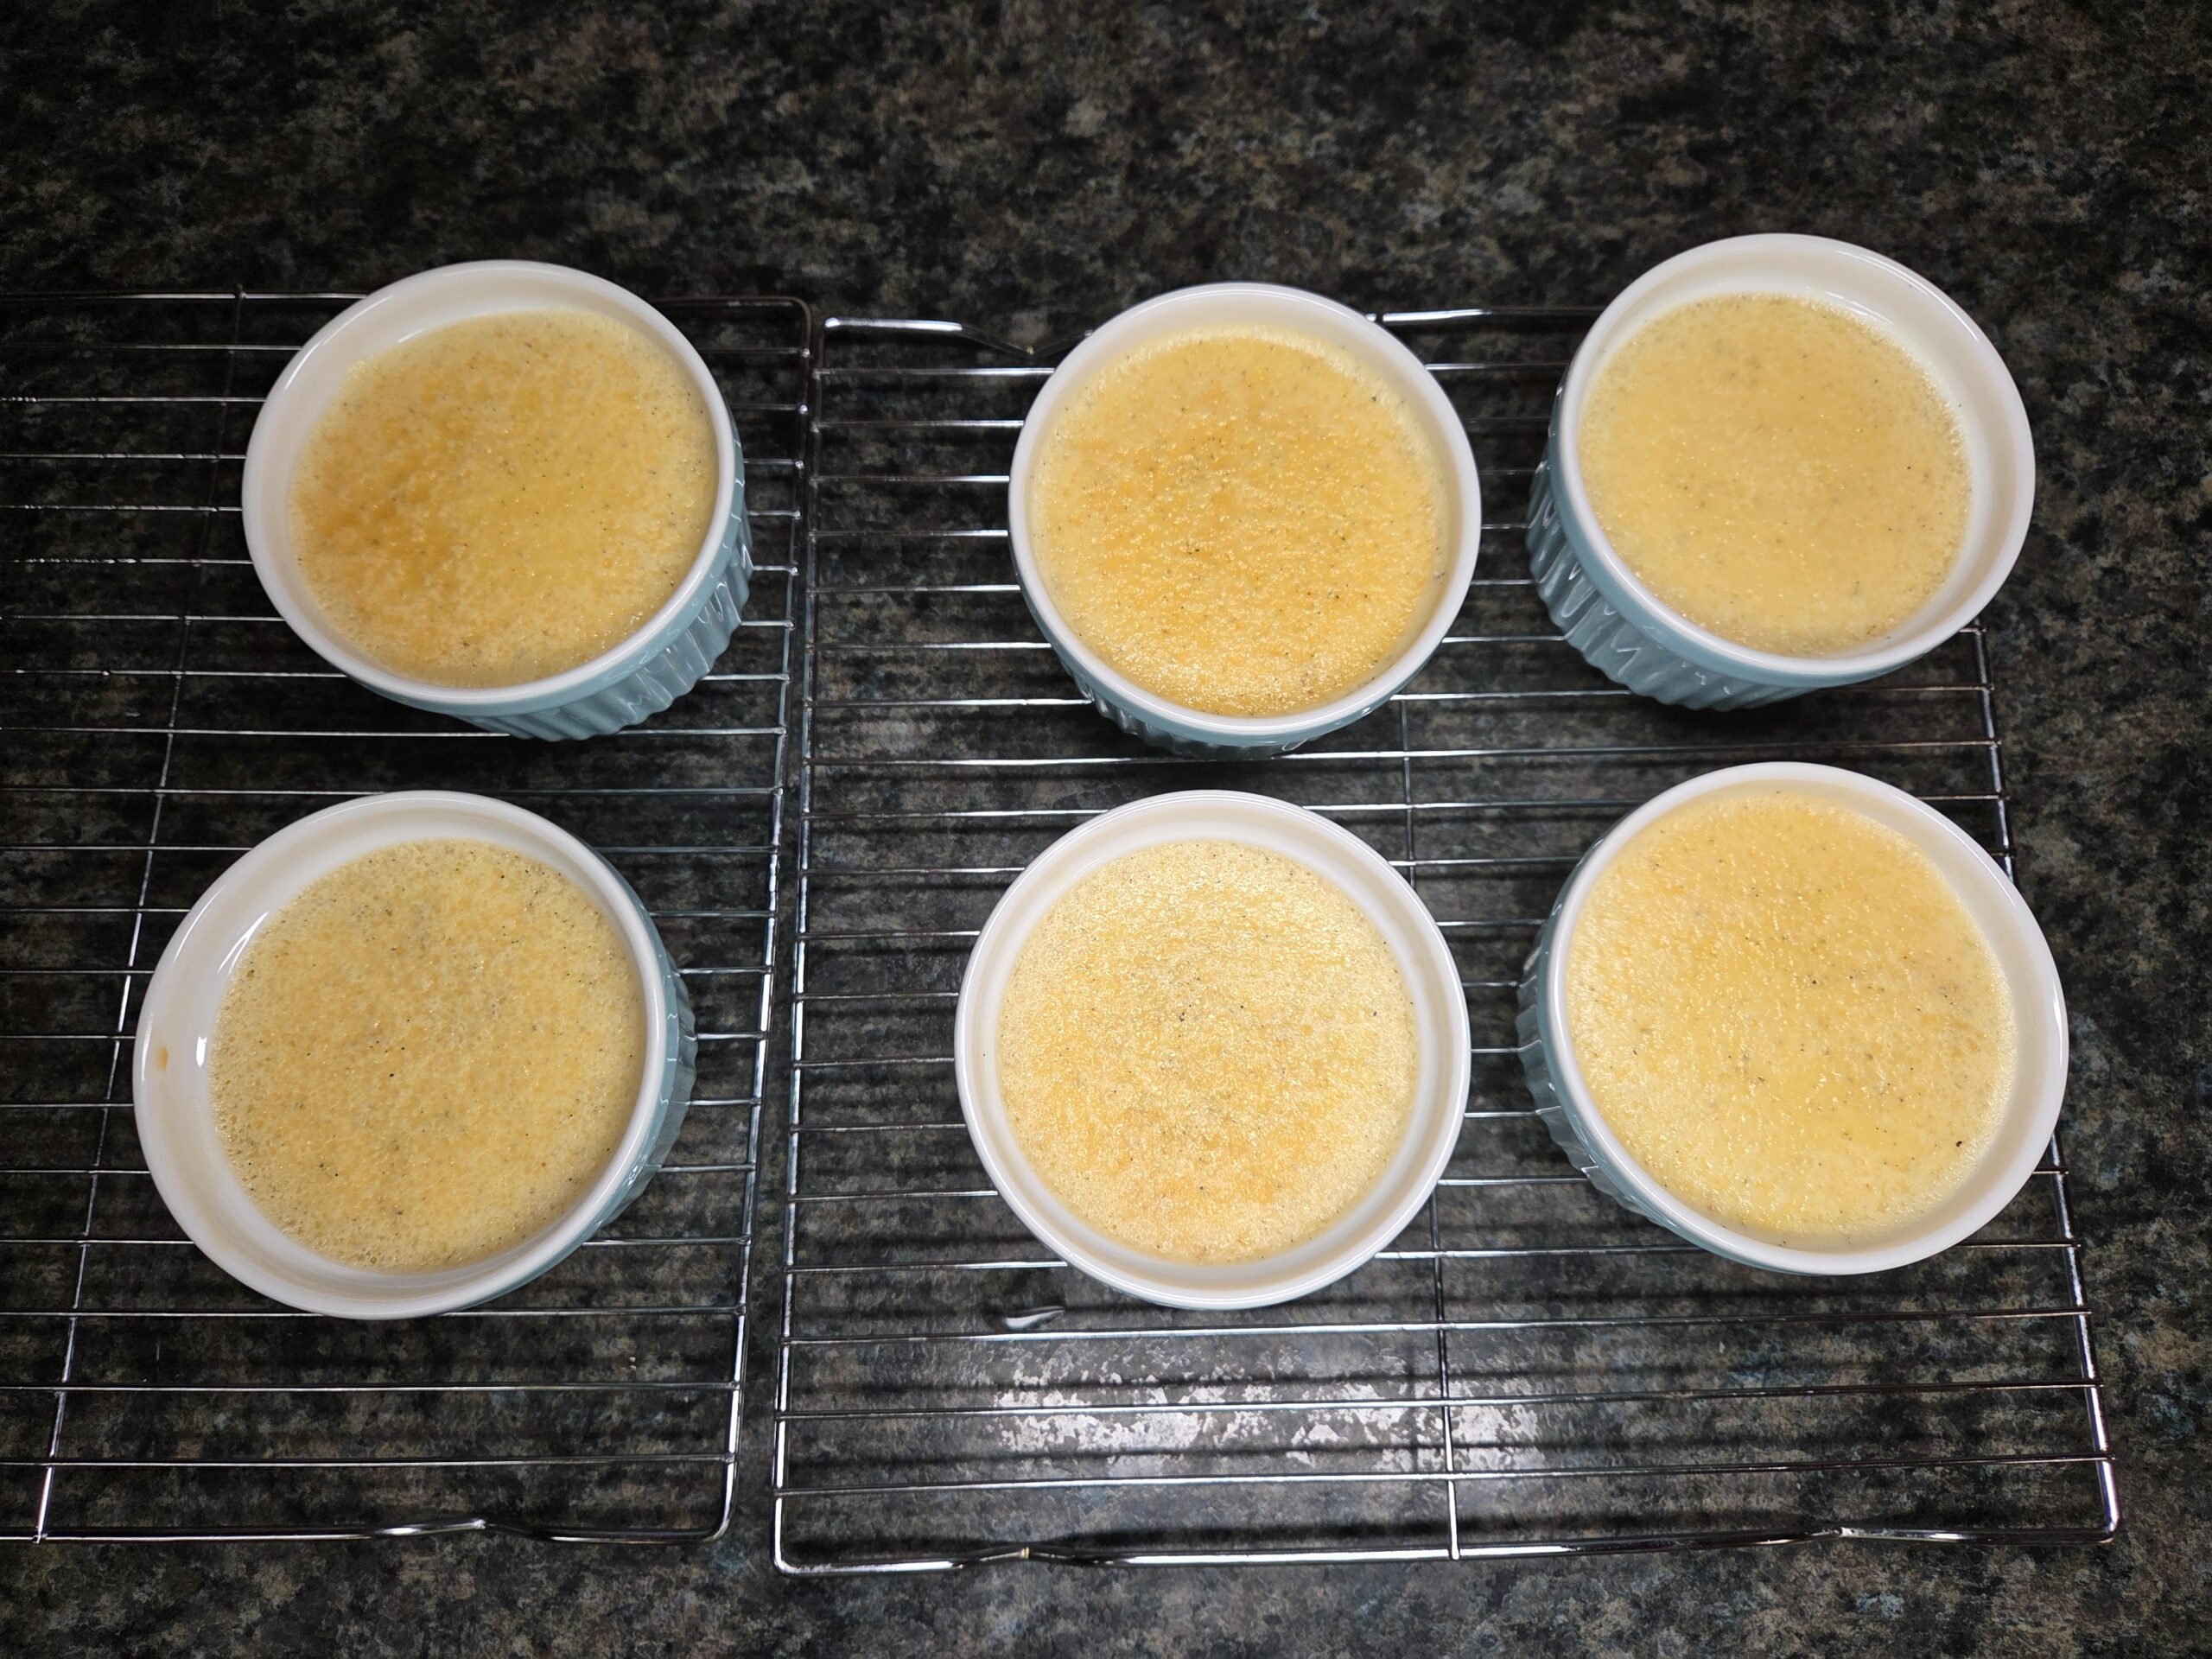
Once they come out of the oven, carefully lift the ramekins out of the water bath and set them on a cooling rack. Let them cool undisturbed until they reach room temperature, then refrigerate until fully set — ideally overnight for the best texture.
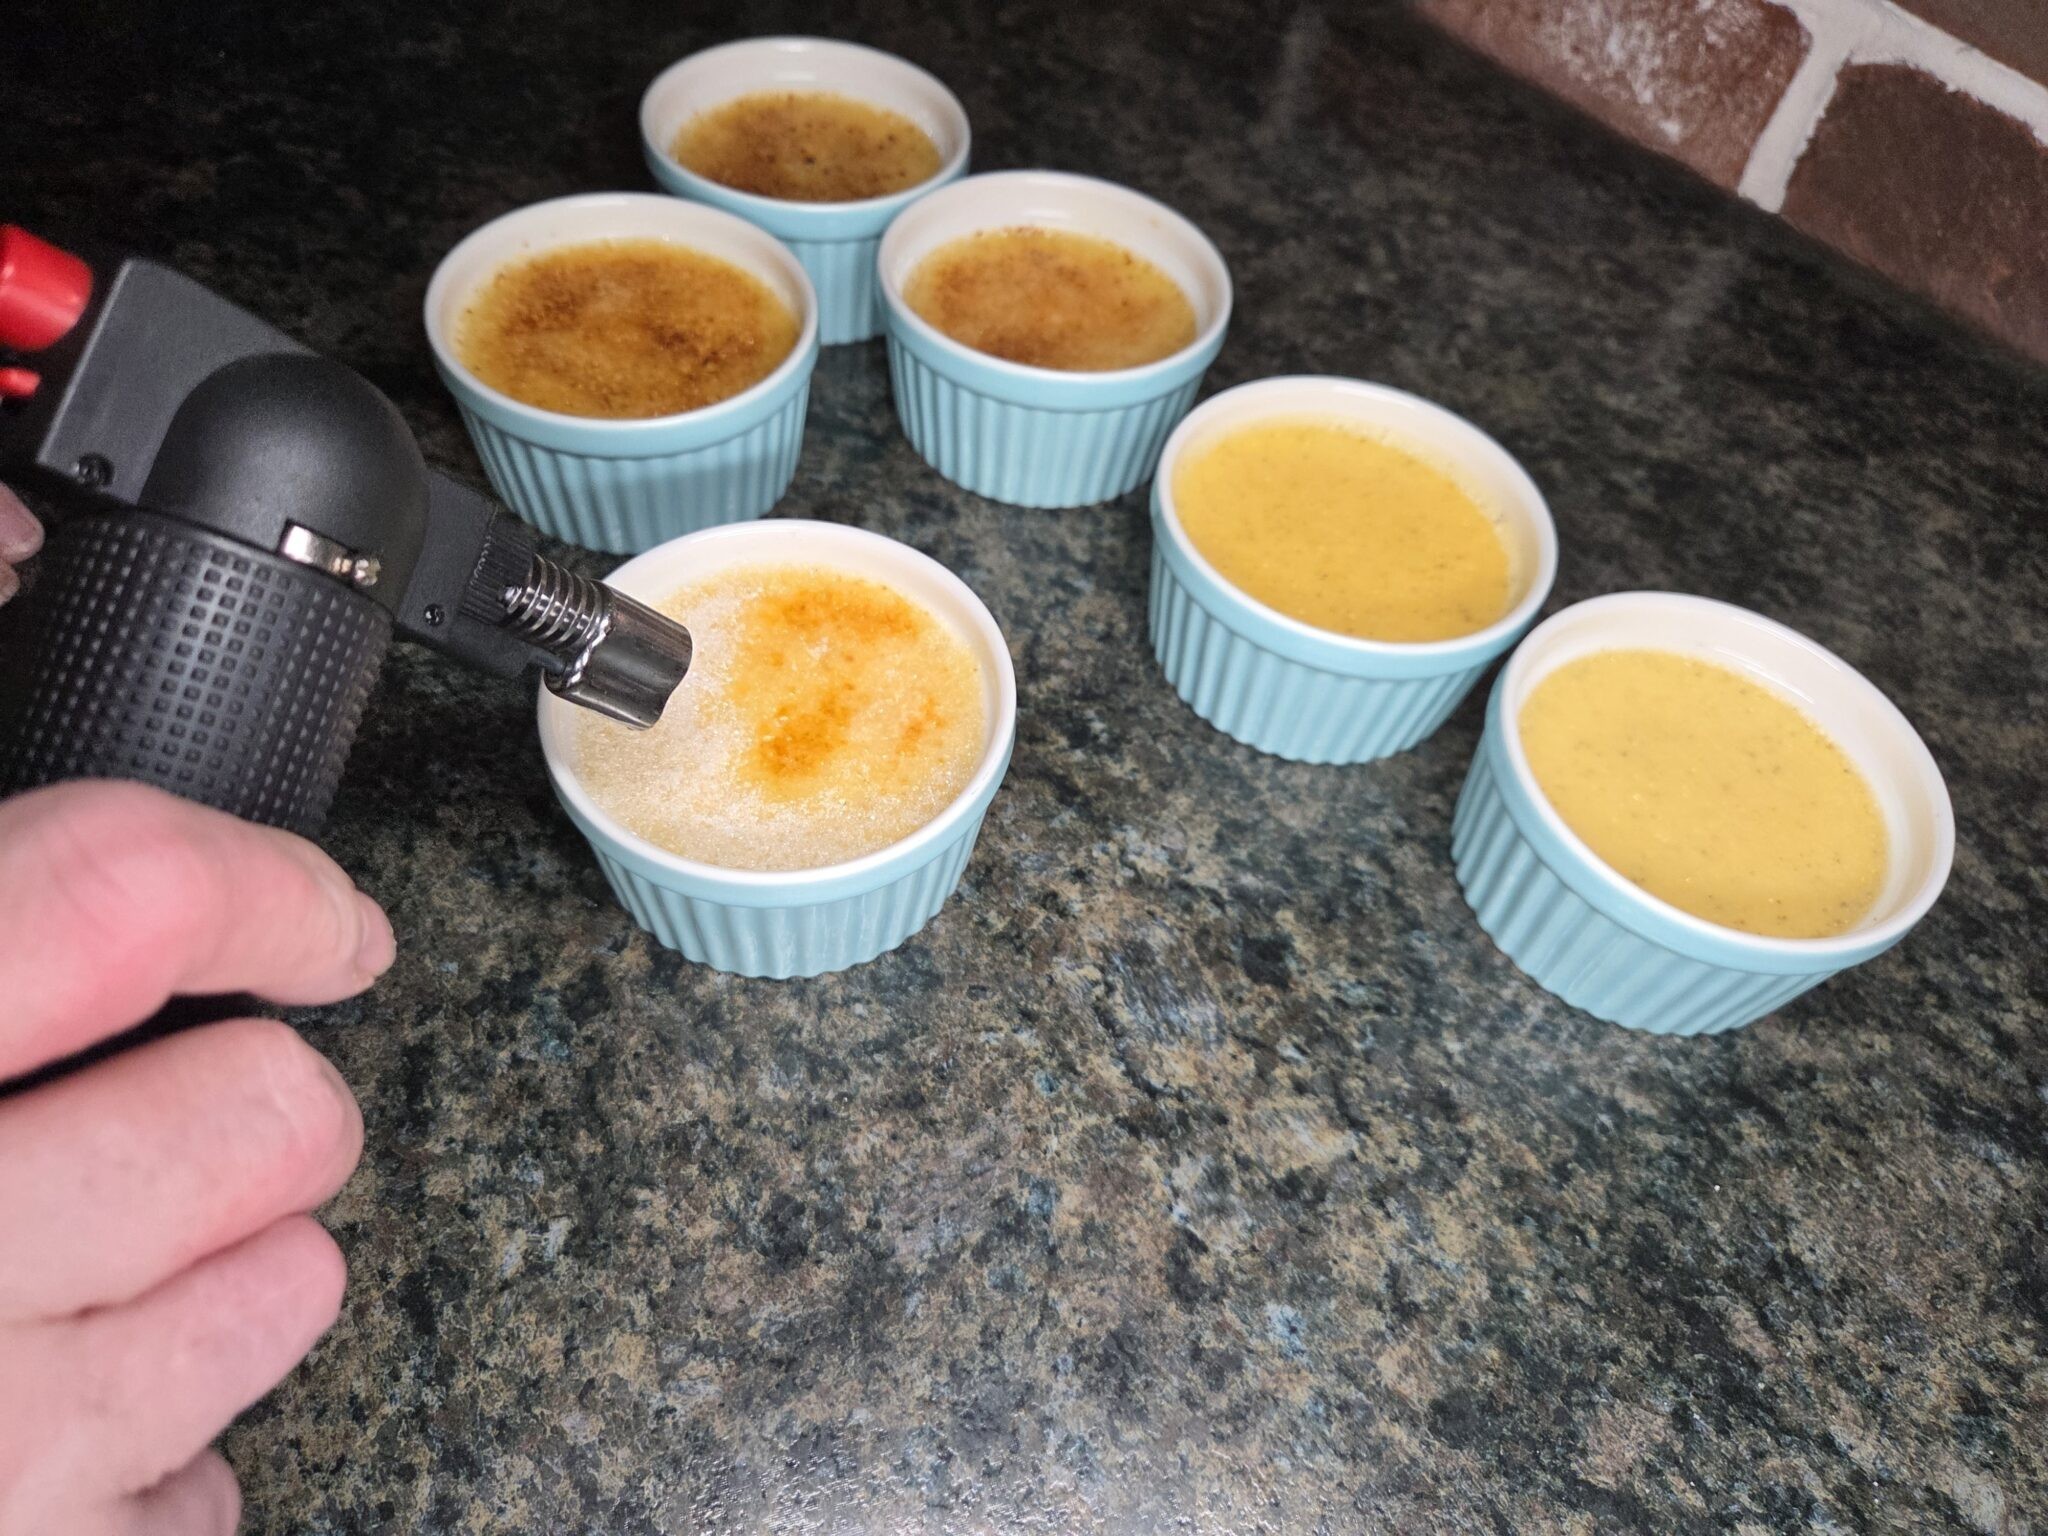
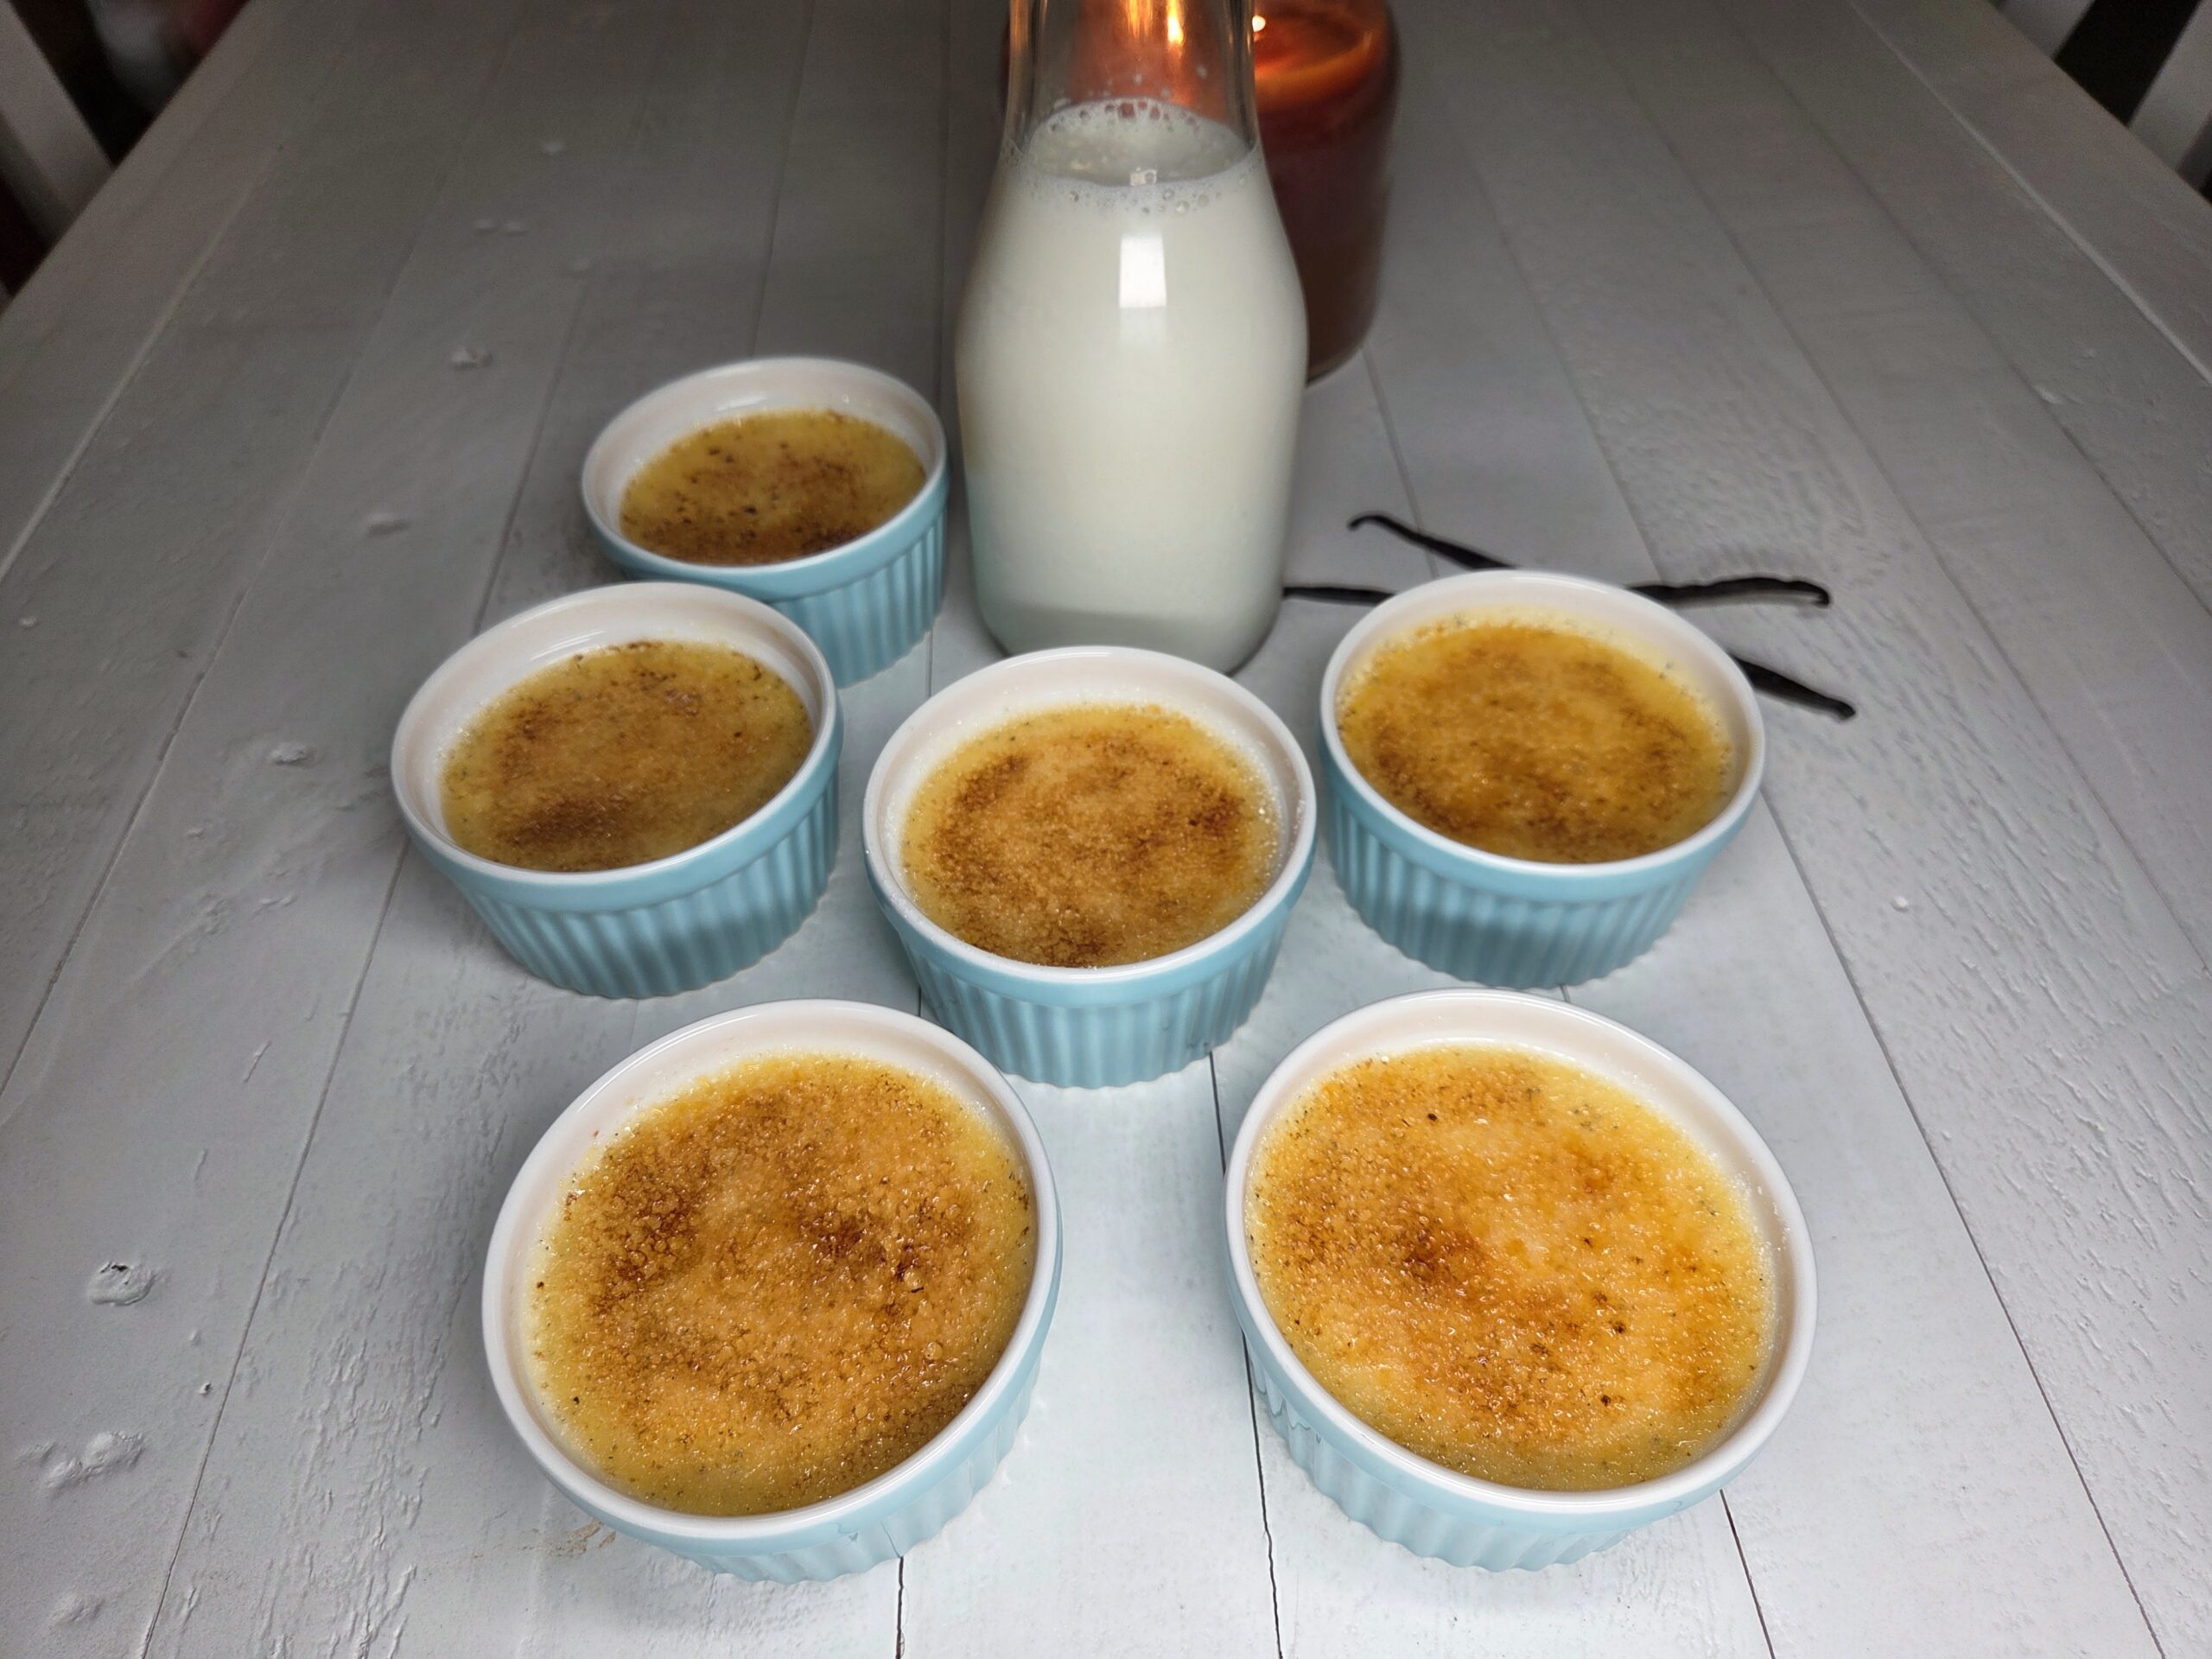
To caramelize the top, remove the ramekins from the refrigerator and let them stand at room temperature for 20–30 minutes; this helps prevent the dishes from cracking when torched. Sprinkle 1 to 2 teaspoons of sugar evenly over each custard — a heavier sprinkle creates a thicker layer and takes a bit longer to brûlée. Use a kitchen torch to melt and caramelize the sugar, keeping the flame moving in small circles so it melts evenly and develops a crisp, golden topping.
Enjoy!
For more delicious dessert recipes, try these next:
Conclusion
Kitchen Tools :Need some tools or ingredients to make this recipe? Use my Amazon and Northwest Wild Foods Affiliate links to shop. I will make a small commission and it doesn't cost you any extra. Thank you for visiting.
Organic Madagascar Whole Grade A Vanilla Pods 3 Piece Set Hand Made Jade Green Milk Glass Mixing Nesting Bowls by Mosser Glass Newness Soup Ladle, Resilient 304 Stainless Steel Strainer Set Fine Mesh – Premium 304 Stainless Steel – (Copper) DOWAN 4 oz Ramekins for Creme Brulee, Porcelain Pyrex 3-Qt Rectangular Glass Baking Dish Creme Brulee Torch Lighter McCall’s Candles | Crème Brûlée | 26 oz Check out all of my kitchen essentials here in my Amazon store. Originally published on: Jully 08, 2026




Recipe Reviews