

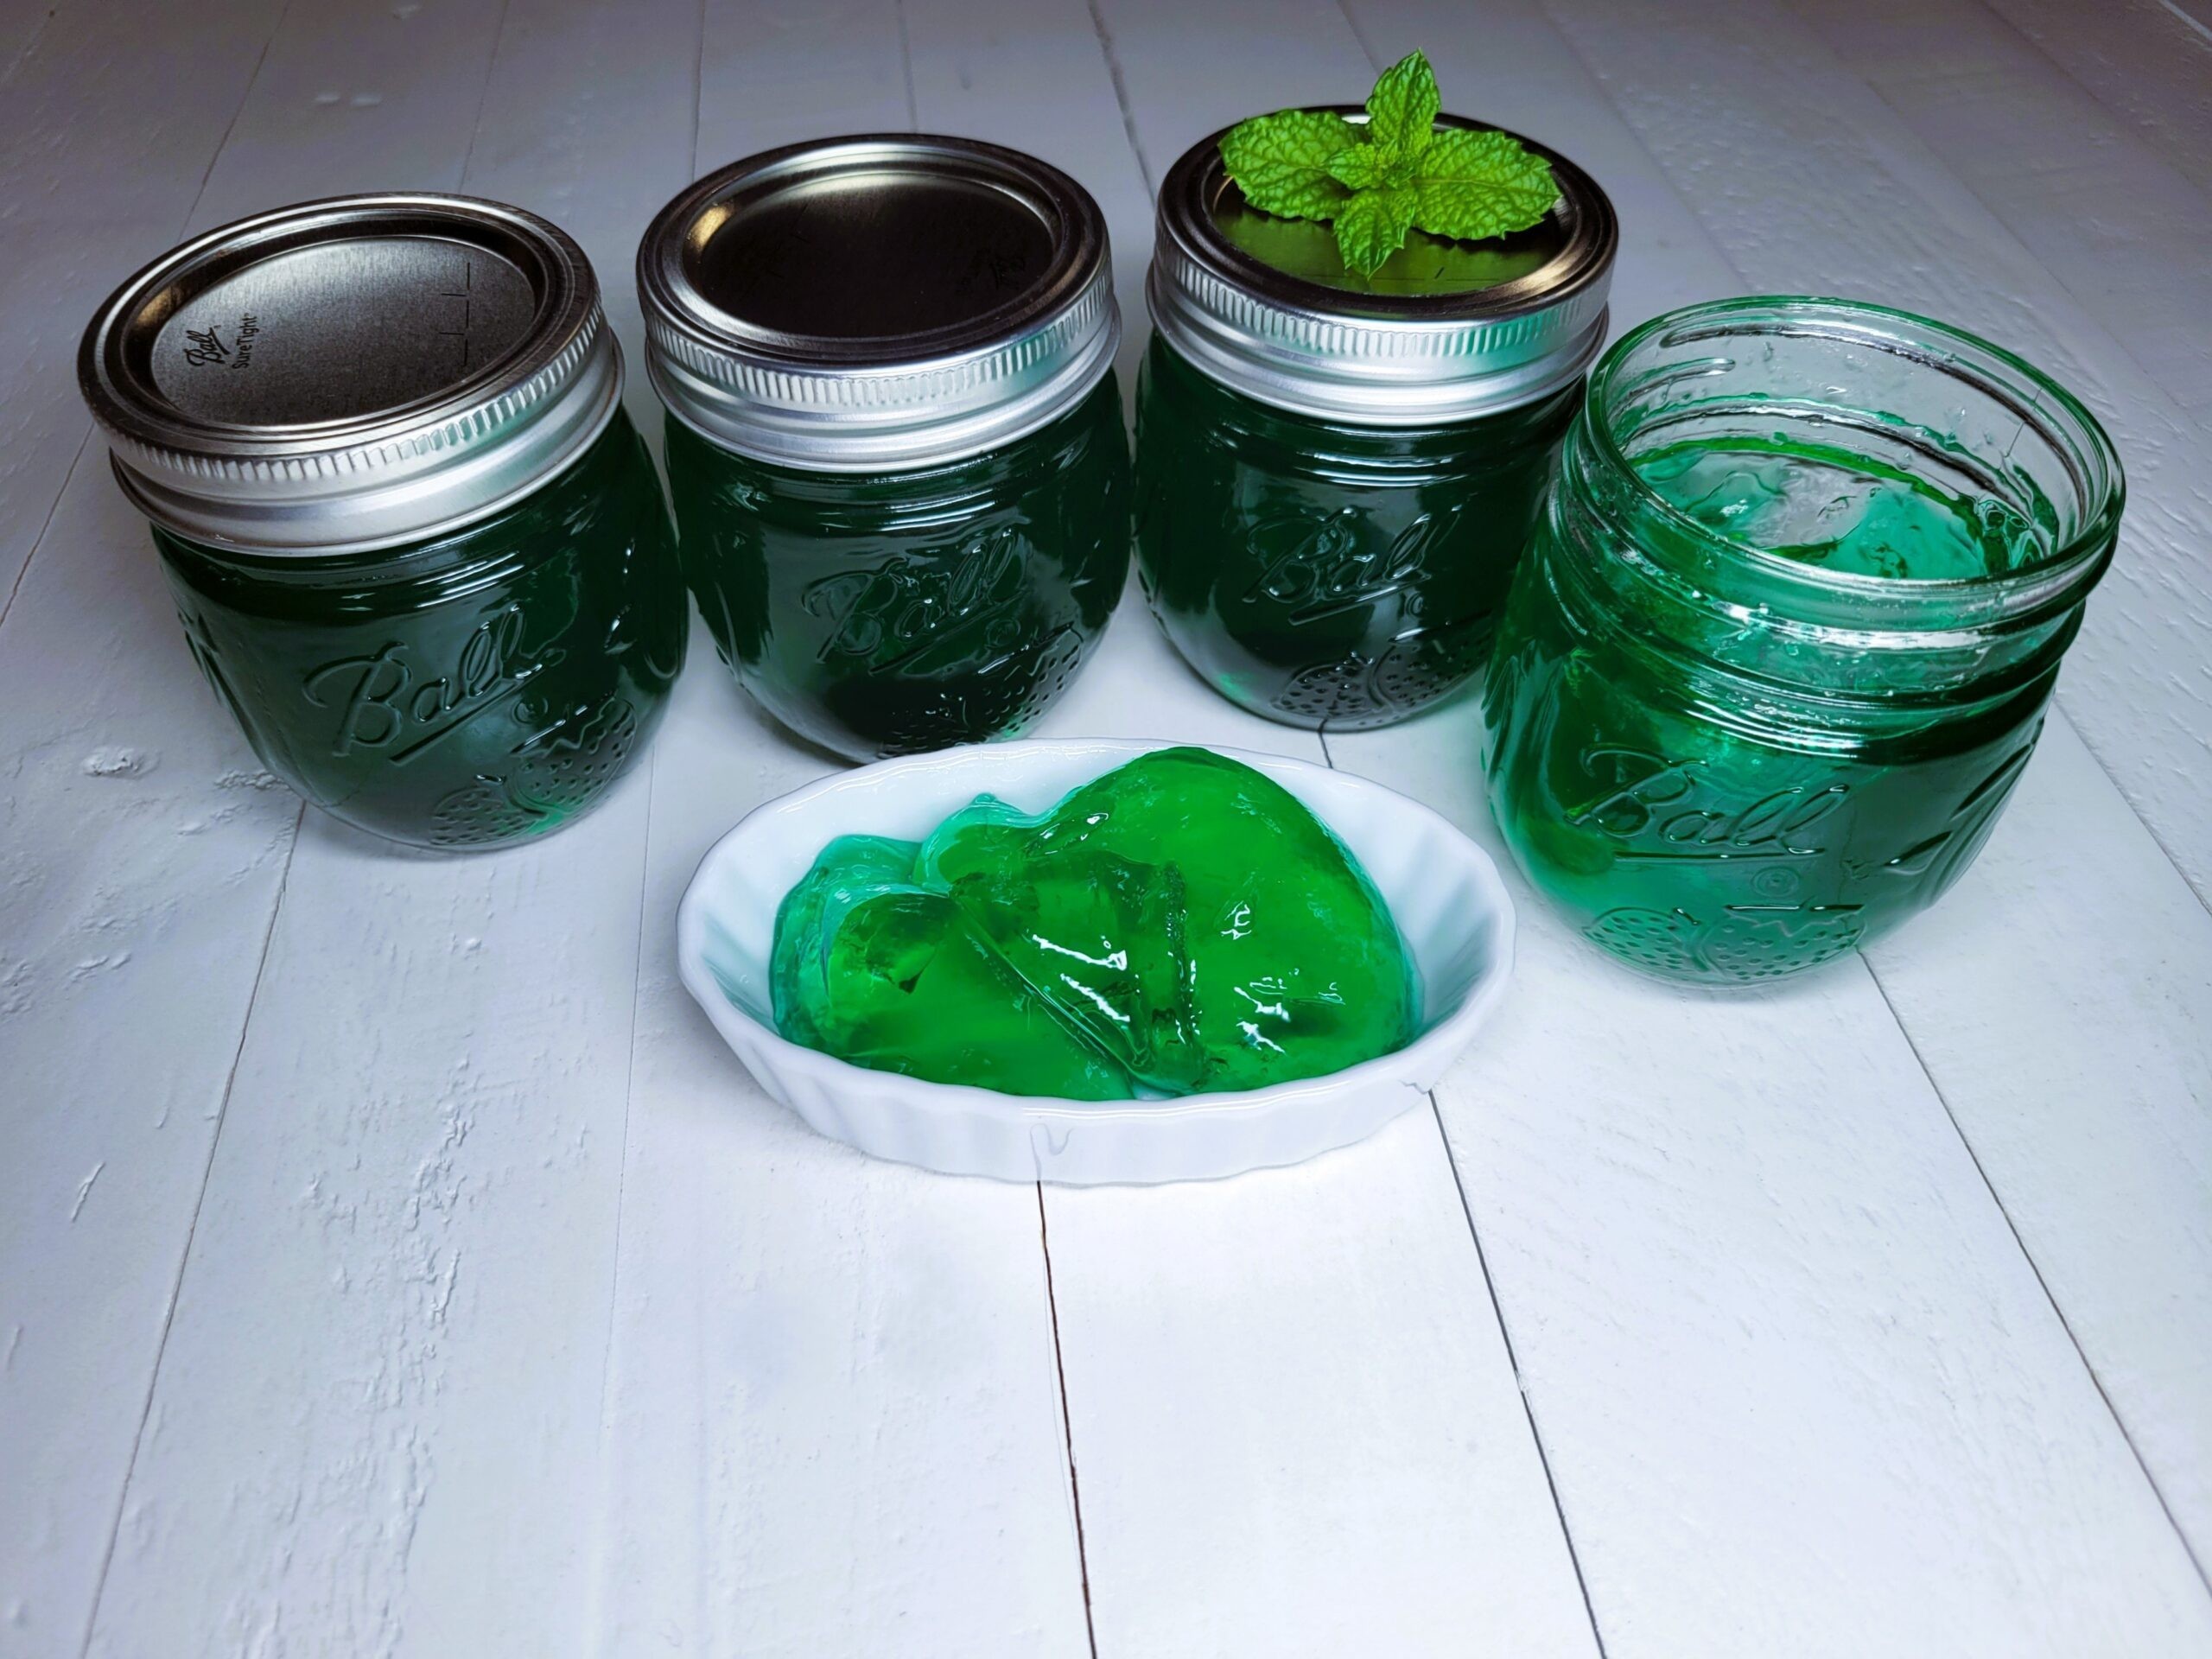
-
Prep Time20 minutes
-
Cook Time20 minutes plus canning time
-
Serv SizeYield 4 half-pint jars
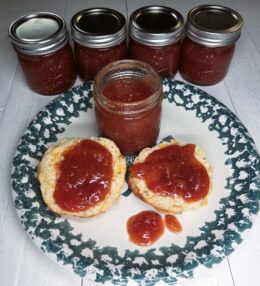
Mint jelly is a delicious complement to grilled meats, chocolate chip ice cream, and so much more!
Ingredients
Directions
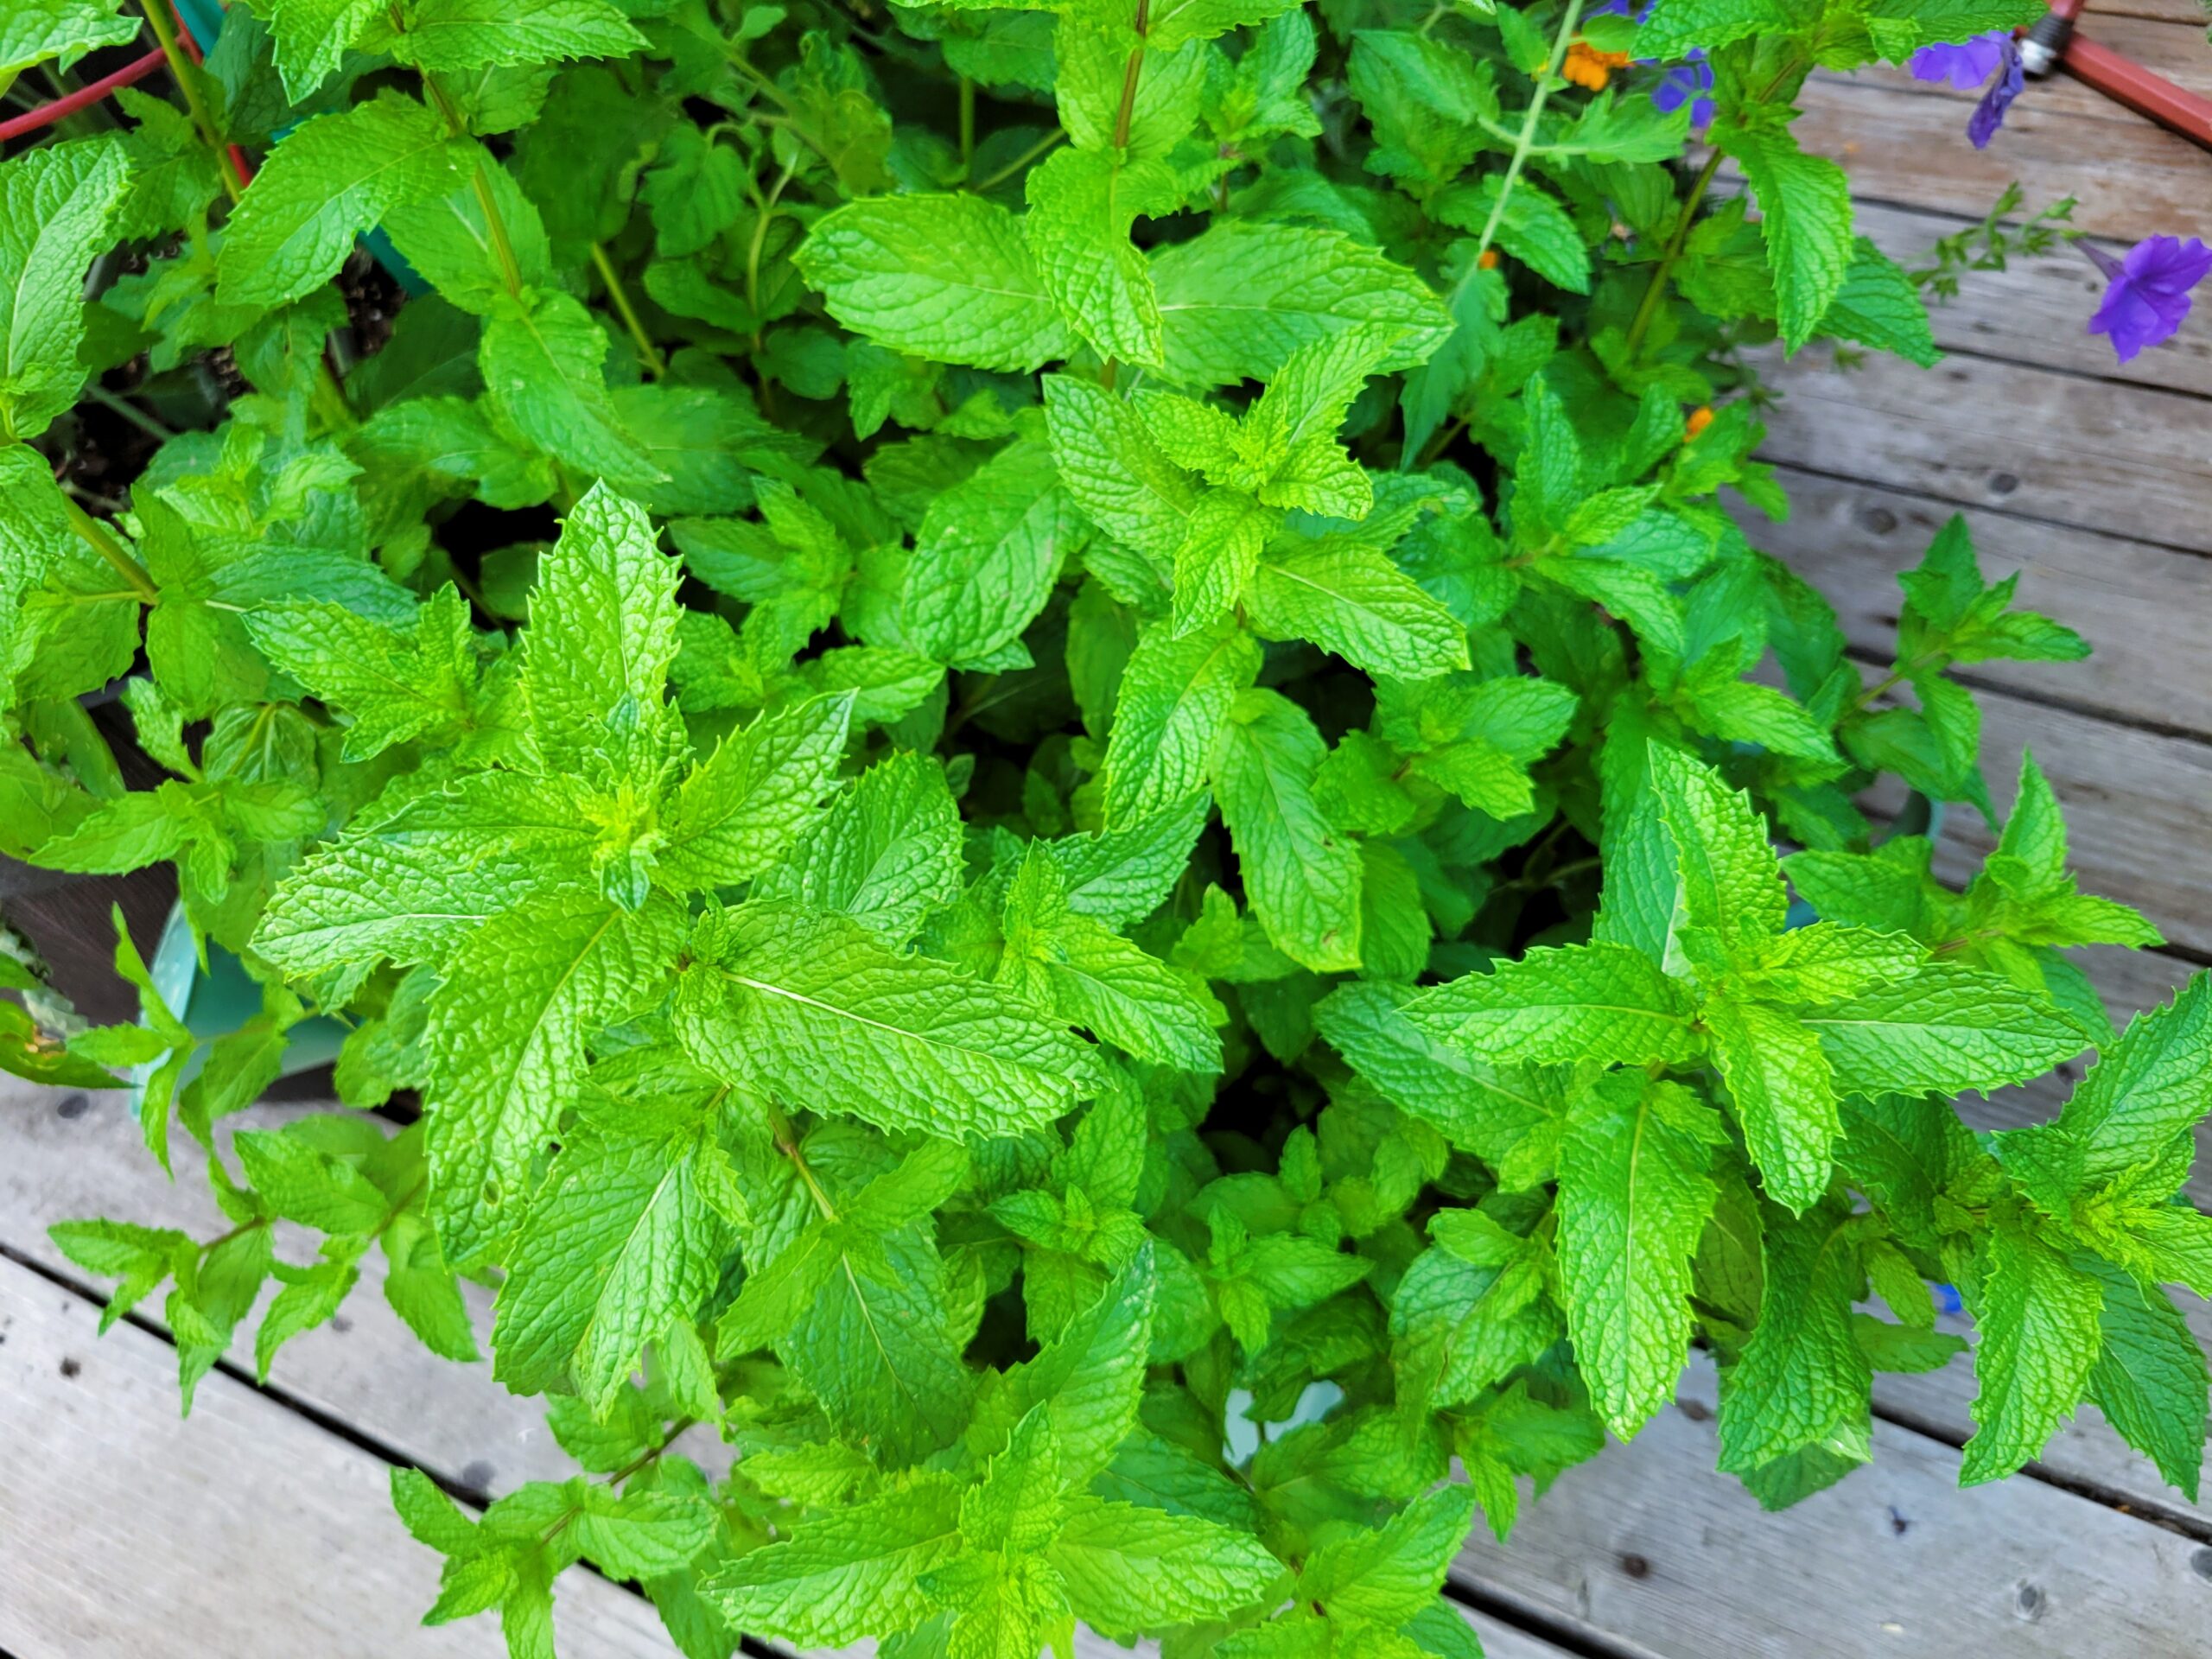
This is a water bath canning recipe and guide for making 4 half-pints of mint jelly. With our garden mint thriving, this is the perfect way to preserve this amazing herb. Mint jelly pairs beautifully with roasted meats like lamb, chicken, and pork. It’s also great in chocolate chip ice cream, salad dressings, and cocktails. The vibrant color makes it an ideal Christmas gift!
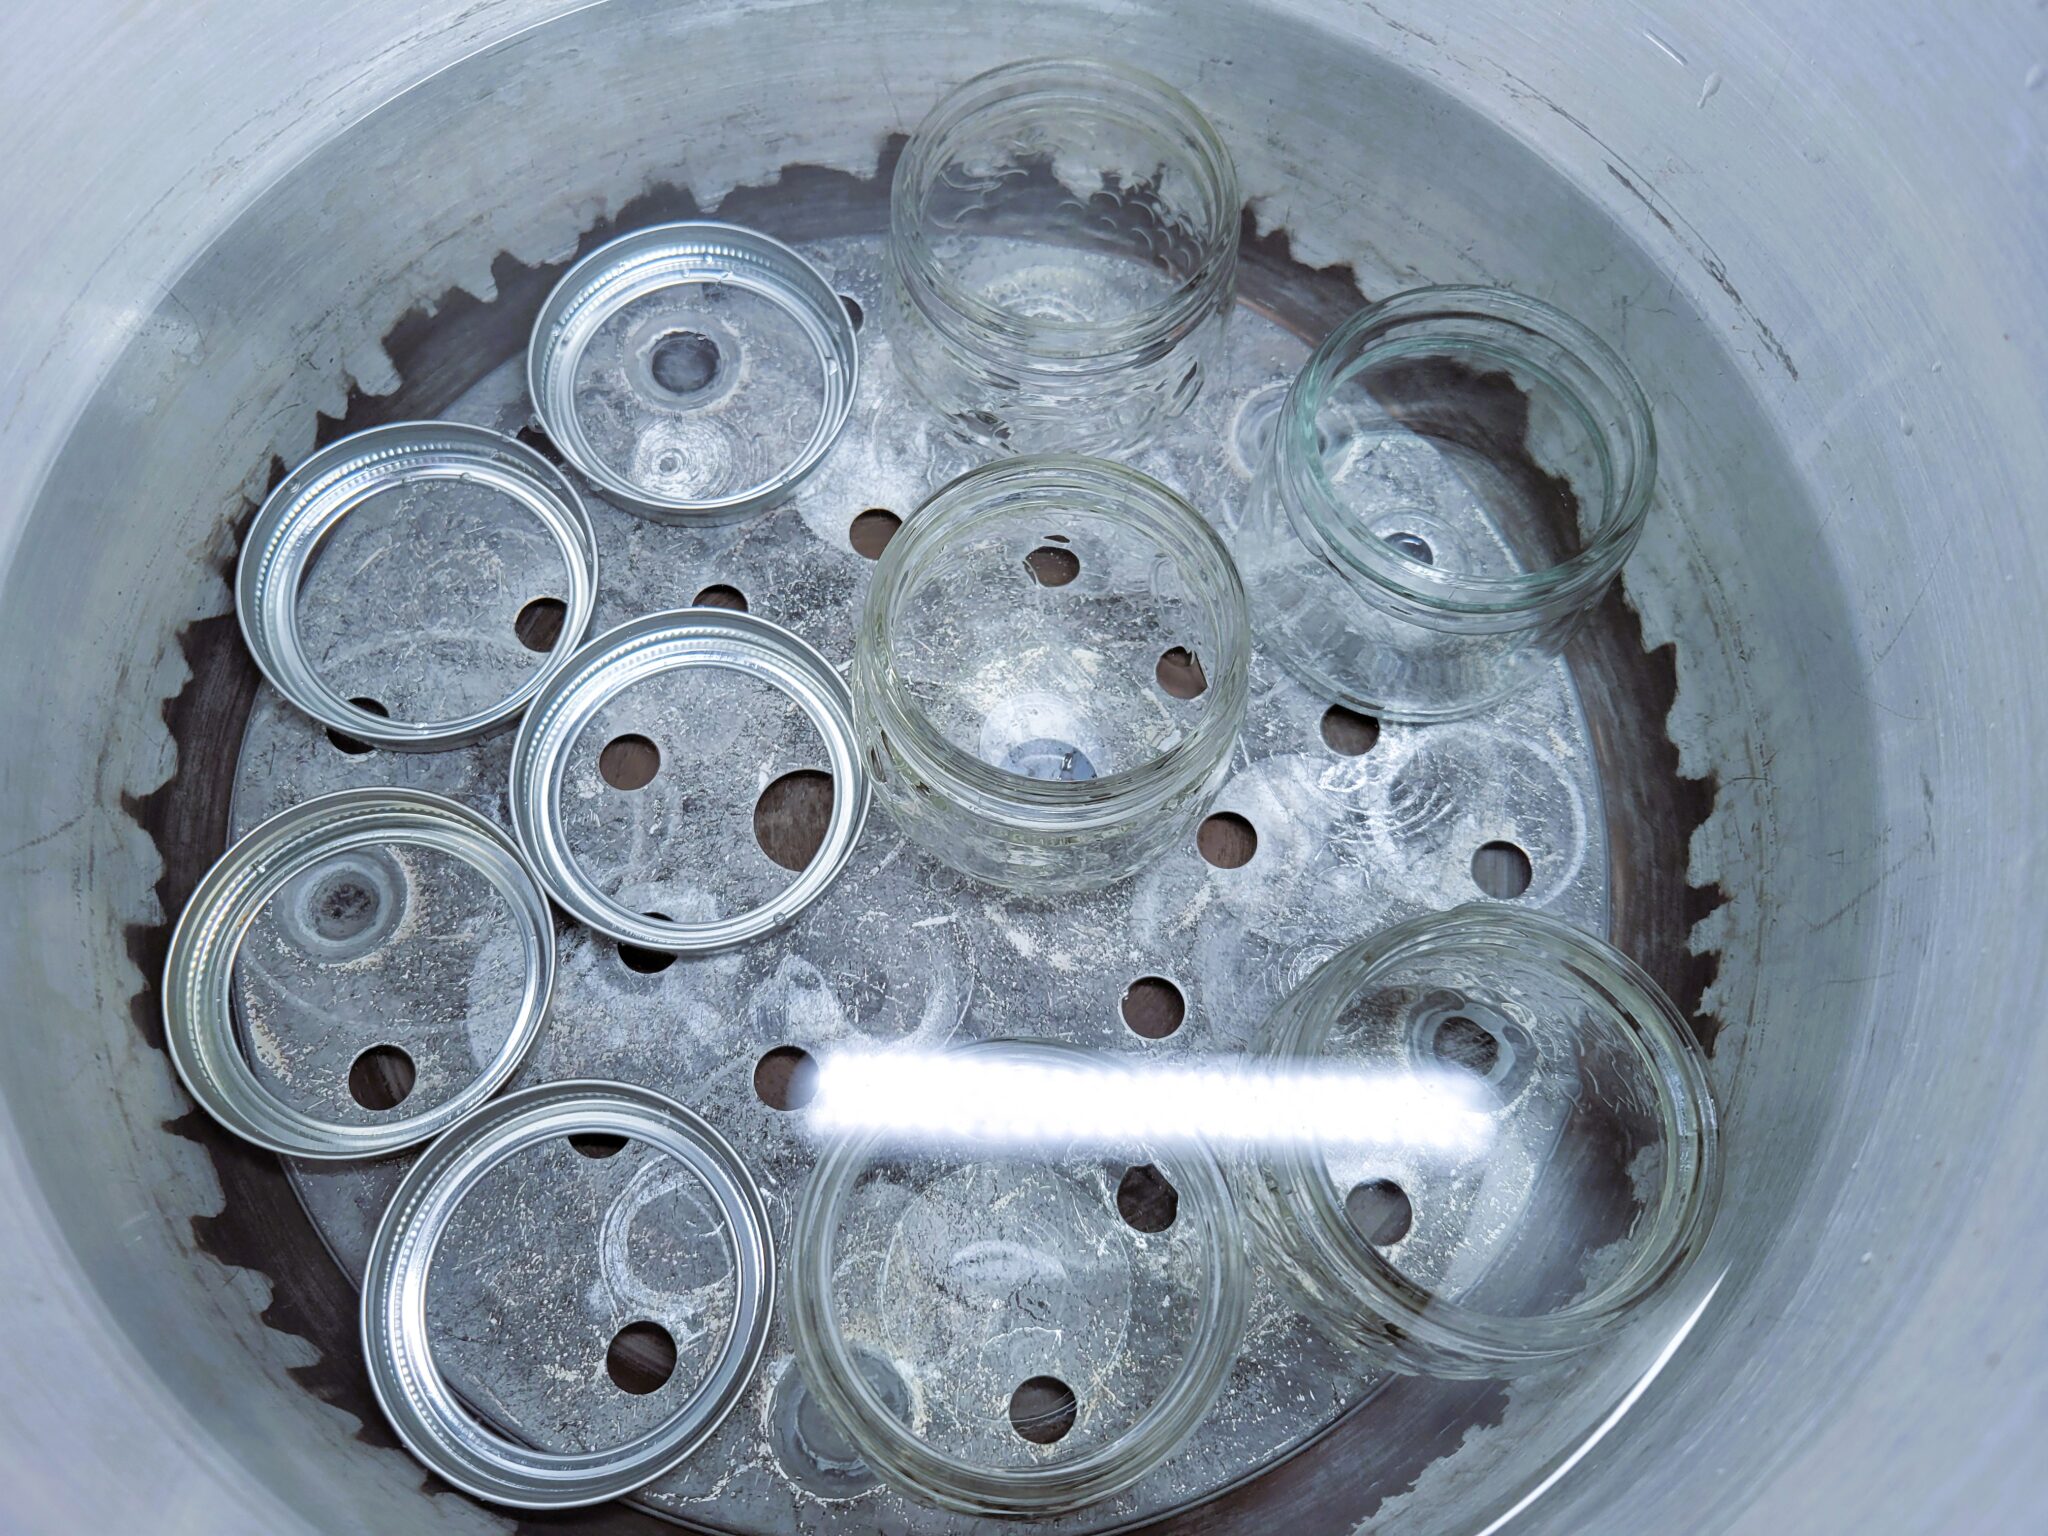
Wash the jars, lids, and bands in warm, soapy water and rinse well. Place the jars right side up in a boiling‑water canner fitted with a canning rack . Do not boil lids. Add warm water until it covers the jars by about 1 inch. Bring the water to a boil and boil the jars for 10 minutes if you are below 1,000 feet elevation; add 1 minute of boiling time for every additional 1,000 feet. Reduce the heat and keep the jars hot until you’re ready to fill them.
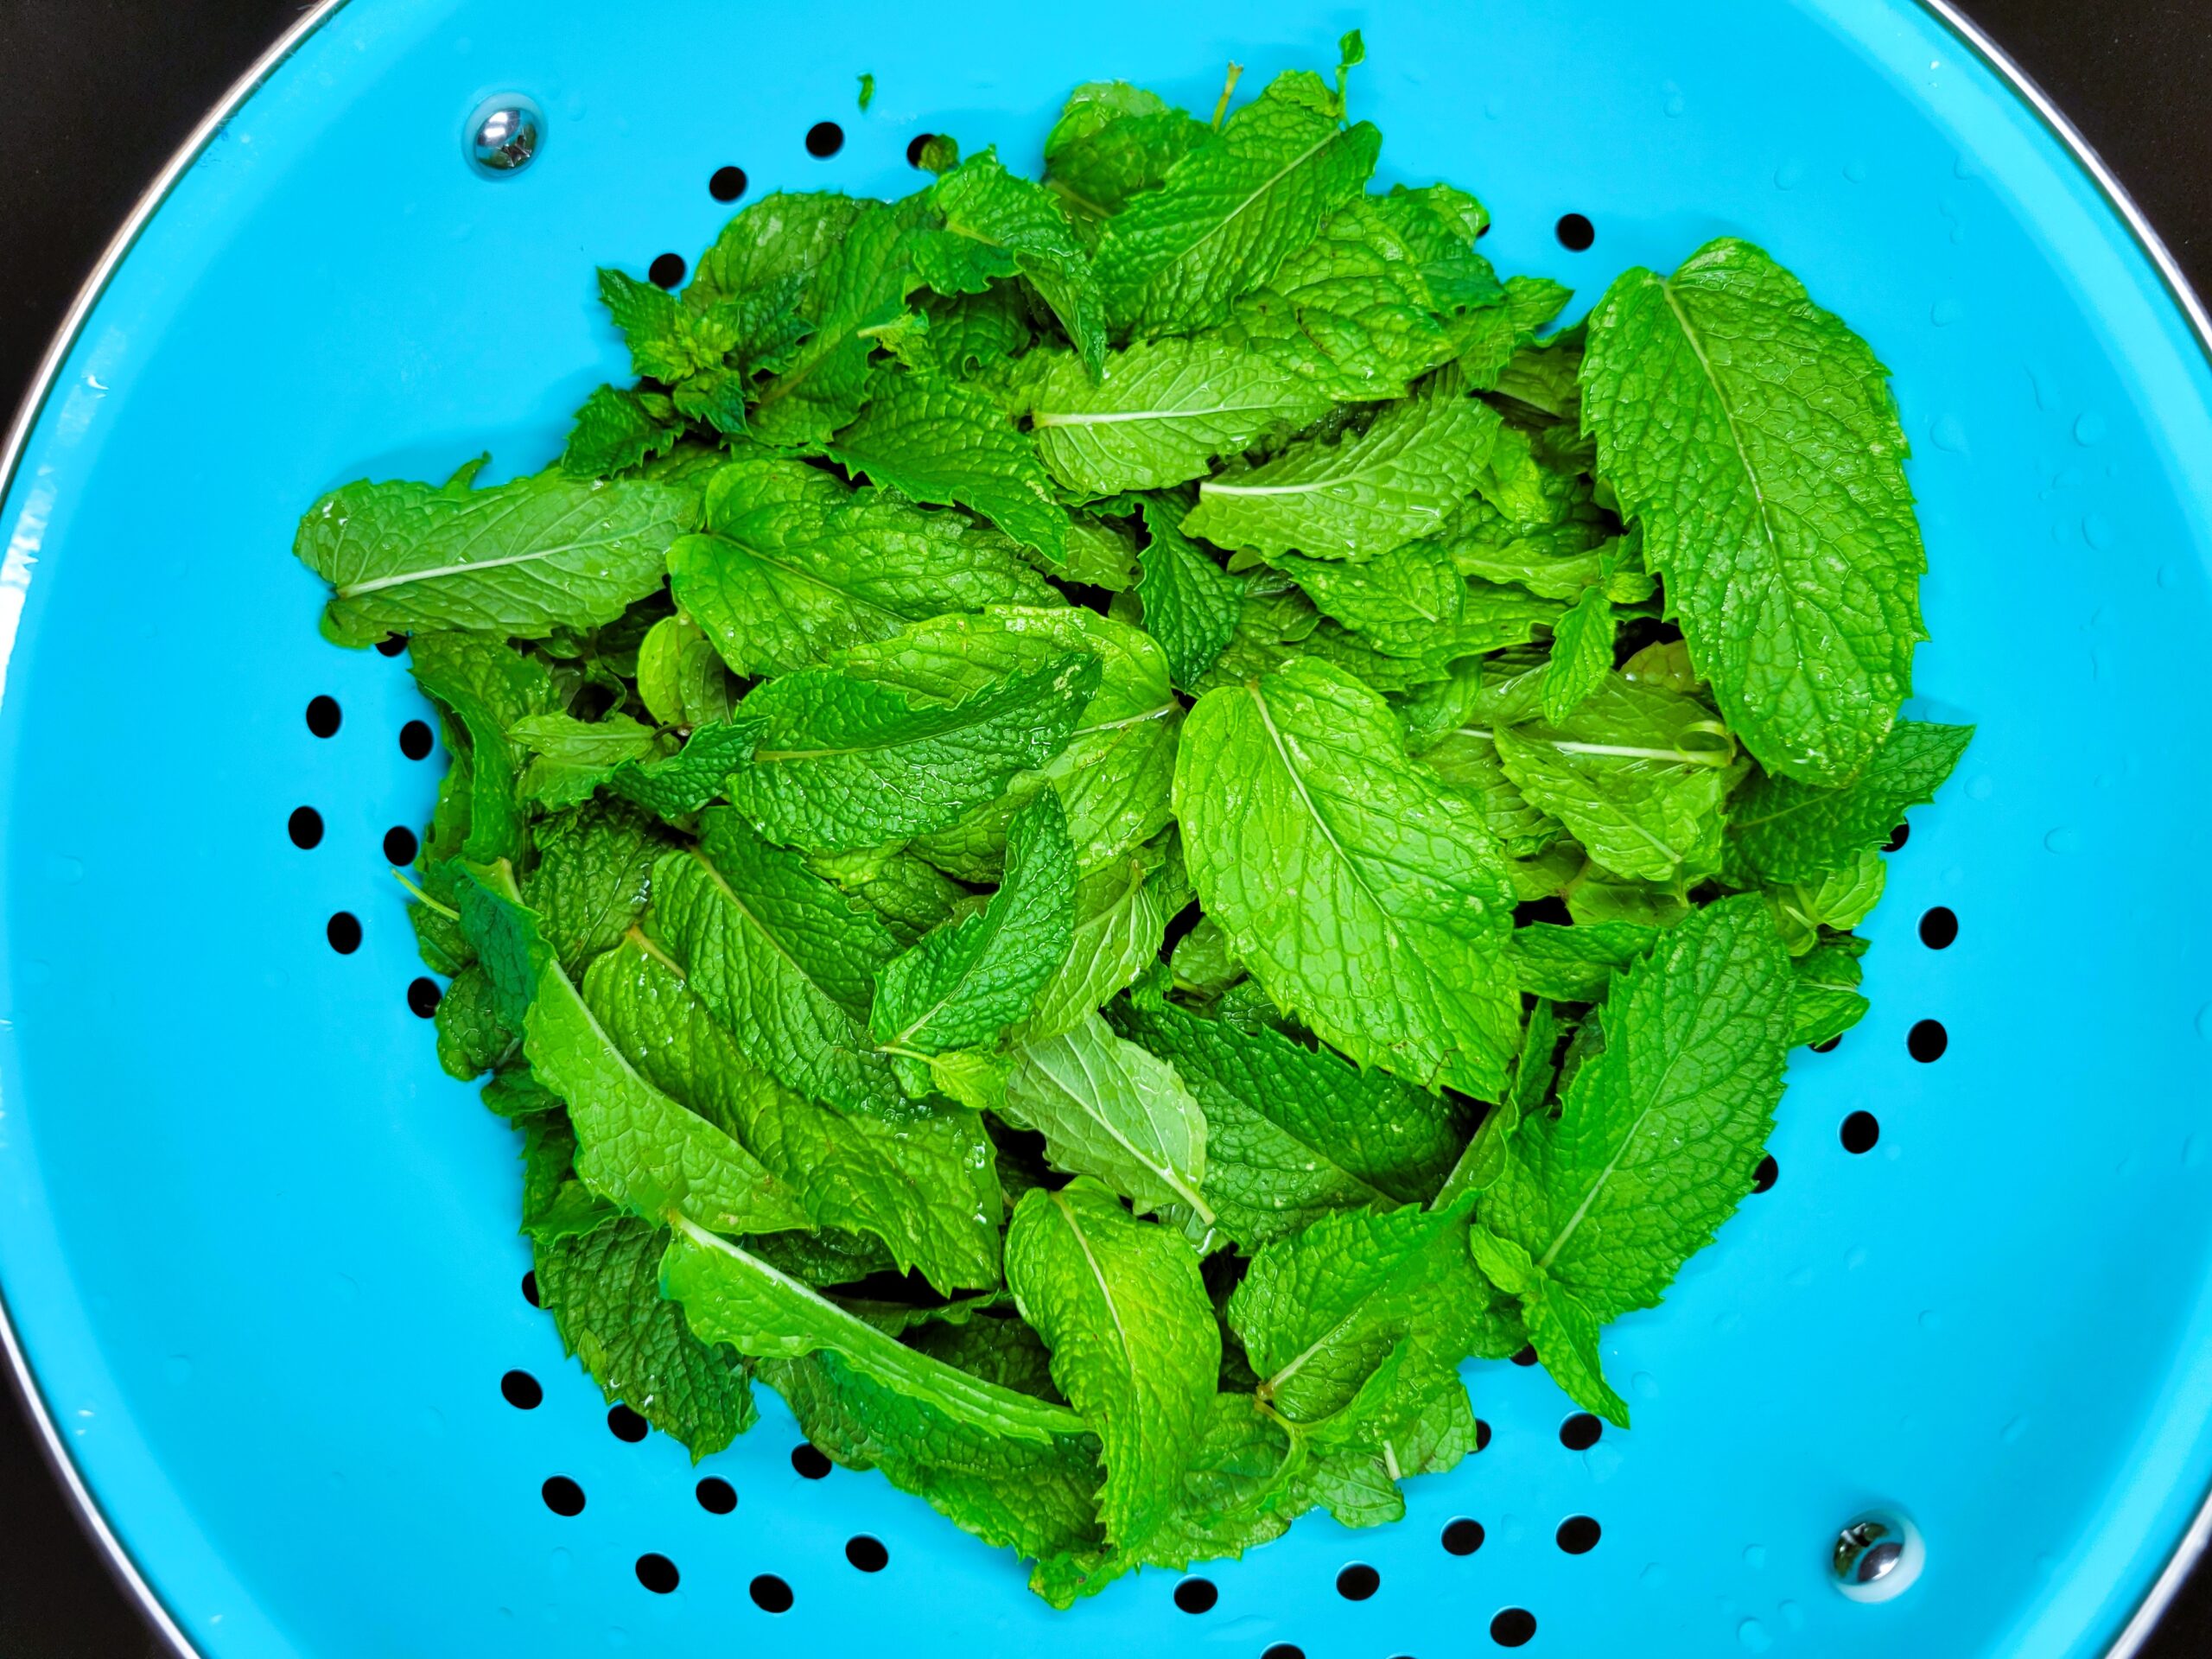
Wash the mint, crush the leaves and stems, and roughly chop.
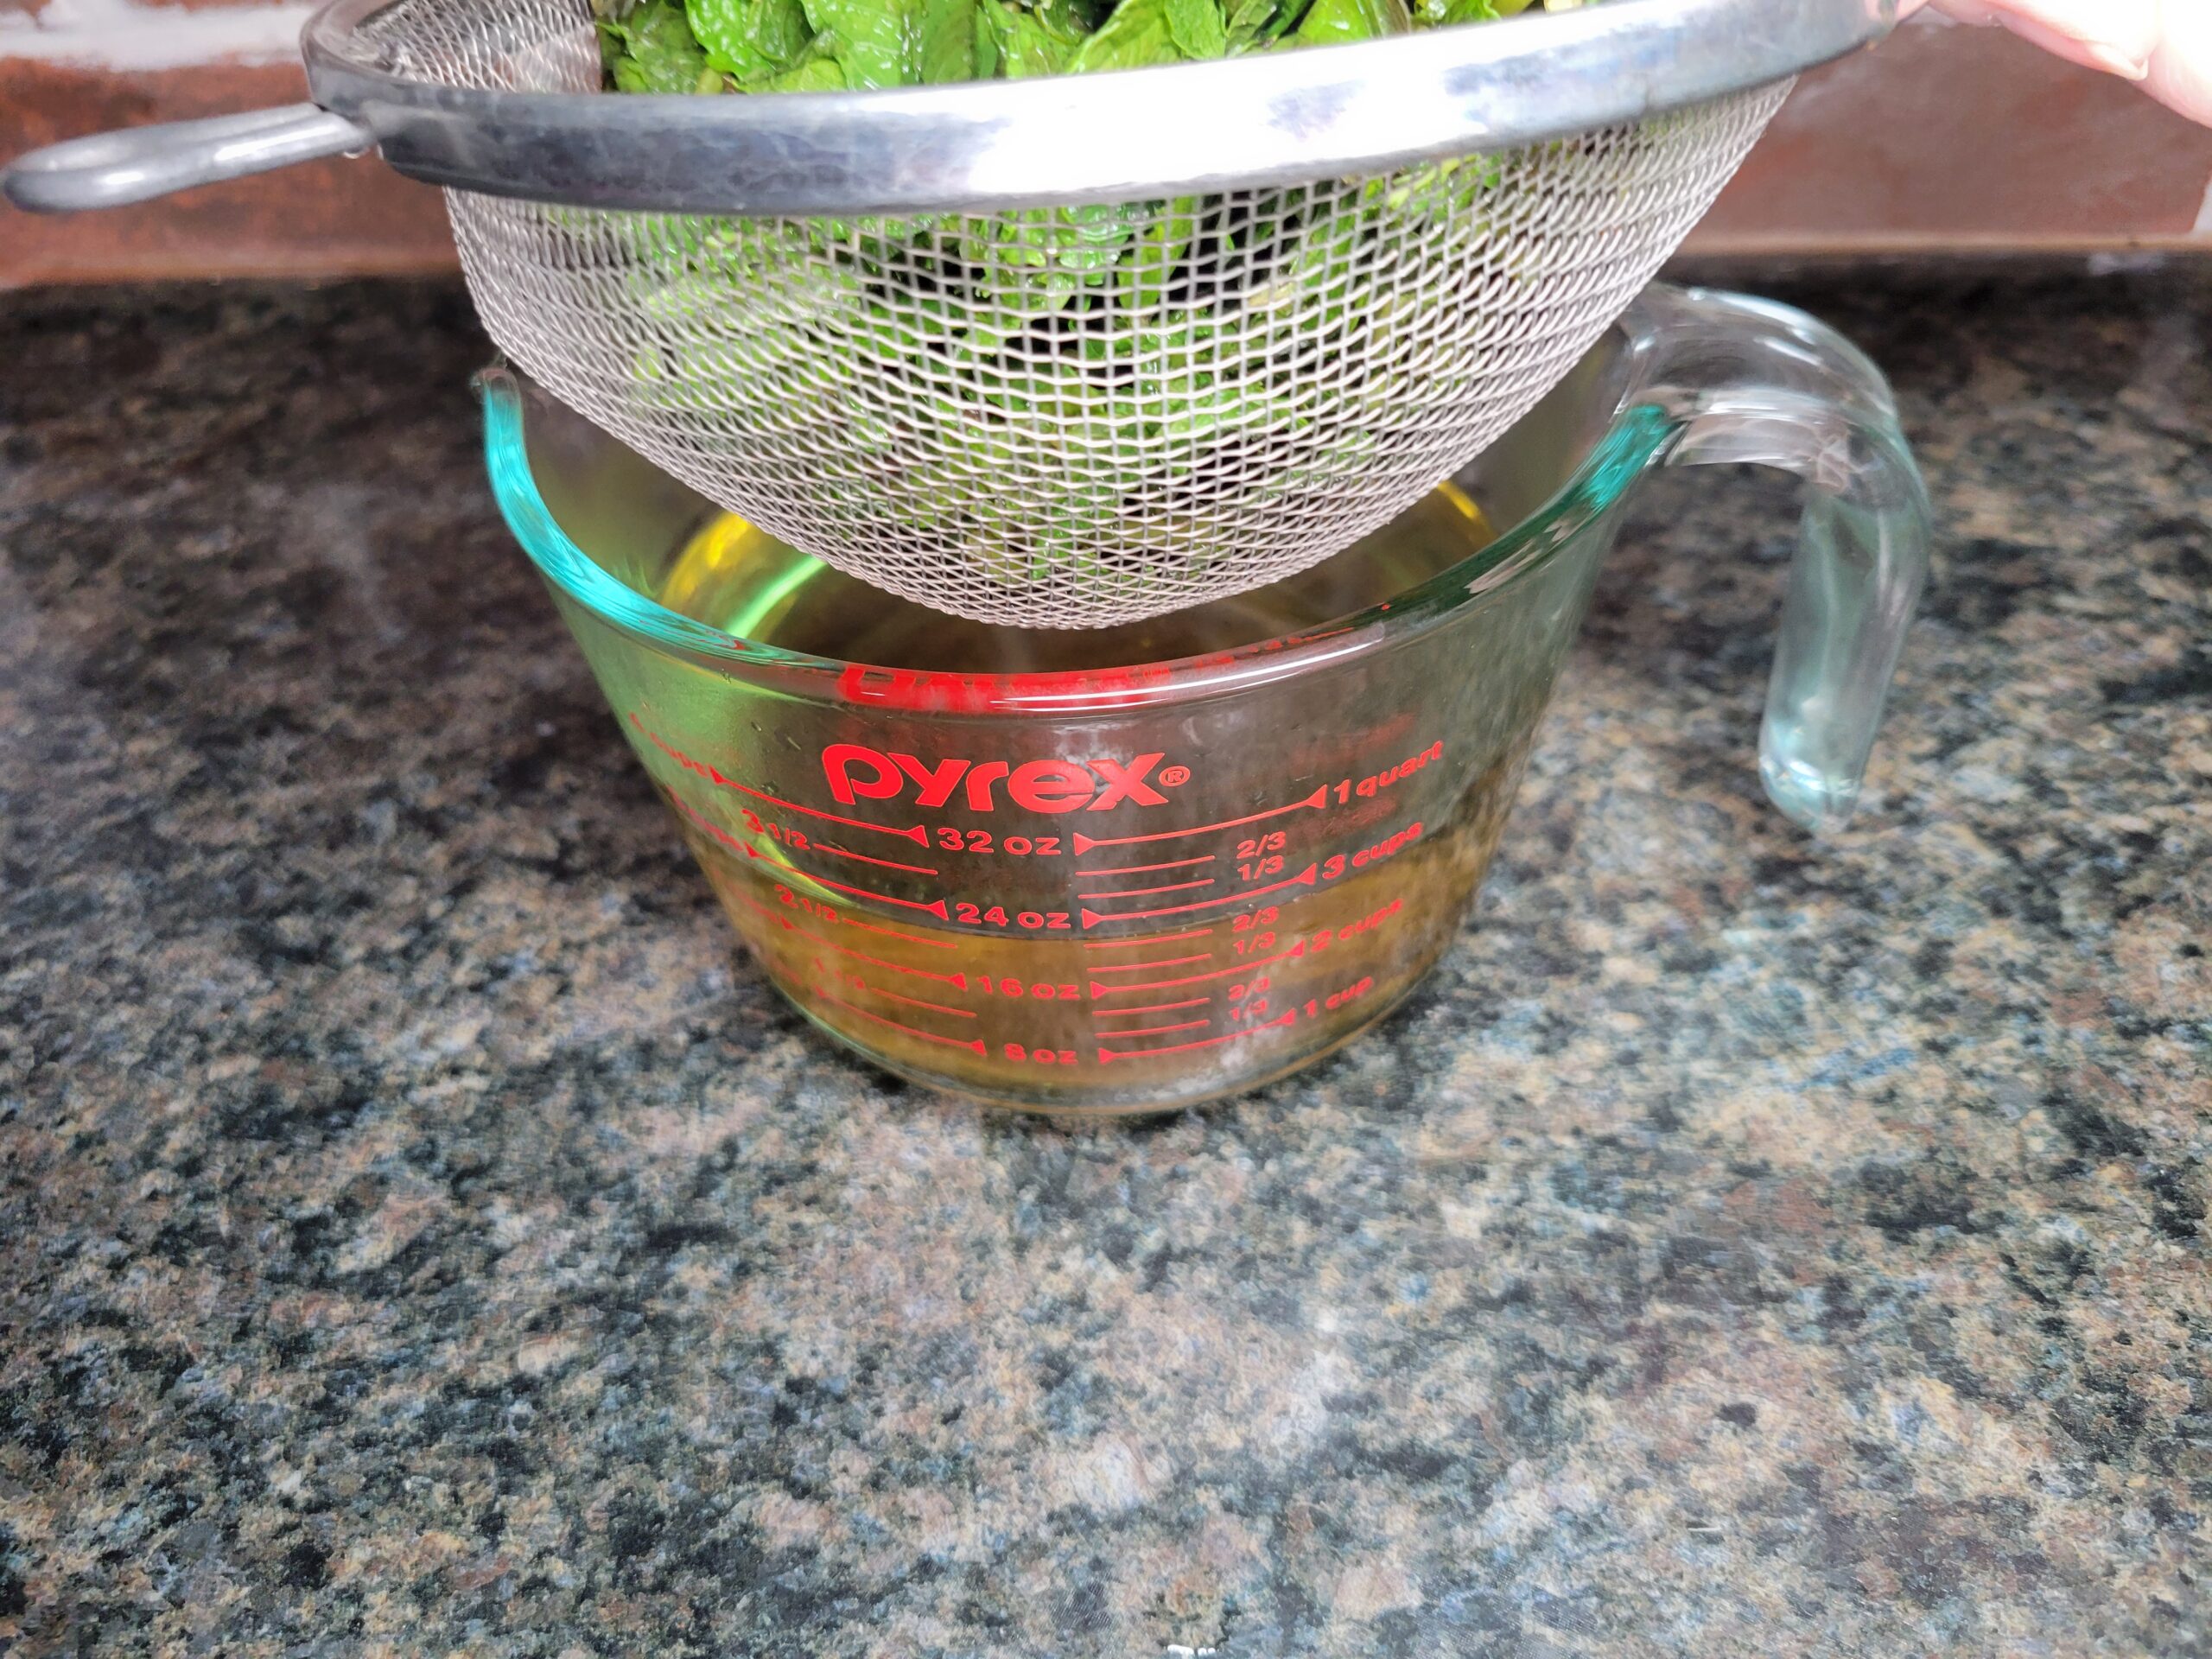
Prepare mint juice. Place chopped mint in a stainless-steel, non-reactive saucepan, add 2 1/2 cups of water, and bring to a boil. Remove from heat, cover, and let steep for 10-15 minutes. Strain to remove the mint, and discard or mulch the leaves.
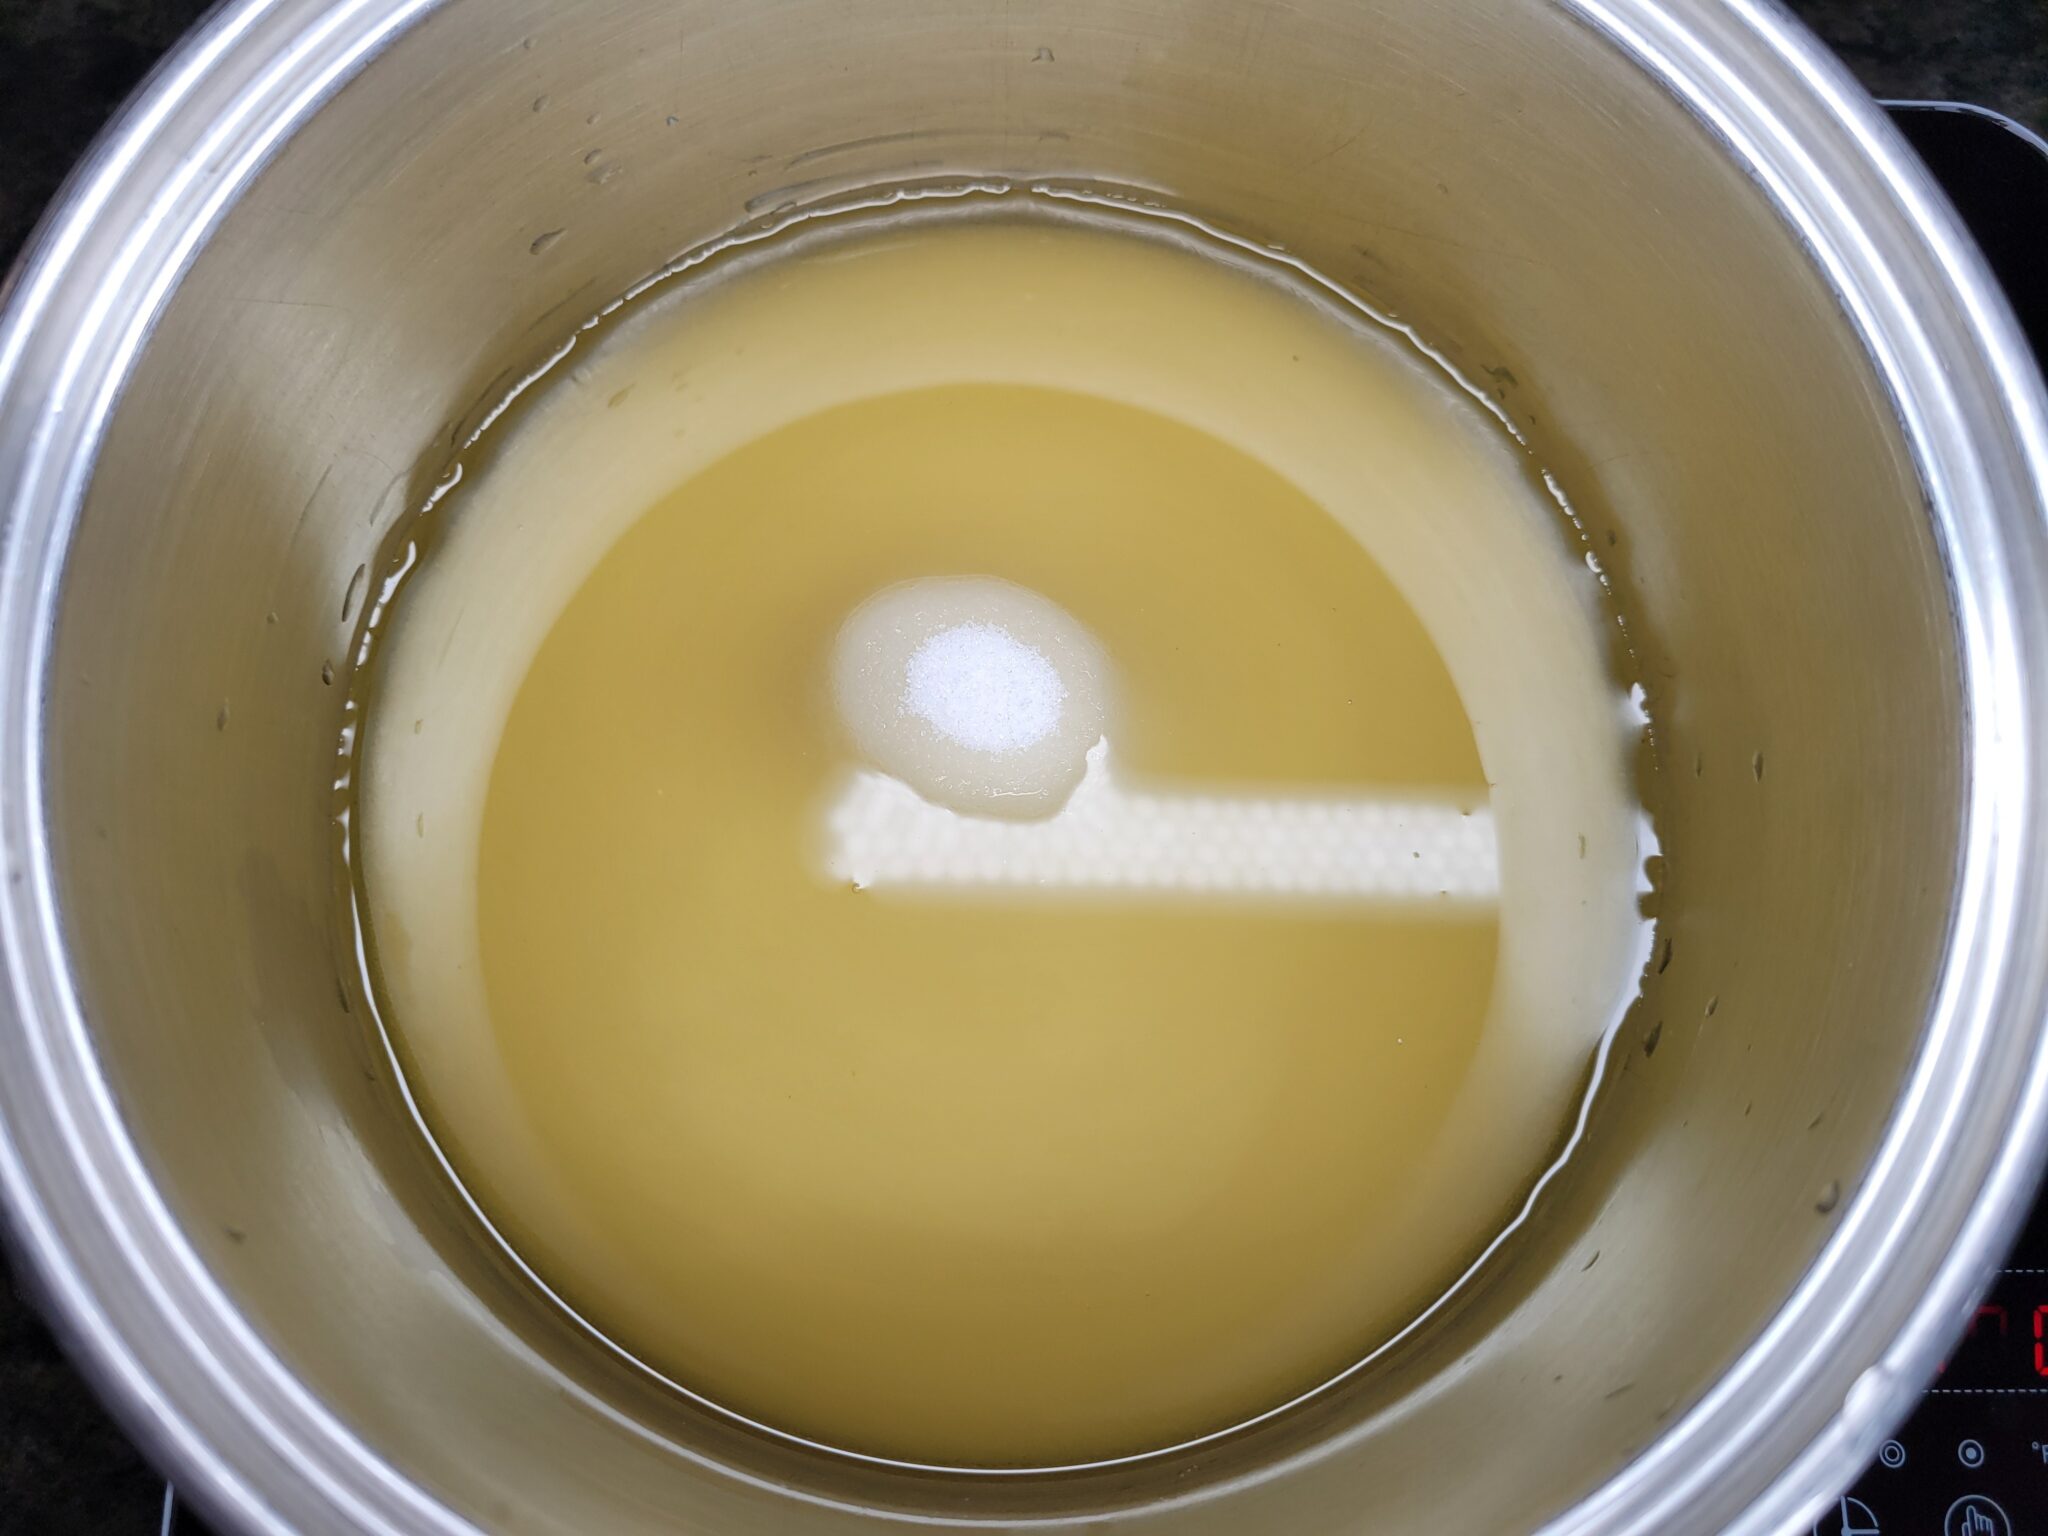
Pour 2 cups of the mint juice into a large stainless‑steel, nonreactive saucepan and bring to a boil. Stir in 3 1/2 cups of granulated sugar and 2 tablespoons lemon juice.
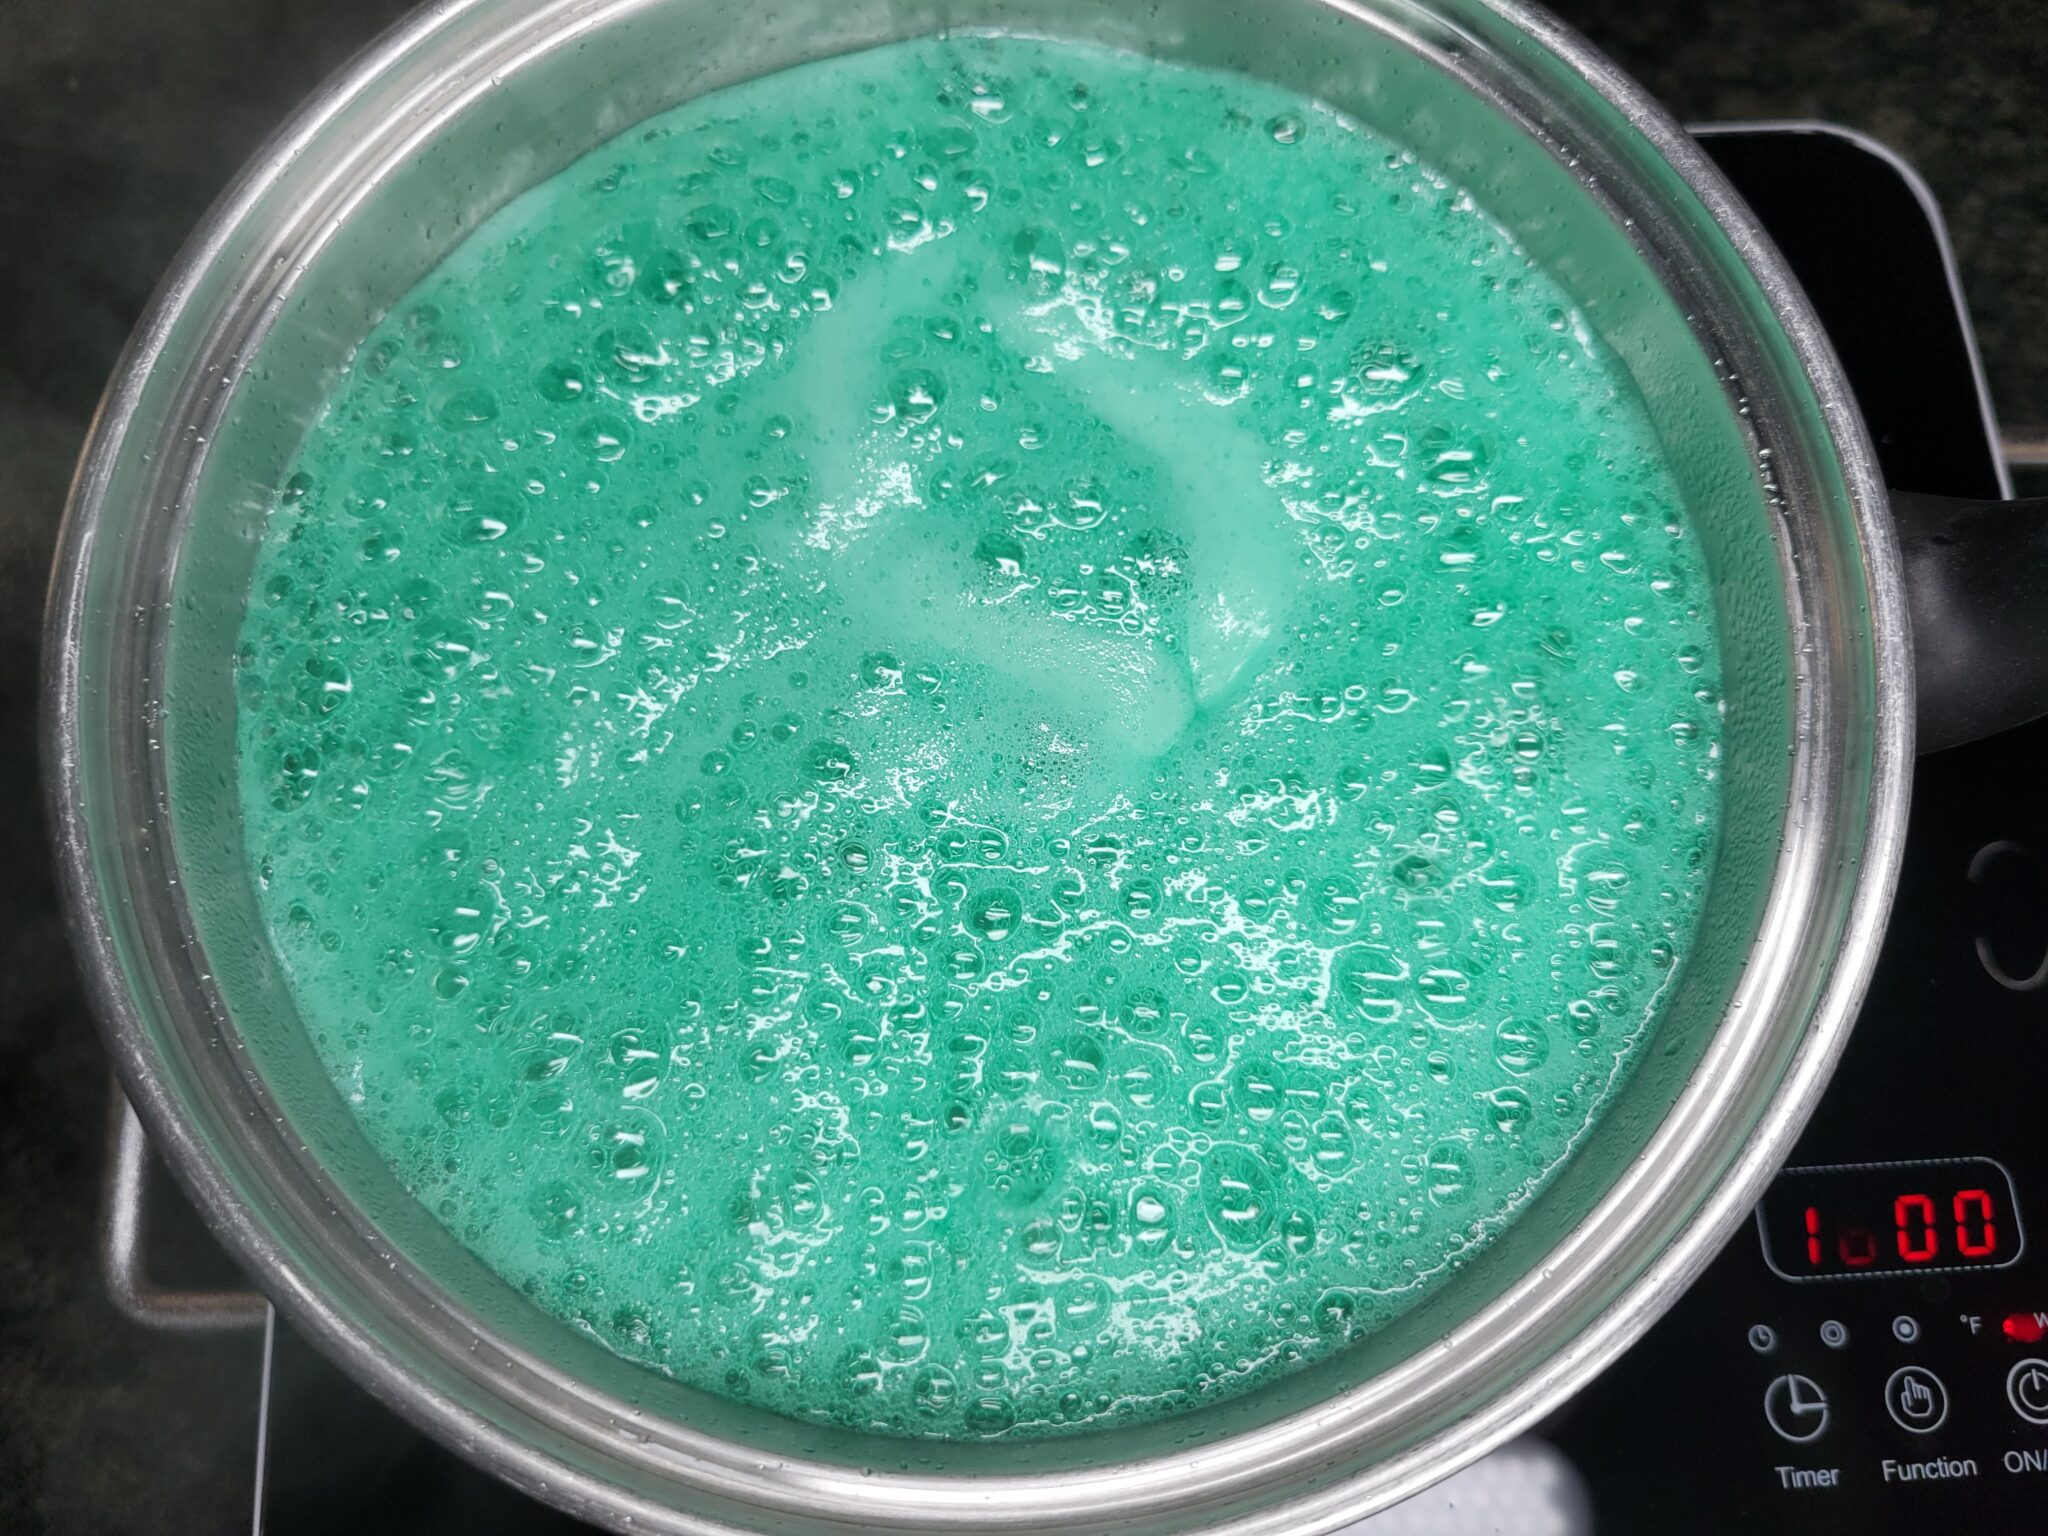
Bring back to a boil, add food coloring (if desired) and a 3-ounce package of liquid pectin, then heat again to a full rolling boil. Boil hard for 1 minute. Remove from heat; quickly skim off foam.
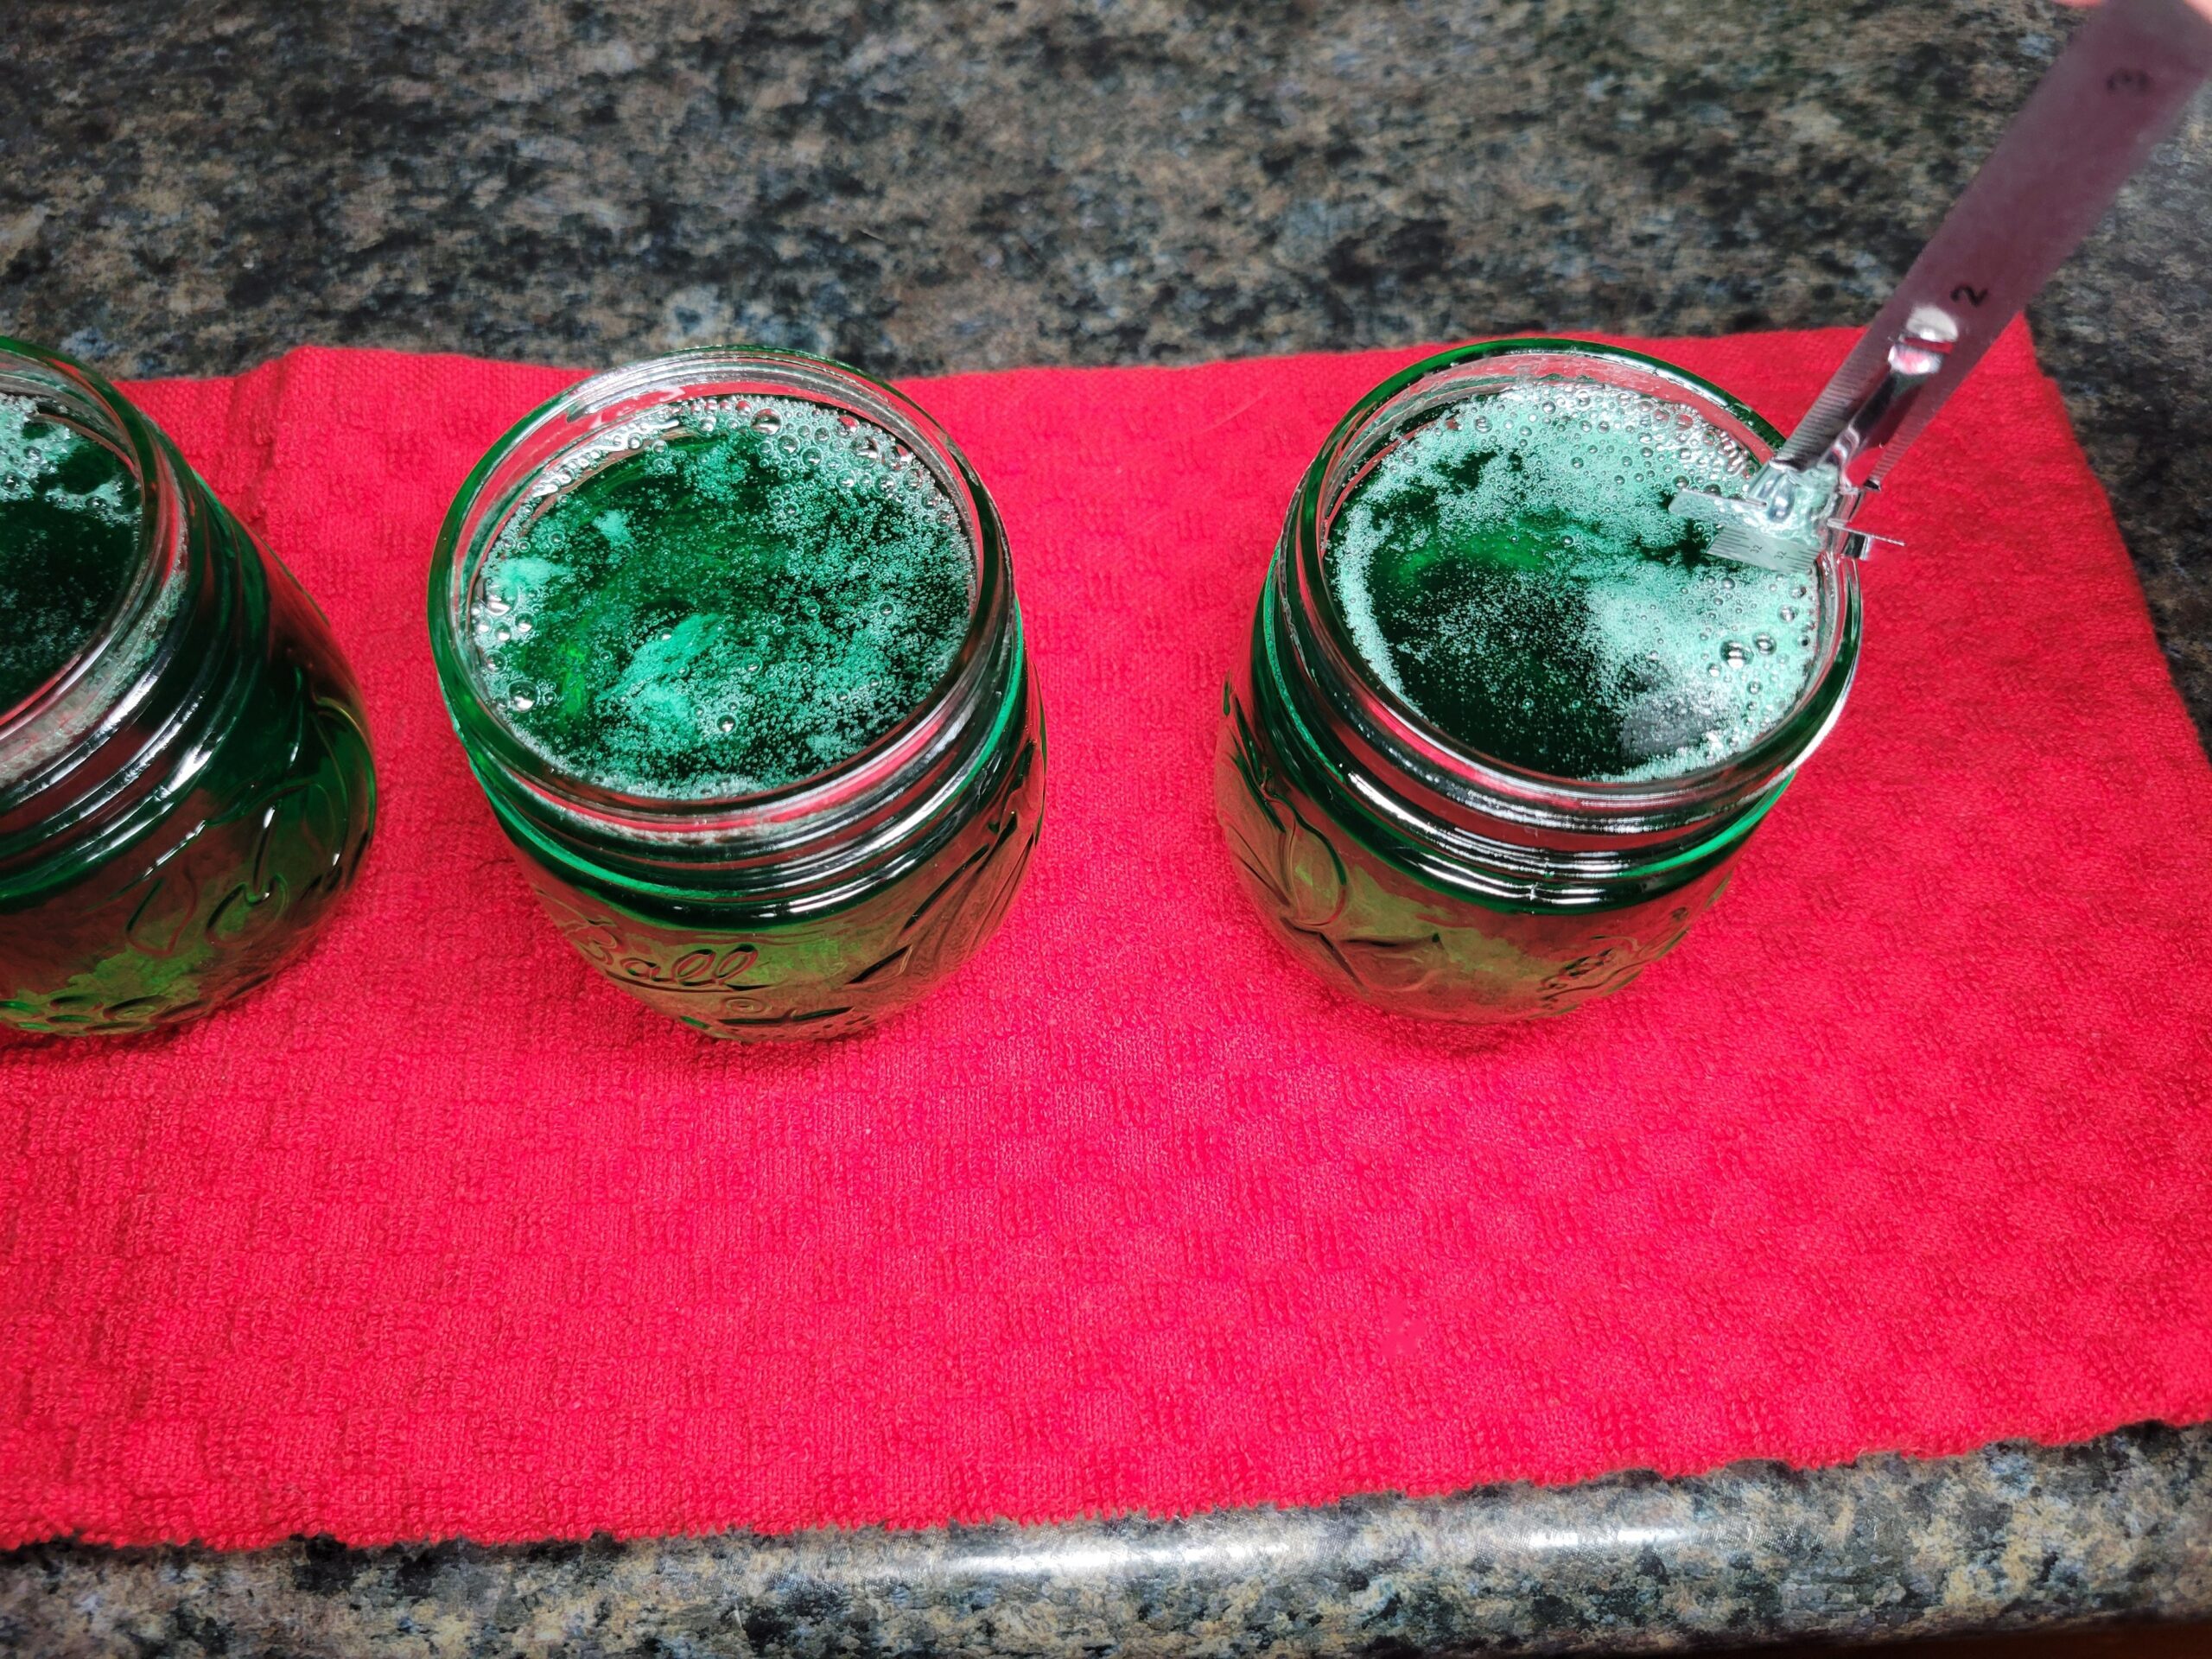
Pour the hot jelly into hot, sterilized jars, leaving ¼ inch of headspace.
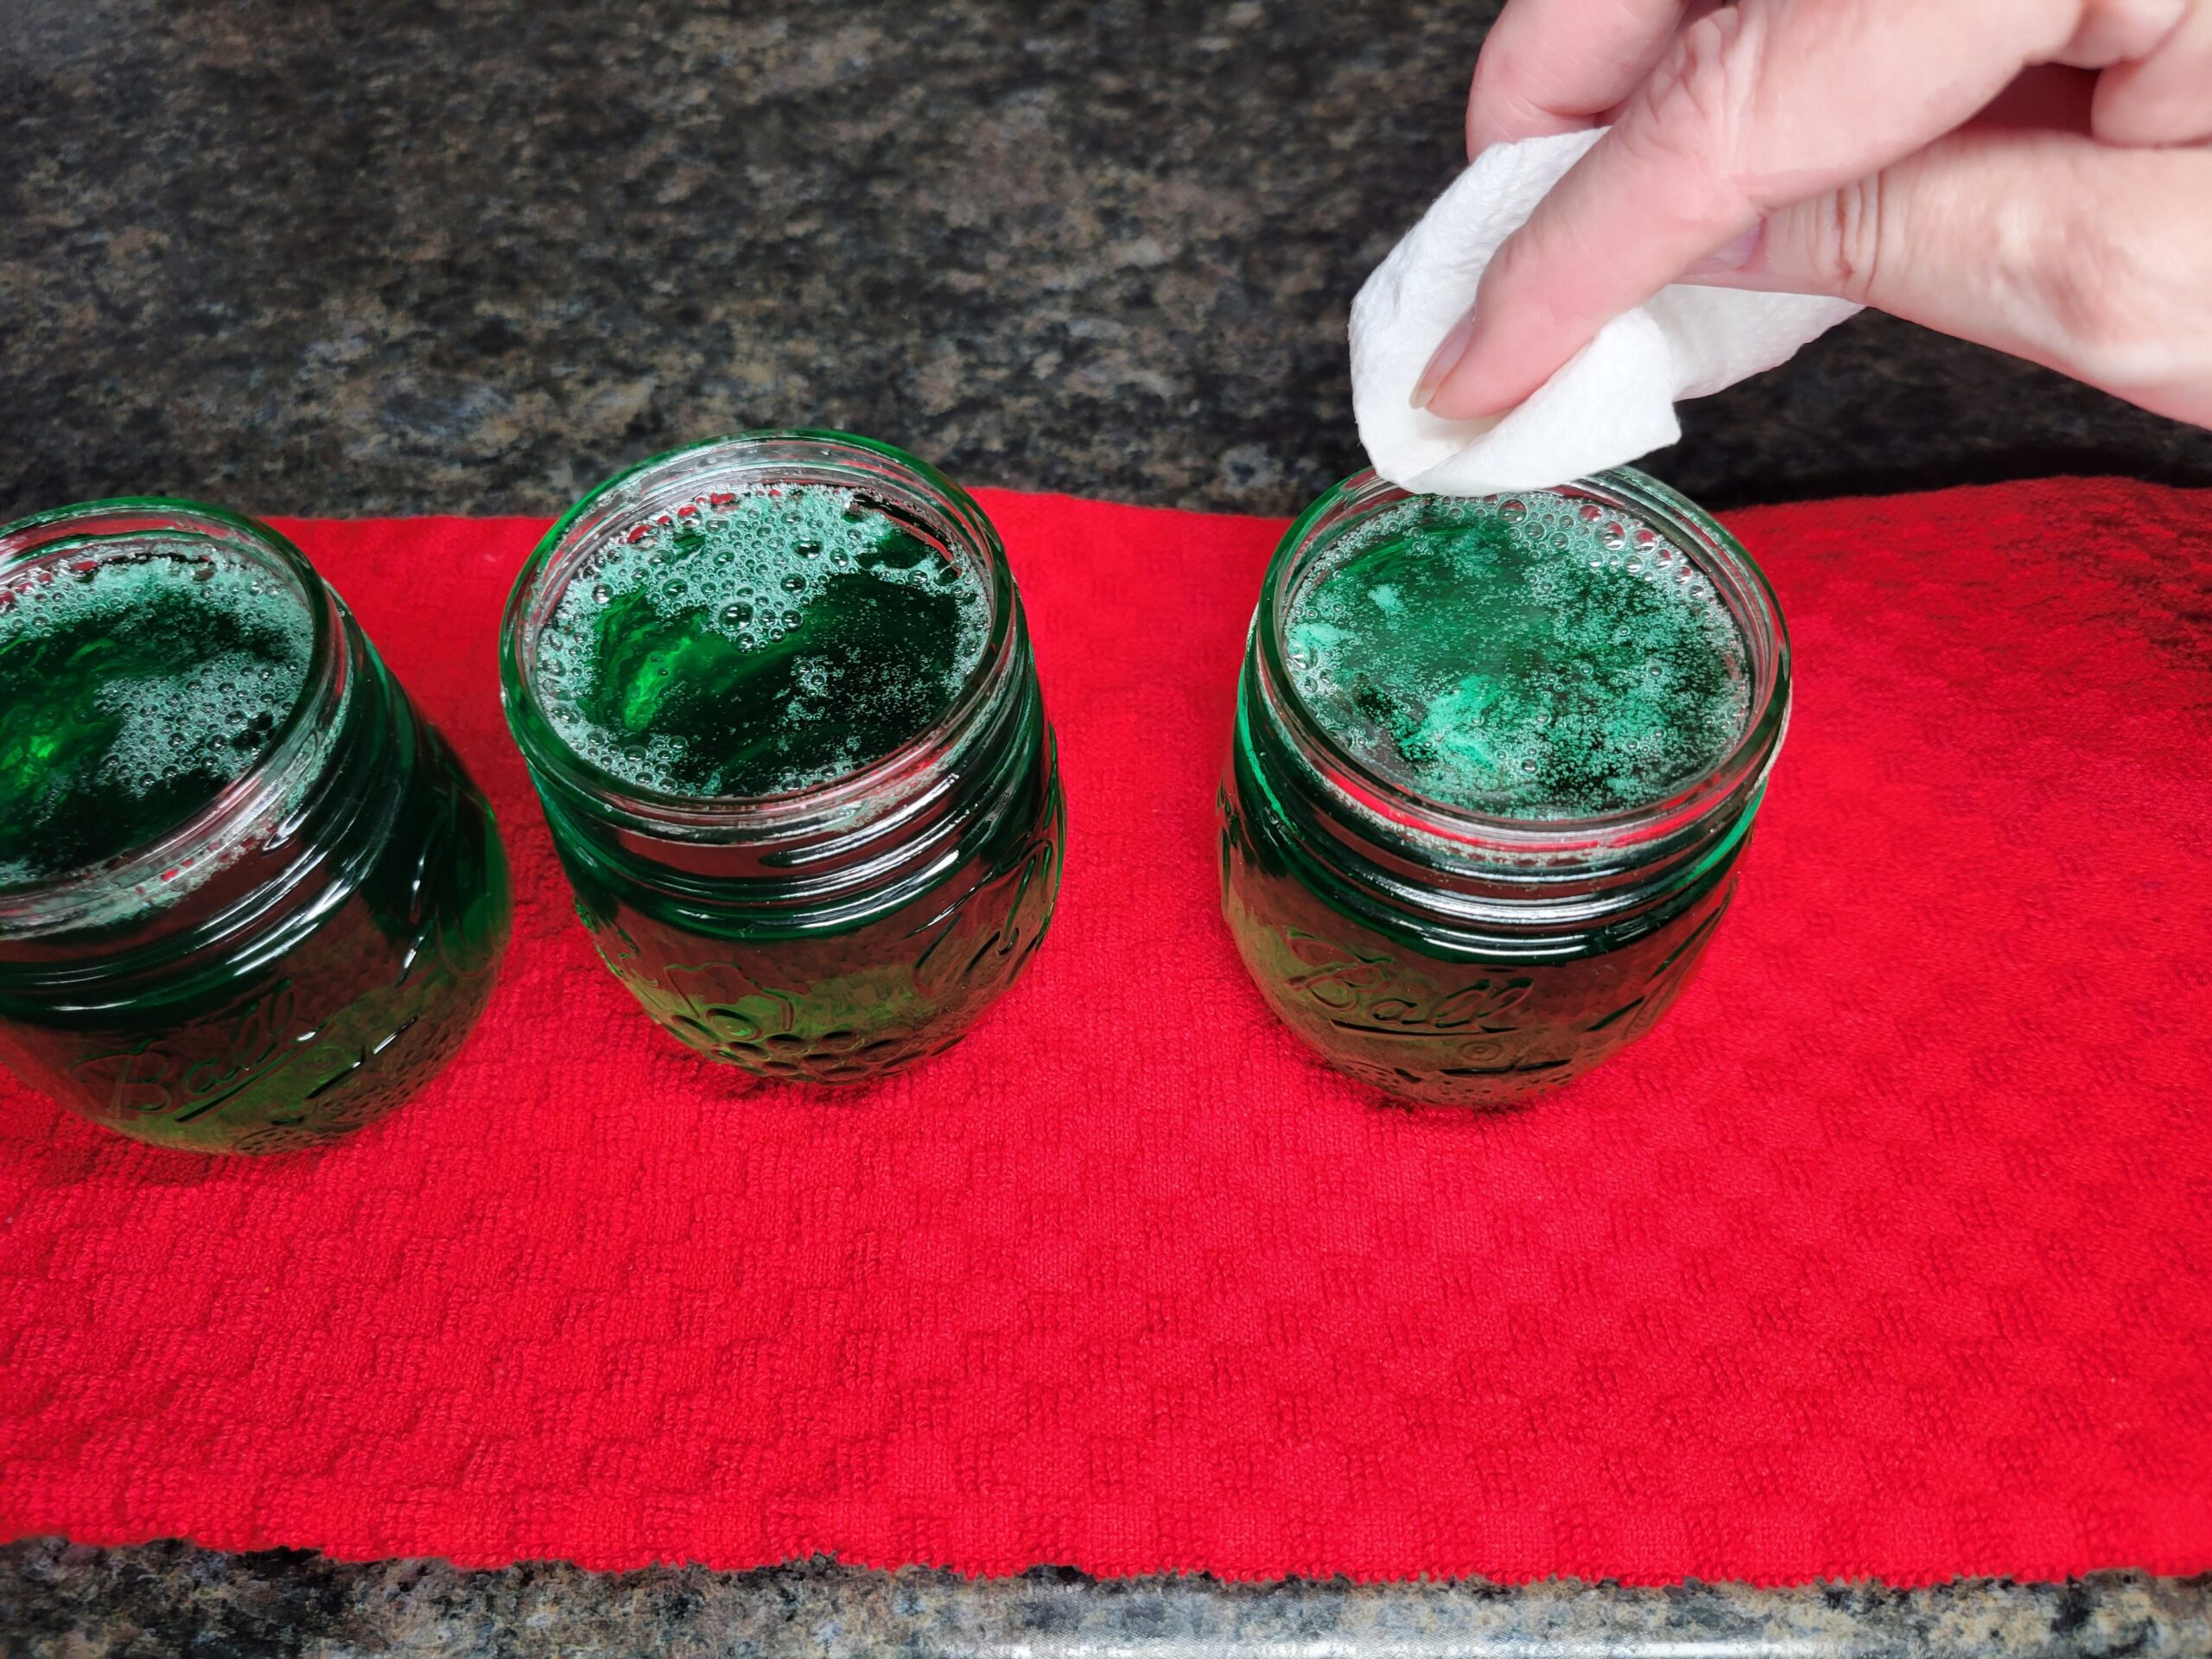
Wipe the rims of the jars with a clean, damp paper towel, then secure the lids and bands, carefully tightening them with your fingertips.
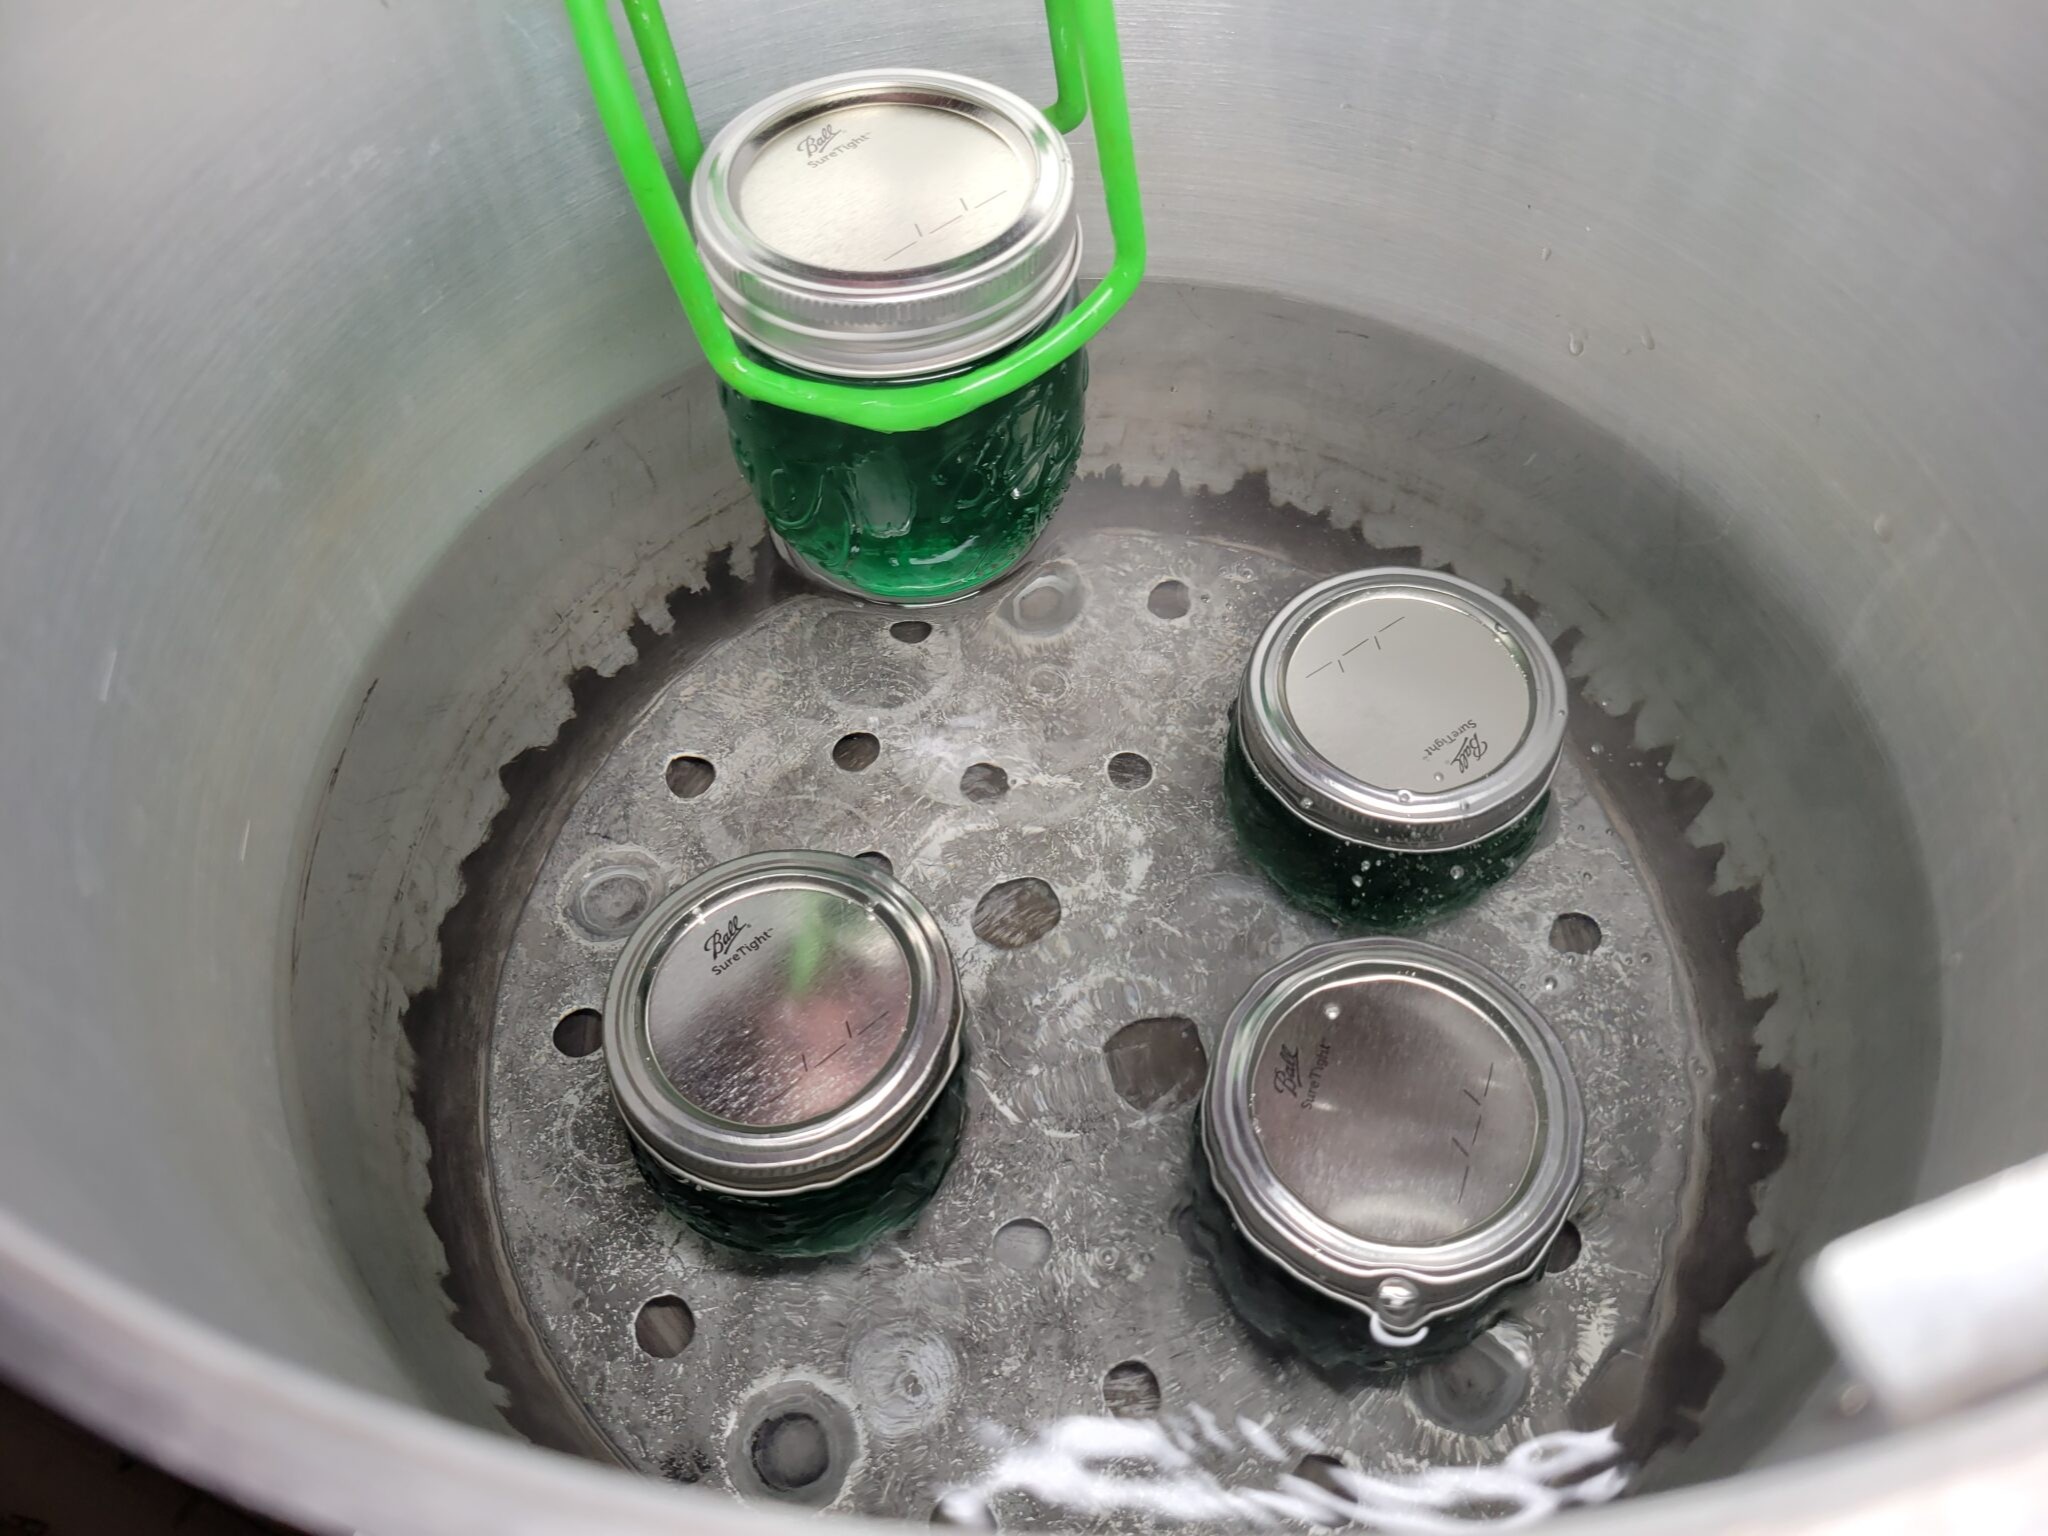
Carefully lower the jars into the boiling water, keeping them upright. When using a jar lifter, make sure it is securely positioned below the neck of the jar (below the screw band of the lid). Tilting the jar could cause food to spill into the lid's sealing area. Make sure the water covers the jars by 1–2 inches. Place the lid on the canner. Begin timing once the water returns to a full boil. For pints and half-pint jars, process for 5 minutes at elevations of 0-1,000 feet, 10 minutes at elevations of 1,001-6,000 feet, and 15 minutes above 6,000 feet. When the processing time is complete, turn off the heat, move the canner off the burner if possible, and carefully remove the lid. Let the jars rest in the hot water for 5 minutes before lifting them out.
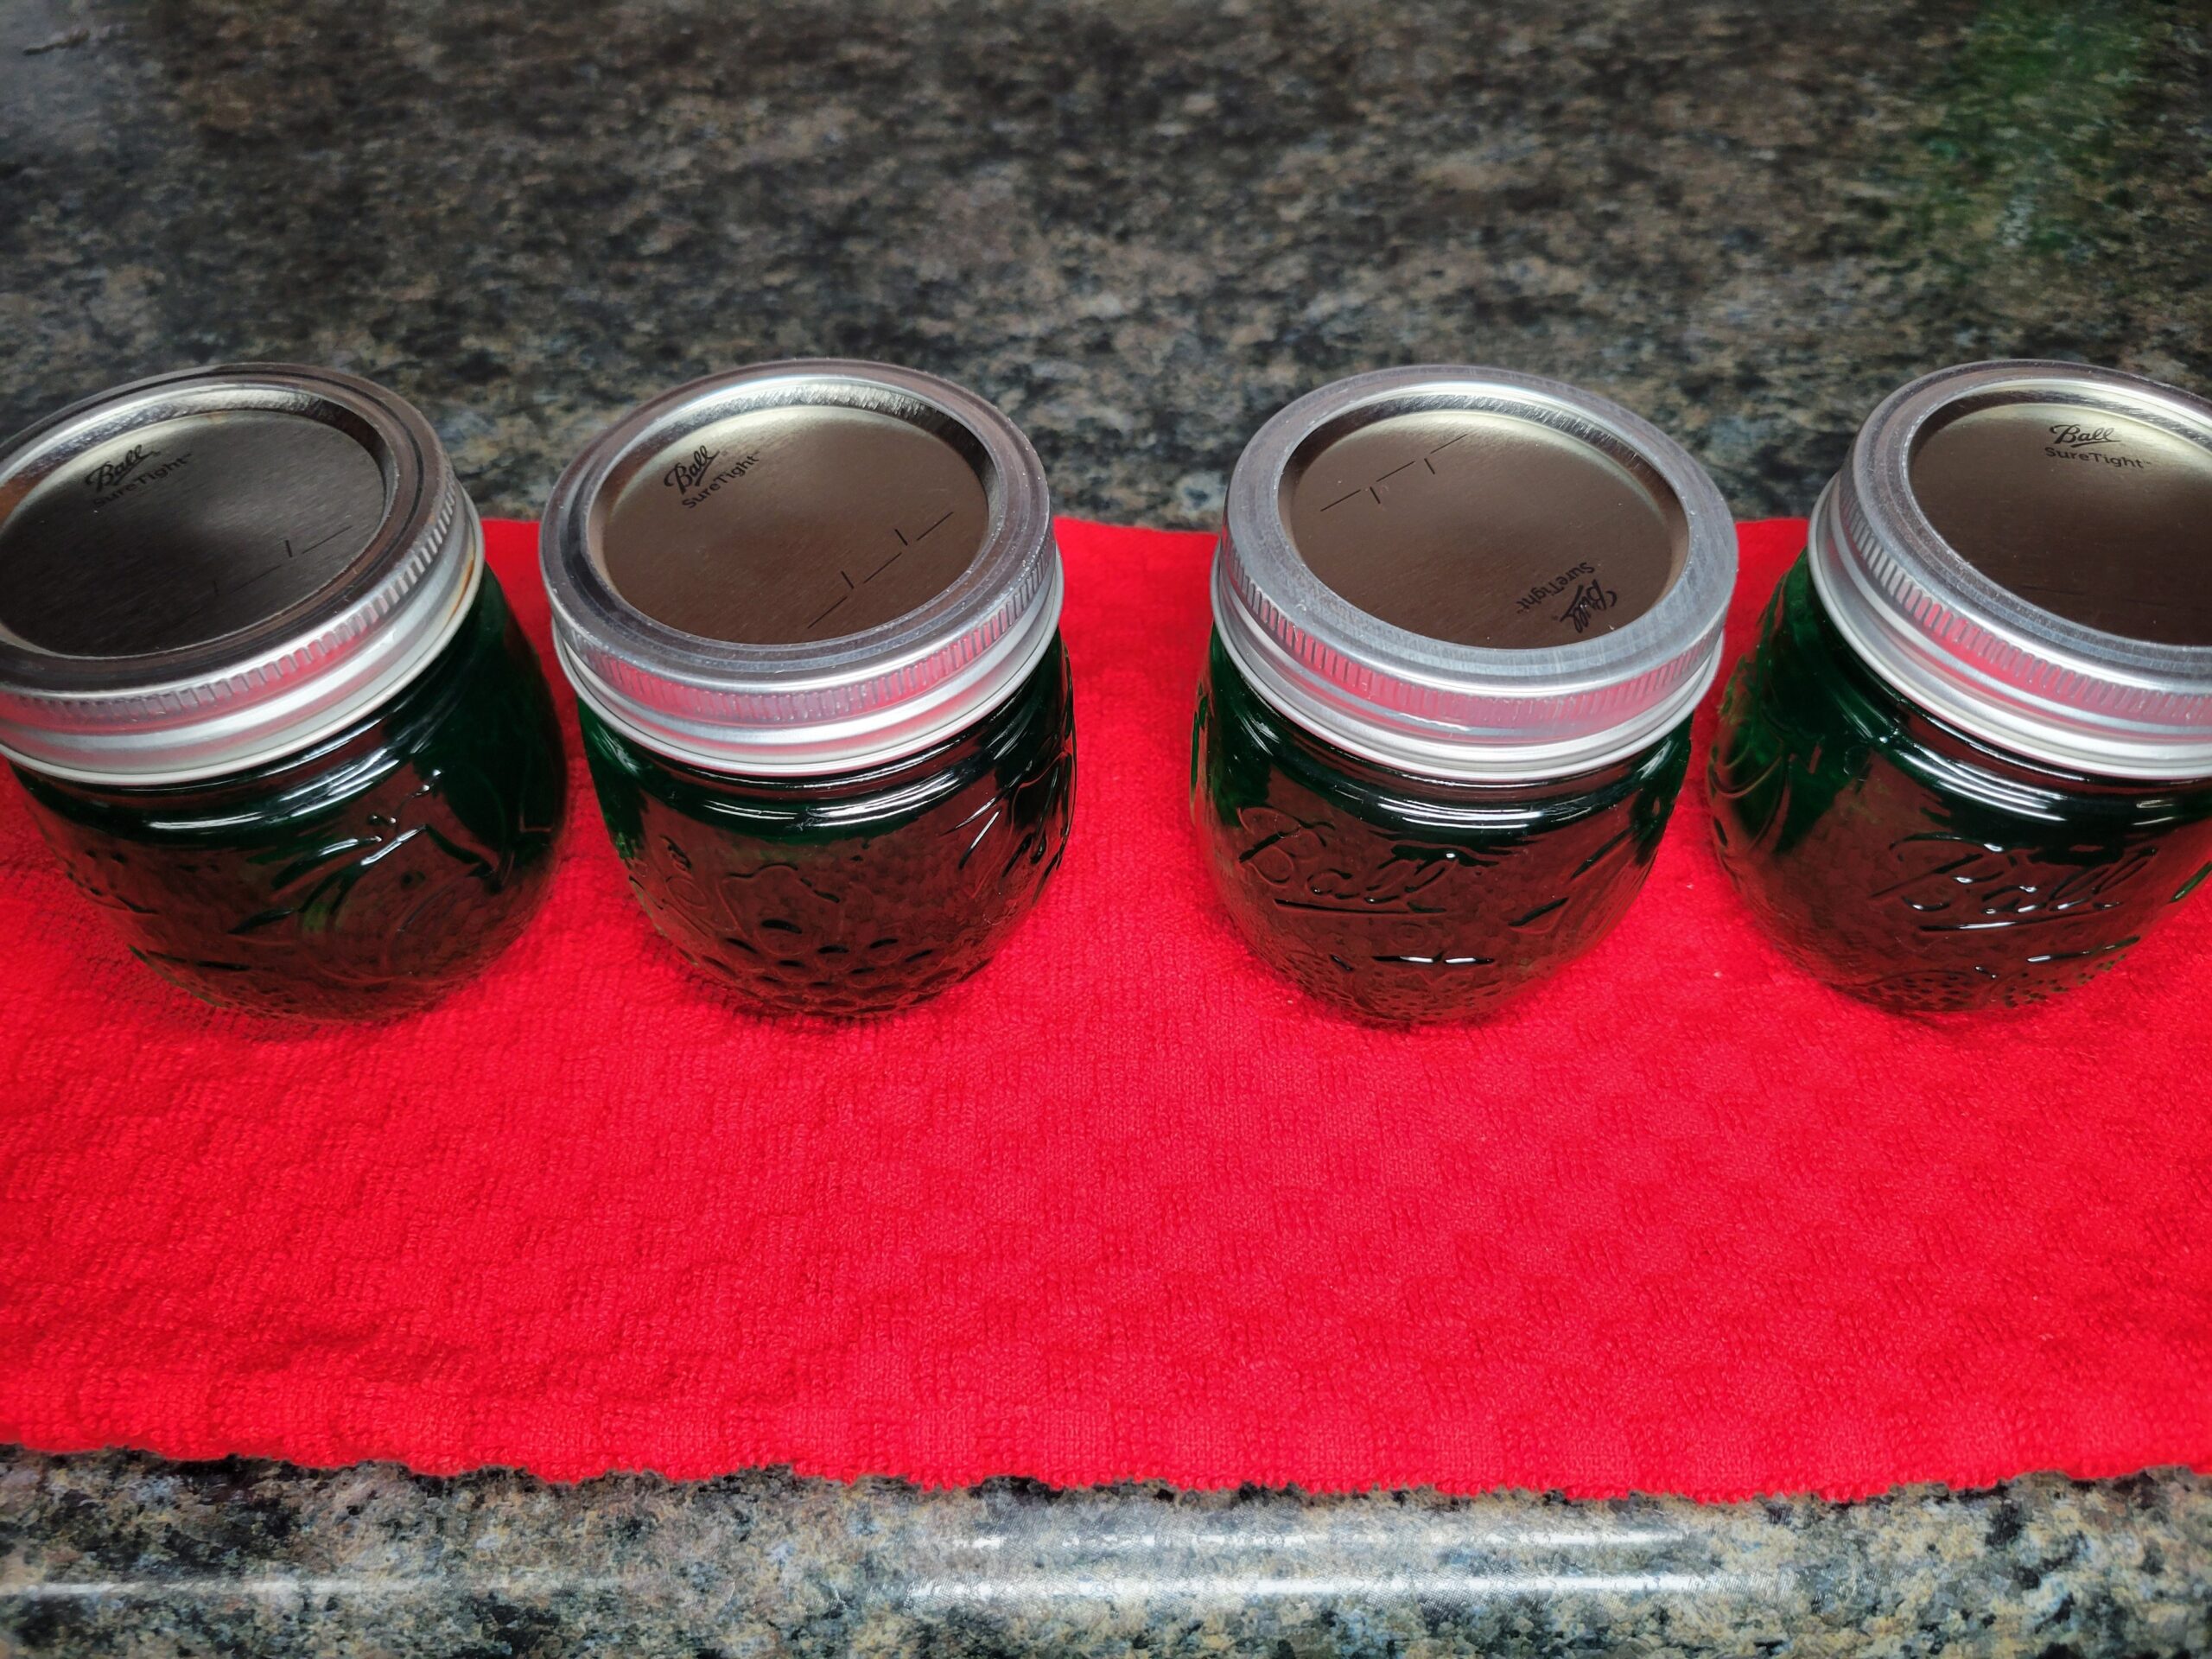
Place the jars upright on a towel‑lined countertop and leave them undisturbed for 12 to 24 hours. Jars may take several hours to seal, though many seal within the first 30 minutes or even during processing. After 12 hours, check the seals and clean the jars. Label with contents and date—store sealed jars for up to one year. Refrigerate any jars that did not seal.
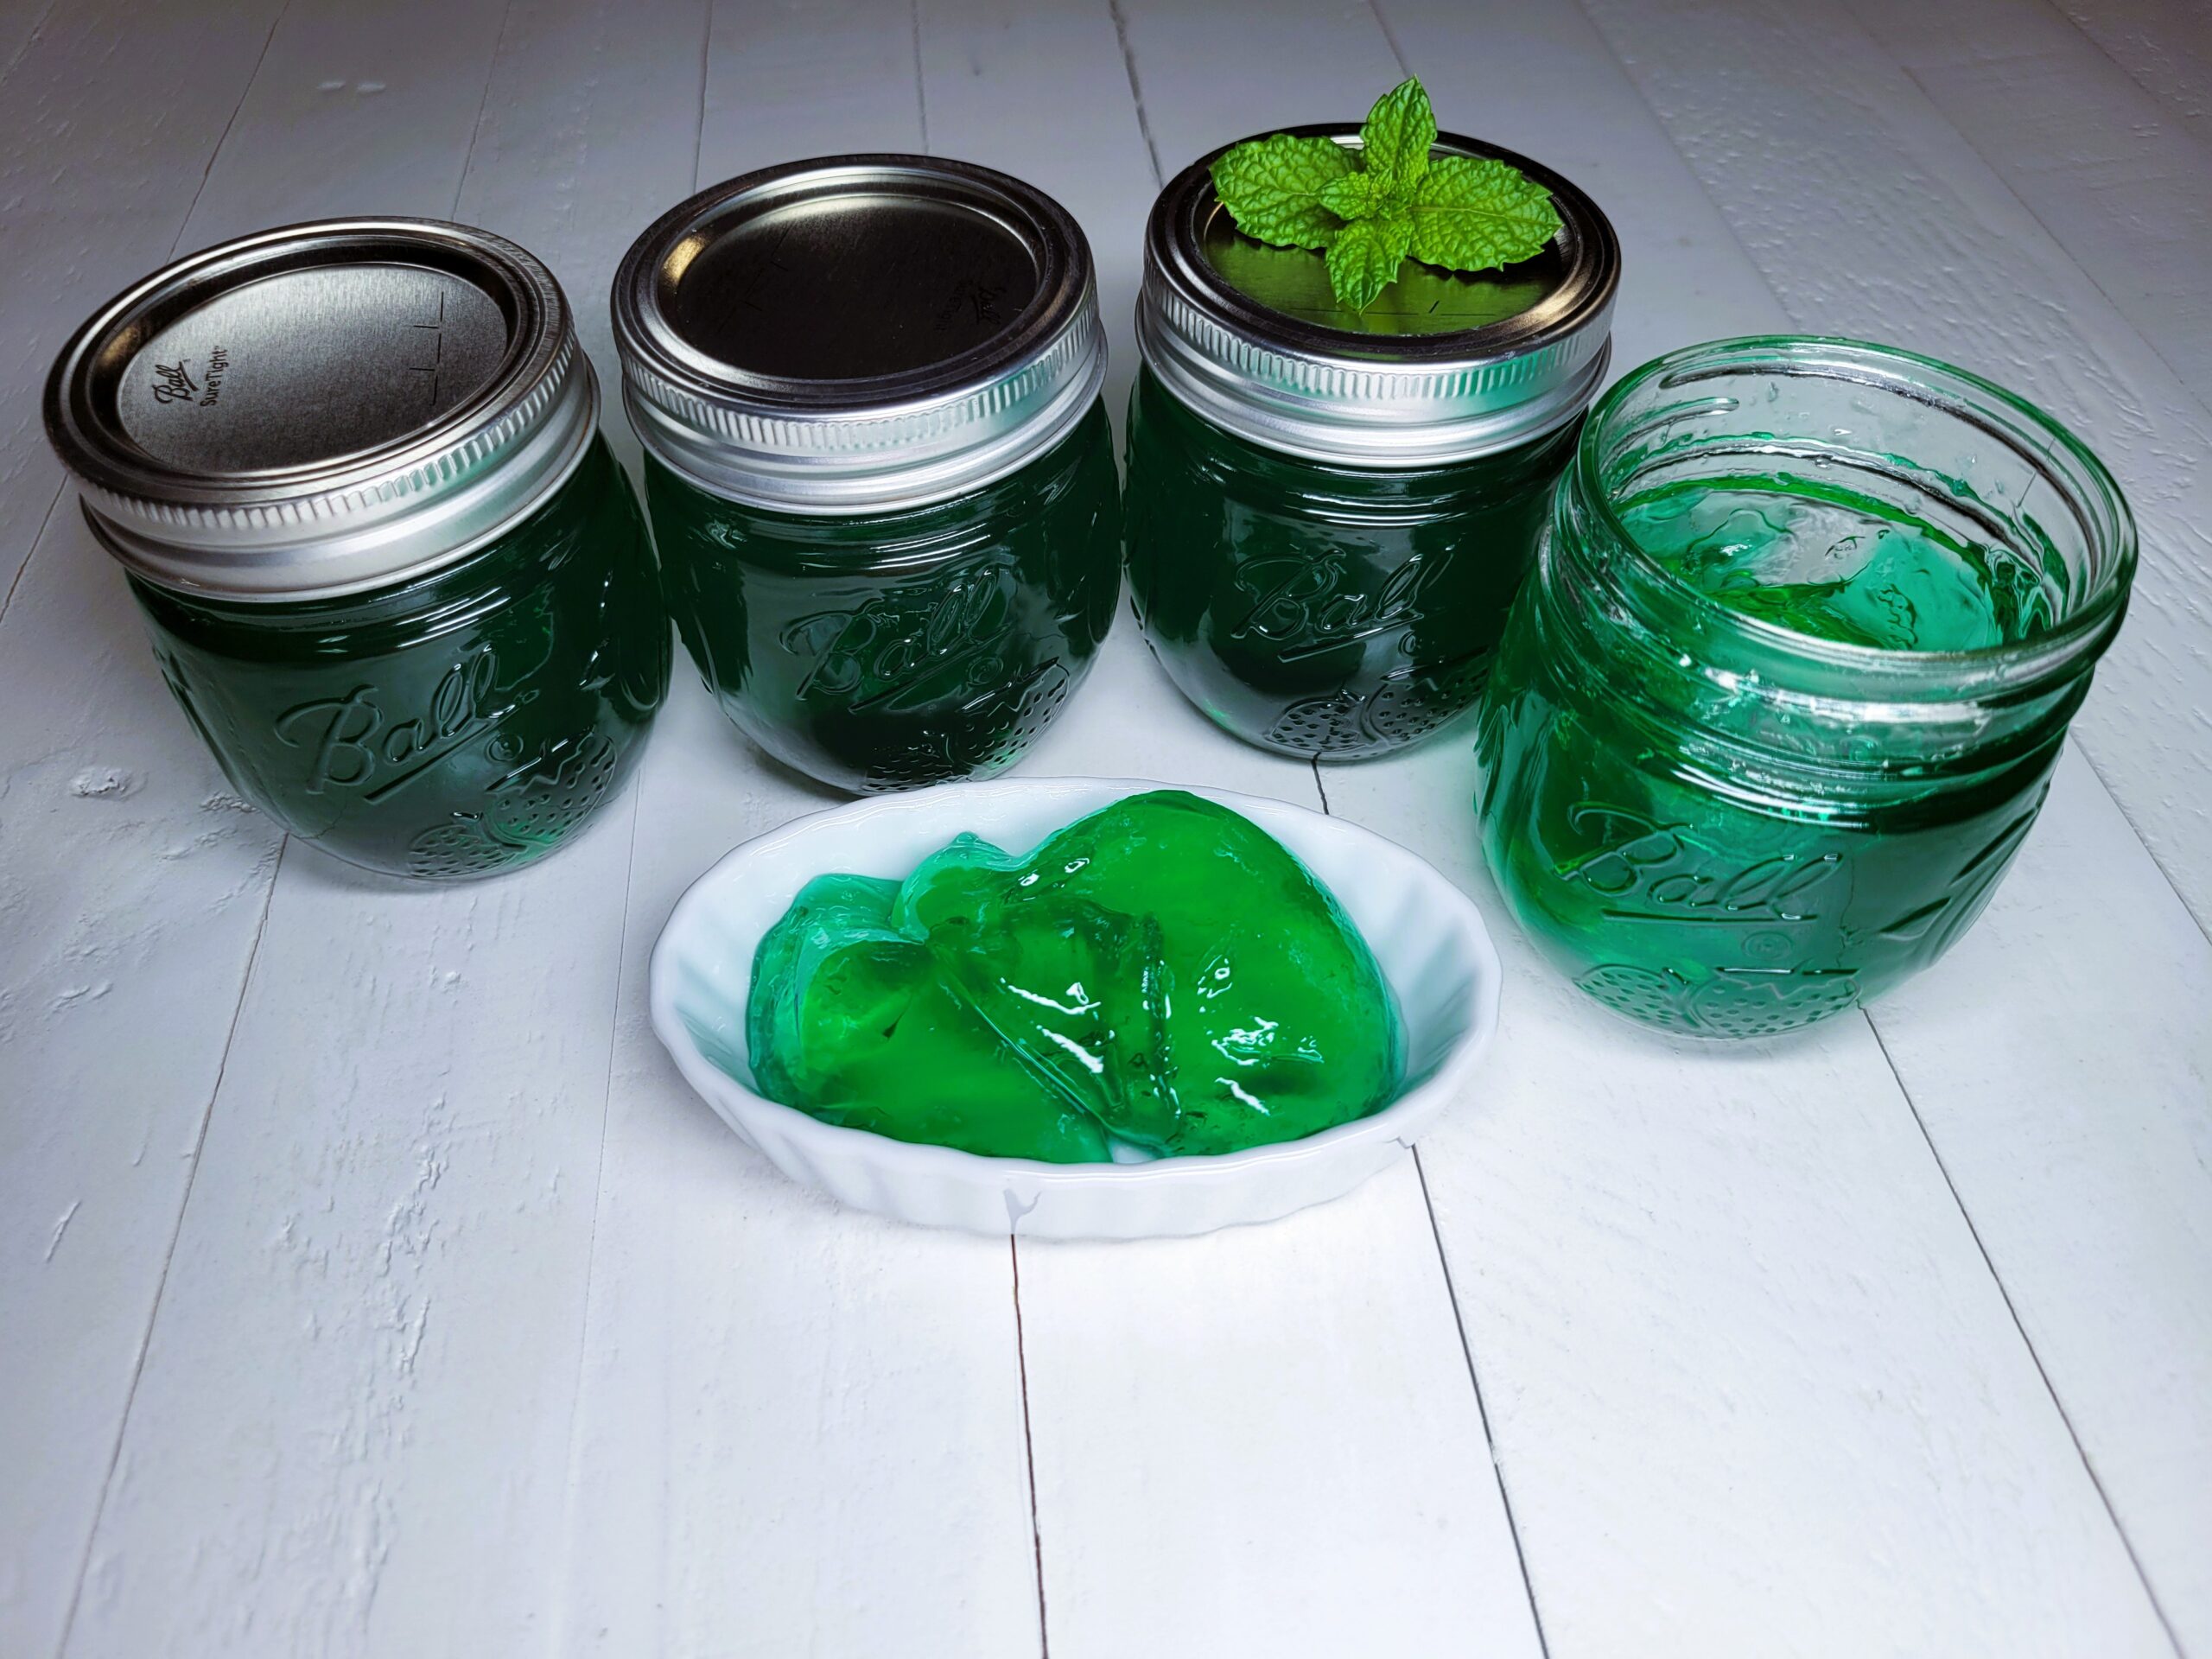
Enjoy! 💚🌿
For more delicious jelly and jam recipes, check out these:
Conclusion
Kitchen Tools :Need some tools or ingredients to make this recipe? Use my Amazon Affiliate links to shop. I will make a small commission and it doesn't cost you any extra. Thank you for visiting.
HOME GROWN Common Mint Seeds Premium Liquid Fruit Pectin McCormick Green Food Color 3 Piece Set Hand Made Jade Green Milk Glass Mixing Nesting Bowls by Mosser Glass Presto 23-Quart Induction Compatible Pressure Canner Infinitee Xclusives Kitchen Towels - 6 Pack - Cotton Dish Towel Check out all of my kitchen essentials here in my Amazon store. Originally Published on: Aug 4, 2025

Leave a Review